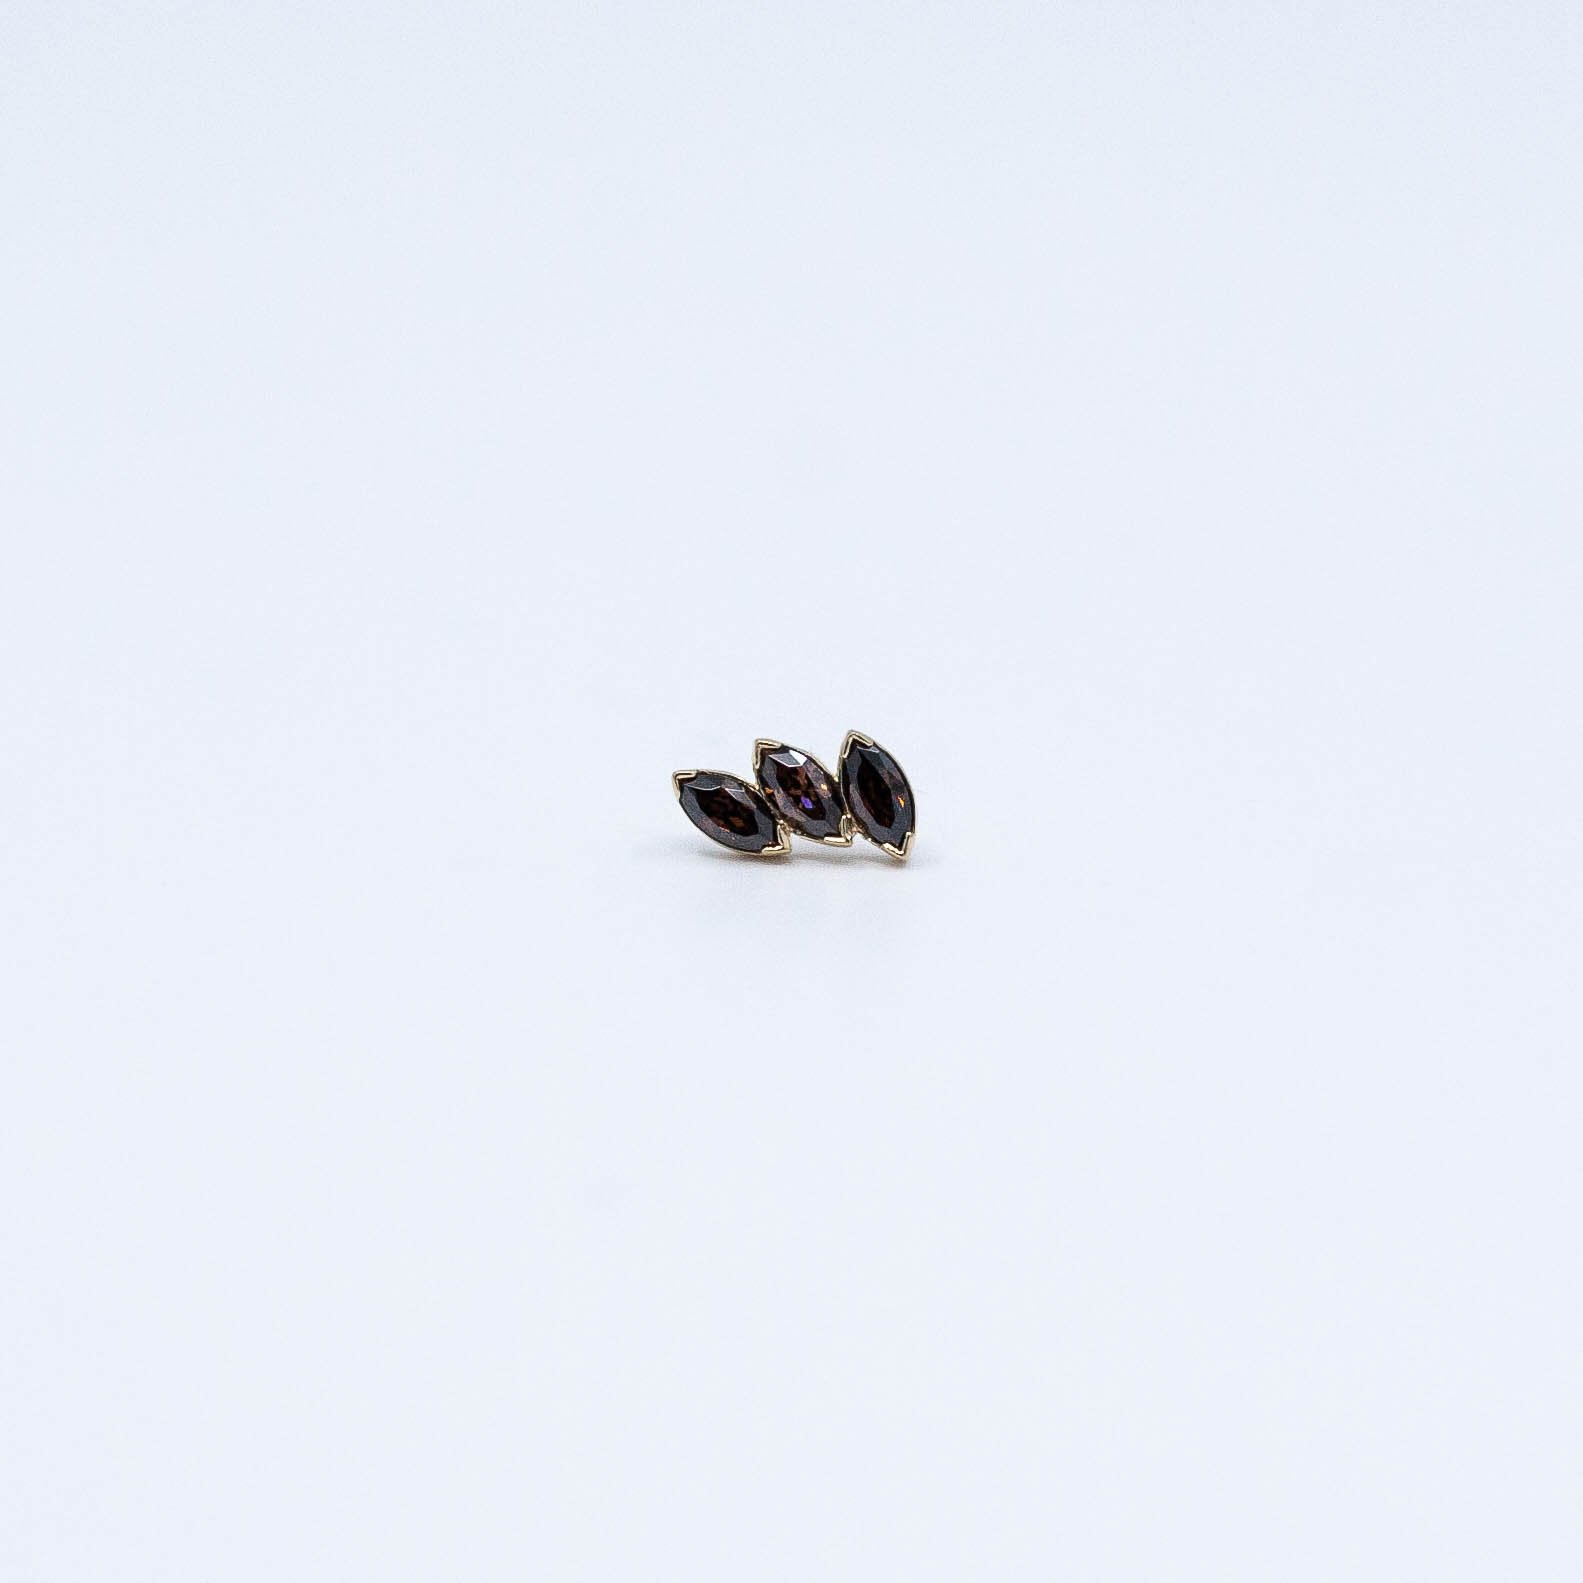
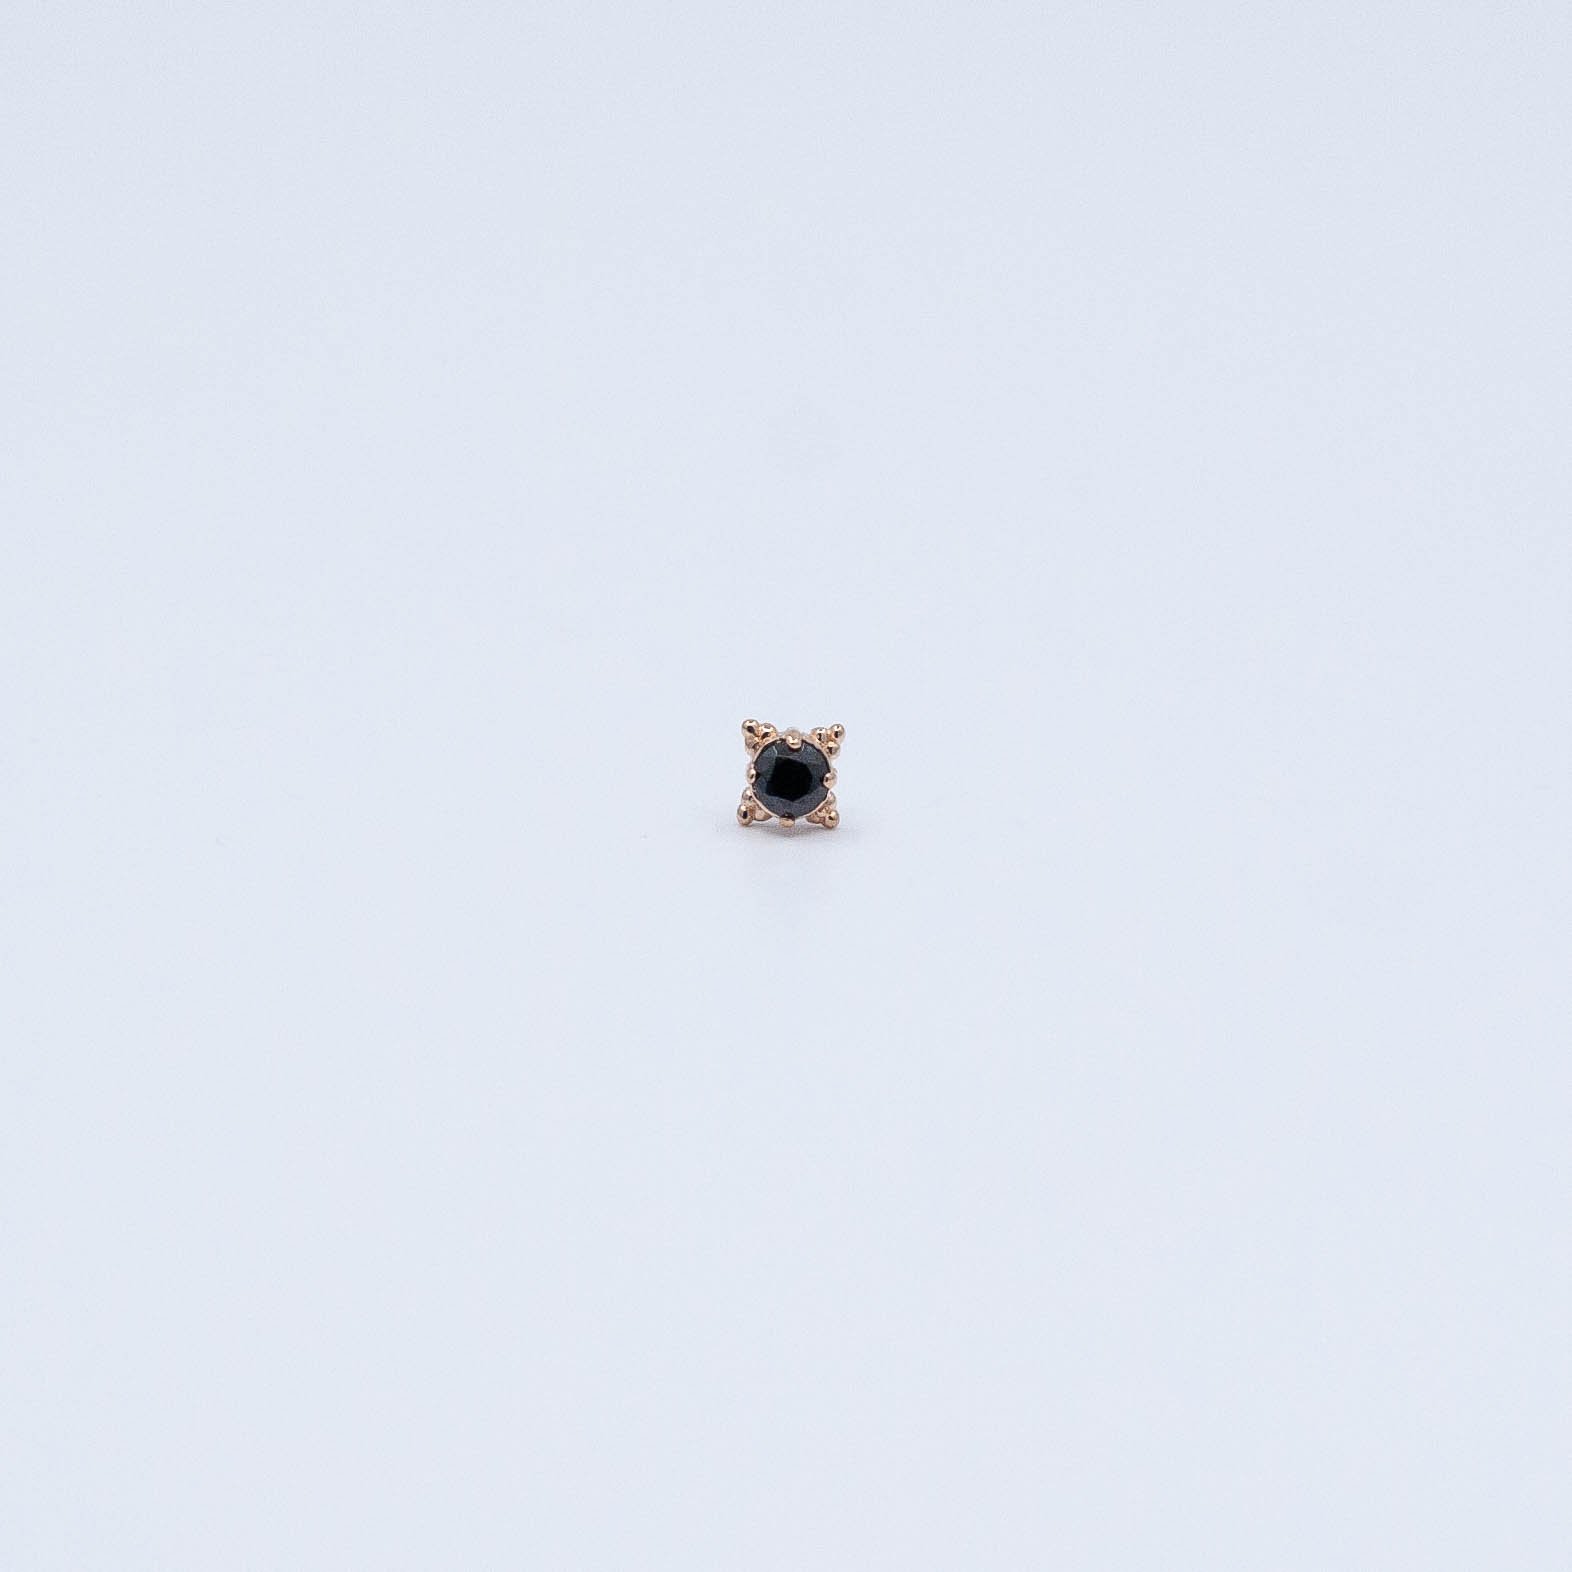
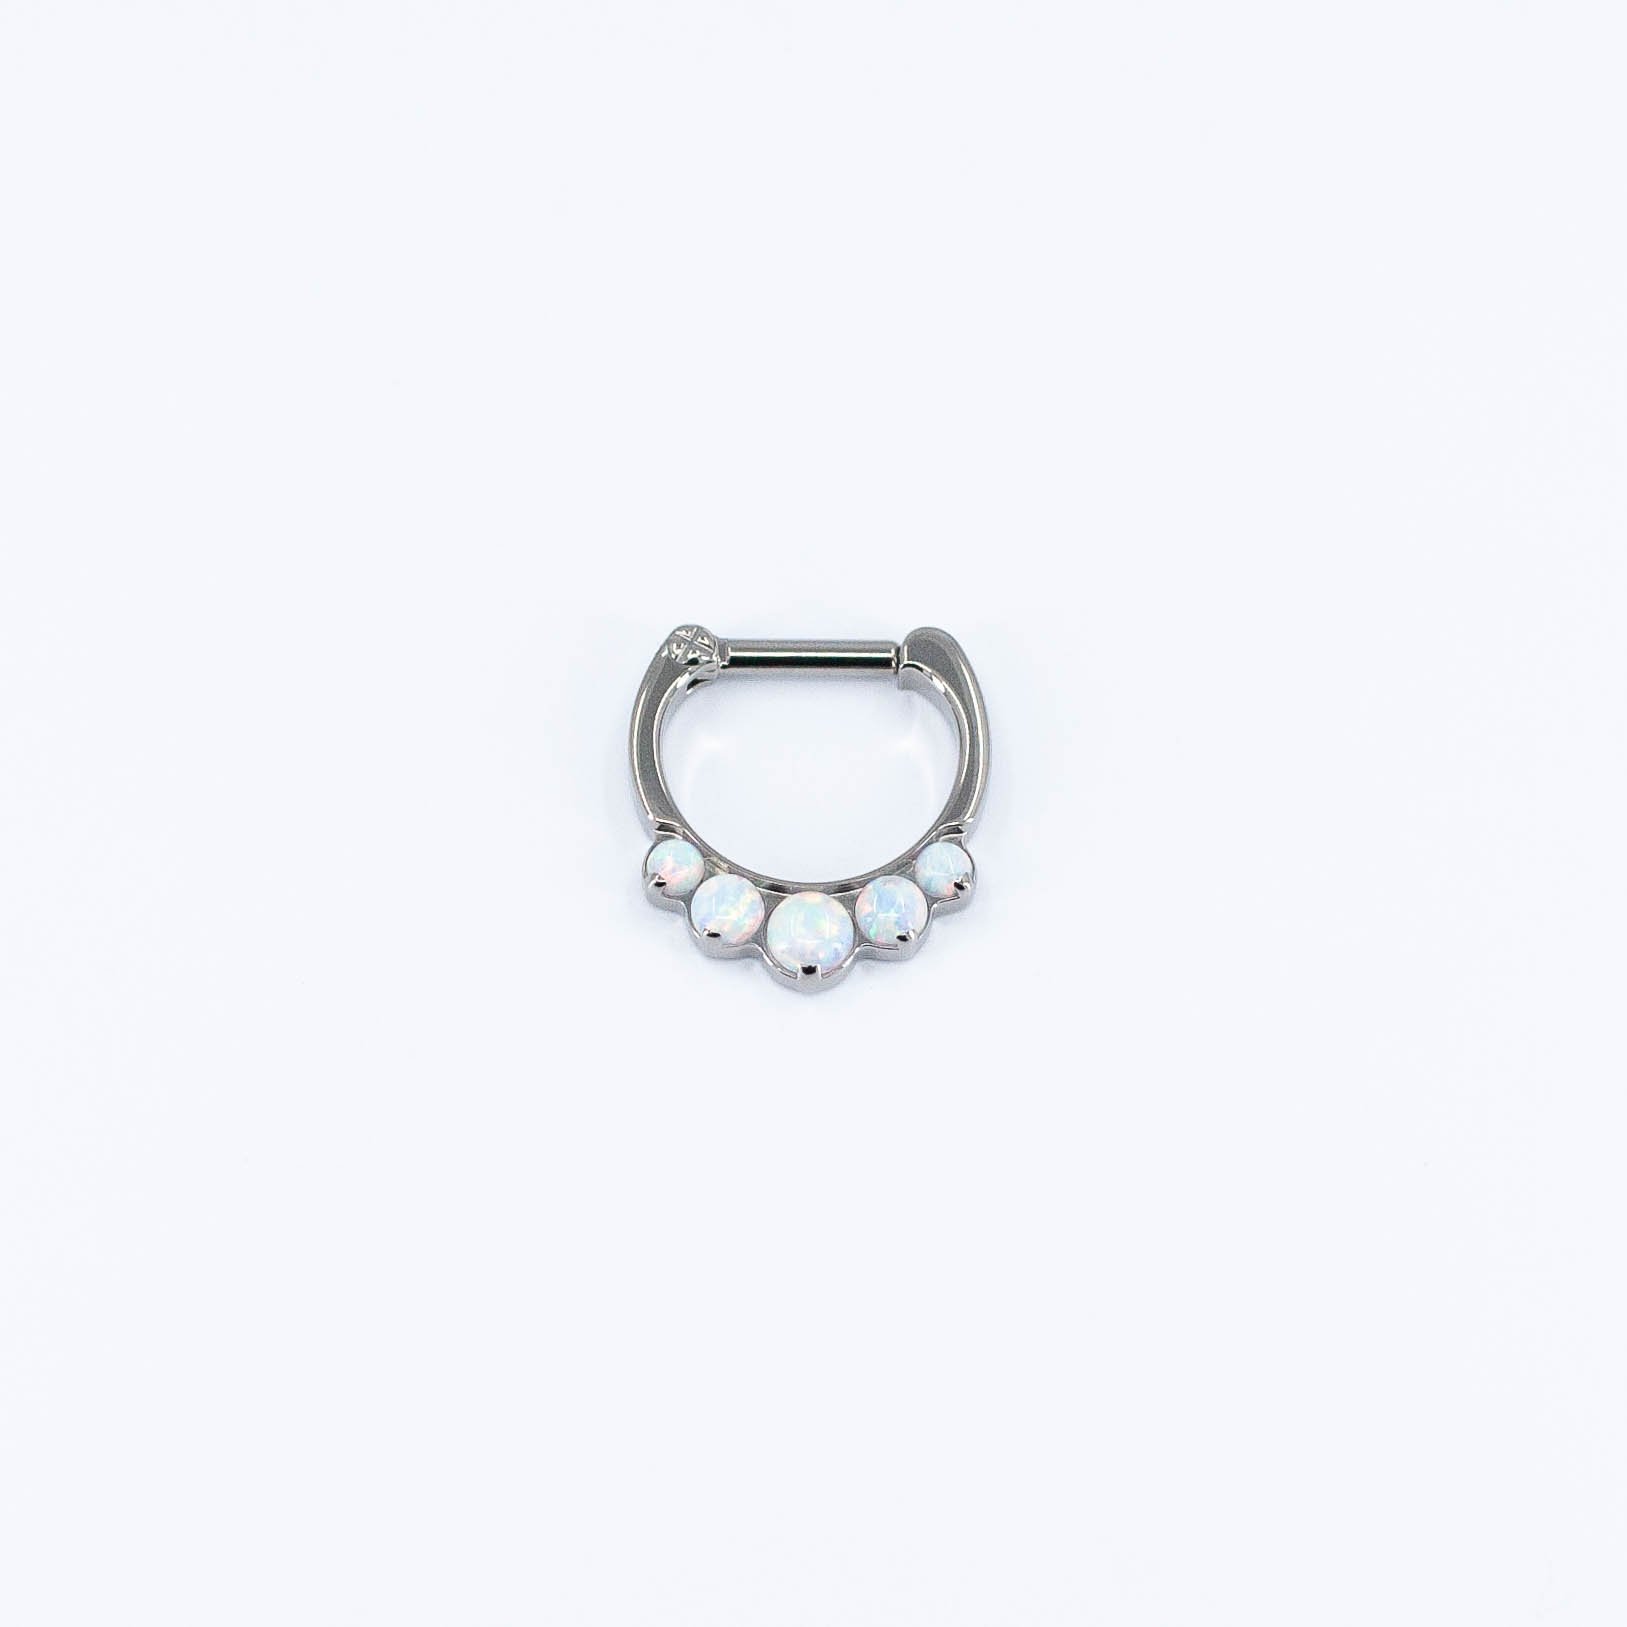
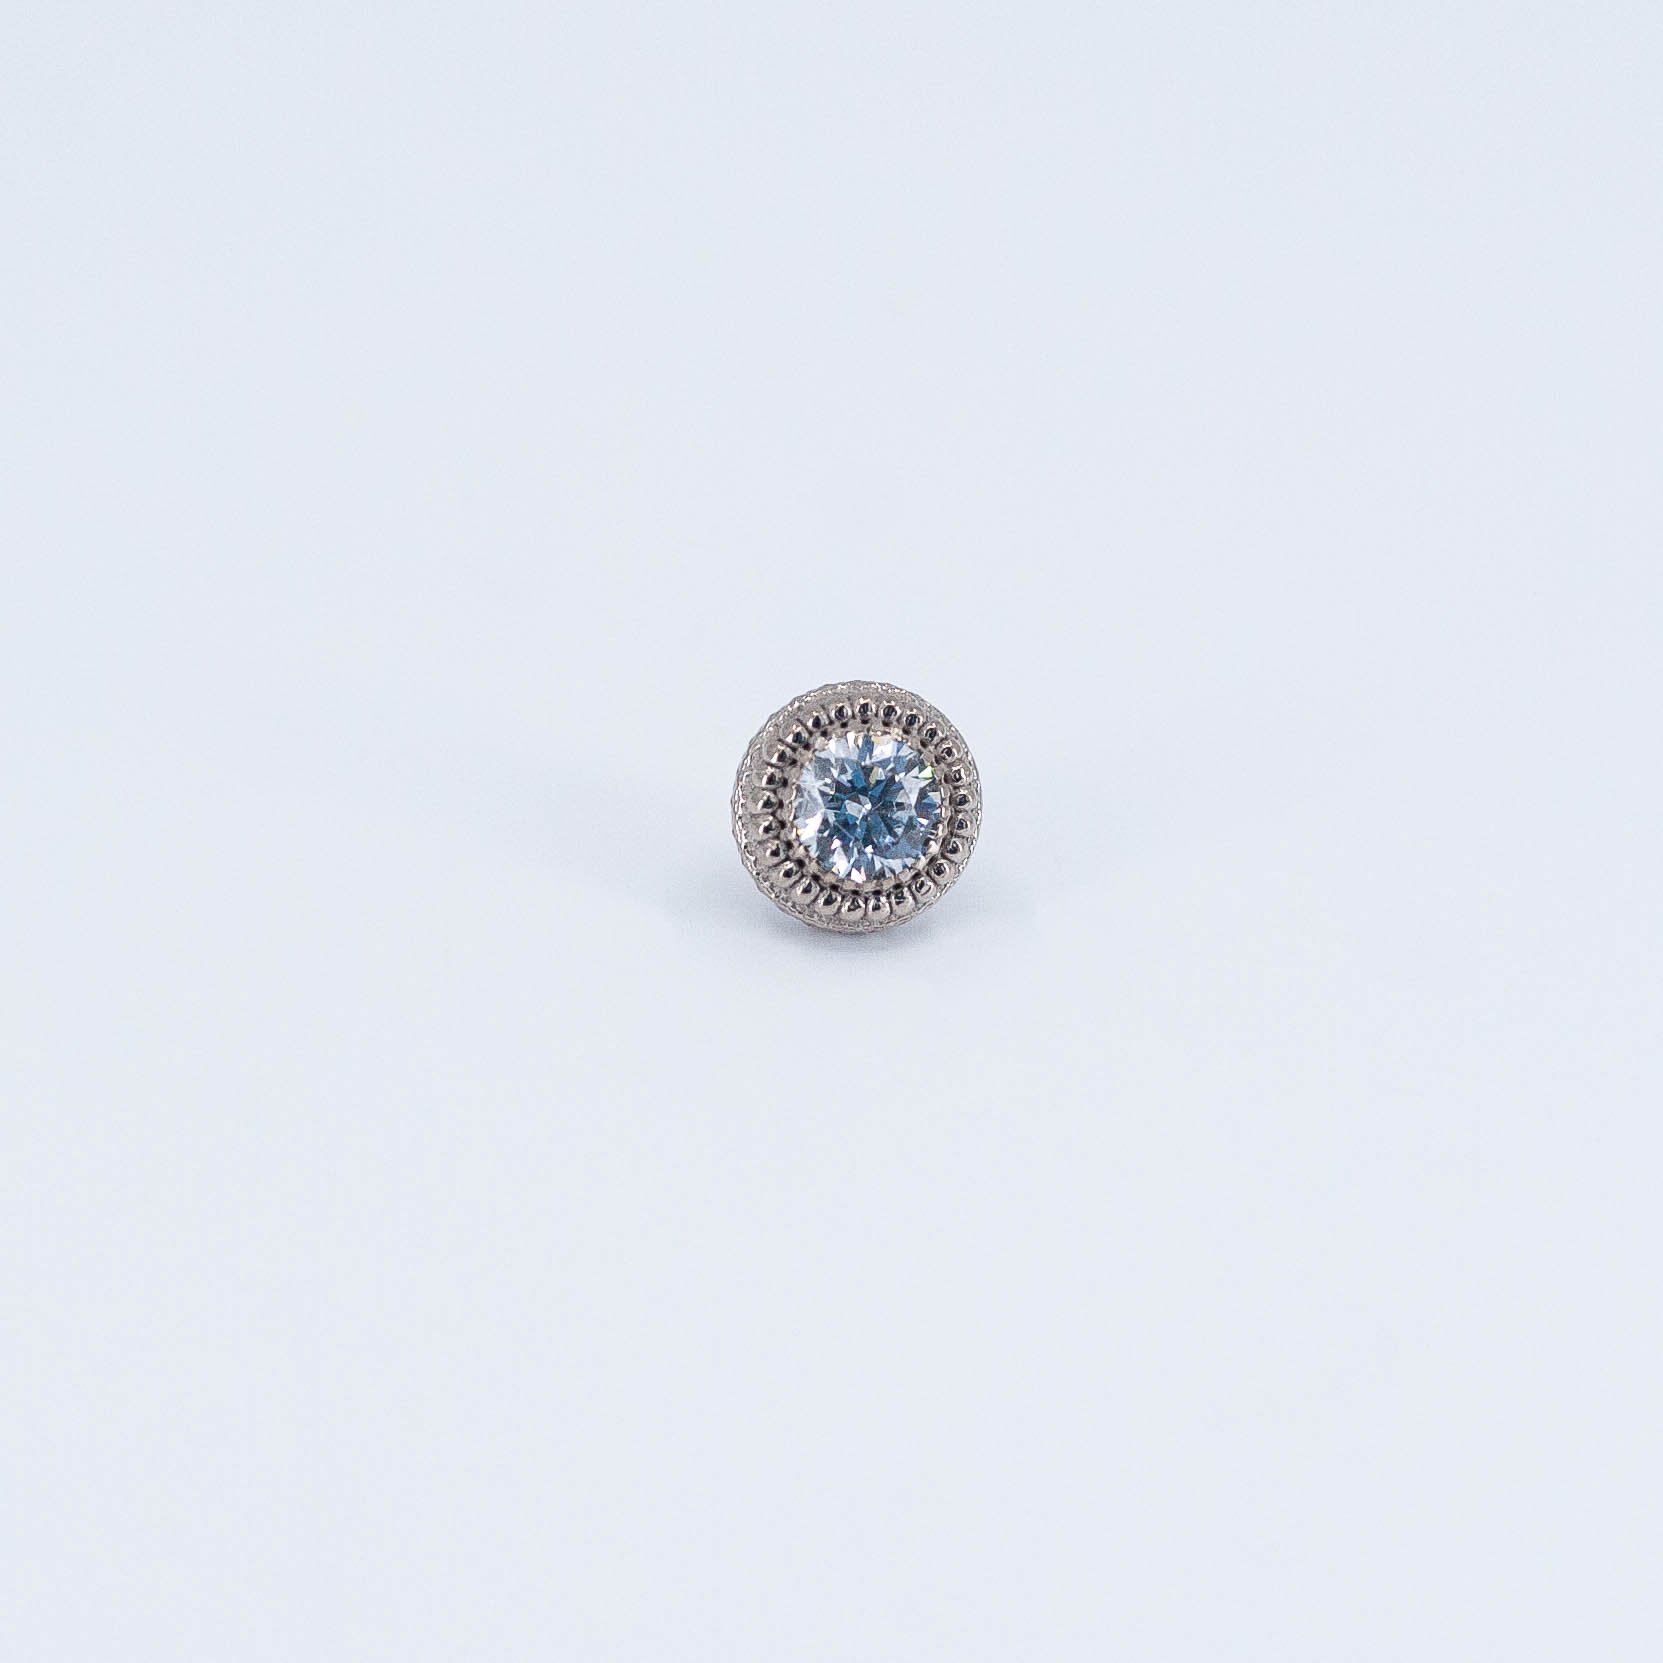
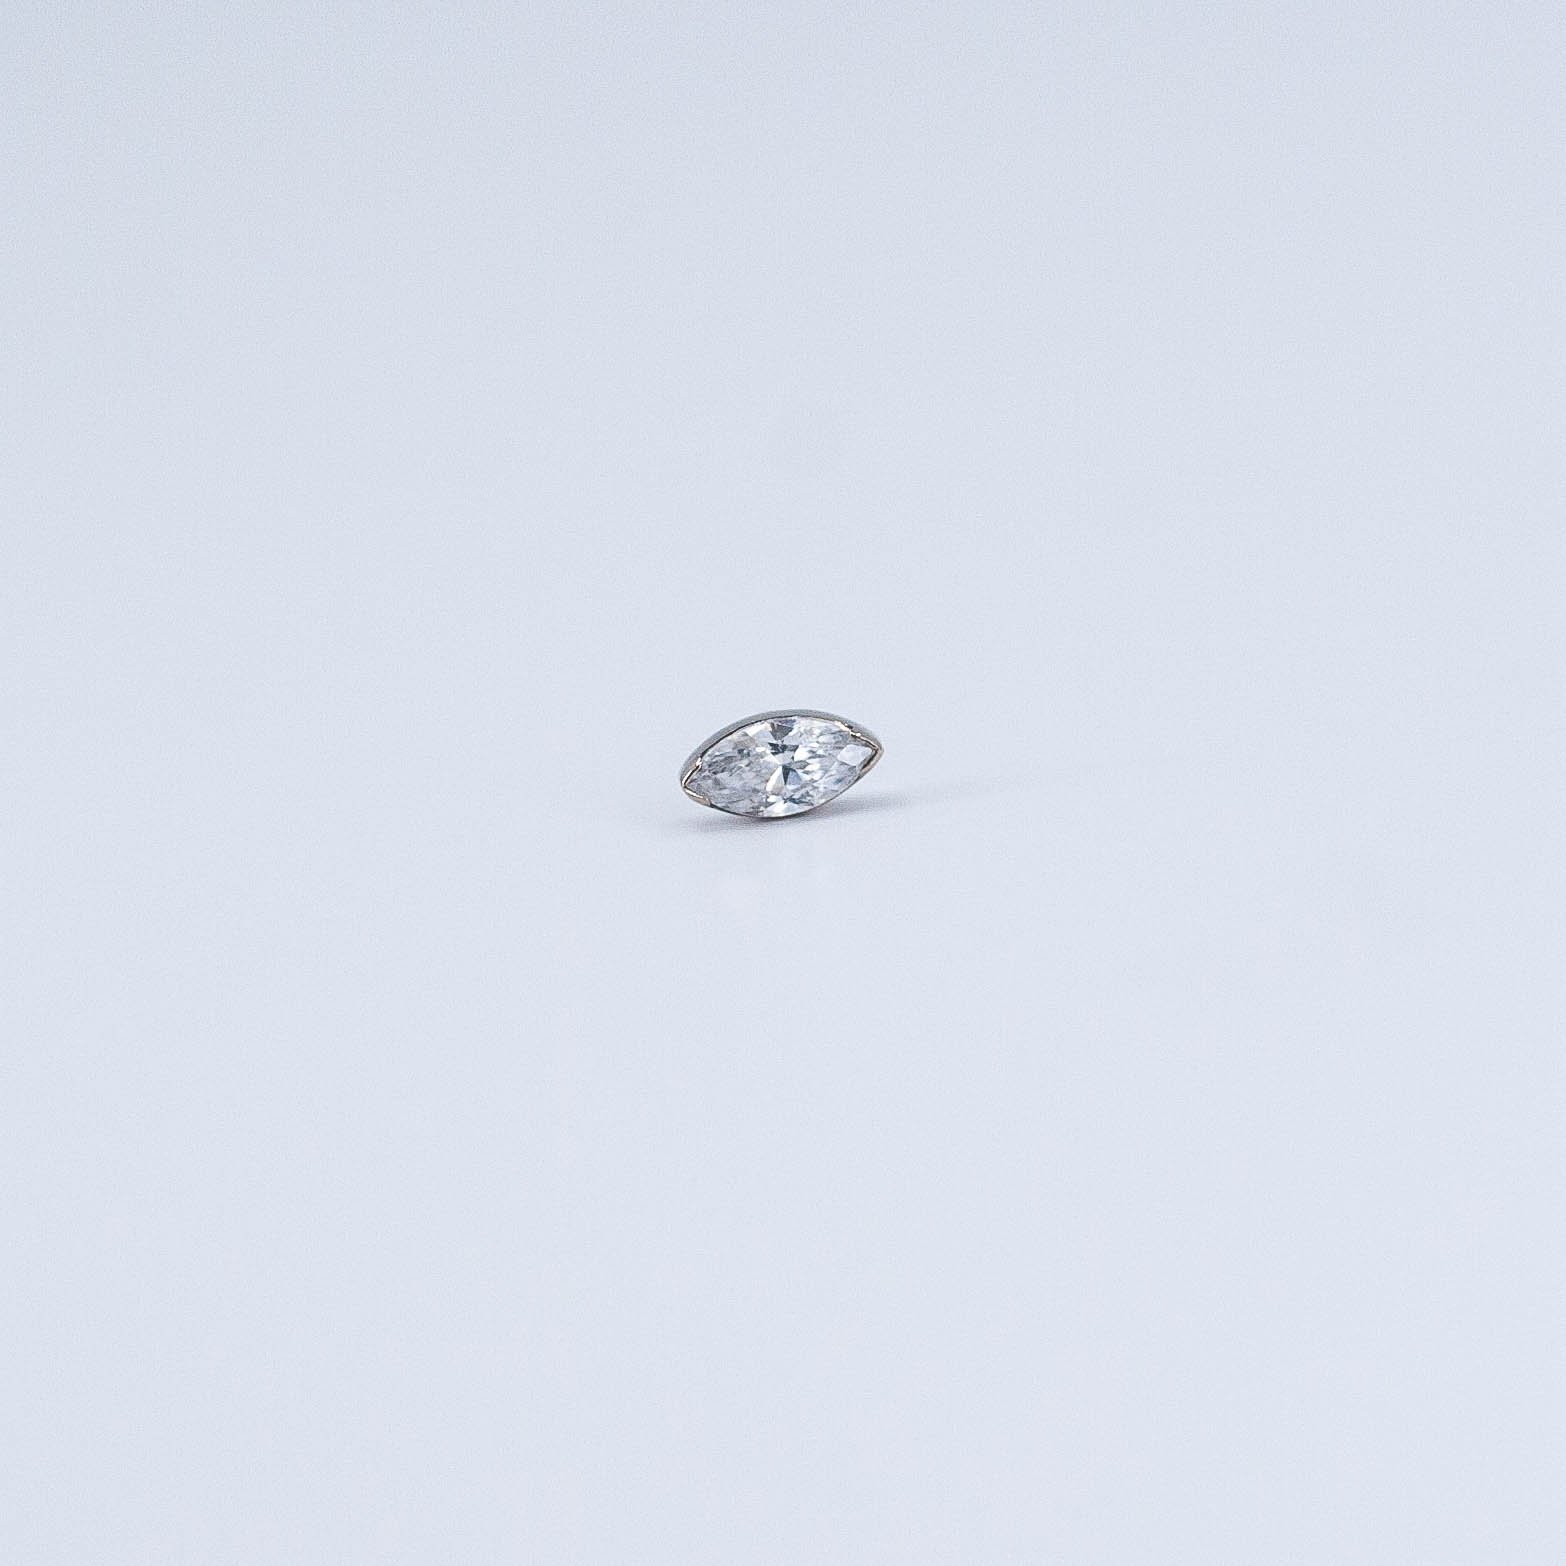
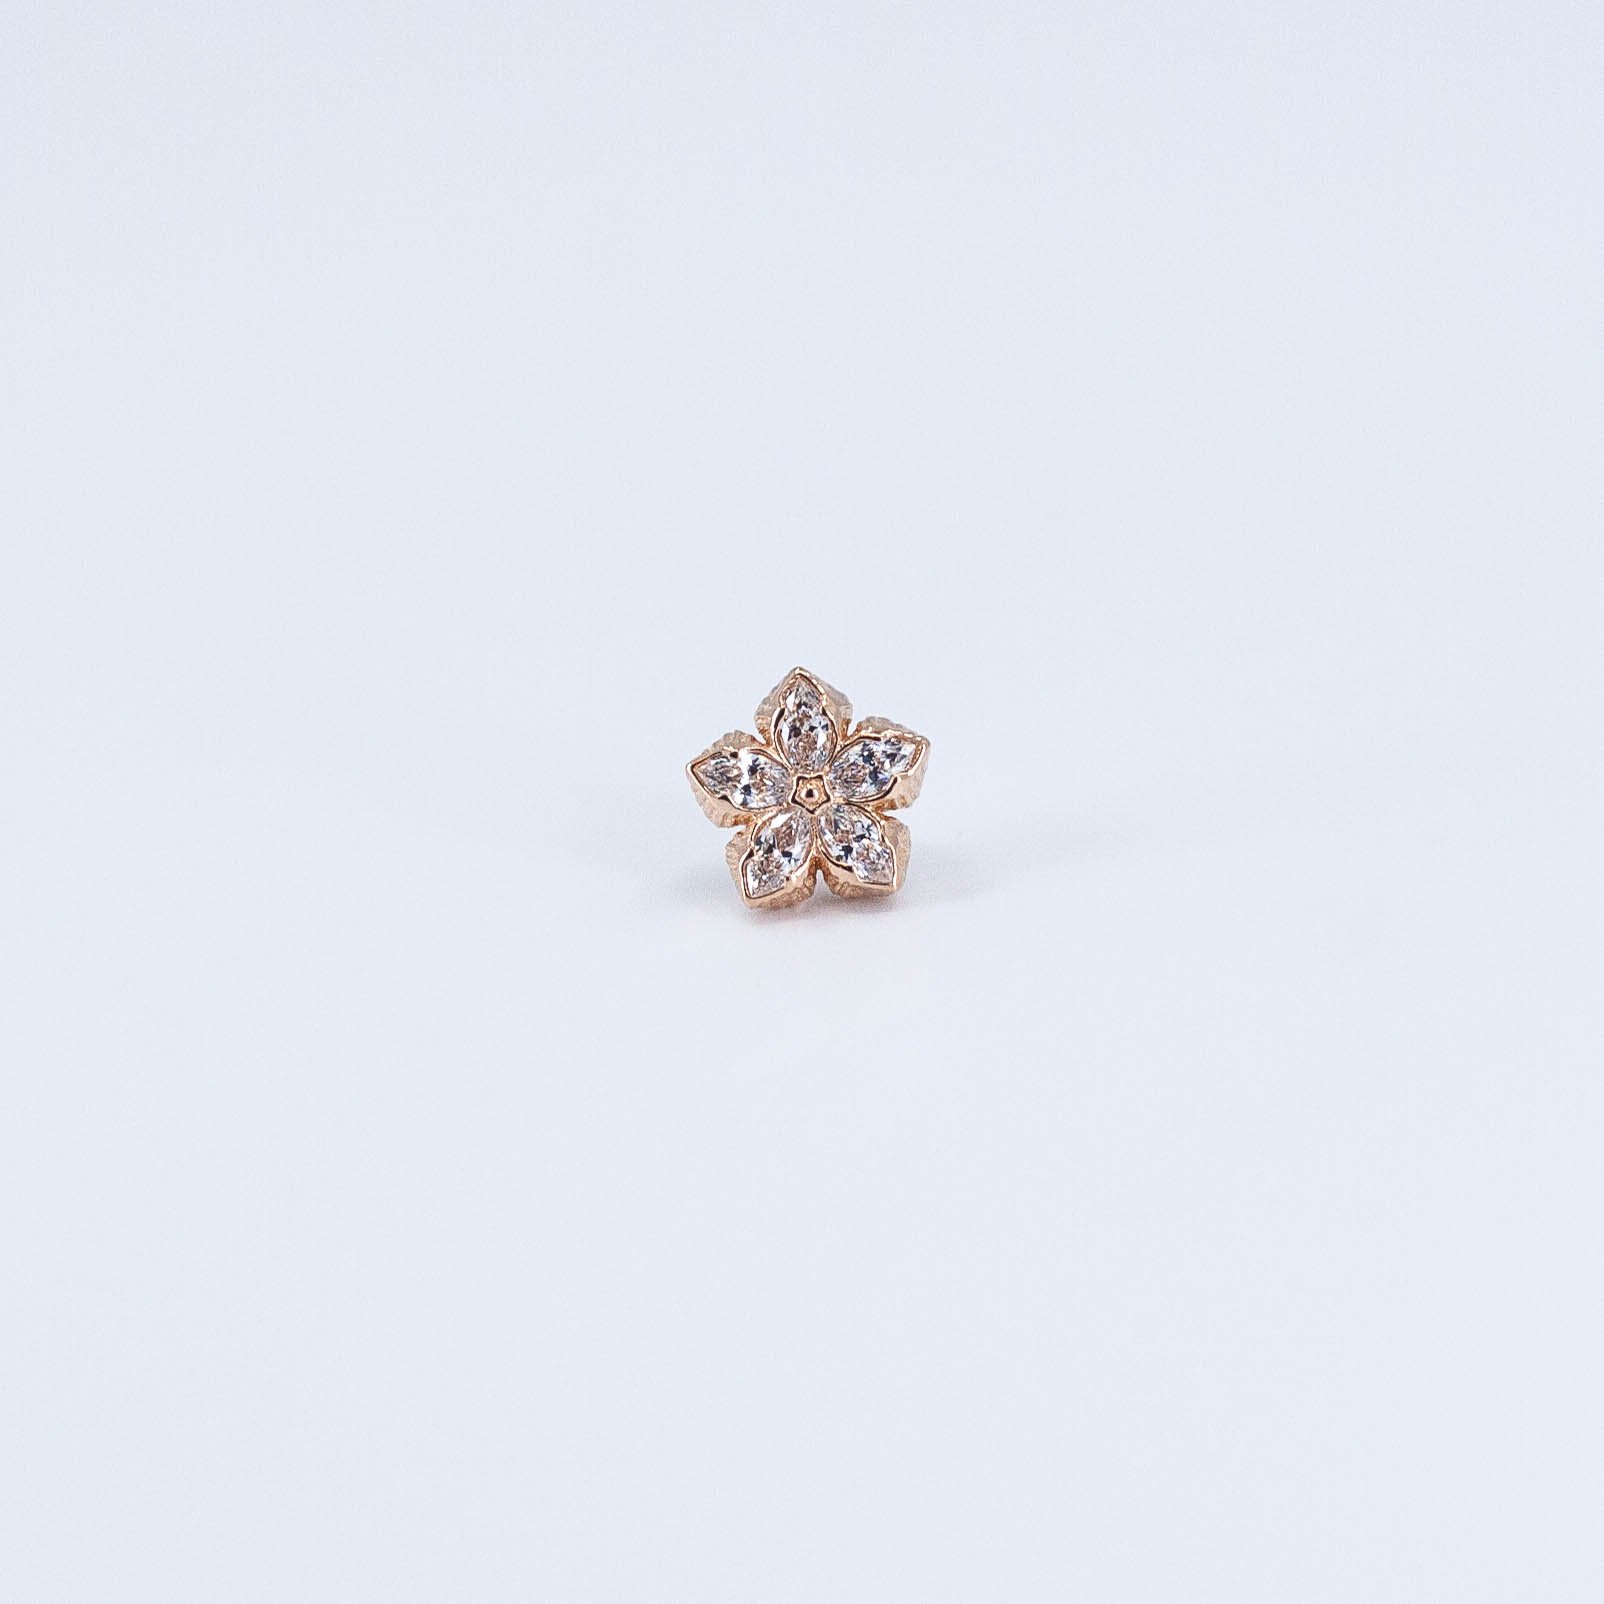
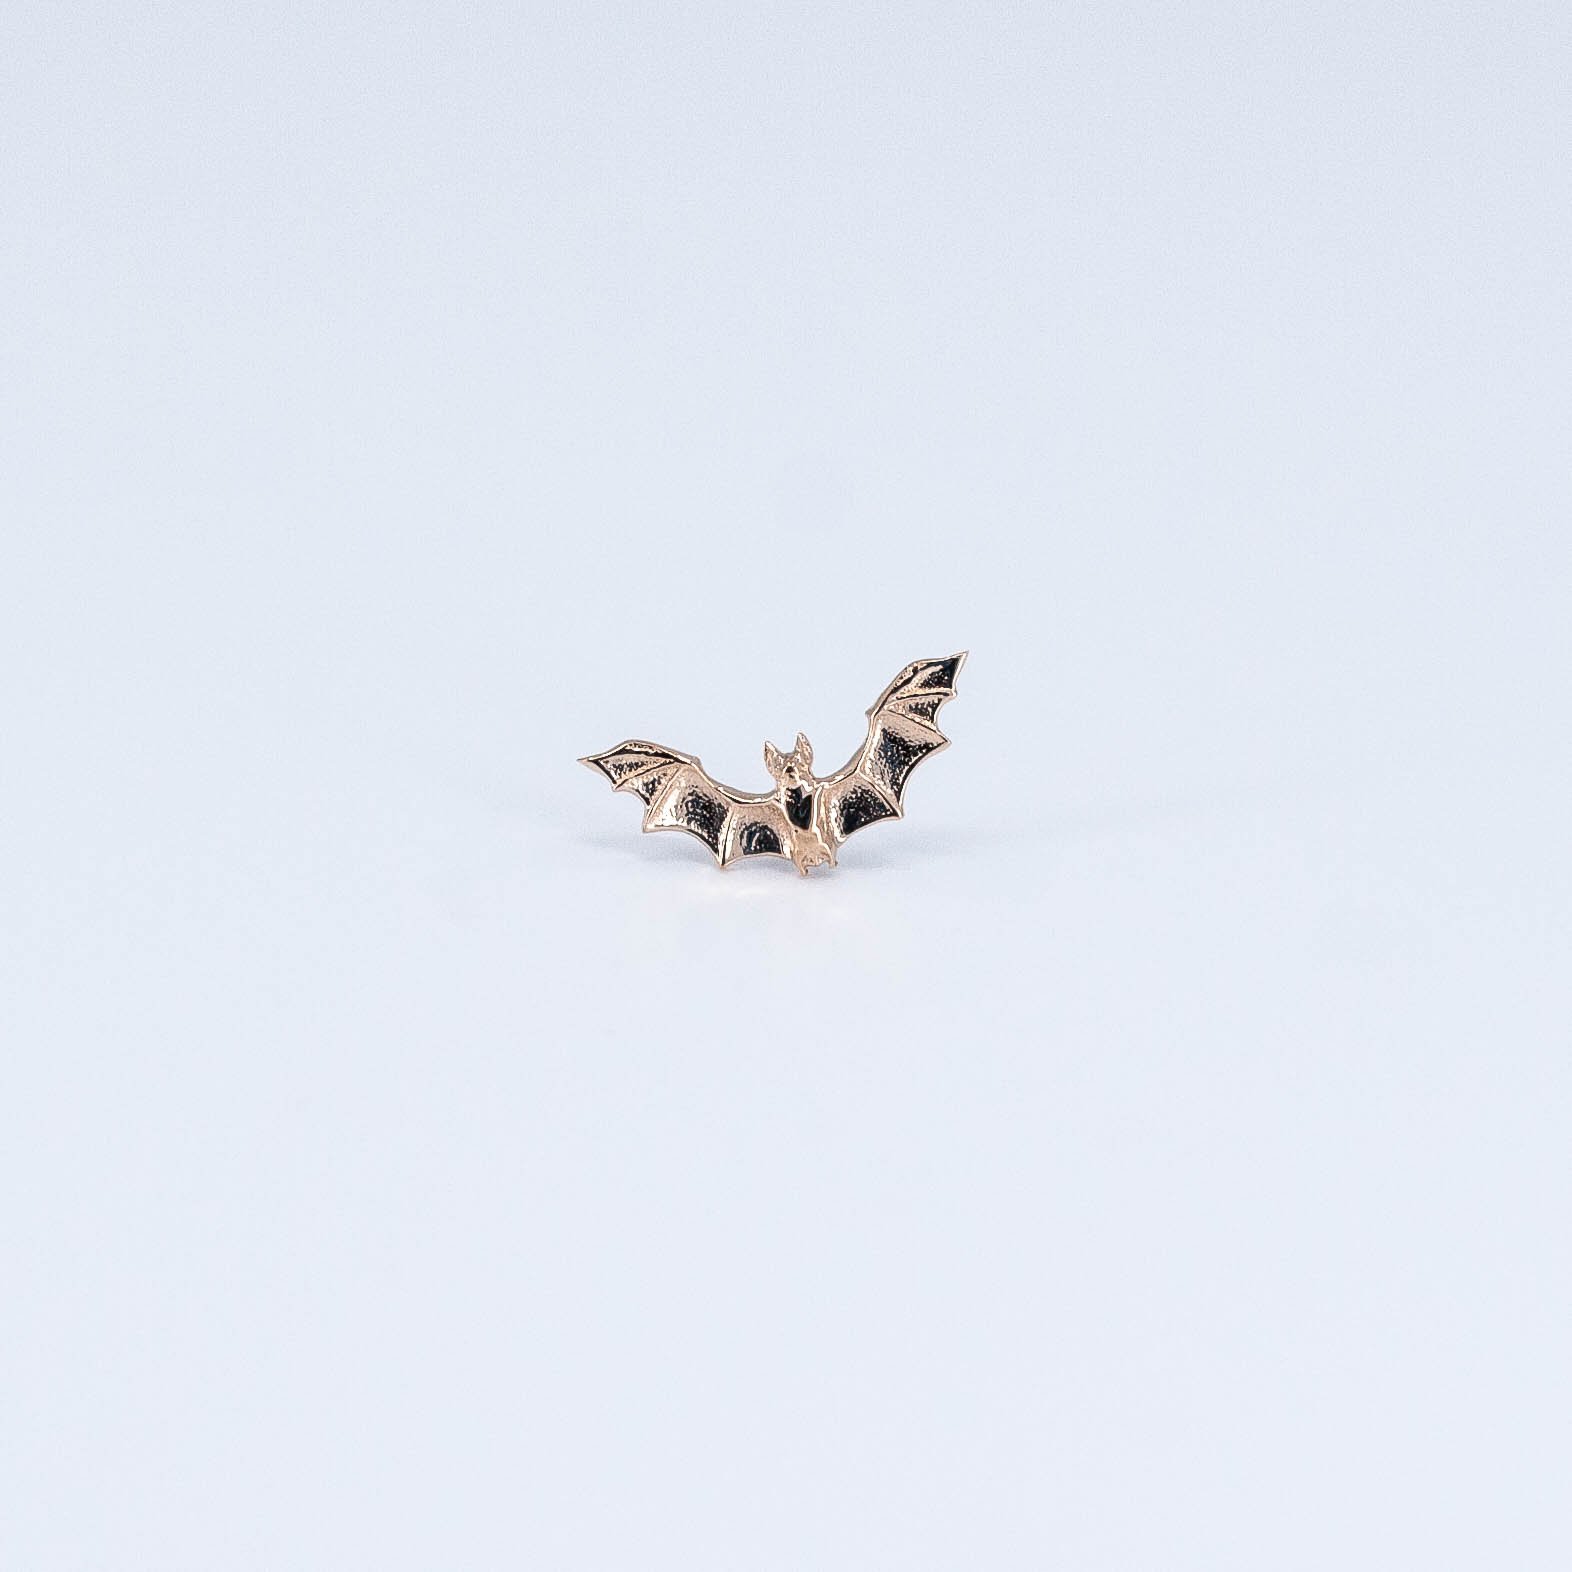
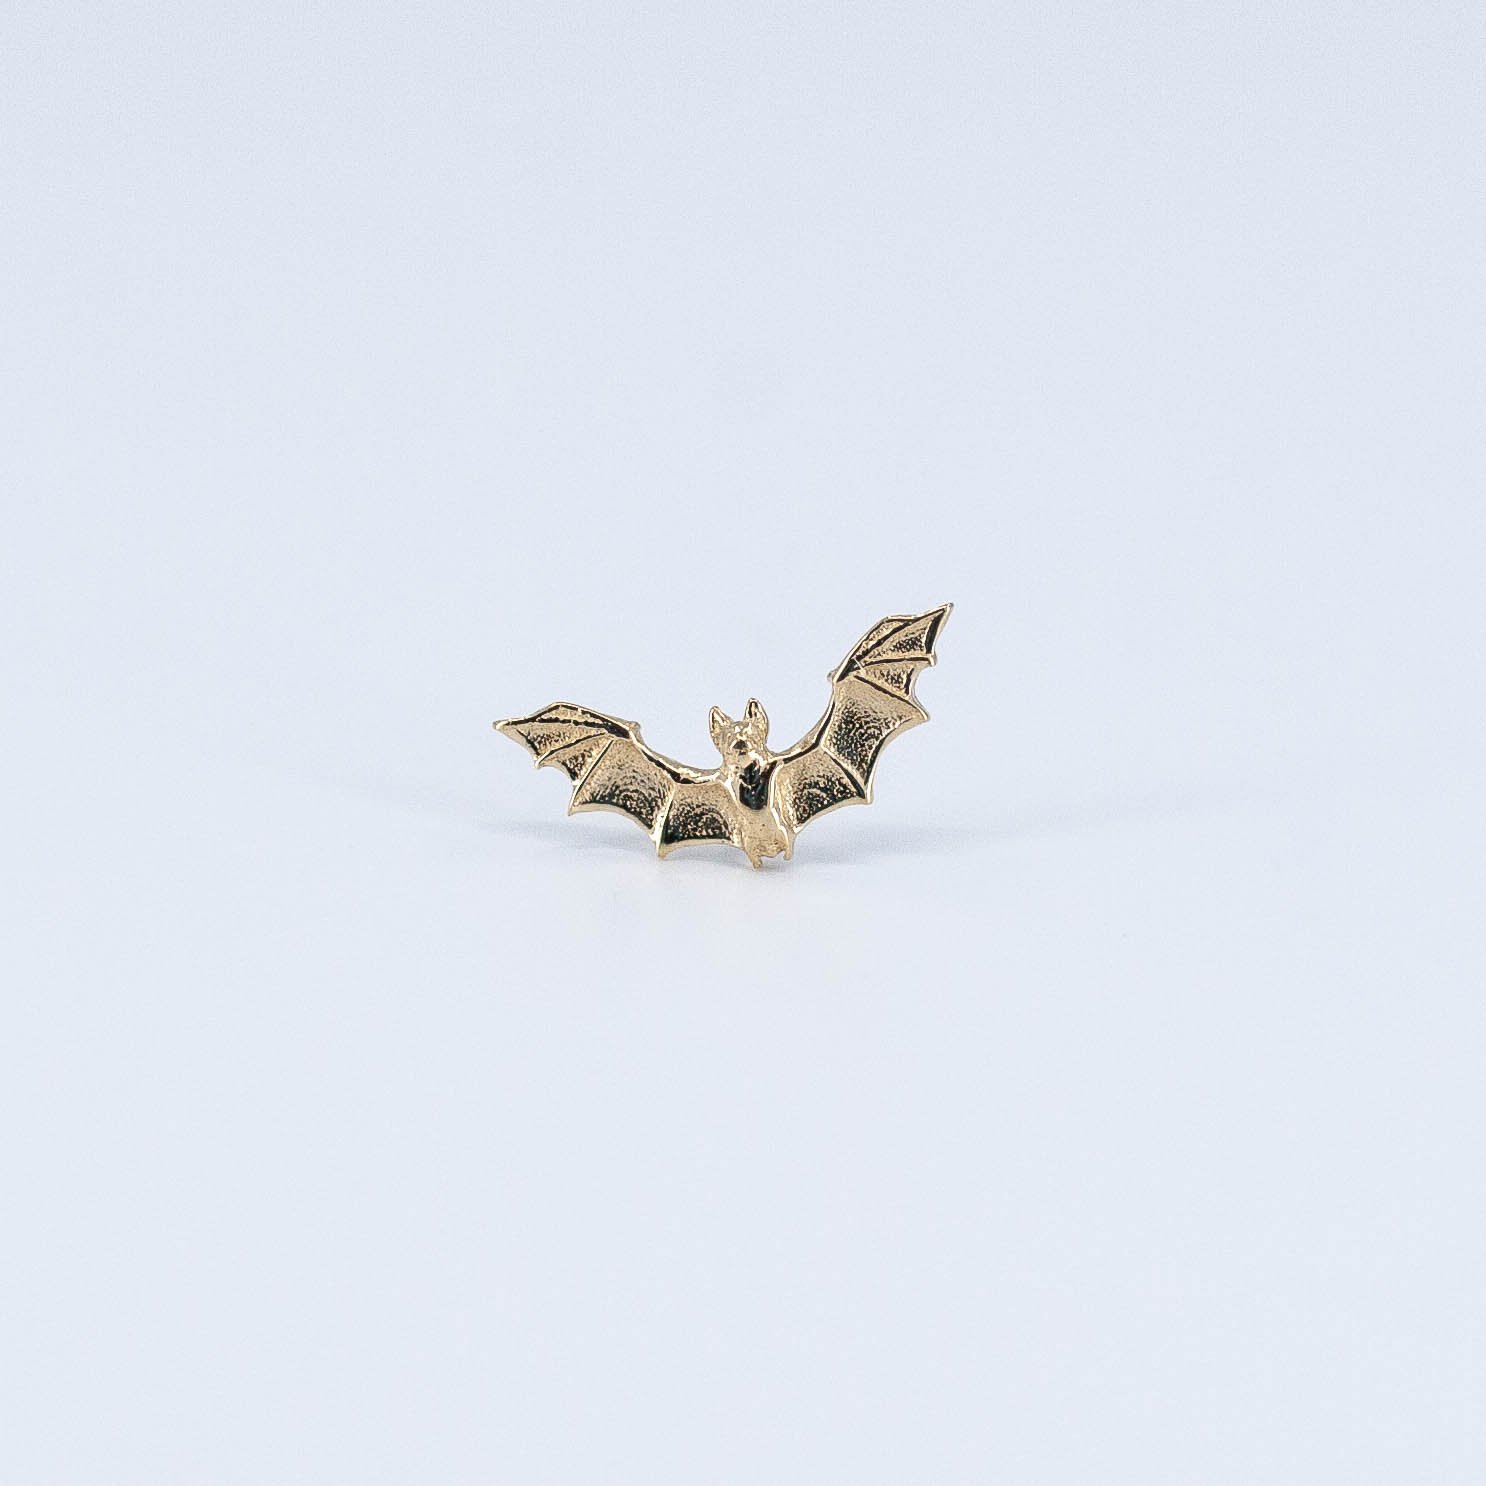
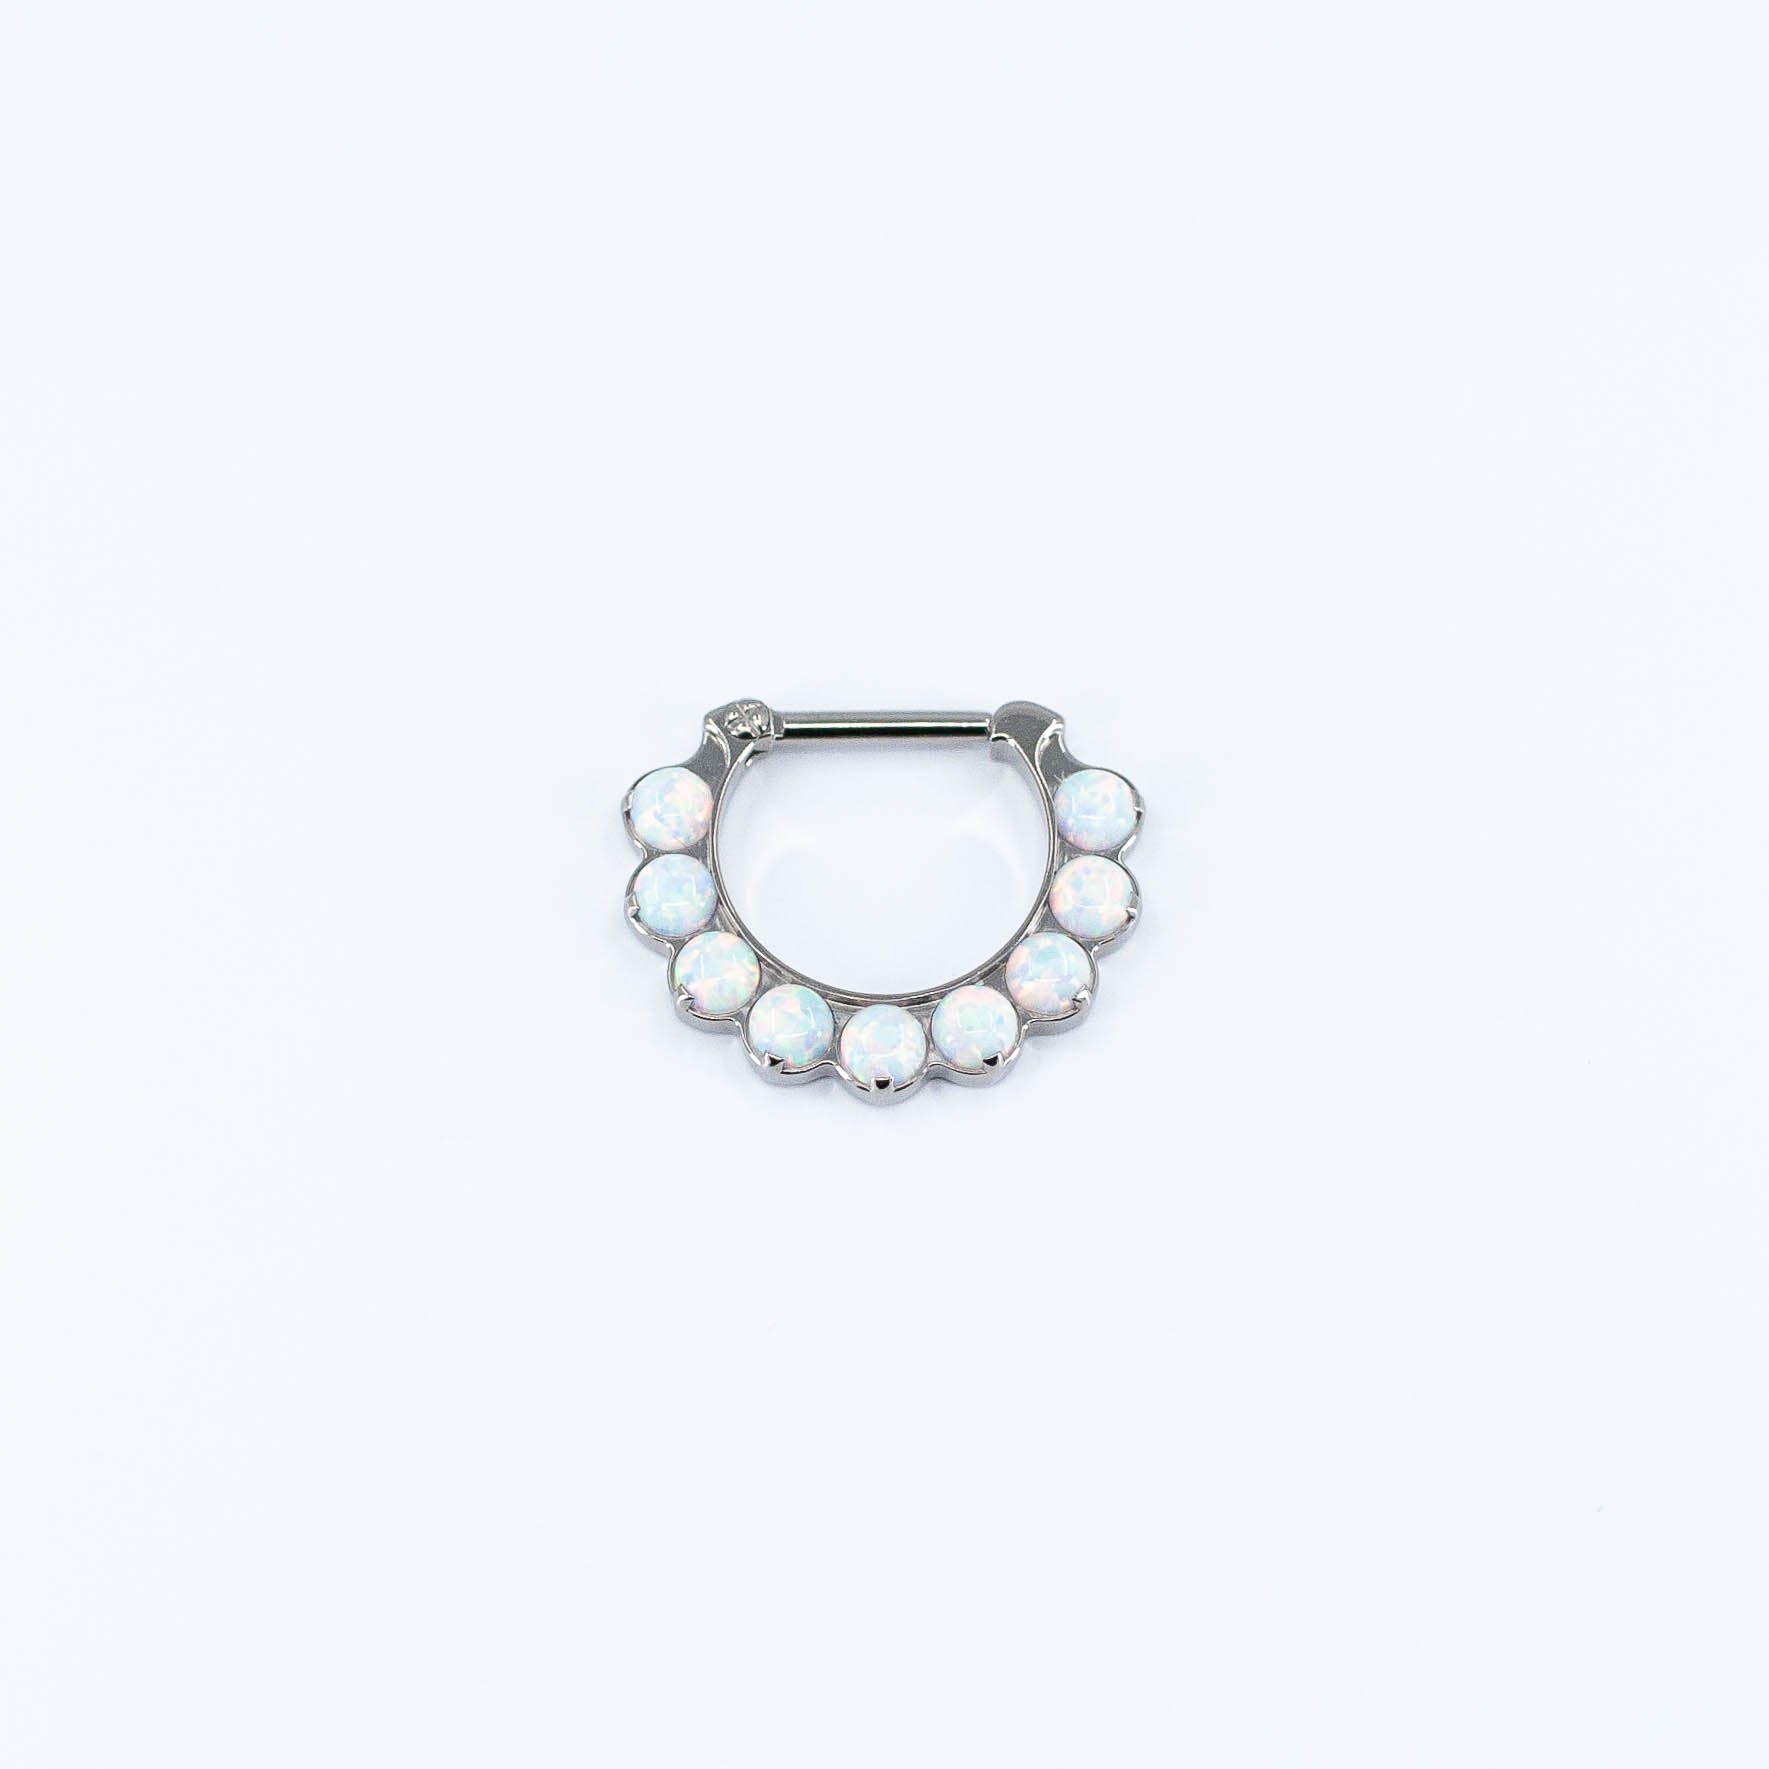
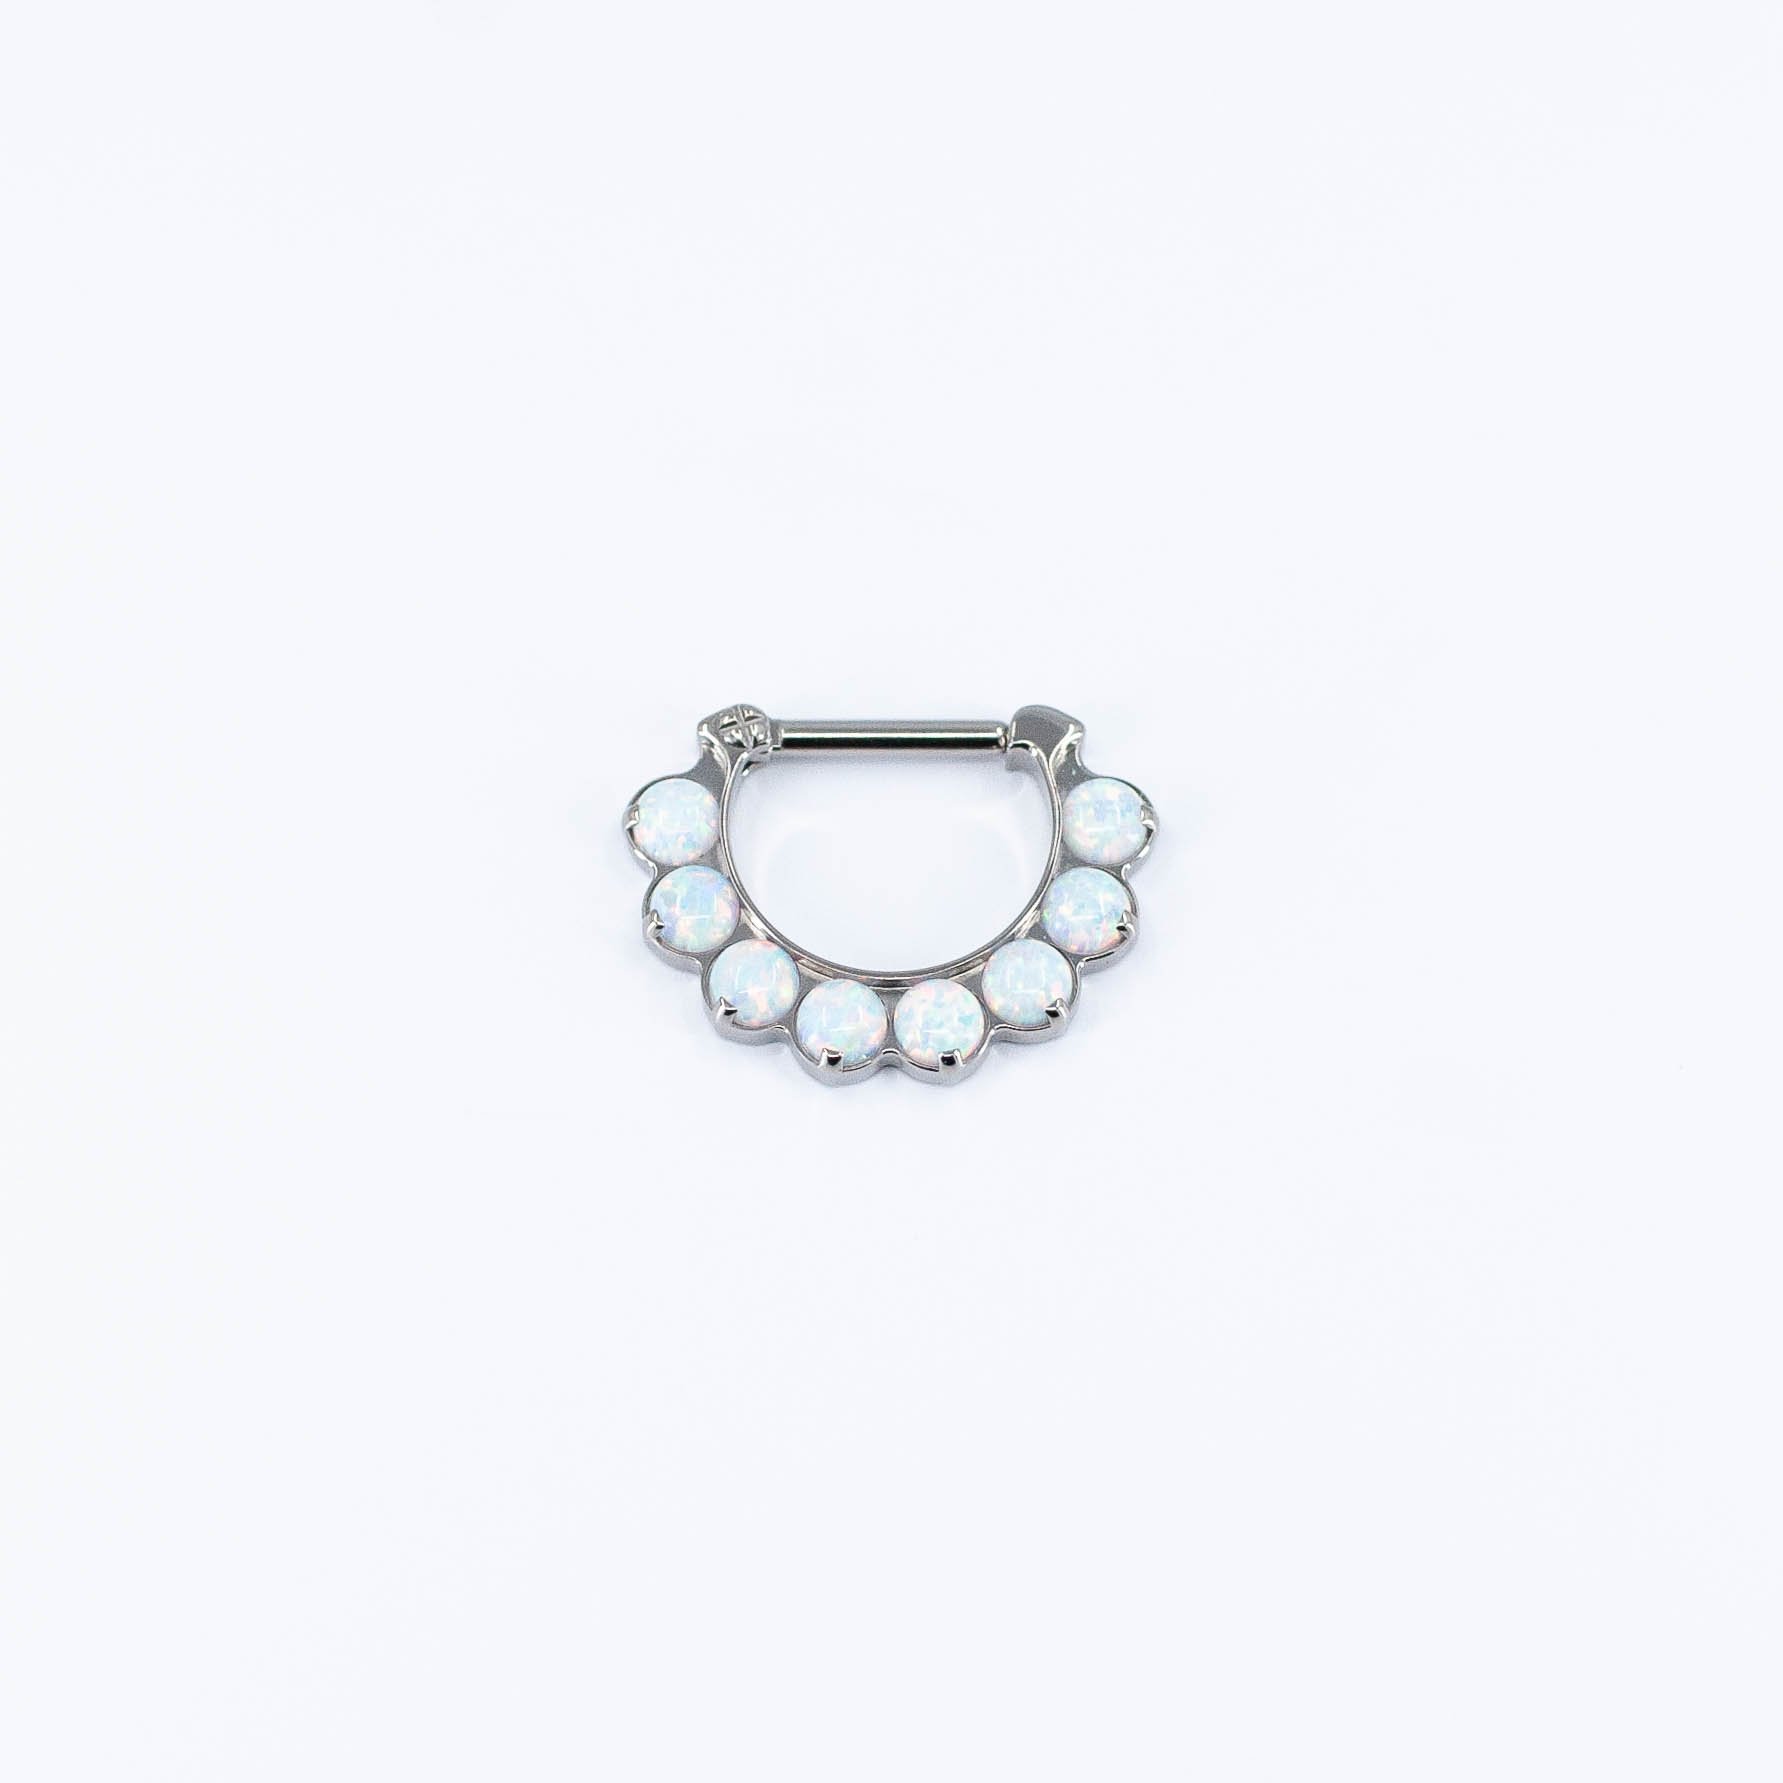
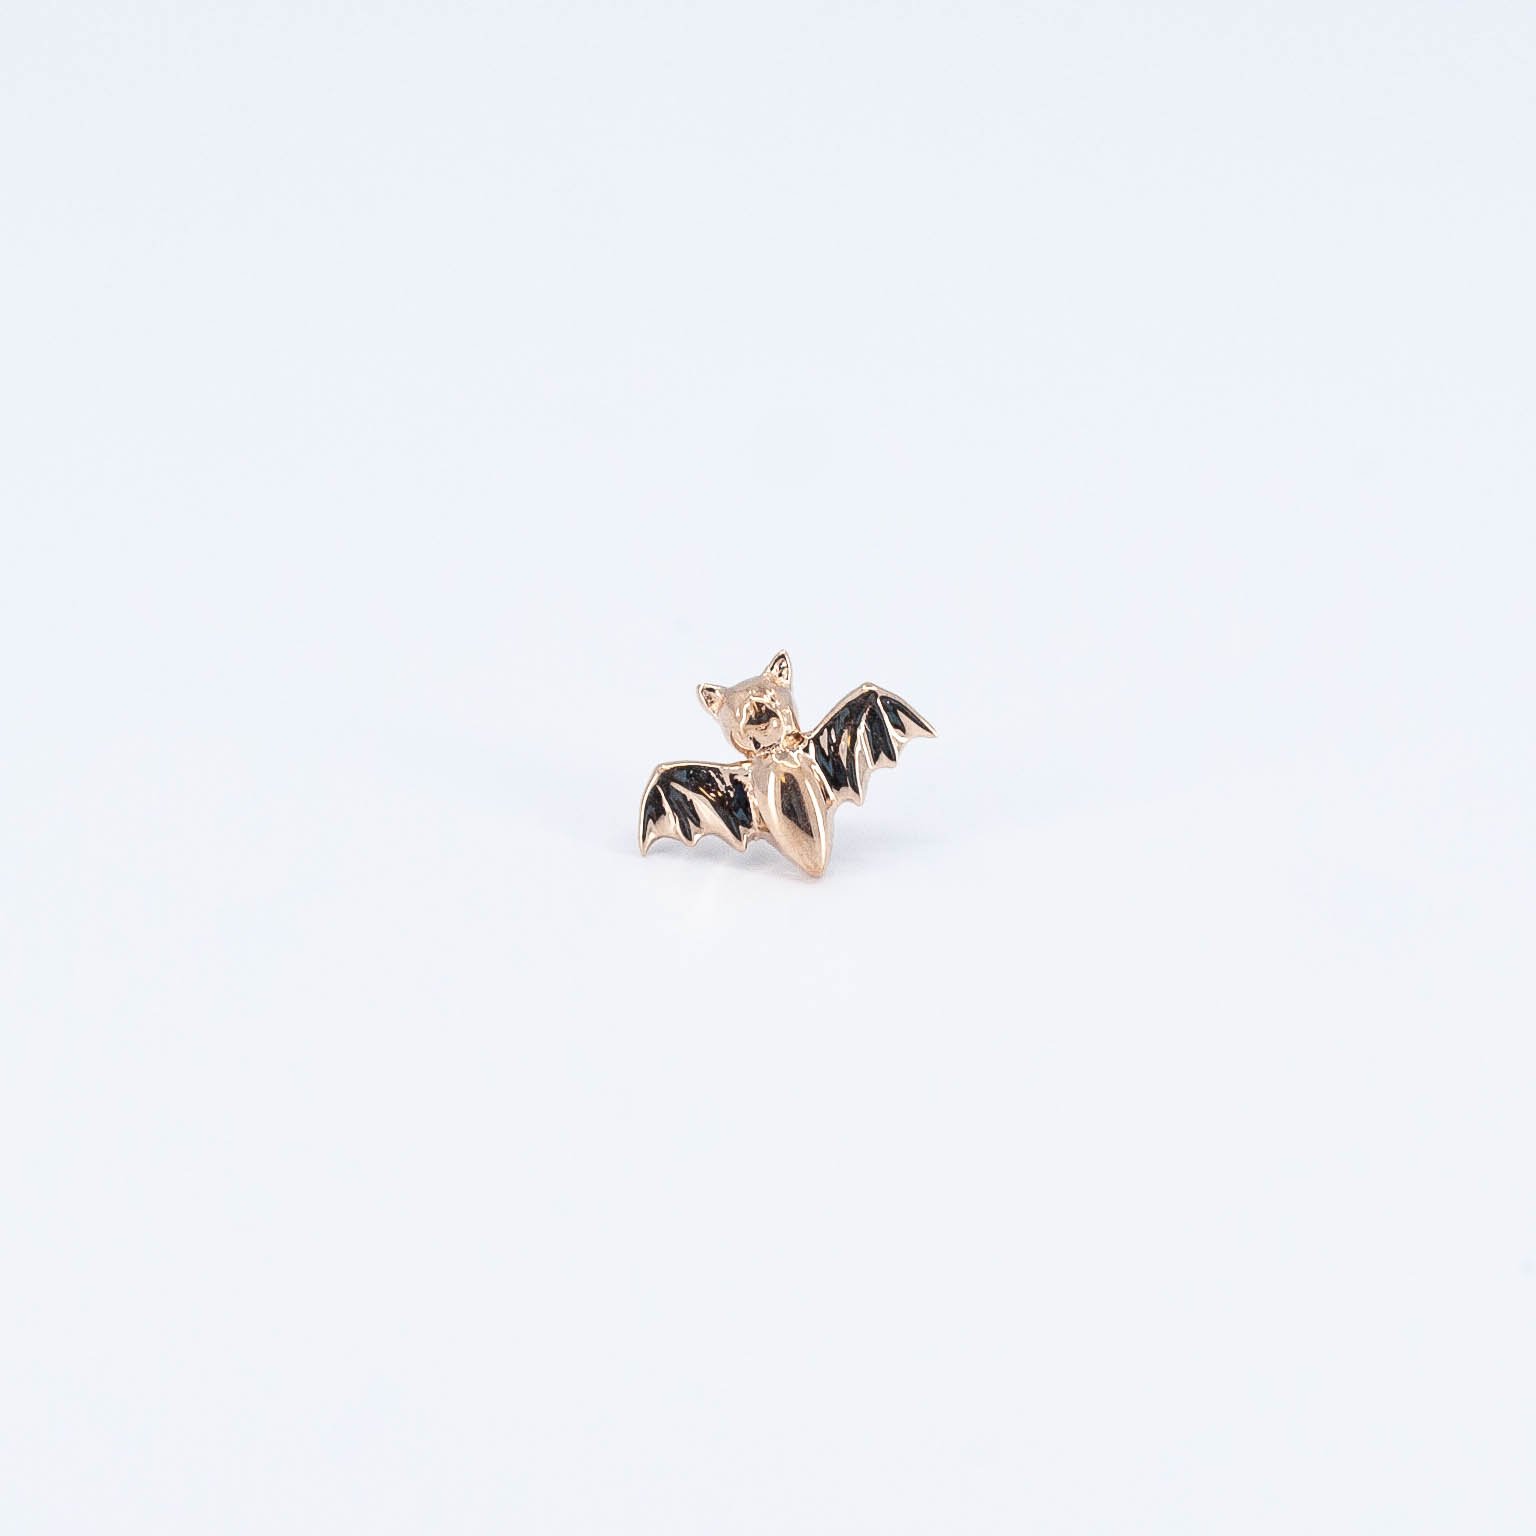
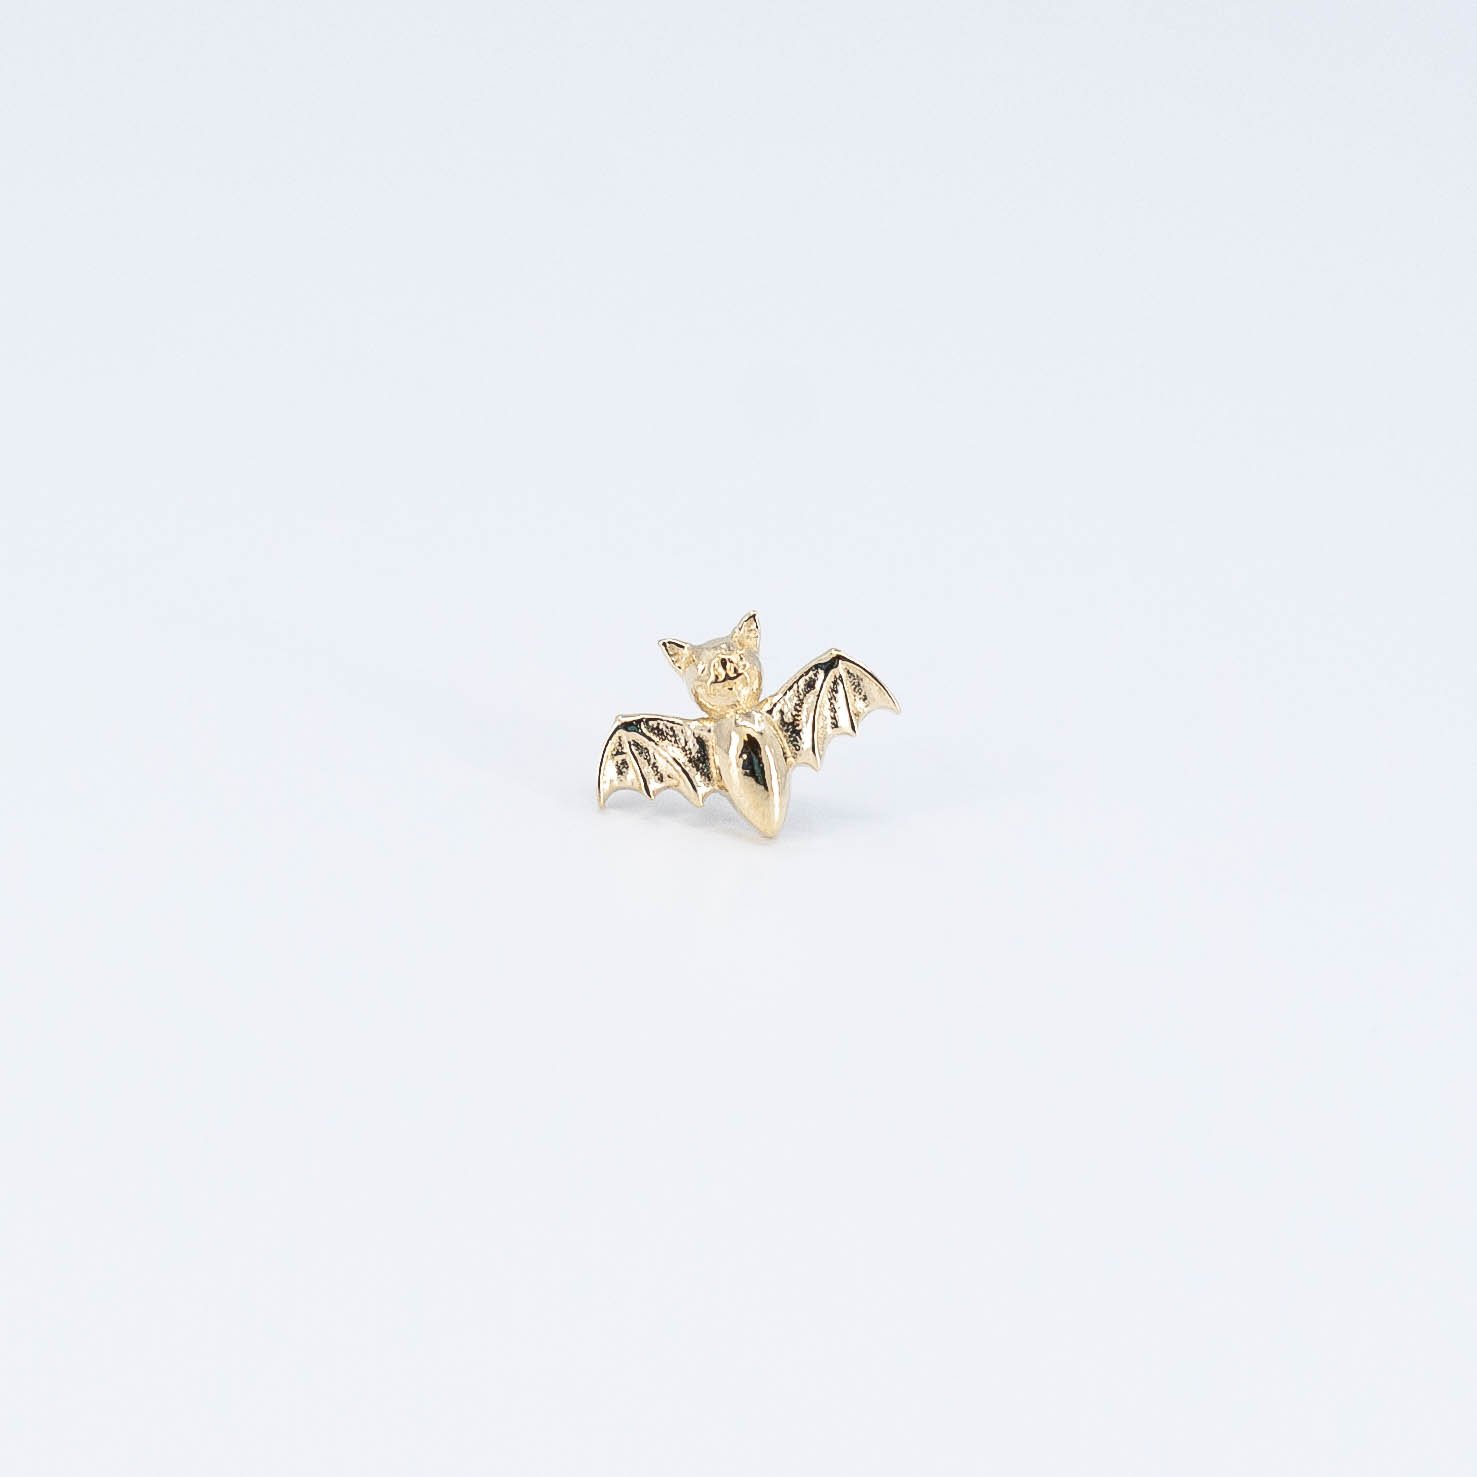
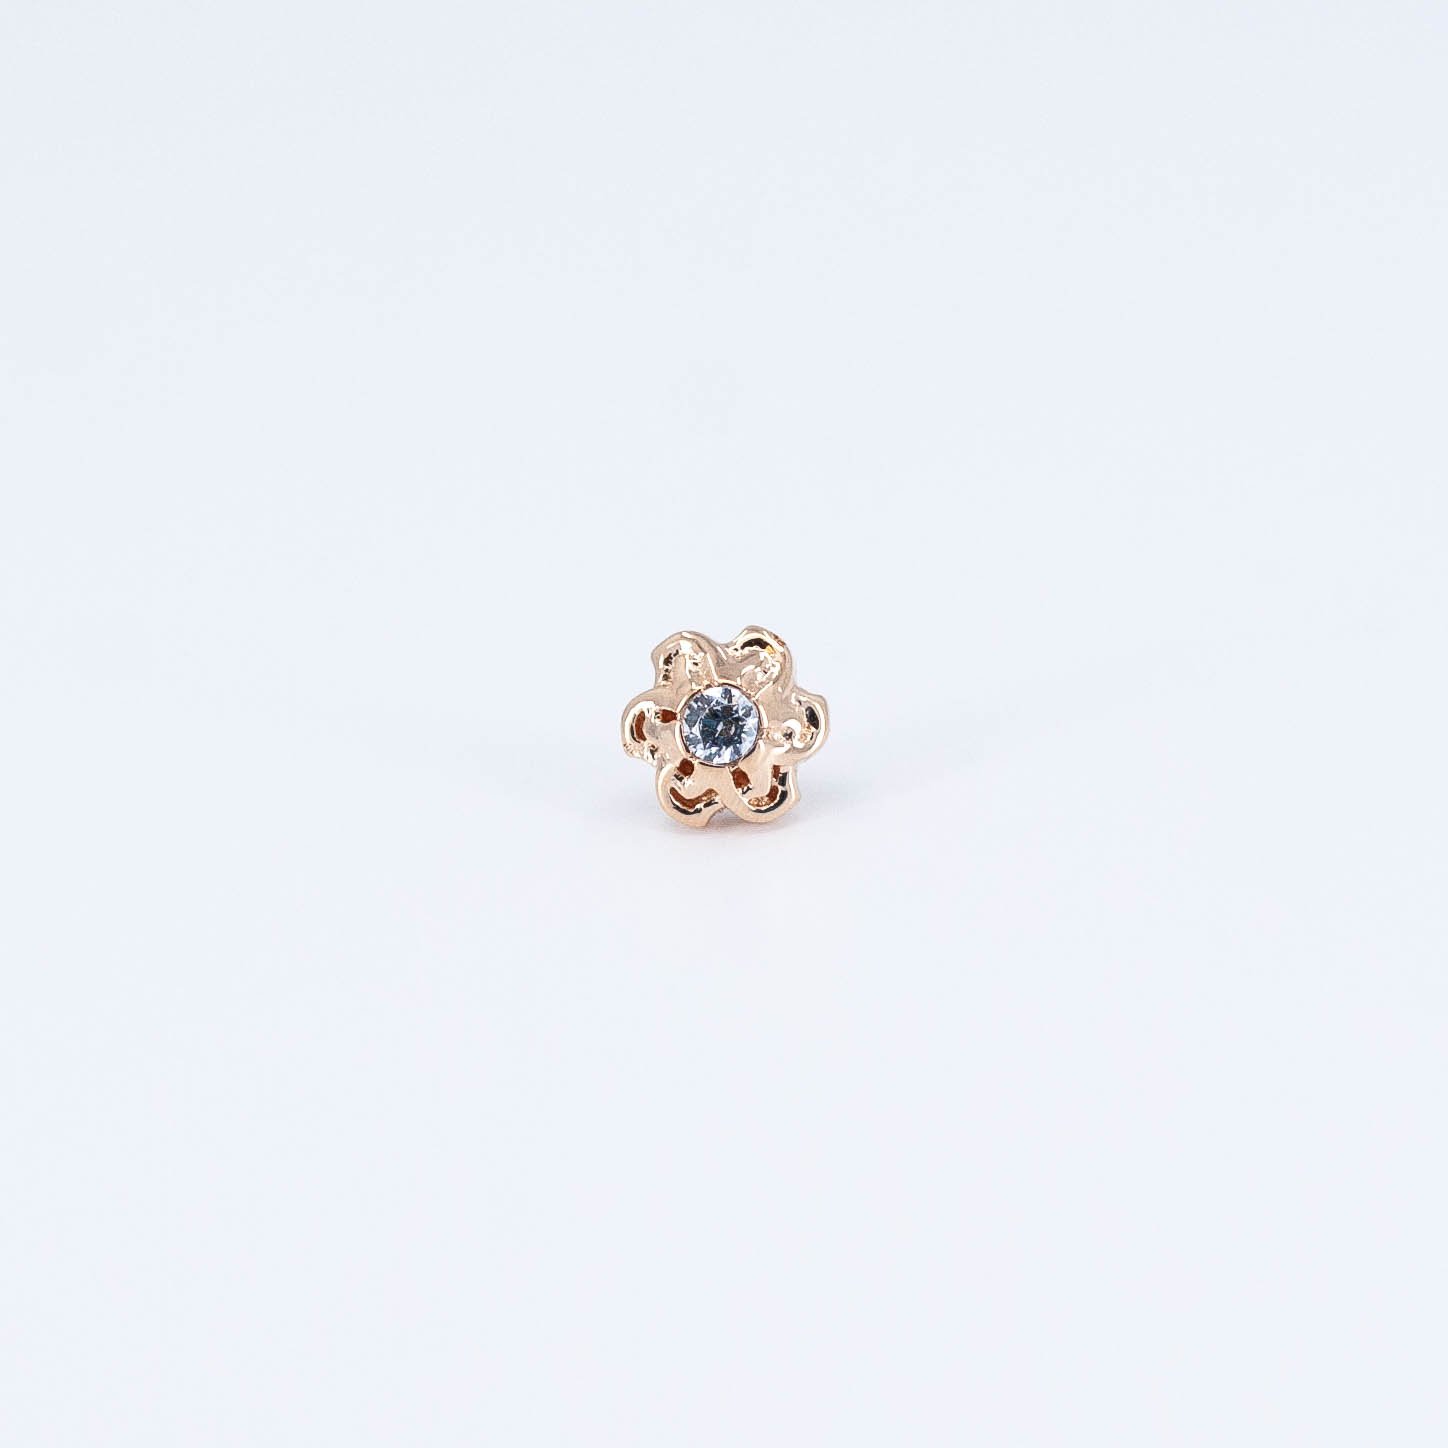
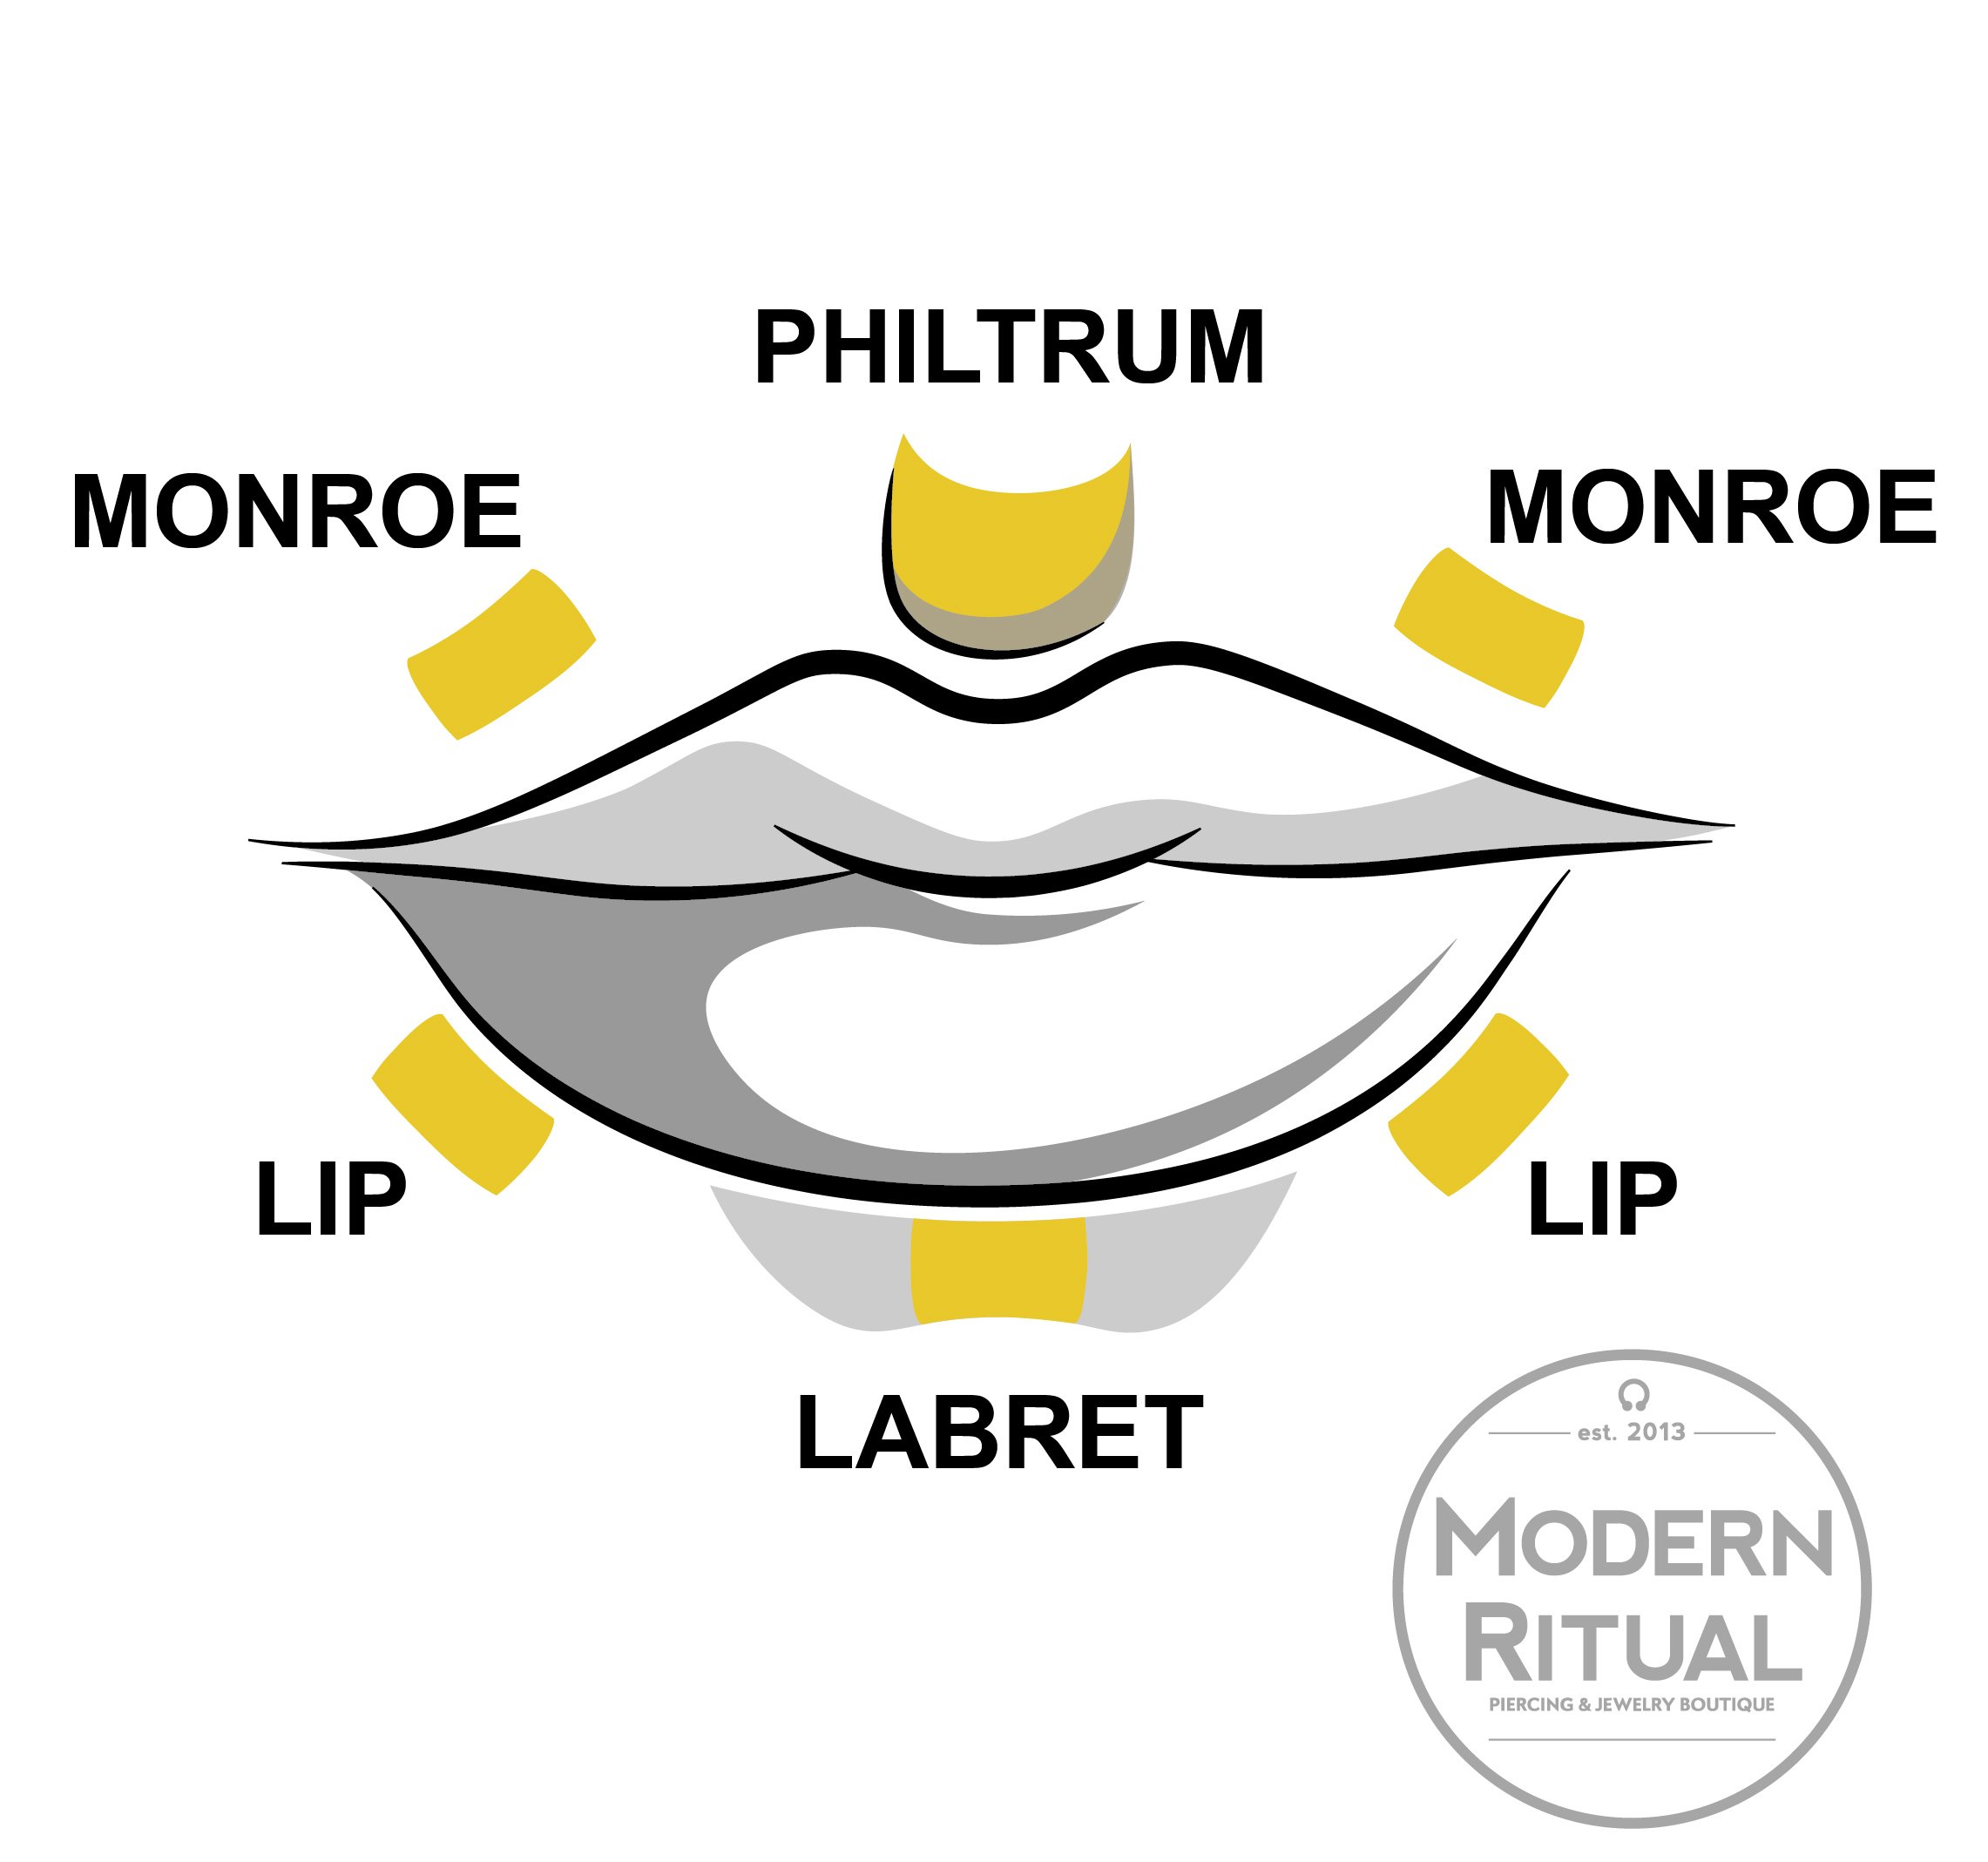
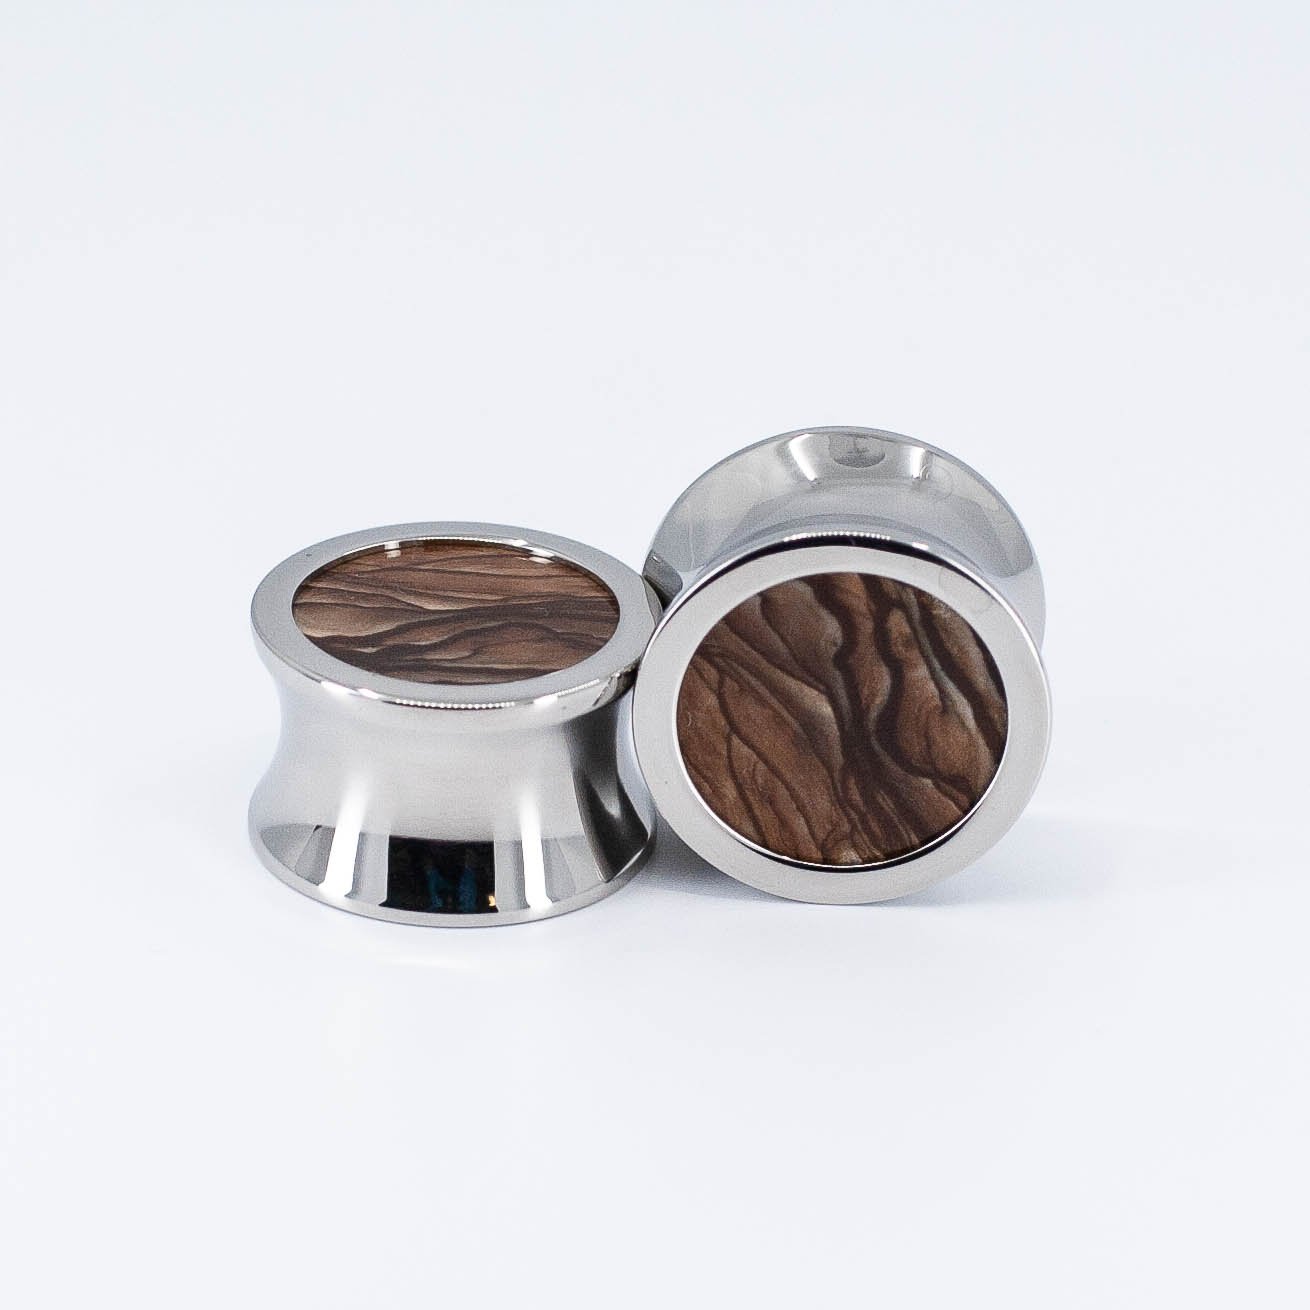
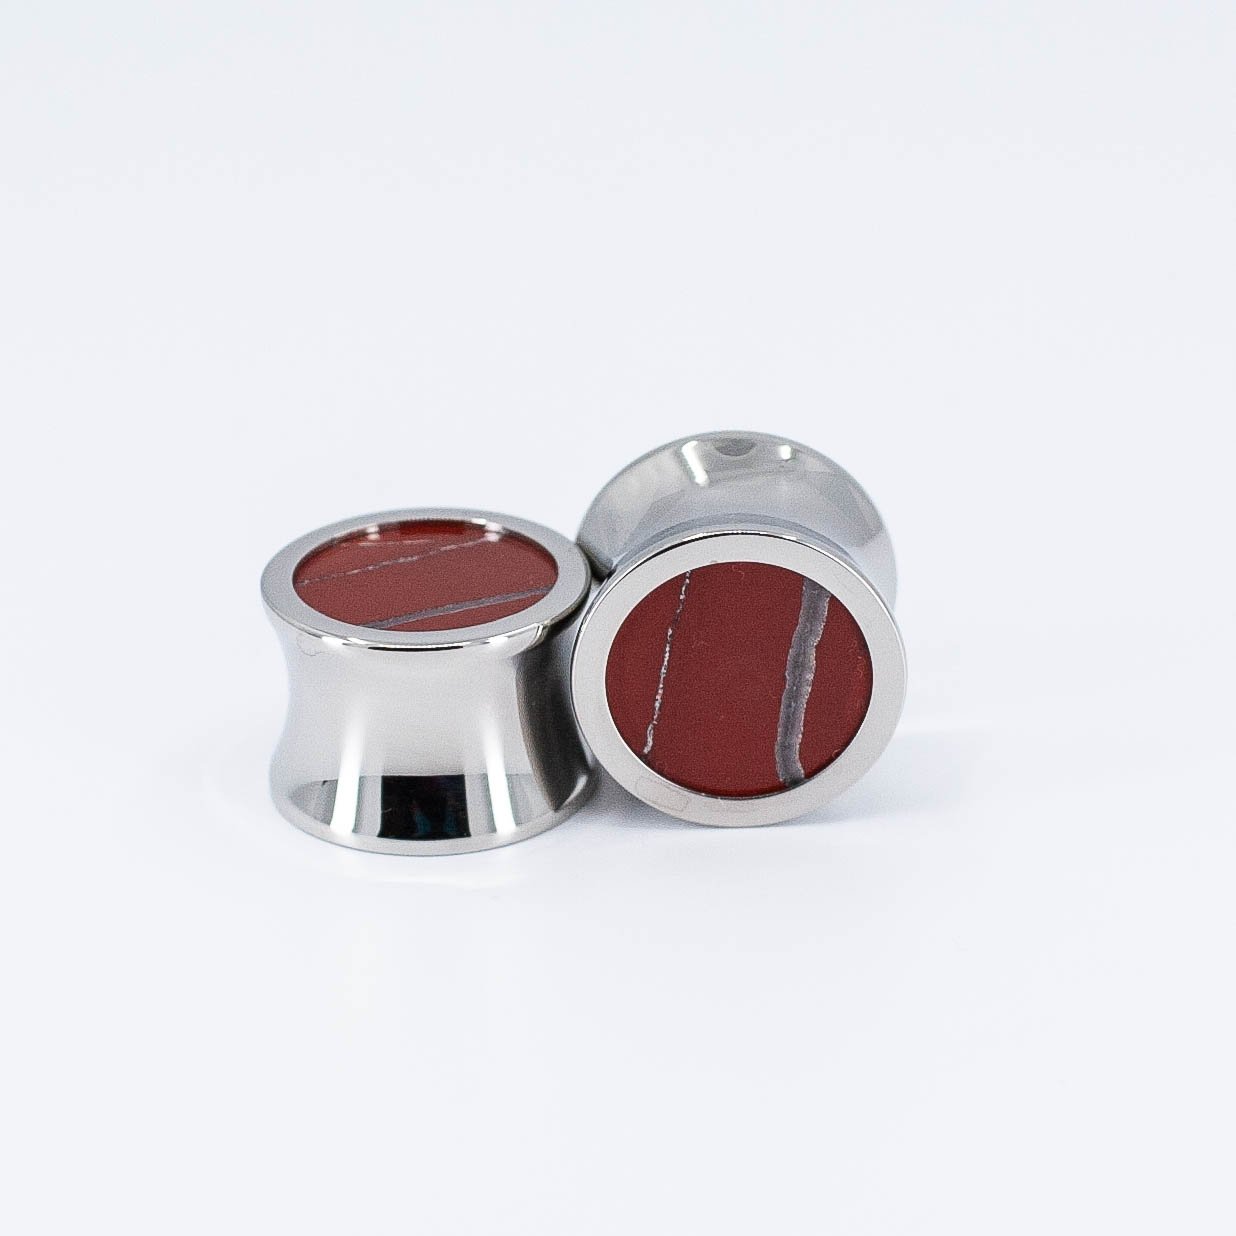
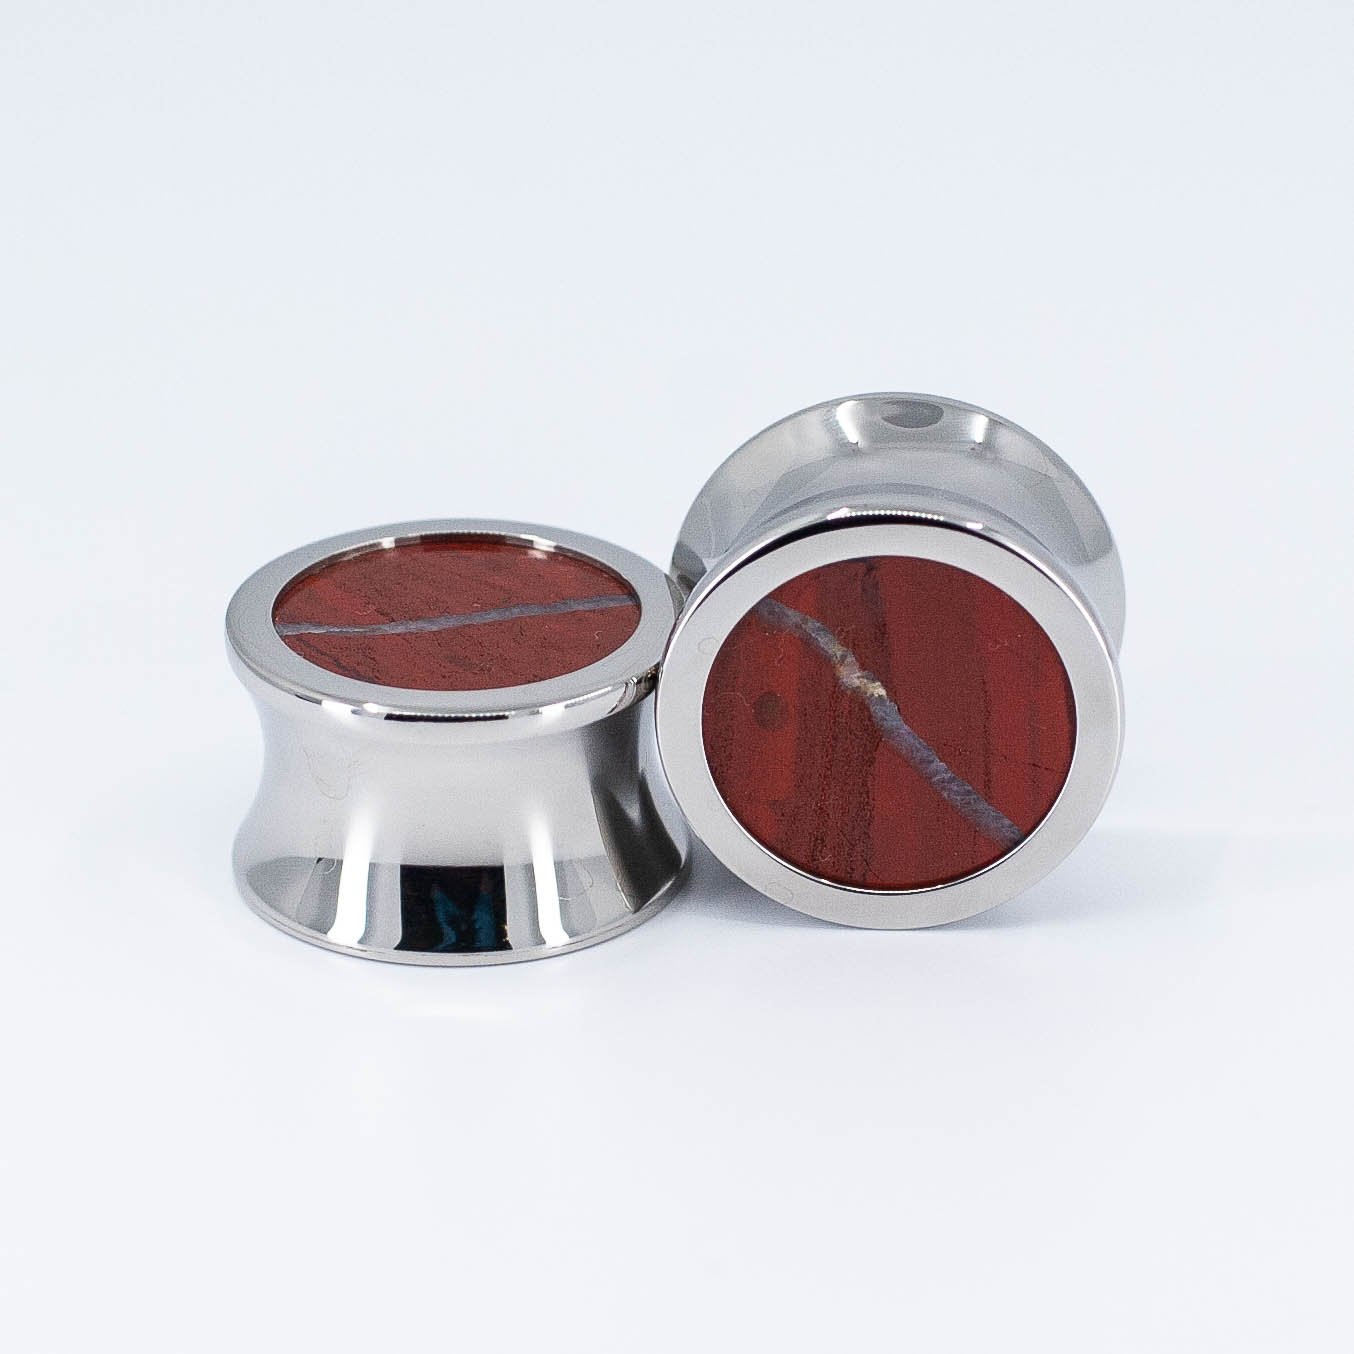
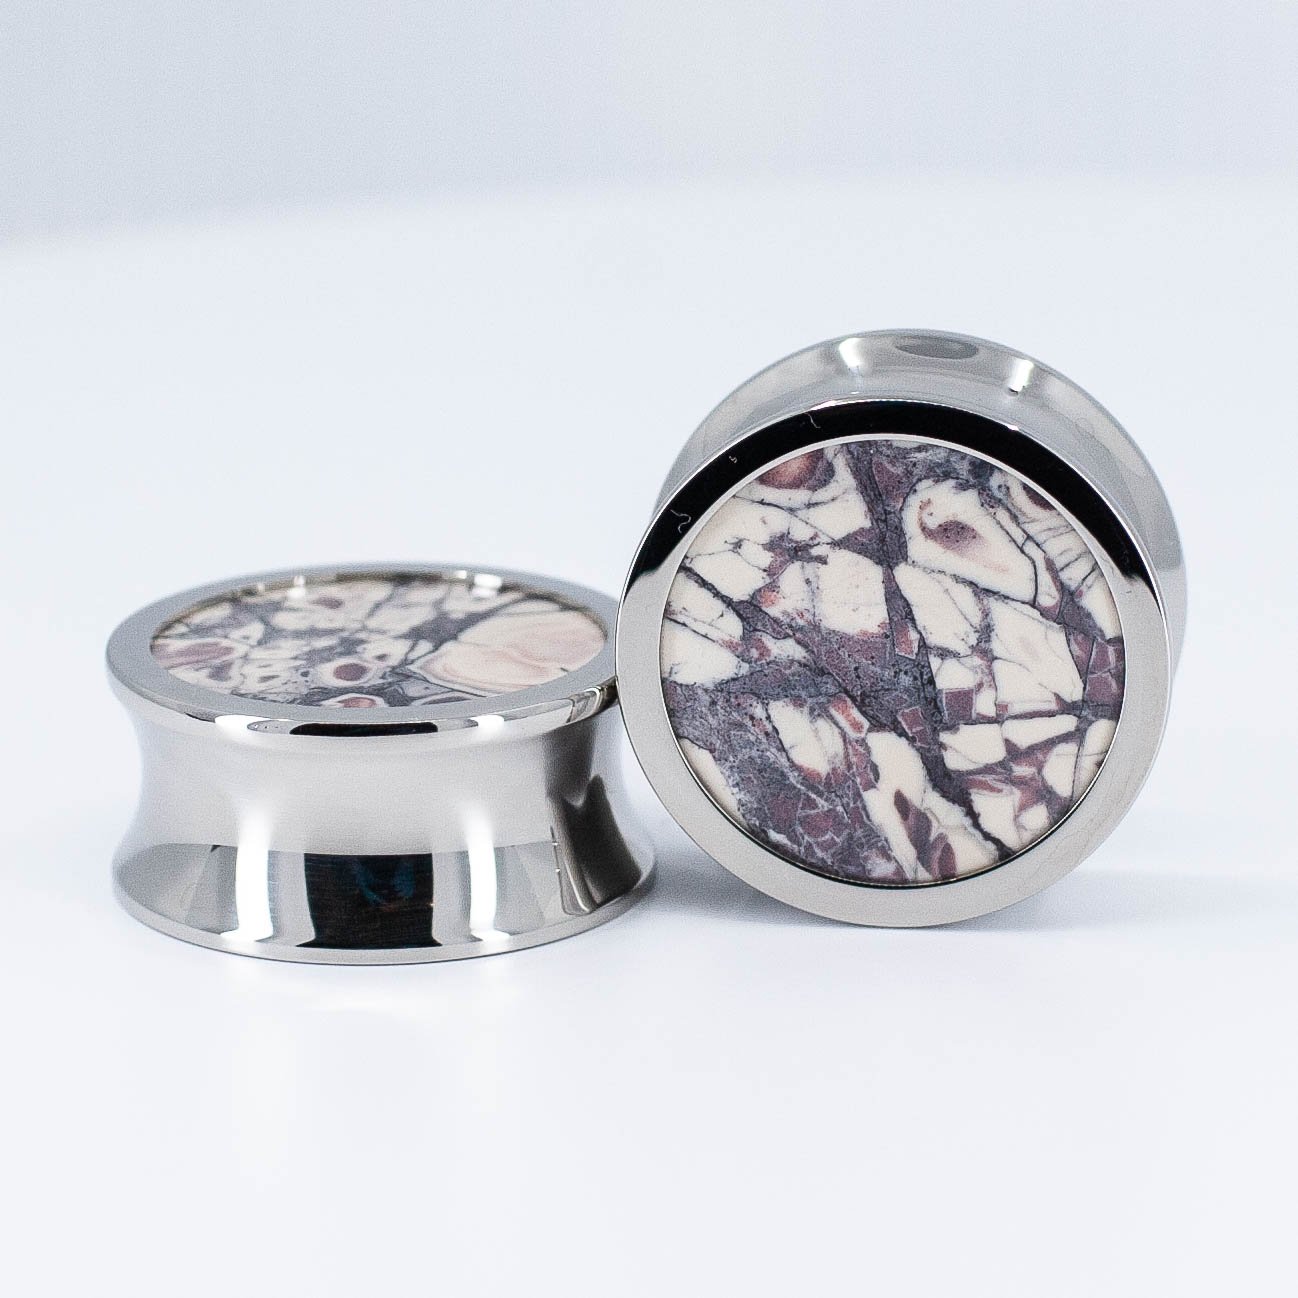
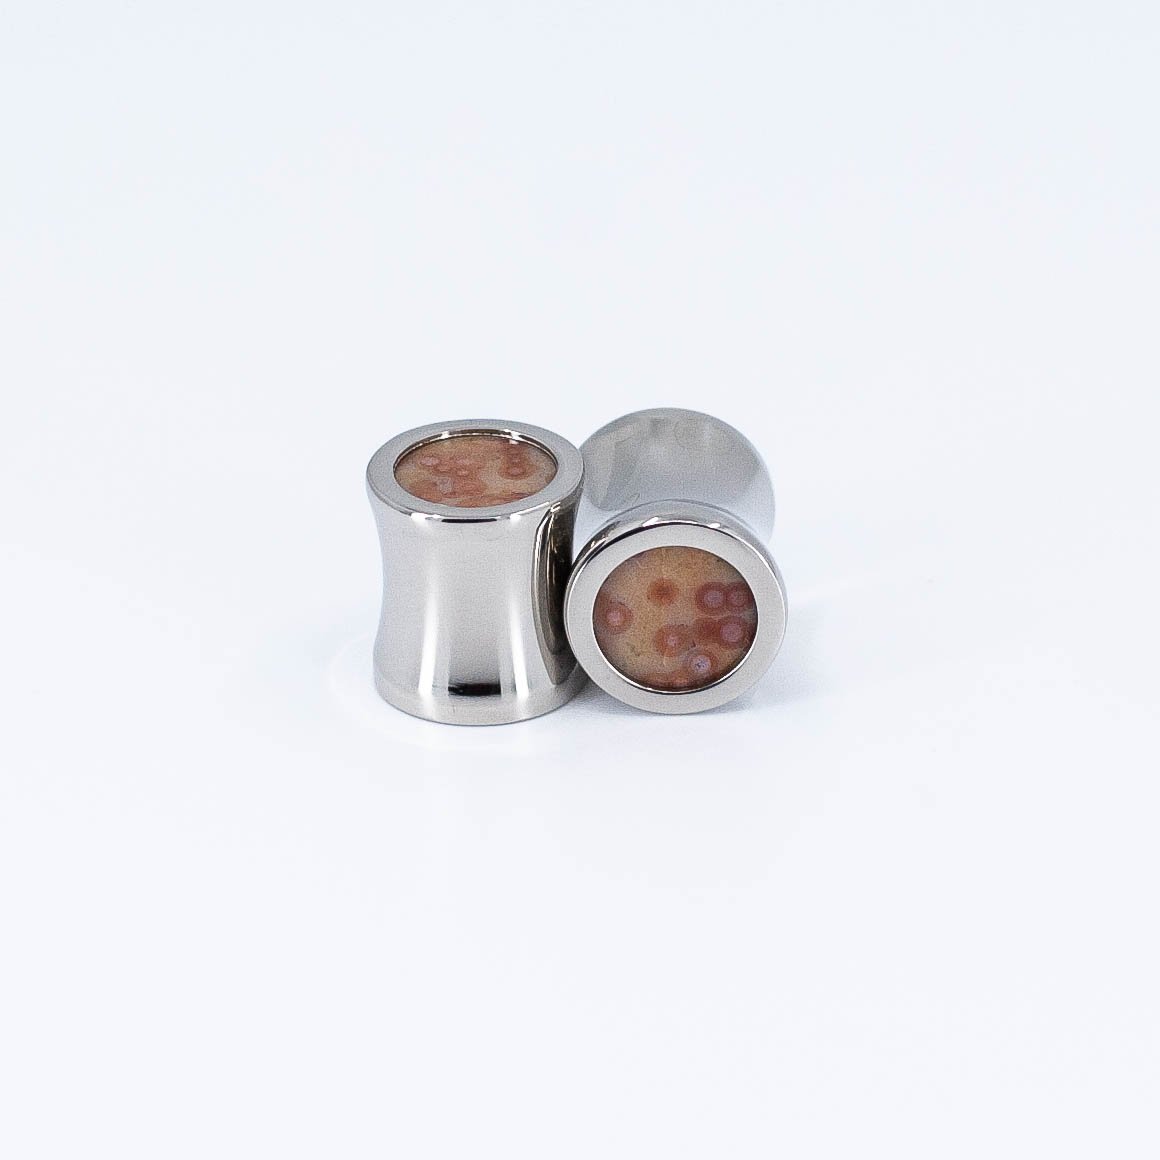
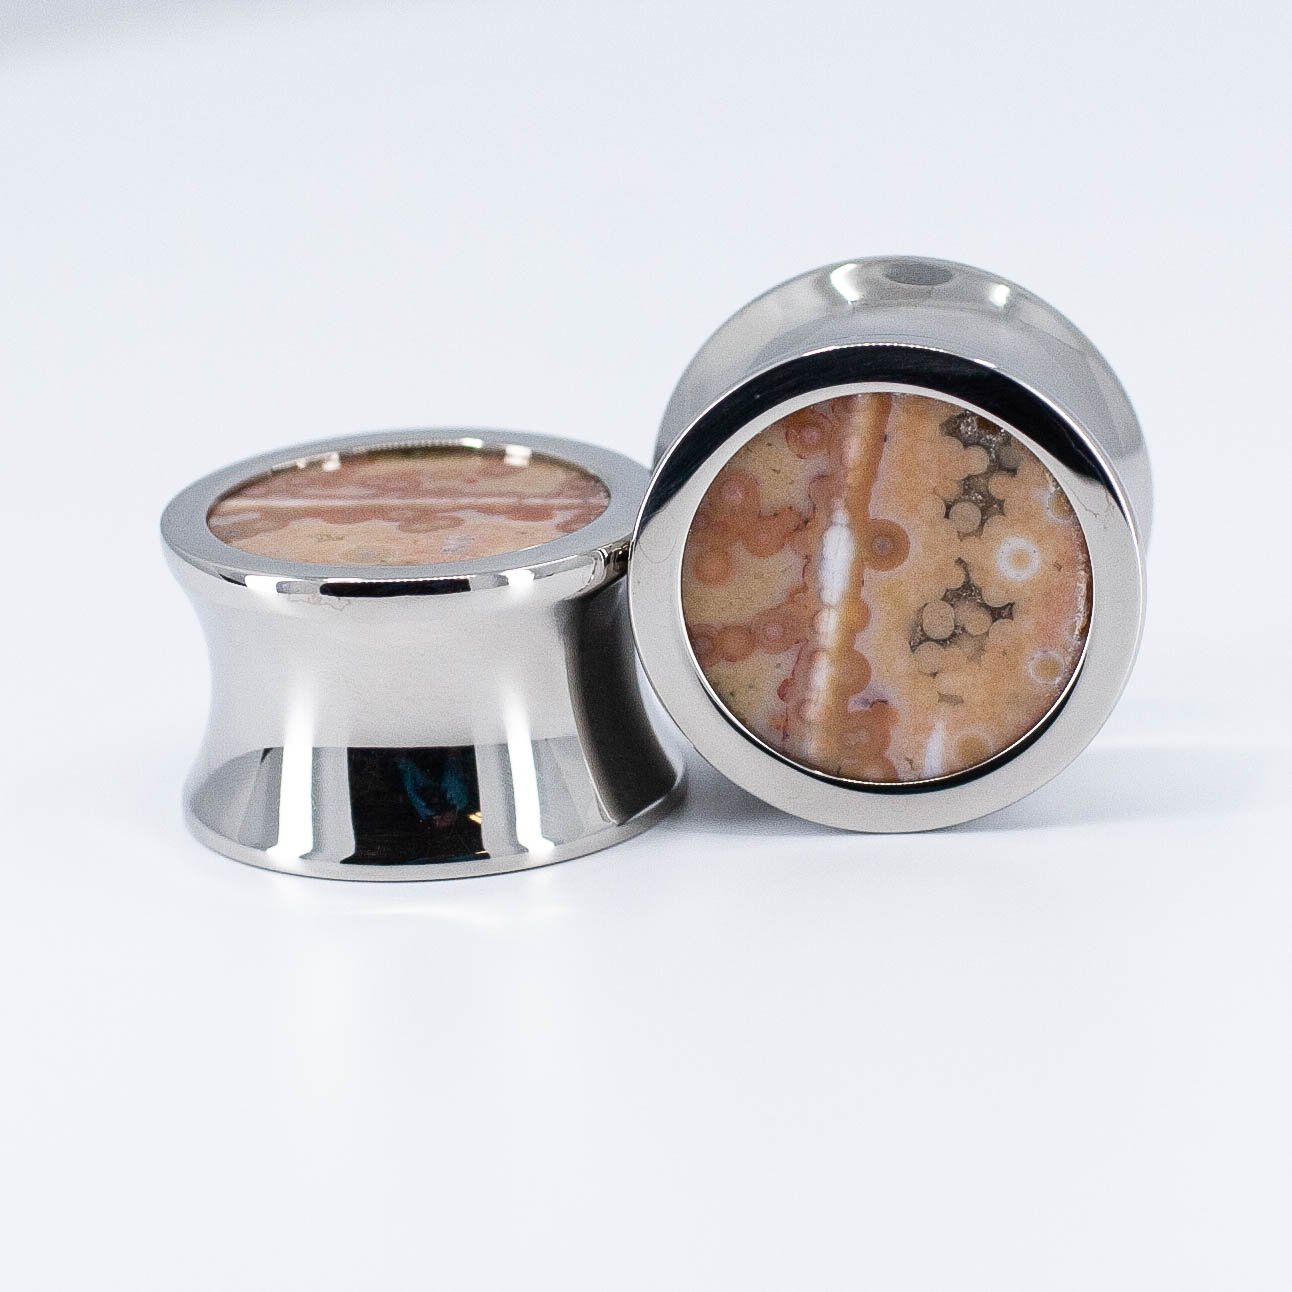
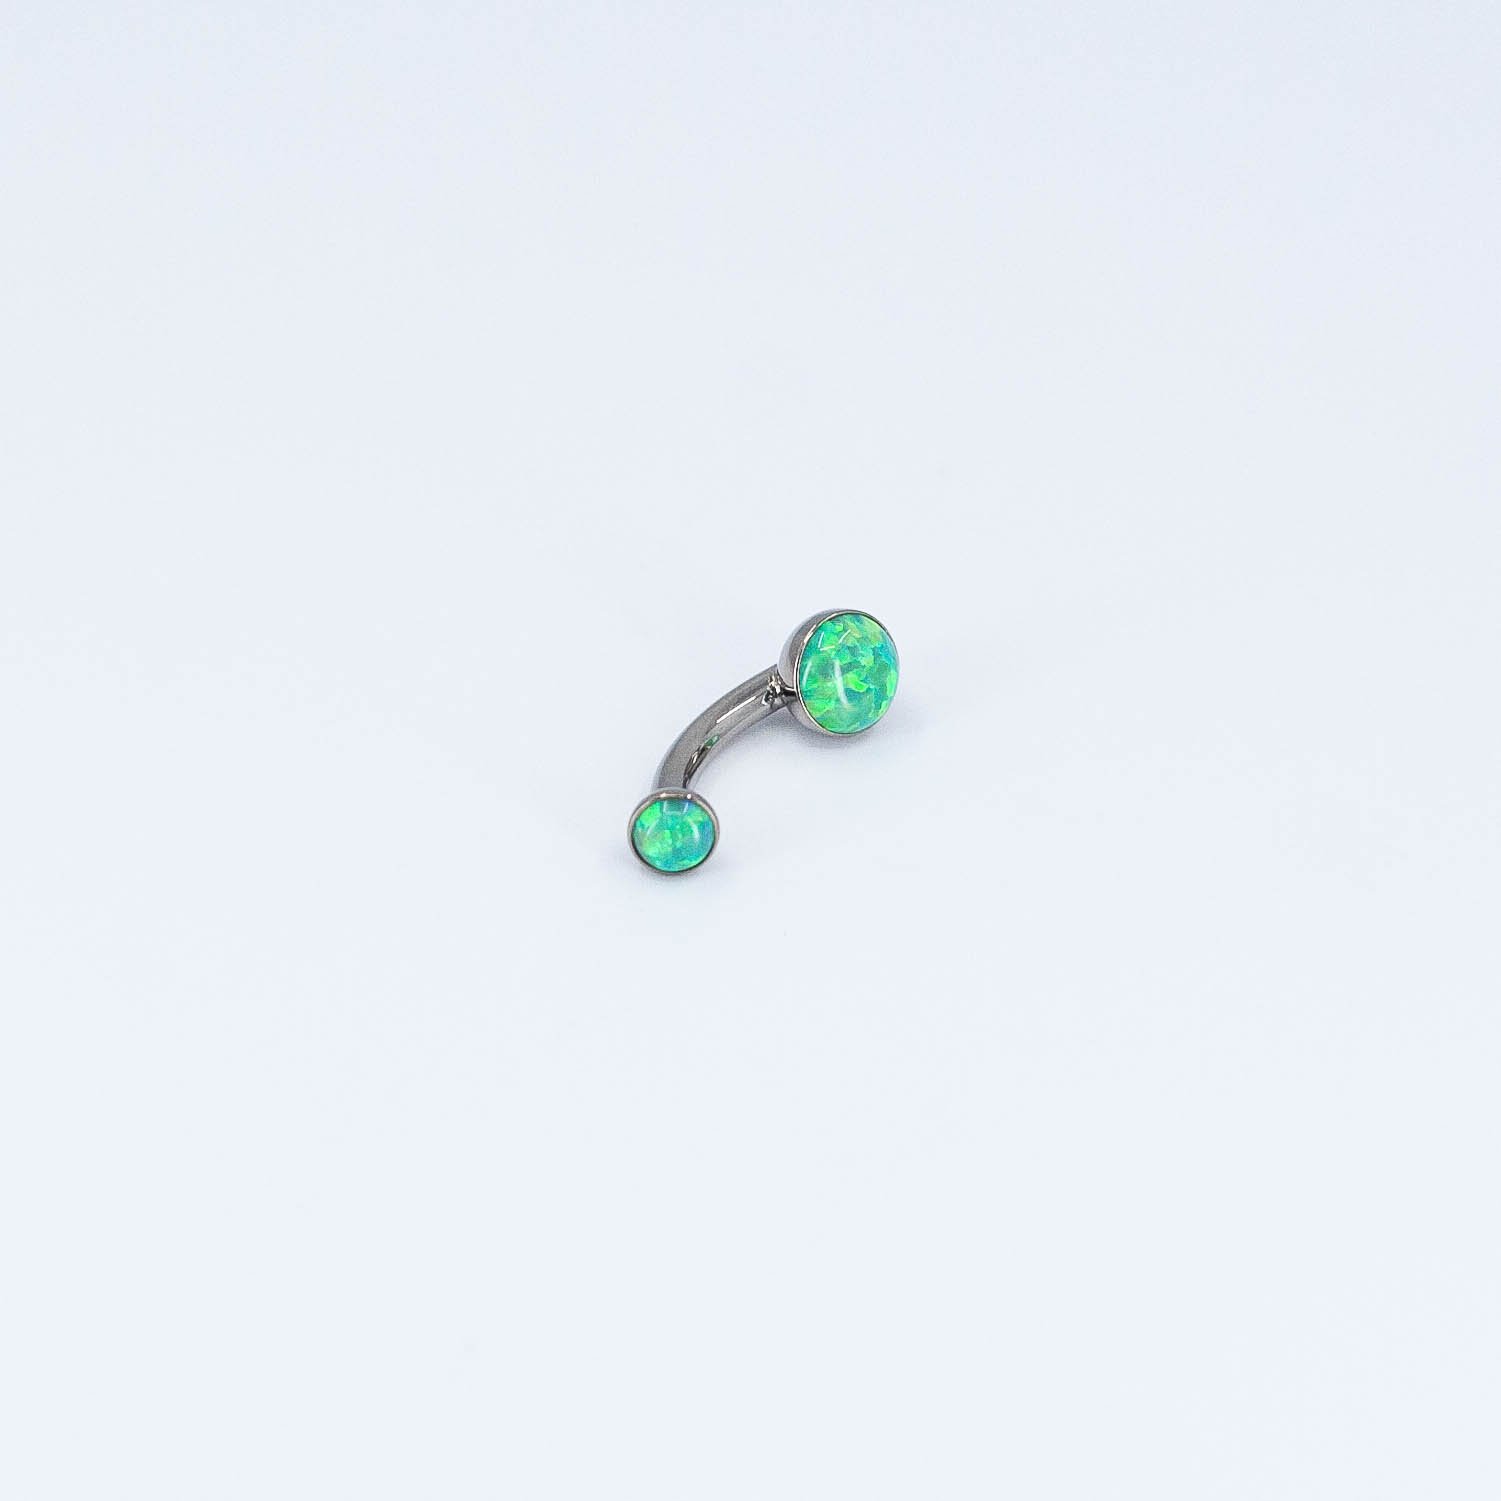
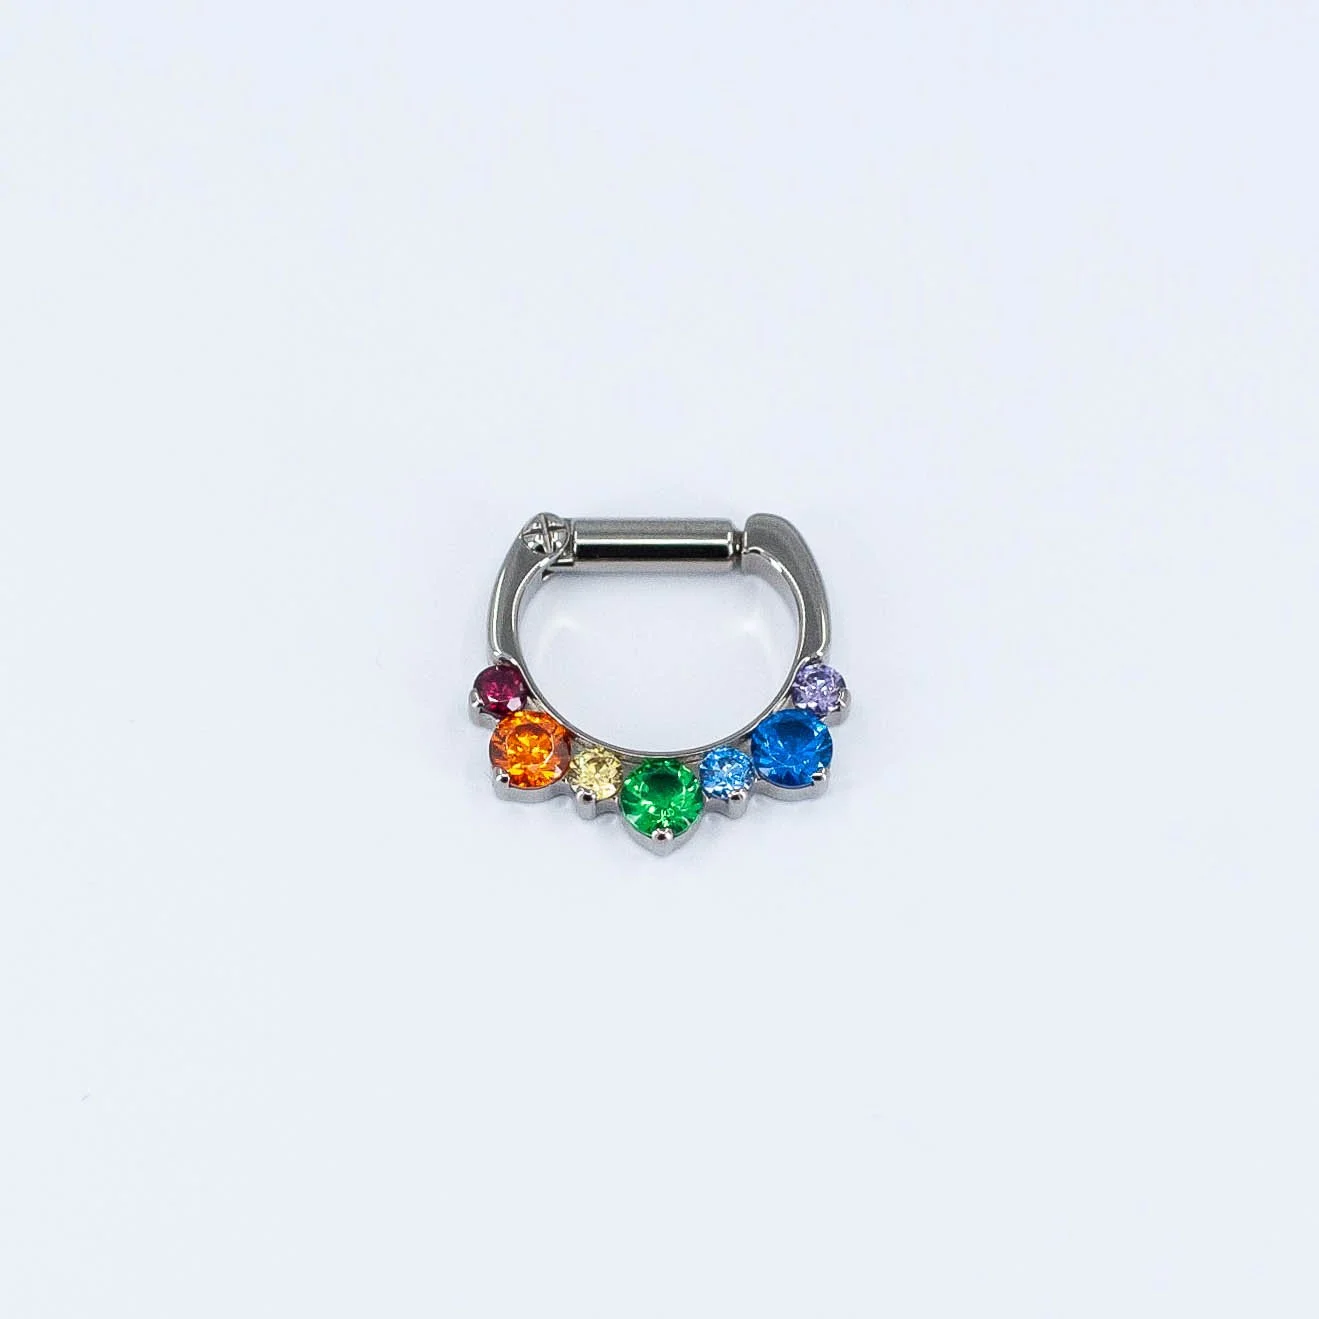
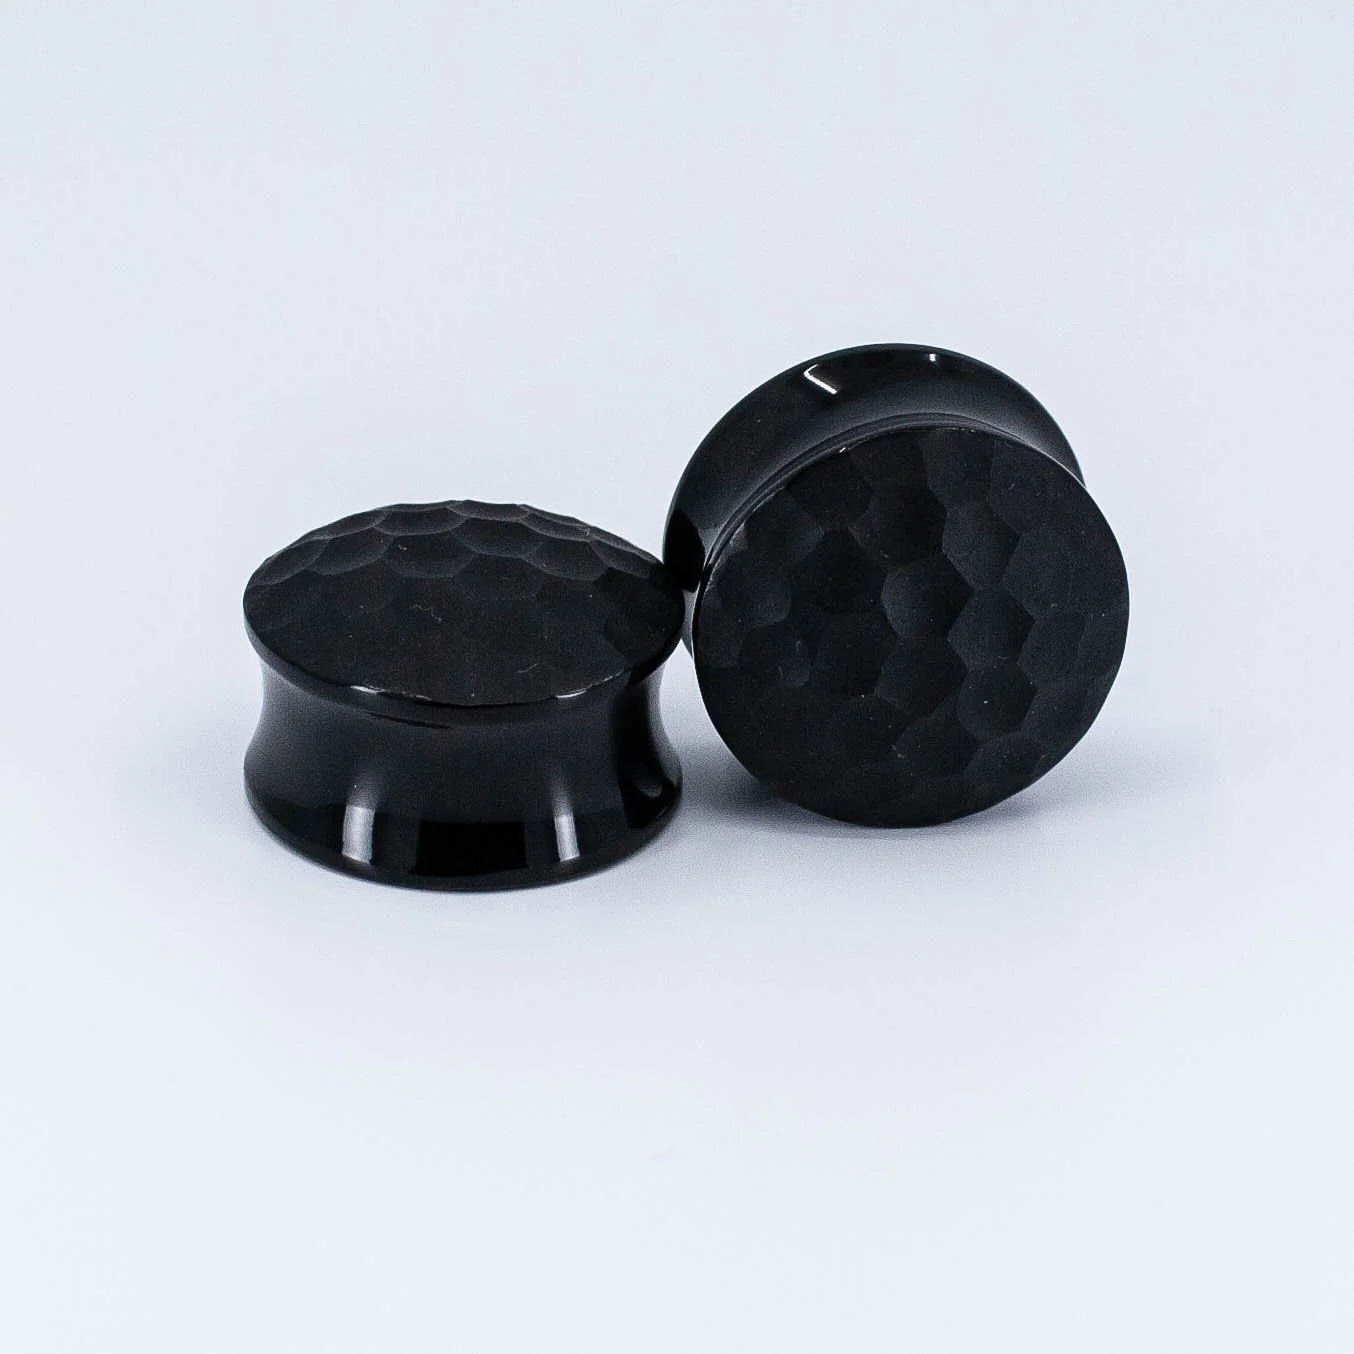
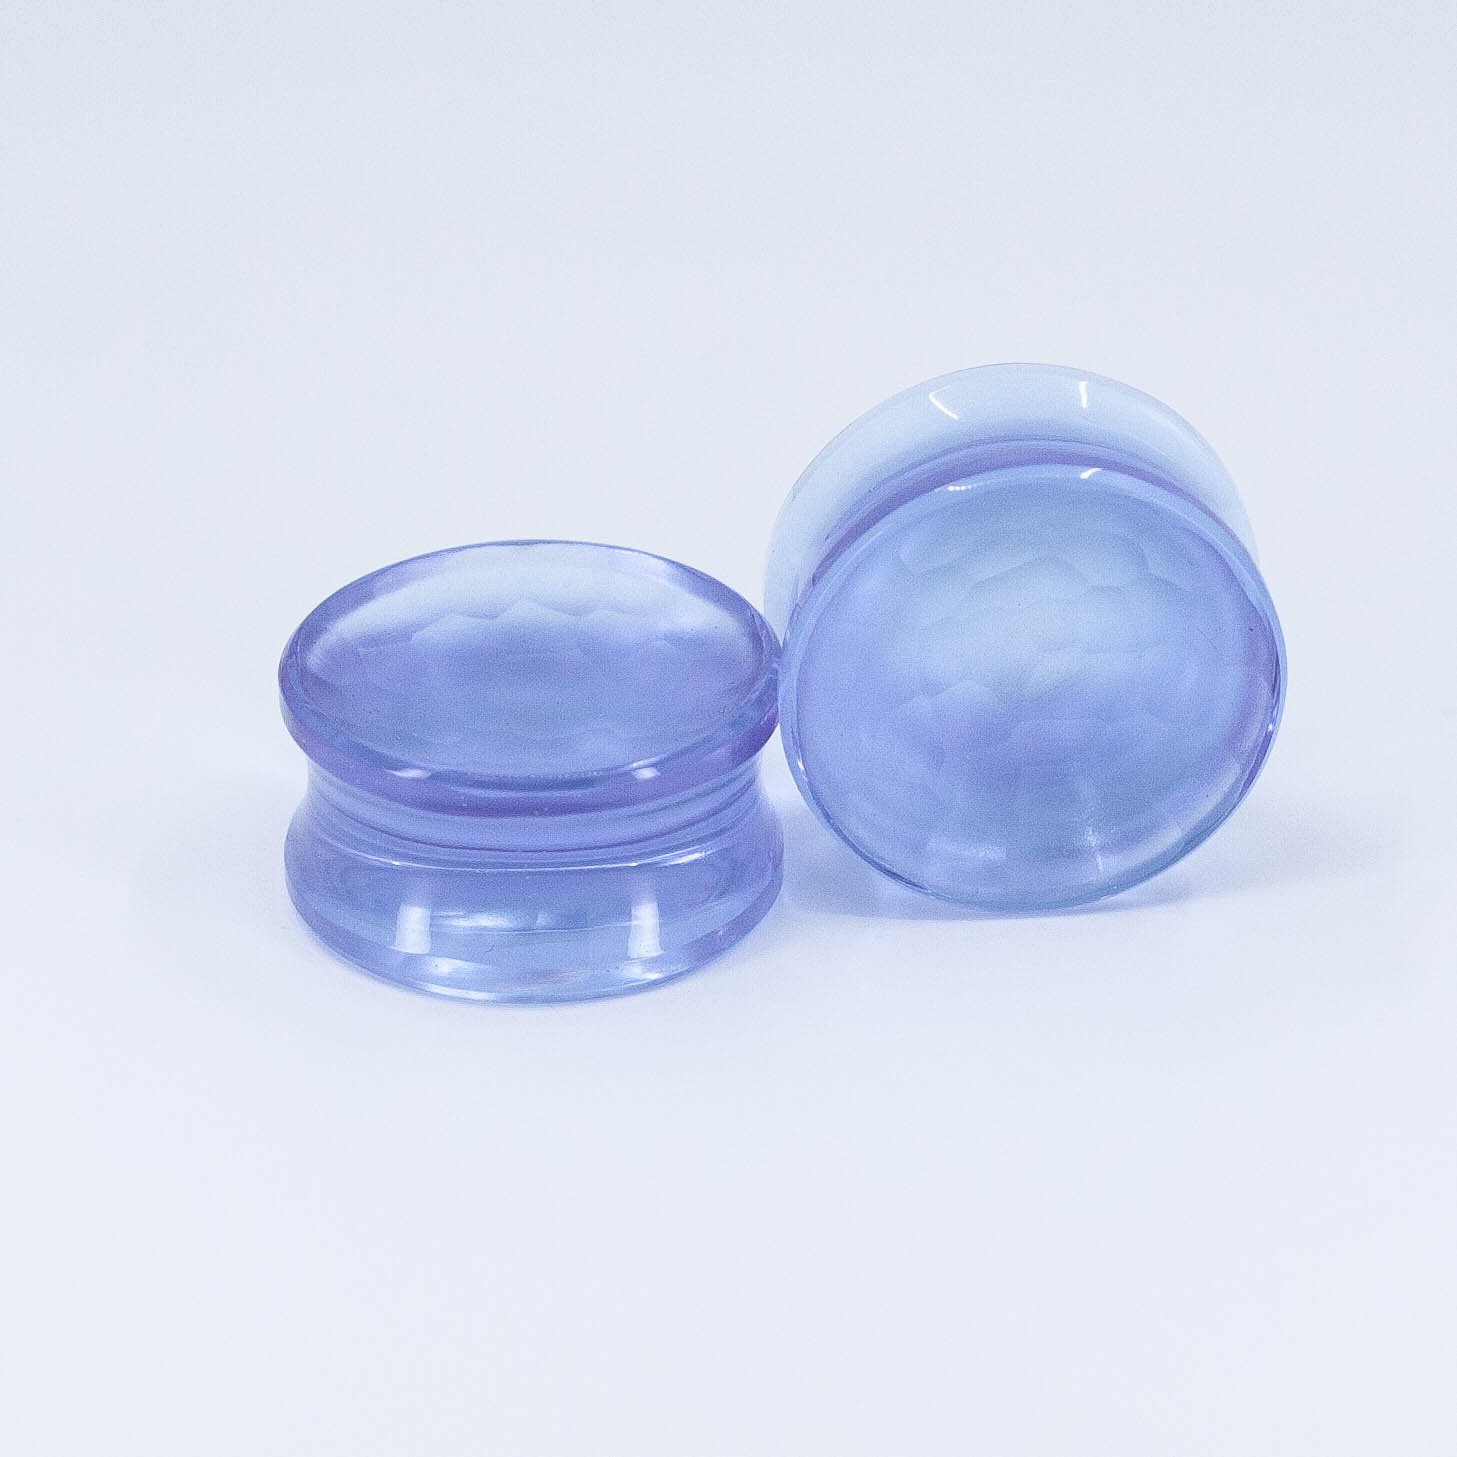
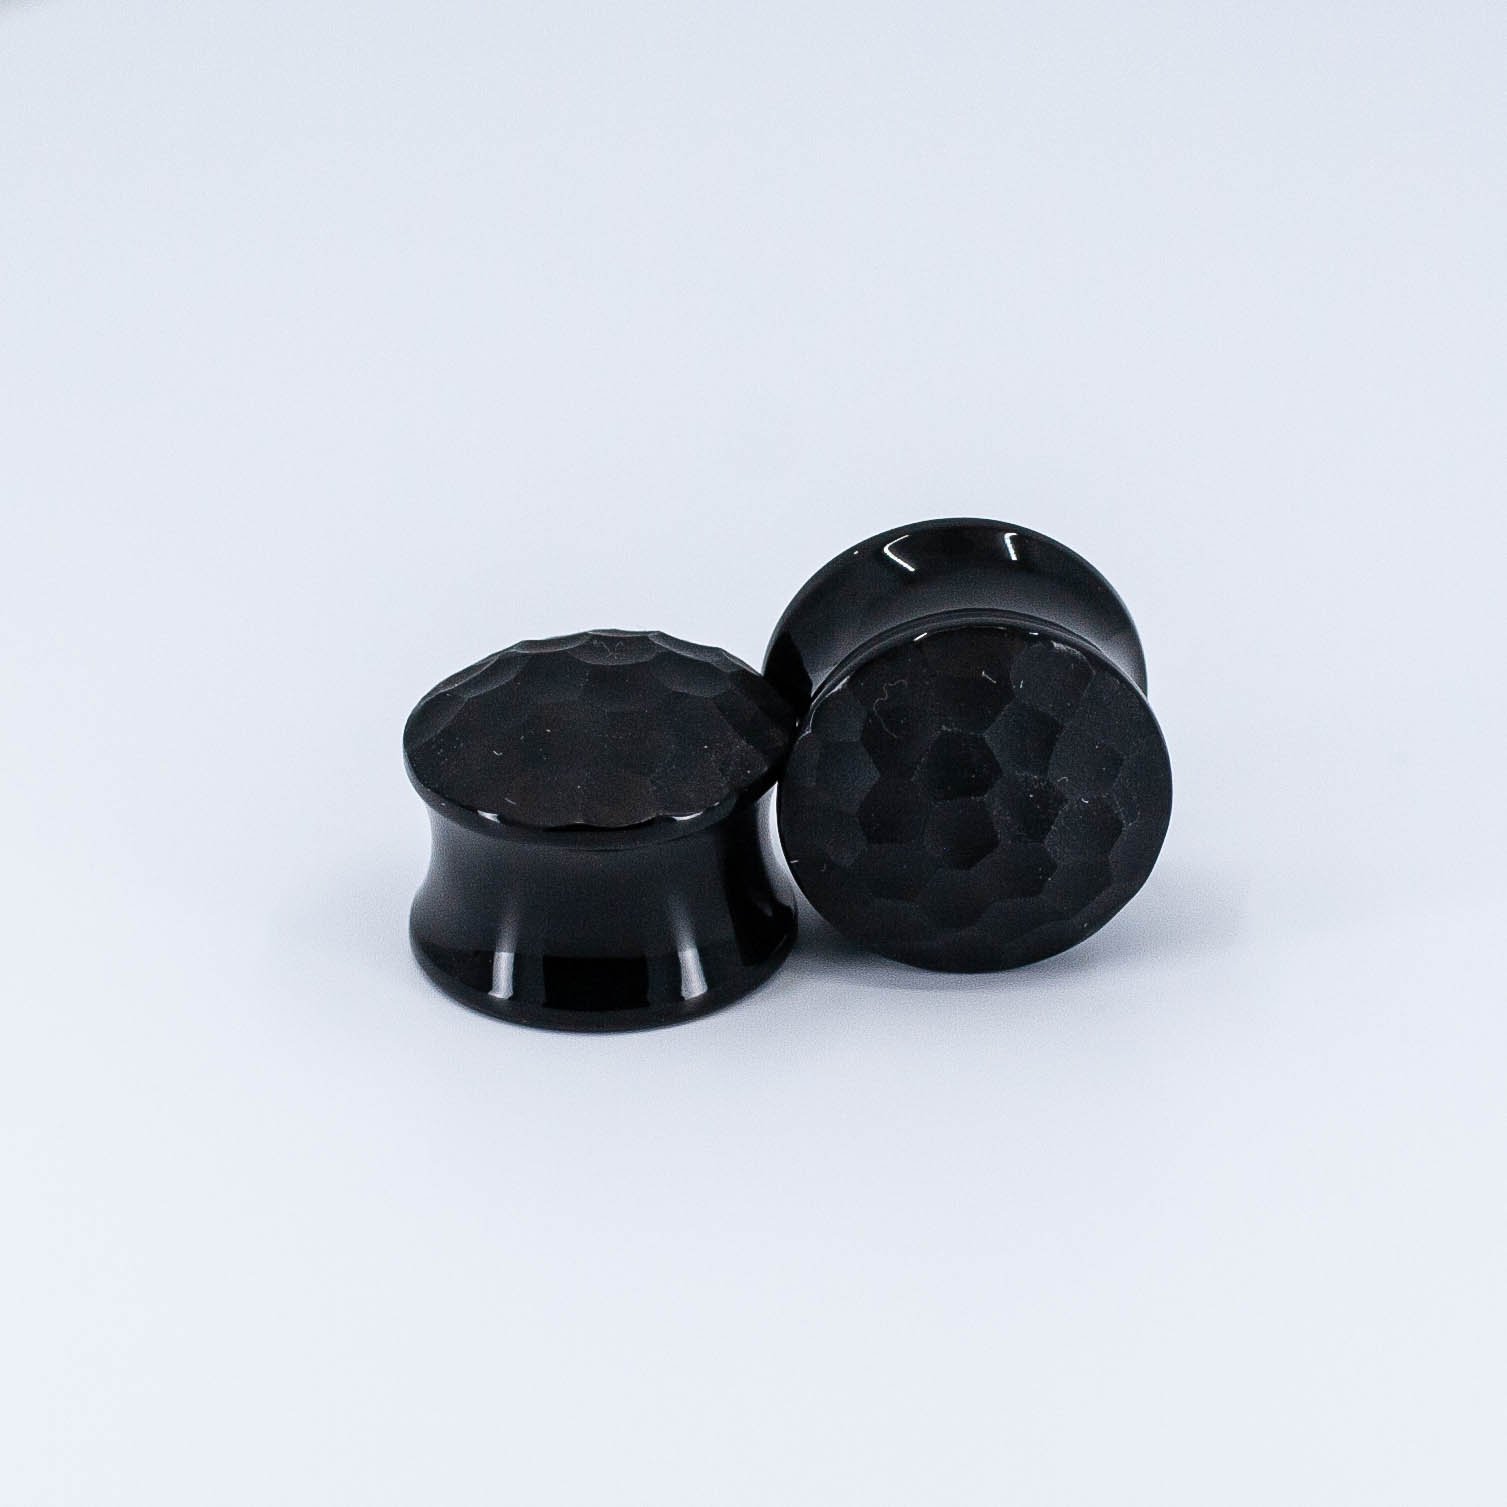
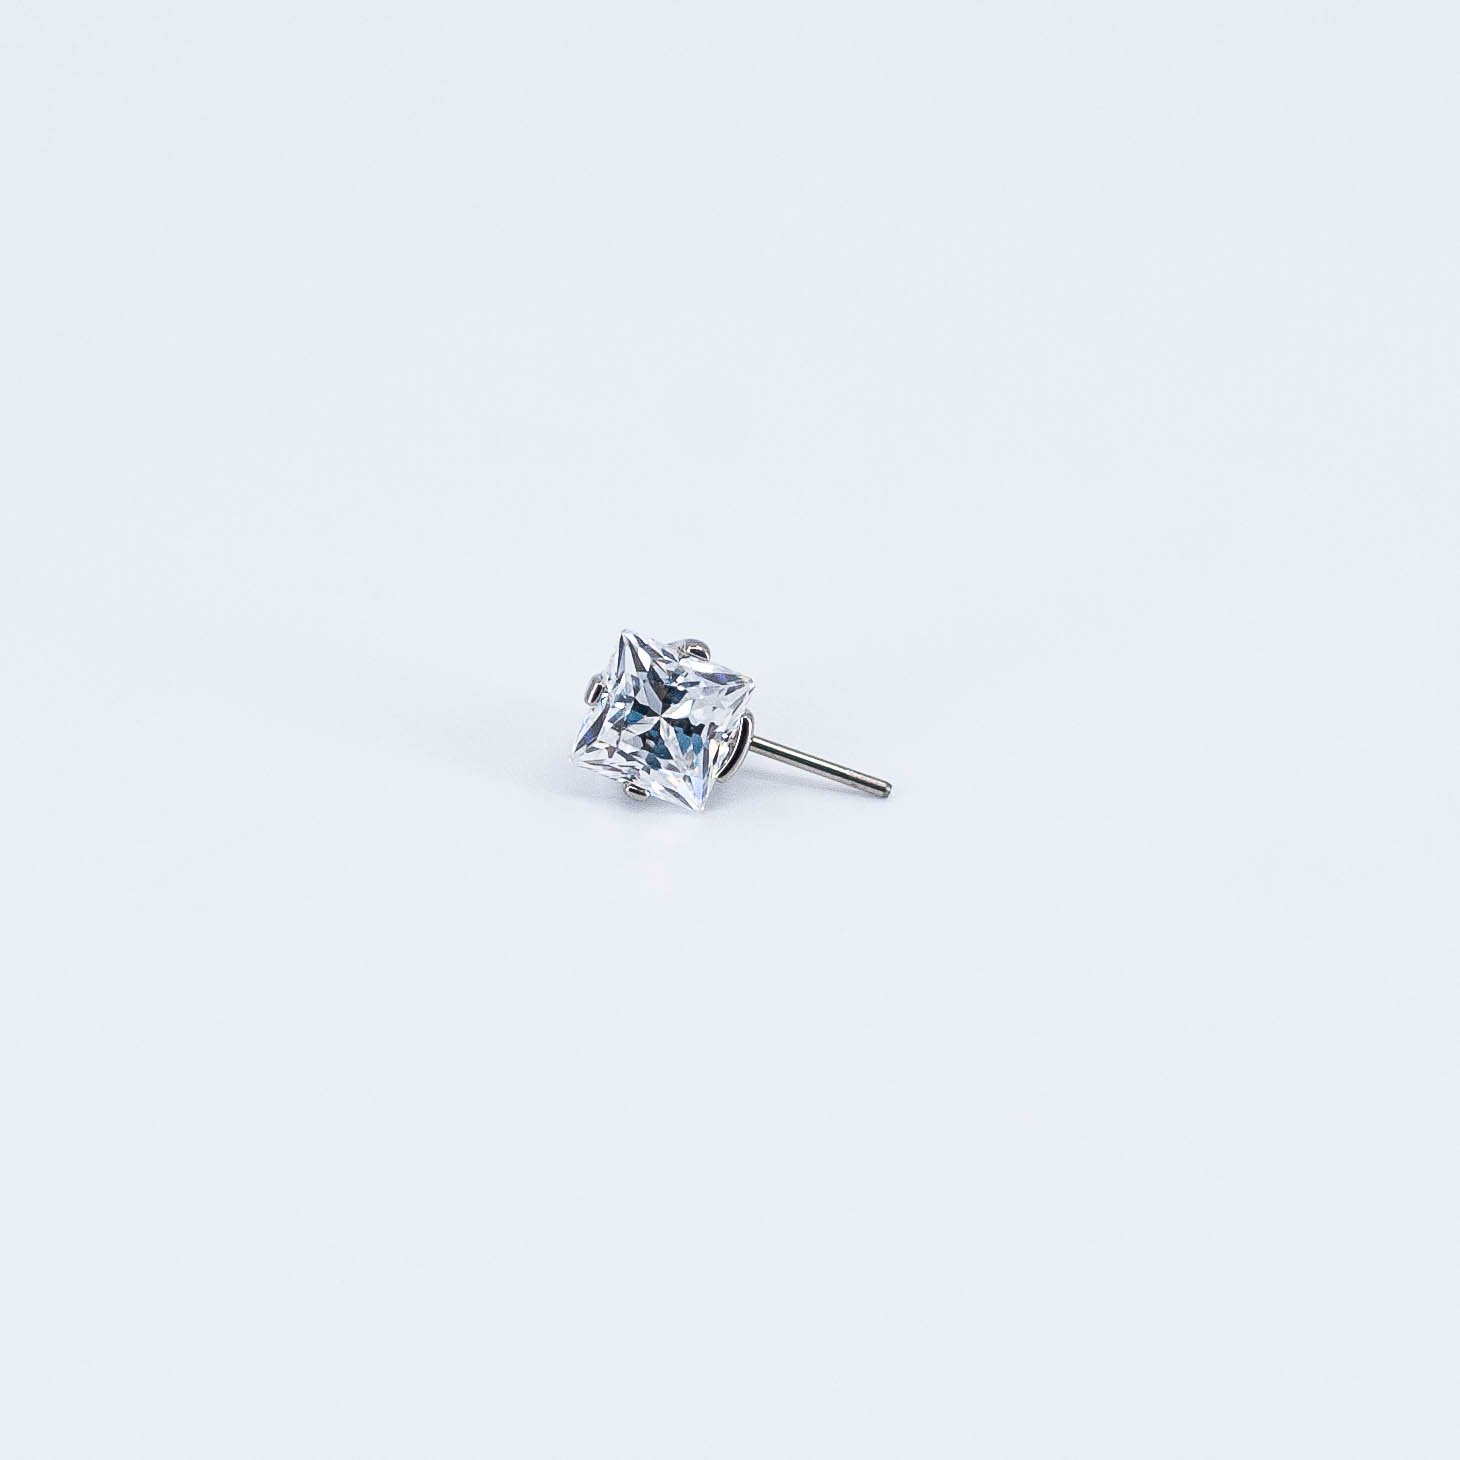
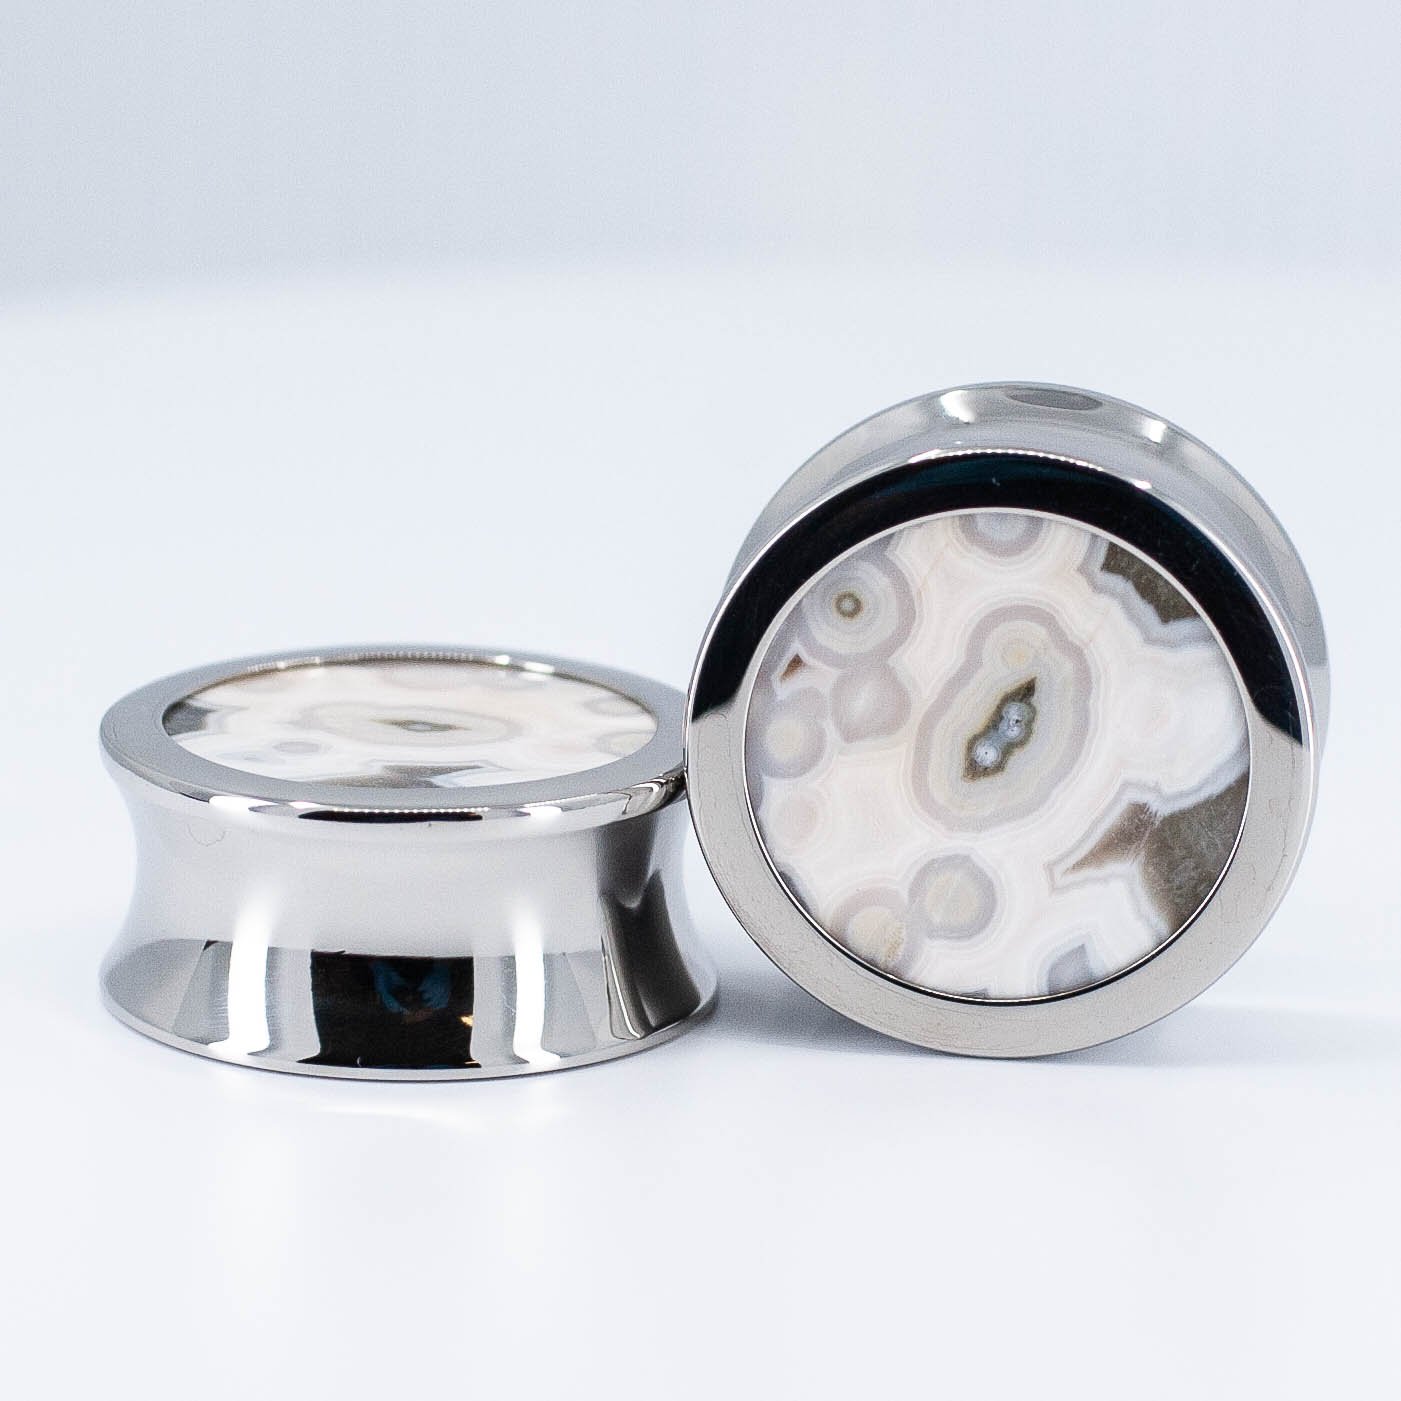
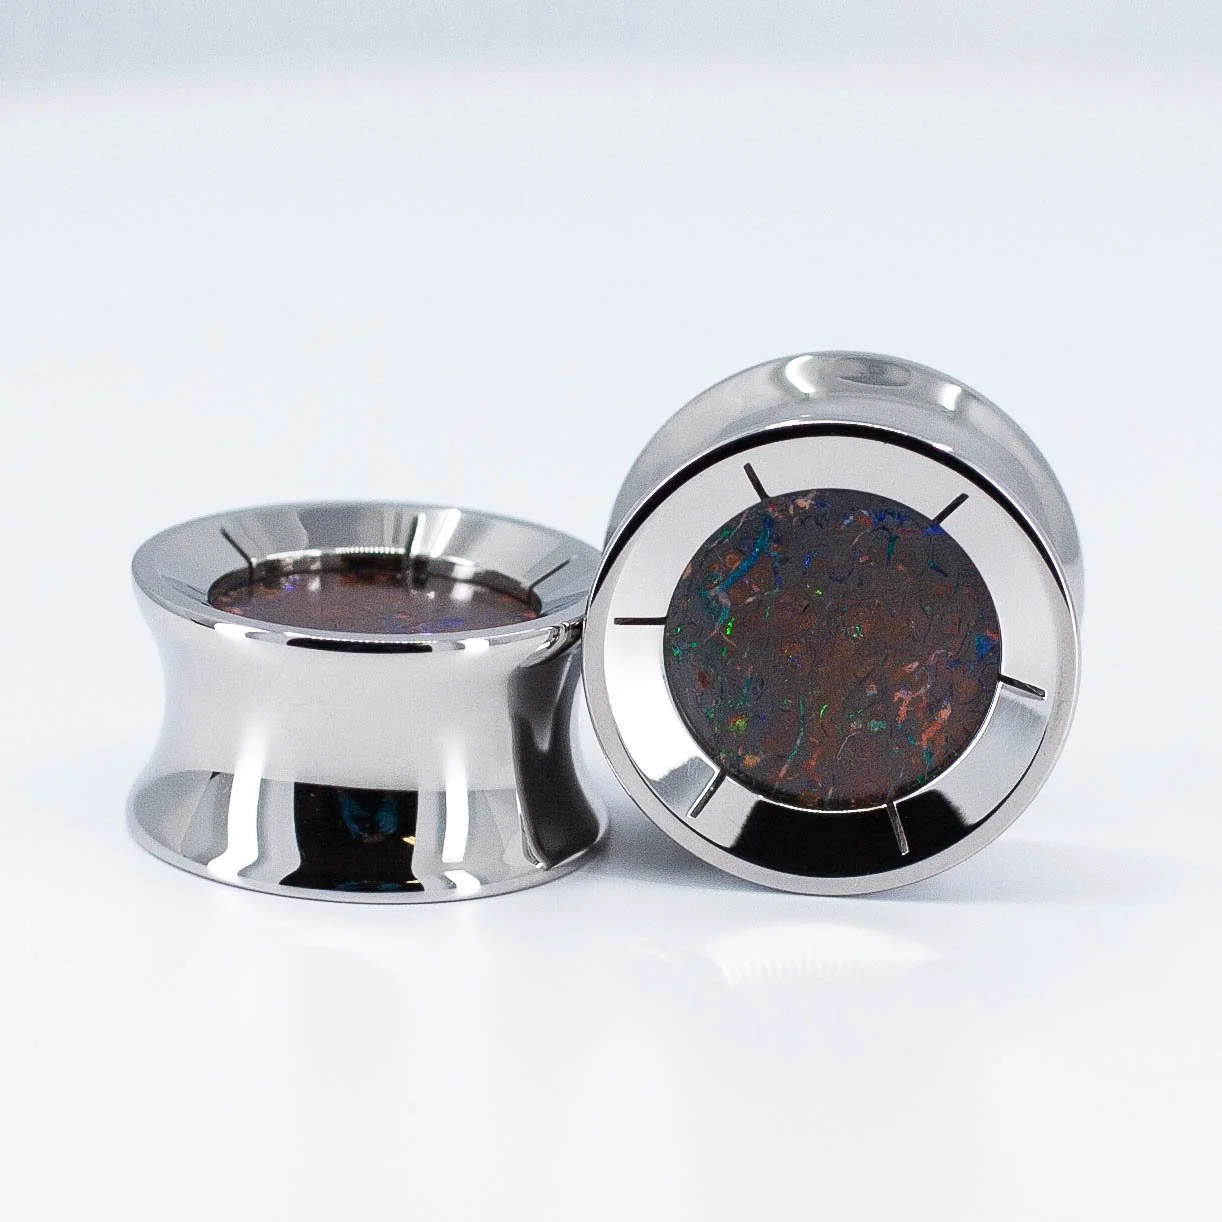
Shop Plugs | Clicker | Chains | Rings | Ends | Hangers & Weights | Coils/Spreaders/Hooks | Gift Certificates | Plugs Clicker Chains Rings Ends Hangers & Weights Coils/Spreaders/Hooks Gift Certificates 3 Gem Fanfare Left - Brown CZ - 18k Yellow Gold - 18g/16g - 6x3.5mm - End - Threadless - Anatometal $165.00 Add To Cart 3 Gem Fanfare Right - Aurora Borealis CZ - 18k Yellow Gold - 18g/16g - 6x3.5mm - End - Threadless - Anatometal $165.00 Add To Cart 3 Gem Fanfare Left - Aurora Borealis CZ - 18k Yellow Gold - 18g/16g - 6x3.5mm - End - Threadless - Anatometal $165.00 Add To Cart Zia - Black CZ - 18k Rose Gold - 18g/16g - 3mm - 2mm - End - Threadless - Anatometal $85.00 Add To Cart Zia - Smoke CZ - 18k White Gold - 18g/16g - 3mm - 2mm - End - Threadless - Anatometal $85.00 Add To Cart Zia - Champagne CZ - 18k White Gold - 18g/16g - 3mm - 2mm - End - Threadless - Anatometal $85.00 Add To Cart Zia - Pistachio CZ - 18k Rose Gold - 18g/16g - 3mm - 2mm - End - Threadless - Anatometal $85.00 Add To Cart Zia - Red CZ - 18k Rose Gold - 18g/16g - 3mm - 2mm - End - Threadless - Anatometal $85.00 Add To Cart Zia - Black CZ - 18k White Gold - 18g/16g - 3mm - 2mm - End - Threadless - Anatometal $85.00 Add To Cart Zia - Amethyst - 18k White Gold - 18g/16g - 3mm - 2mm - End - Threadless - Anatometal $85.00 Add To Cart Zia - Sapphire - 18k Yellow Gold - 18g/16g - 3mm - 2mm - End - Threadless - Anatometal $85.00 Add To Cart Zia - Primrose CZ - 18k Rose Gold - 18g/16g - 3mm - 2mm - End - Threadless - Anatometal $85.00 Add To Cart Zia - Aurora Borealis CZ - 18k White Gold - 18g/16g - 3mm - 2mm - End - Threadless - Anatometal $85.00 Add To Cart Zia - Brown CZ - 18k Yellow Gold - 18g/16g - 3mm - 2mm - End - Threadless - Anatometal $85.00 Add To Cart Zia - Emerald - 18k Yellow Gold - 18g/16g - 3mm - 2mm - End - Threadless - Anatometal $85.00 Add To Cart Zia - Black CZ - 18k Yellow Gold - 18g/16g - 3mm - 2mm - End - Threadless - Anatometal $85.00 Add To Cart Icon - Aurora Borealis, Mint Green - 18k White Gold - 18g/16g - 5x2mm - End - Threadless - Anatometal $130.00 sold out Add To Cart Marquise Prong - Pistachio CZ - 18k Rose Gold - 18g/16g - 2x4mm - End - Threadless - Anatometal $85.00 Add To Cart Sonoma Pear - Tangerine - 18k White Gold - 18g/16g - 4x4.5mm - 3x2mm - End - Threadless - Anatometal $145.00 sold out Add To Cart Cat Moon - 18k Yellow Gold - 18g/16g - 9x5mm - End - Threadless - Anatometal $135.00 sold out Add To Cart Cat Moon - 18k Rose Gold - 18g/16g - 9x5mm - End - Threadless - Anatometal $135.00 Add To Cart Olivia - White CZ - 18k Yellow Gold - 18g/16g - 10x5mm - End - Threadless - Anatometal $200.00 Add To Cart Zia - Peridot Cab - 18k Yellow Gold - 18g/16g - 4mm - 3mm - End - Threadless - Anatometal $105.00 Add To Cart 3 Gem Mini Marquise Fan - Sapphire - 18k Yellow Gold - 18g/16g - 6x4mm - End - Threadless - Anatometal $150.00 Add To Cart Marquise Bezel - White CZ - 18k Rose Gold - 18g/16g - 4.5x2.5mm - End - Threadless - Anatometal $90.00 Add To Cart Marquise Bezel - White CZ - 18k Yellow Gold - 18g/16g - 4.5x2.5mm - End - Threadless - Anatometal $90.00 Add To Cart Adina - White CZ - 18k White Gold - 18g/16g - 7mm - 3x1.5mm - End - Threadless - Anatometal $315.00 Add To Cart 2 Gem Navel Curve - 12g - Aqua CZ - 3/8" - 6mm, 4mm - Titanium - Navel - Industrial Strength $90.00 sold out Add To Cart 2 Gem Navel Curve - 12g - Purple Opal - 3/8" - 6mm, 4mm - Titanium - Navel - Industrial Strength $90.00 Add To Cart 2 Gem Navel Curve - 12g - Pink Opal - 3/8" - 6mm, 4mm - Titanium - Navel - Industrial Strength $90.00 Add To Cart 2 Gem Navel Curve - 12g - Black CZ - 3/8" - 6mm, 4mm - Titanium - Bezel - Navel - Industrial Strength $90.00 Add To Cart 2 Gem Navel Curve - 12g - Black Opal - 3/8" - 6mm, 4mm - Titanium - Navel - Industrial Strength $90.00 Add To Cart 2 Gem Navel Curve - 12g - Black CZ - 3/8" - 6mm, 4mm - Titanium - Prong - Navel - Industrial Strength $90.00 Add To Cart 2 Gem Navel Curve - 12g - Garnet - 3/8" - 6mm, 4mm - Titanium - Navel - Industrial Strength $90.00 Add To Cart 2 Gem Navel Curve - 12g - Kiwi Opal - 3/8" - 6mm, 4mm - Titanium - Navel - Industrial Strength $90.00 sold out Add To Cart 2 Gem Navel Curve - 12g - Azure Opal - 3/8" - 6mm, 4mm - Titanium - Navel - Industrial Strength $90.00 Add To Cart 2 Gem Navel Curve - 12g - Mint CZ - 3/8" - 6mm, 4mm - Titanium - Navel - Industrial Strength $90.00 Add To Cart 2 Gem Navel Curve - 12g - Pink CZ - 3/8" - 6mm, 4mm - Titanium - Navel - Industrial Strength $90.00 Add To Cart 2 Gem Navel Curve - 12g - Turquoise - 3/8" - 6mm, 4mm - Titanium - Navel - Industrial Strength $90.00 Add To Cart 2 Gem Navel Curve - 12g - Teal Opal - 3/8" - 6mm, 4mm - Titanium - Navel - Industrial Strength $90.00 Add To Cart 2 Gem Navel Curve - 12g - Pacific Opals - 3/8" - 6mm, 4mm - Titanium - Navel - Industrial Strength $90.00 Add To Cart 2 Gem Navel Curve - 12g - Amethyst - 3/8" - 6mm, 4mm - Titanium - Navel - Industrial Strength $90.00 Add To Cart 2 Gem Navel Curve - 12g - Arctic - 3/8" - 6mm, 4mm - Titanium - Navel - Industrial Strength $90.00 Add To Cart 2 Gem Navel Curve - 12g - Citrine - 3/8" - 6mm, 4mm - Titanium - Navel - Industrial Strength $90.00 Add To Cart 2 Gem Navel Curve - 12g - Emerald - 3/8" - 6mm, 4mm - Titanium - Navel - Industrial Strength $90.00 Add To Cart 2 Gem Navel Curve - 12g - Sapphire - 3/8" - 6mm, 4mm - Titanium - Navel - Industrial Strength $90.00 Add To Cart 2 Gem Navel Curve - 12g - White Opal - 3/8" - 6mm, 4mm - Titanium - Navel - Industrial Strength $90.00 Add To Cart 2 Gem Navel Curve - 12g - White CZ - 3/8" - 6mm, 4mm - Titanium - Navel - Industrial Strength $90.00 Add To Cart 2 Gem Navel Curve - 12g - White Opal - 7/16" - 6mm, 4mm - Titanium - Navel - Industrial Strength $90.00 Add To Cart 2 Gem Navel Curve - 12g - White CZ - 1/2" - 6mm, 4mm - Titanium - Navel - Industrial Strength $90.00 Add To Cart 2 Gem Navel Curve - 12g - White CZ - 7/16" - 6mm, 4mm - Titanium - Navel - Industrial Strength $90.00 Add To Cart 7 Gem Septum Clicker - 12g - Red CZ, Orange CZ, Sunrise Yellow CZ, Green CZ, Sapphire Blue CZ, Paradise Shine CZ, Fancy Purple CZ - 1/4"x5/16" - 2mm, 3mm - Titanium - Clicker - Industrial Strength $215.00 Add To Cart Septum Clicker #7 - 16g - Opal - 1/4"x5/16"- 2mm - Titanium - Clicker - Industrial Strength $215.00 Add To Cart Odyssey #8 - 16g - Lime Yellow Opal - 1/4"x5/16"- 2mm, 2.5mm, 3mm - Titanium - Clicker - Industrial Strength $215.00 Add To Cart Odyssey Helios #17 - 16g - White CZ - 5/16"x3/8" - 2/3/2/3/2/3/2 - Titanium - Clicker - Industrial Strength $215.00 Add To Cart 5 Gem Clicker - 14g - Pink CZ, Mint Green CZ, Fancy Purple CZ - 1/4"x5/16" - 2mm, 2.5mm, 3mm - Titanium - Clicker - Industrial Strength $190.00 Add To Cart Odyssey #10 - 16g - White CZ - 5/16"x5/16"- 3mm - Titanium - Clicker - Industrial Strength $215.00 Add To Cart Odyssey #15 - 16g - White CZ - 1/4"x5/16"- 2mm - Titanium - Clicker - Industrial Strength $225.00 Add To Cart Odyssey Dione - 14g - White CZ, Yellow CZ - 5/16"x3/8" - 2mm, 1mm - Titanium - Clicker - Industrial Strength $285.00 Add To Cart Odyssey Helios #17 - 16g - White CZ - 1/4"x5/16"- 2/3/2/3/2/3/2 - Titanium - Clicker - Industrial Strength $225.00 Add To Cart Odyssey #10 - 16g - White CZ - 1/4"x5/16"- 3mm - Titanium - Clicker - Industrial Strength $215.00 sold out Add To Cart Odyssey #6 - 16g - White CZ - 5/16"x5/16"- 2/2.5/3/2.5/2 - Titanium - Clicker - Industrial Strength $215.00 Add To Cart Odyssey #6 - 16g - White CZ - 1/4"x5/16"- 2/2.5/3/2.5/2 - Titanium - Clicker - Industrial Strength $215.00 Add To Cart Hammered Disk - 18k White Gold - 18g/16g - 3mm - End - Threadless - Anatometal $115.00 Add To Cart Bastina Seam Ring - 18k Yellow Gold - 16g - 3/8" - Ring - Anatometal $360.00 Add To Cart Harper Seam Ring - 18k Yellow Gold - 16g - 3/8" - Ring - Anatometal $335.00 Add To Cart Harper Seam Ring - 18k Rose Gold - 16g - 3/8" - Ring - Anatometal $285.00 Add To Cart Elijah - White CZ - 18k White Gold - 18g/16g - 6.5mm - 3.5mm - End - Threadless - Anatometal $360.00 Add To Cart Marquise Bezel - White CZ - 18k White Gold - 18g/16g - 4.5x2.5mm - End - Threadless - Anatometal $90.00 Add To Cart Adina - White CZ - 18k Rose Gold - 18g/16g - 7mm - 3x1.5mm - End - Threadless - Anatometal $315.00 Add To Cart Adina - White CZ - 18k Yellow Gold - 18g/16g - 7mm - 3x1.5mm - End - Threadless - Anatometal $315.00 sold out Add To Cart Vampire Bat - 18k Rose Gold - 18g/16g - 13.5x5.5mm - End - Threadless - Anatometal $130.00 Add To Cart Vampire Bat - 18k White Gold - 18g/16g - 13.5x5.5mm - End - Threadless - Anatometal $130.00 Add To Cart Vampire Bat - 18k Yellow Gold - 18g/16g - 13.5x5.5mm - End - Threadless - Anatometal $130.00 Add To Cart Pumpkin 3 - 18k Rose Gold - 18g/16g - 7x6.5mm - End - Threadless - Anatometal $275.00 Add To Cart Pumpkin 3 - 18k White Gold - 18g/16g - 7x6.5mm - End - Threadless - Anatometal $275.00 Add To Cart Pumpkin 3 - 18k Yellow Gold - 18g/16g - 7x6.5mm - End - Threadless - Anatometal $275.00 Add To Cart Pumpkin 1 - 18k Rose Gold - 18g/16g - 7x6mm - End - Threadless - Anatometal $275.00 Add To Cart Pumpkin 1 - 18k White Gold - 18g/16g - 7x6mm - End - Threadless - Anatometal $275.00 Add To Cart Pumpkin 1 - 18k Yellow Gold - 18g/16g - 7x6mm - End - Threadless - Anatometal $275.00 Add To Cart Odyssey Aphrodite - 16g - Dusty Morganite, Black Opal - 5/16"x5/16" - 2mm, 1.5mm - Titanium - Clicker - Industrial Strength $335.00 Add To Cart Odyssey Aphrodite - 16g - London Blue, Salmon Pink, Purple Opal - 5/16"x5/16" - 2mm, 1.5mm - Titanium - Clicker - Industrial Strength $335.00 Add To Cart Odyssey Aphrodite - 16g - White CZ, White Opal - 1/4"x5/16" - 2mm, 1.5mm - Titanium - Clicker - Industrial Strength $335.00 Add To Cart Odyssey Aphrodite - 16g - Aurora Borealis, White Opal - 1/4"x1/4" - 2mm, 1.5mm - Titanium - Clicker - Industrial Strength $335.00 Add To Cart Odyssey #12 - 16g - White Opal - 5/16"x3/8" - 3mm - Titanium - Clicker - Industrial Strength $215.00 Add To Cart Odyssey #8 2/2.5/3/2.5/2 - 16g - White Opal - 1/4"x5/16"- Titanium - Clicker - Industrial Strength $225.00 Add To Cart Odyssey #8 2/2.5/3/2.5/2 - 16g - White Opal - 5/16"x3/8"- Titanium - Clicker - Industrial Strength $215.00 Add To Cart Odyssey #8 2/2.5/3/2.5/2 - 16g - White Opal - 5/16"x5/16"- Titanium - Clicker - Industrial Strength $215.00 Add To Cart Odyssey #12 - 16g - White Opal - 5/16"x5/16" - 3mm - Titanium - Clicker - Industrial Strength $225.00 Add To Cart Odyssey #12 - 16g - White Opal - 1/4"x5/16" - 3mm - Titanium - Clicker - Industrial Strength $215.00 Add To Cart Odyssey #7 - 16g - White Opal - 1/4"x5/16" - 2mm - Titanium - Clicker - Industrial Strength $225.00 Add To Cart Odyssey #7 - 16g - White Opal - 5/16"x5/16" - 2mm - Titanium - Clicker - Industrial Strength $215.00 Add To Cart Odyssey #8 2/2.5/3/2.5/2 - 16g - Sky Blue Opal - 5/16"x5/16"- Titanium - Clicker - Industrial Strength $215.00 Add To Cart Odyssey #12 - 16g - Sky Blue Opal - 5/16"x5/16" - 3mm - Titanium - Clicker - Industrial Strength $215.00 Add To Cart Odyssey #7 - 16g - Sky Blue Opal - 1/4"x5/16" - 2mm - Titanium - Clicker - Industrial Strength $215.00 Add To Cart Odyssey #12 - 16g - Capri Blue - 5/16"x1/4" - 3mm - Titanium - Clicker - Industrial Strength $225.00 Add To Cart Odyssey #7 - 16g - Capri Blue - 1/4"x5/16" - 2mm - Titanium - Clicker - Industrial Strength $225.00 Add To Cart Odyssey #12 - 16g - Capri Blue - 1/4"x5/16" - 3mm - Titanium - Clicker - Industrial Strength $225.00 Add To Cart Odyssey #7 - 16g - Capri Blue - 5/16"x5/16" - 2mm - Titanium - Clicker - Industrial Strength $225.00 Add To Cart Odyssey #8 2/2.5/3/2.5/2 - 16g - Capri Blue - 5/16"x5/16"- Titanium - Clicker - Industrial Strength $215.00 Add To Cart Odyssey #7 - 16g - Black Opal - 5/16"x5/16" - 2mm - Titanium - Clicker - Industrial Strength $215.00 Add To Cart Odyssey #12 - 16g - Black Opal - 5/16"x1/4" - 3mm - Titanium - Clicker - Industrial Strength $215.00 Add To Cart Odyssey #8 2/2.5/3/2.5/2 - 16g - Black Opal - 1/4"x5/16"- Titanium - Clicker - Industrial Strength $225.00 Add To Cart Odessy Helios #17 Septum Clicker 2/3/2/3/2/3/2 - 16g - Red CZ, Orange CZ, Sunrise Yellow CZ, Green CZ, Sapphire Blue CZ, Paradise Shine CZ, Fancy Purple CZ - 5/16"x3/8"- Titanium - Industrial Strength $225.00 Add To Cart Odessy Helios #17 Septum Clicker 2/3/2/3/2/3/2 - 16g - Red CZ, Orange CZ, Sunrise Yellow CZ, Green CZ, Sapphire Blue CZ, Paradise Shine CZ, Fancy Purple CZ - 5/16"x5/16"- Titanium - Industrial Strengt $225.00 Add To Cart Odessy Helios #17 Septum Clicker 2/3/2/3/2/3/2 - 16g - Red CZ, Orange CZ, Sunrise Yellow CZ, Green CZ, Sapphire Blue CZ, Paradise Shine CZ, Fancy Purple CZ - 1/4"x3/8"- Titanium - Industrial Strength $225.00 Add To Cart Odessy Helios #17 Septum Clicker 2/3/2/3/2/3/2 - 16g - Red CZ, Orange CZ, Sunrise Yellow CZ, Green CZ, Sapphire Blue CZ, Paradise Shine CZ, Fancy Purple CZ - 1/4"x5/16"- Titanium - Industrial Strength $225.00 Add To Cart Black and White Ebony Eyelet Pair - Wood - 2g - Plug - Bishop Organics $35.00 Add To Cart Ebony Eyelet Pair - Wood - 2g - Plug - Bishop Organics $35.00 Add To Cart Ebony Plug Pair - Wood - 4g - Plug - Bishop Organics $30.00 Add To Cart Ebony Plug Pair - Wood - 7/16" - Plug - Bishop Organics $40.00 Add To Cart Ebony Plug Pair - Wood - 1/2" - Plug - Bishop Organics $40.00 Add To Cart Ebony Plug Pair - Wood - 7/8" - Plug - Bishop Organics $60.00 Add To Cart Desert Ironwood Plug Pair - Wood - 7/8" - Plug - Bishop Organics $65.00 Add To Cart Dot Ebony Plug Pair - Wood - 1/2" - Plug - Bishop Organics $45.00 Add To Cart Dot Ebony Plug Pair - Wood - 5/8" - Plug - Bishop Organics $55.00 Add To Cart Dot Ebony Plug Pair - Wood - 3/4" - Plug - Bishop Organics $65.00 Add To Cart Ivory Plug Pair - Wood - 2G - Plug - Bishop Organics $35.00 Add To Cart Ivory Plug Pair - Wood - 0G - Plug - Bishop Organics $35.00 Add To Cart Ivory Plug Pair - Wood - 7/16" - Plug - Bishop Organics $40.00 Add To Cart Ivory Plug Pair - Wood - 1/2" - Plug - Bishop Organics $45.00 Add To Cart Ivory Plug Pair - Wood - 9/16" - Plug - Bishop Organics $45.00 Add To Cart Ivory Plug Pair - Wood - 5/8" - Plug - Bishop Organics $50.00 Add To Cart Ivory Plug Pair - Wood - 3/4" - Plug - Bishop Organics $60.00 Add To Cart Ivory Plug Pair - Wood - 7/8" - Plug - Bishop Organics $65.00 Add To Cart Black and White Ebony Plug Pair - Wood - 4G - Plug - Bishop Organics $35.00 Add To Cart Black and White Ebony Plug Pair - Wood - 9/16" - Plug - Bishop Organics $45.00 Add To Cart Black and White Ebony Plug Pair - Wood - 7/8" - Plug - Bishop Organics $65.00 Add To Cart Bloodwood Plug Pair - Wood - 4G - Plug - Bishop Organics $30.00 Add To Cart Bloodwood Plug Pair - Wood - 2G - Plug - Bishop Organics $30.00 Add To Cart Bloodwood Plug Pair - Wood - 0G - Plug - Bishop Organics $30.00 Add To Cart Bloodwood Plug Pair - Wood - 1/2" - Plug - Bishop Organics $40.00 Add To Cart Bloodwood Plug Pair - Wood - 5/8" - Plug - Bishop Organics $45.00 Add To Cart Bloodwood Plug Pair - Wood - 3/4" - Plug - Bishop Organics $55.00 Add To Cart Bloodwood Plug Pair - Wood - 7/8" - Plug - Bishop Organics $60.00 Add To Cart Ebony Ambonya Burl Inlay Plug Pair - Wood - 7/16" - Plug - Bishop Organics $75.00 Add To Cart Ebony Ambonya Burl Inlay Plug Pair - Wood - 9/16" - Plug - Bishop Organics $80.00 Add To Cart Ebony Ambonya Burl Inlay Plug Pair - Wood - 5/8" - Plug - Bishop Organics $80.00 Add To Cart Ebony Ambonya Burl Inlay Plug Pair - Wood - 3/4" - Plug - Bishop Organics $90.00 Add To Cart Ebony w/Black and White Inlay Plug Pair - Wood - 7/16" - Plug - Bishop Organics $70.00 Add To Cart Ebony w/Black and White Inlay Plug Pair - Wood - 1/2" - Plug - Bishop Organics $70.00 Add To Cart Ebony w/Black and White Inlay Plug Pair - Wood - 9/16" - Plug - Bishop Organics $75.00 Add To Cart Ebony w/Black and White Inlay Plug Pair - Wood - 7/8" - Plug - Bishop Organics $90.00 Add To Cart Dot Ebony Plug Pair - Wood - 1" - Plug - Bishop Organics $90.00 Add To Cart Ivory Plug Pair - Wood - 1" - Plug - Bishop Organics $75.00 Add To Cart Black and White Ebony Plug Pair - Wood - 1" - Plug - Bishop Organics $75.00 Add To Cart Ebony w/Black and White Inlay Plug Pair - Wood - 1" - Plug - Bishop Organics $100.00 Add To Cart Bloodwood Plug Pair - Wood - 1" - Plug - Bishop Organics $70.00 Add To Cart Ebony Ambonya Burl Inlay Plug Pair - Wood - 1" - Plug - Bishop Organics $105.00 Add To Cart Martele Plug Pair Smoke - Glass - 1/2" - Plug - Gorilla Glass $75.00 Add To Cart Lifesaver Plug Pair - Glass - 5/8" - Plug - Gorilla Glass $60.00 Add To Cart Martele Plug Pair Ocean - Glass - 1/2" - Plug - Gorilla Glass $75.00 Add To Cart Glass Tear Drop Power Plug Pair - Red/Black - Glass - 1/2" - Plug - Gorilla Glass $100.00 Add To Cart Martele Plug Pair Black - Glass - 1/2" - Plug - Gorilla Glass $125.00 Add To Cart Martele Plug Pair Black - Glass - 1" - Plug - Gorilla Glass $165.00 Add To Cart Martele Plug Pair Smoke - Glass - 4g - Plug - Gorilla Glass $45.00 Add To Cart Concave Martele Plug Pair Lavender - Glass - 1" - Plug - Gorilla Glass $220.00 Add To Cart Torian Glass Plug Pair - Glass - 3/4" - Plug - Gorilla Glass $115.00 Add To Cart Martele Plug Pair Black - Glass - 3/4" - Plug - Gorilla Glass $155.00 Add To Cart Torian Glass Plug Pair - Glass - 7/8" - Plug - Gorilla Glass $130.00 Add To Cart Lifesaver Plug Pair - Glass - 0g - Plug - Gorilla Glass $45.00 Add To Cart Dichro Plug Pair - Glass - 7/8" - Plug - Gorilla Glass $130.00 Add To Cart Glass Tear Drop Power Plug Pair - Green/Black - Glass - 3/4" - Plug - Gorilla Glass $100.00 Add To Cart Martele Plug Pair Ocean - Glass - 00g - Plug - Gorilla Glass $60.00 Add To Cart Sensu Left - White CZ - Titanium - 18g/16g - 8x6mm - Threadless - End - Industrial Strength $115.00 Add To Cart Sensu Right - White CZ - Titanium - 18g/16g - 8x6mm - Threadless - End - Industrial Strength $115.00 Add To Cart Side Set 4 Prong Set Princess - 18g - White CZ - Titanium - 4.5mm - 4mm - Threadless - Industrial Strength $75.00 Add To Cart Queen Crown - Aurora Borealis CZ - 18k White Gold - 18g/16g - 5mm - 4mm - End - Threadless - Anatometal $125.00 Add To Cart Cute Vampire Bat - 18k Rose Gold - 18g/16g - 10x7mm - End - Threadless - Anatometal $220.00 Add To Cart Cute Vampire Bat - 18k Yellow Gold - 18g/16g - 10x7mm - End - Threadless - Anatometal $220.00 Add To Cart Oliver - White CZ - 18k Rose Gold - 18g/16g - 5.5mm - 2mm - End - Threadless - Anatometal $190.00 Add To Cart Oliver - White CZ - 18k Yellow Gold - 18g/16g - 5.5mm - 2mm - End - Threadless - Anatometal $190.00 Add To Cart Isabella - White CZ - 18k Rose Gold - 18g/16g - 6.5x3mm - 3x1.5mm - 1.5mm - End - Threadless - Anatometal $150.00 sold out Add To Cart Isabella - White CZ - 18k White Gold - 18g/16g - 6.5x3mm - 3x1.5mm - 1.5mm - End - Threadless - Anatometal $150.00 Add To Cart Isabella - White CZ - 18k Yellow Gold - 18g/16g - 6.5x3mm - 3x1.5mm - 1.5mm - End - Threadless - Anatometal $150.00 Add To Cart Lucas - White CZ - 18k Rose Gold - 18g/16g - 5.5mm - End - Threadless - Anatometal $175.00 Add To Cart Lucas - White CZ - 18k White Gold - 18g/16g - 5.5mm - End - Threadless - Anatometal $175.00 Add To Cart Lucas - White CZ - 18k Yellow Gold - 18g/16g - 5.5mm - End - Threadless - Anatometal $175.00 Add To Cart Charlotte - Dusty Morganite - 18k Rose Gold - 18g/16g - 12x5mm - End - Threadless - Anatometal $220.00 Add To Cart Elijah - White CZ - 18k Rose Gold - 18g/16g - 6.5mm - End - Threadless - Anatometal $360.00 Add To Cart Elijah - White CZ - 18k Yellow Gold - 18g/16g - 6.5mm - End - Threadless - Anatometal $360.00 Add To Cart Mateo - White CZ - 18k Rose Gold - 18g/16g - 5mm - End - Threadless - Anatometal $160.00 Add To Cart Mateo - White CZ - 18k White Gold - 18g/16g - 5mm - End - Threadless - Anatometal $160.00 Add To Cart Mateo - White CZ - 18k Yellow Gold - 18g/16g - 5mm - End - Threadless - Anatometal $160.00 Add To Cart Fixed Bead Ring - 14k White Gold - 5/16" - 16g - 1/8" - Ring - BVLA $240.00 Add To Cart Beaded Clicker - 14k White Gold - 7/16" - 16g - Clicker - Junipurr $400.00 Add To Cart Trio - White Opal - 18k Rose Gold - 18g/16g - 6.5mm - End - Threaded - Anatometal $175.00 Add To Cart Gemmed Hera - White Opal - 18k White Gold - 18g/16g - 5.5mm - End - Threaded - Anatometal $170.00 Add To Cart Zia - Synthetic Turquoise - 18k Yellow Gold - 18g/16g - 3mm - End - Threadless - Anatometal $85.00 Add To Cart Nunchucks - Pair - Stainless Steel - 0G - Hanger - Reign $275.00 Add To Cart Aztecs - Pair - Stainless Steel - 1 1/4" - Plug - Reign $340.00 Add To Cart Stainless Steel & Stone Plug Pair - Crazy Lace Agate - Stainless Steel - 5/8" - Plug - Reign $295.00 Add To Cart Stainless Steel & Stone Plug Pair - Biggs Picture Jasper - Stainless Steel - 3/4" - Plug - Reign $425.00 Add To Cart Stainless Steel & Stone Plug Pair - Forest Fire Jasper - Stainless Steel - 5/8" - Plug - Reign $350.00 Add To Cart Stainless Steel & Stone Plug Pair - Forest Fire Jasper - Stainless Steel - 3/4" - Plug - Reign $400.00 Add To Cart Stainless Steel & Stone Plug Pair - Porcelain Jasper - Stainless Steel - 1" - Plug - Reign $420.00 Add To Cart Stainless Steel & Stone Plug Pair - Ocean Jasper - Stainless Steel - 00G - Plug - Reign $220.00 Add To Cart Stainless Steel & Stone Plug Pair - Ocean Jasper - Stainless Steel - 3/4" - Plug - Reign $390.00 Add To Cart Stainless Steel & Stone Plug Pair - Ocean Jasper - Stainless Steel - 1" - Plug - Reign $700.00 Add To Cart Stainless Steel & Stone Plug Pair - Boulder Opal - Stainless Steel - 3/4" - Plug - Reign $720.00 Add To Cart Previous Next