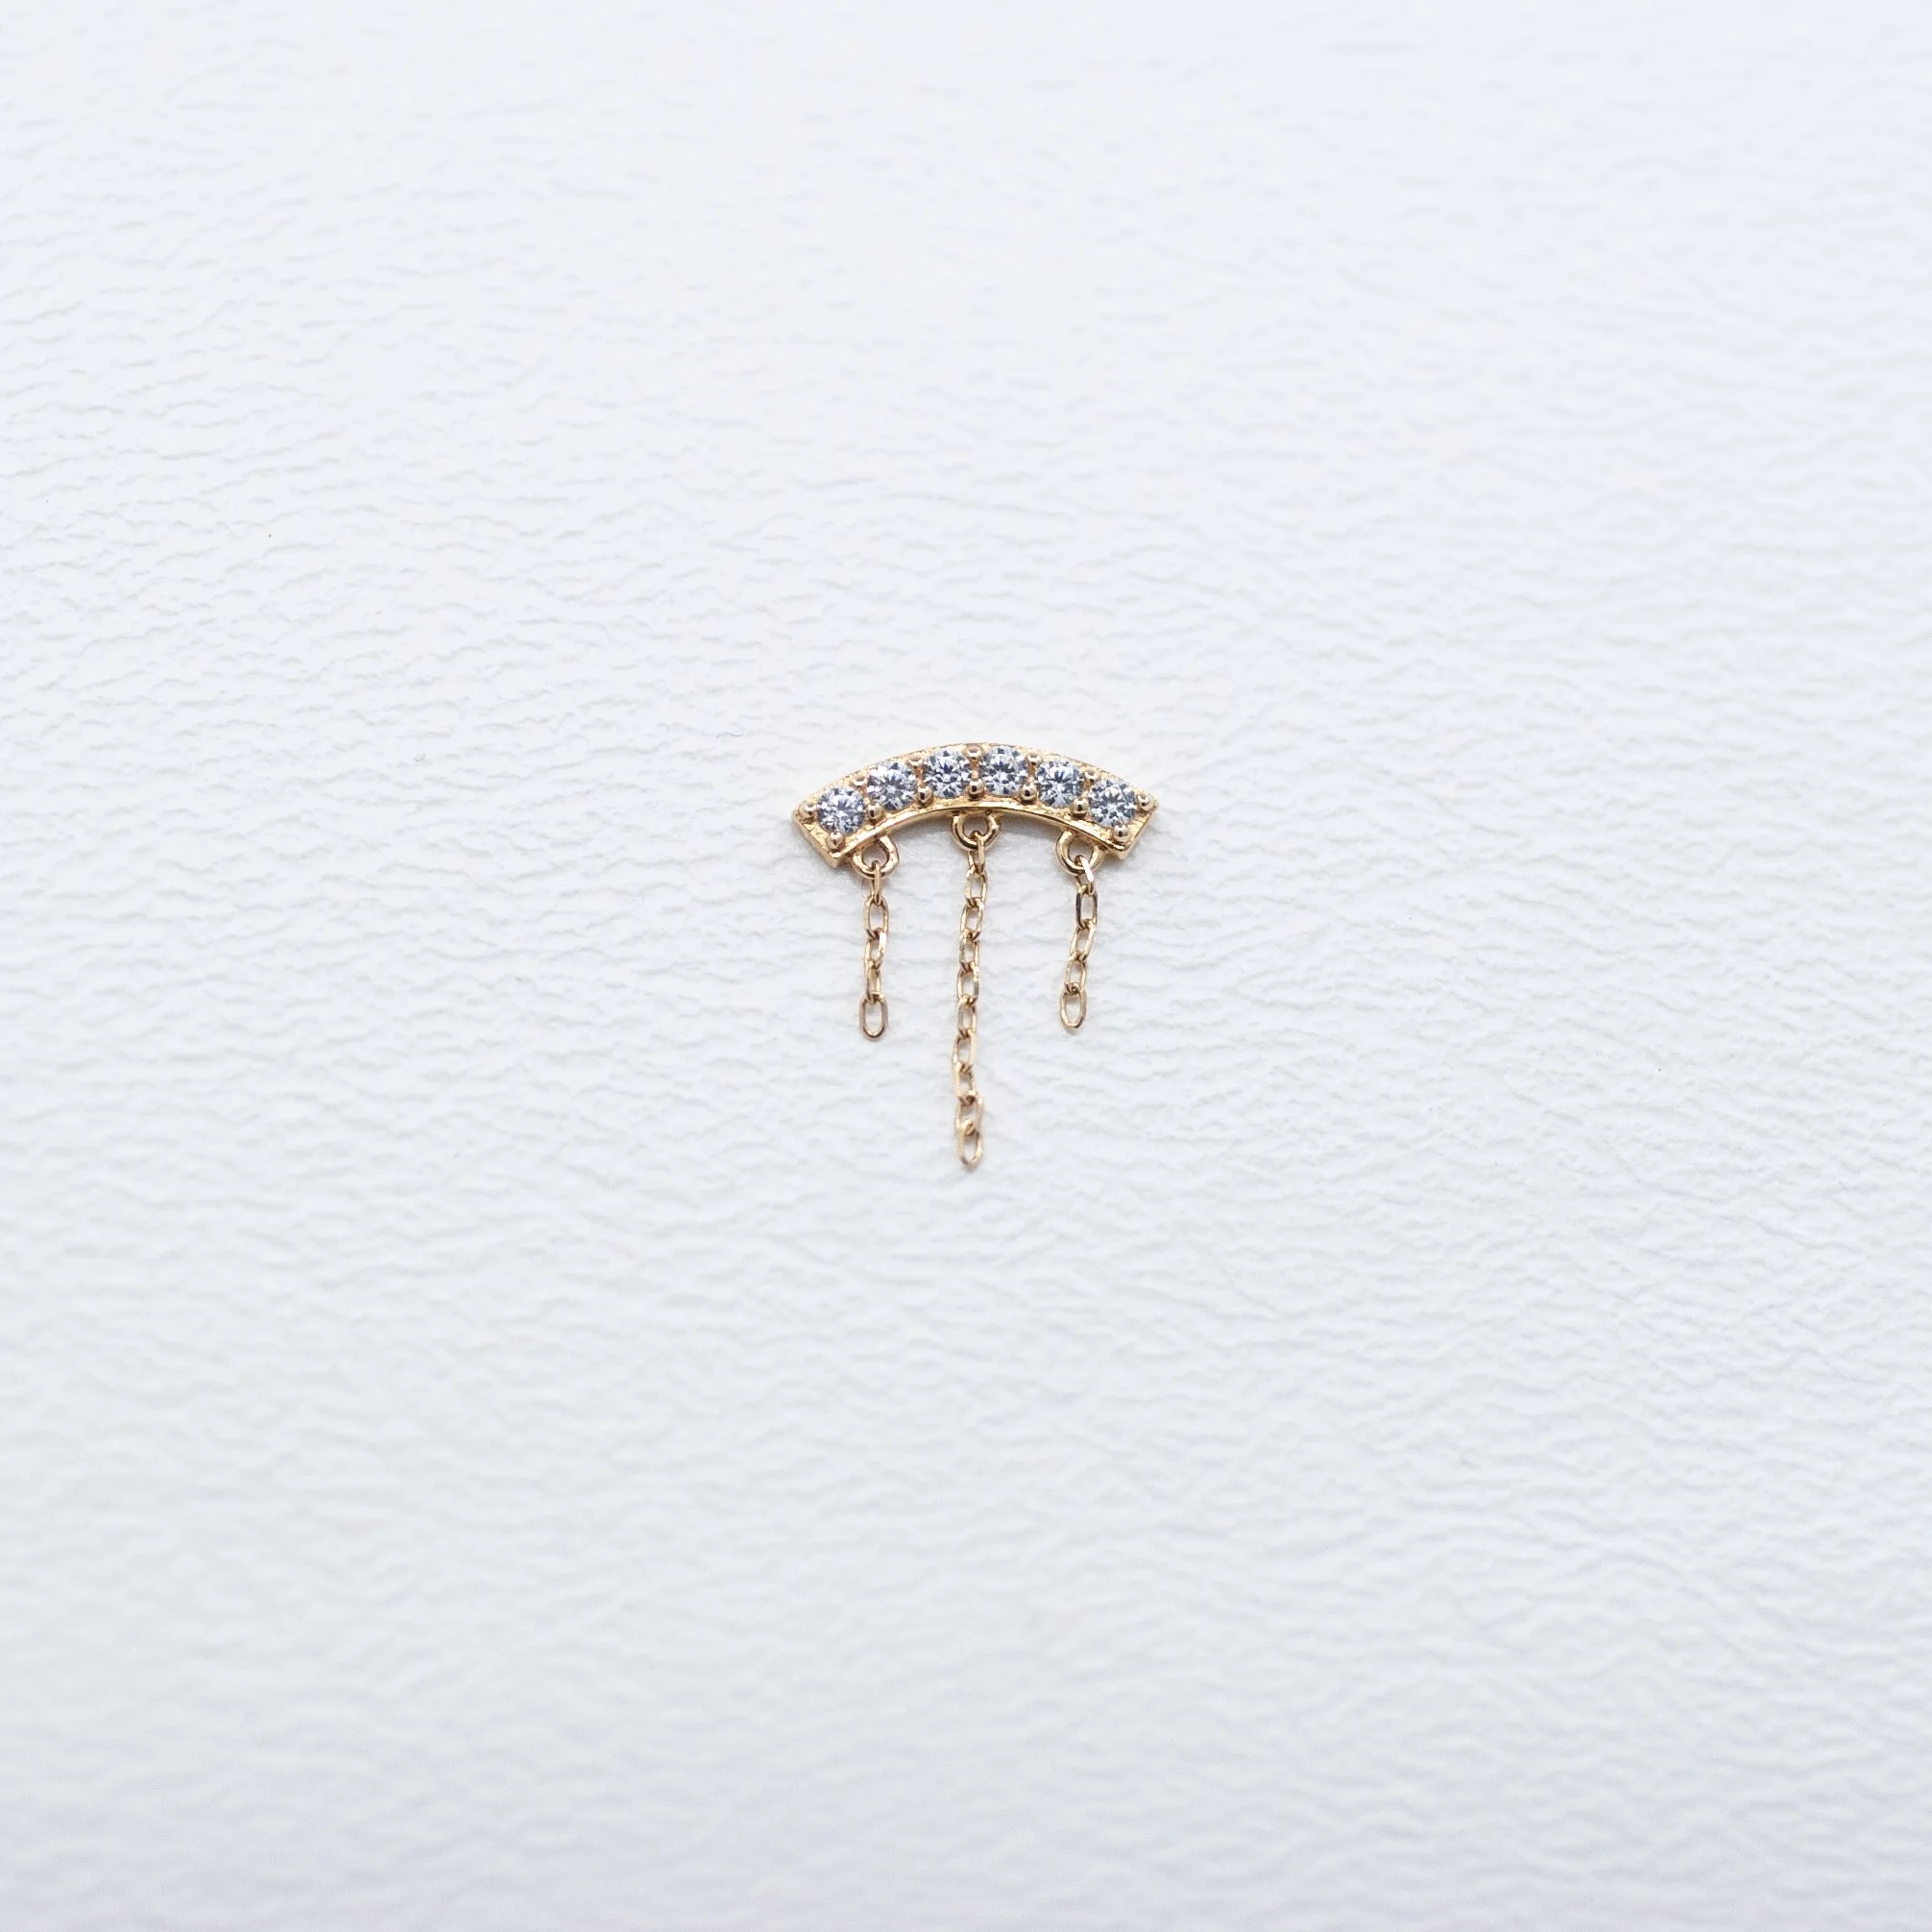
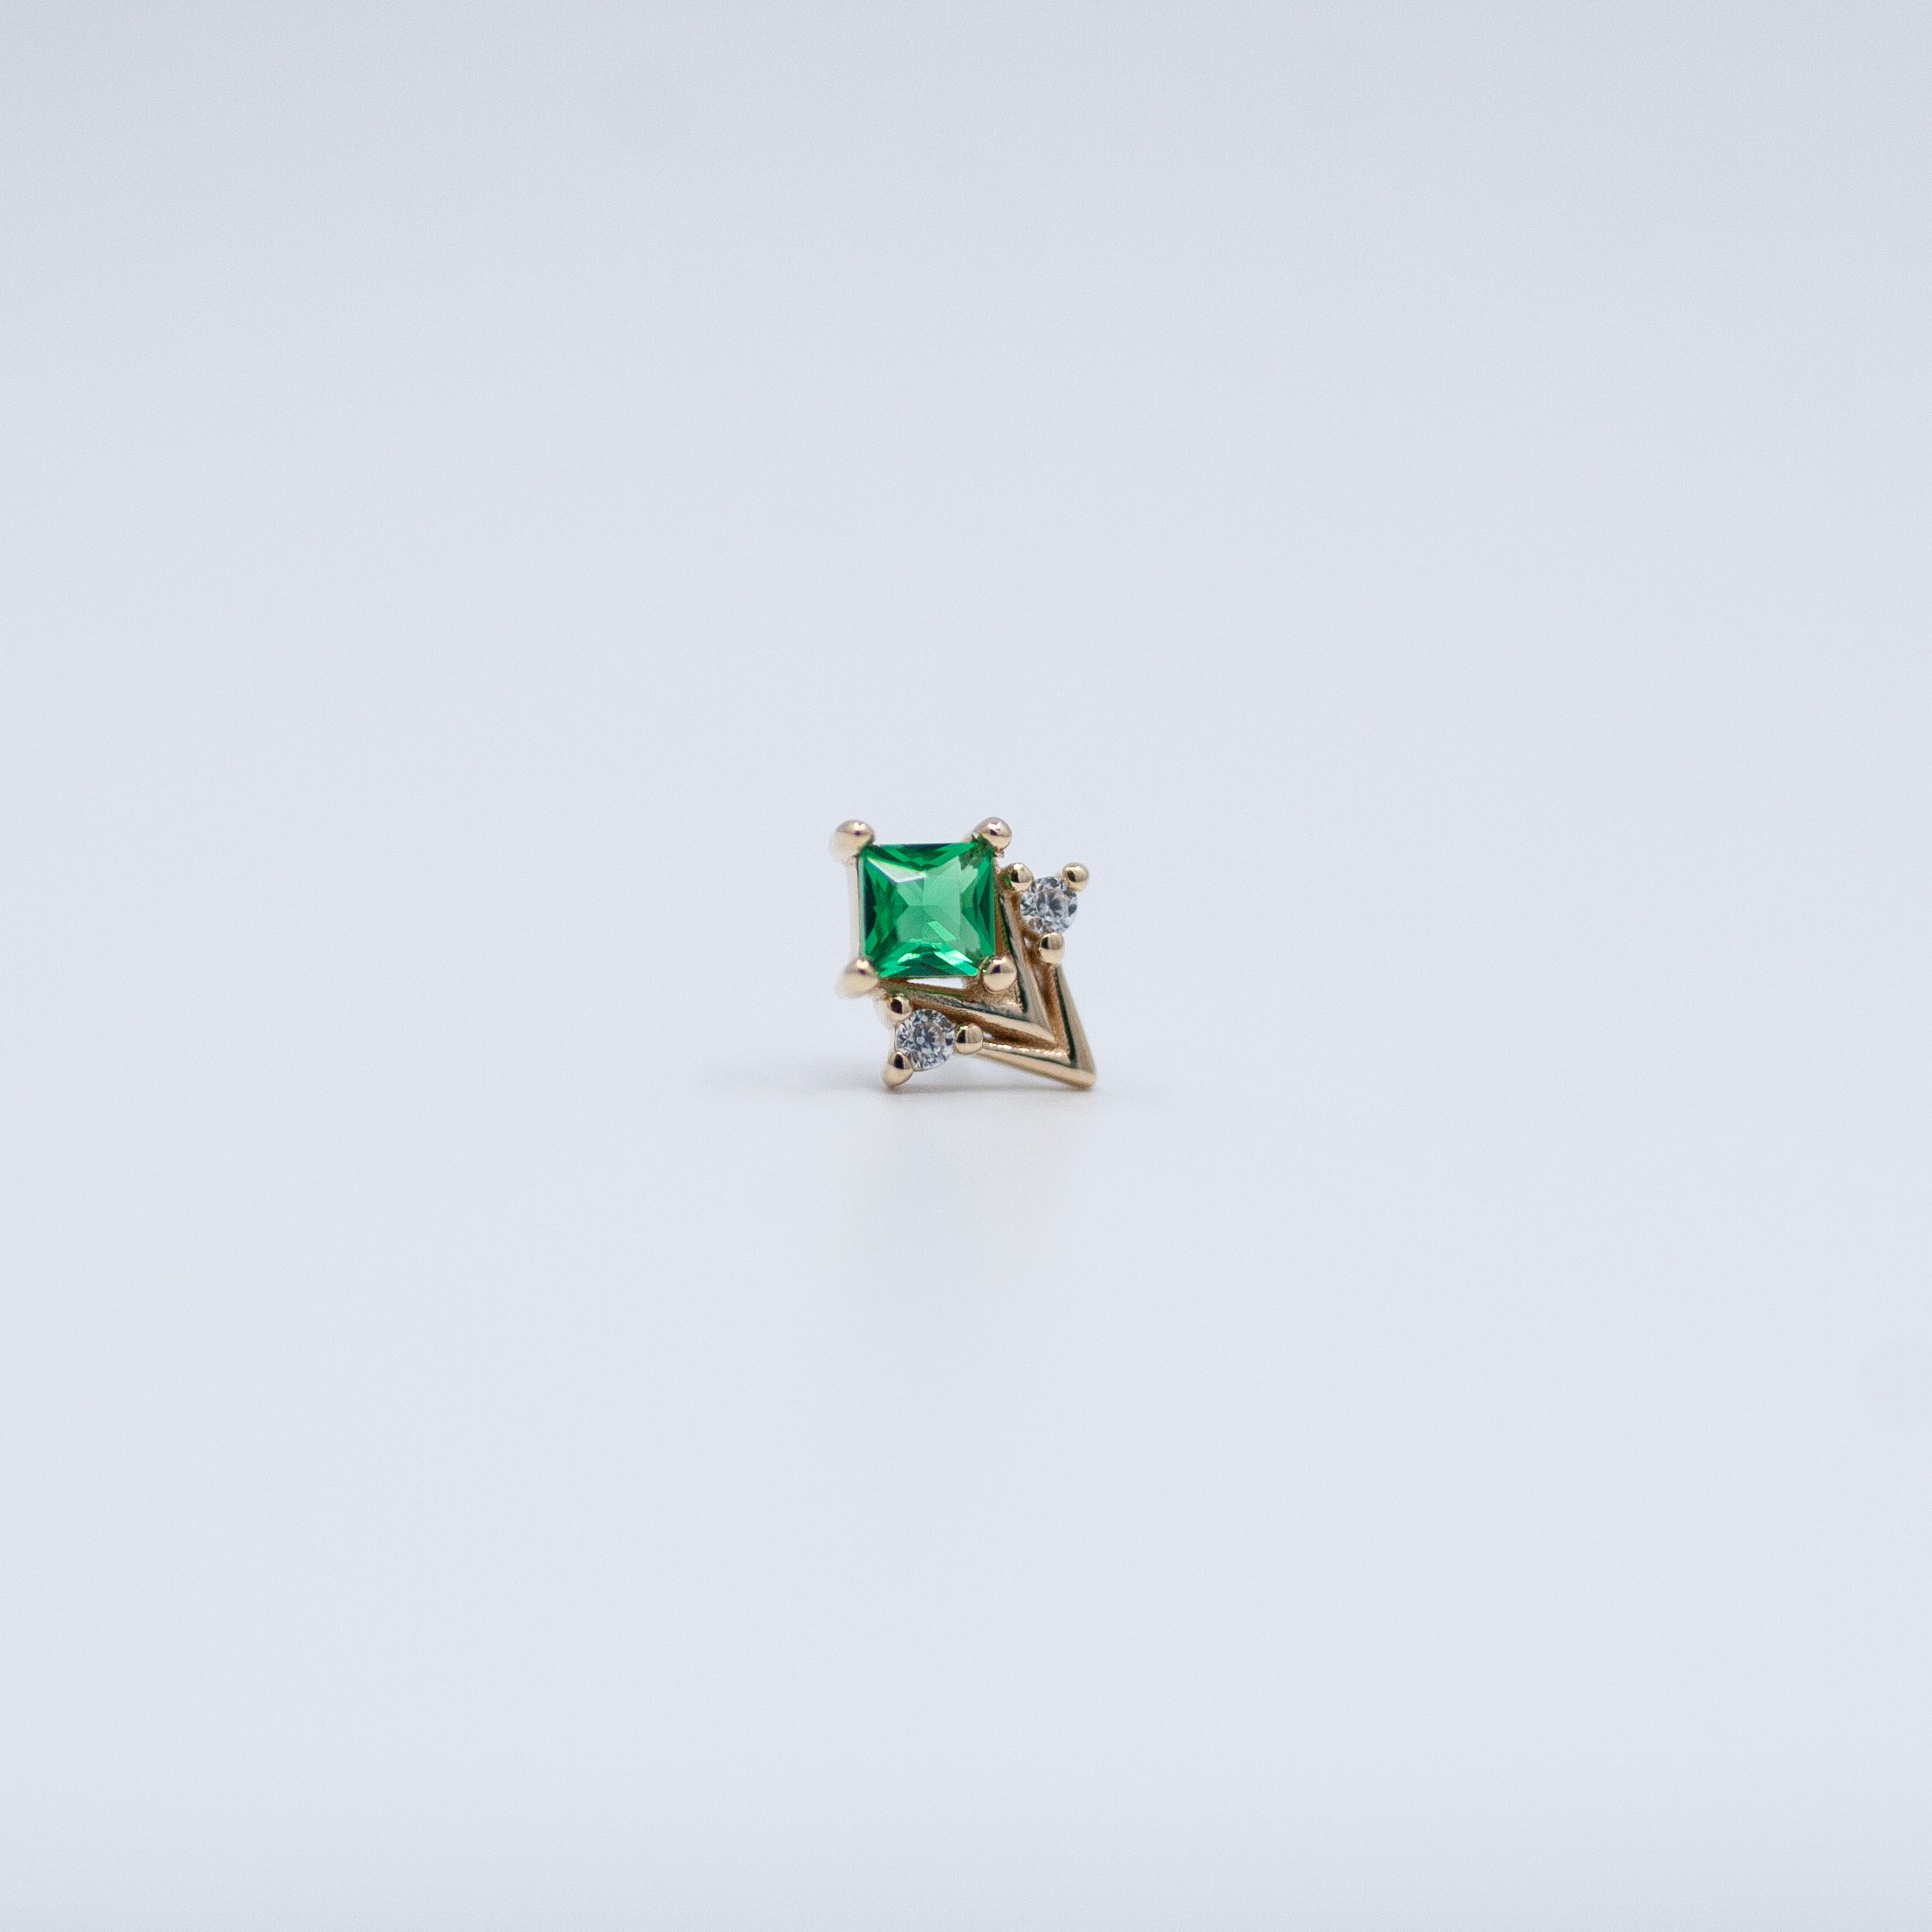
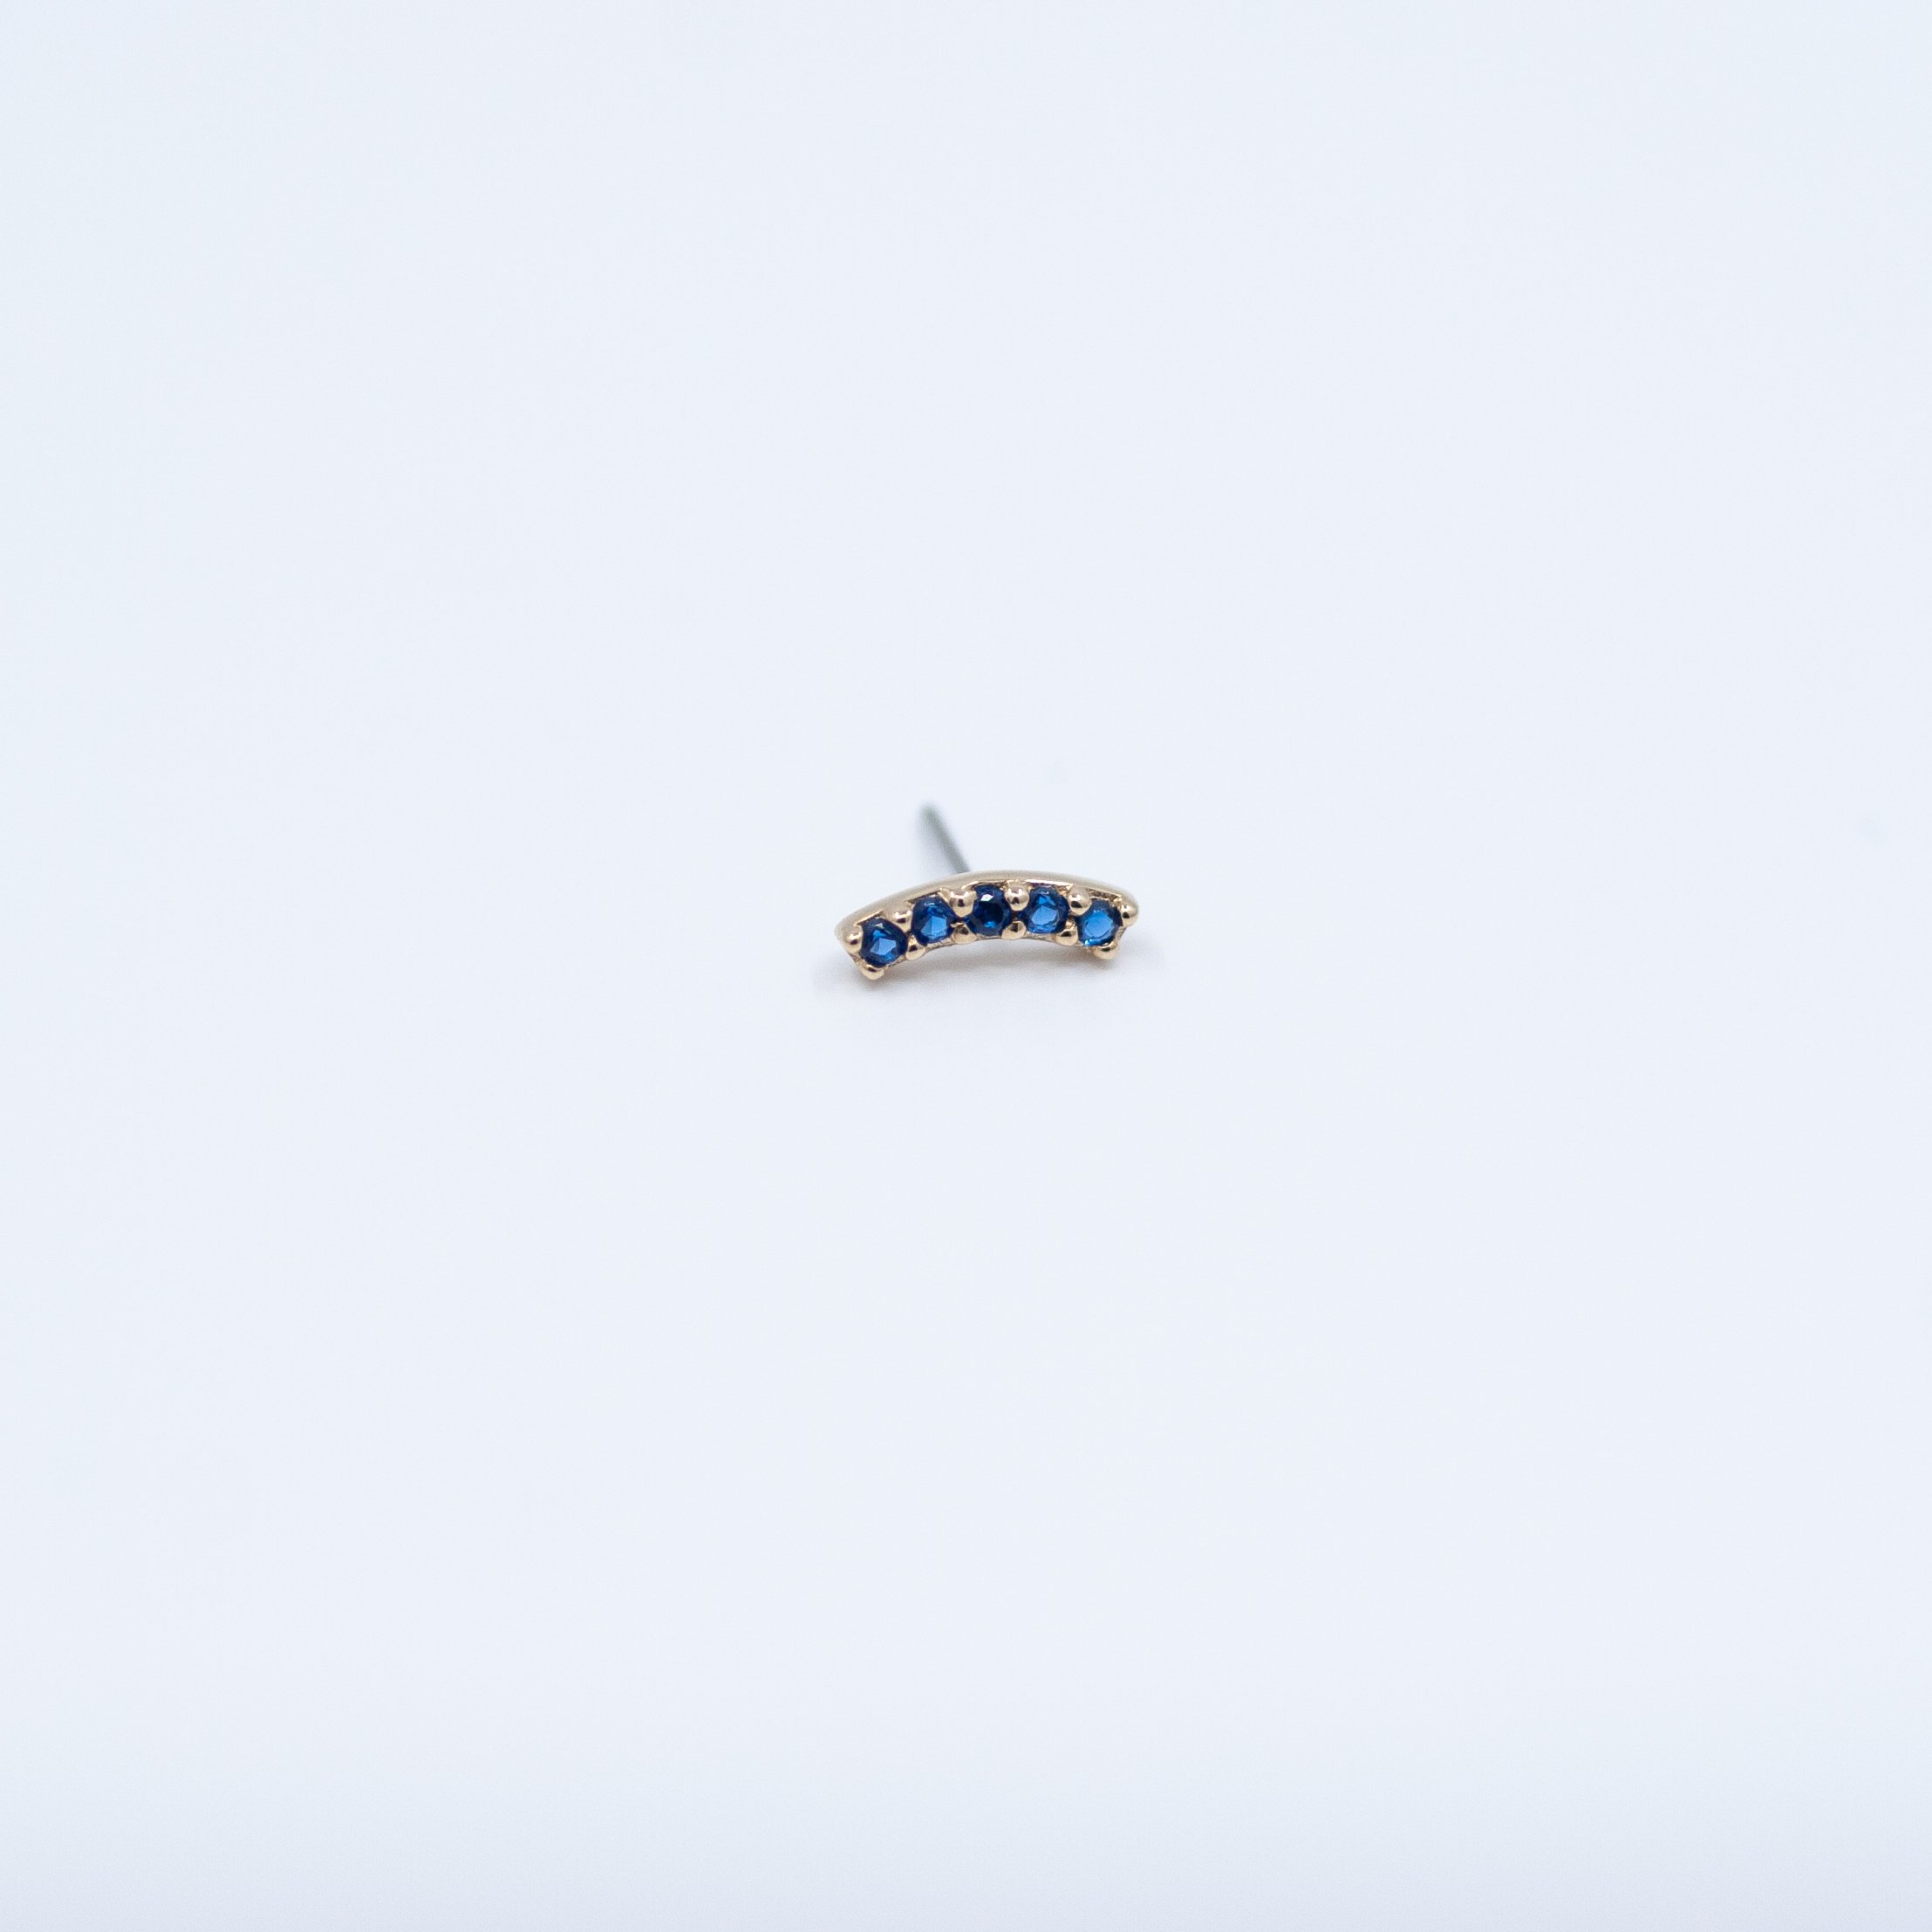
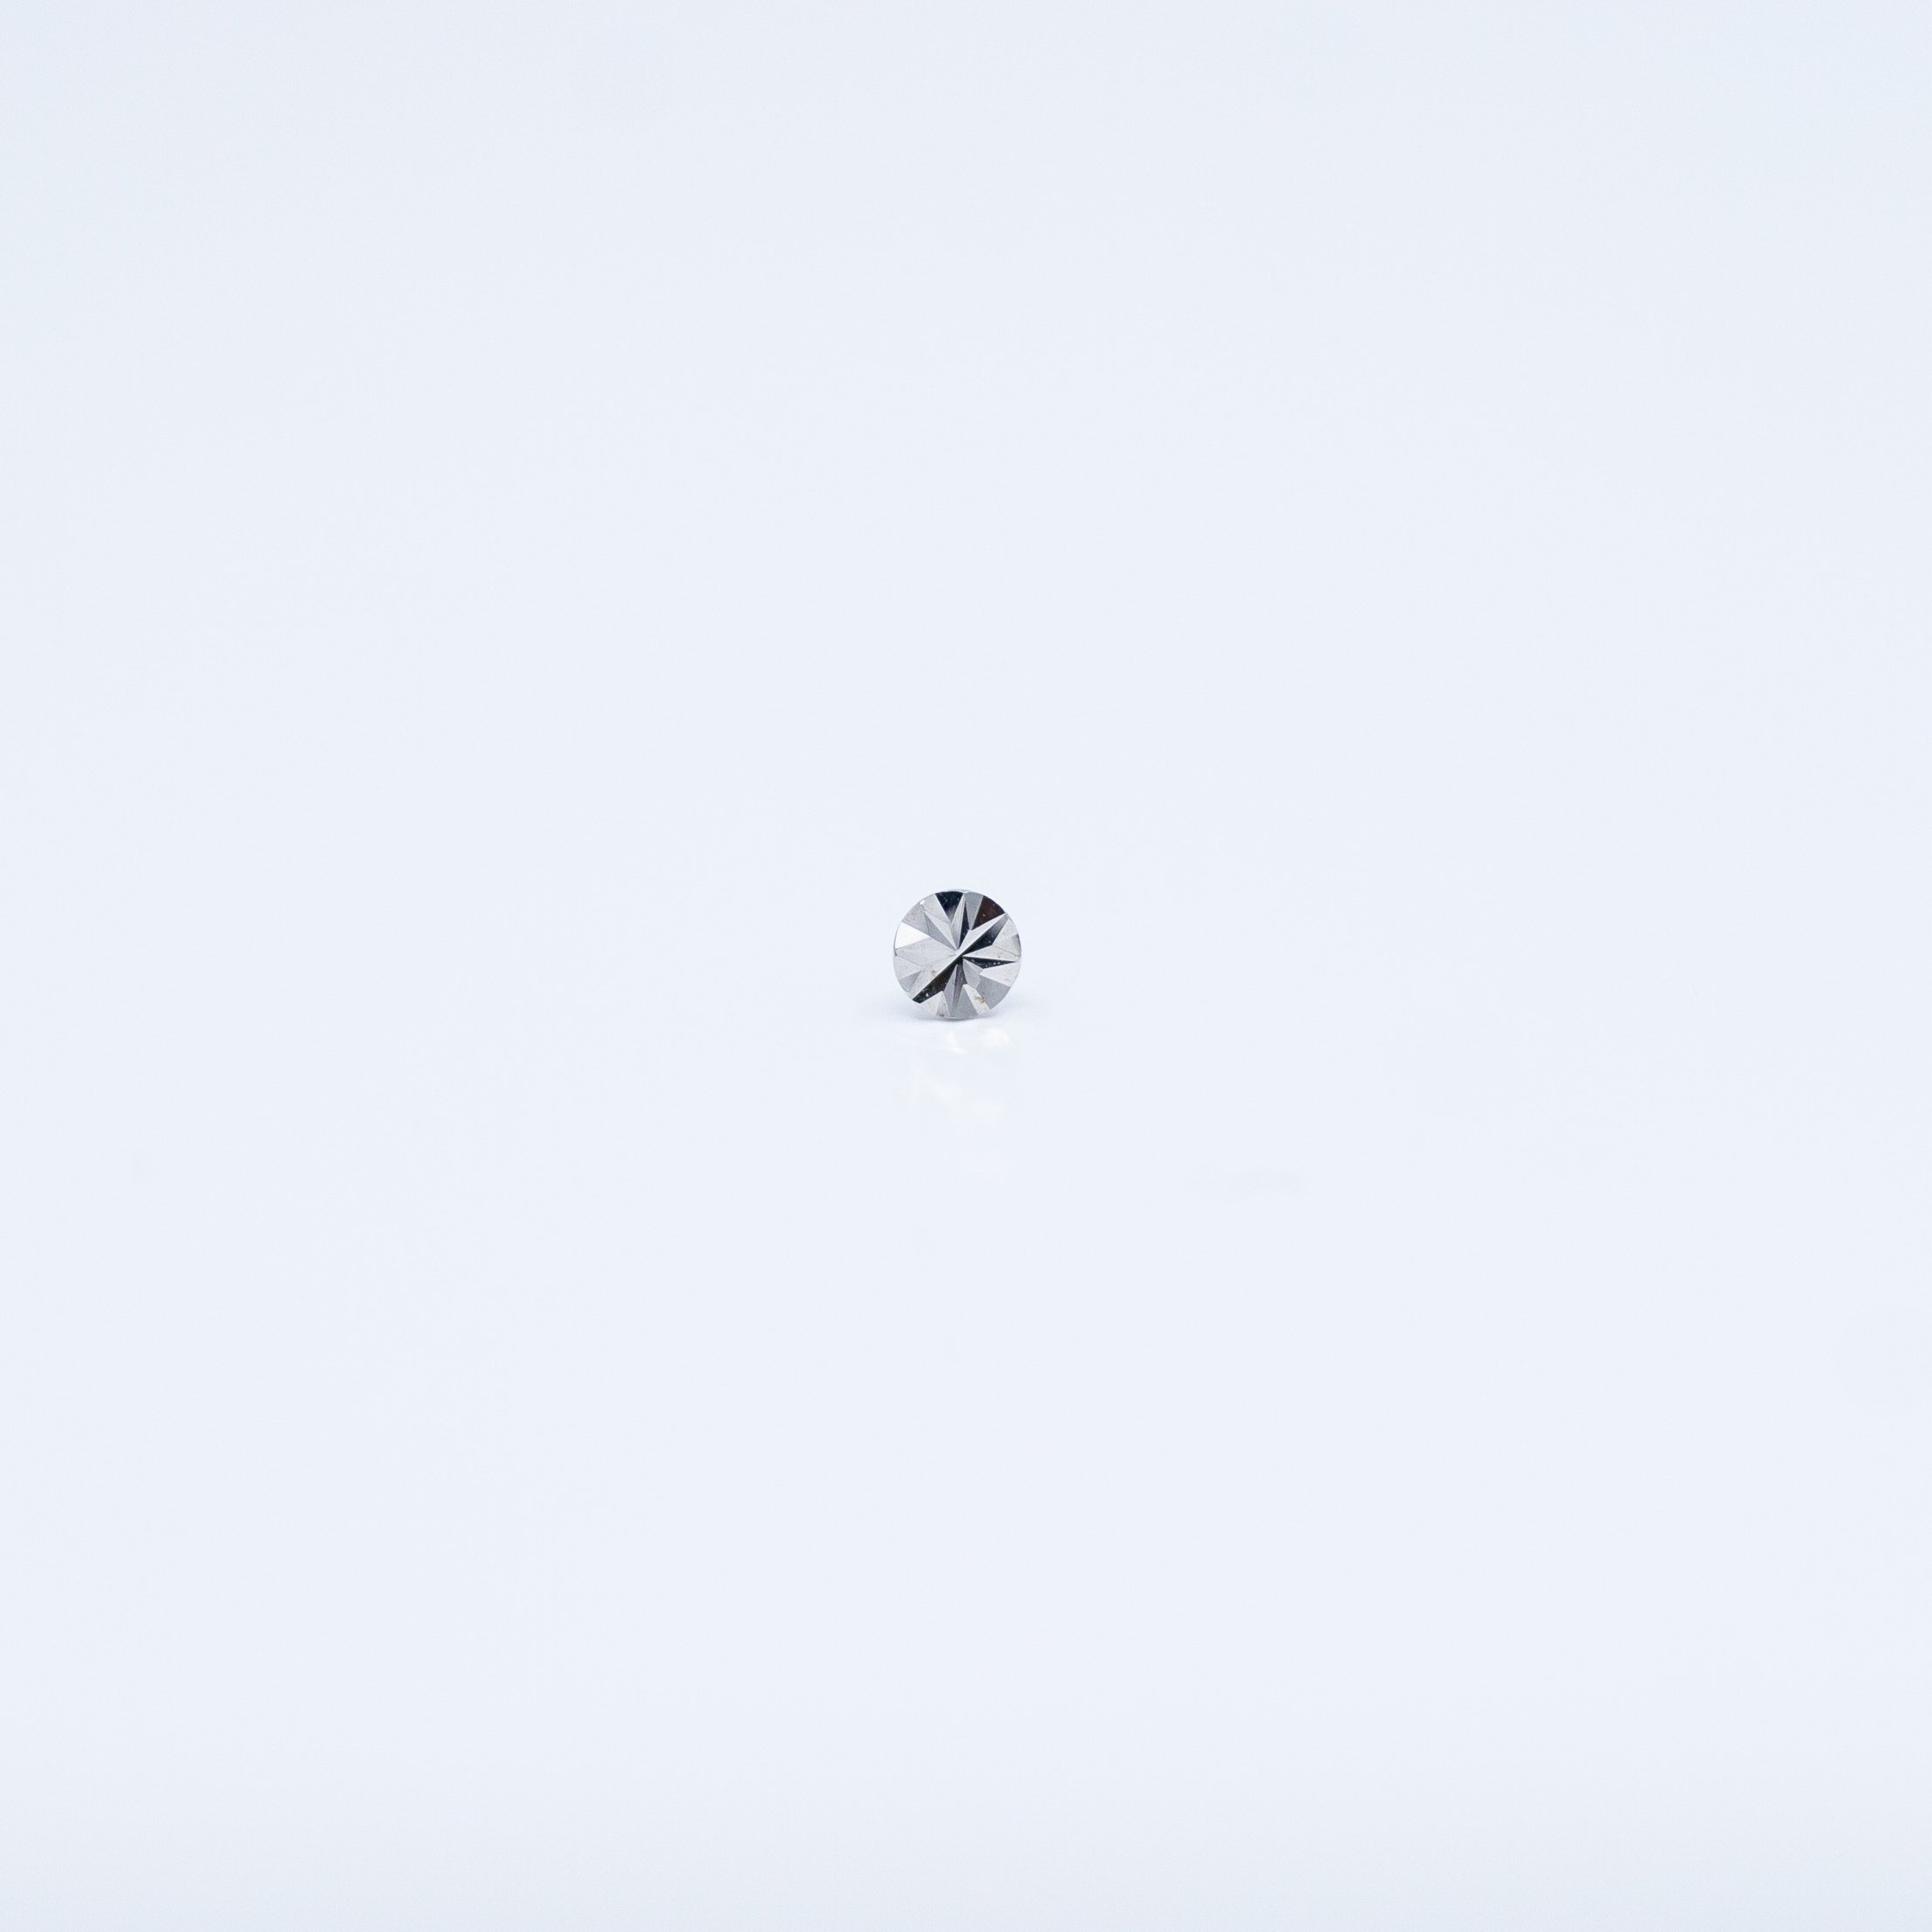
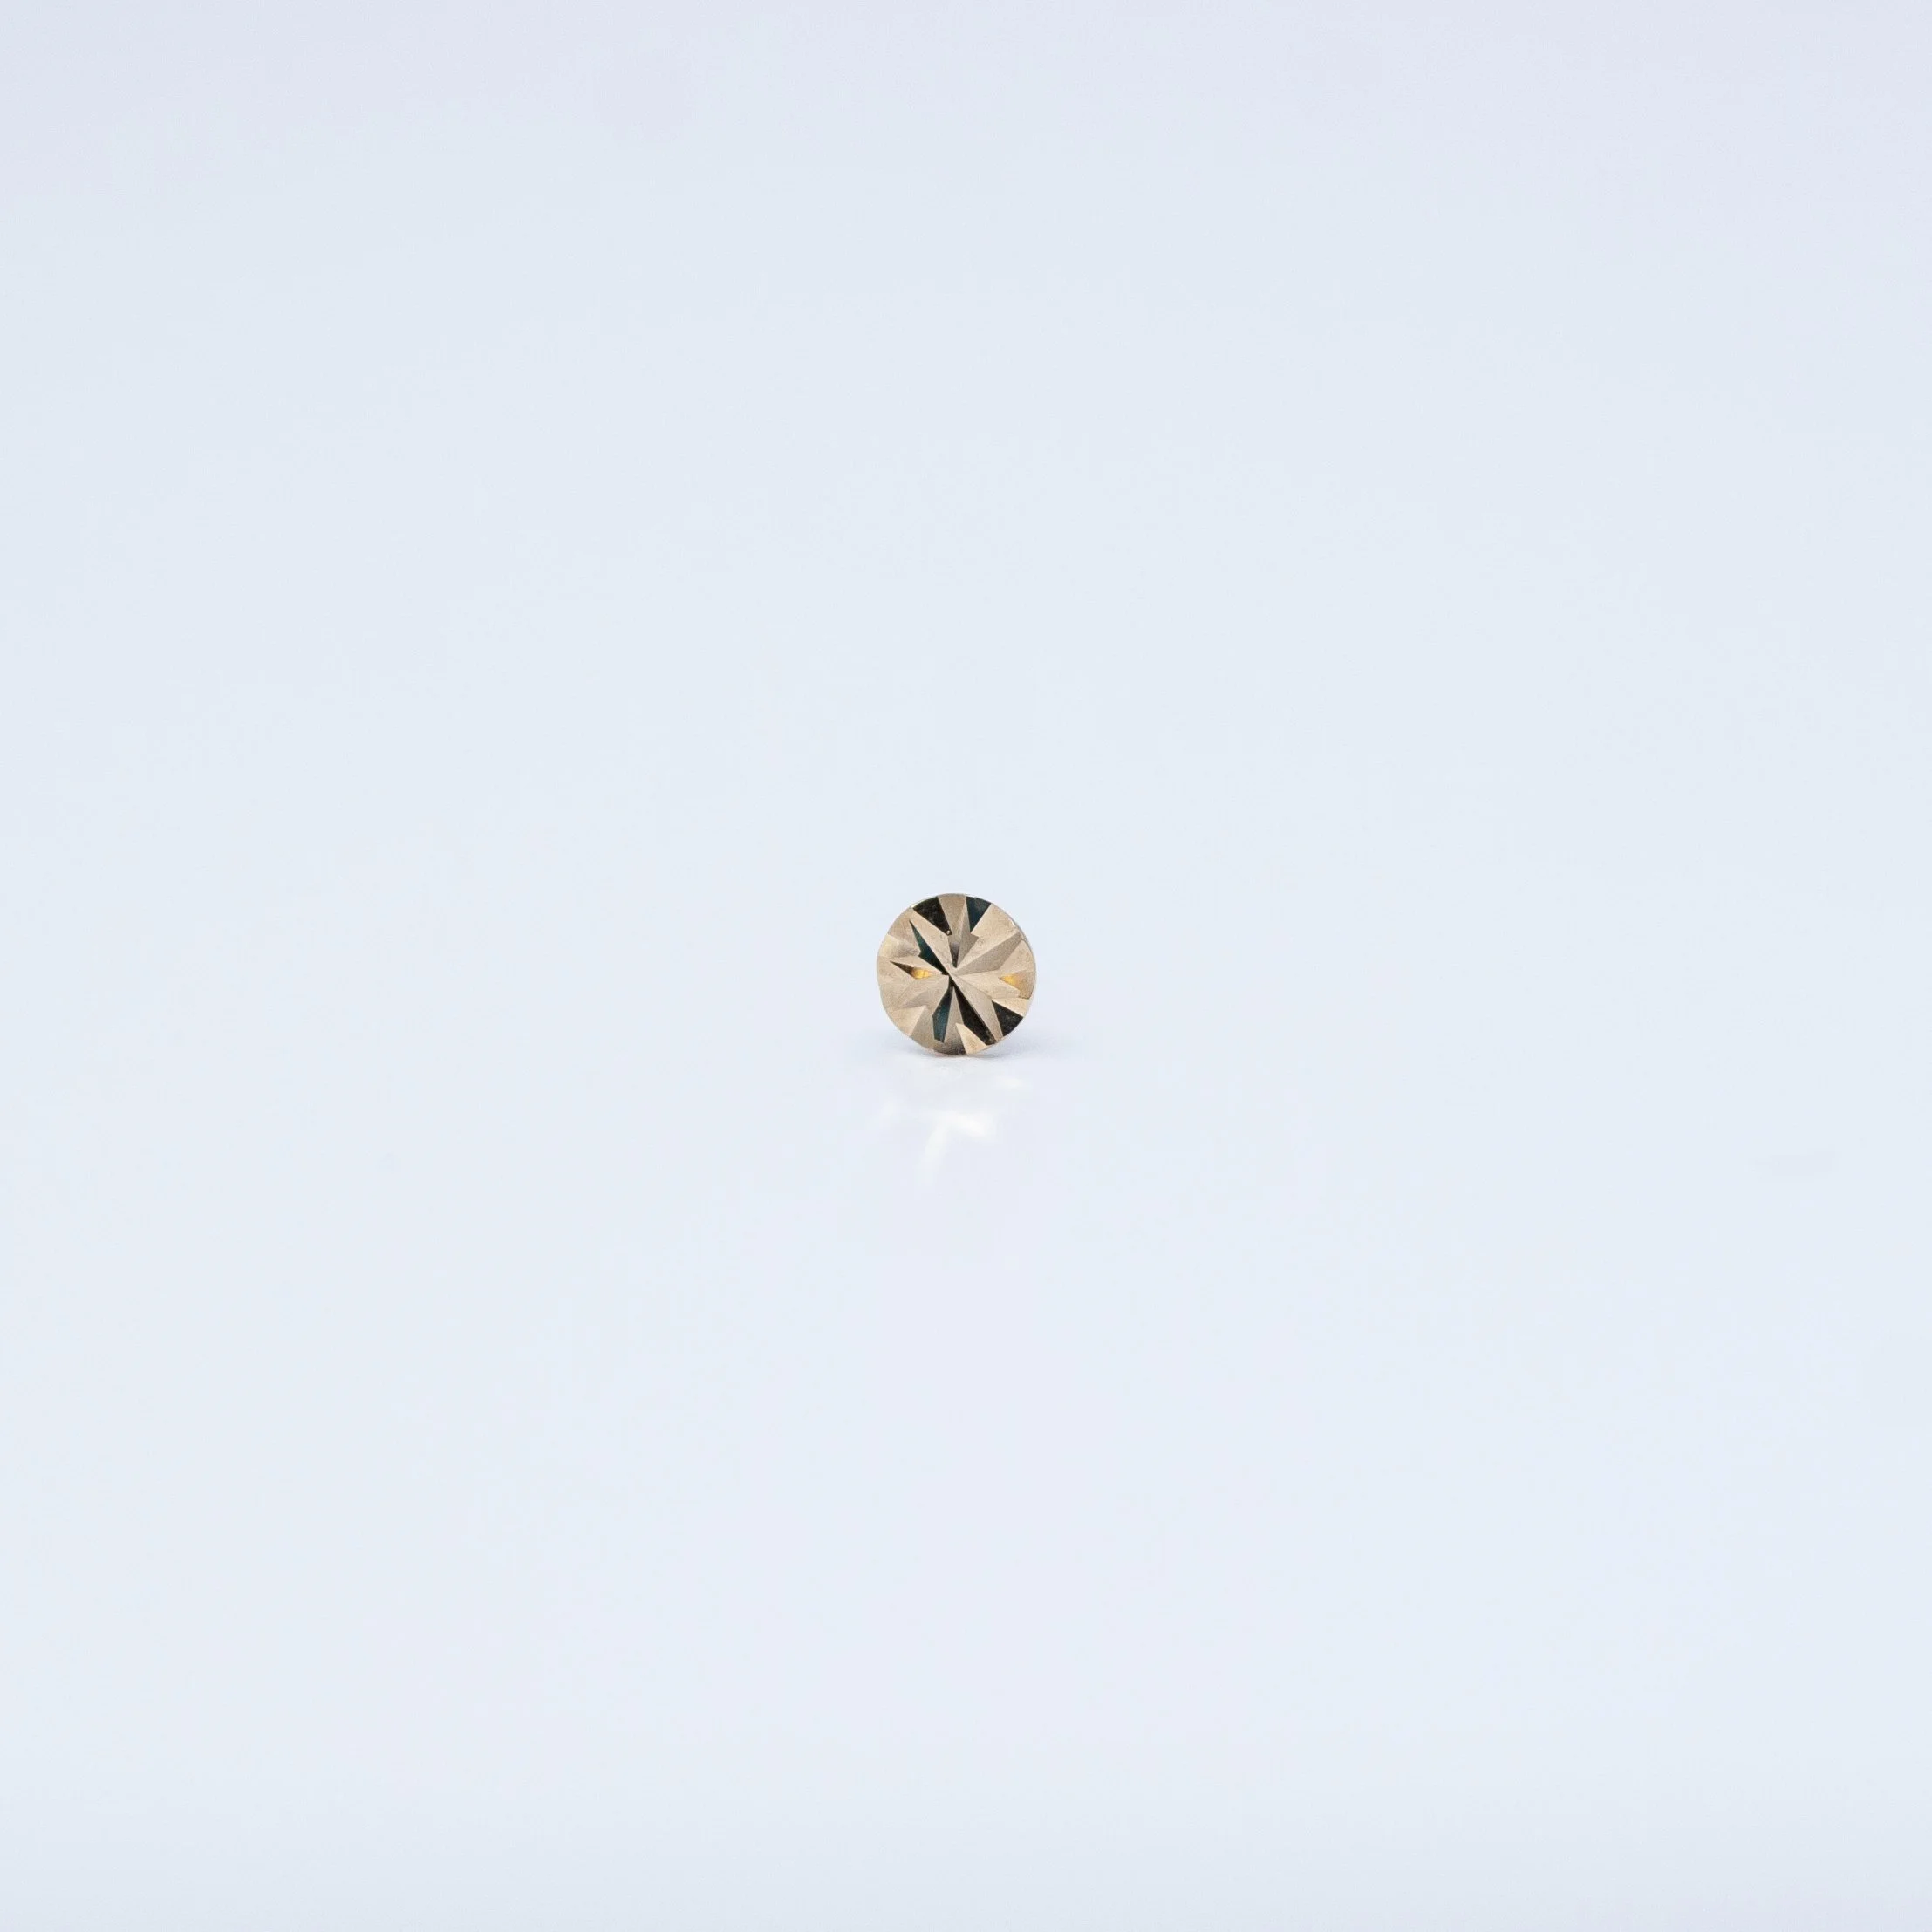
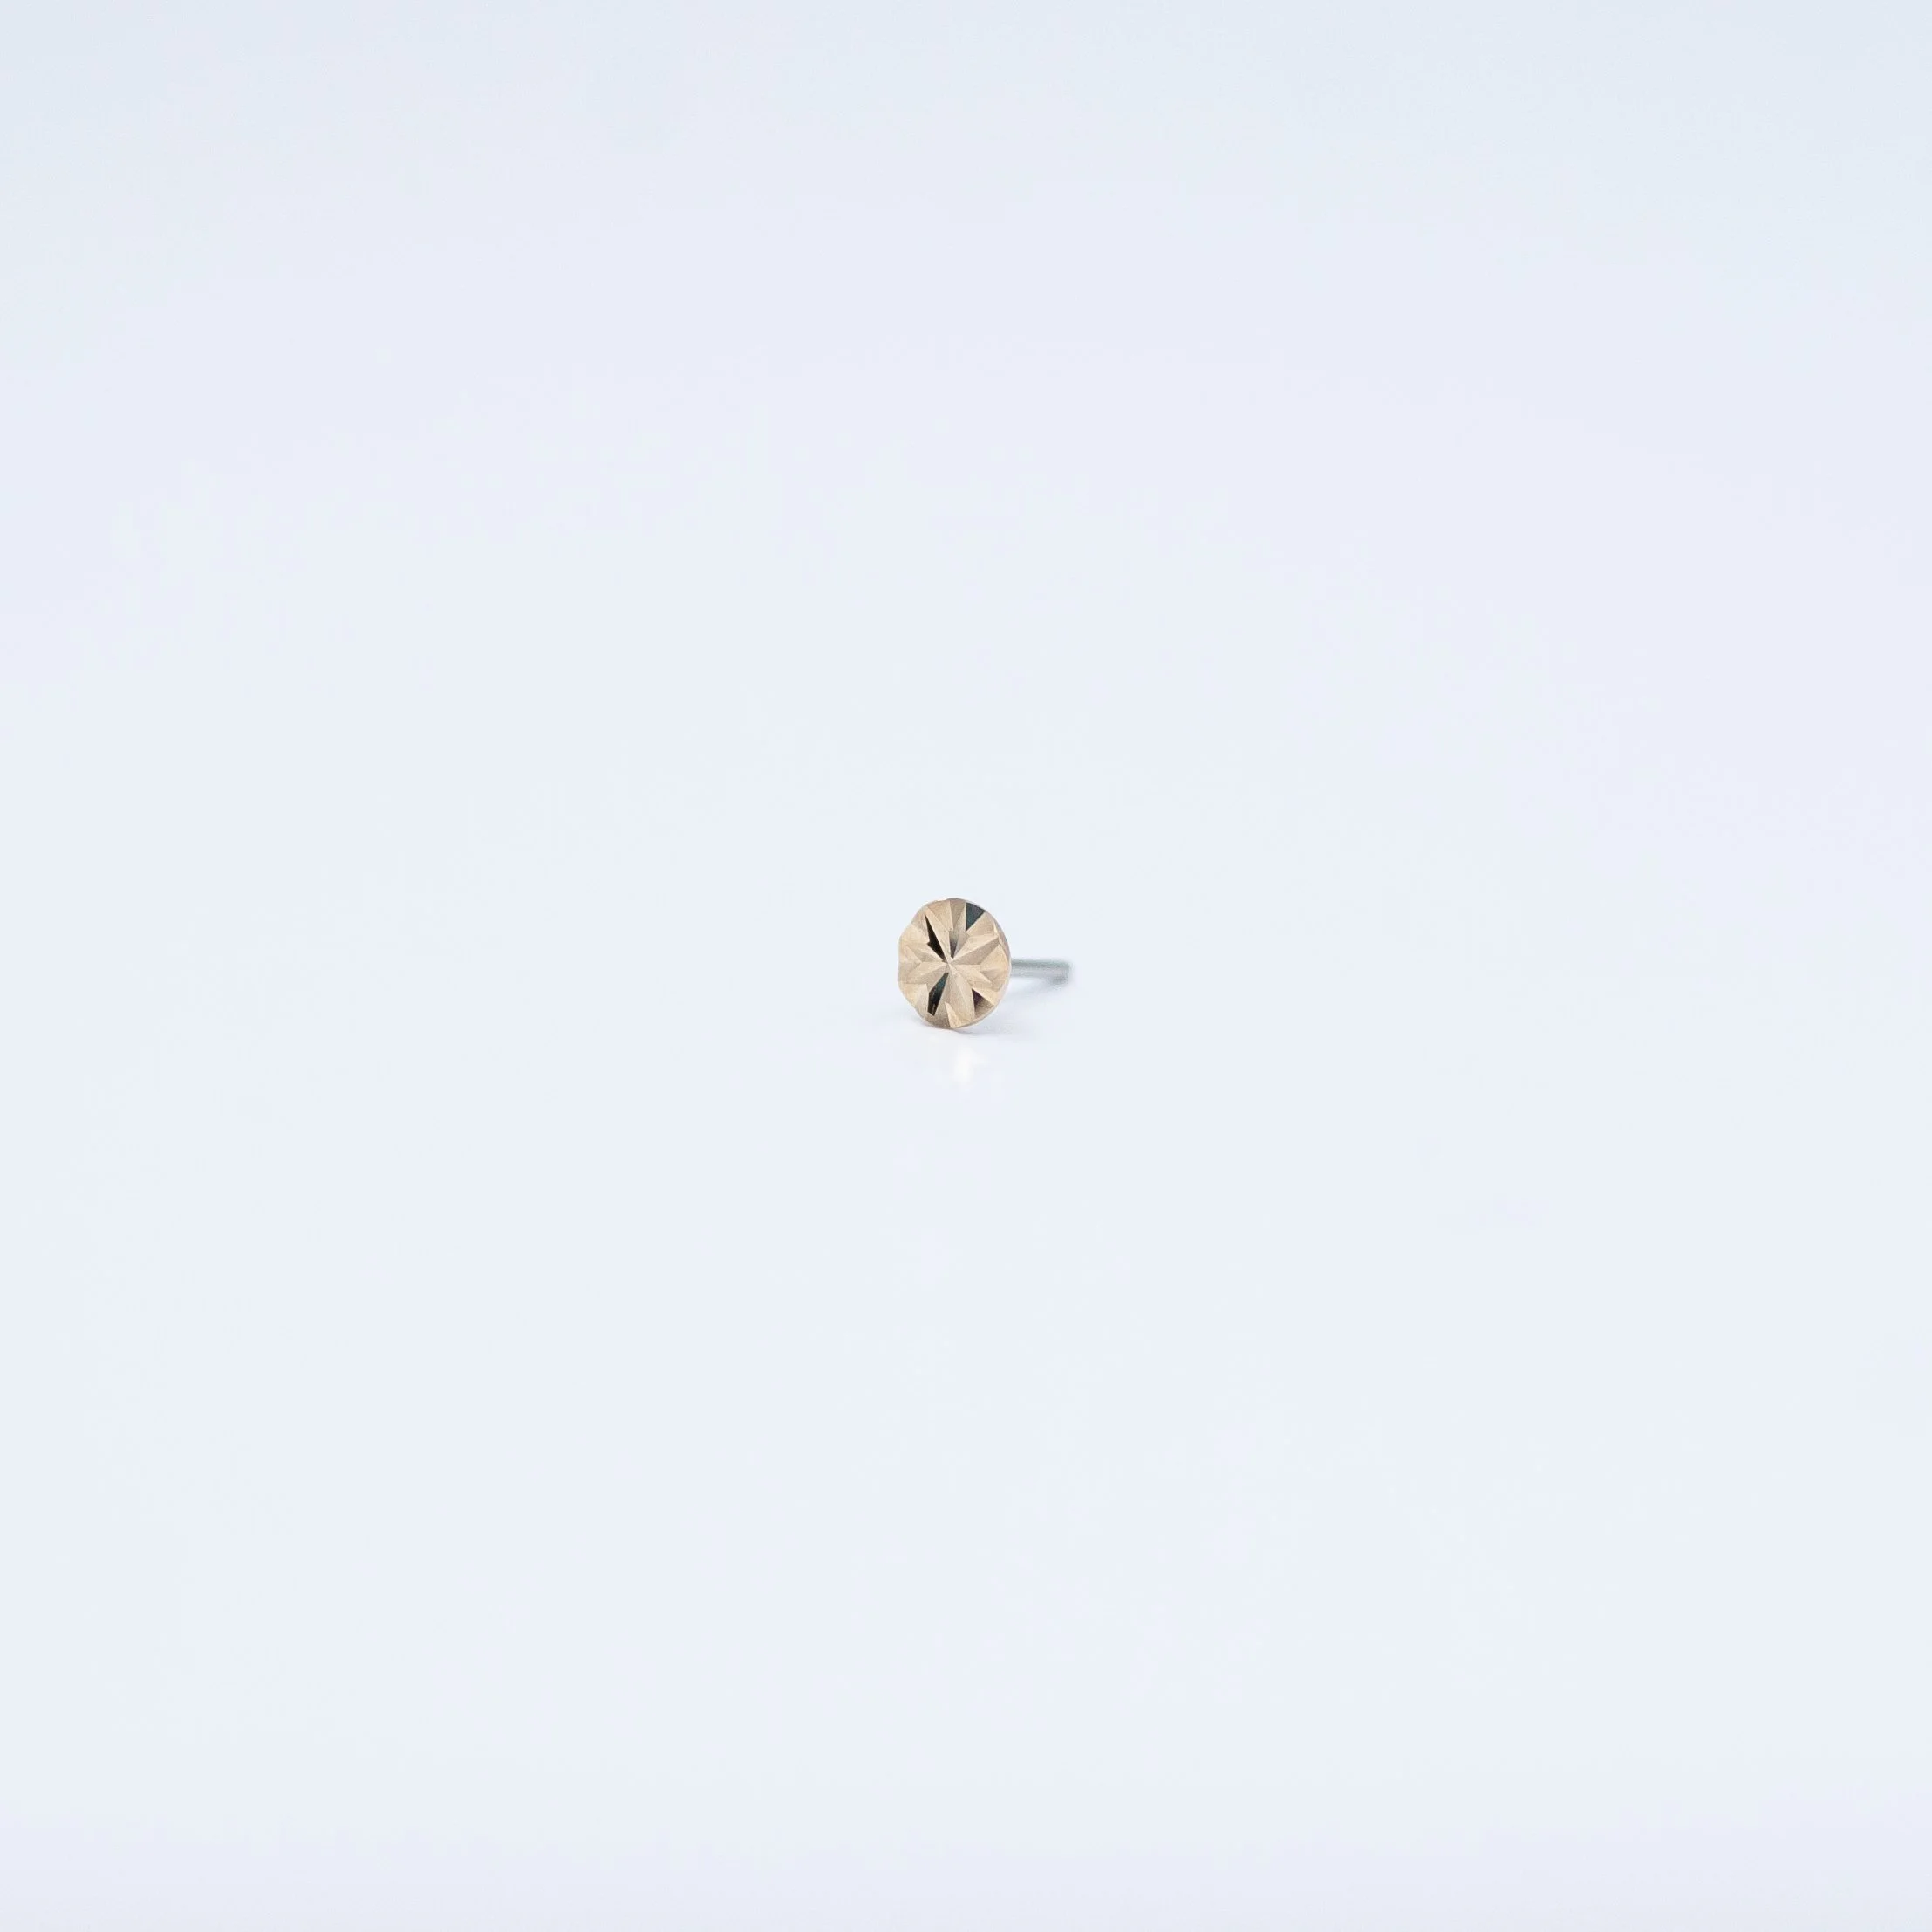
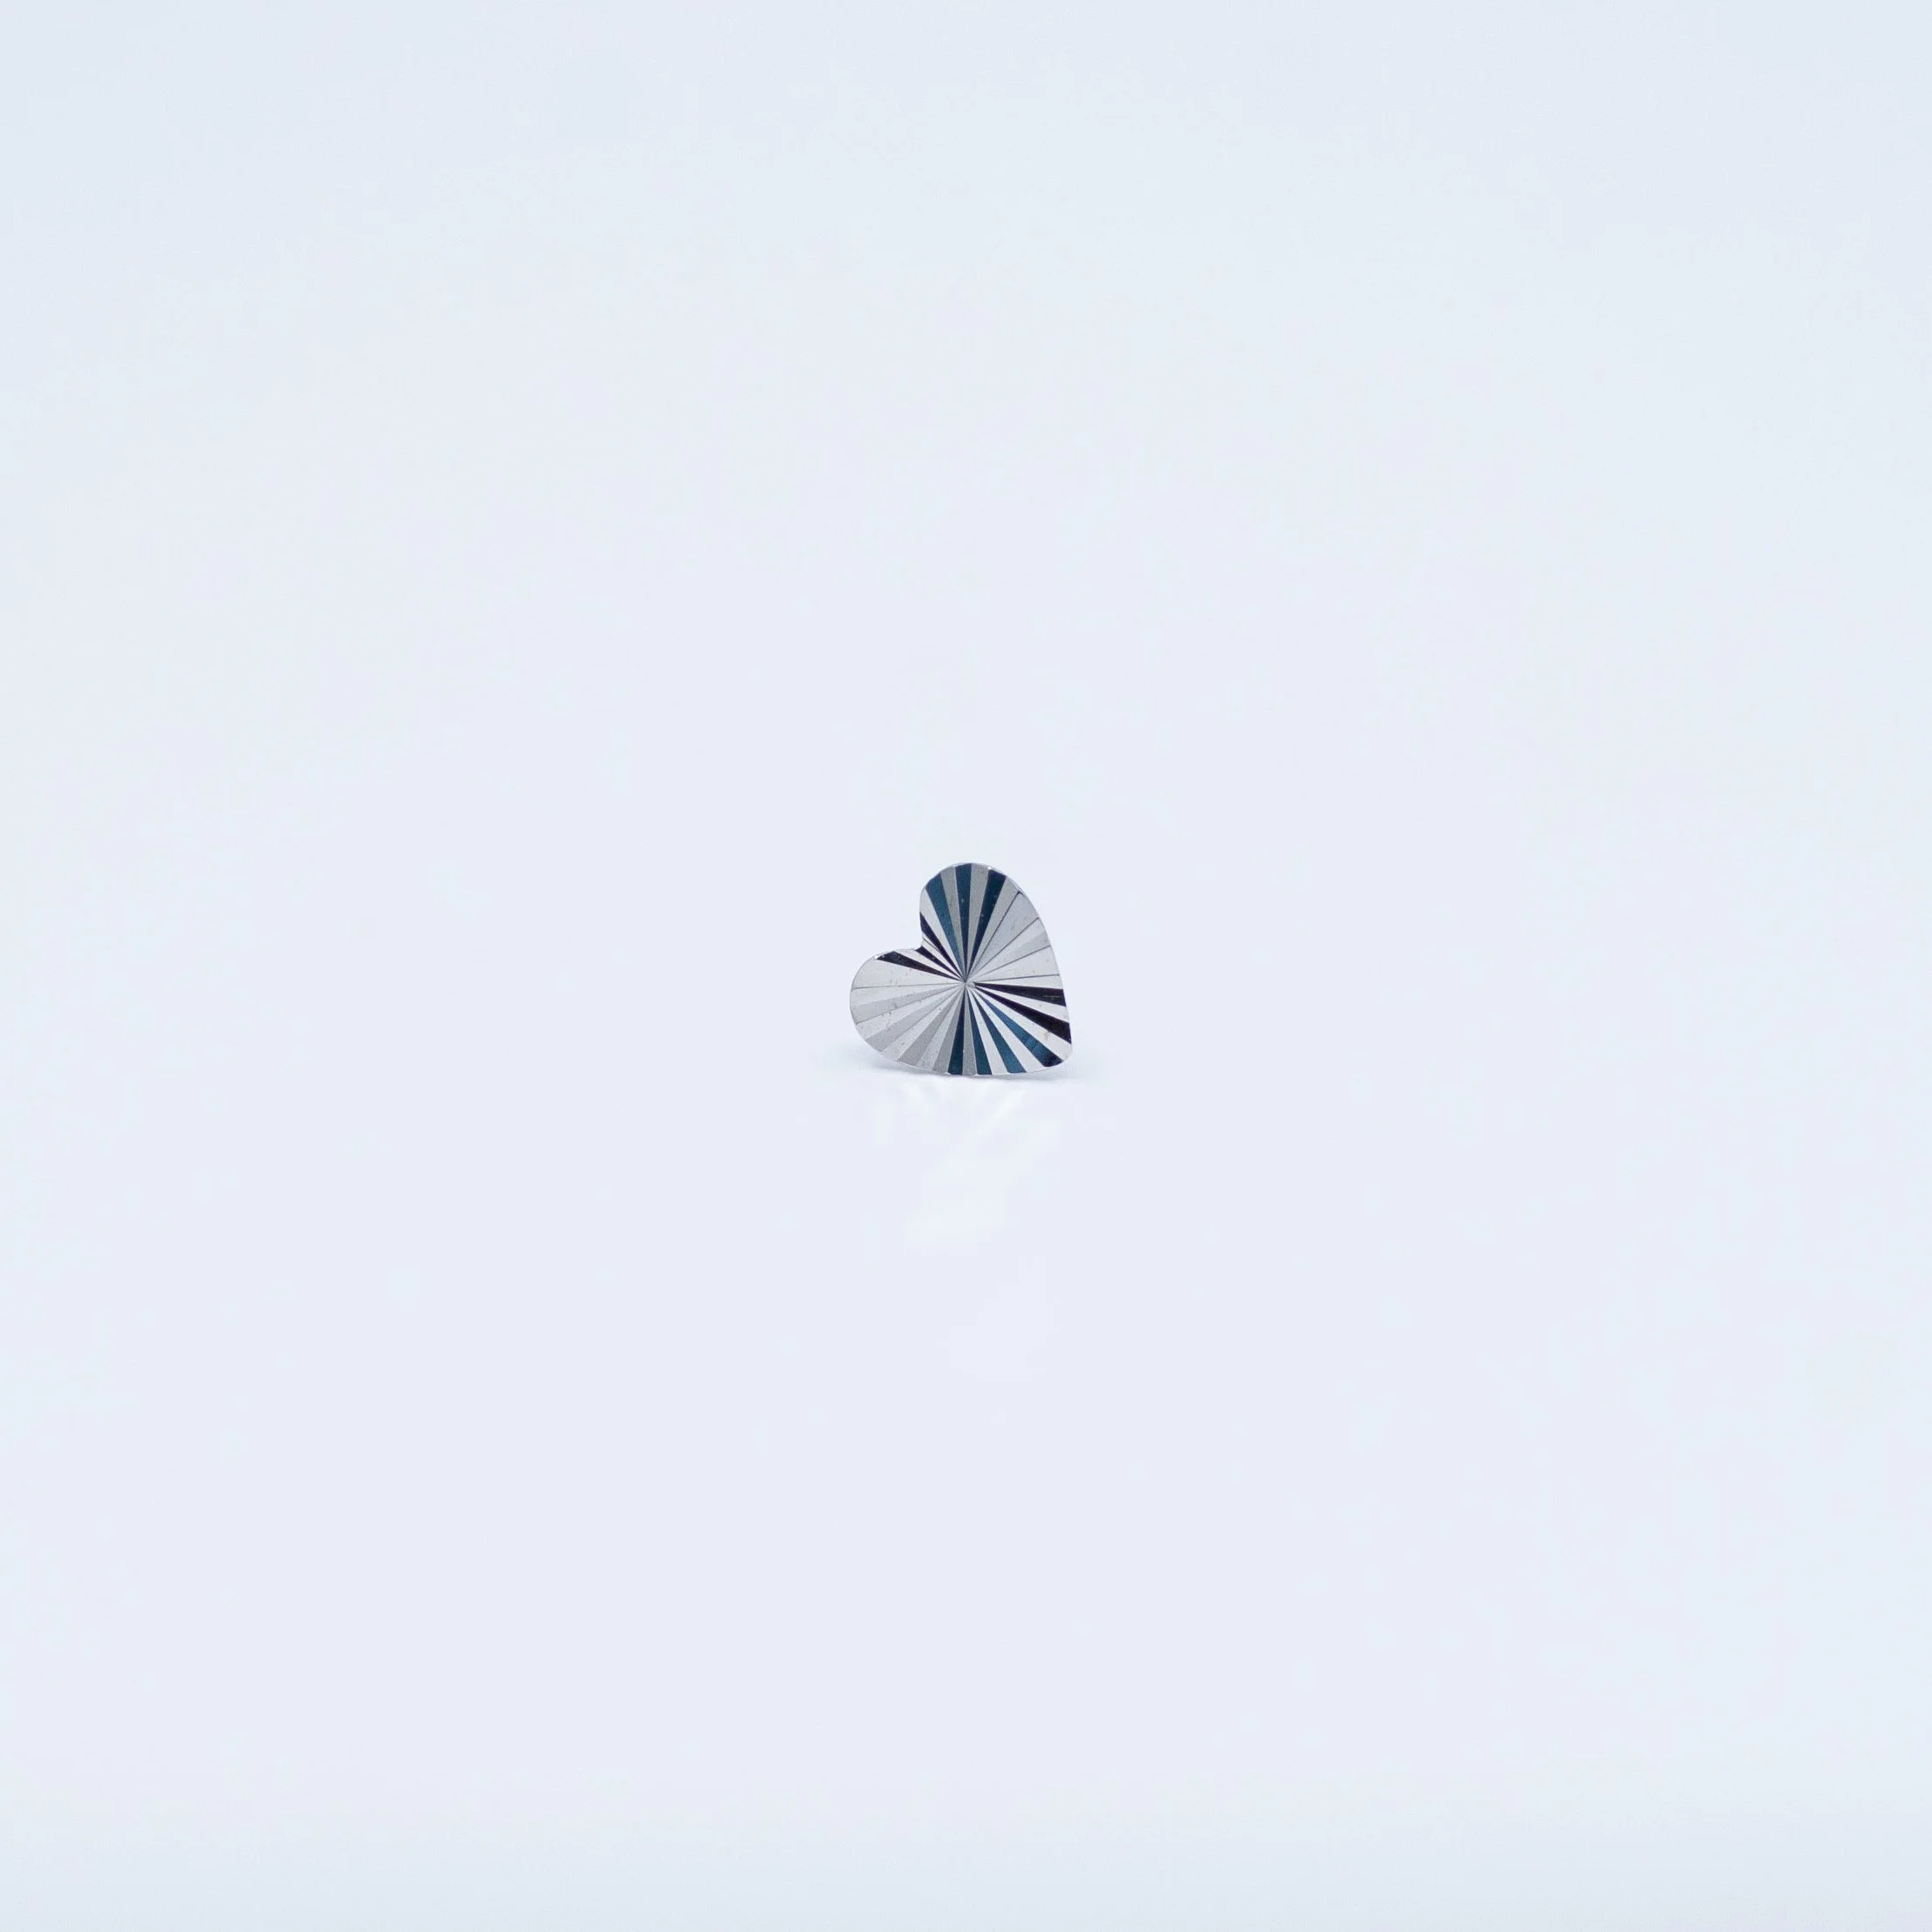
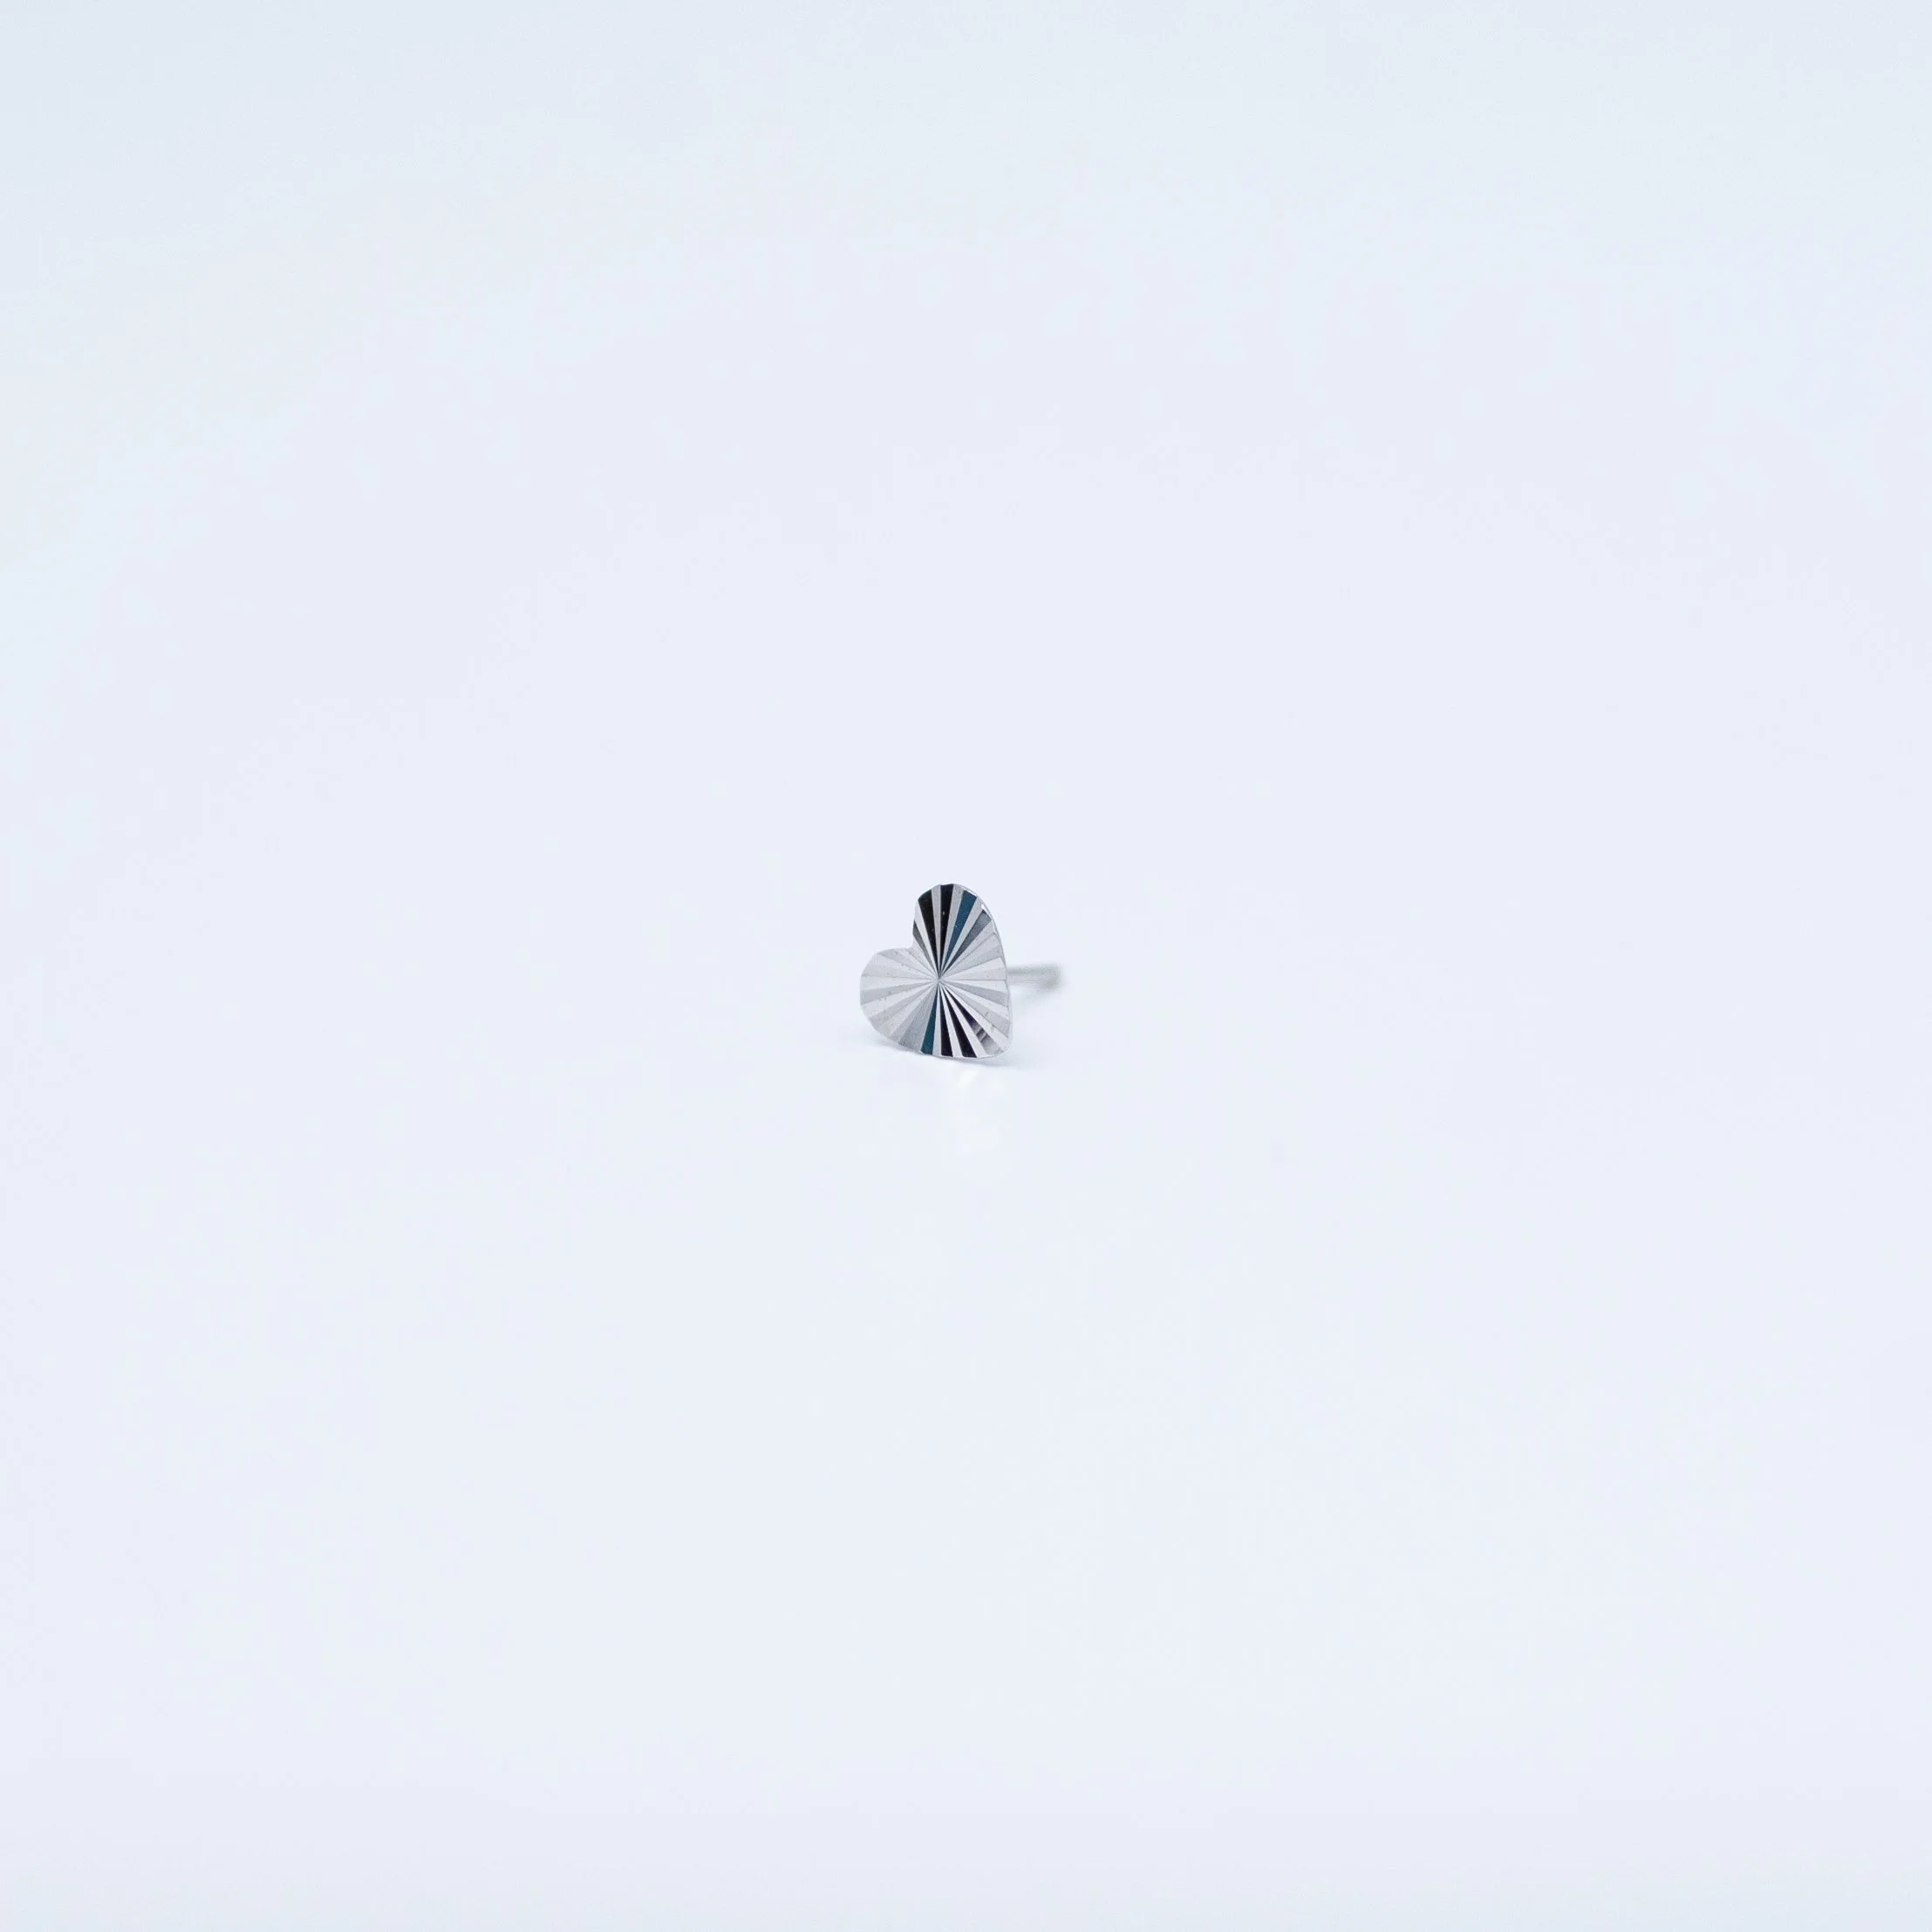
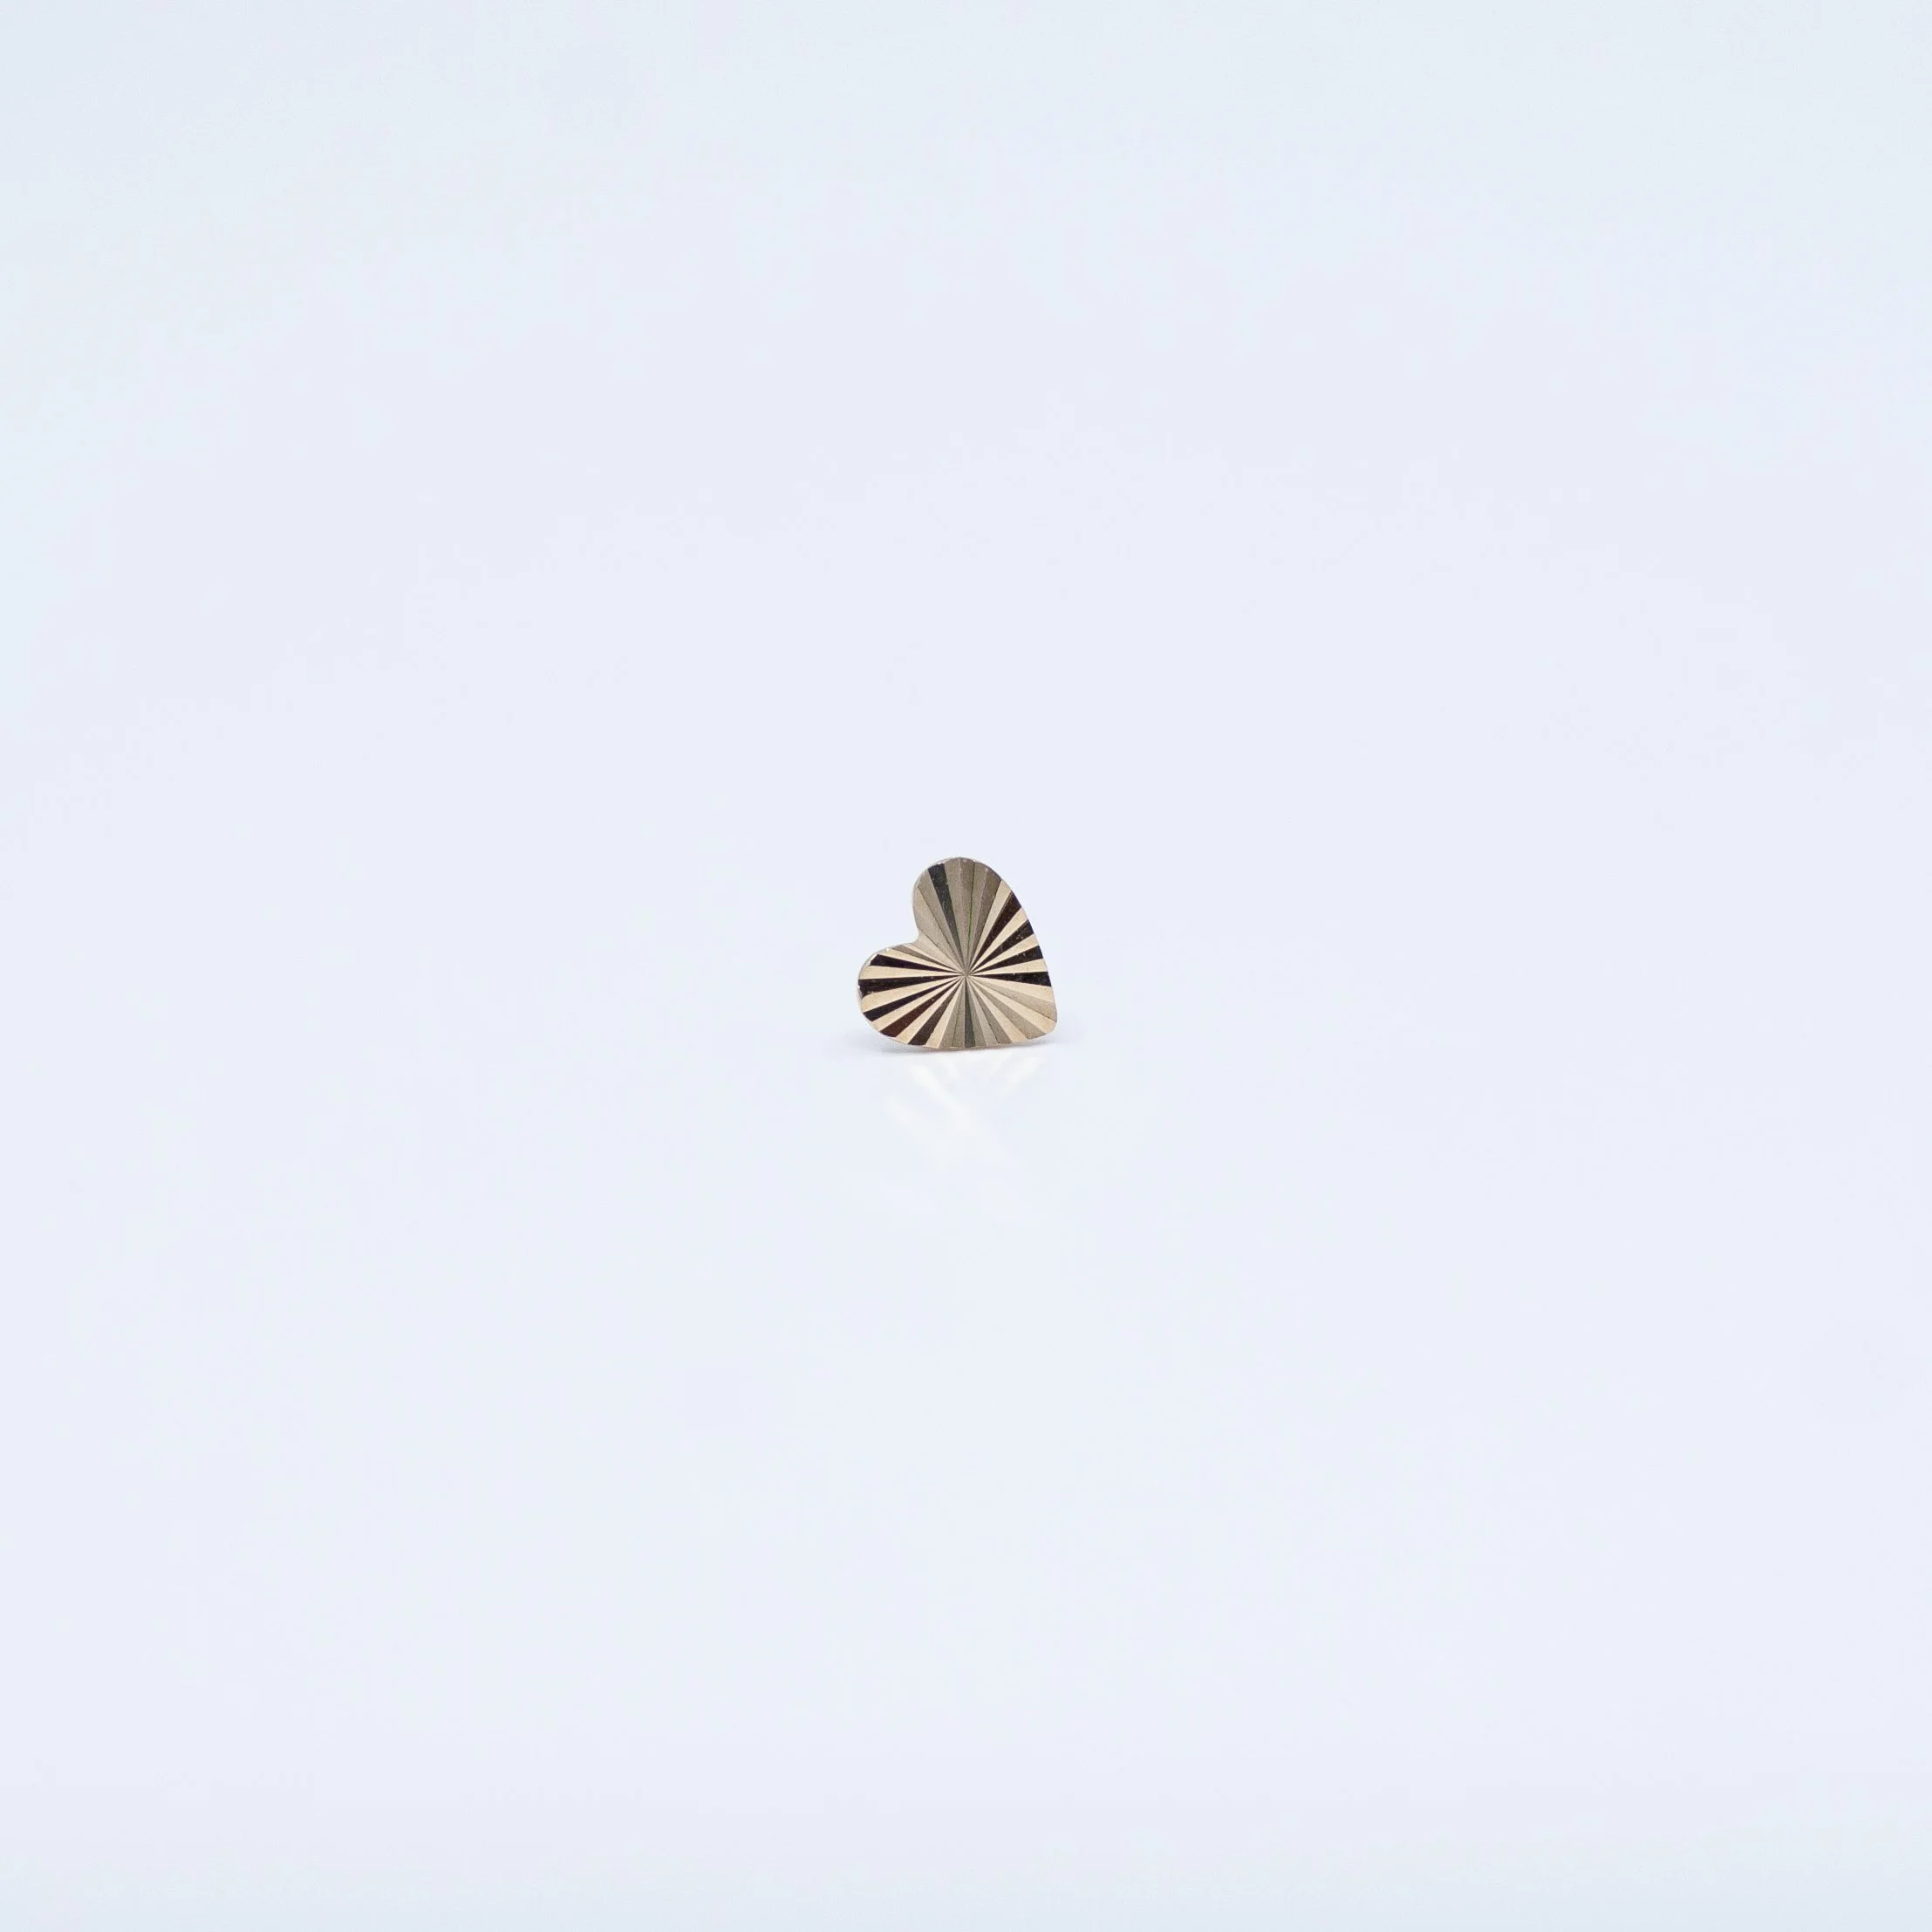
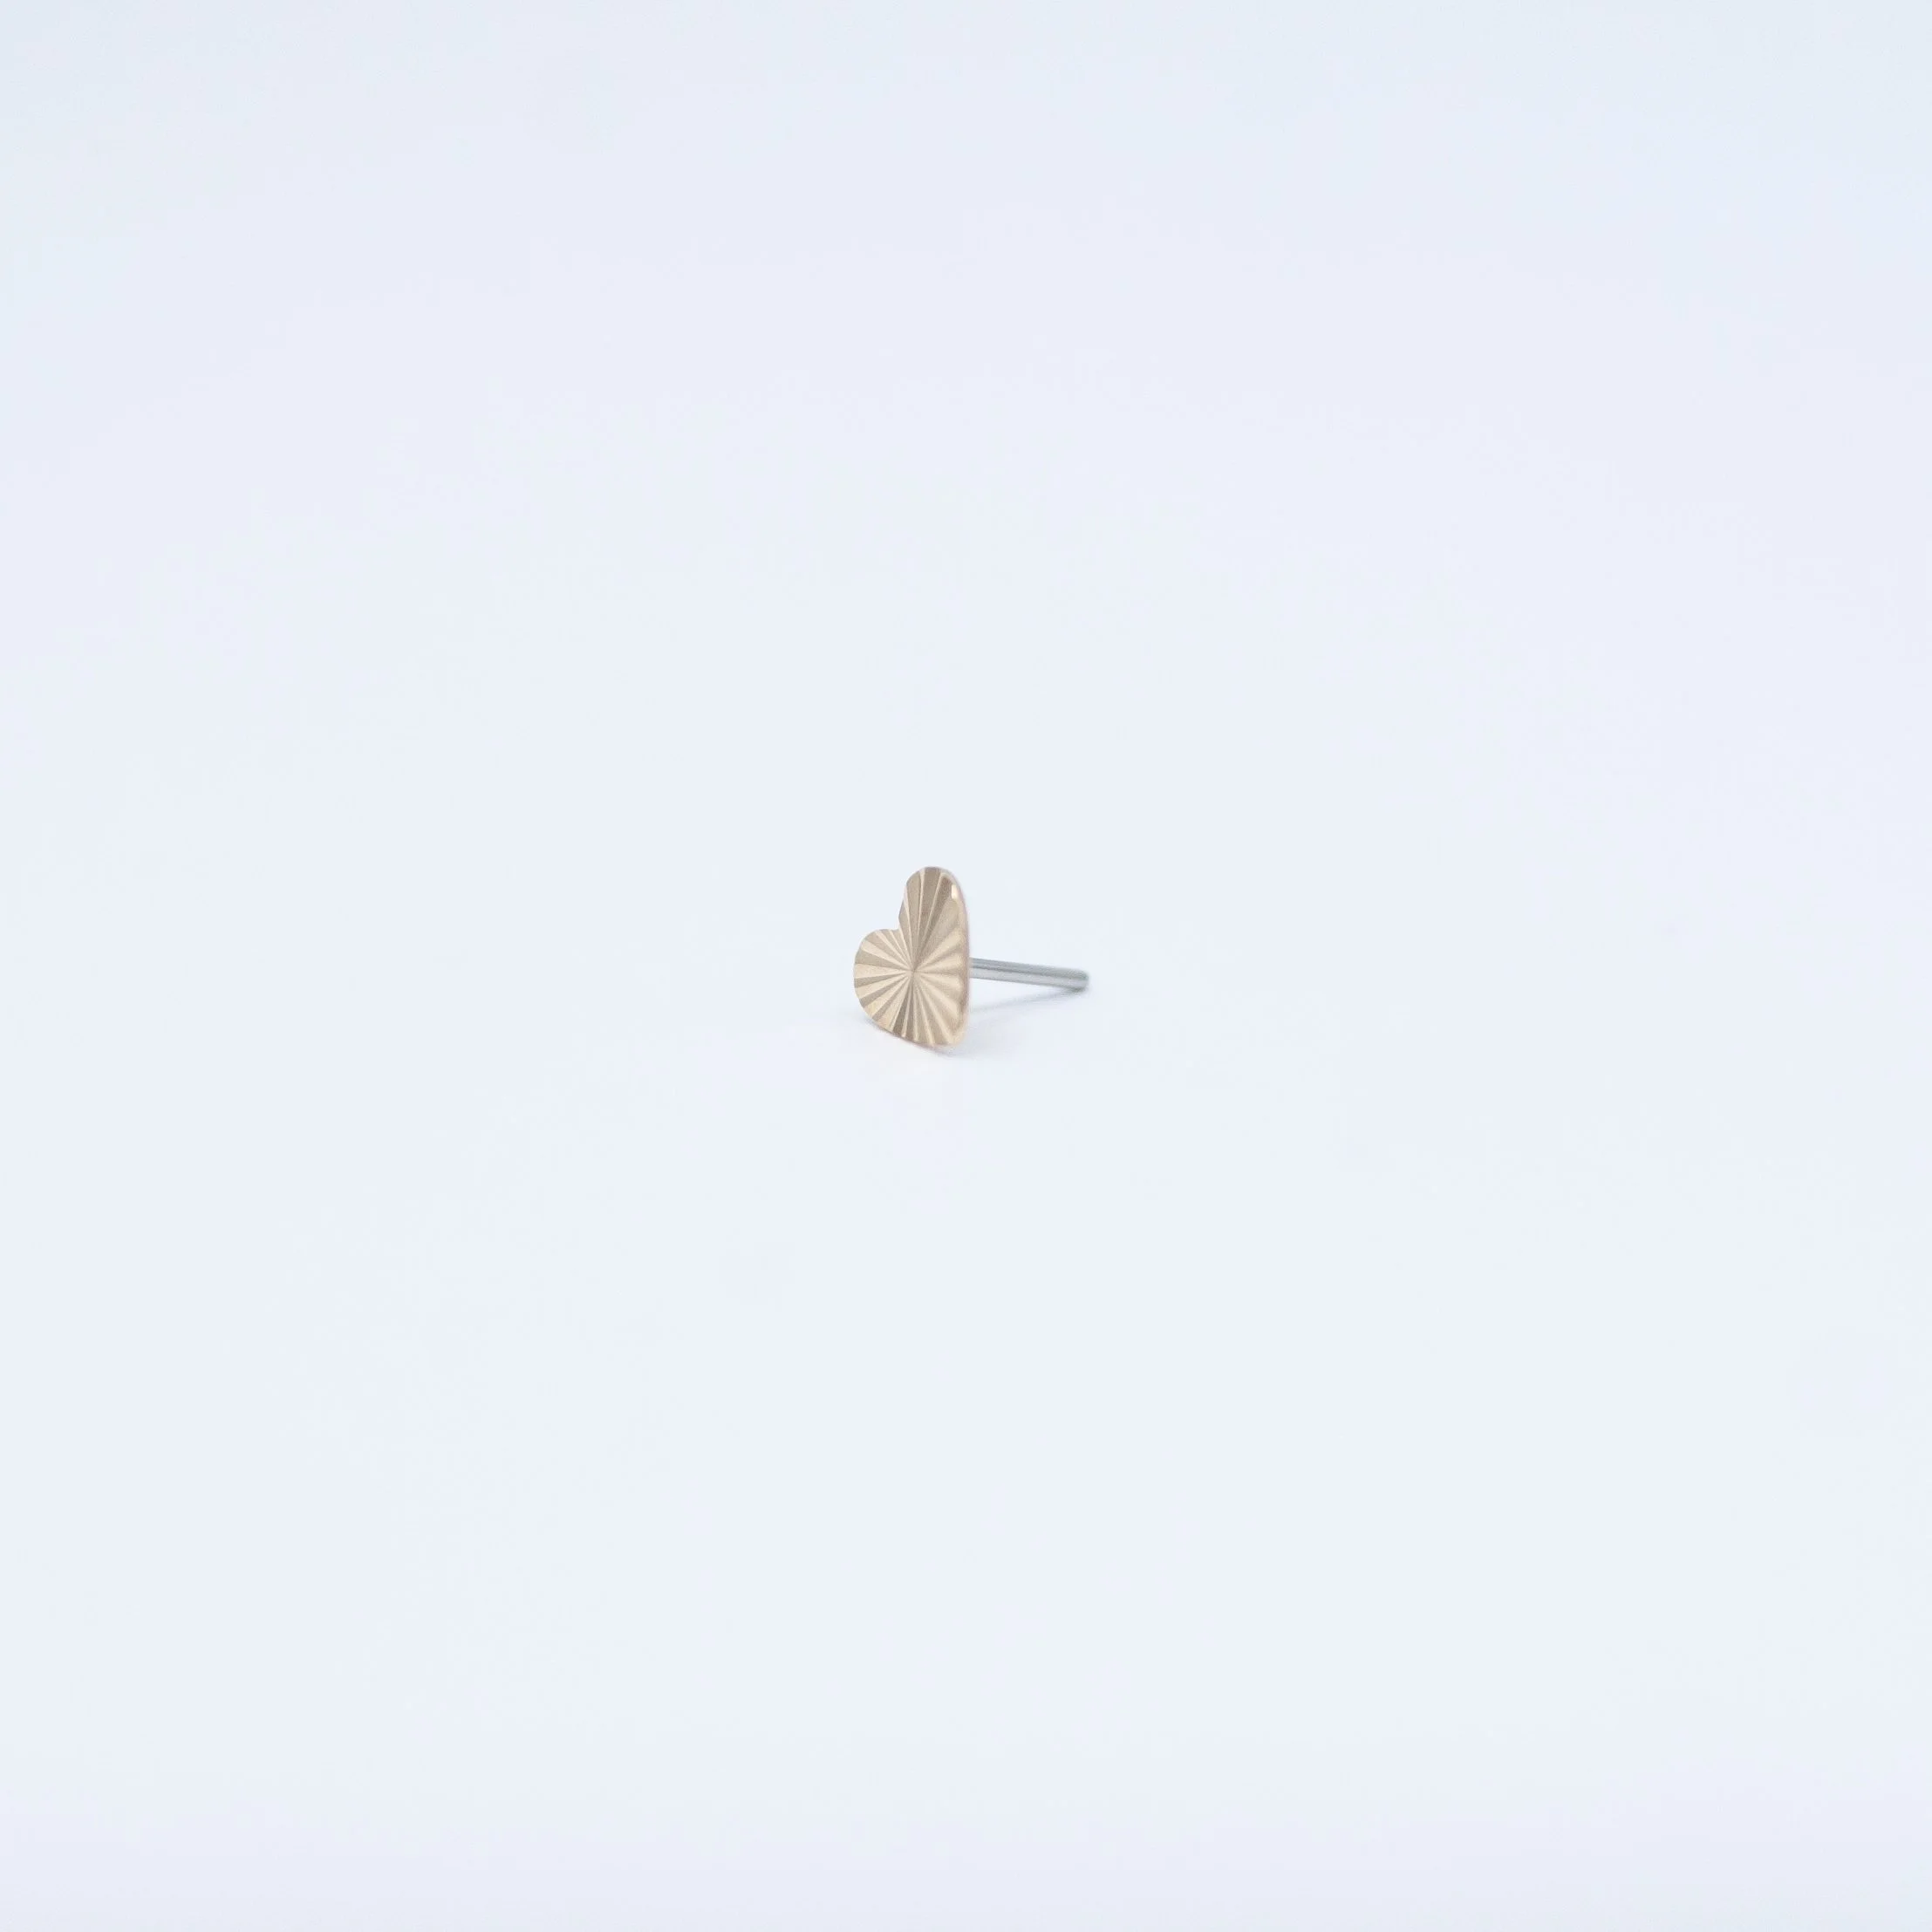
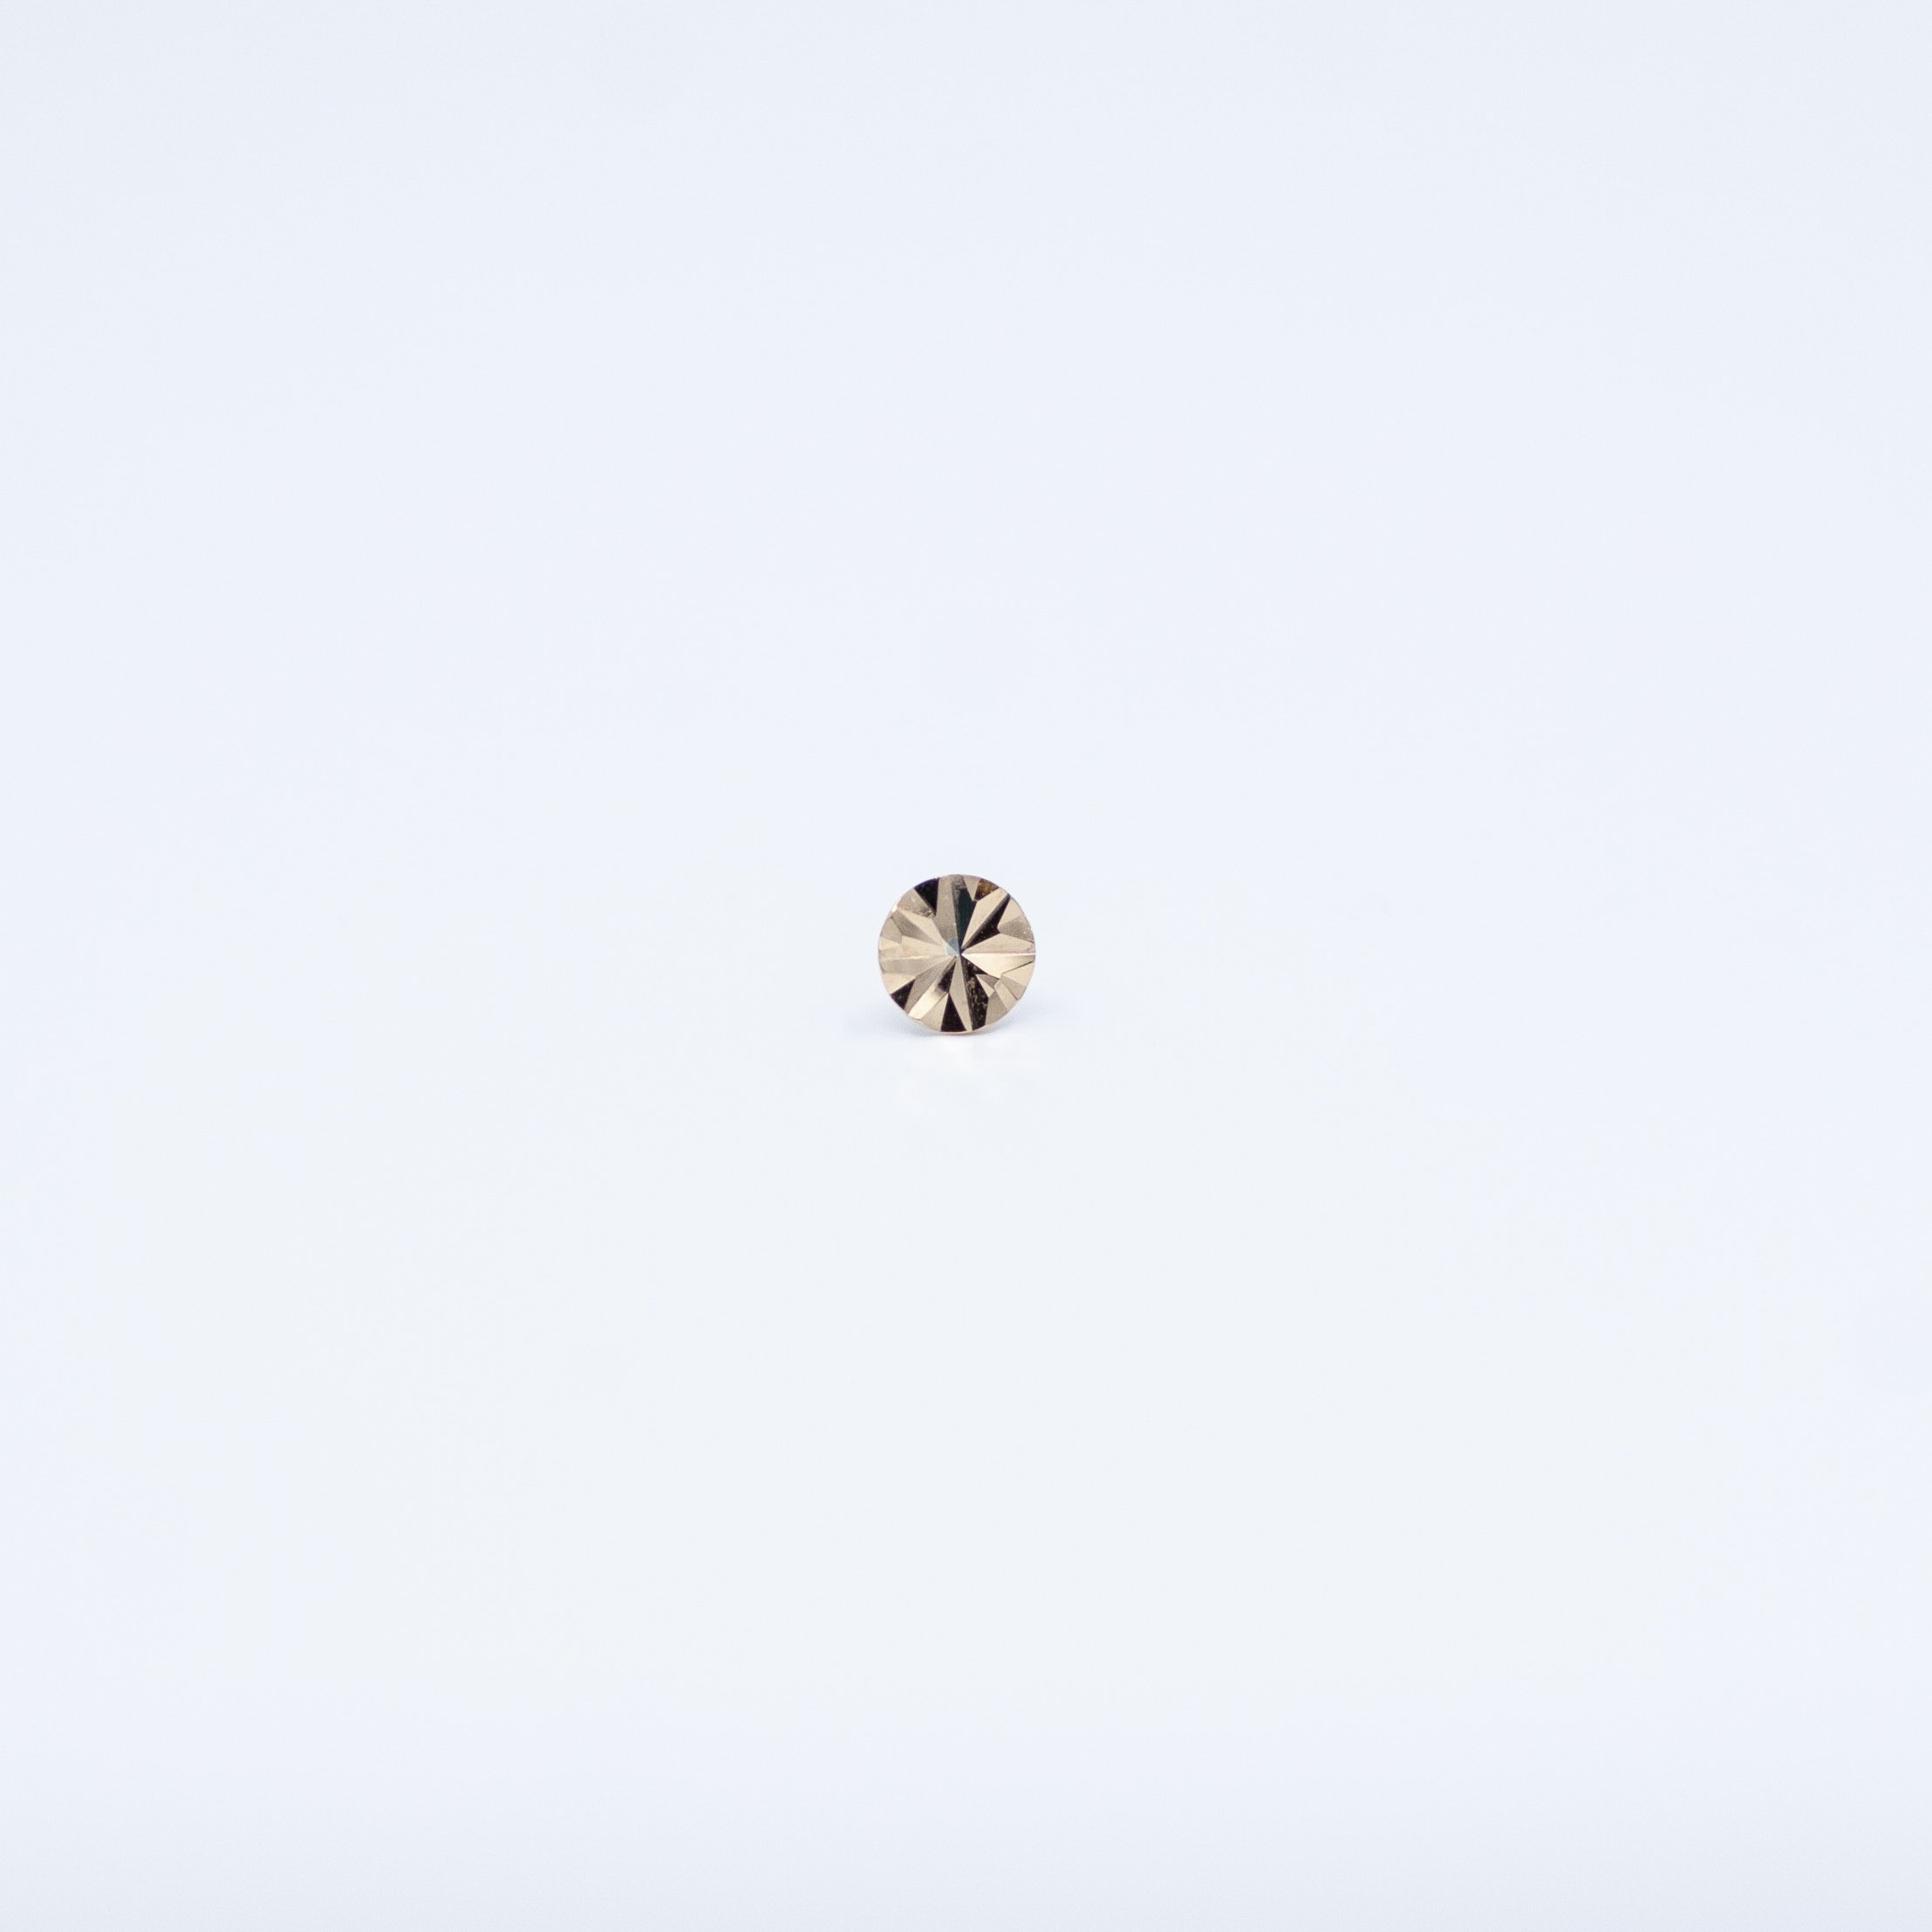
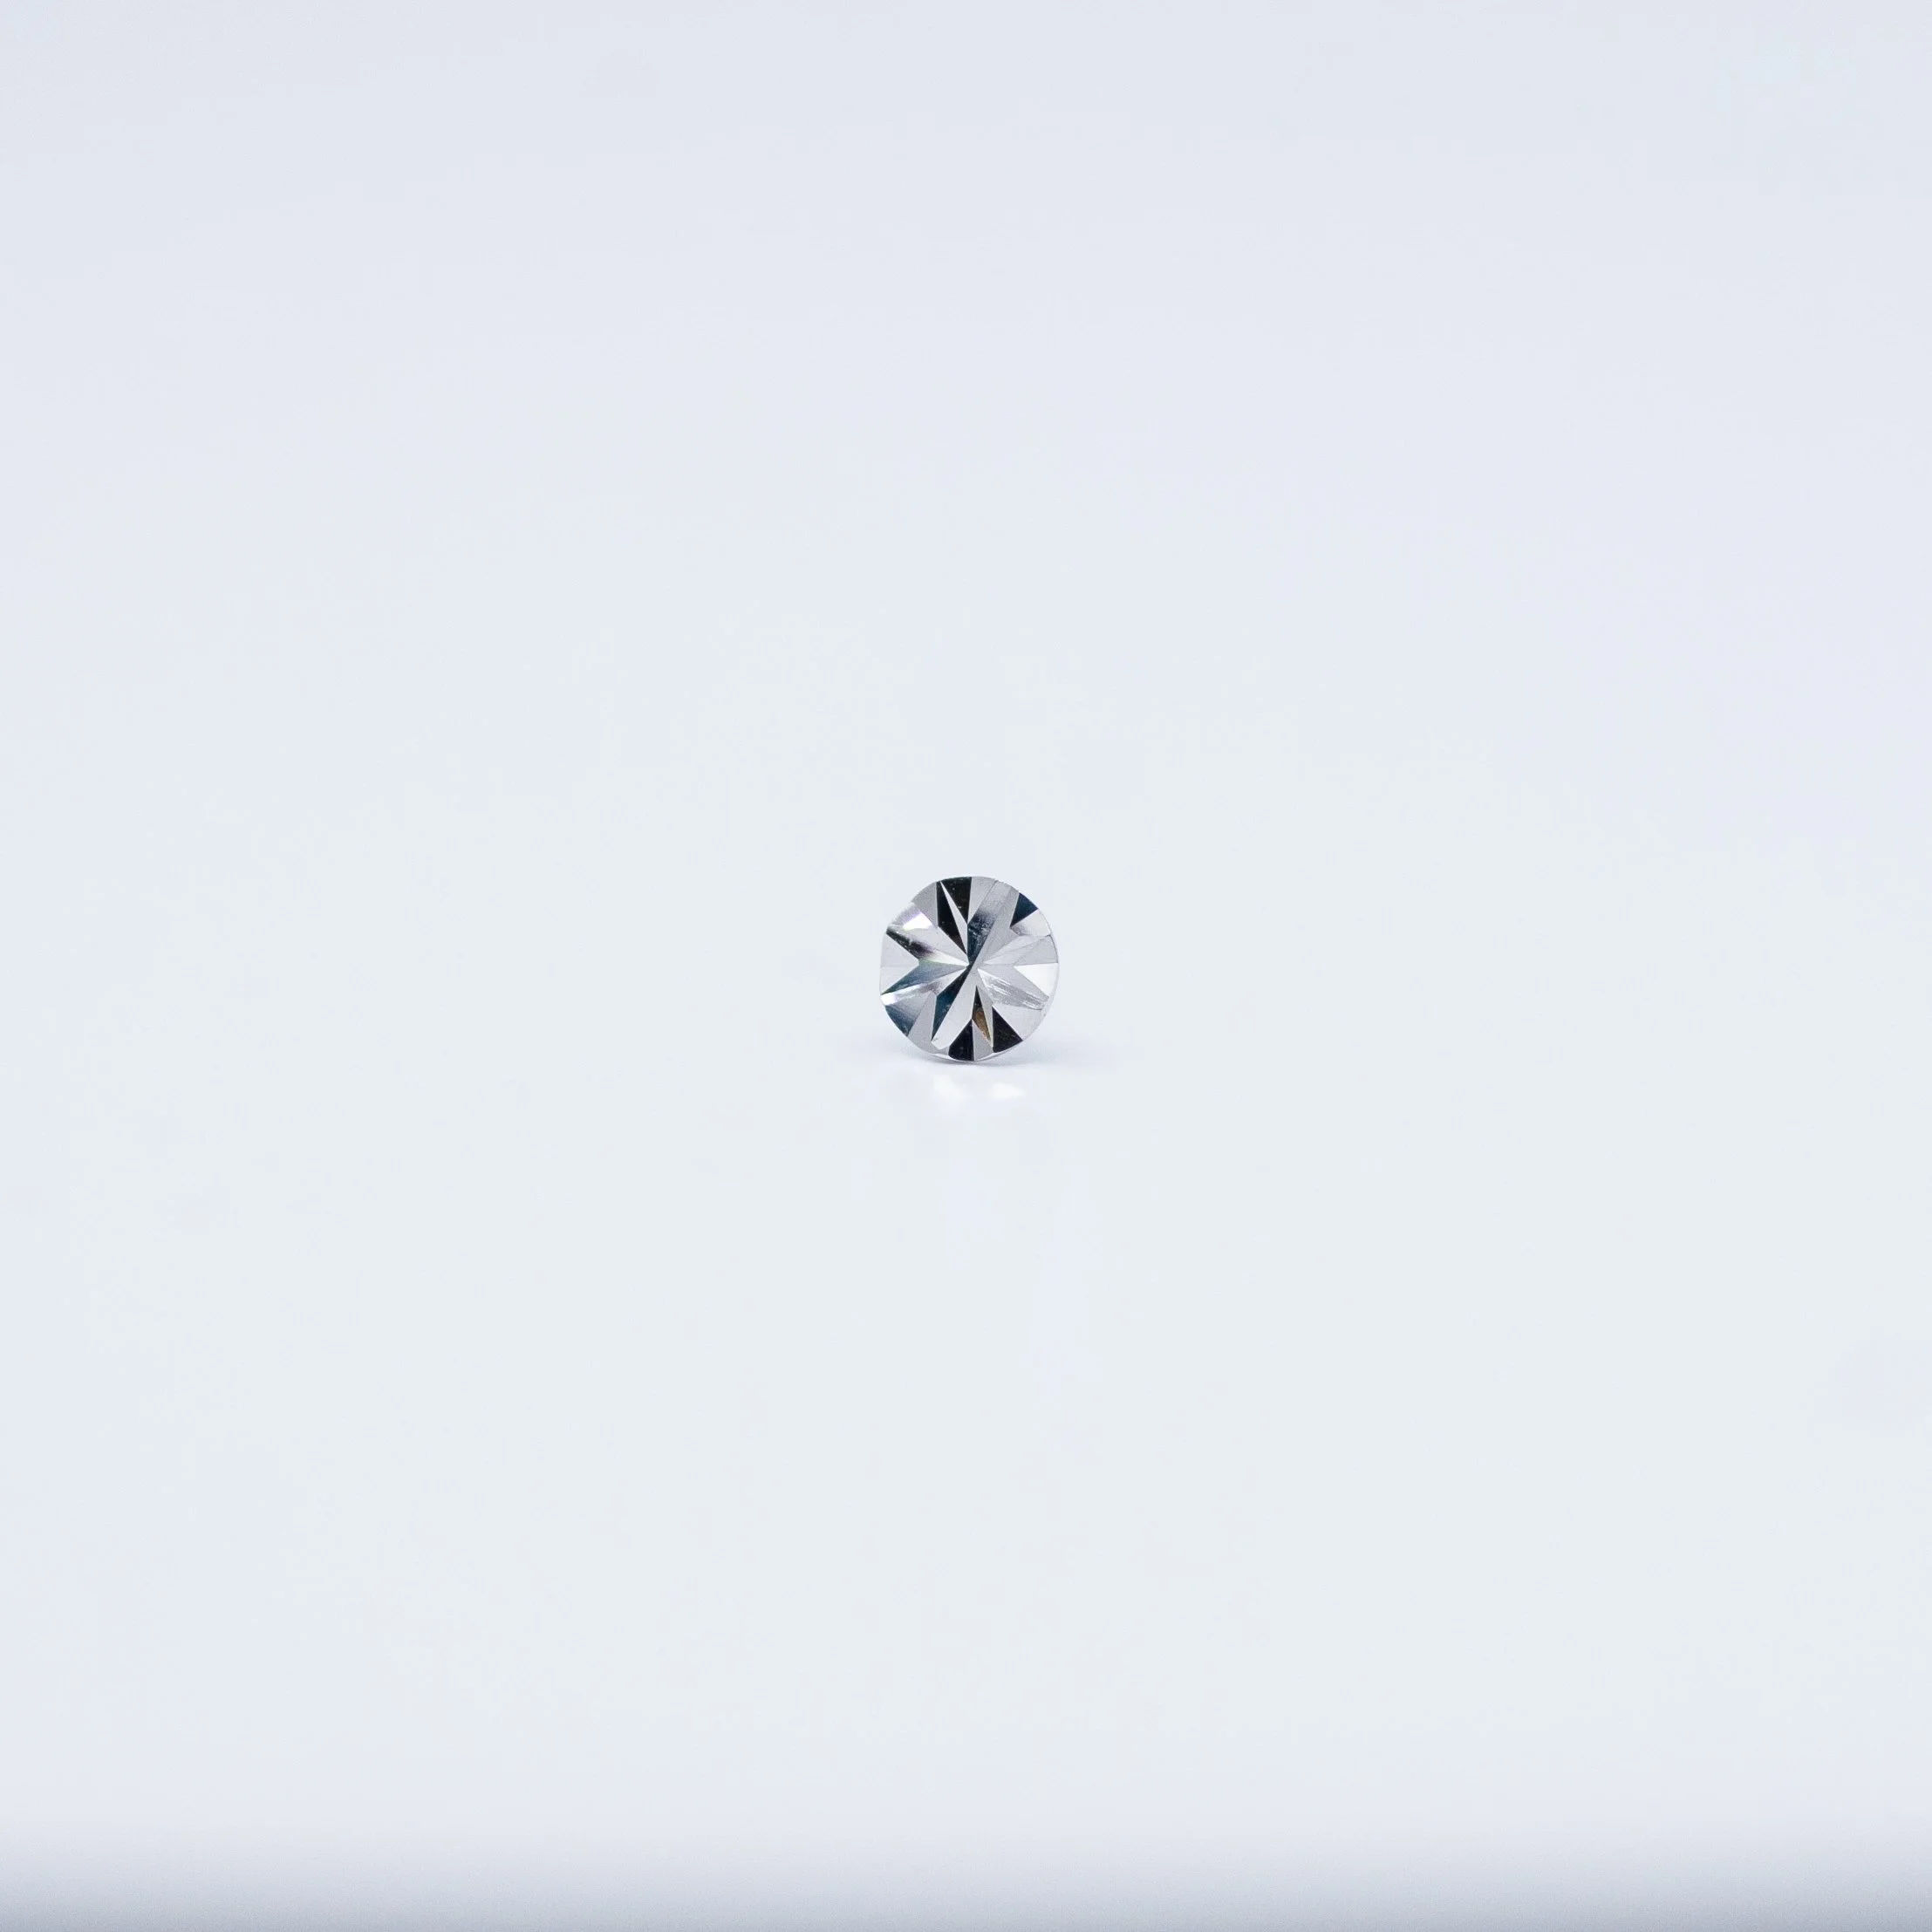
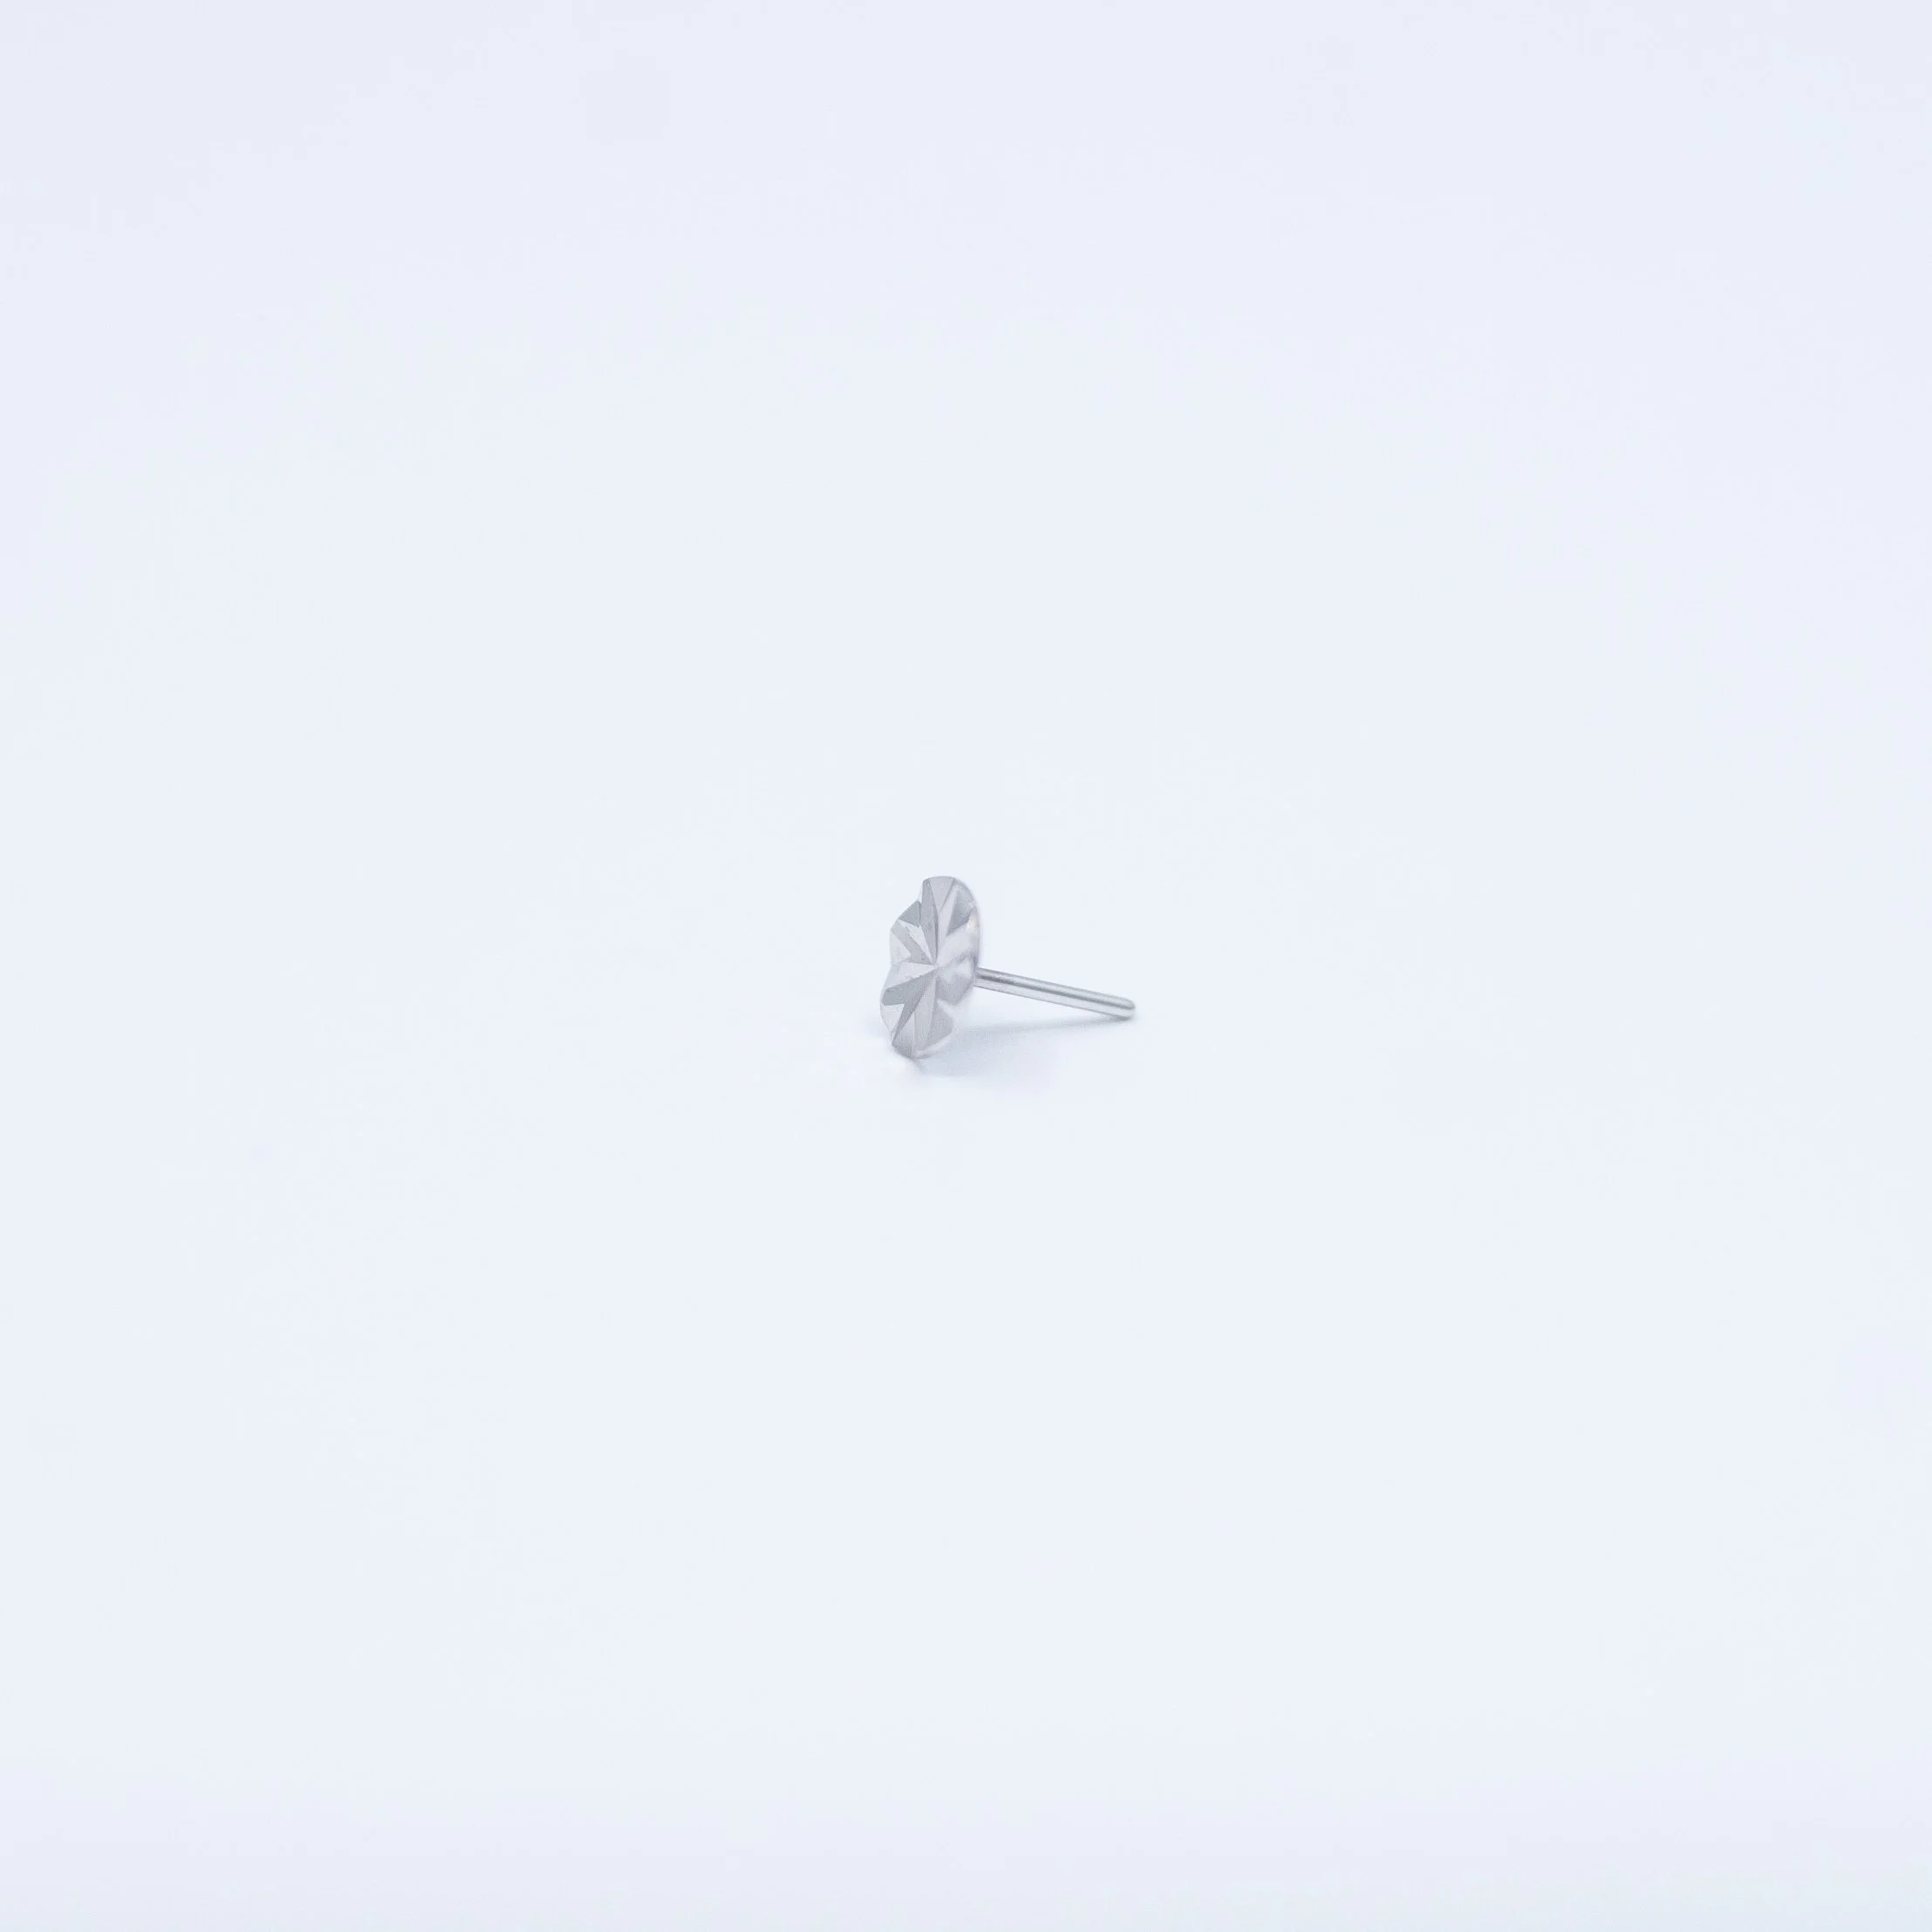
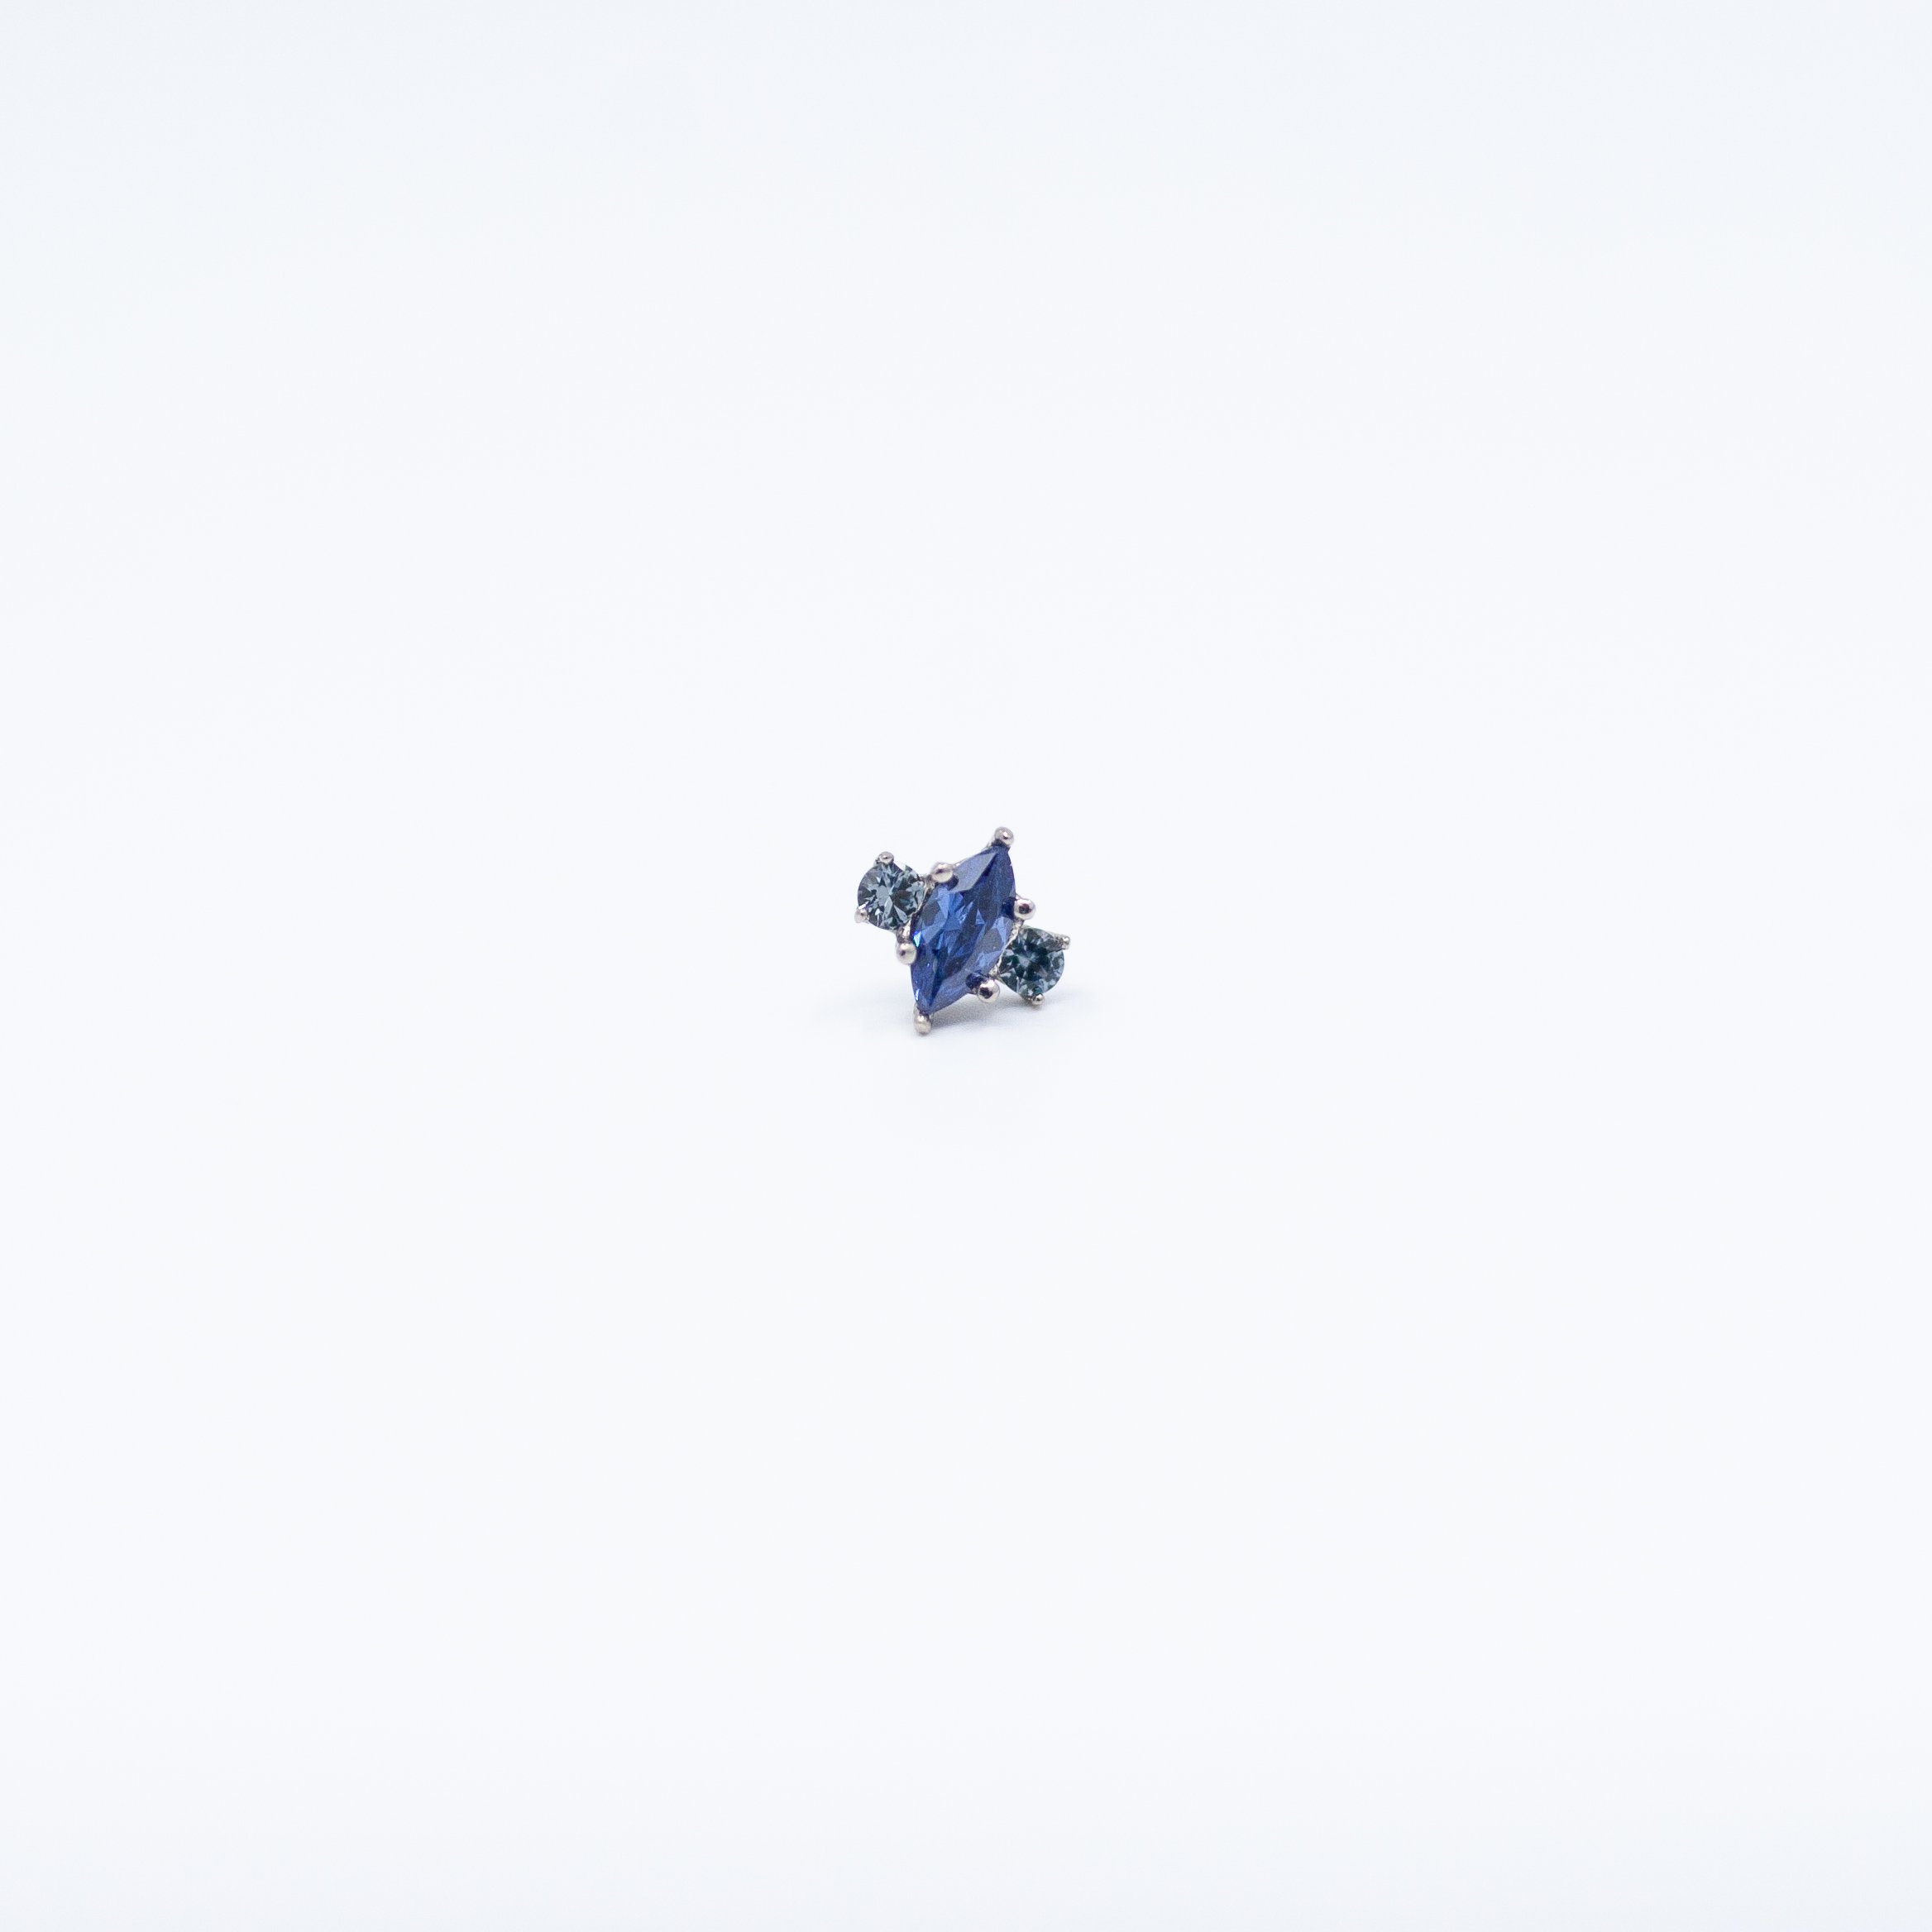
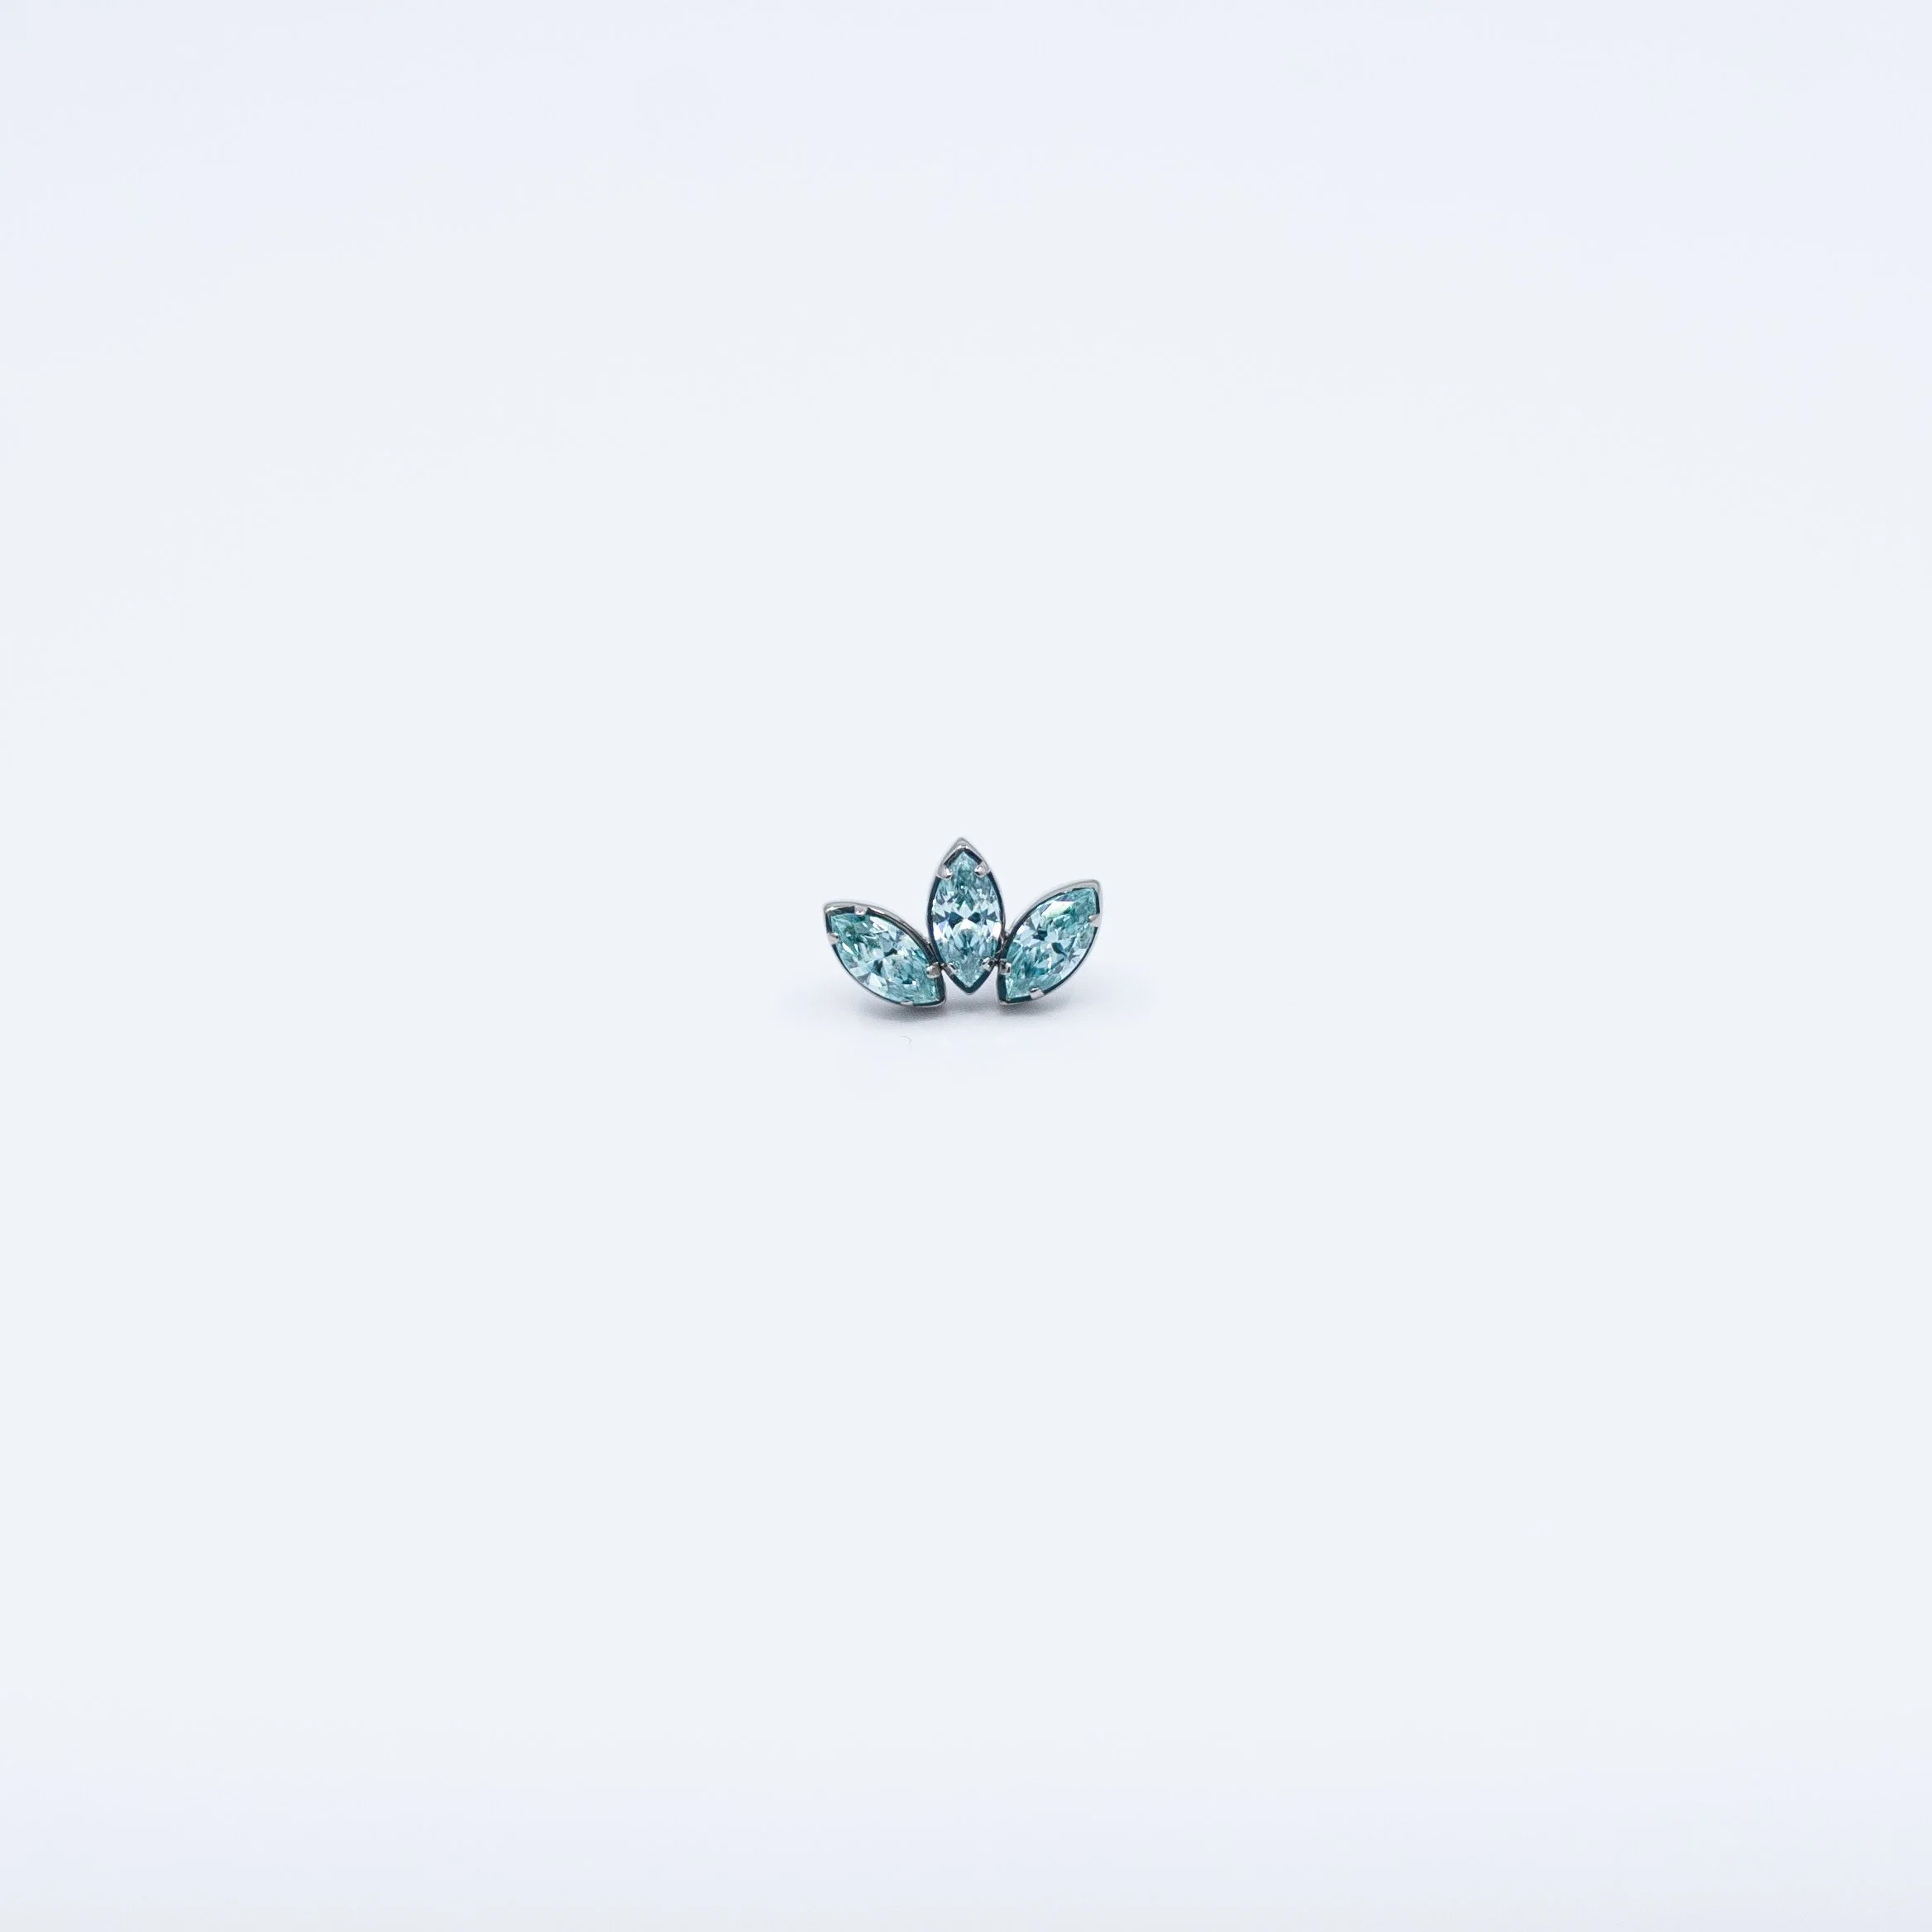
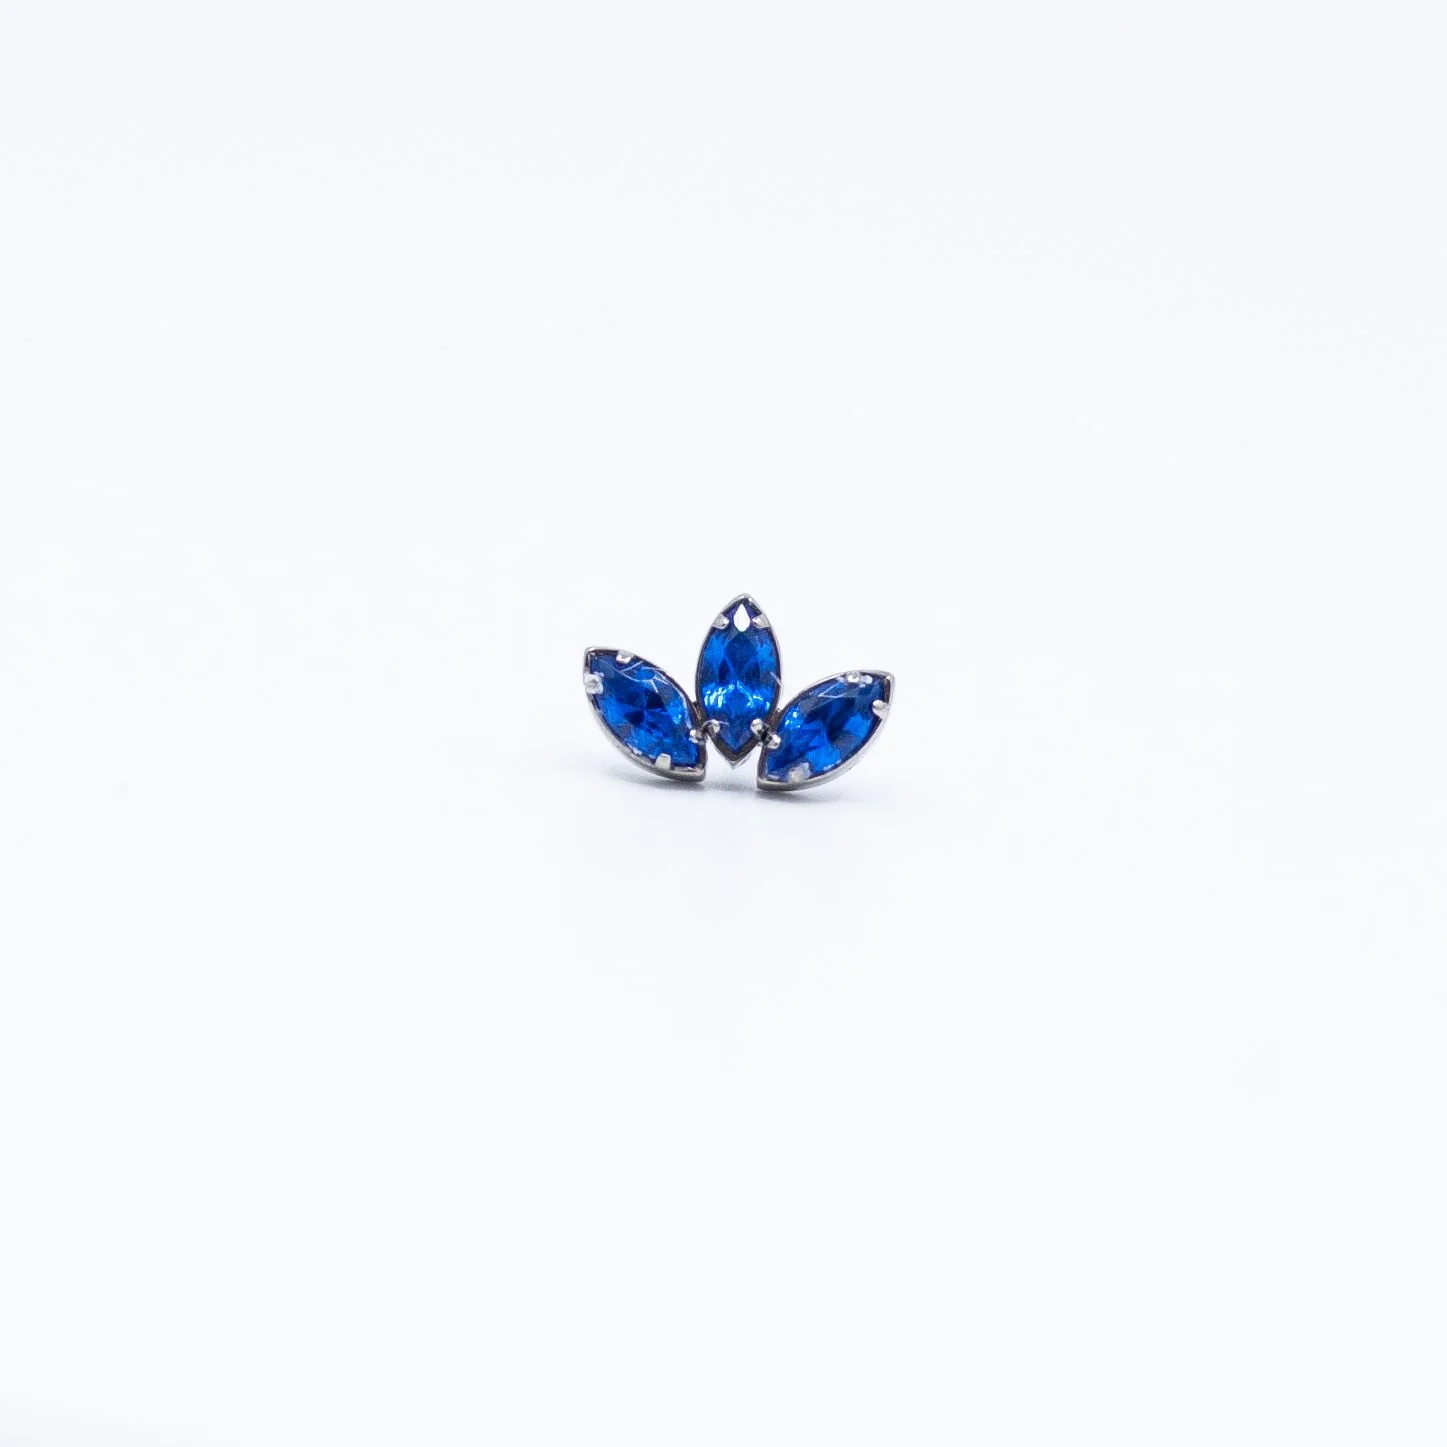
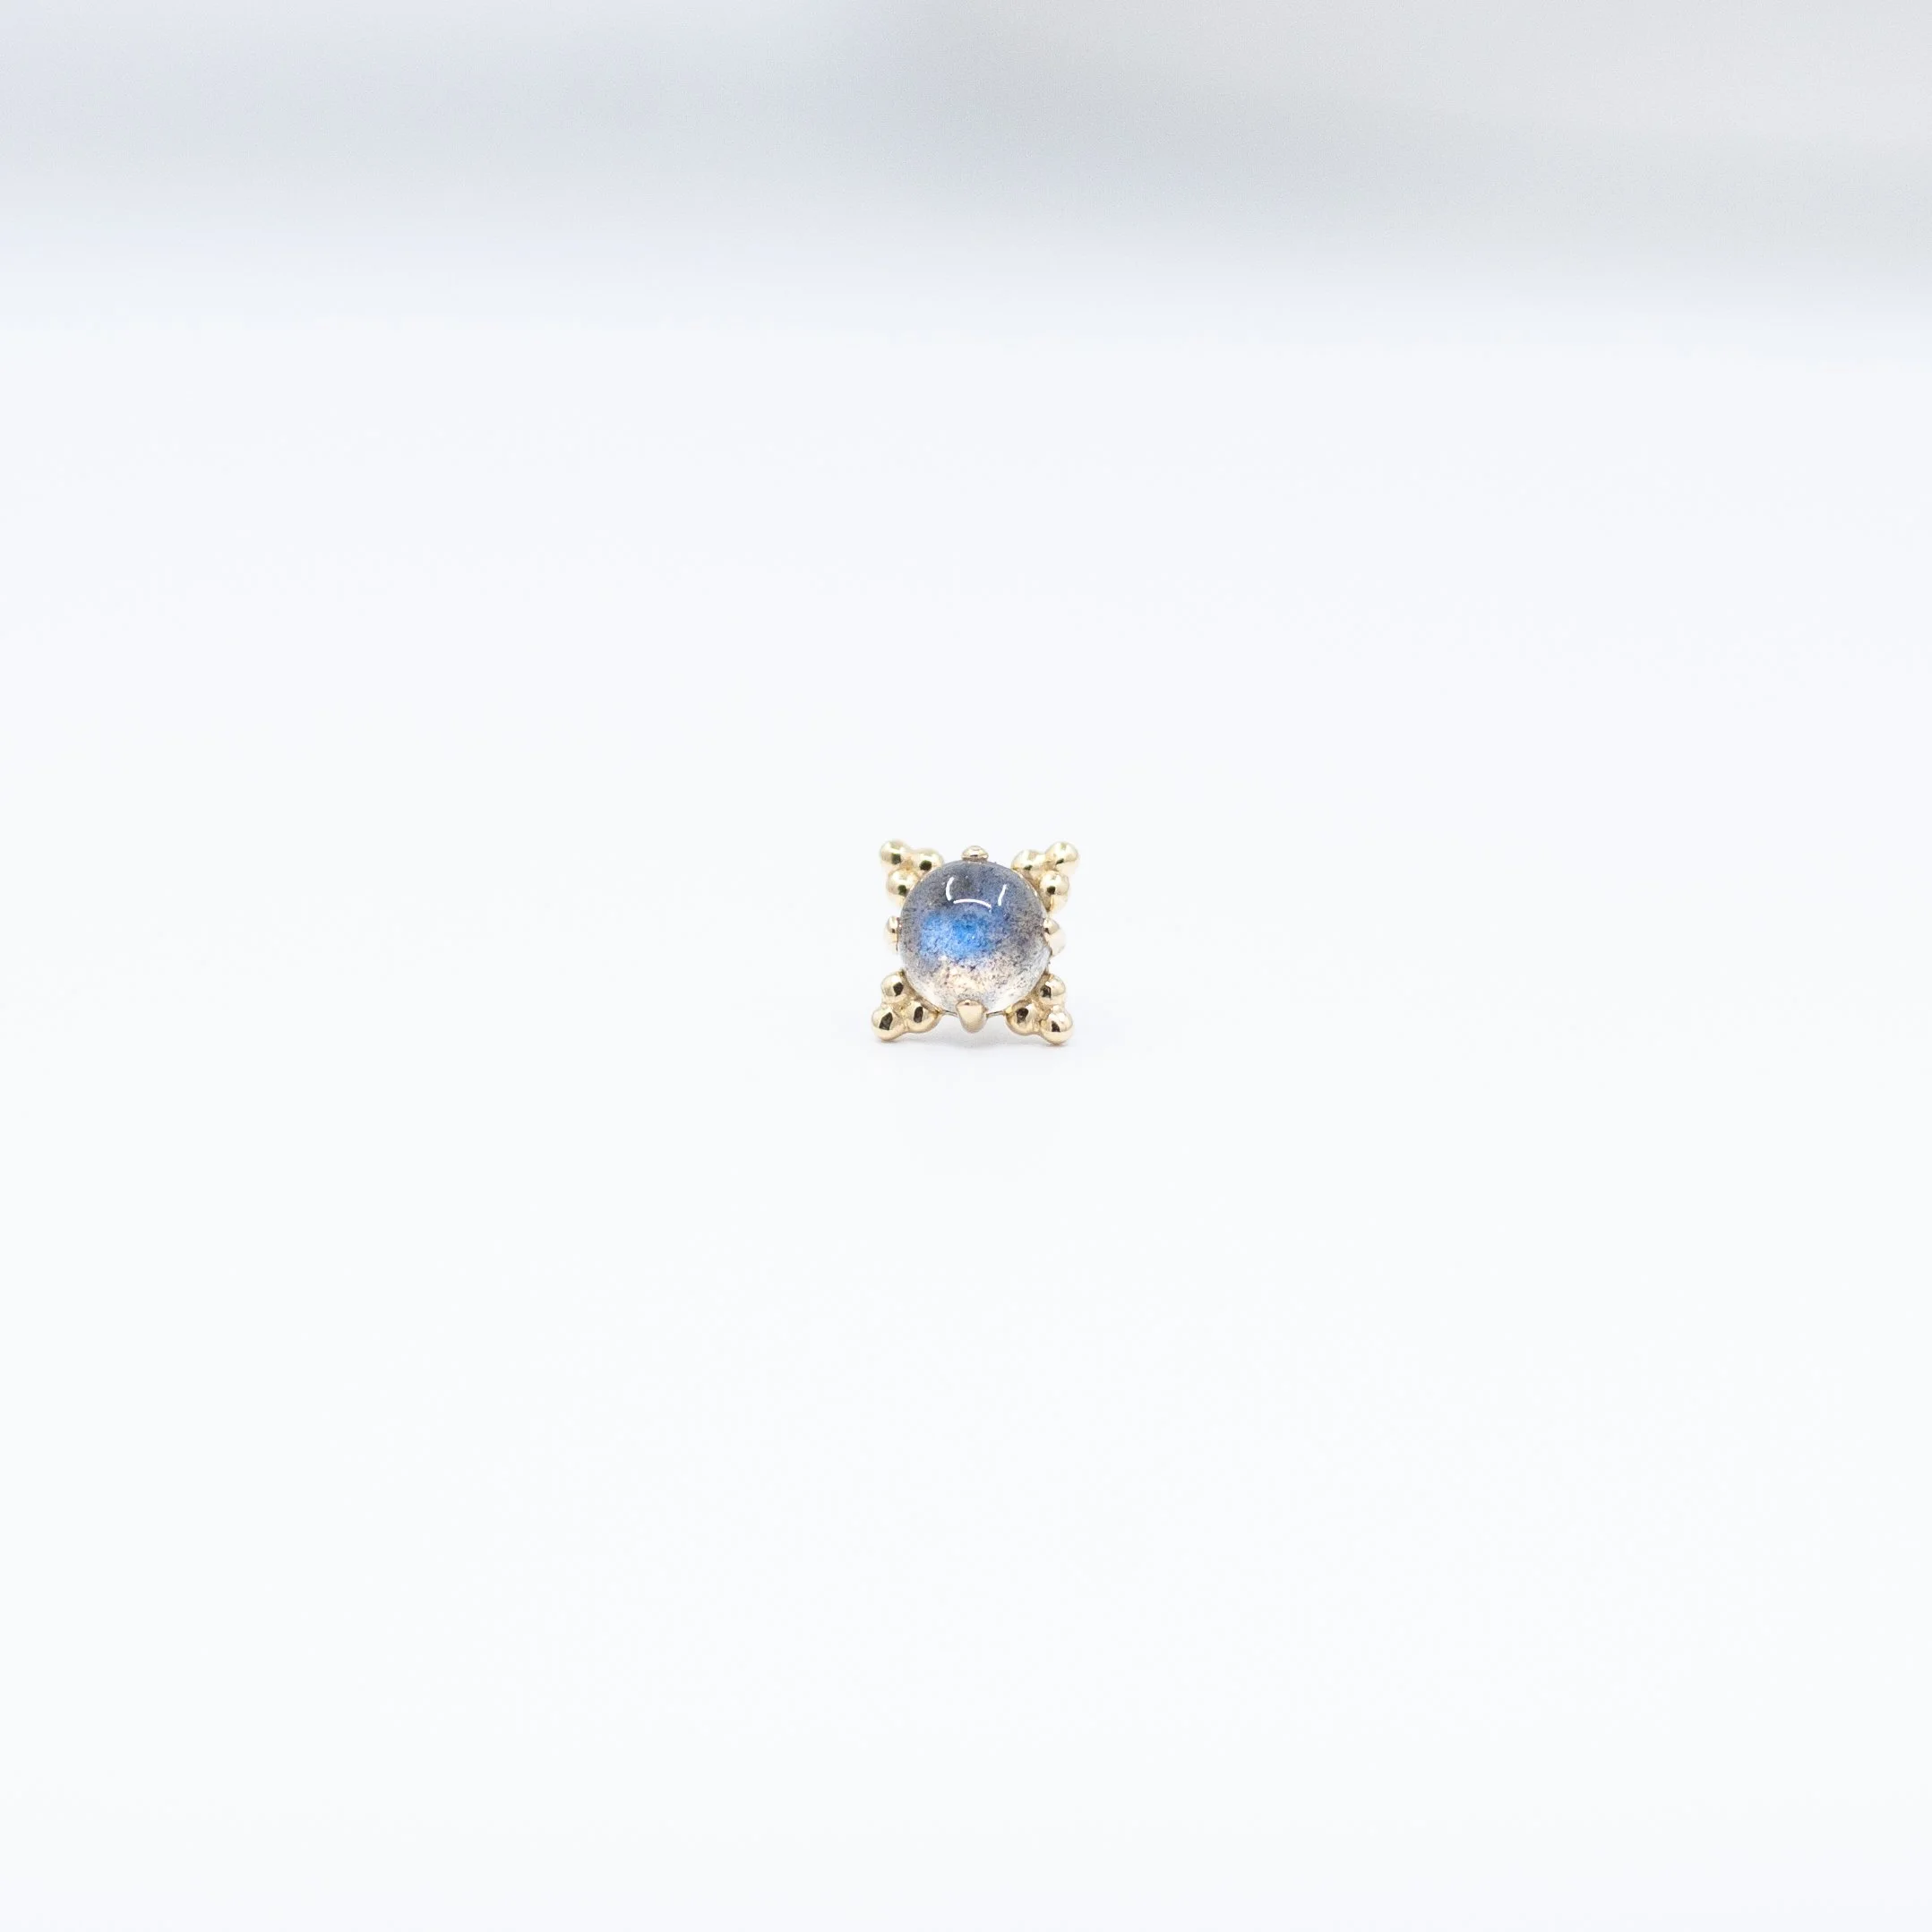
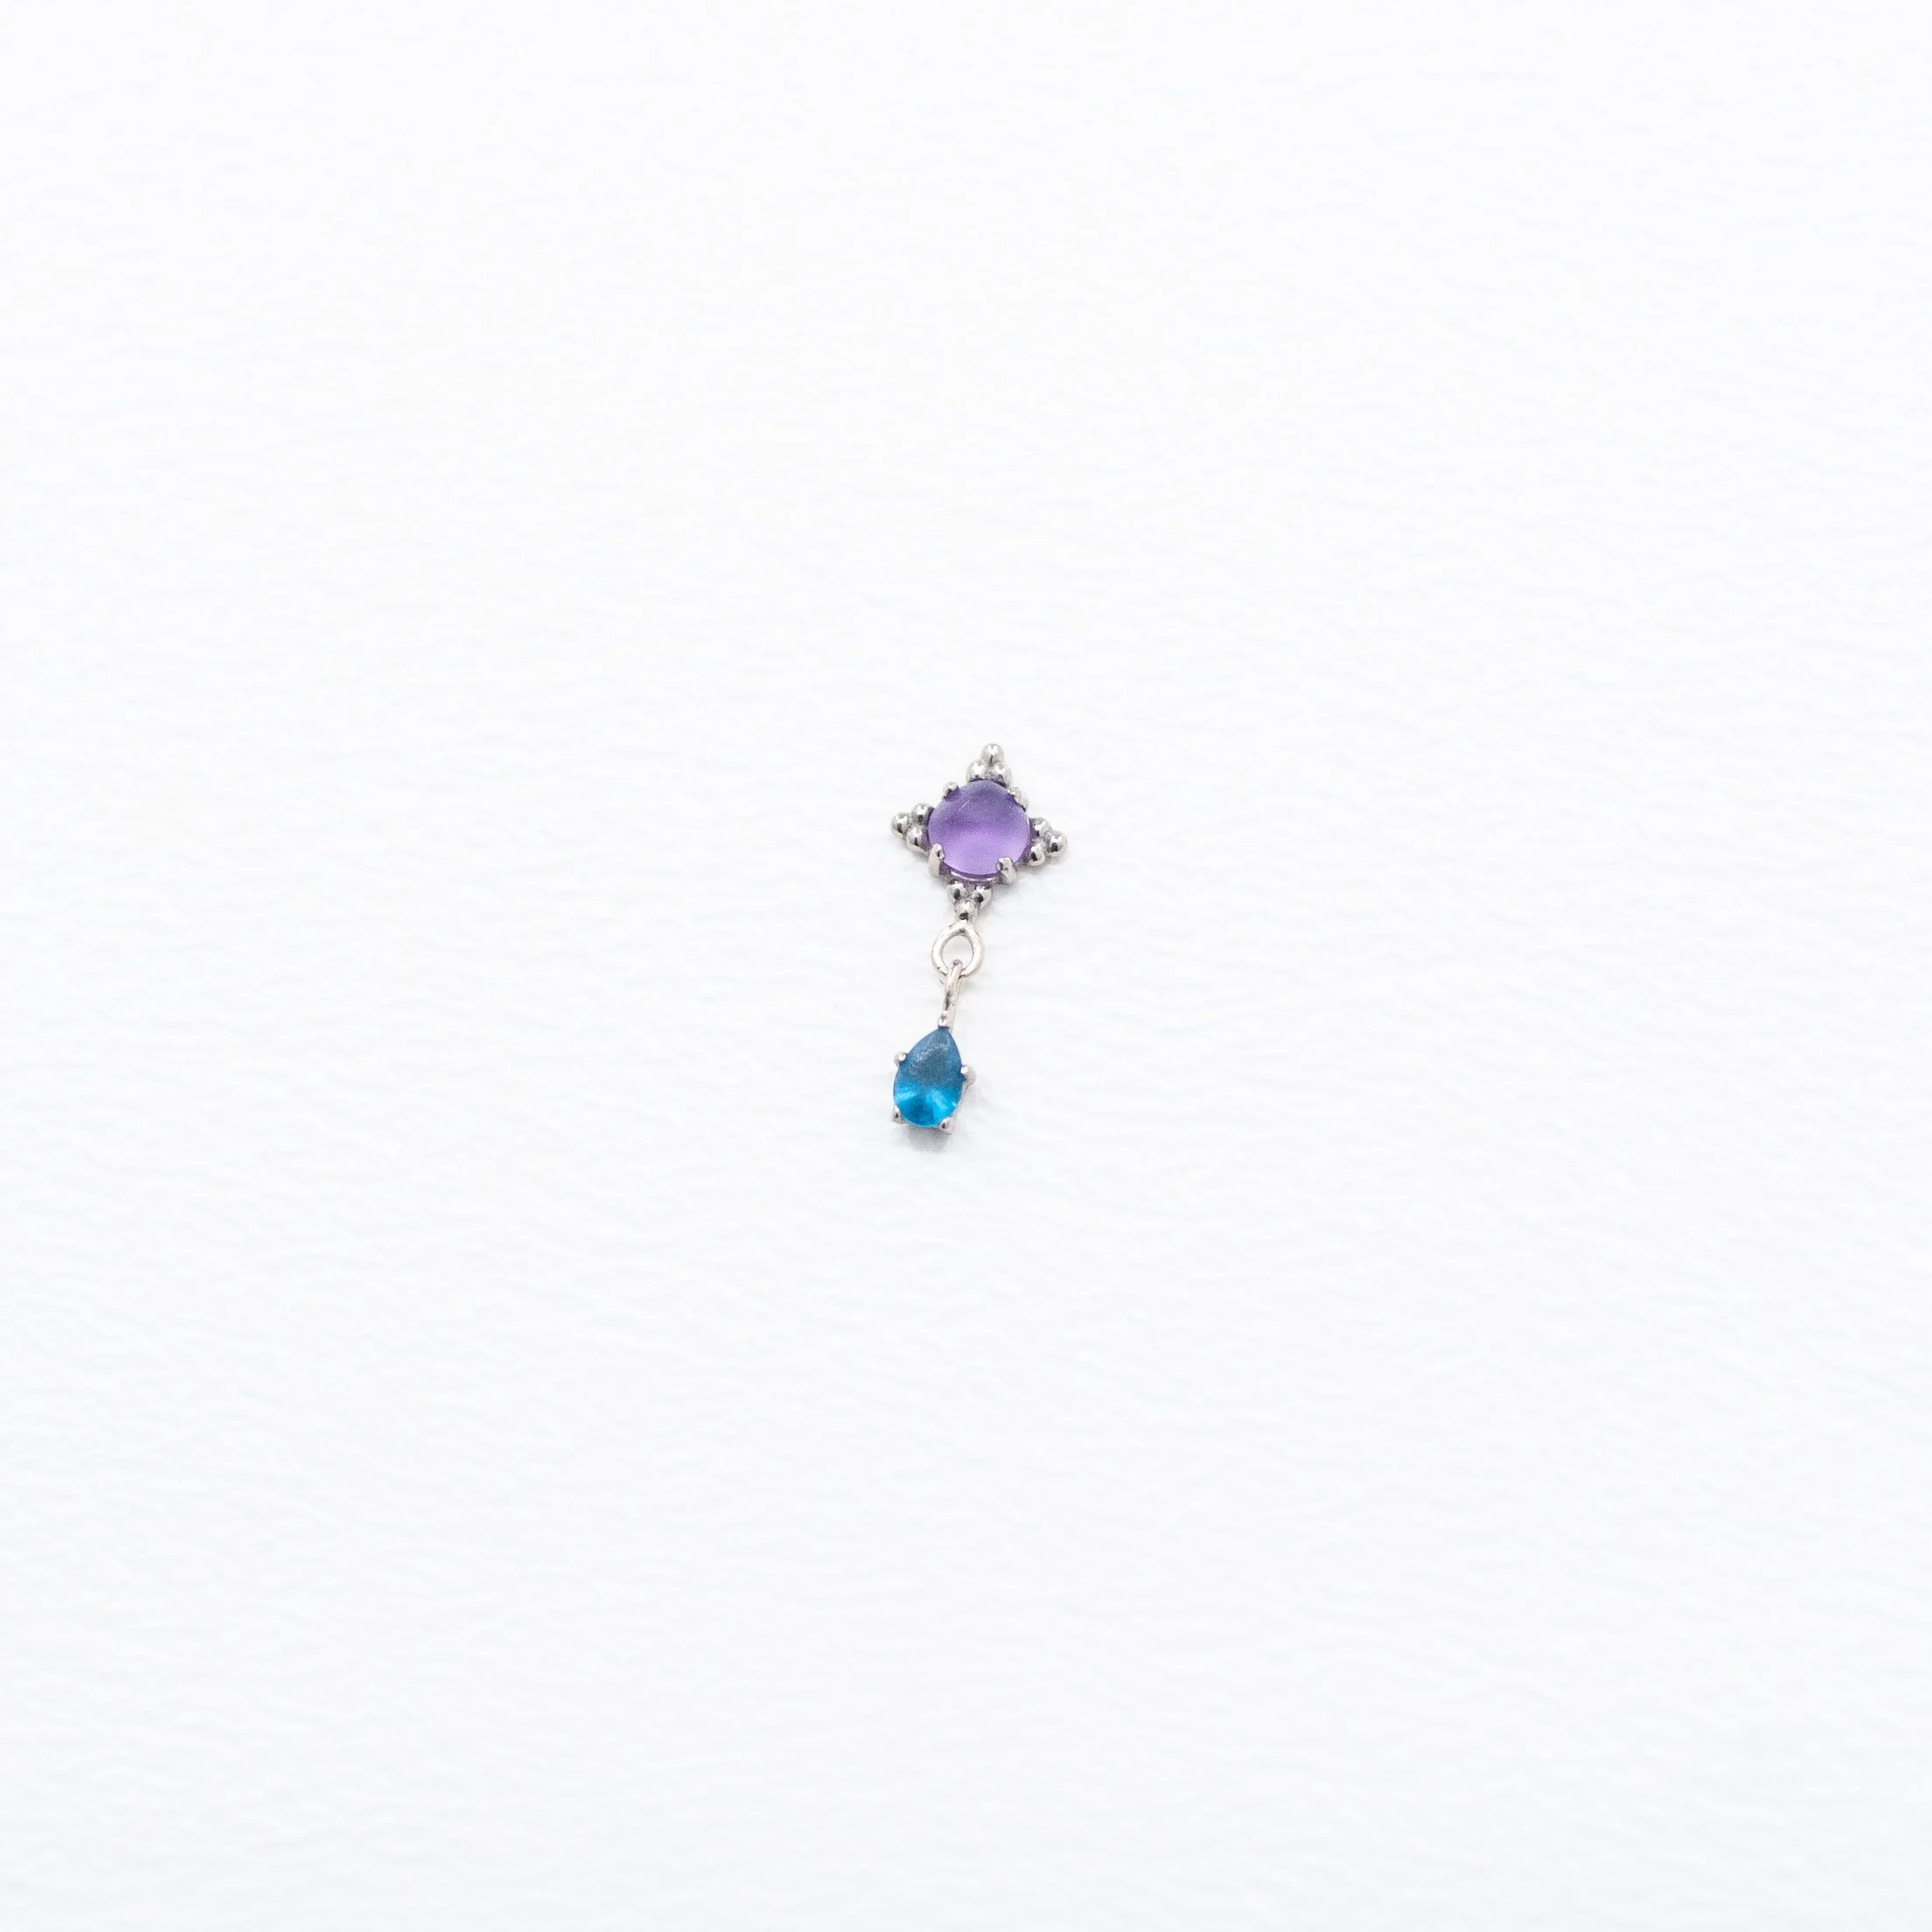
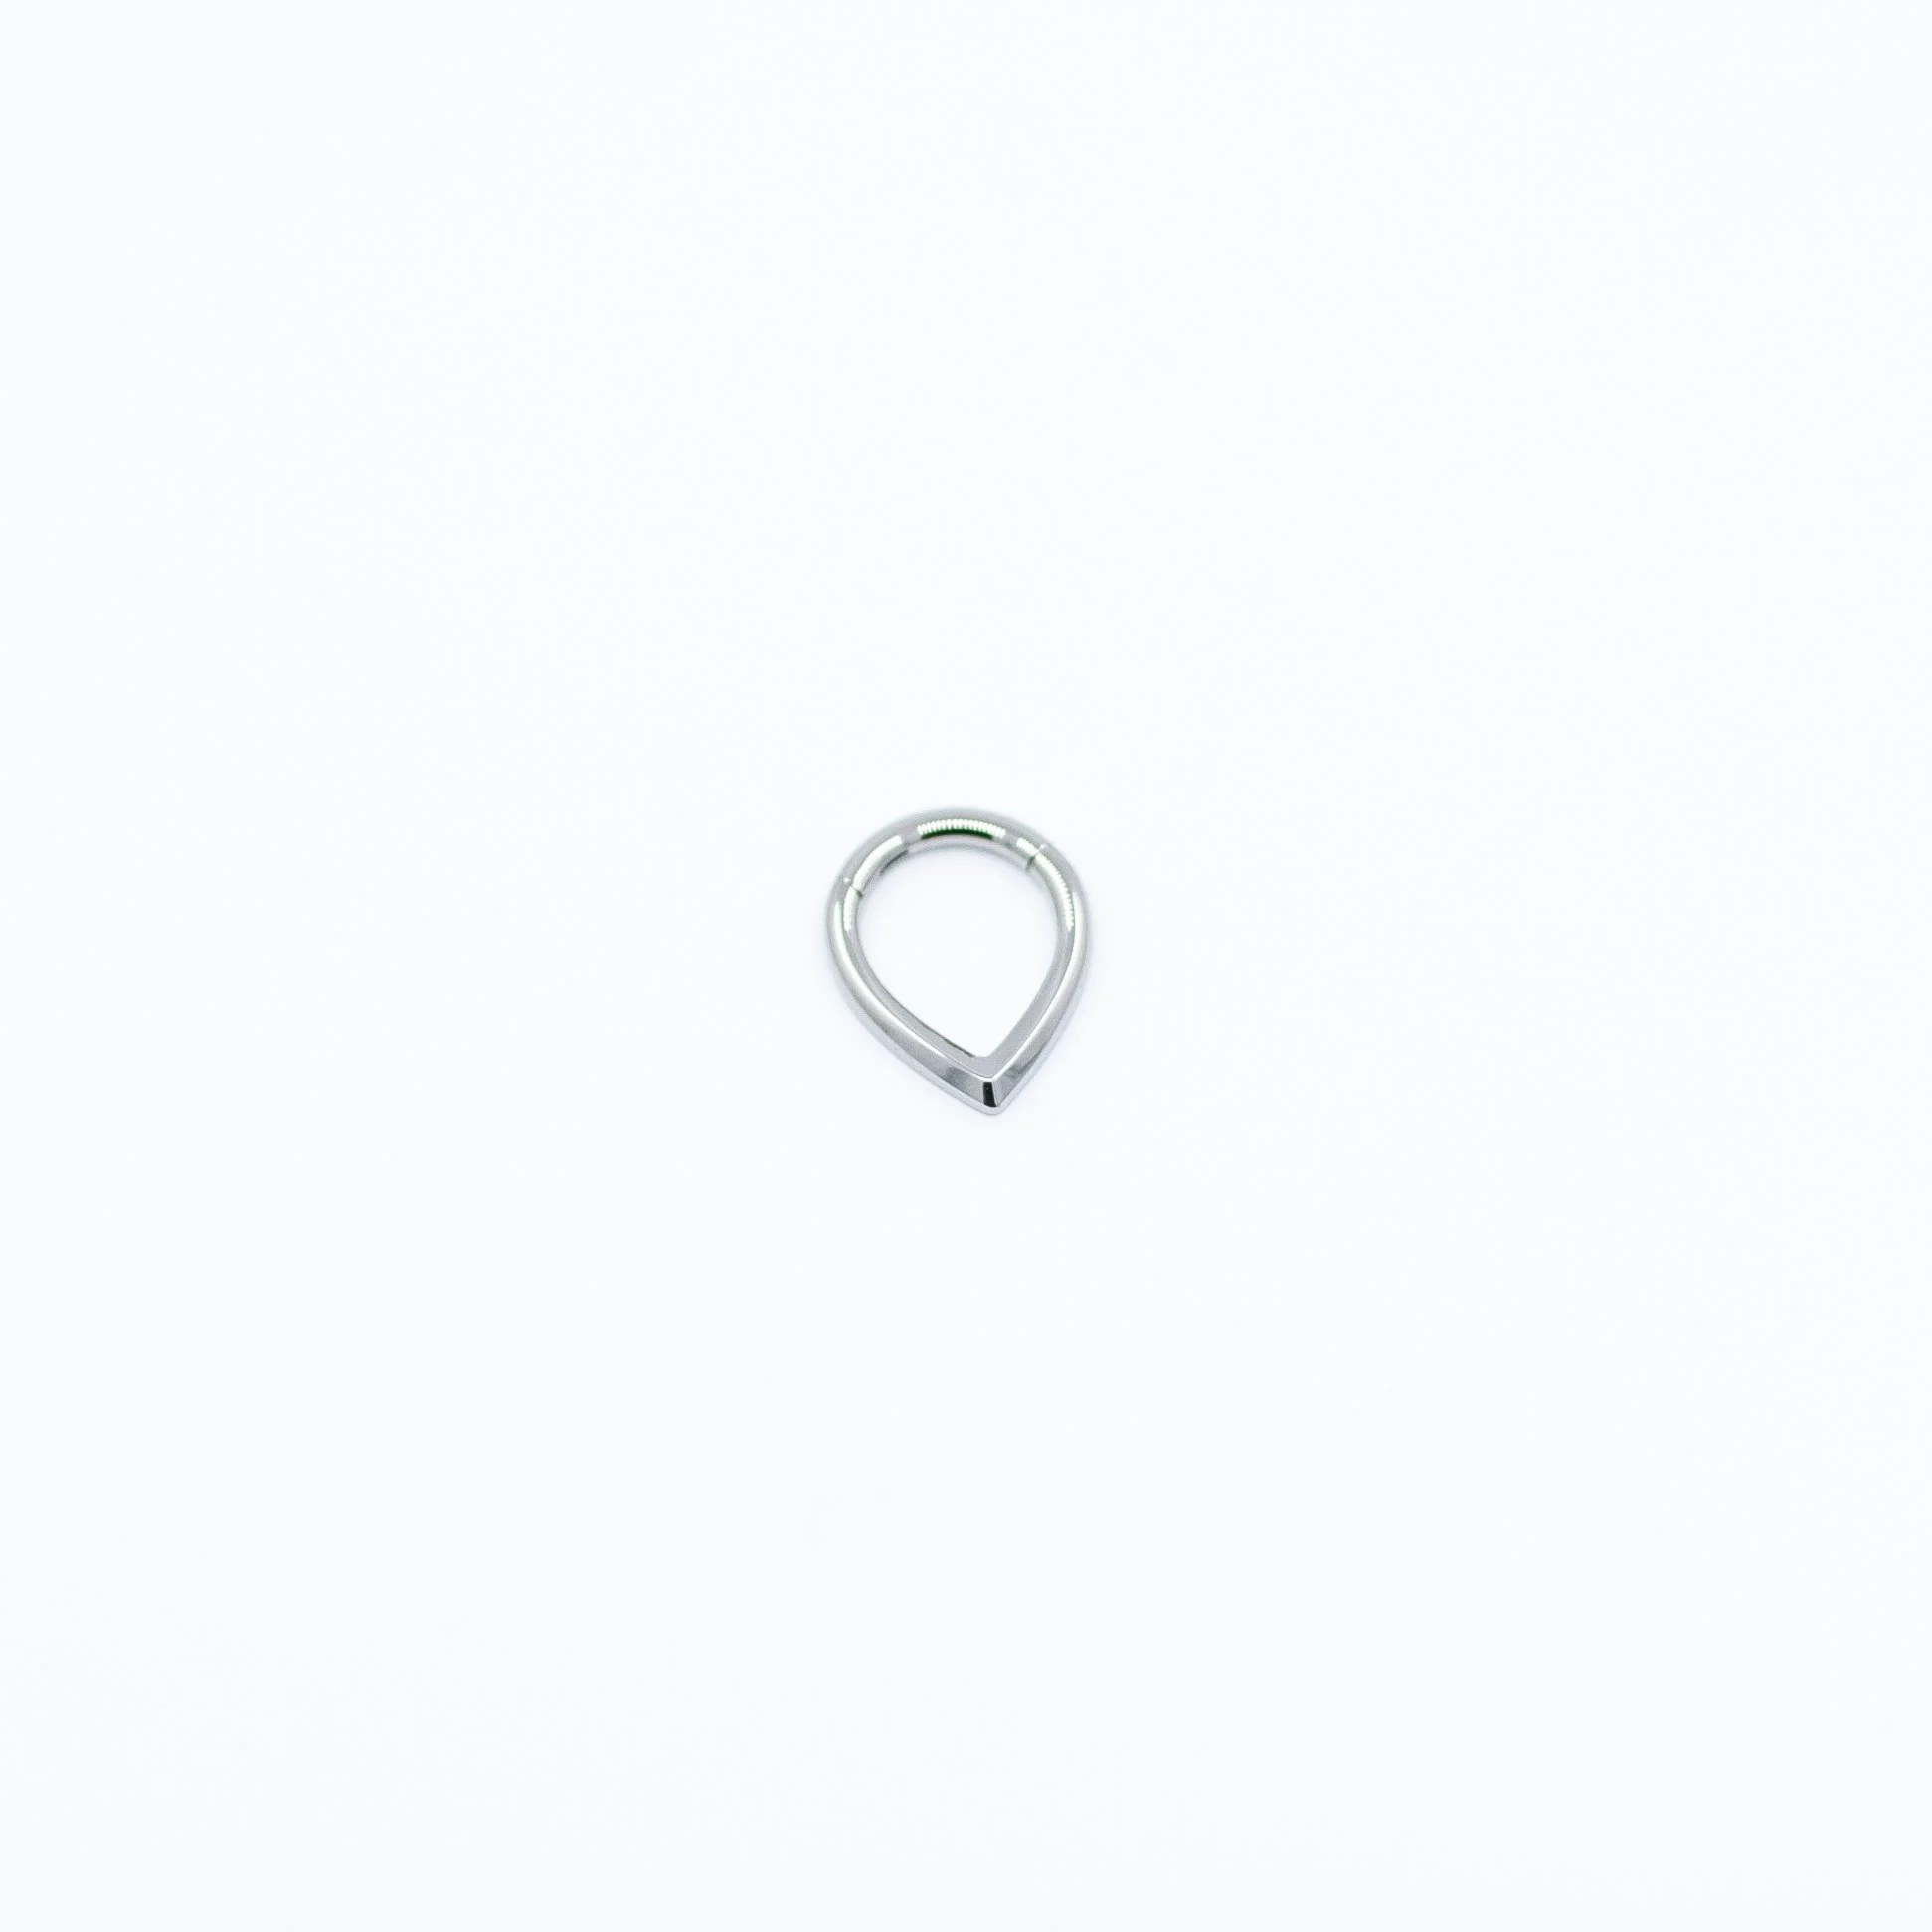
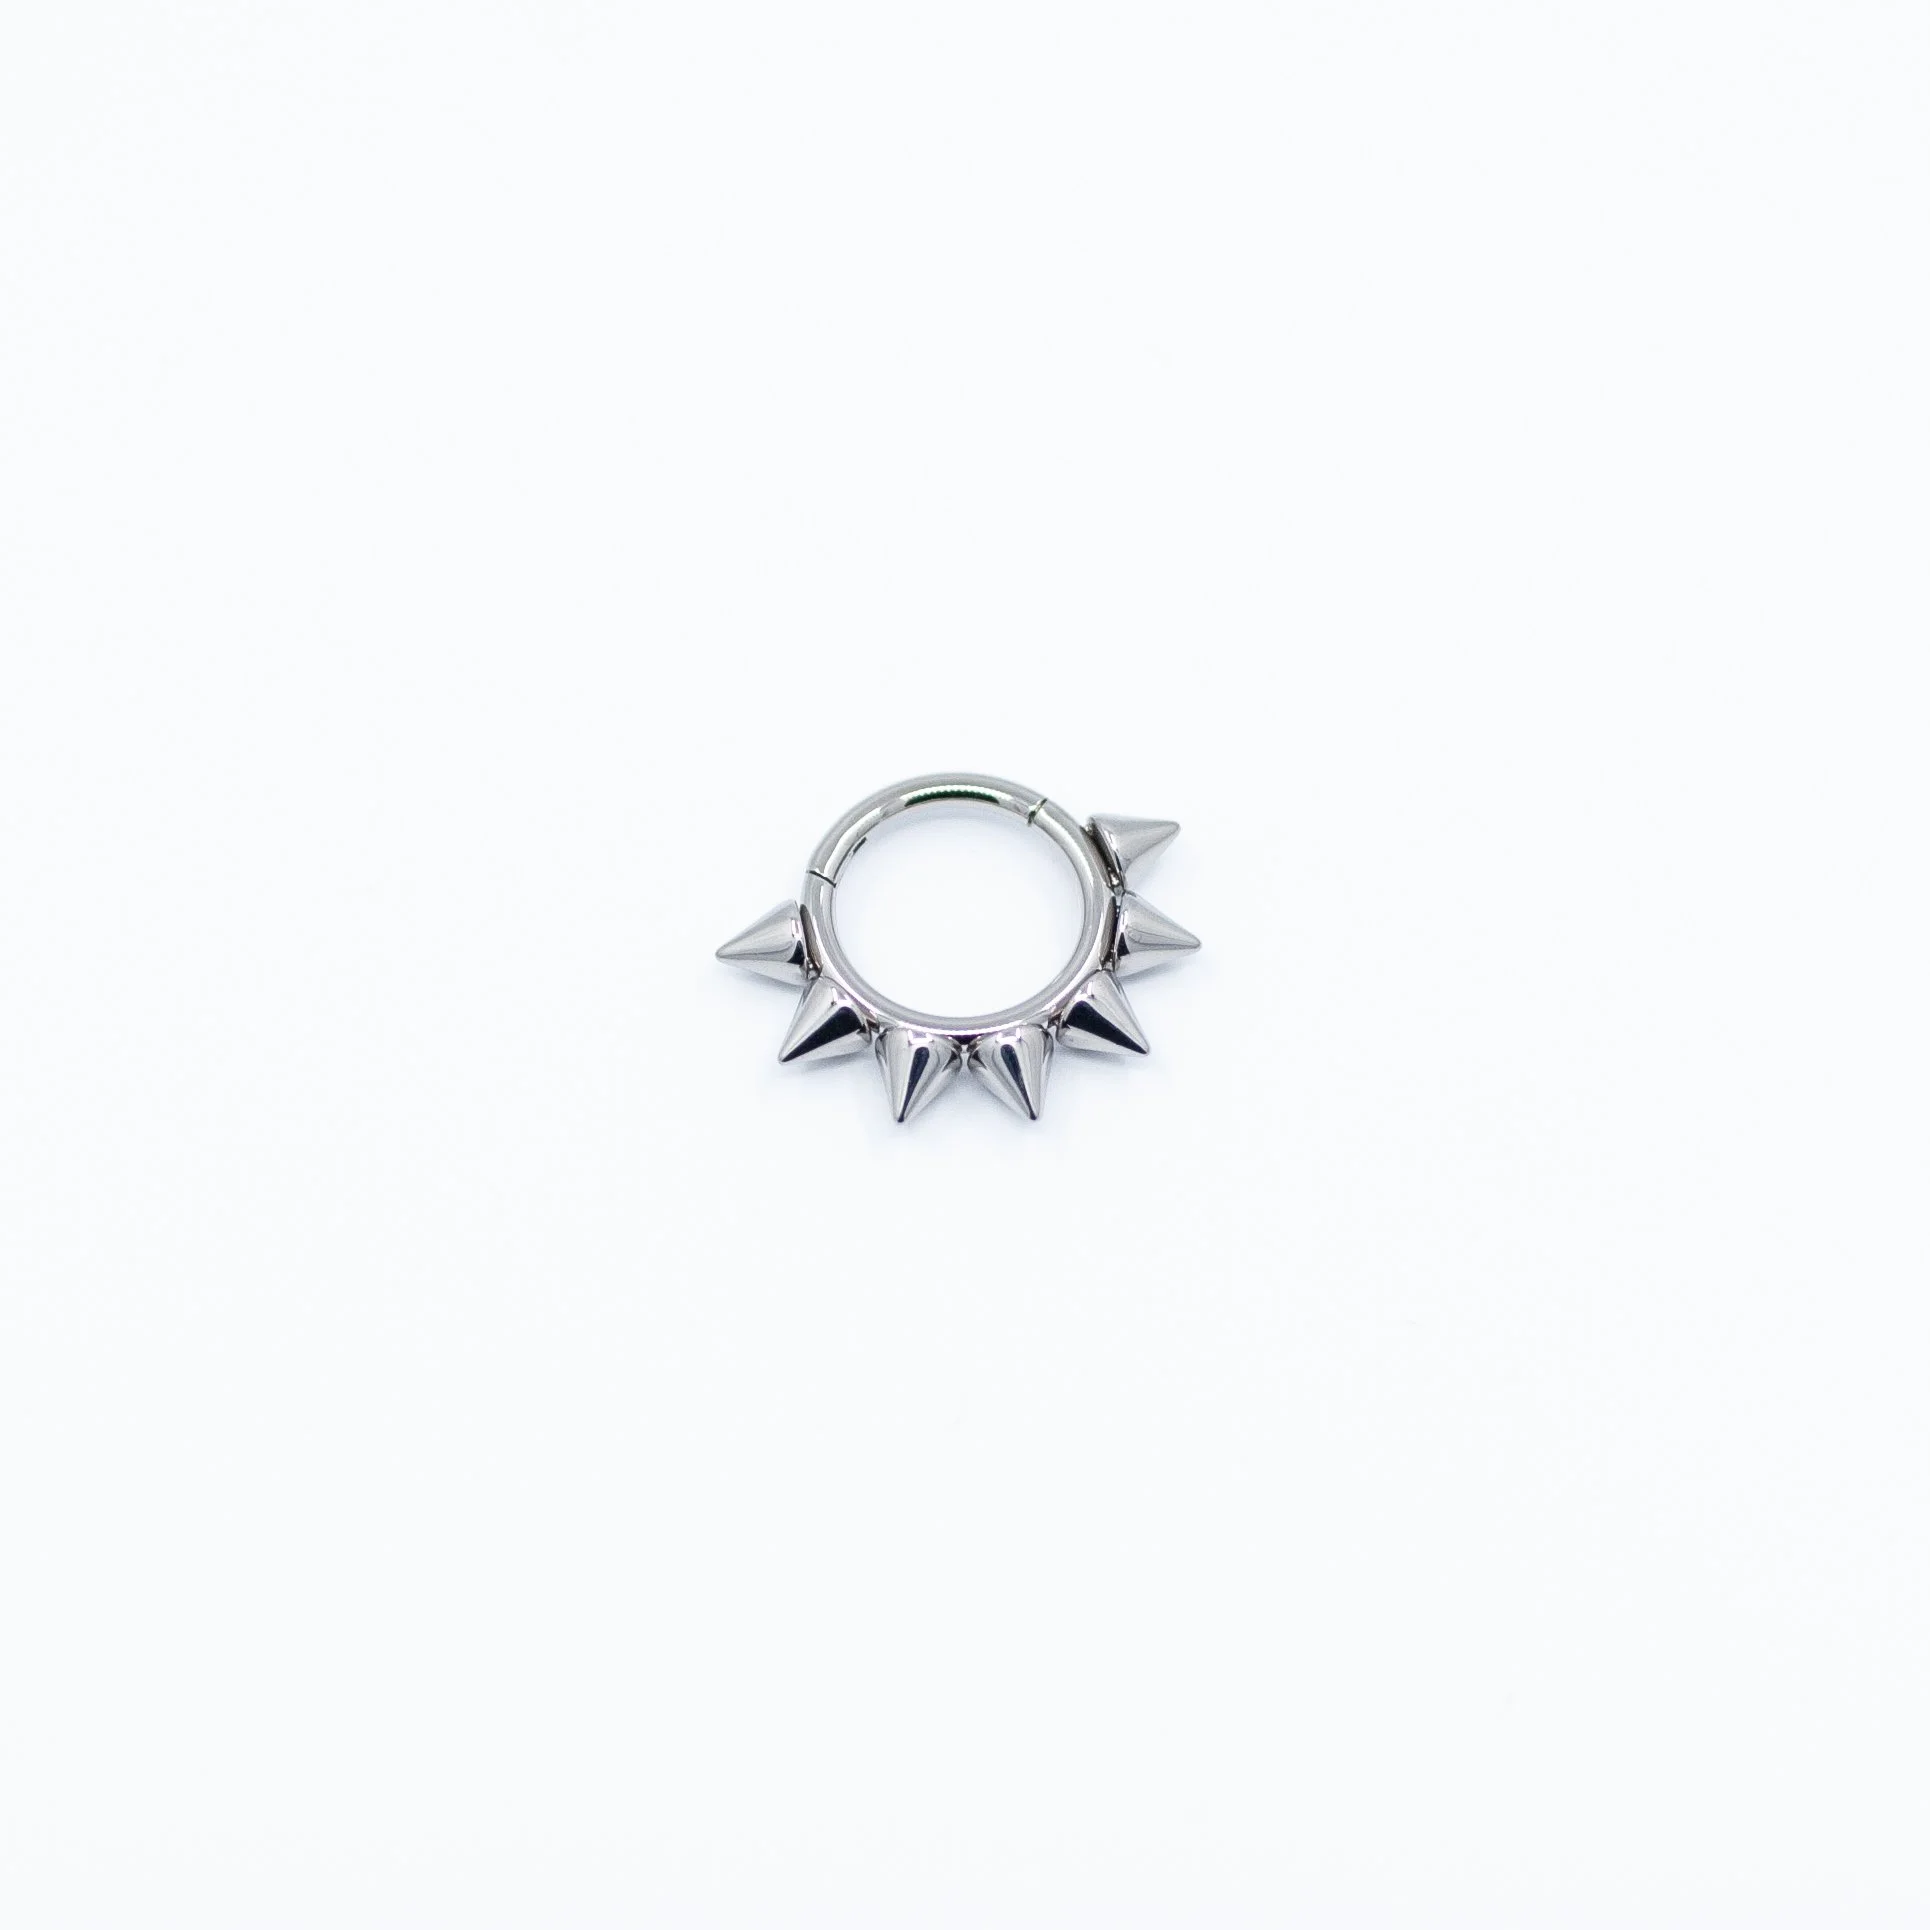
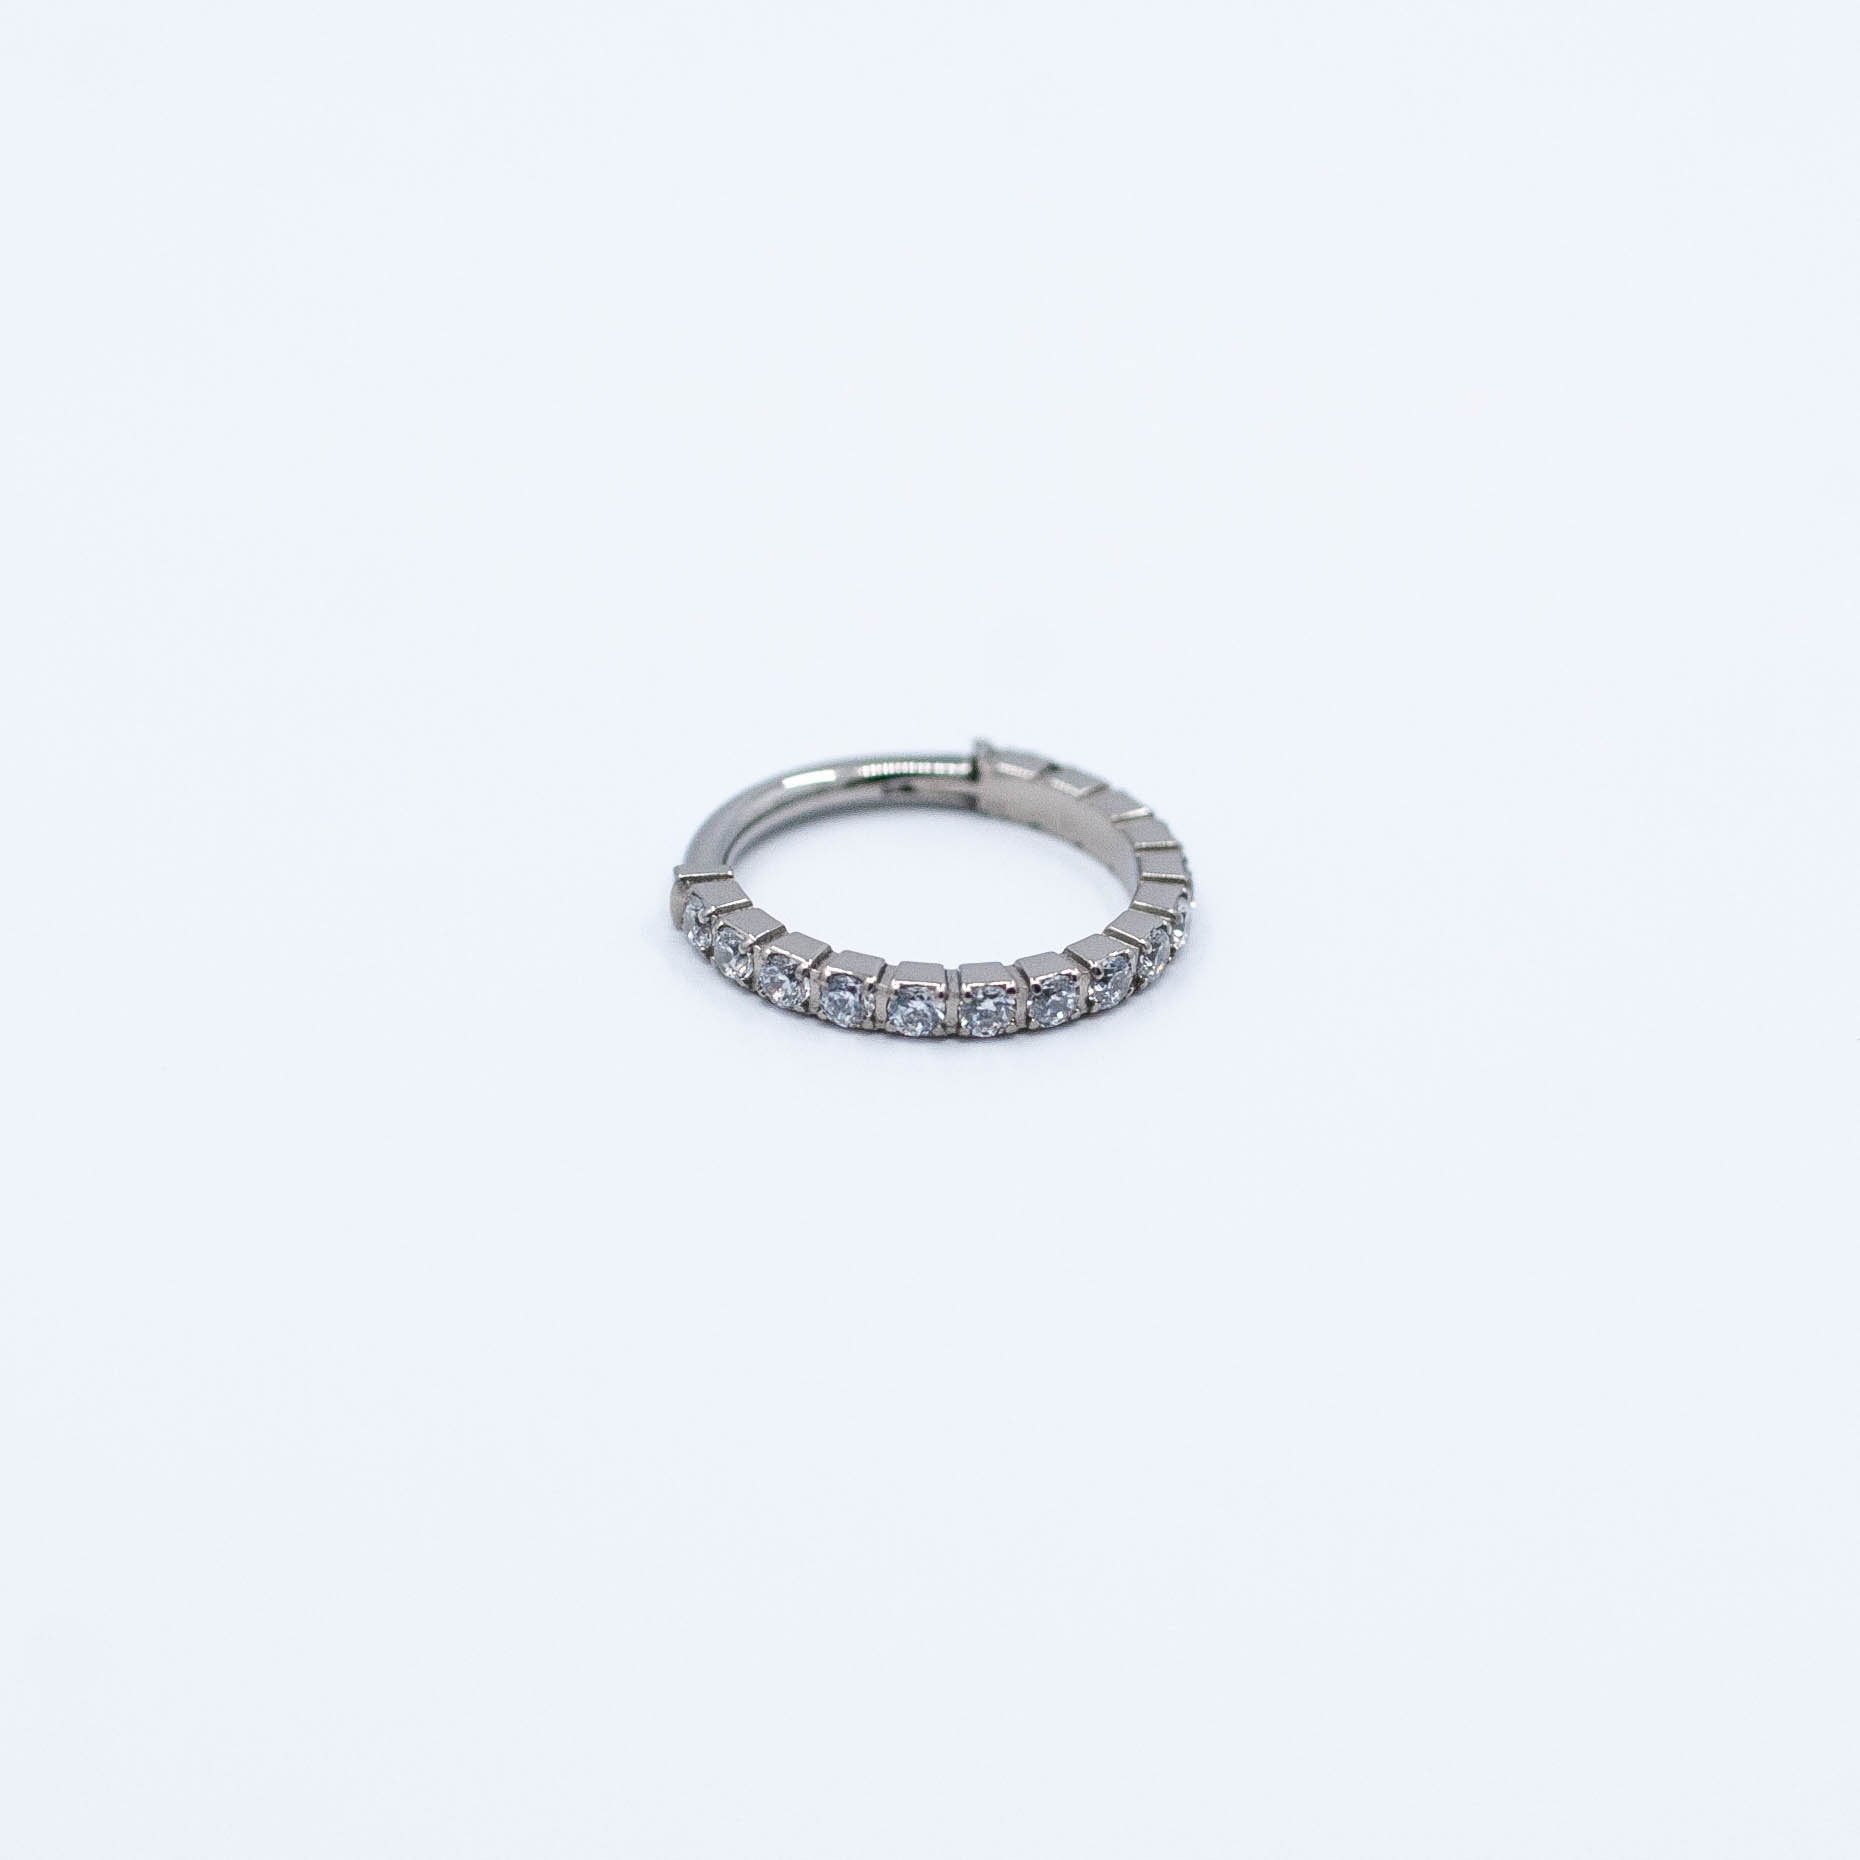
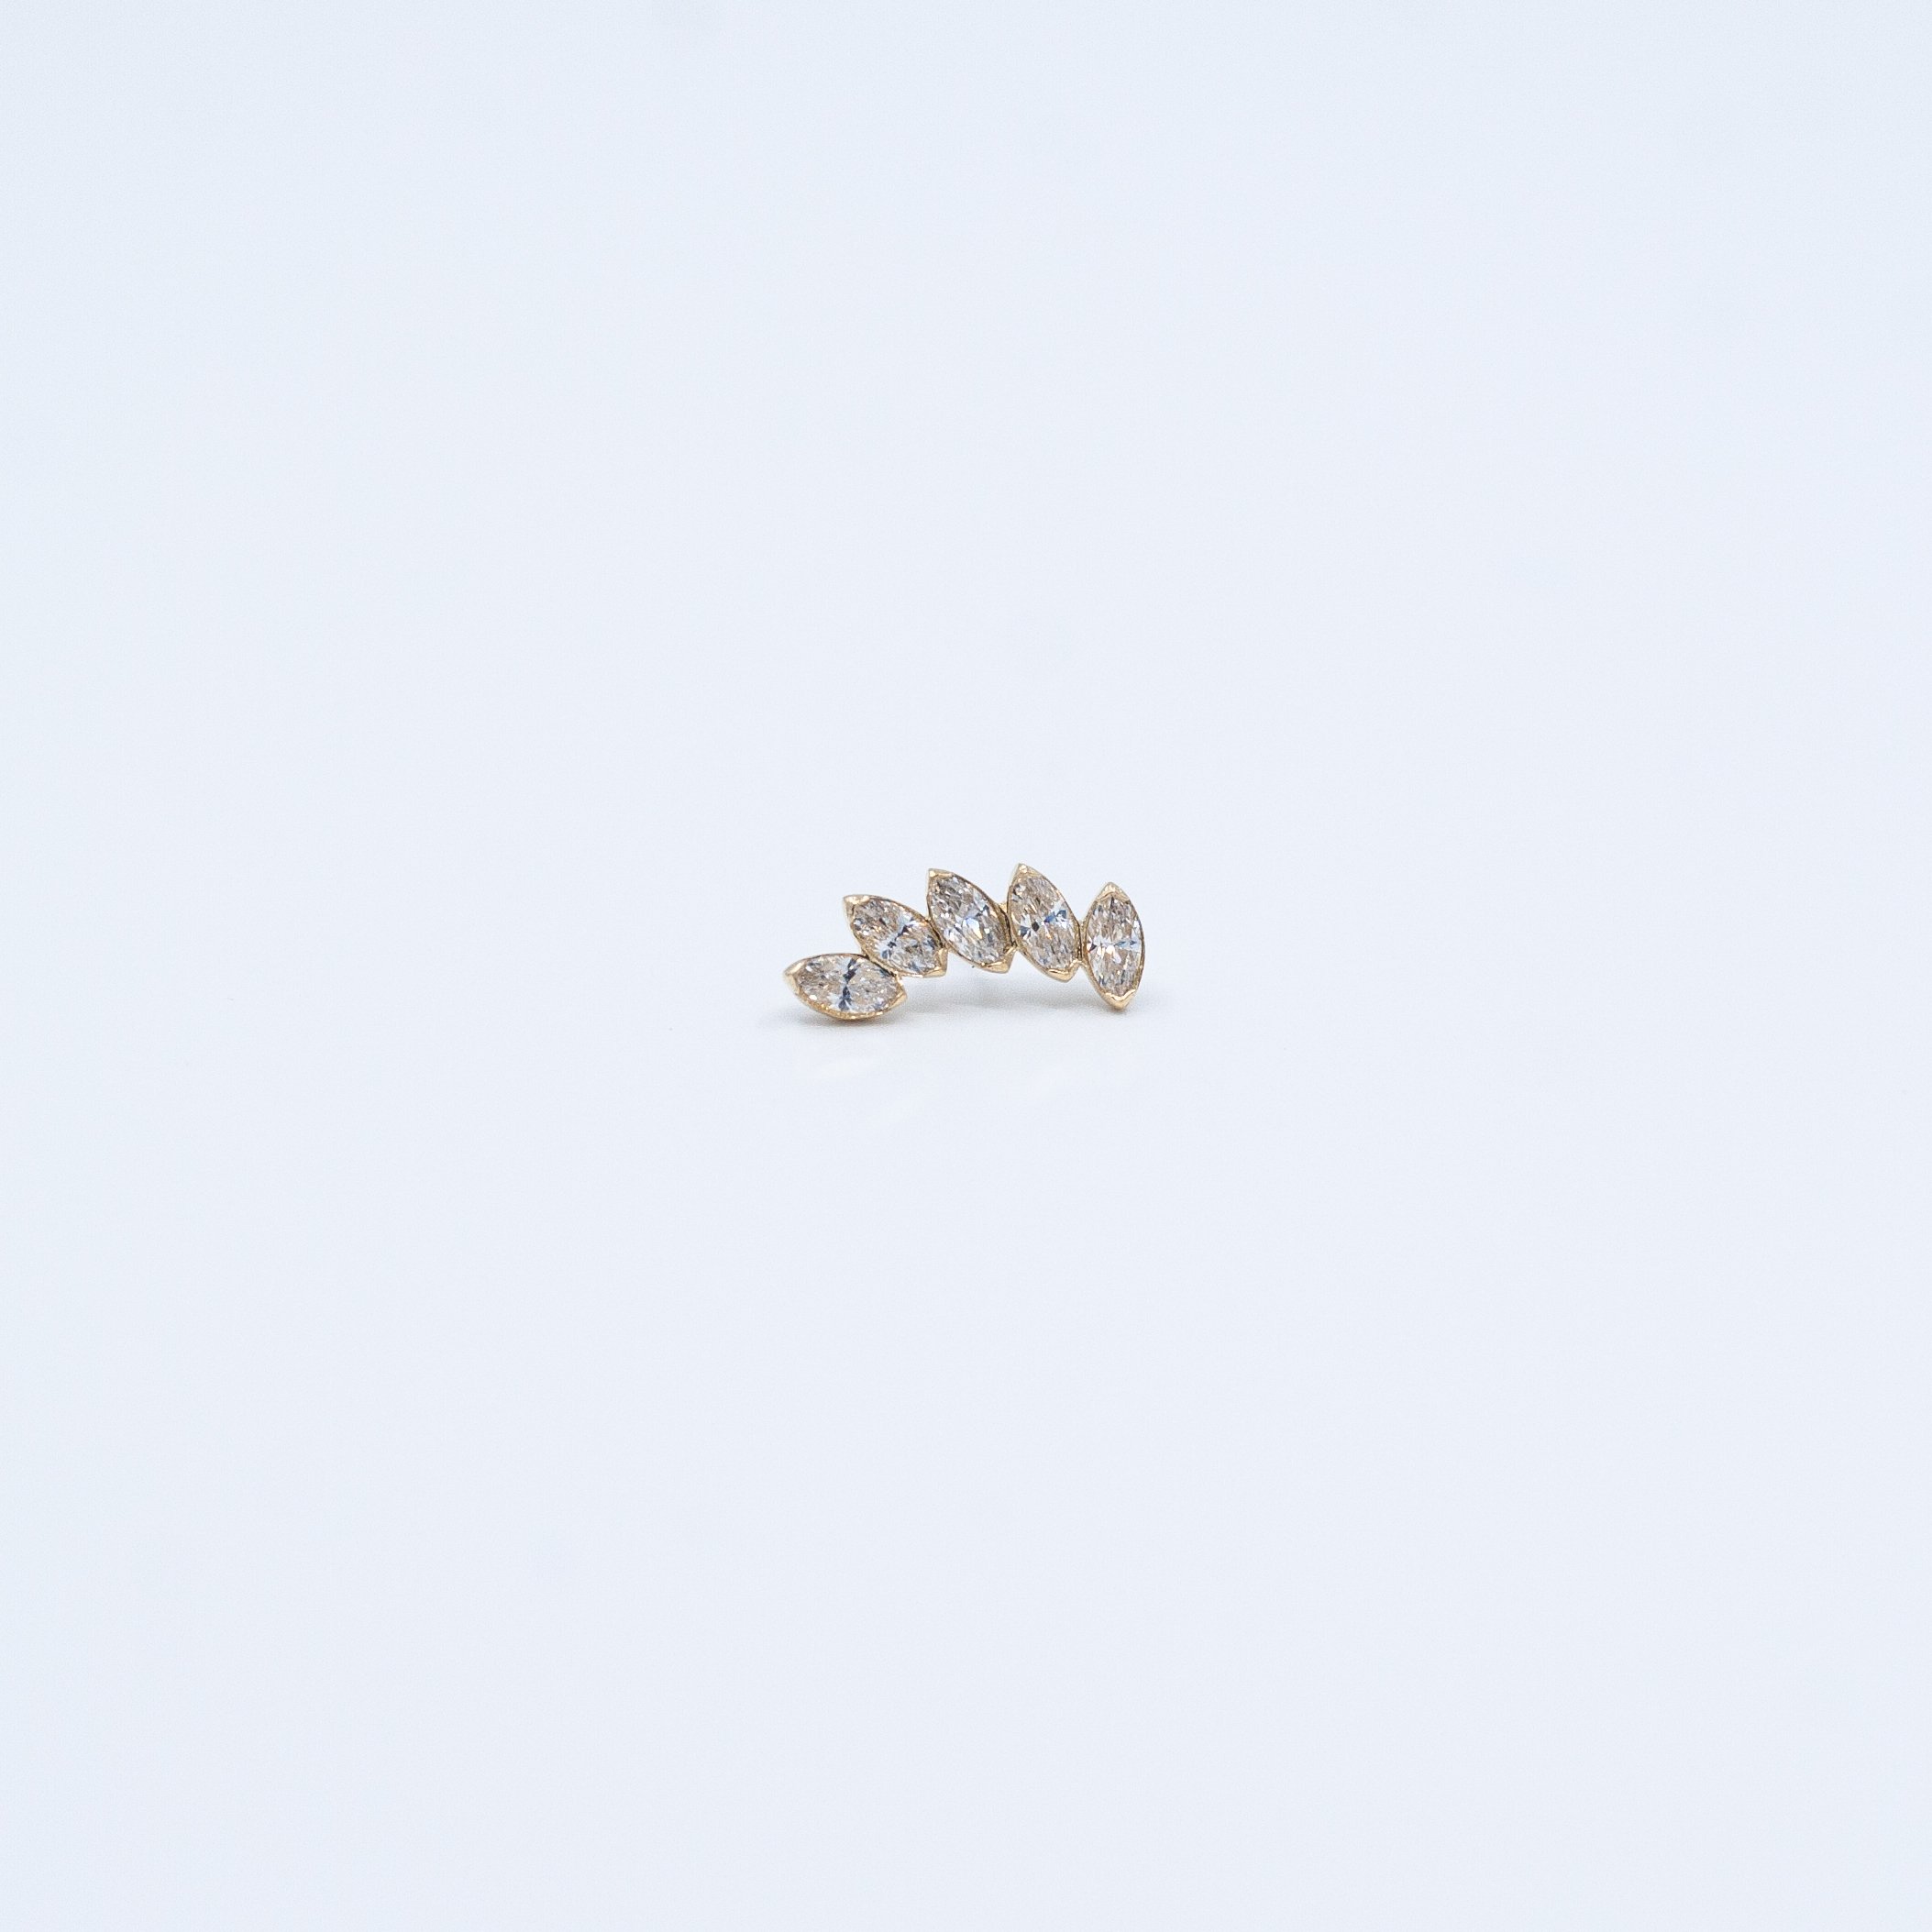
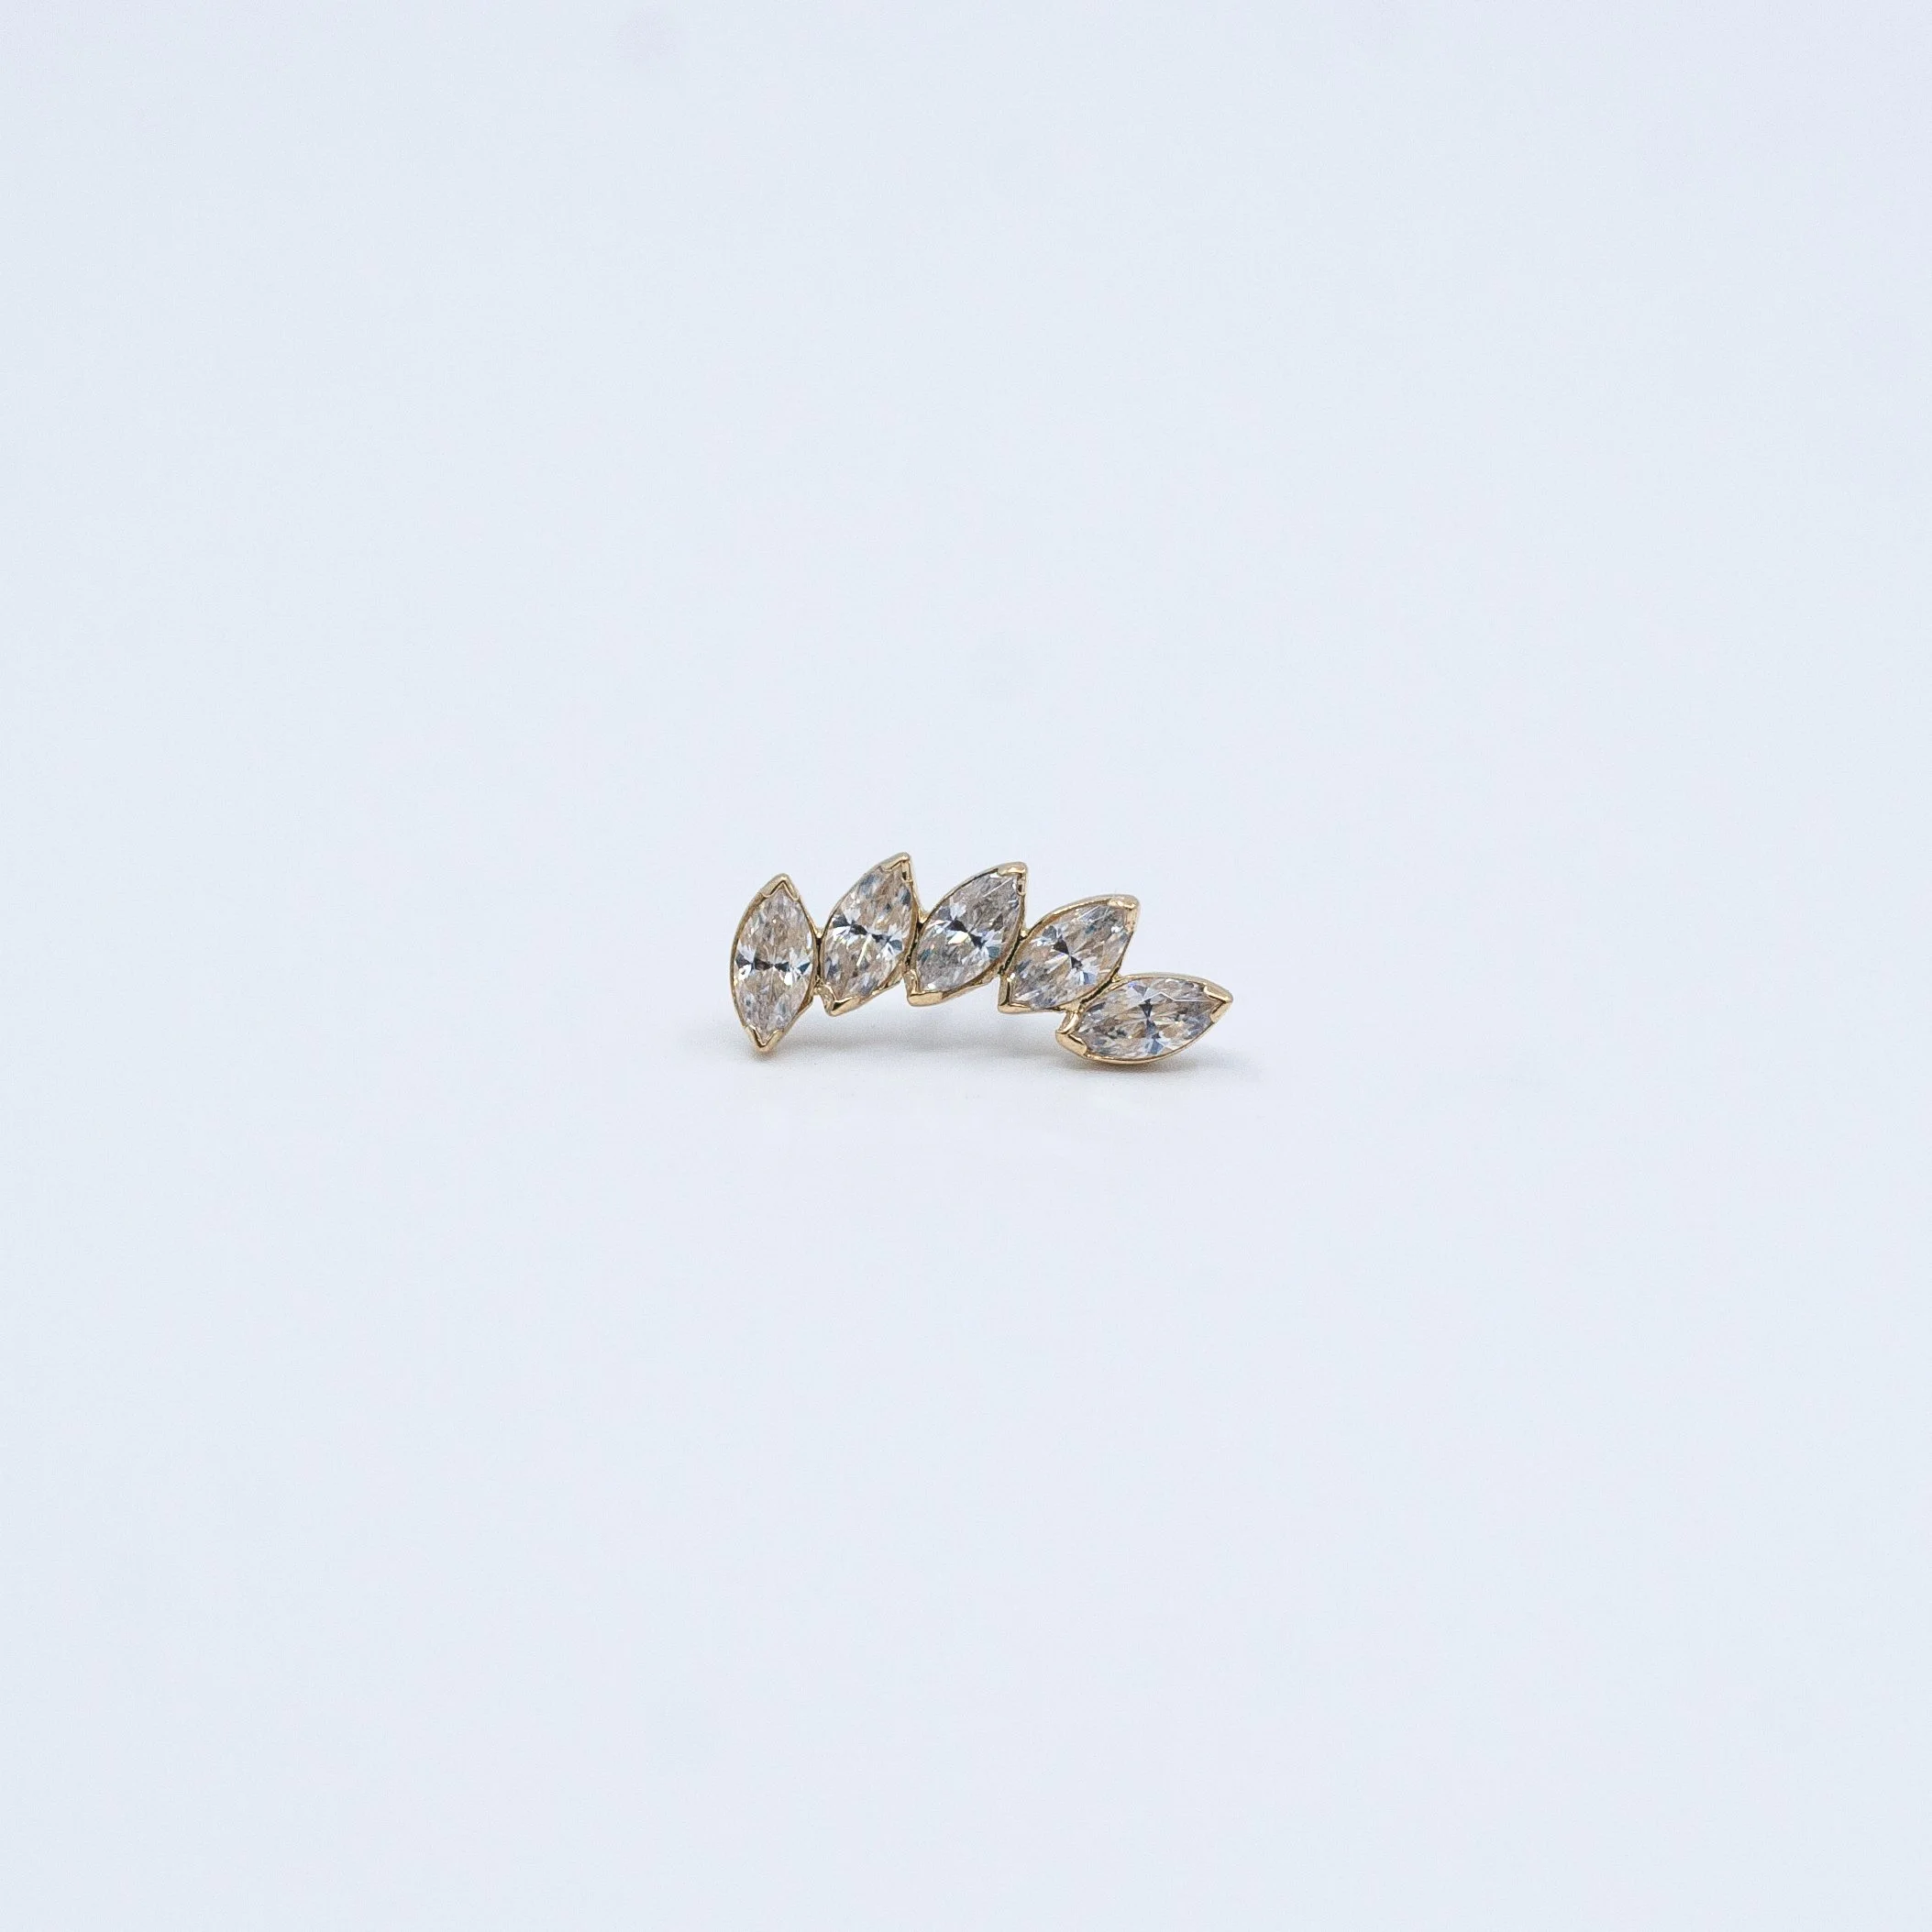
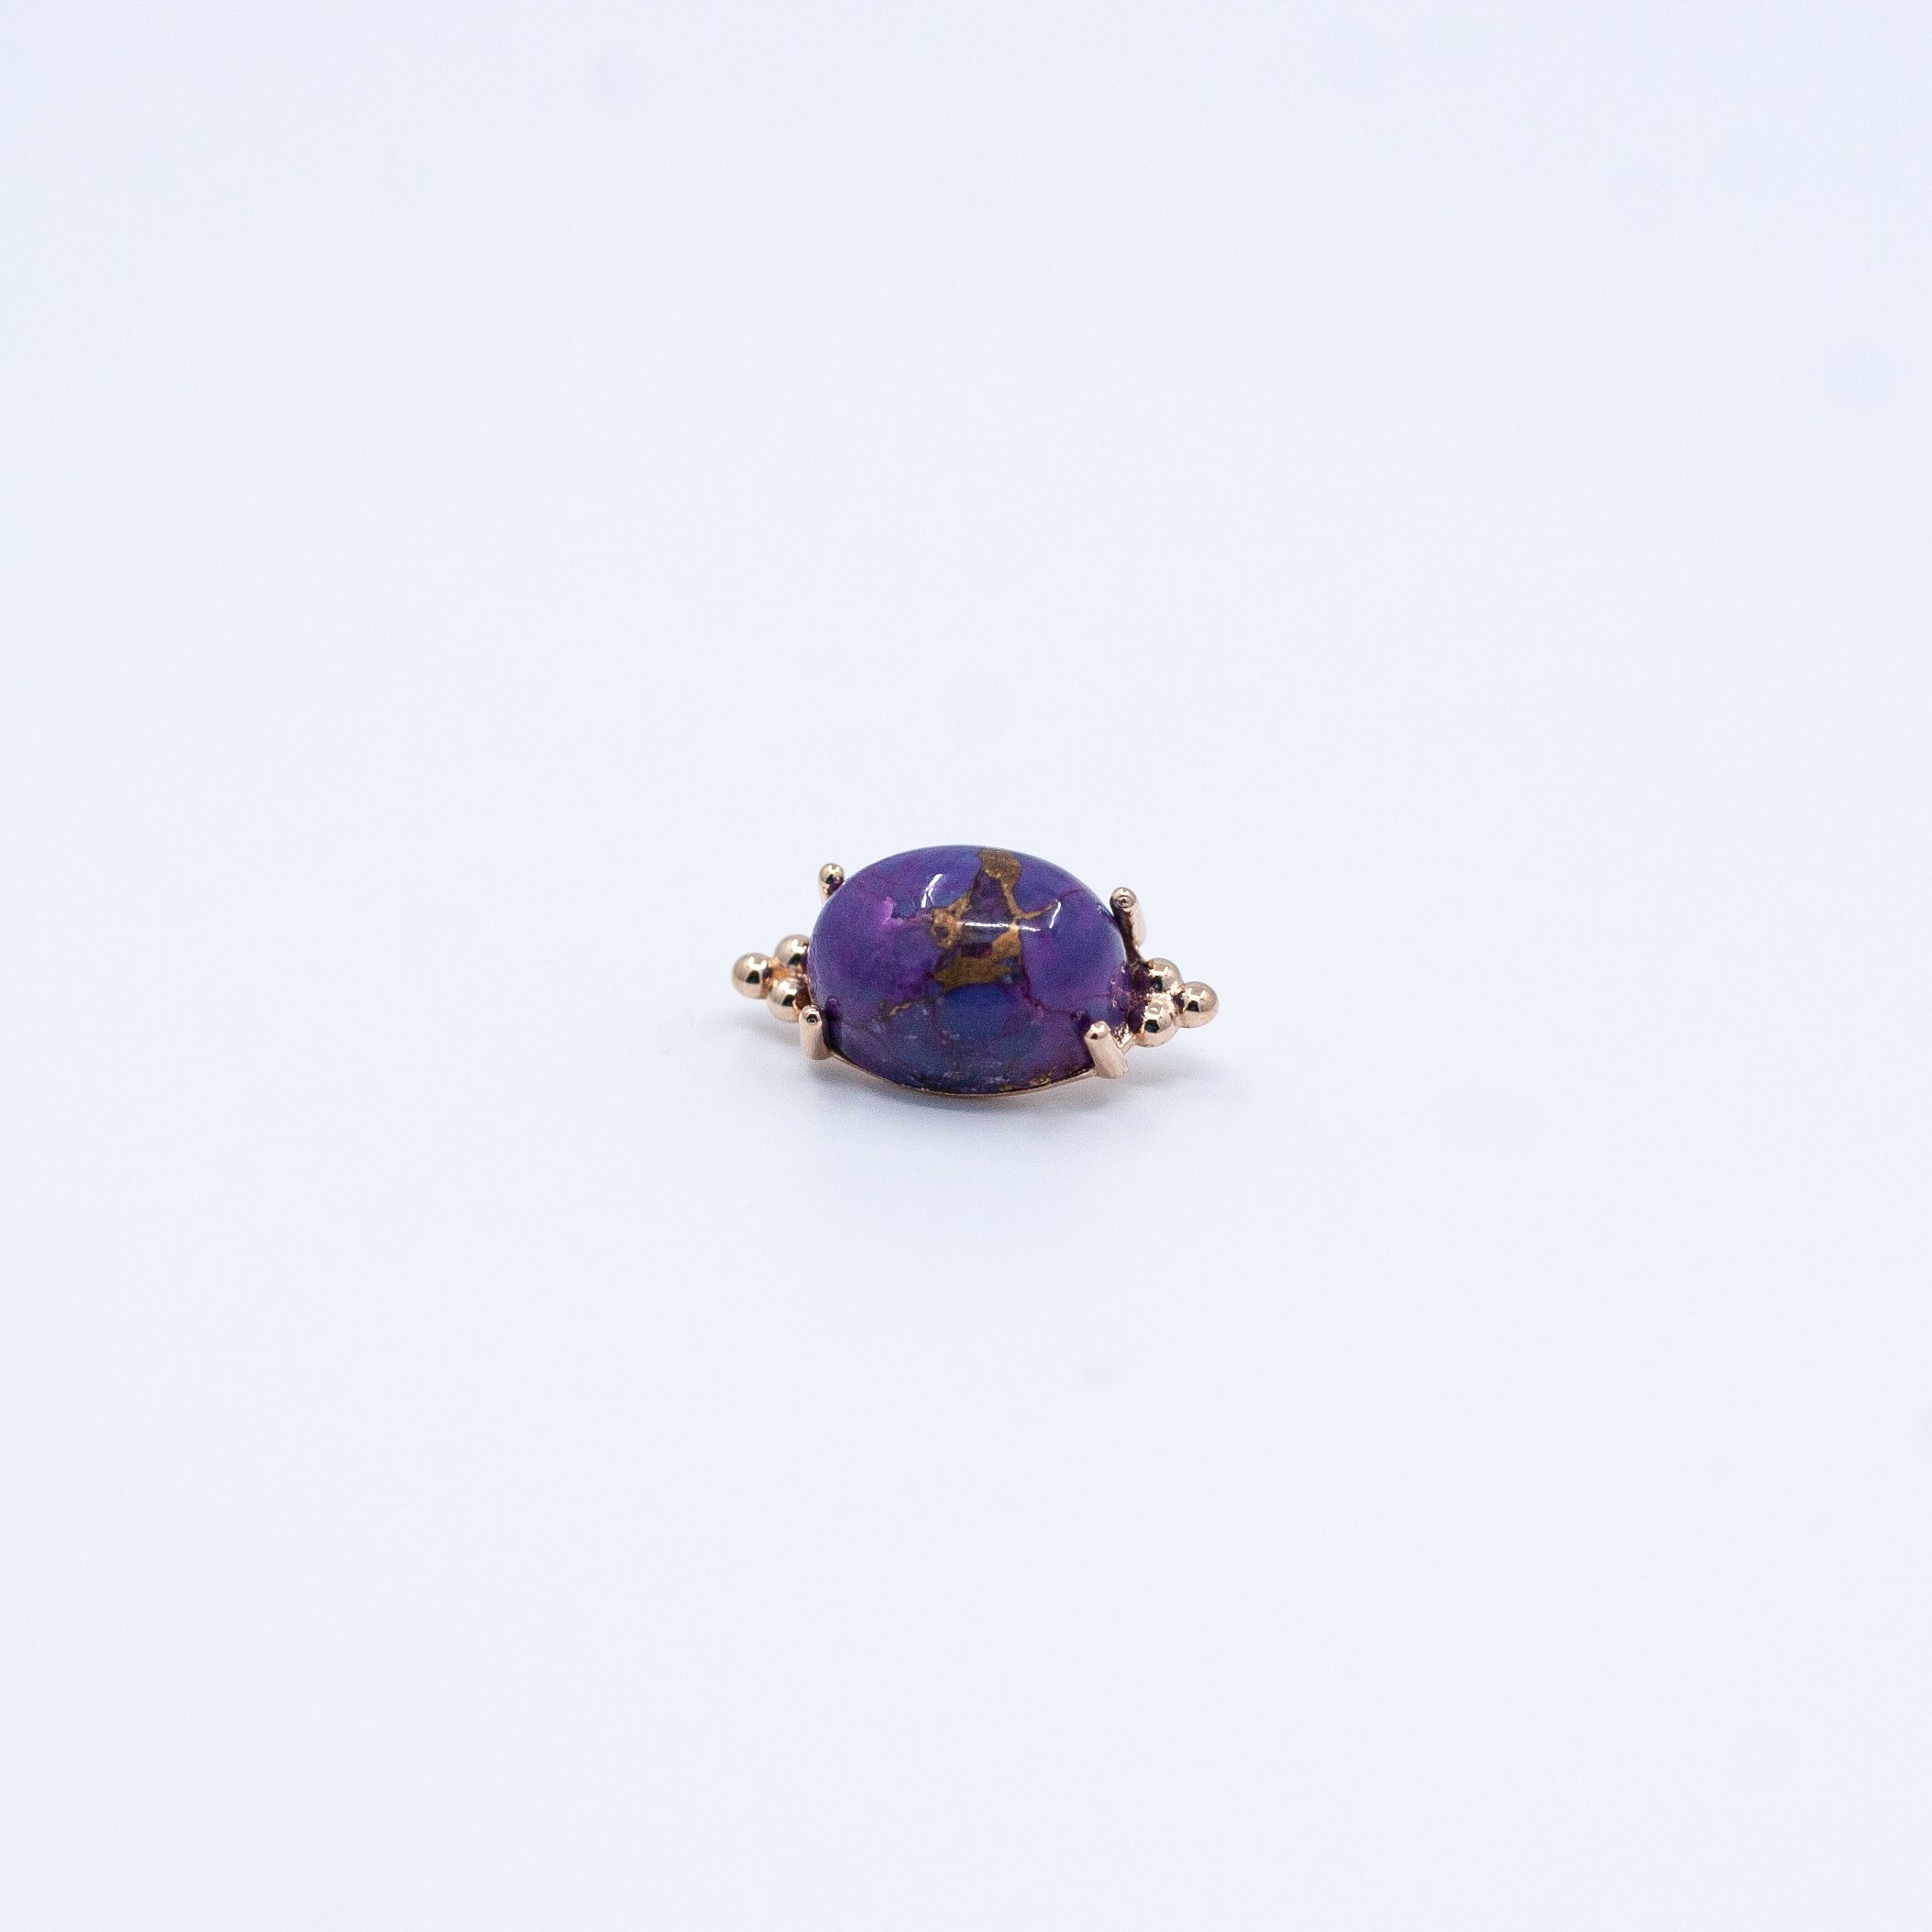
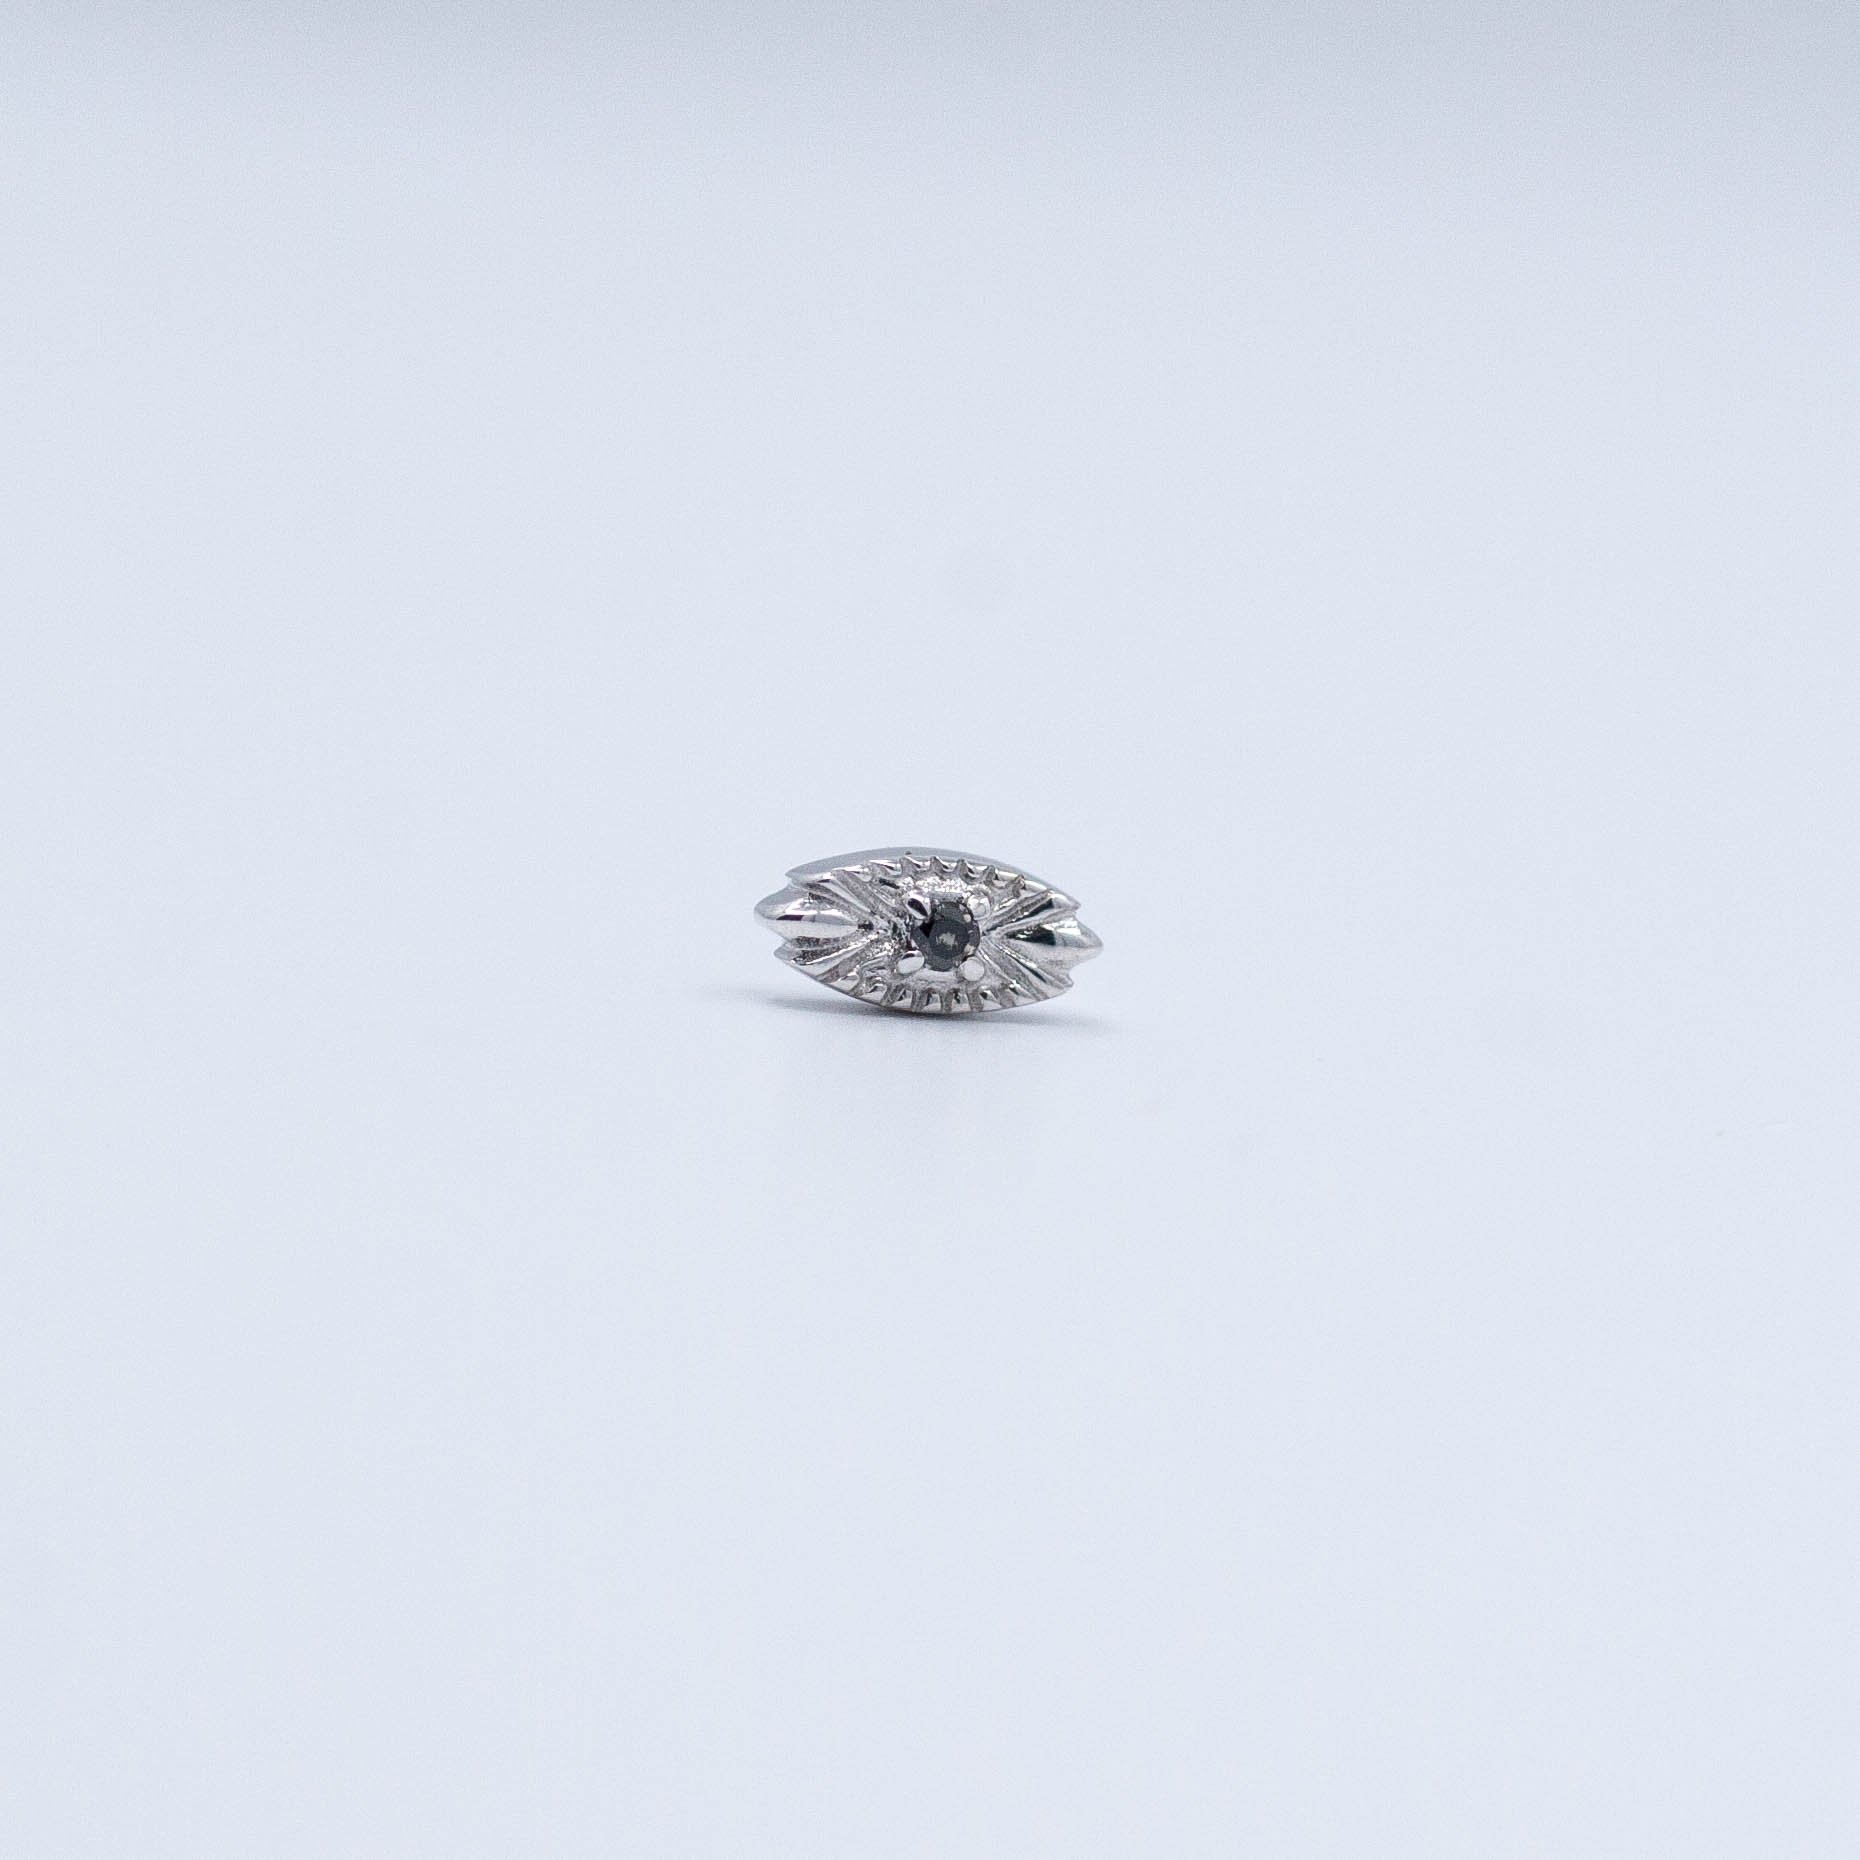
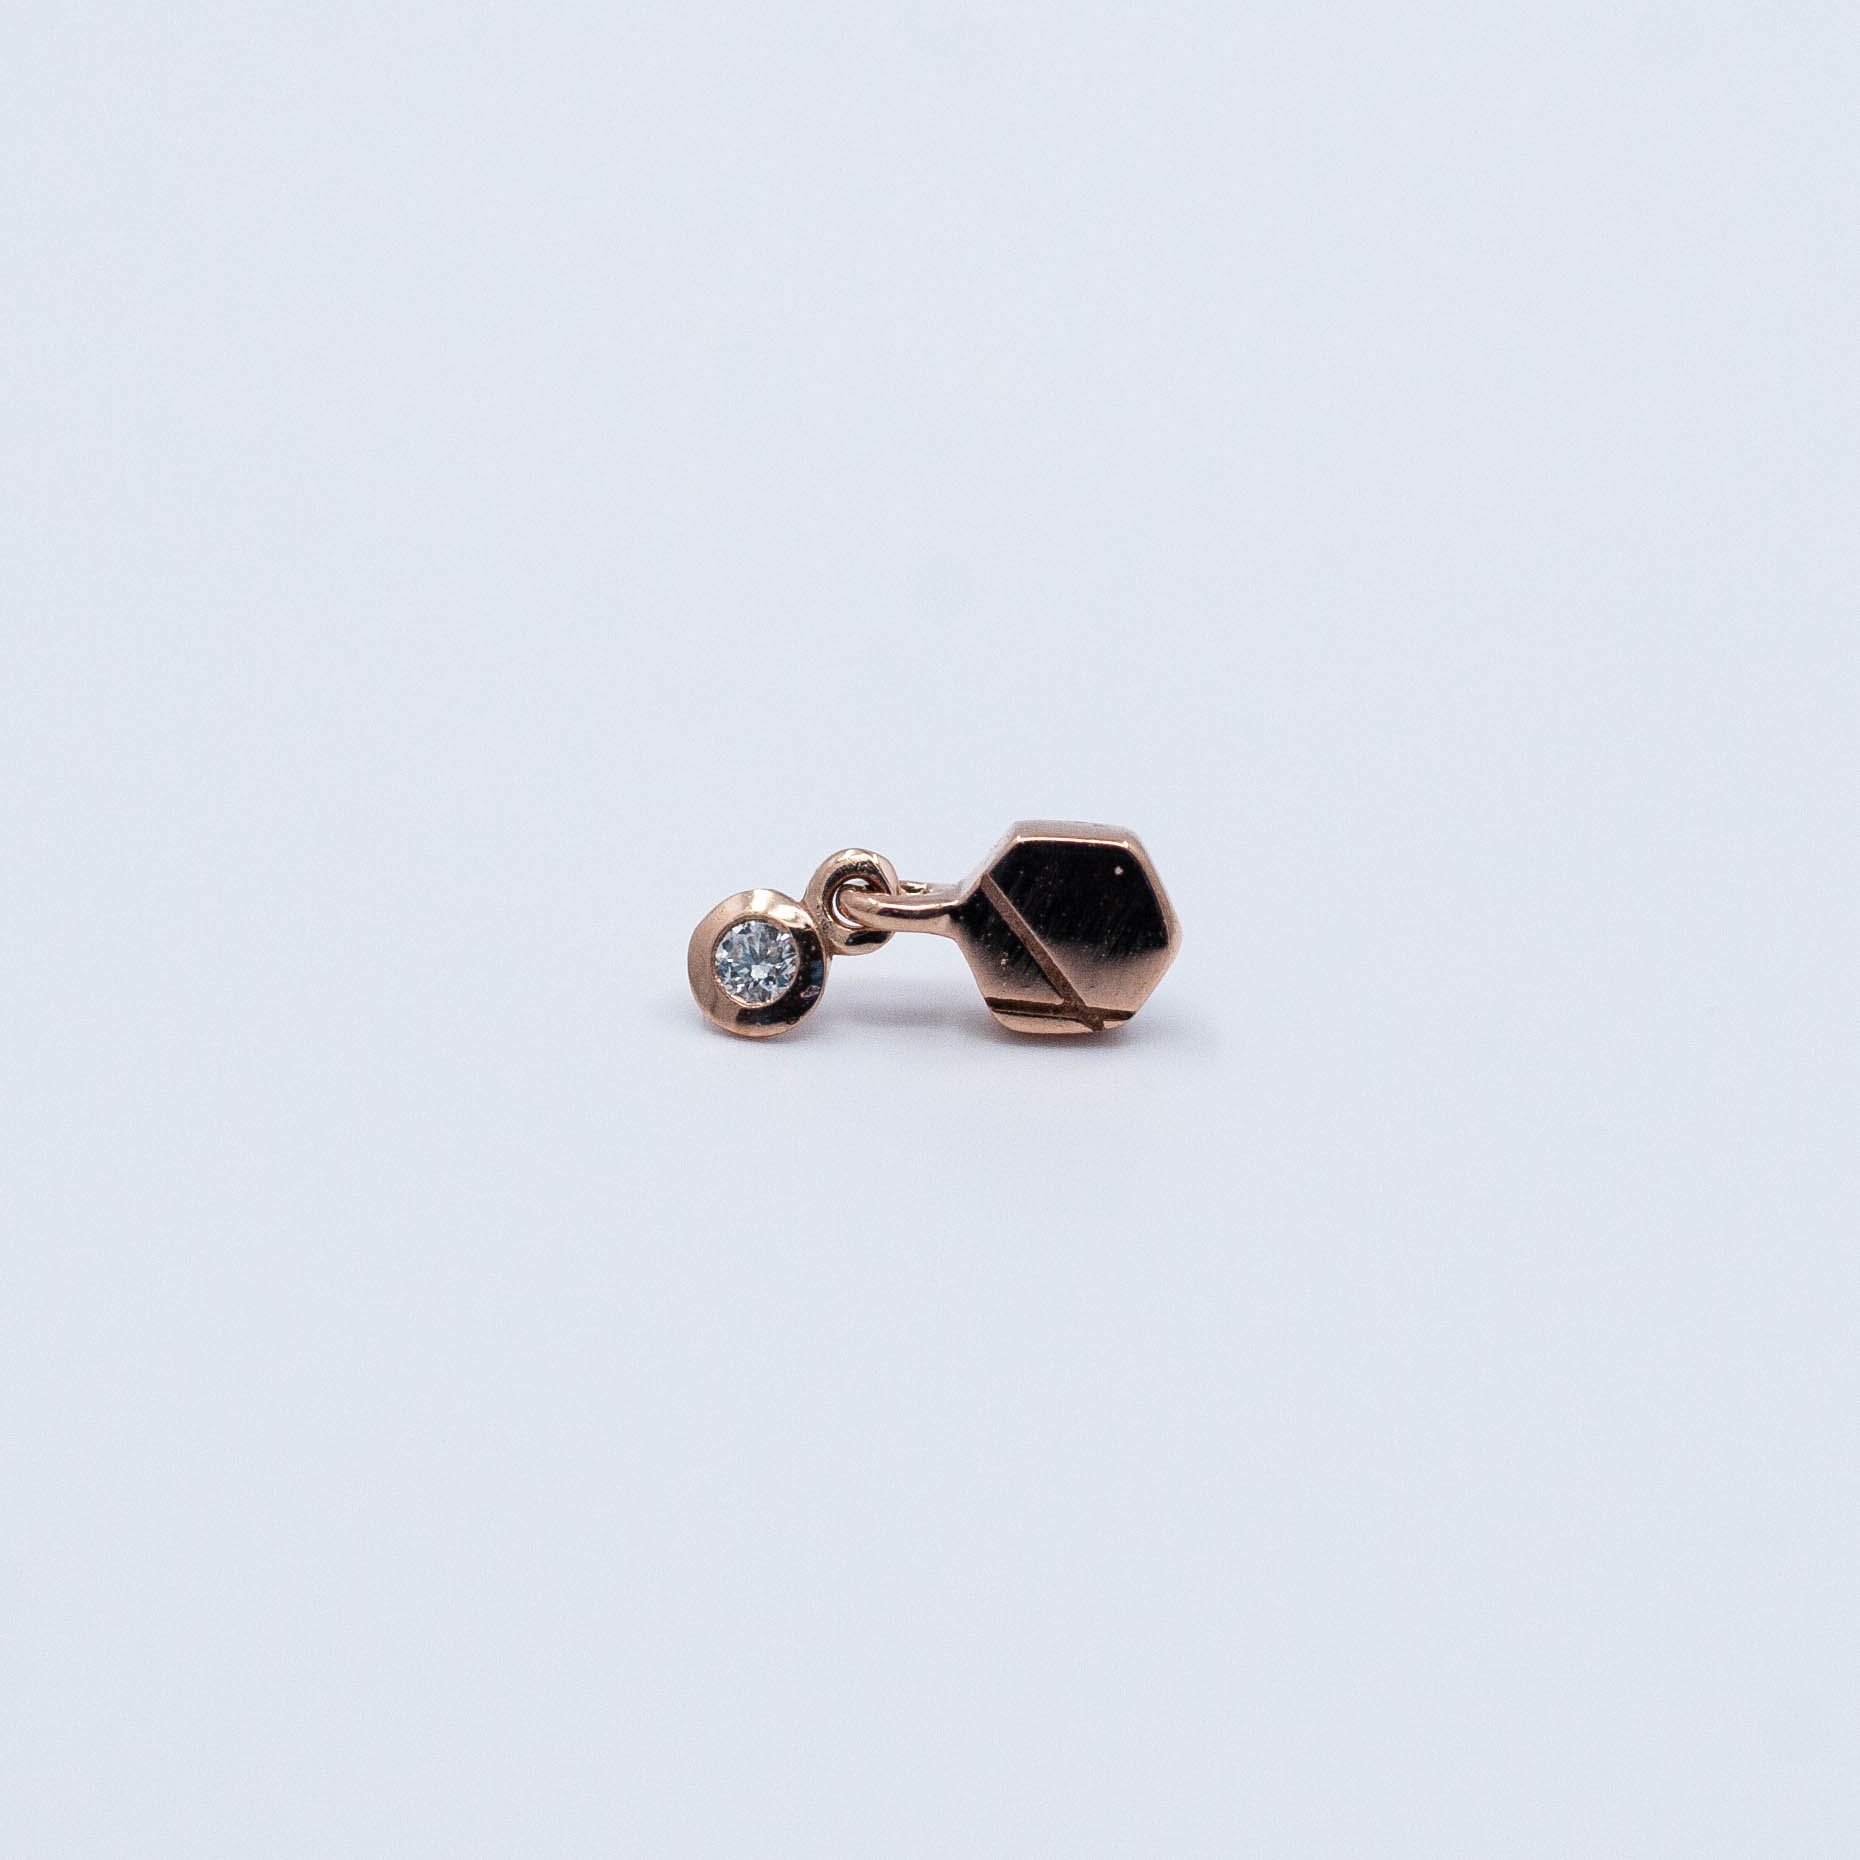
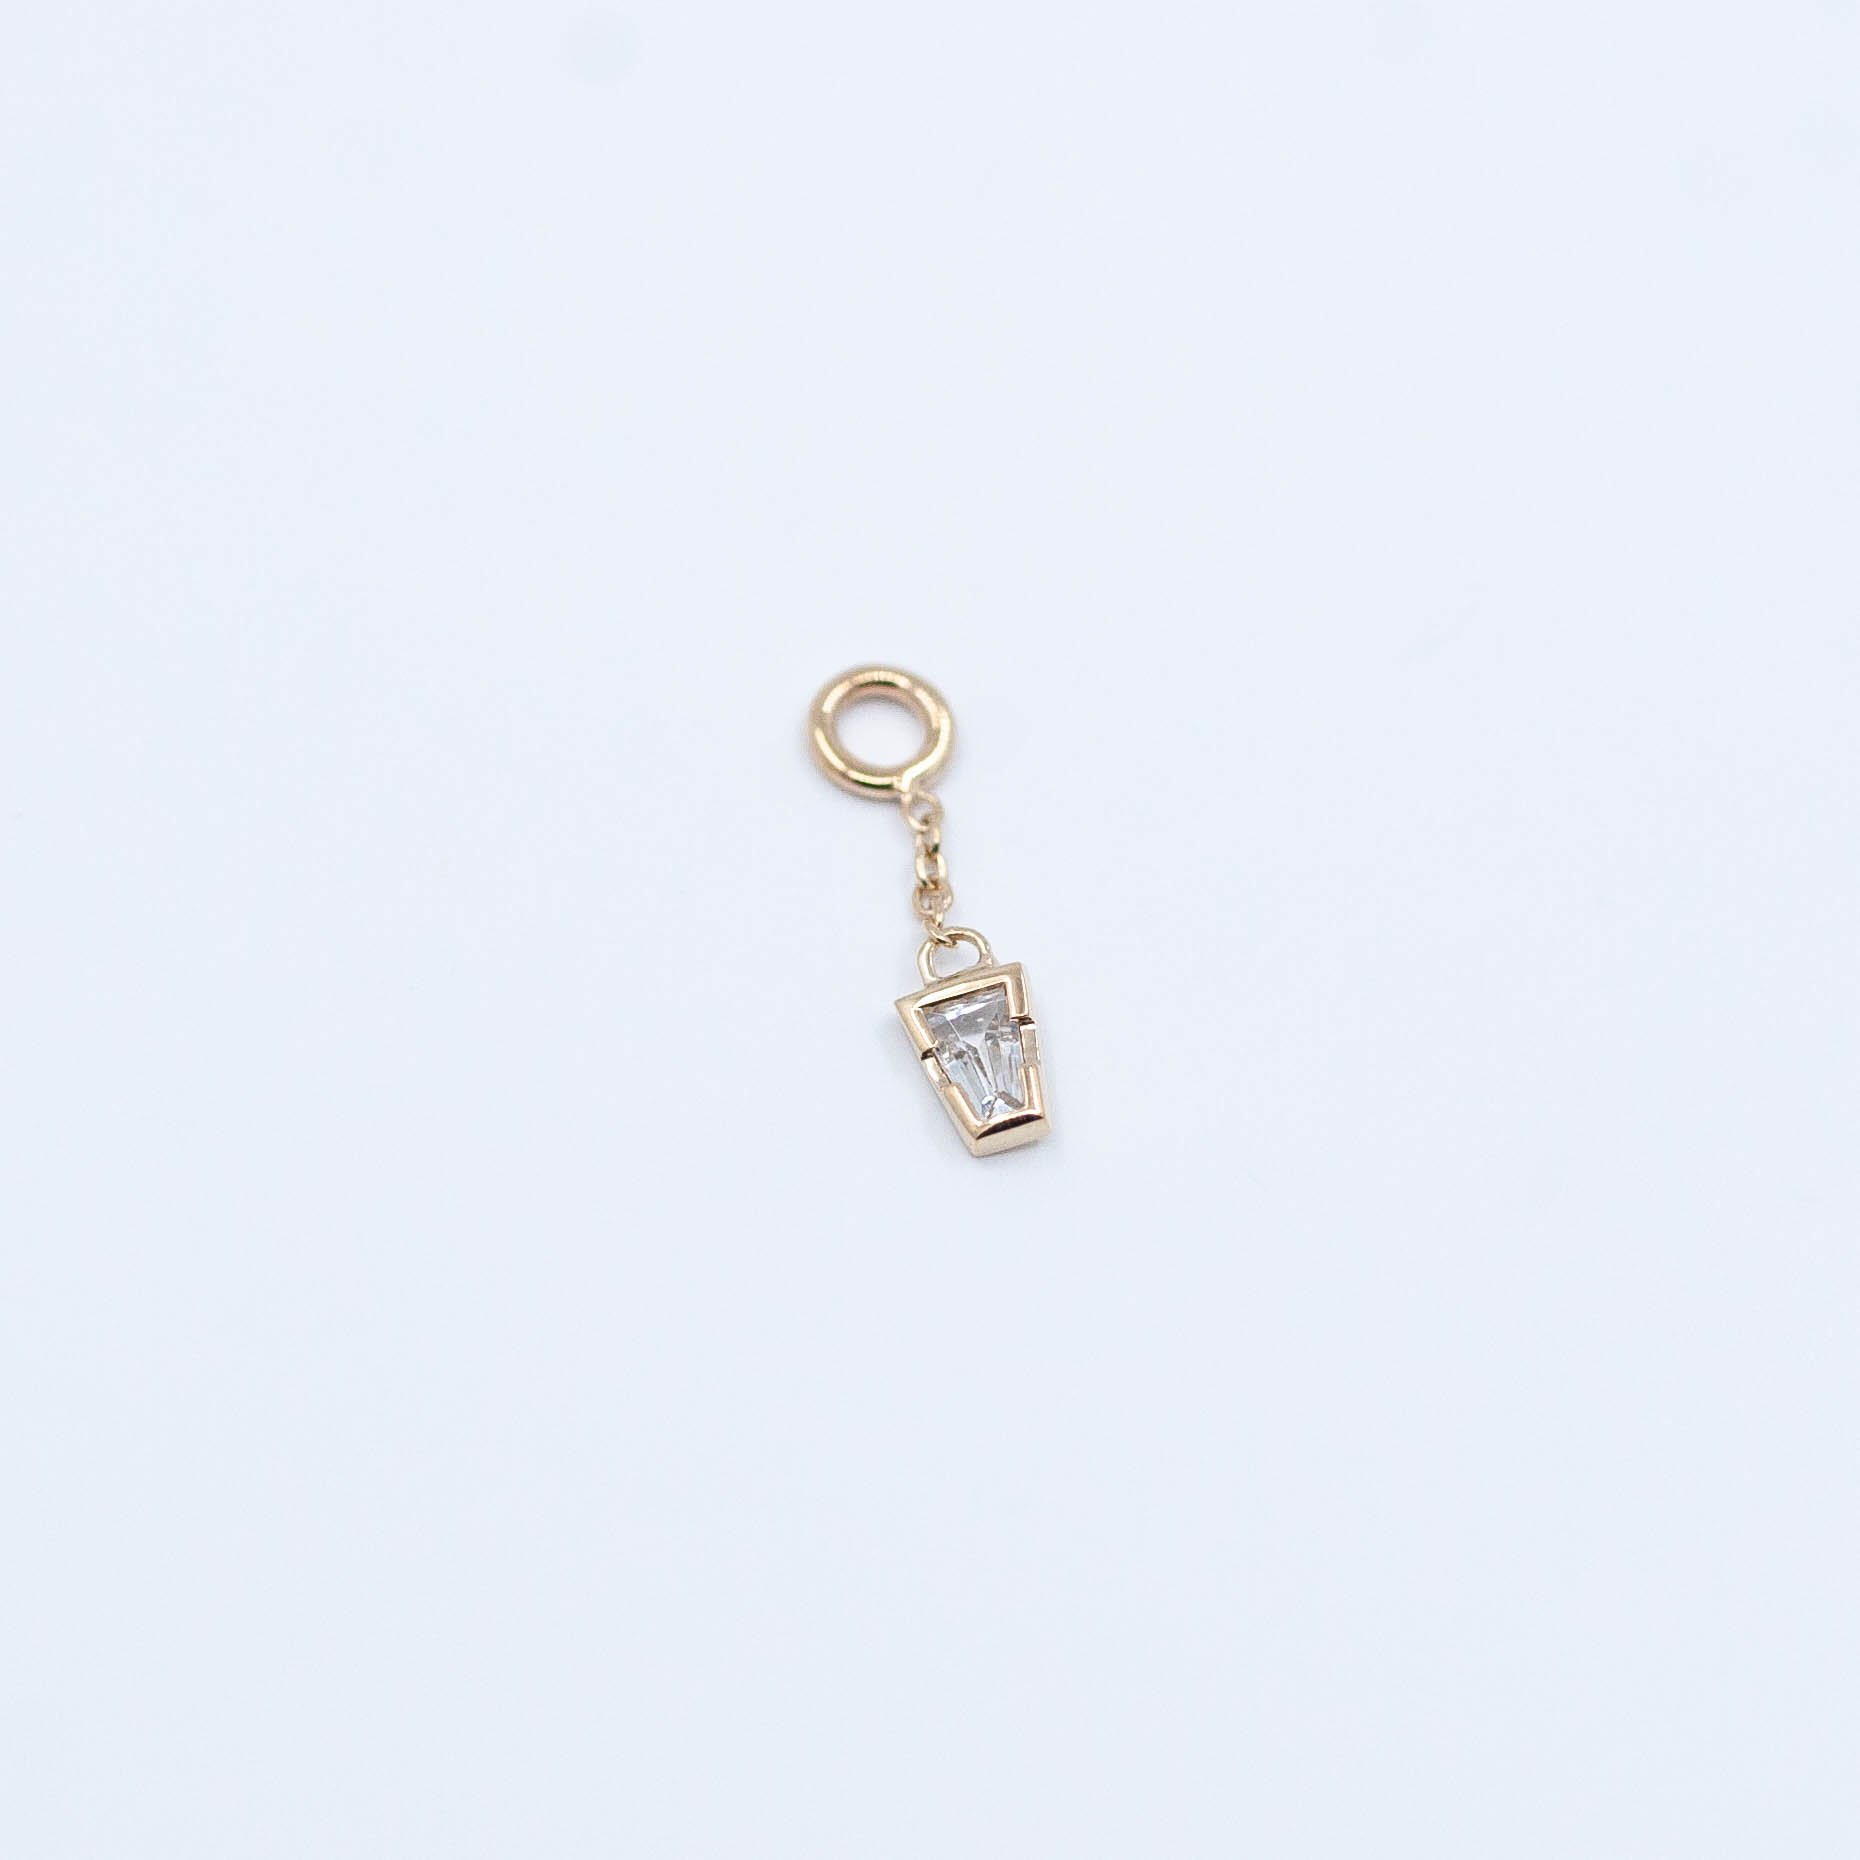
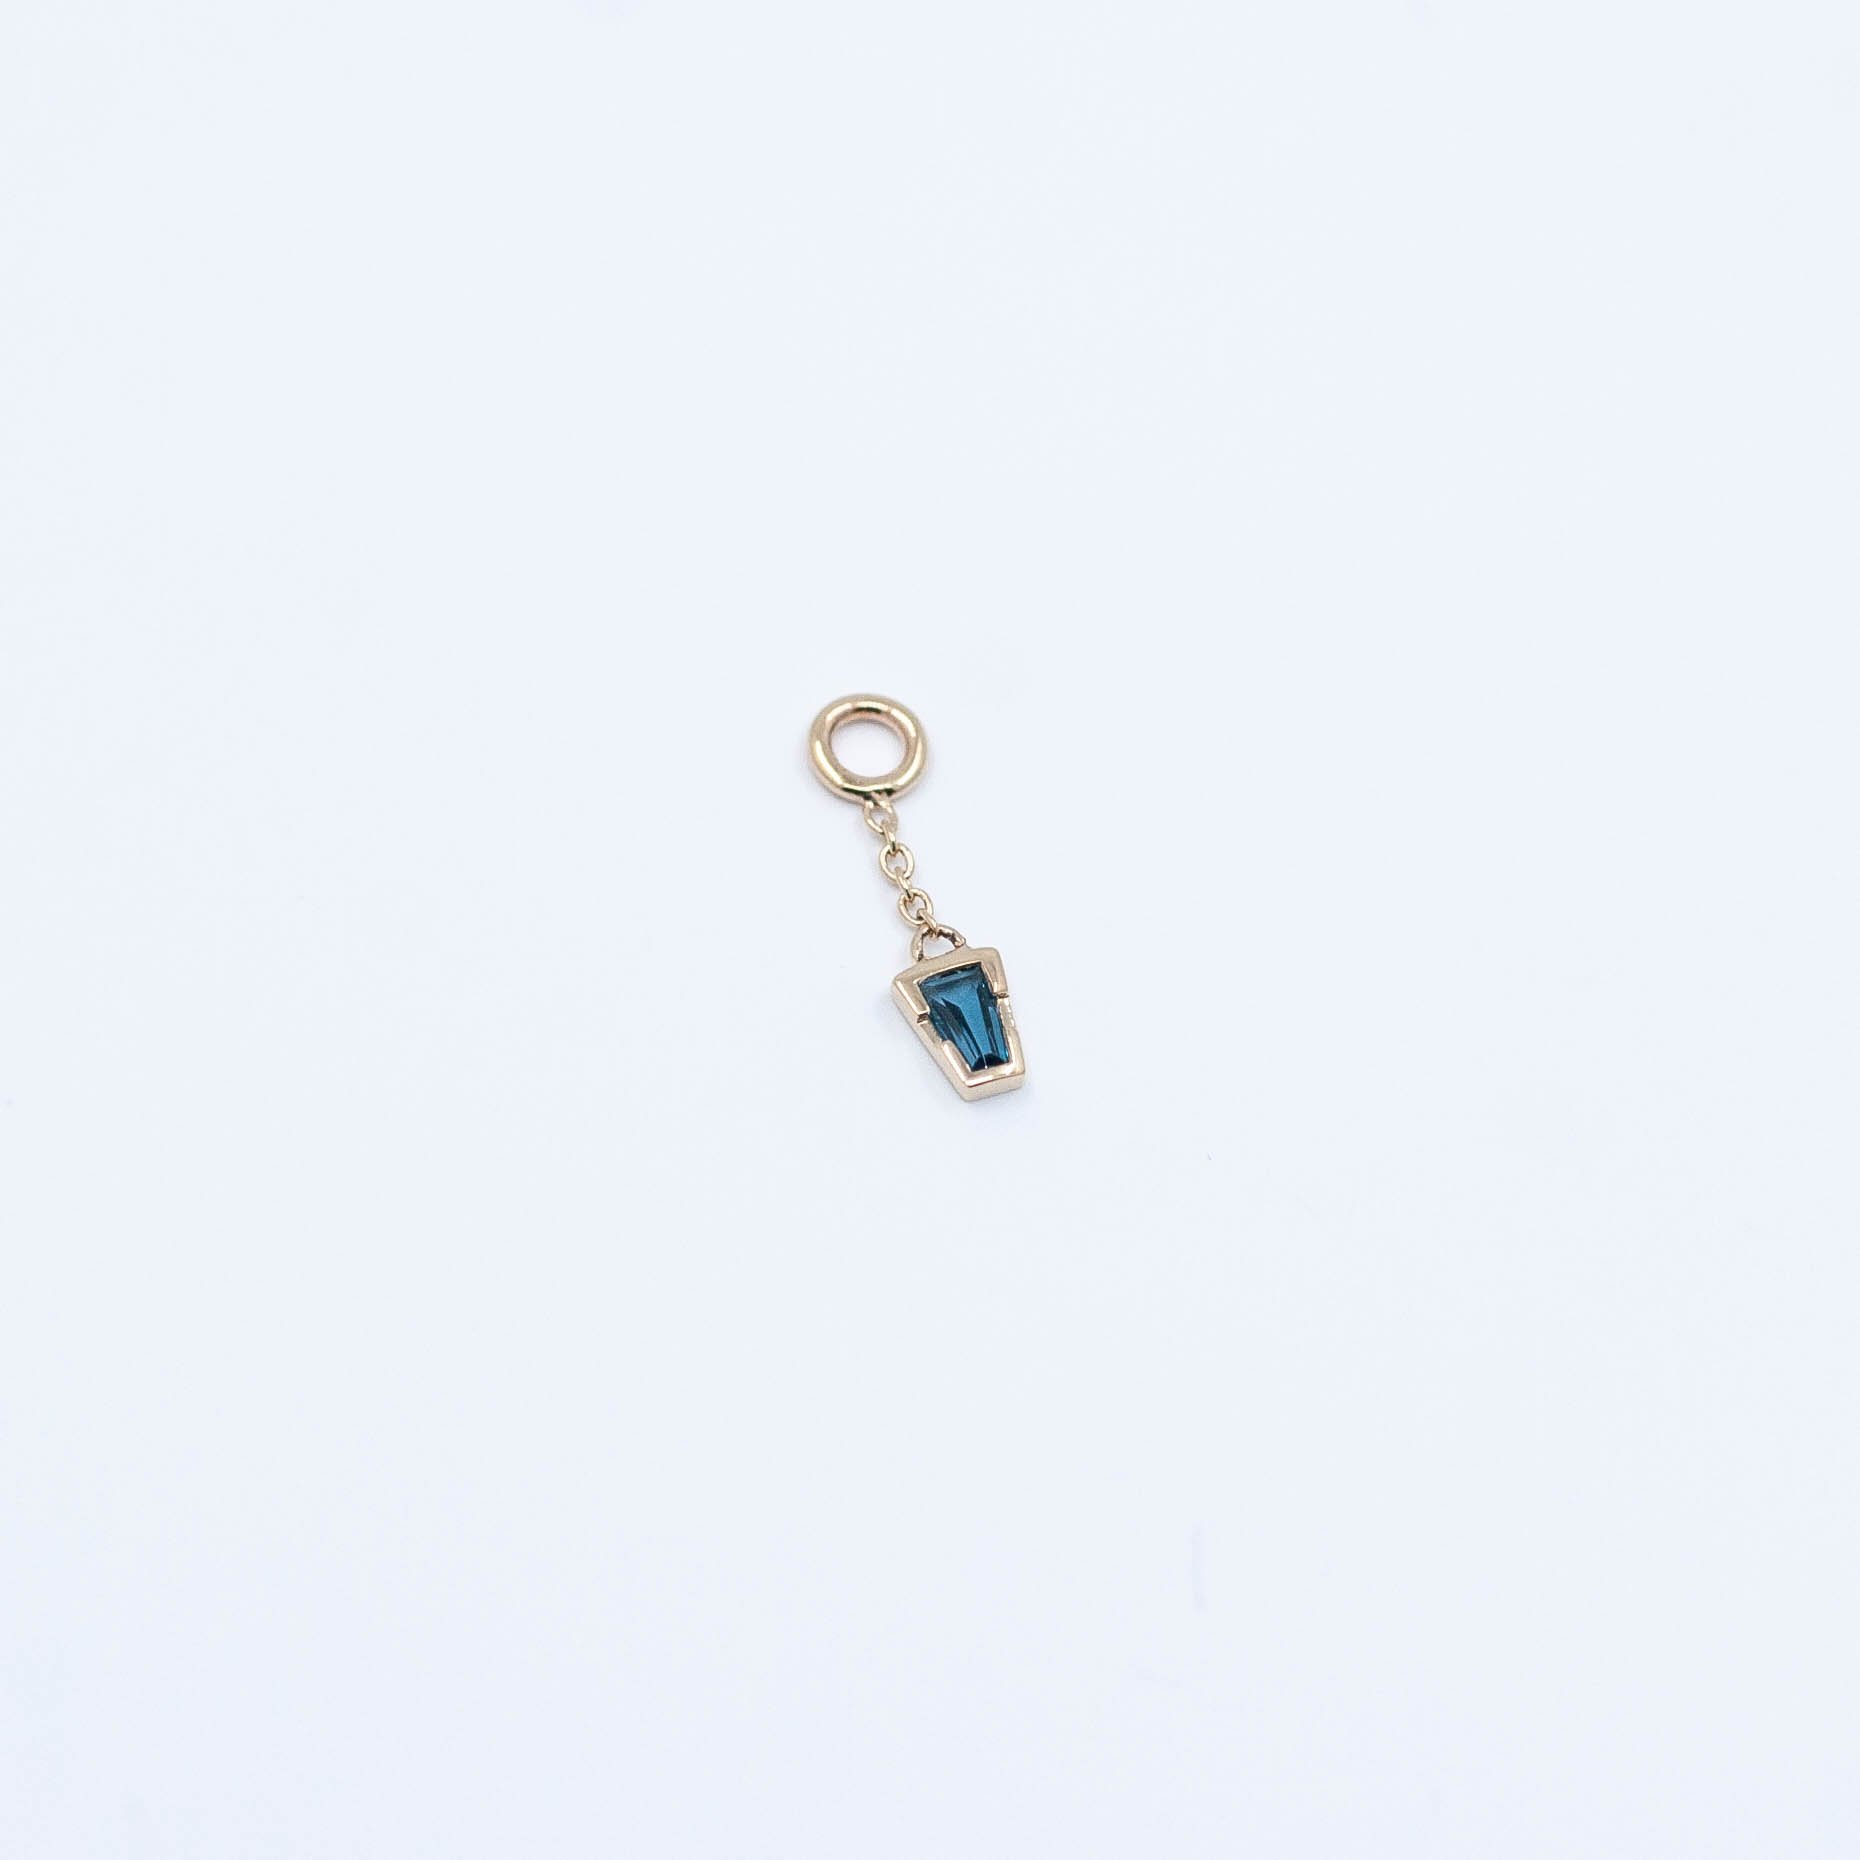
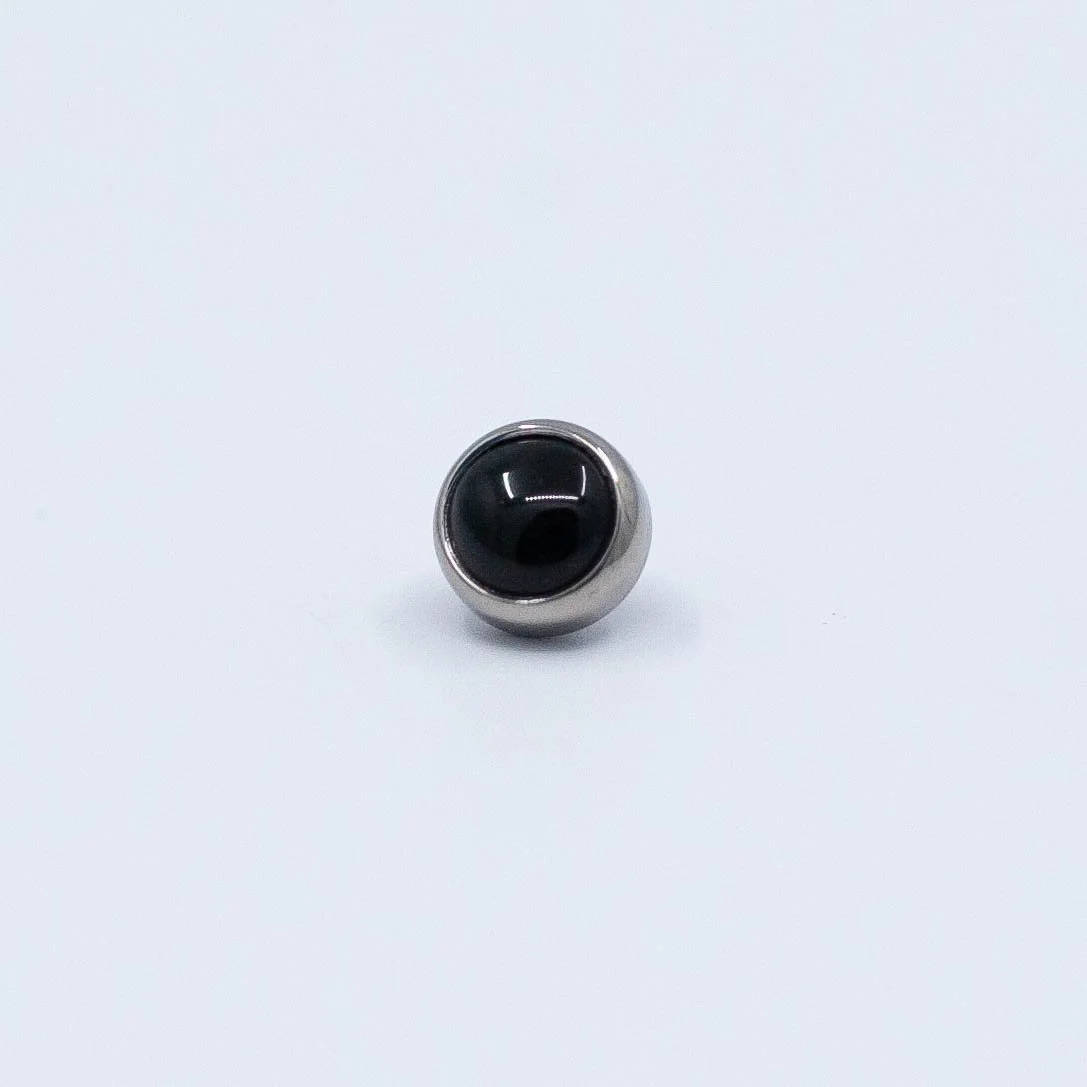
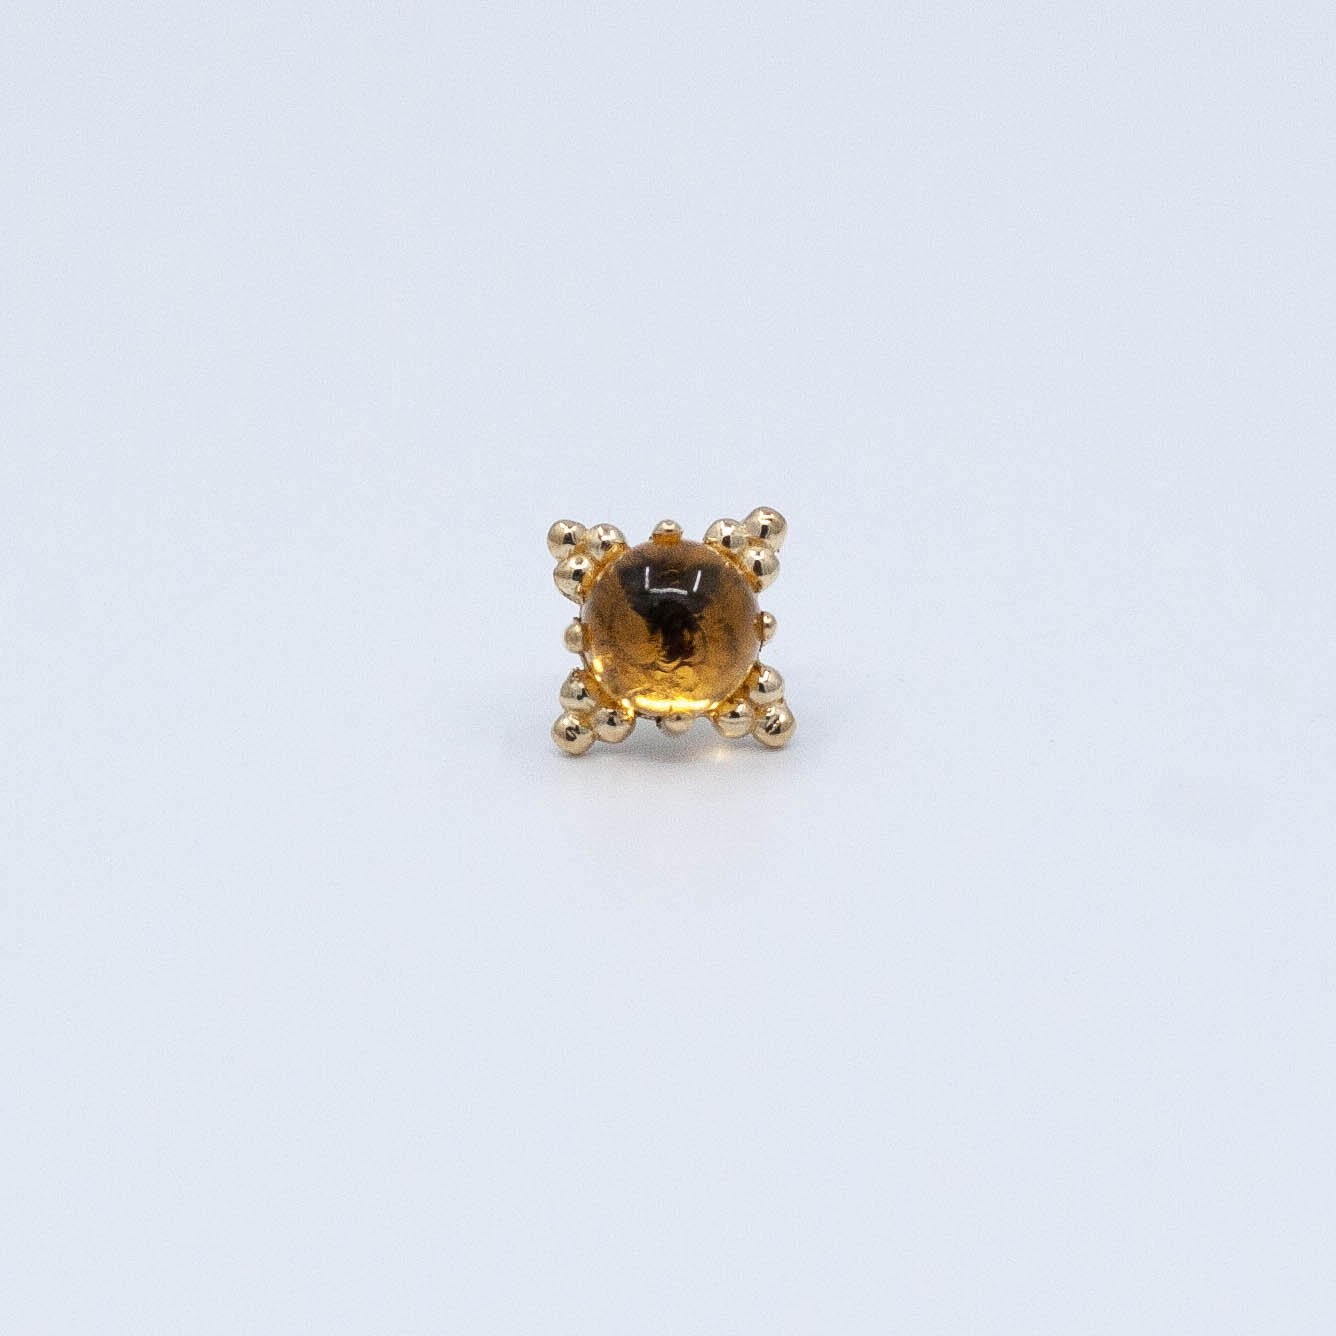
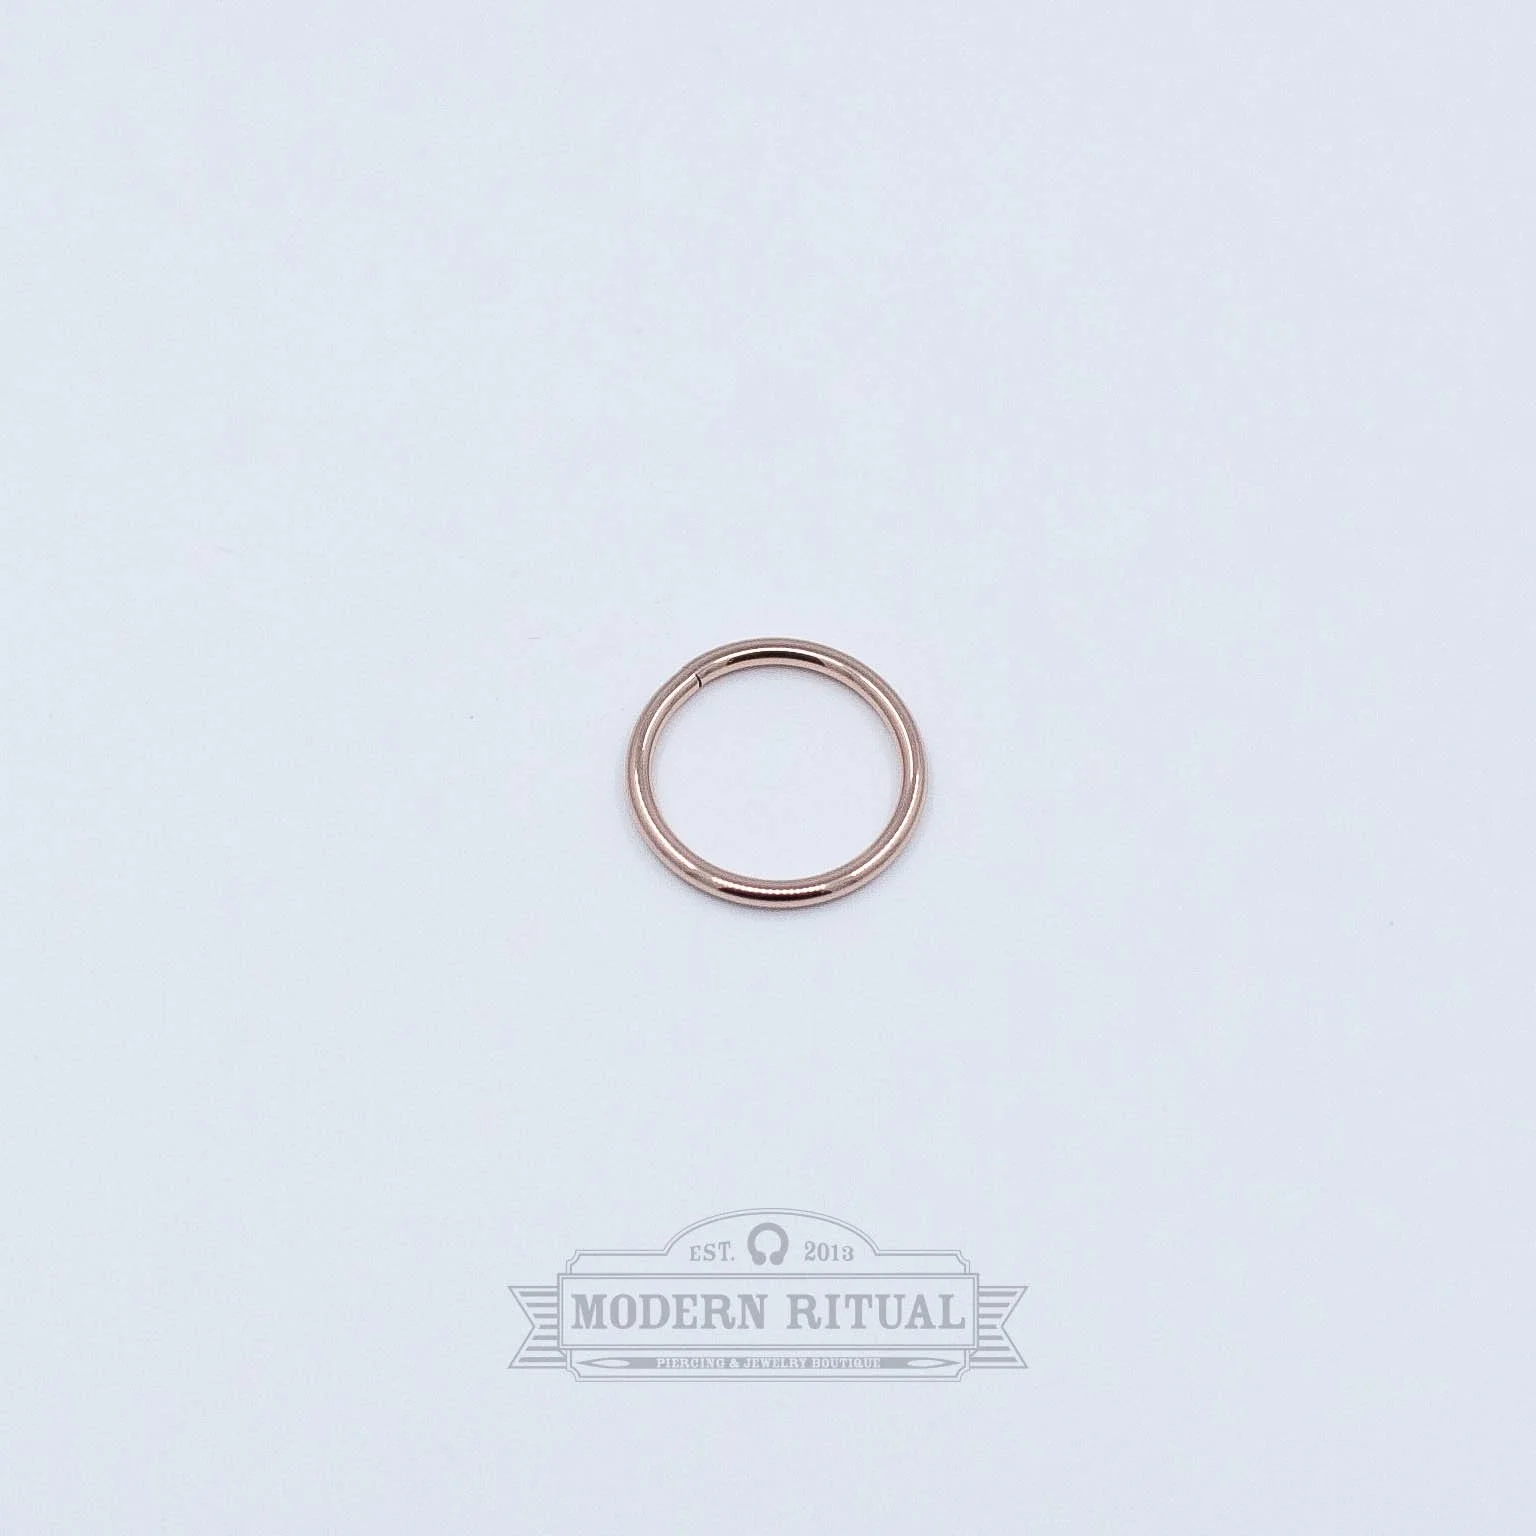
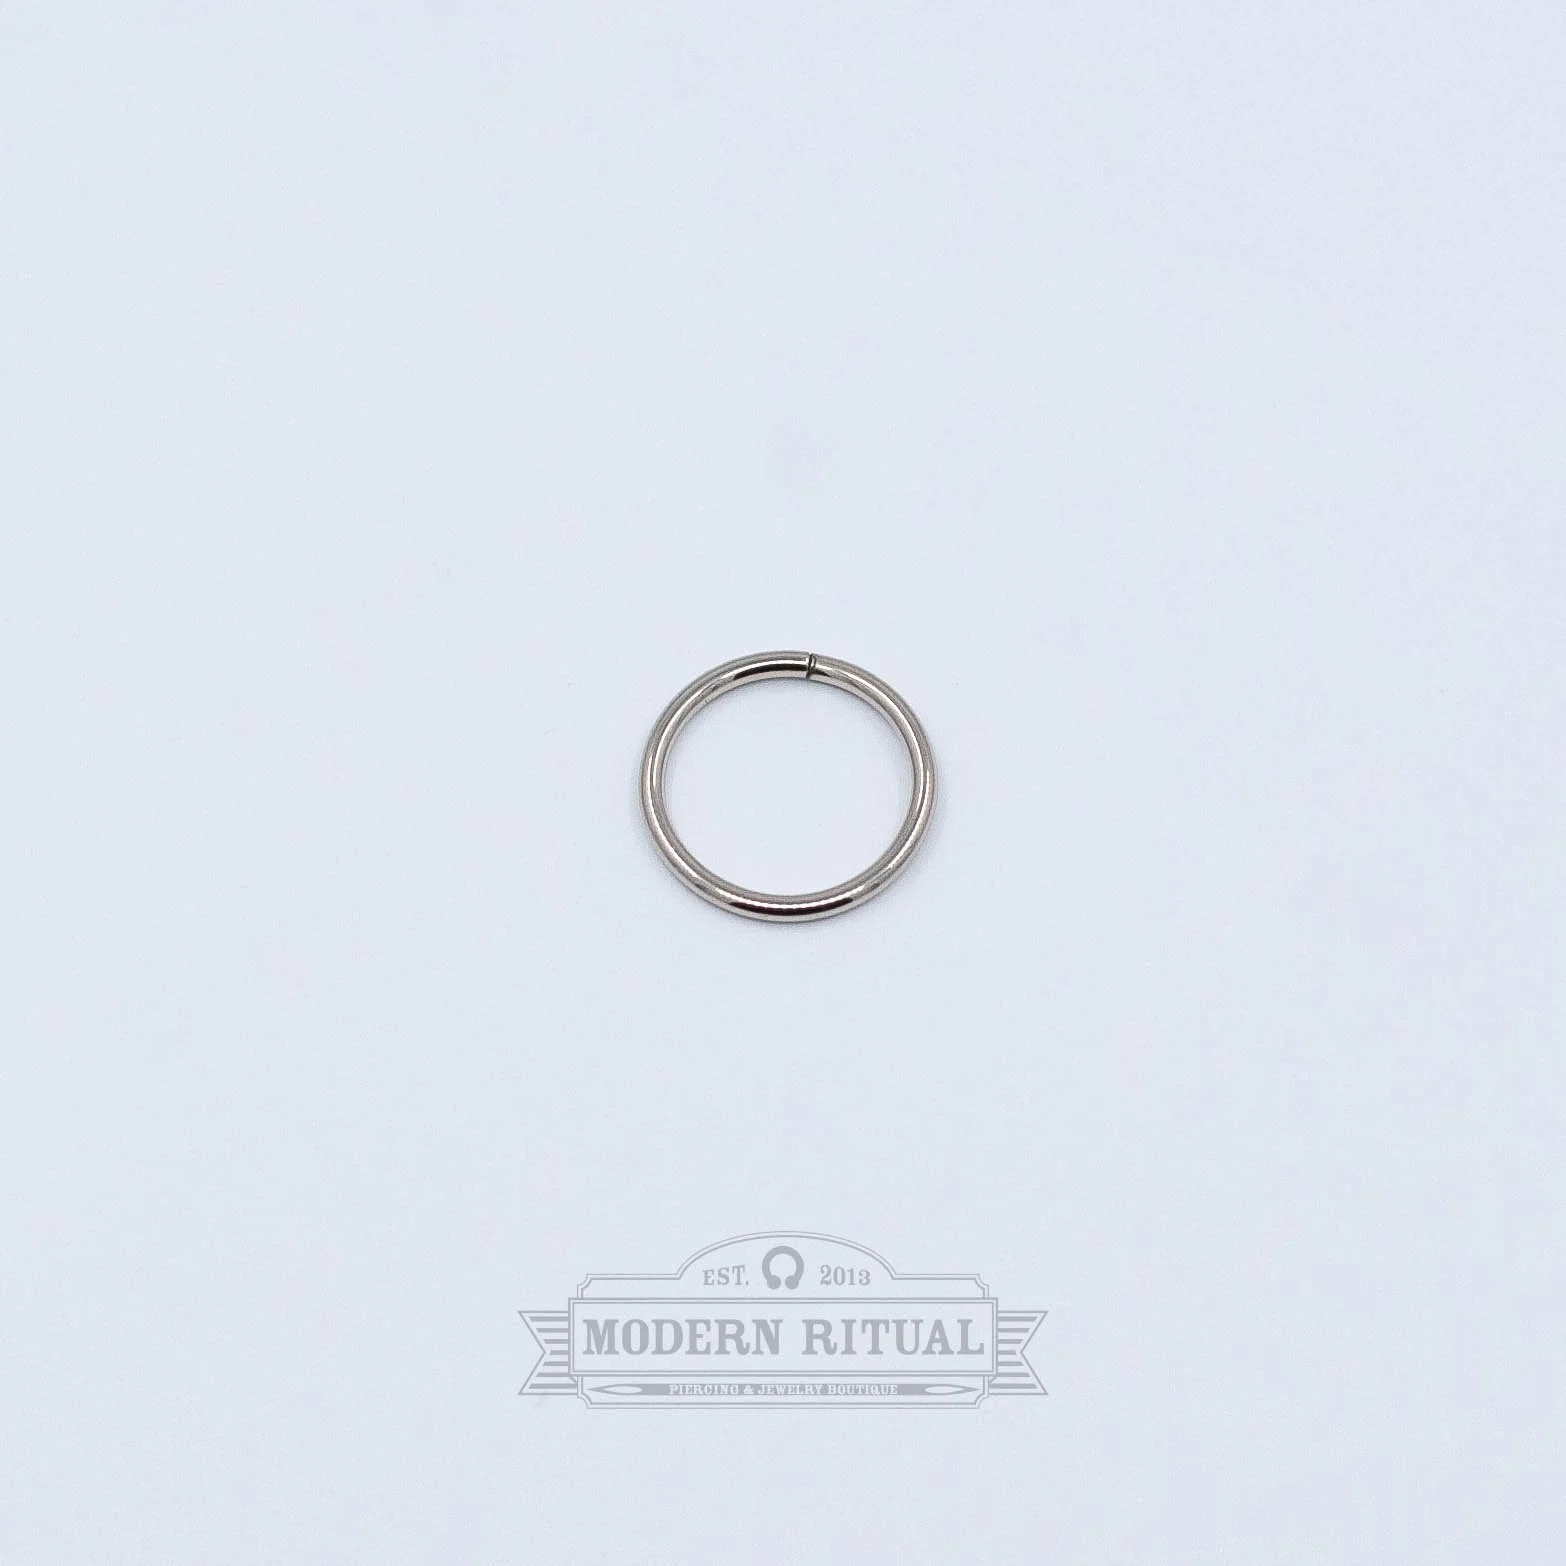
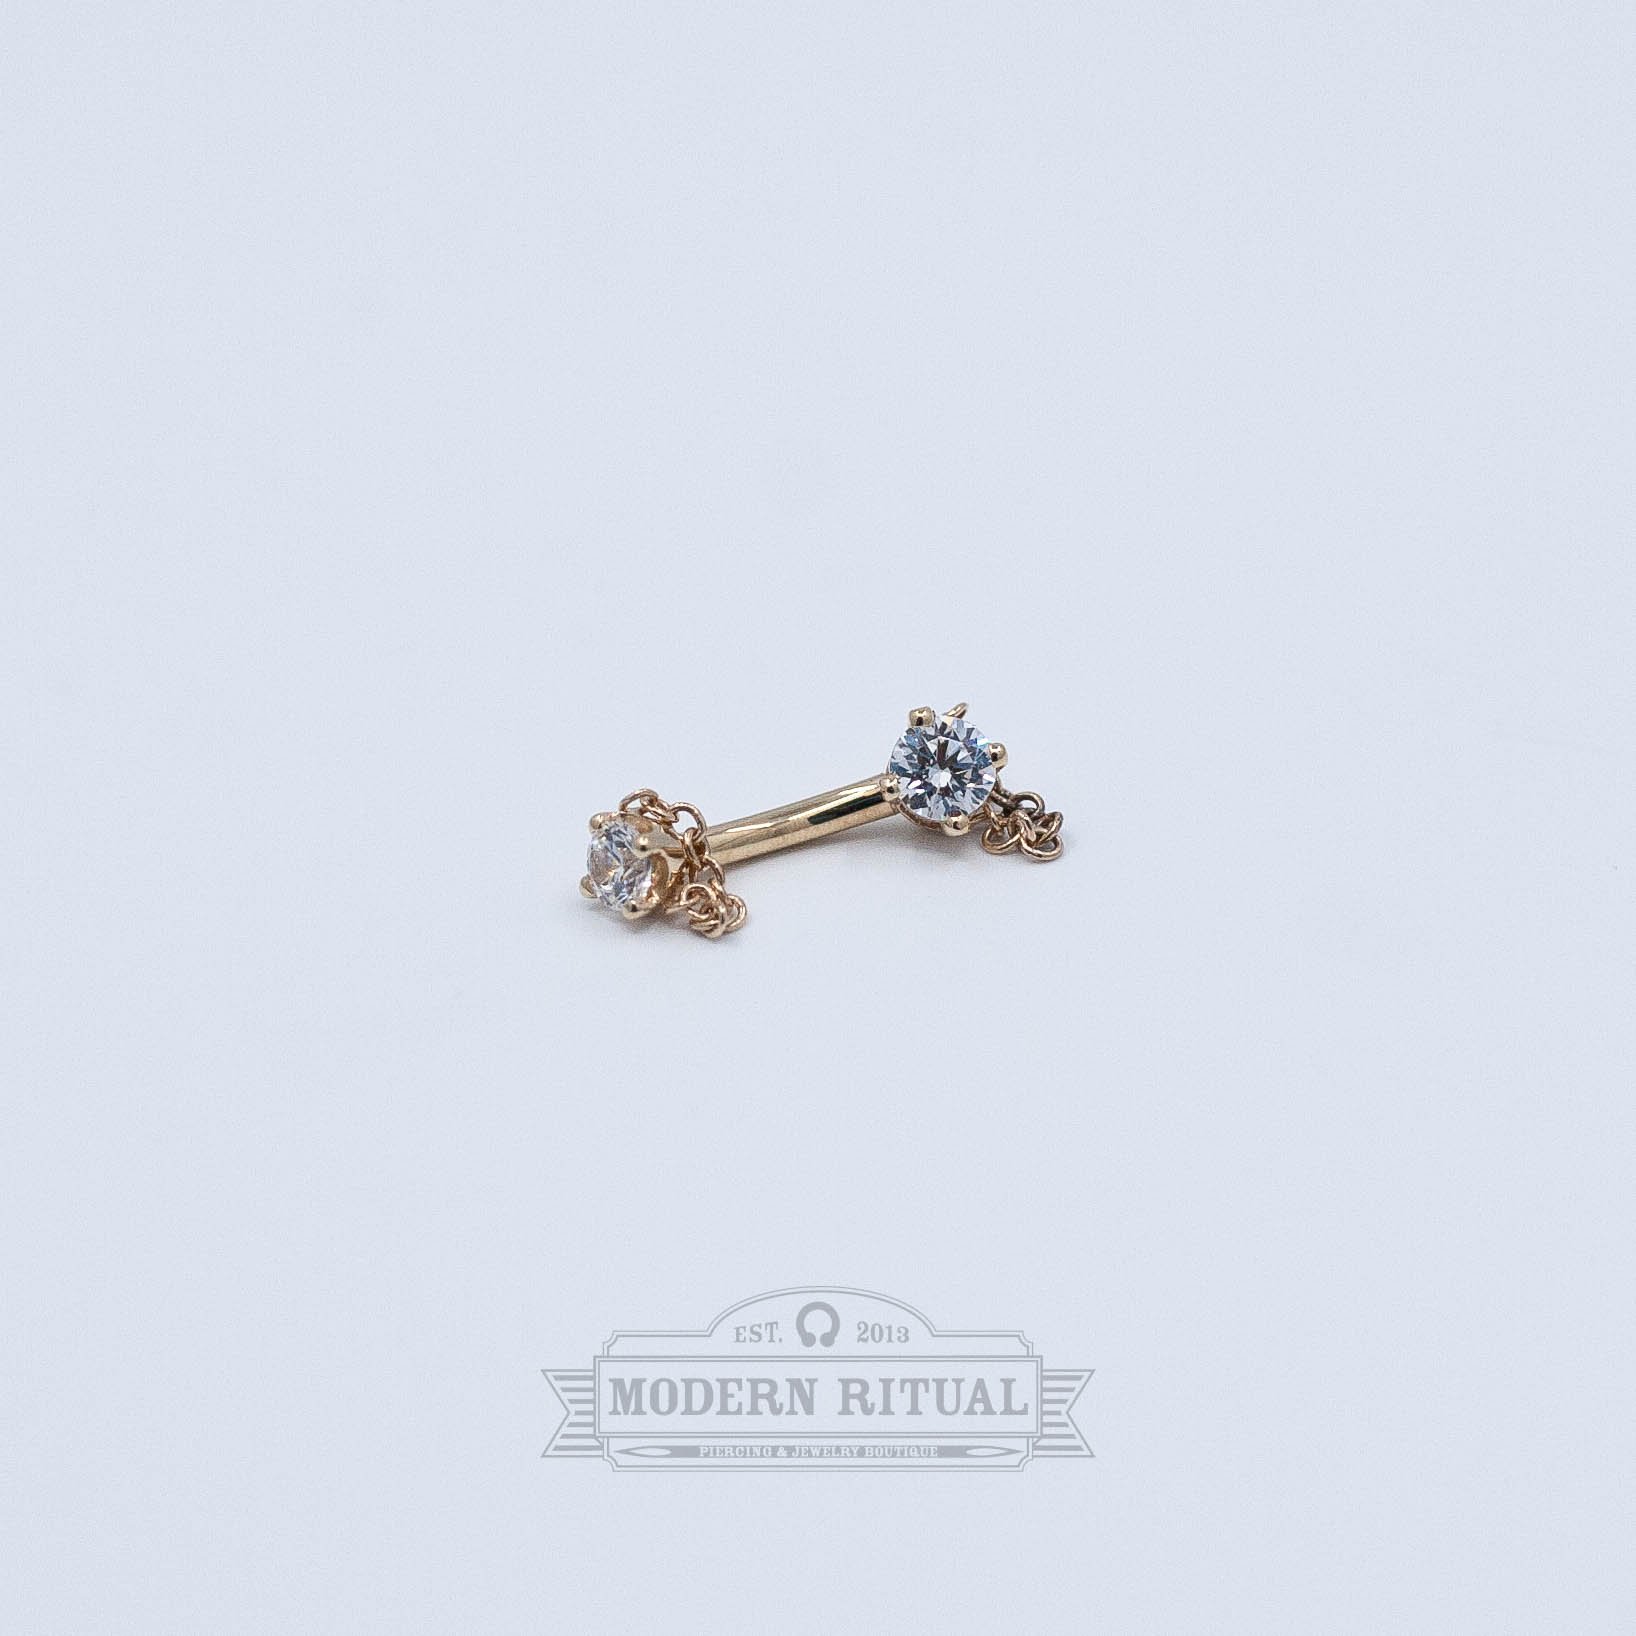
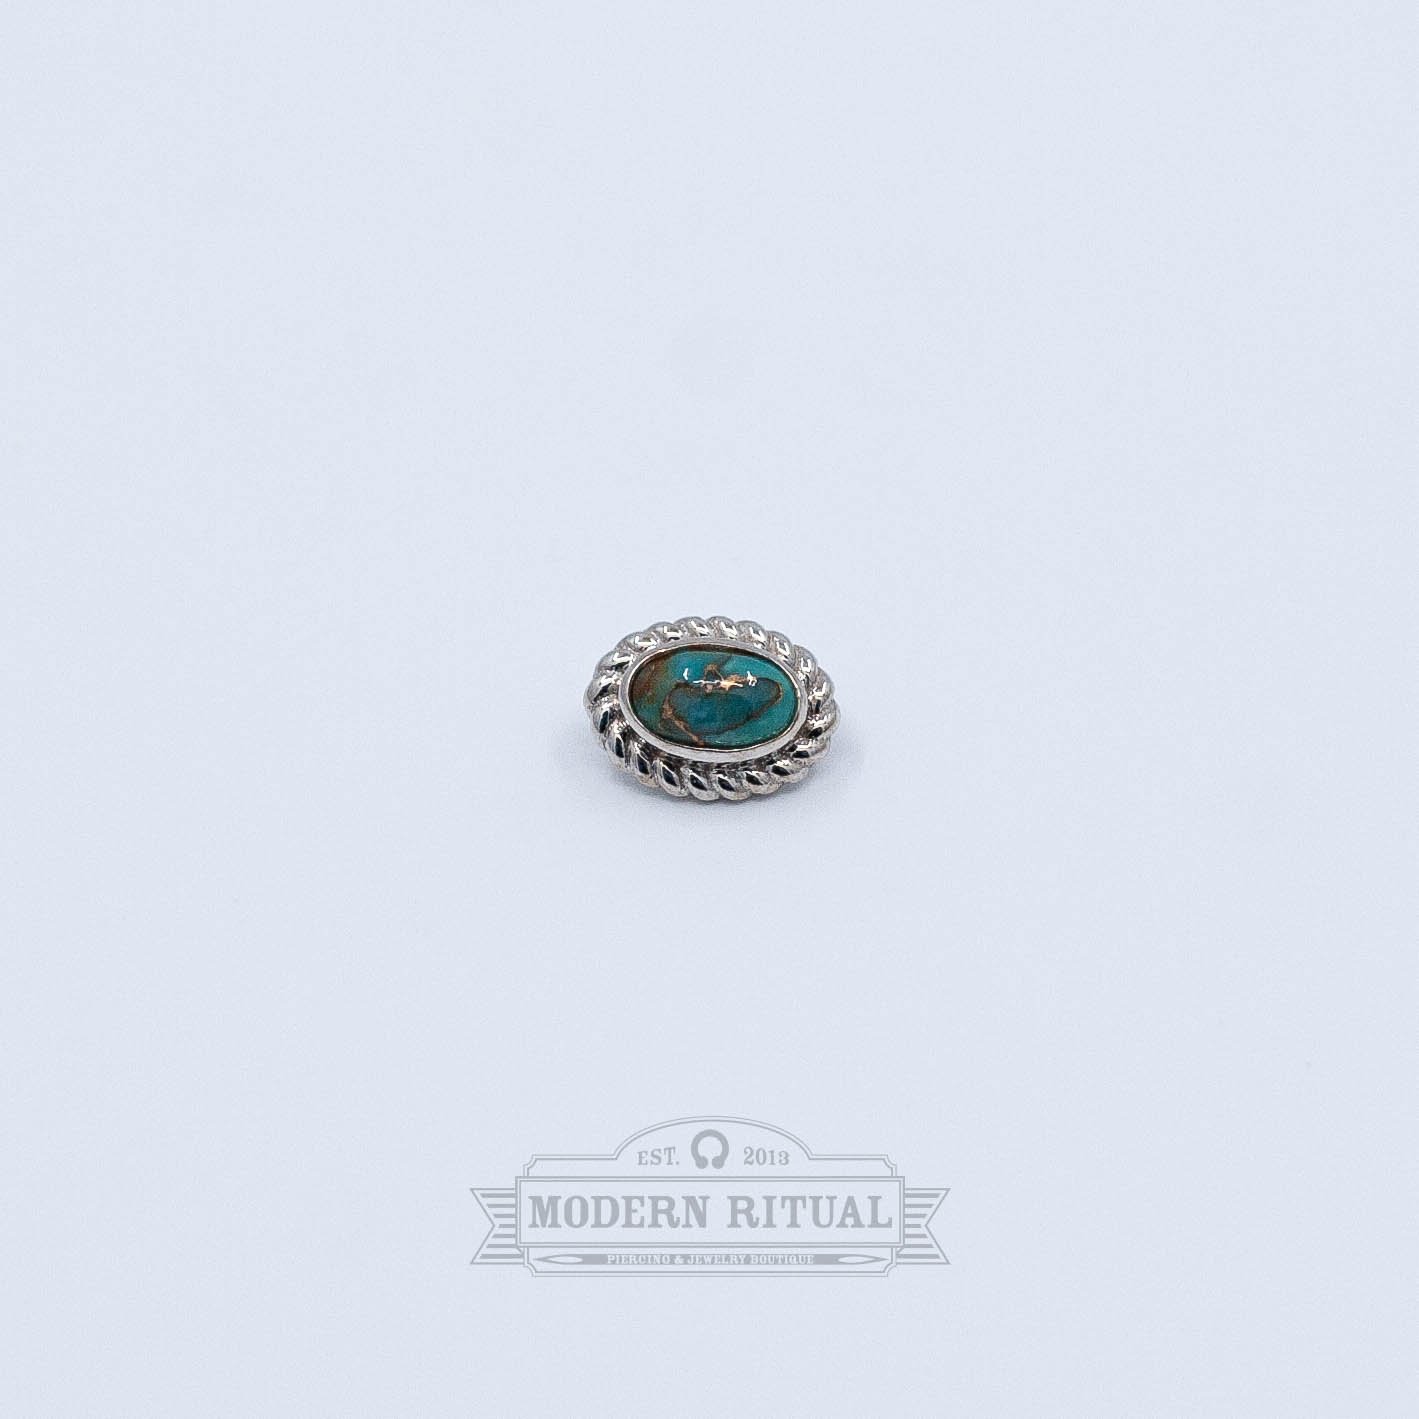
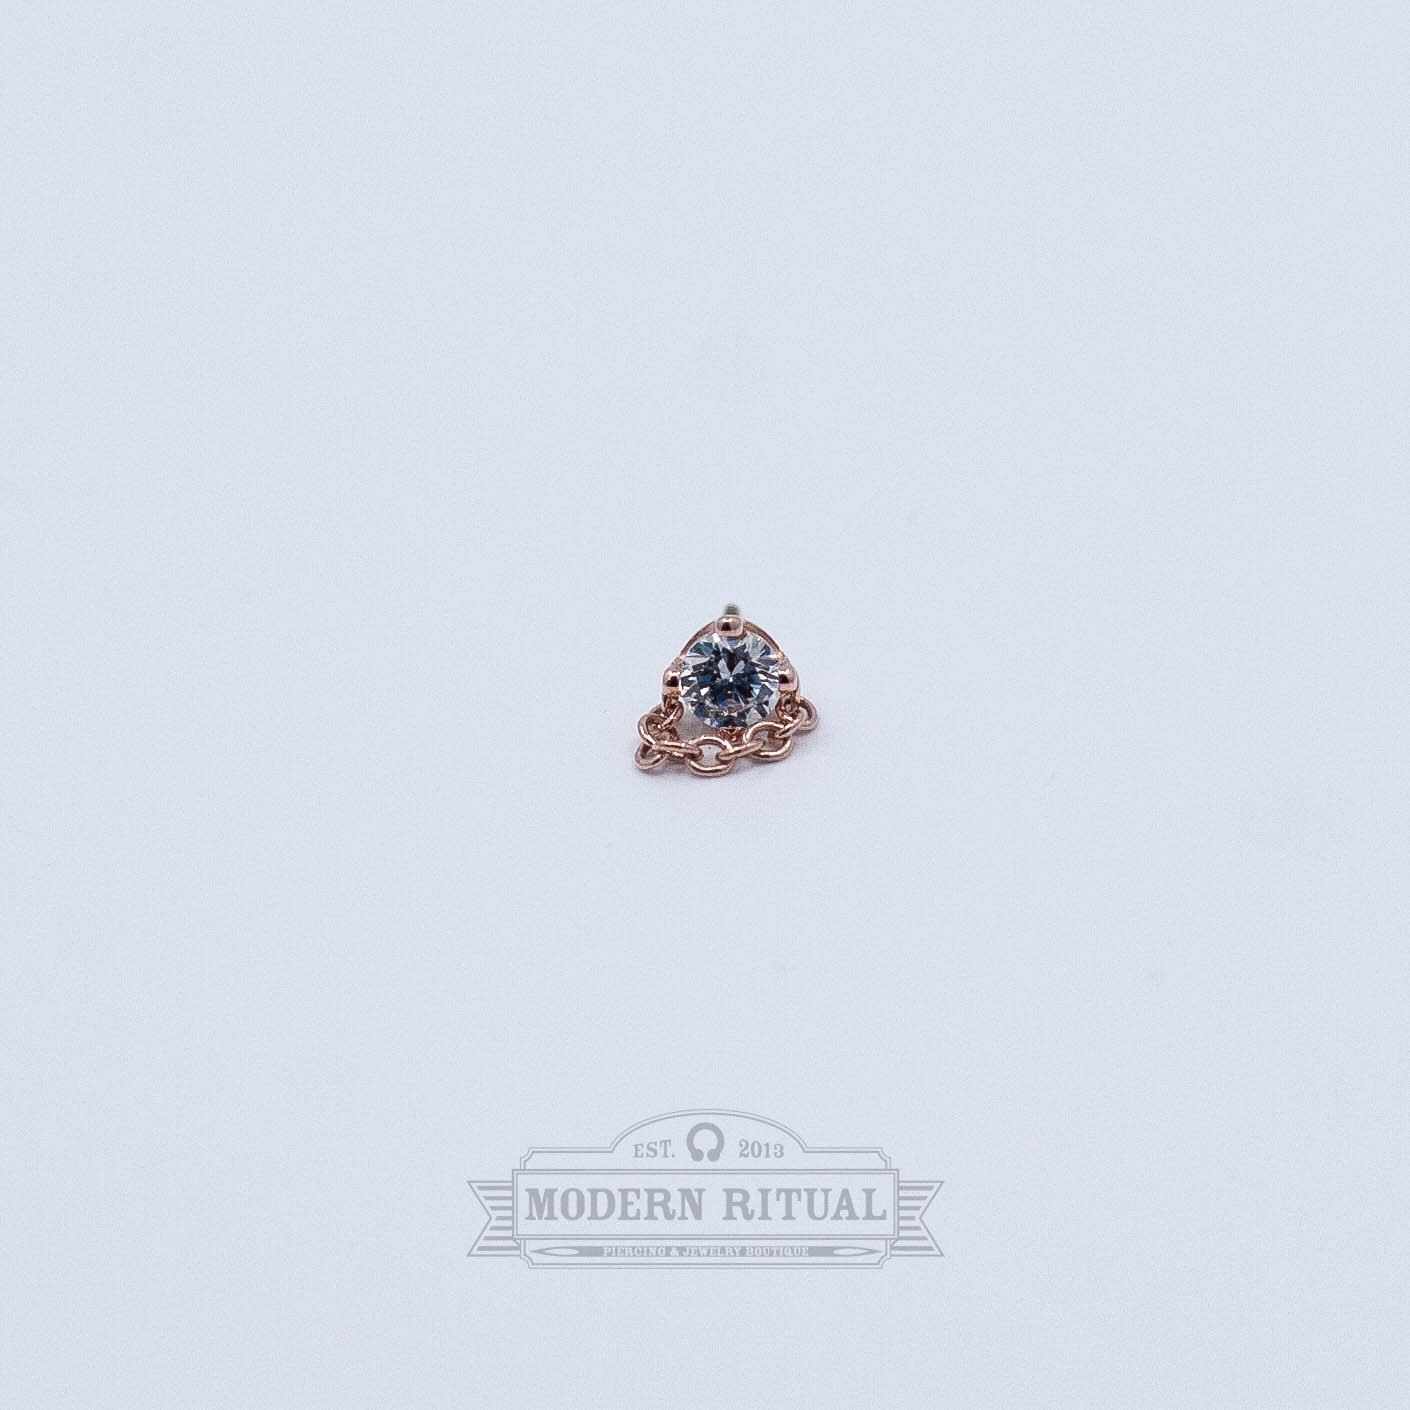
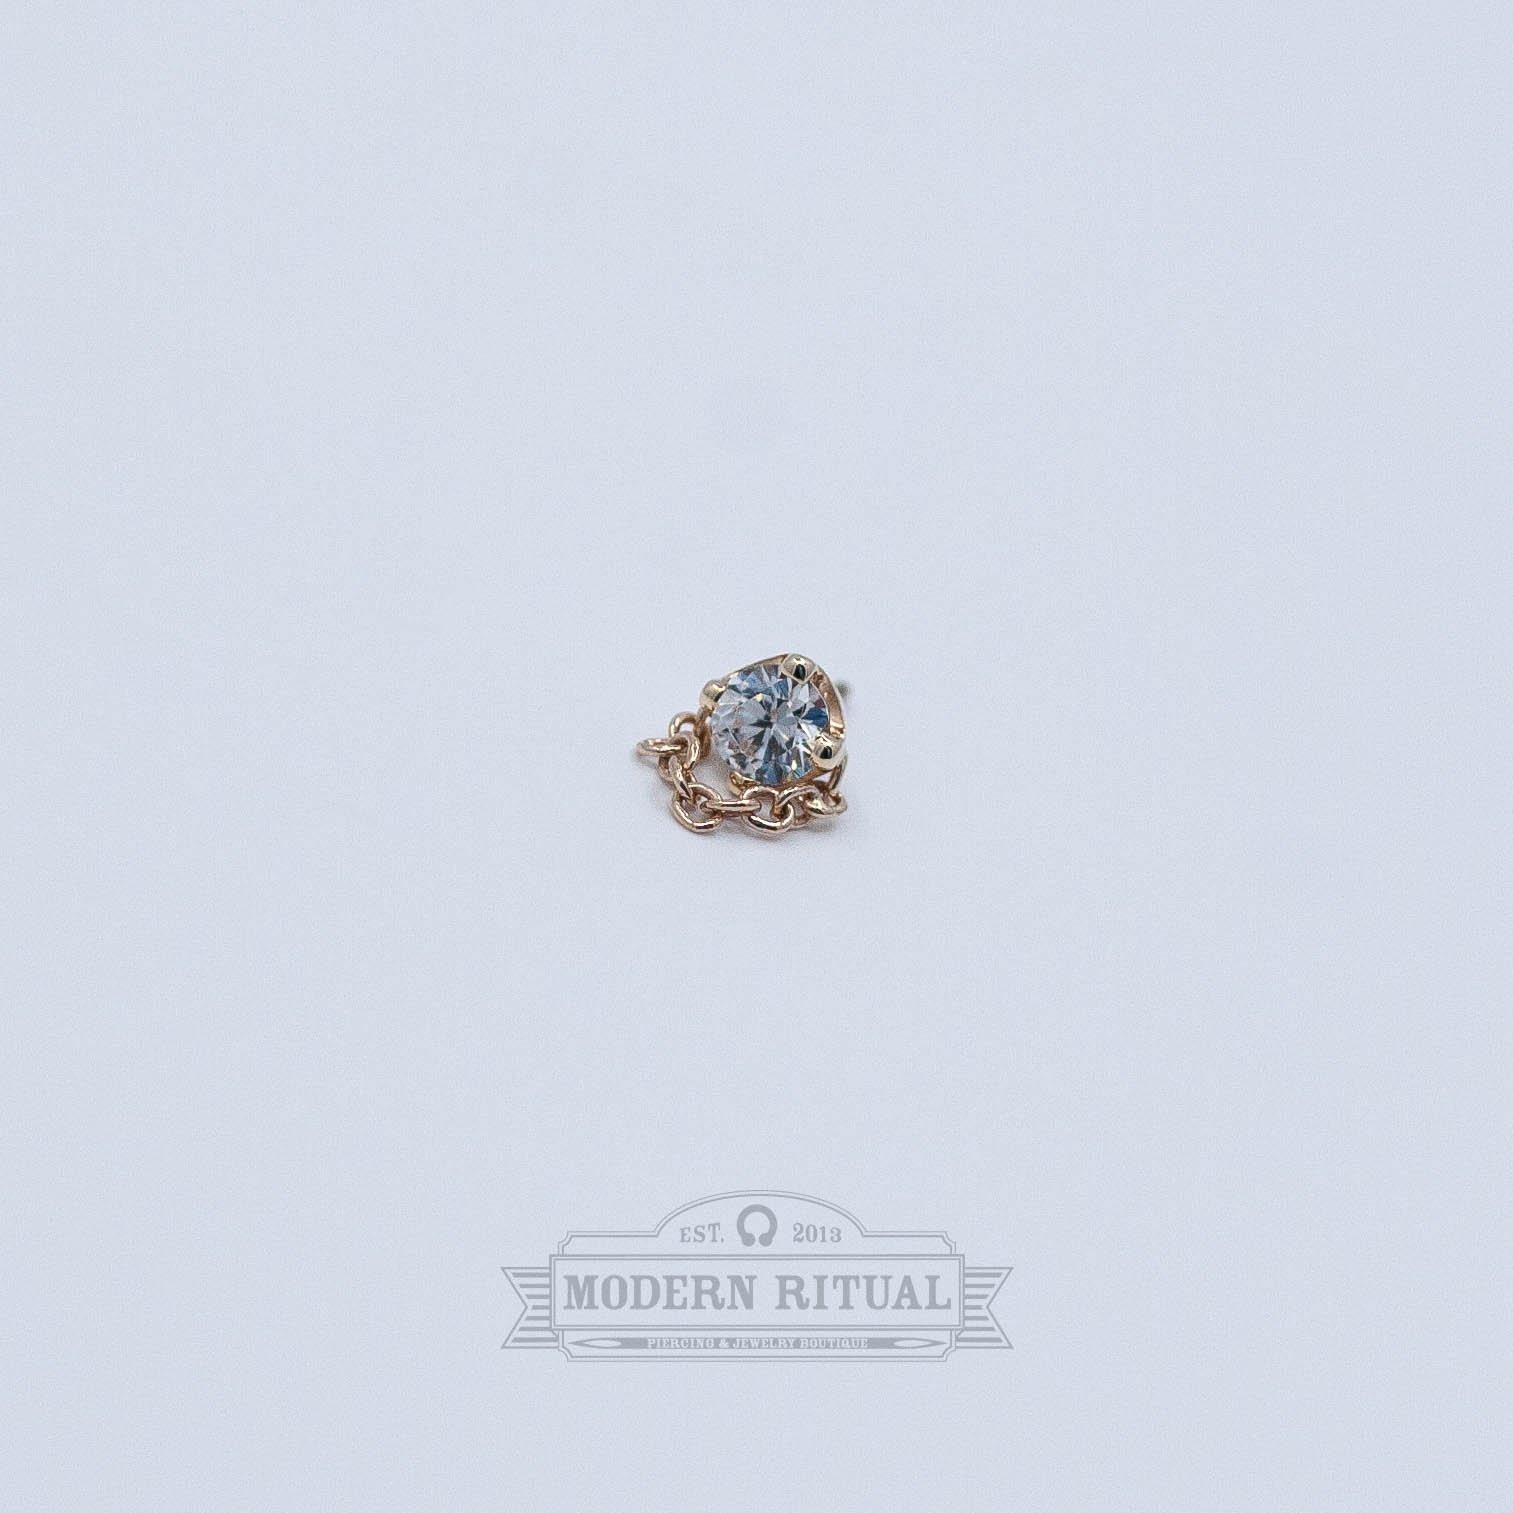
No results found Shop Shop Clear Plugs | Clicker | Chains | Rings | Ends | Hangers & Weights | Coils/Spreaders/Hooks | Gift Certificates | Filters Categories Select a Category Plugs Clicker Chains Rings Ends Captive Threaded Threadless Hangers & Weights Hangers Weights Coils/Spreaders/Hooks Coils Spreaders Hooks Gift Certificates Filter Clear Filter 5 Gem Bar with Chains - White CZ - 14k Yellow Gold - 18g/16g - 14x7mm - 1mm(5) - End - Threadless - Sun Piercer $255.00 6 Gem Arch with Chains - White CZ - 14k Yellow Gold - 18g/16g - 13.5x11mm - 1.5mm(6) - End - Threadless - Sun Piercer $305.00 Princess V with Accents - GreenCZ/White CZ - 14k Yellow Gold - 18g/16g - 5.5x4.5mm - 2mm - 1.25mm (2) - End - Threadless - Sun Piercer $175.00 Sold out Star - 14k Yellow Gold - 18g/16g - 4mm - End - Threadless - Sun Piercer $85.00 Star - 14k White Gold - 18g/16g - 4mm - End - Threadless - Sun Piercer $85.00 5 Gem Arch - Sapphire CZ - 14k Yellow Gold - 18g/16g - 6x2mm - 1.25mm(5) - End - Threadless - Sun Piercer $145.00 Laser Etched Disk - 14k White Gold - 18g/16g - 3mm - End - Threadless - Sun Piercer $95.00 Laser Etched Disk - 14k Yellow Gold - 18g/16g - 3mm - End - Threadless - Sun Piercer $95.00 Laser Etched Heart Disk - 14k White Gold - 18g/16g - 4mm - End - Threadless - Sun Piercer $115.00 Laser Etched Heart Disk - 14k Yellow Gold - 18g/16g - 4mm - End - Threadless - Sun Piercer $115.00 Laser Etched Disk - 14k Yellow Gold - 18g/16g - 4mm - End - Threadless - Sun Piercer $105.00 Laser Etched Disk - 14k White Gold - 18g/16g - 4mm - End - Threadless - Sun Piercer $105.00 Prong - Synthetic Black Opal - 18k Yellow Gold - 18g - 3.5mm - End - Threadless - Anatometal $180.00 Marquise with Accents - Tanzanite CZ/Smoke CZ - 18k White Gold - 18g/16g - 5x5mm - End - Threadless - Anatometal $135.00 3 Gem Mini Marquise Fan - Pistachio CZ - Titanium - 18g/16g - 6x4mm - End - Threadless - Anatometal $90.00 3 Gem Mini Marquise Fan - Sapphire CZ - Titanium - 18g/16g - 6x4mm - End - Threadless - Anatometal $90.00 Zia - Genuine Labradorite Cab - 18k Yellow Gold - 18g/16g/14g - 7mm - End - Threadless - Anatometal $160.00 Zia with Pear Dangle - Genuine Amethyst/London Blue Topaz Sandblasted - 18k White Gold - 18g/16g/14g - 3mm/2x3mm - End - Threadless - Anatometal $225.00 V Clicker - Titanium - 16g - 1/4" - Clicker - Diablo $60.00 Punk Clicker - Titanium - 16g - 5/16" - Clicker - Diablo $60.00 Punk Clicker - Titanium - 16g - 3/8" - Clicker - Diablo $60.00 Crown Prong - Chrysoprase Rose Cut - 14k Rose Gold - 18g/16g - 3mm - 2.5mm - End - Threaded - BVLA $265.00 Crown Prong Bullet - Chrysoprase Faceted - 14k Rose Gold - 18g/16g - 6.5x5mm - End - Threaded - BVLA $390.00 Dragon Egg - Synthetic Sleepy Lavender Opal - Titanium - 18g/16g - 5.5x3.5mm - 3mm - Threaded - End - Industrial Strength $55.00 Seam Ring - 14k Rose Gold - 18g - 9/32" - Ring - Cinch $110.00 Triple Gemmed Clicker - White CZ - 14k Yellow Gold - 16g - 5/16" - 1.25mm - Ring - Sun Piercer $660.00 Inline Clicker - White CZ - 14k White Gold - 18g - 9/32" - 1.25mm - Ring - Sun Piercer $345.00 Inline Clicker - White CZ - 14k White Gold - 18g - 5/16" - 1.5mm - Ring - Sun Piercer $370.00 Inline Clicker - White CZ - 14k White Gold - 18g - 1/4" - 1.5mm - Ring - Sun Piercer $315.00 Double Engagement Clicker - White CZ - 14k Yellow Gold - 18g - 9/32" - 2mm - Ring - Sun Piercer $410.00 Double Engagement Clicker - White CZ - 14k Yellow Gold - 18g - 5/16" - 2mm - Ring - Sun Piercer $420.00 Baguette Inlay Clicker - White CZ - 14k Yellow Gold - 18g - 5/16" - 3x1.5mm - Ring - Sun Piercer $400.00 Rope Clicker - 14k Yellow Gold - 18g - 5/16" - Ring - Sun Piercer $350.00 Cuff and Chain Clicker - 14k Yellow Gold - 16g - 5/16" - Ring - Sun Piercer $500.00 Princess Clicker - White CZ - 14k Yellow Gold - 16g - 3/8" - Seam Ring - Sun Piercer $780.00 Baguette Clicker - White CZ - 14k Yellow Gold - 16g - 3/8" - 4x2mm - Seam Ring - Sun Piercer $620.00 Double Gemmed Clicker - White CZ - 14k Yellow Gold - 16g - 1/2" - Ring - Sun Piercer $740.00 Double Clicker - 14k Yellow Gold - 16g - 7/16" - Ring - Sun Piercer $550.00 Woven Clicker - 14k White Gold - 18g - 5/16" - Ring - Sun Piercer $375.00 Woven Clicker - 14k Yellow Gold - 18g - 5/16" - Ring - Sun Piercer $340.00 Woven Clicker - 14k White Gold - 18g - 9/32" - Ring - Sun Piercer $400.00 Woven Clicker - 14k Yellow Gold - 18g - 9/32" - Ring - Sun Piercer $330.00 Rope Clicker - 14k Yellow Gold - 18g - 9/32" - Ring - Sun Piercer $165.00 Princess Clicker - Amethyst CZ/Ruby CZ/Pink Tourmaline CZ/ Light Pink CZ - 14k Yellow Gold - 16g - 5/16" - Seam Ring - Sun Piercer $560.00 Crown Prong Bullet - Oregon Sunstone Faceted - 14k Yellow Gold - 18g/16g - 5x6mm - End - Threaded - BVLA $390.00 Crown Prong Bullet - Amethyst Faceted - 14k White Gold - 18g/16g - 5x6mm - End - Threaded - BVLA $390.00 Duet - Chrysoprase - 14k White Gold - 18g/16g - 8.5x3.5mm - 2.5mm/2mm - Threadless - End - BVLA $475.00 Duet - Chrysoprase - 14k Yellow Gold - 18g/16g - 8.5x3.5mm - 2.5mm/2mm - Threadless - End - BVLA $475.00 Slasher Dagger - 14k White (Rhodium Plated Black) - 18g/16g - 9mm - End - Threadless - BVLA $250.00 5 Gem Fanfare Right - White CZ - 18k White Gold - 18g/16g/14g - 10x4mm - End - Threadless - Anatometal $375.00 Zia - Genuine Moonstone - 18k White Gold - 18g/16g/14g - 7x5.5mm - 4mm - End - Threadless - Anatometal $170.00 Dessert First - 14k Rose Gold - 18g/16g/14g/12g - 6mm -Threadless - Regalia $180.00 Dessert First - 14k White Gold - 18g/16g/14g/12g - 6mm -Threadless - Regalia $180.00 Dessert First - 14k Yellow Gold - 18g/16g/14g/12g - 6mm -Threadless - Regalia $180.00 3am to 4am - 14k Rose Gold - 18g/16g/14g - 7x4.5mm -Threadless - Regalia $210.00 3am to 4am - 14k White Gold - 18g/16g/14g - 7x4.5mm -Threadless - Regalia $210.00 Goldbloom - 14k Rose Gold - 18g/16g/14g/12g - 5.5mm -Threadless - Regalia $170.00 Goldbloom - 14k White Gold - 18g/16g/14g/12g - 5.5mm -Threadless - Regalia $170.00 Goldbloom - 14k Yellow Gold - 18g/16g/14g/12g - 5.5mm -Threadless - Regalia $170.00 La Petite Mort - 14k Rose Gold - 18g/16g/14g/12g - 6x4mm -Threadless - Regalia $170.00 La Petite Mort - 14k White Gold - 18g/16g/14g/12g - 6x4mm -Threadless - Regalia $170.00 Trick - 14k Rose Gold - 18g/16g/14g - 4mm -Threadless - Regalia $155.00 Trick - 14k White Gold - 18g/16g/14g - 4mm -Threadless - Regalia $155.00 Trick - 14k Yellow Gold - 18g/16g/14g - 4mm -Threadless - Regalia $155.00 All Day Breakfast - 14k Rose Gold - 18g/16g/14g - 4mm -Threadless - Regalia $160.00 All Day Breakfast - 14k White Gold - 18g/16g/14g - 4mm -Threadless - Regalia $160.00 All Day Breakfast - 14k Yellow Gold - 18g/16g/14g - 4mm -Threadless - Regalia $160.00 Fat Bottomed Girl 6mm - 14k Rose Gold - 18g/16g/14g/12g - 6x5mm -Threadless - Regalia $190.00 Fat Bottomed Girl 6mm - 14k Yellow Gold - 18g/16g/14g/12g - 6x5mm -Threadless - Regalia $190.00 Fat Bottomed Girl 5mm - 14k Rose Gold - 18g/16g/14g - 5x4mm -Threadless - Regalia $175.00 Fat Bottomed Girl 5mm - 14k Yellow Gold - 18g/16g/14g - 5x4mm -Threadless - Regalia $175.00 Fat Bottomed Girl 4mm - 14k Rose Gold - 18g/16g - 4x3.5mm -Threadless - Regalia $165.00 Fat Bottomed Girl 4mm - 14k Yellow Gold - 18g/16g - 4x3.5mm -Threadless - Regalia $165.00 Fat Bottomed Girl 3mm - 14k Rose Gold - 18g/16g - 3x2.5mm -Threadless - Regalia $155.00 Fat Bottomed Girl 3mm - 14k Yellow Gold - 18g/16g - 3x2.5mm -Threadless - Regalia $155.00 The Algorithm (Requires 2 piercings) - 14k Rose Gold - 18g/16g/14g - 9.5x3mm/4.5mm - 15mm -Threadless - Regalia $495.00 The Algorithm (Requires 2 piercings) - 14k White Gold - 18g/16g/14g - 9.5x3mm/4.5mm - 15mm -Threadless - Regalia $495.00 The Algorithm (Requires 2 piercings) - 14k Yellow Gold - 18g/16g/14g - 9.5x3mm/4.5mm - 15mm -Threadless - Regalia $495.00 Flux - 14k Rose Gold - 18g/16g/14g - 8x5.5mm -Threadless - Regalia $200.00 Flux - 14k Yellow Gold - 18g/16g/14g - 8x5.5mm -Threadless - Regalia $200.00 Flux - 14k White Gold - 18g/16g/14g - 8x5.5mm -Threadless - Regalia $200.00 Melange - London Blue Topaz - 14k White Gold - 18g/16g - 4mm - 3mm - End - Threadless - Tether $180.00 Melange - Amethyst - 14k White Gold - 18g/16g - 4mm - 3mm - End - Threadless - Tether $175.00 Horizon - 14k Rose Gold - 18g/16g/14g - 12.5x3mm - End - Threadless - Tether $215.00 Fixed Pear V Prong Ring - Mercury Mist CZ - 14k Yellow Gold - 3/8" - 16g - Ring - BVLA $315.00 Fixed Pear V Prong Ring - Mercury Mist CZ - 14k White Gold - 3/8" - 16g - Ring - BVLA $330.00 Fixed Pear V Prong Ring - White CZ - 14k Yellow Gold - 5/16" - 18g - Ring - BVLA $285.00 Side Set Transition Ring - White CZ - 18k Yellow Gold - 16g - 5/16" - 1.5mm (6) - Ring - Anatometal $325.00 Sonoma Pear - Arctic Blue CZ - 18k White Gold - 18g/16g/14g - 4.5x3.5mm - End - Threadless - Anatometal $160.00 3 Gem Marquise Fan - Aurora Borealis CZ - Titanium - 18g/16g/14g - 6x4mm - End - Threadless - Anatometa $80.00 Side Set Transition Ring - White CZ - 18k White Gold - 16g - 3/8" - 1.5mm (6) - Ring - Anatometal $485.00 Captive Bead Ring - Synthetic White Opal - 14k White Gold - 5/16" - 16g - Ring - Body Gems $180.00 Captive Bead Ring - Synthetic White Opal - 14k Rose Gold - 5/16" - 16g - Ring - Body Gems $165.00 Captive Bead Ring - Synthetic White Opal - 14k Rose Gold - 3/8" - 16g - Ring - Body Gems $185.00 Solid Eclipse Martele - Forest Green Glass/Niobium - 18g - Plug - Gorilla Glass $160.00 Martele Plug - Black Glass - 0g - Plug - Gorilla Glass $60.00 Martele Plug - Black Glass - 00g - Plug - Gorilla Glass $60.00 Martele Plug - Black Glass - 1/2" - Plug - Gorilla Glass $80.00 4 Bead Cluster - 14k White Gold - 18g - 3x2mm - End - Threadless - Leroi $100.00 3 Bead Cluster - 14k Rose Gold - 18g - 2mm - End - Threadless - Leroi $95.00 Prium - 18g/16g/14g - Synthetic Sky Blue Opal - 13x4mm - Titanium - End - Threadless - Industrial Strength $115.00 Seam Ring - 14k Yellow Gold - 16g - 5/16" - Ring - Cinch $140.00 Seam Ring - 14k Yellow Gold - 16g - 7/16" - Ring - Cinch $175.00 Seam Ring - 14k Yellow Gold - 16g - 1/2" - Ring - Cinch $190.00 Feel the Spin - 14k Rose Gold - 16g - 3/8" - Clicker - BVLA $615.00 Feel the Spin - 14k White Gold - 16g - 3/8" - Clicker - BVLA $615.00 Feel the Spin - 14k Yellow Gold - 16g - 3/8" - Clicker - BVLA $615.00 Myla - 14k Rose Gold - 16g - 5/16" - Seam Ring - BVLA $365.00 Prism - White CZ - Titanium - 16g - 3/8" - 3x1mm - Clicker - Diablo $120.00 Prism - White CZ - Titanium - 16g - 5/16" - 3x1mm - Clicker - Diablo $120.00 V Clicker - Titanium - 16g - 3/8" - Clicker - Diablo $60.00 V Clicker - Titanium - 16g - 5/16" - Clicker - Diablo $60.00 Tread Clear - White CZ - Titanium - 16g - 3/8" - 1.5mm - Clicker - Diablo $100.00 Tread Clear - White CZ - Titanium - 16g - 5/16" - 1.5mm - Clicker - Diablo $100.00 Double Stack with Gems - White CZ - Titanium - 16g - 3/8" - Clicker - Diablo $100.00 Double Stack with Gems - White CZ - Titanium - 16g - 5/16" - Clicker - Diablo $100.00 Disk - 18k White Gold - 18g - 2mm - End - Threadless - Anatometal $100.00 Berkeley Pear Charm - Sandblasted PA - 18k Rose Gold - 18g/16g - 1/4" - 6x4mm - 3x1.5mm - Chain - Anatometal $215.00 5 Gem Fanfare Left - White CZ - 18k Yellow Gold - 18g/16g - 10x4mm - End - Threadless - Anatometal $250.00 5 Gem Fanfare Right - White CZ - 18k Yellow Gold - 18g/16g - 10x4mm - End - Threadless - Anatometal $340.00 Farata - Purple Copper Turquoise - 18k Rose Gold - 14g/12g - 13x6mm - Threaded - End - Anatometal $310.00 Transition Ring - White CZ - 18k Yellow Gold - 16g - 3/8" - 6-1.5mm - Ring - Anatometal $390.00 Titanium Moon - Titanium - 18g/16g - 5x4mm - End - Threadless - Anatometal $55.00 Seam Clicker - 18k Yellow Gold - 18g - 9/32" - Clicker - Clickerino $195.00 Seam Clicker - 18k Rose Gold - 18g - 5/16" - Clicker - Clickerino $210.00 Seam Clicker - 18k Rose Gold - 18g - 1/4" - Clicker - Clickerino $180.00 Seam Clicker - 18k White Gold - 18g - 5/16" - Clicker - Clickerino $210.00 Seam Clicker - 18k Yellow Gold - 18g - 1/4" - Clicker - Clickerino $180.00 Omega 24 - Emerald - 14k Yellow Gold - 18g/16g/14g - 5.5mm - 3mm - End - Threadless - Tether $580.00 Omega 24 - Tourmalated Quartz - 14k White Gold - 18g/16g/14g - 5.5mm - 3mm - End - Threadless - Tether $430.00 Sold out Galaxia - Pyrite/Black Diamond - 14k Yellow Gold - 18g/16g/14g/12g - 6mm - 4mm/1mm - End - Threadless - Tether $490.00 Galaxia - Tourmalated Quartz/Black Diamond - 14k White Gold - 18g/16g/14g/12g - 6mm - 4mm/1mm - End - Threadless - Tether $490.00 Galaxia - Zawadi Sapphire/Black Diamond - 14k Rose Gold - 18g/16g/14g/12g - 6mm - 4mm/1mm - End - Threadless - Tether $580.00 Nazar - Black Diamond - 14k White Gold - 18g/16g - 5.25x2.5mm - 1.25mm - End - Threadless - Tether $185.00 Chained Alpha - 14k Rose Gold - 18g/16g - 3.5x8.25mm - Chain - Tether $185.00 Hex Diamond Drop - Diamond - 14k Rose Gold - 18g/16g - 2.75x8.25mm - End - Threadless - Tether $250.00 Linda Charm - White Topaz - 14k Yellow Gold - 18g/16g/14g - 9x3mm - 3x2mm - Chain - Tether $170.00 Linda Charm - London Blue Topaz - 14k Yellow Gold - 18g/16g/14g - 9x3mm - 3x2mm - Chain - Tether $170.00 Linda Charm - Garnet - 14k Yellow Gold - 18g/16g/14g - 9x3mm - 3x2mm - Chain - Tether $170.00 Linda Charm - White Topaz - 14k White Gold - 18g/16g/14g - 9x3mm - 3x2mm - Chain - Tether $170.00 Linda Charm - London Blue Topaz - 14k White Gold - 18g/16g/14g - 9x3mm - 3x2mm - Chain - Tether $170.00 Linda Charm - Garnet - 14k White Gold - 18g/16g/14g - 9x3mm - 3x2mm - Chain - Tether $170.00 Linda Charm - White Topaz - 14k Rose Gold - 18g/16g/14g - 9x3mm - 3x2mm - Chain - Tether $170.00 Linda Charm - London Blue Topaz - 14k Rose Gold - 18g/16g/14g - 9x3mm - 3x2mm - Chain - Tether $170.00 Linda Charm - Garnet - 14k Rose Gold - 18g/16g/14g - 9x3mm - 3x2mm - Chain - Tether $170.00 Melange Princess - Diamond - 14k White Gold - 18g/16g - 4mm - 2.5mm - End - Threadless - Tether $350.00 Omega 24 - Zawadi Sapphire - 14k Rose Gold - 18g/16g/14g - 5.5mm - 3mm - End - Threadless - Tether $450.00 Witches Hat - 18k White Gold - 18g/16g - 8x7.5mm - End - Threadless - Anatometal (Copy) $255.00 Prong Marquise with Accents - White CZ - 18k White Gold - 18g/16g - 4.5x5mm 4x2/1.5mm - End - Threadless - Anatometal $115.00 Sanchi 1 - Genuine Labradorite, White CZ - 18k Yellow Gold - 18g/16g/14g/12g - 10x7mm - 3.5mm, 2mm - End - Threadless - Anatometal $365.00 Seam Ring - 14k White Gold - 18g - 5/16" - Ring - Cinch $110.00 Seam Ring - 14k Yellow Gold - 16g - 1/4" - Ring - Cinch $125.00 Seam Ring - 14k Yellow Gold - 18g - 1/4" - Ring - Cinch $110.00 Seam Ring - 14k Rose Gold - 18g - 5/16" - Ring - Cinch $110.00 Seam Ring - 14k White Gold - 18g - 3/8" - Ring - Cinch $125.00 Seam Ring - 14k Rose Gold - 18g - 3/8" - Ring - Cinch $125.00 Moxie - White CZ - 14k Yellow Gold - 5/16" - 16g - Clicker - Ember $835.00 Moxie - White CZ - 14k White Gold - 5/16" - 16g - Clicker - Ember $835.00 Moxie - White CZ - 14k Rose Gold - 5/16" - 16g - Clicker - Ember $835.00 Front Row - White CZ - 14k Yellow Gold - 3/8" - 16g - Clicker - Ember $725.00 Front Row - White CZ - 14k Rose Gold - 3/8" - 16g - Clicker - Ember $725.00 Oval Halo - White CZ - 14k Rose Gold - 18g/16g/14g - 5.5x4.5mm - End - Threadless - Ember $180.00 Marquise Bezel - White CZ - Titanium - 18g/16g - 3.5x2mm - 3x1.5mm - End - Threadless - Anatometal $45.00 Sanchi - Labradorite/Aquamarine CZ - 18k Rose Gold - 18g/16g/14g - 7x10mm - End - Threadless - Anatometal $315.00 Sandblasted Heart Large - 18g/16g/14g - 14k Yellow Gold - 6x5mm - Threadless - End - Industrial Strength $150.00 Beaded Dome - 18g/16g/14g - 14k Rose Gold - 4.5x3.25mm - Threadless - End - Industrial Strength $195.00 Beaded Dome - 18g/16g/14g - 14k Yellow Gold - 4.5x3.25mm - Threadless - End - Industrial Strength $195.00 Threaded Bezel - Amethyst - Titanium - 18g/16g - 3.5mm - 3mm - End - Threaded - Industrial Strength $35.00 Threaded Bezel - Almandine Garnet - Titanium - 18g/16g - 3.5mm - 3mm - End - Threaded - Industrial Strength $35.00 Threaded Bezel - Turquoise - Titanium - 18g/16g - 3.5mm - 3mm - End - Threaded - Industrial Strength $35.00 Threaded Bezel - Rose Quartz - Titanium - 18g/16g - 3.5mm - 3mm - End - Threaded - Industrial Strength $35.00 Threaded Bezel - Jade - Titanium - 18g/16g - 3.5mm - 3mm - End - Threaded - Industrial Strength $35.00 Threaded Bezel - Blue Agate - Titanium - 18g/16g - 3.5mm - 3mm - End - Threaded - Industrial Strength $35.00 Threaded Bezel - Black Onyx - Titanium - 18g/16g - 3.5mm - 3mm - End - Threaded - Industrial Strength $35.00 Hammered Fan Seam Ring - 14k Rose Gold - 16g - 3/8" - Ring - Dusk $550.00 Hammered Fan Seam Ring - 14k White Gold - 16g - 3/8" - Ring - Dusk $550.00 Hammered Fan Seam Ring - 14k Yellow Gold - 16g - 3/8" - Ring - Dusk $550.00 Frankenheart - 14k White Gold - 18g/16g/14g - 4.5x5mm - End - Threadless - Dusk $170.00 Plain Clicker - 18k Yellow Gold - 18g - 5/16" - Clicker - Clickerino $210.00 Zia - Genuine Citrine - 18k Yellow Gold - 18g/16g/14g - 7.5mm - 4mm - End - Threadless - Anatometal $160.00 Seam Ring - 14k Rose Gold - 18g - 11/32" - Ring - Cinch $115.00 Seam Ring - 14k White Gold - 18g - 11/32" - Ring - Cinch $115.00 Marquise Panaraya - Synthetic White Opal - 14k White Gold - 18g/16g - 16x8.5mm - 5x2.5mm - End - Threaded - BVLA $1,000.00 Curved Barbell w/Rianna Ends - Chrysoprase - 14k Rose Gold - 16g - 1/4" - 2.5mm, 3.5mm - Threaded - BVLA $760.00 Curved Barbell w/Rianna Ends - Sandblasted Amethyst - 14k White Gold - 16g - 1/4" - 2.5mm, 3.5mm - Threaded - BVLA $770.00 Curved Barbell w/Rianna Ends - White CZ - 14k Yellow Gold - 16g - 1/4" - 2.5mm, 3.5mm - Threaded - BVLA $720.00 Oval Choctaw - Blue Turquoise - 14k White Gold - 18g/16g - 8x6mm - 5x3mm - End - Threaded - BVLA $575.00 Rianna - White CZ - 14k Rose Gold - 18g/16g - 2.5mm - 2.5mm - Threadless - End - BVLA $280.00 Rianna - White CZ - 14k Yellow Gold - 18g/16g - 2.5mm - 2.5mm - Threadless - End - BVLA $280.00 Tritone Braided Raine - Copper Blue Turquoise - 14k Yellow Gold - 18g/16g - 7mm - 4mm - End - Threaded - BVLA $975.00 Marquise Captive Clicker - White CZ - Titanium - 16g - 3/8" - 1mm (14) - 4x2mm - Clicker - Diablo $100.00 Princess Cut Prong - White CZ - 18k Yellow Gold - 18g/16g - 4.5mm - 4mm - End - Threadless - Neometal $180.00 Side Set Transition Ring - White CZ - 18k White Gold - 16g - 5/16" - 1.5mm (5) - Ring - Anatometal $325.00 Plain Clicker - 18k Yellow Gold - 18g - 11/32" - Clicker - Clickerino $240.00 Plain Clicker - 18k White Gold - 18g - 11/32" - Clicker - Clickerino $220.00 Plain Clicker - 18k Rose Gold - 18g - 11/32" - Clicker - Clickerino $220.00 Plain Clicker - 18k White Gold - 16g - 5/16" - Clicker - Clickerino $250.00 Plain Clicker - 18k Yellow Gold - 16g - 13/32" - Clicker - Clickerino $280.00 Plain Clicker - 18k White Gold - 18g - 9/32" - Clicker - Clickerino $190.00 Plain Clicker - 18k Rose Gold - 18g - 9/32" - Clicker - Clickerino $190.00 No results found No results match your search. Try removing a few filters. Next