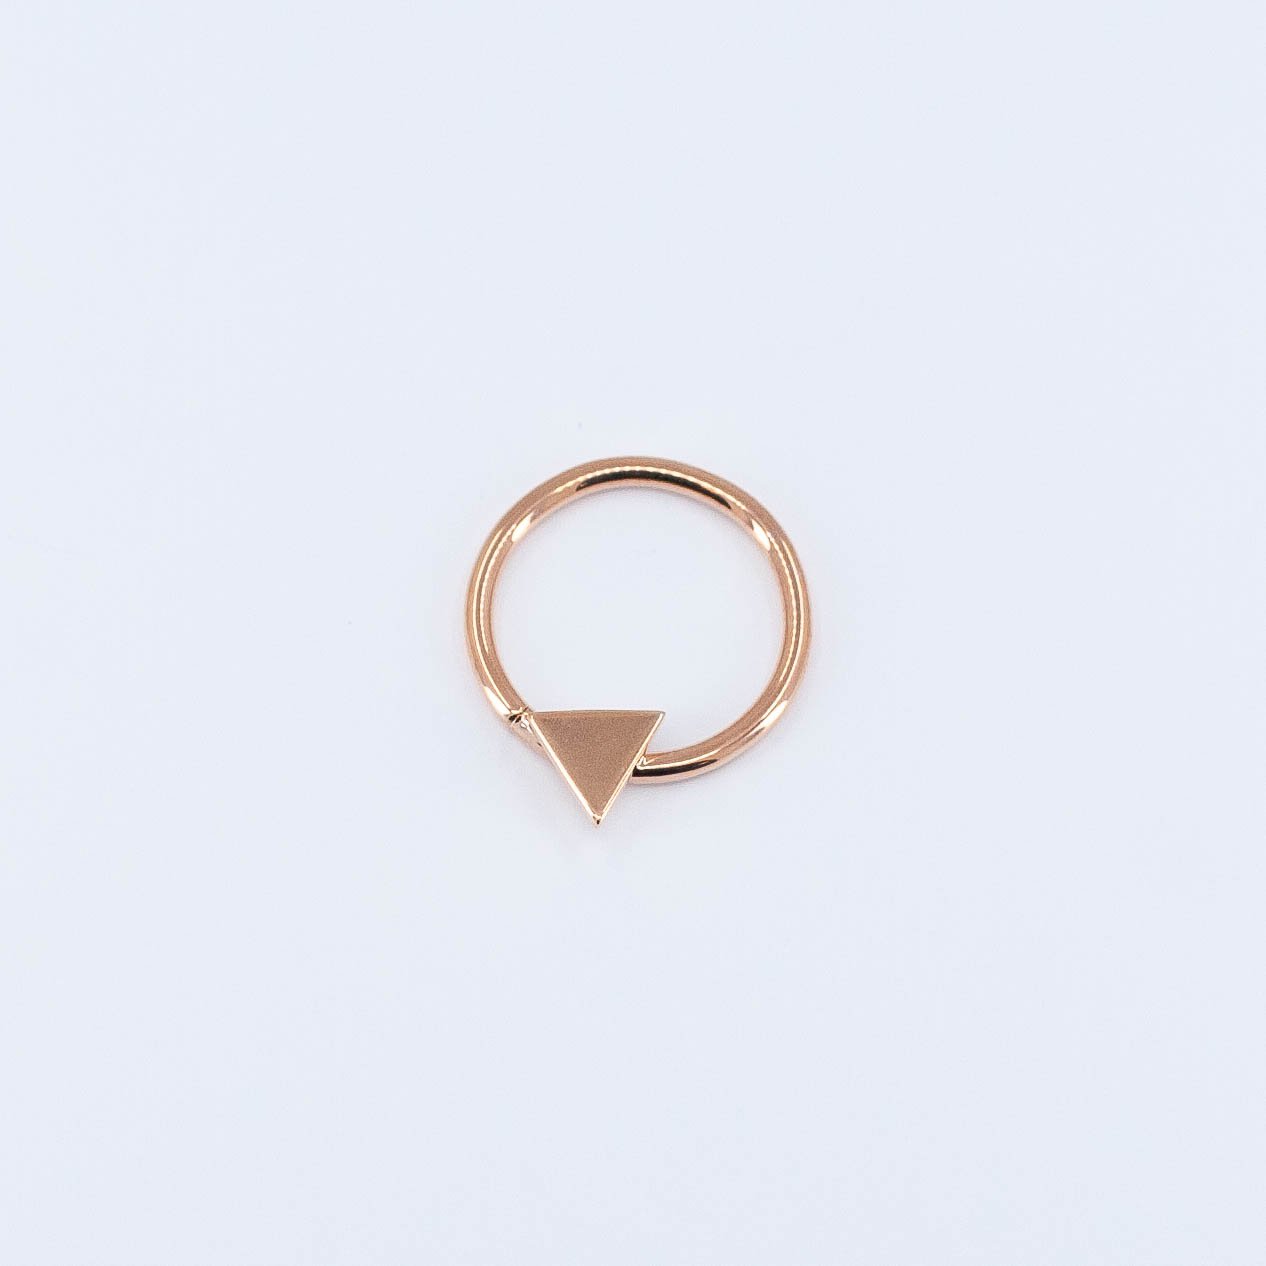
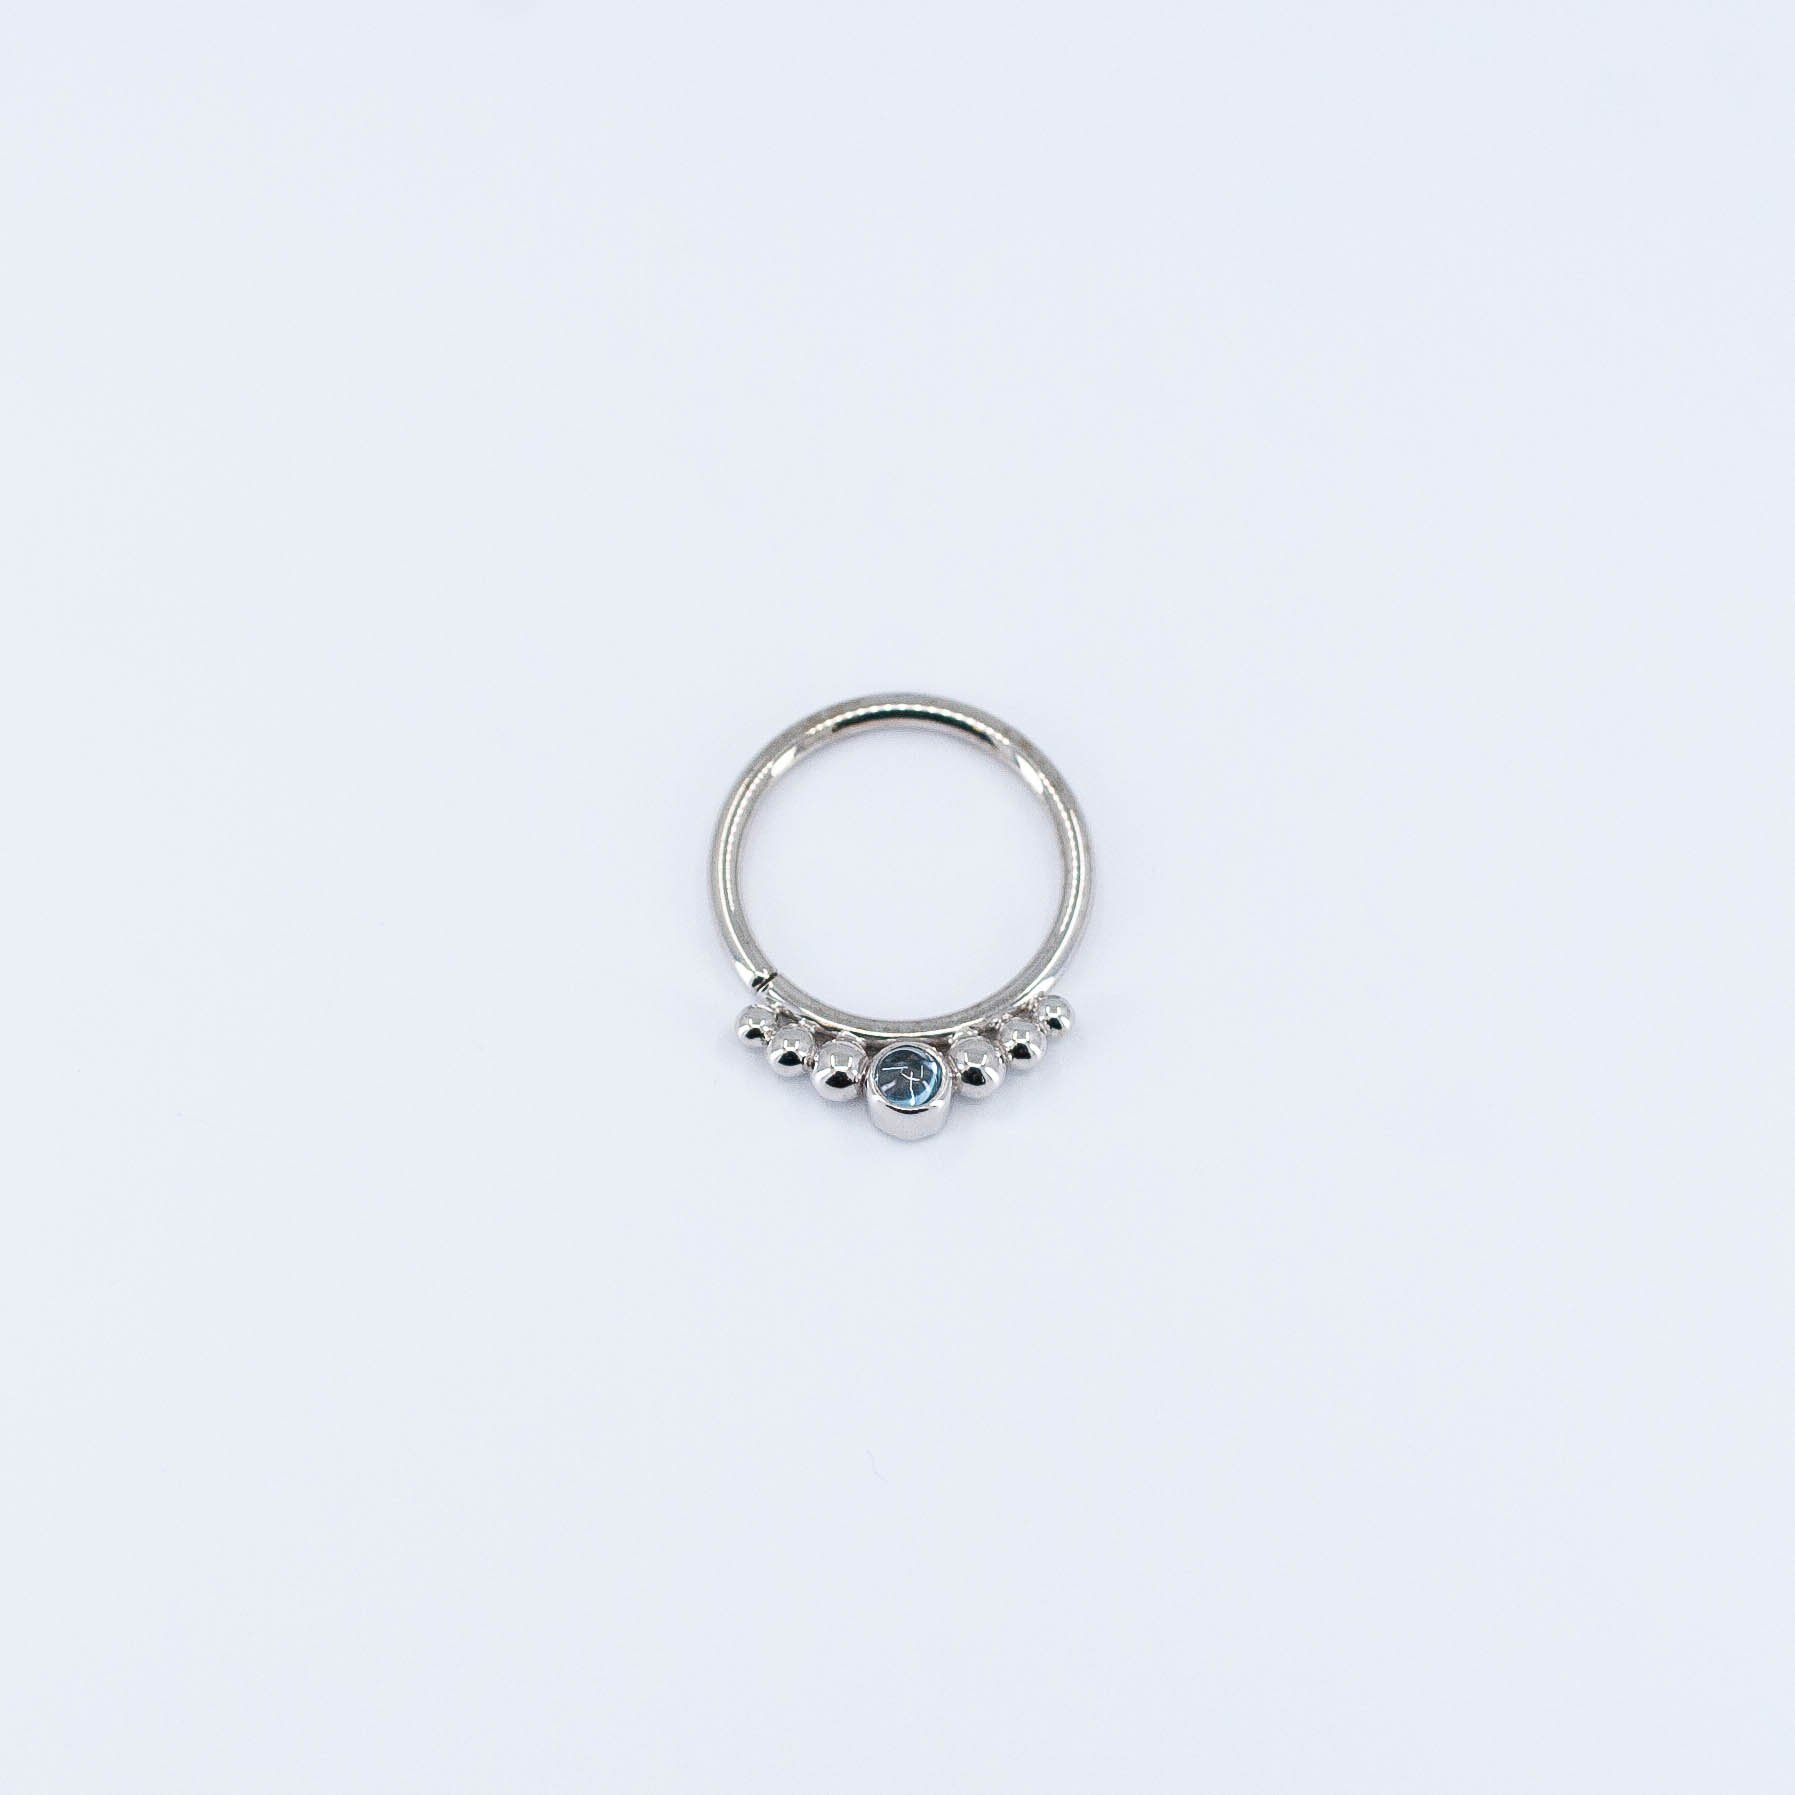
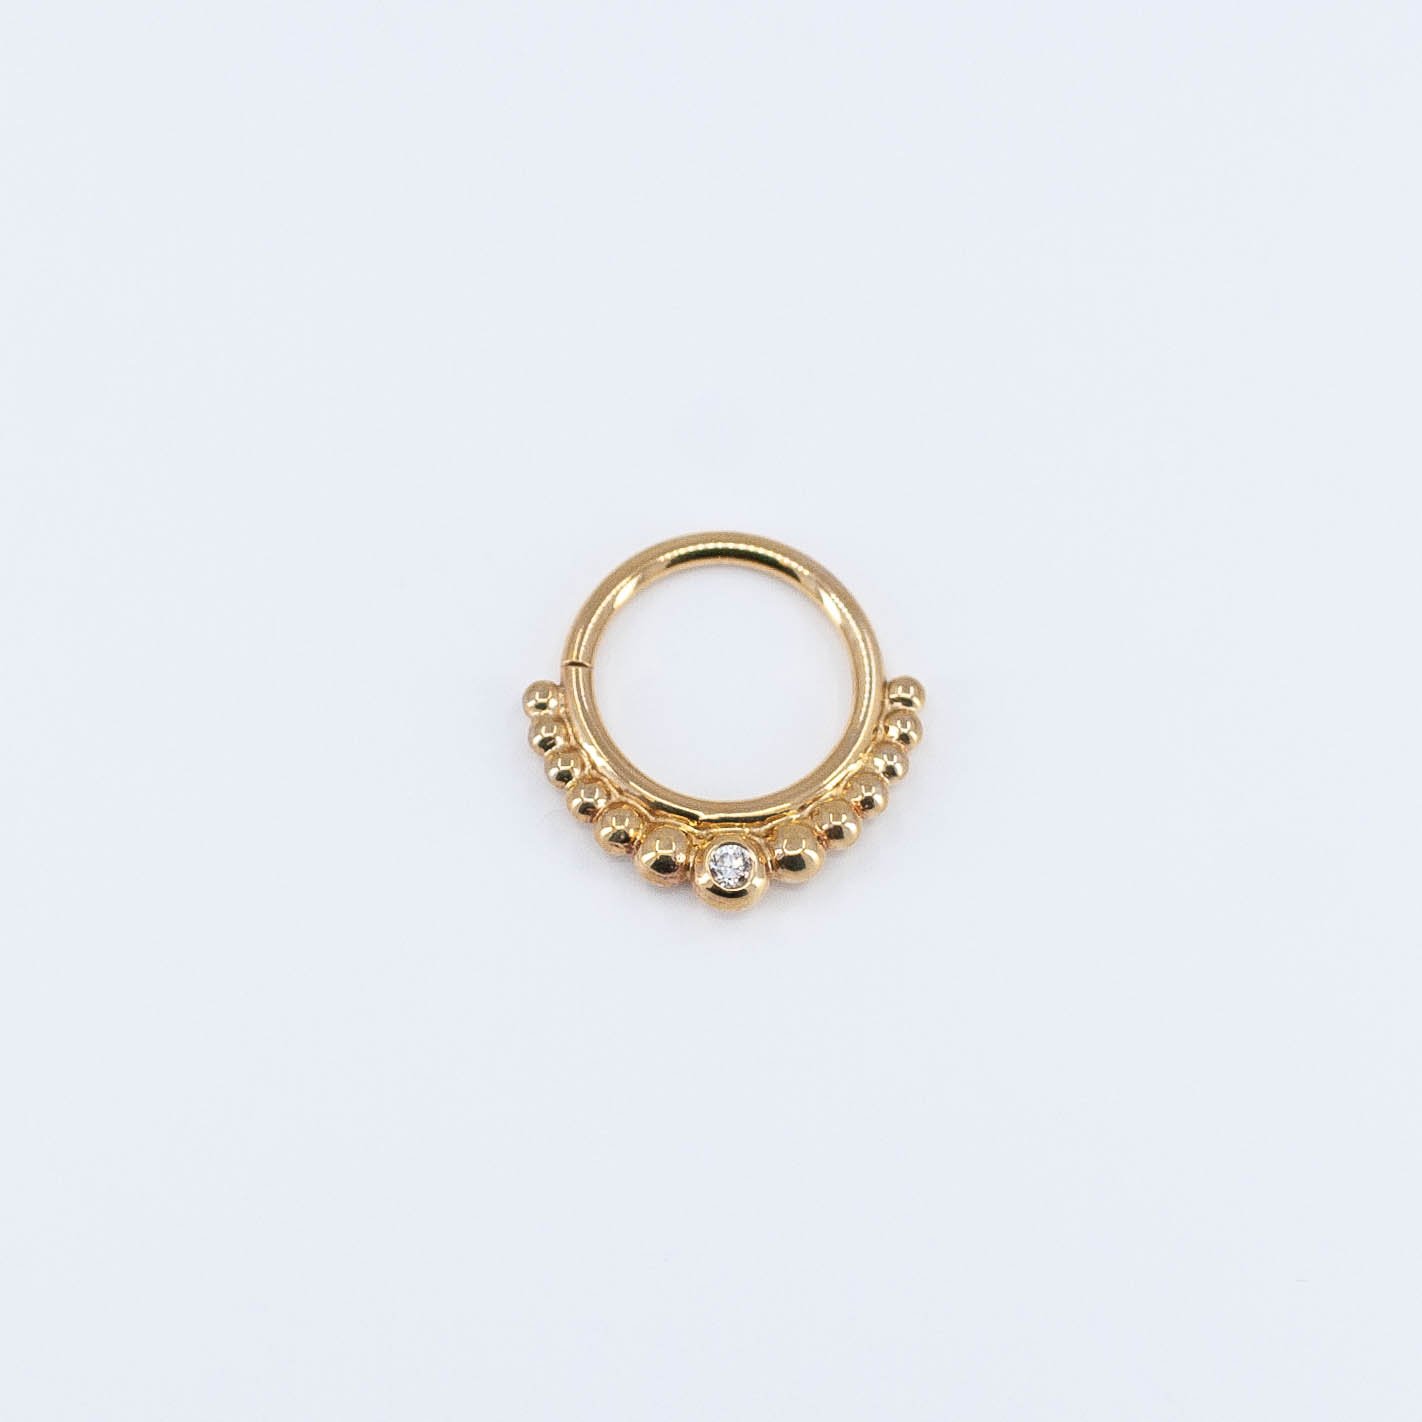
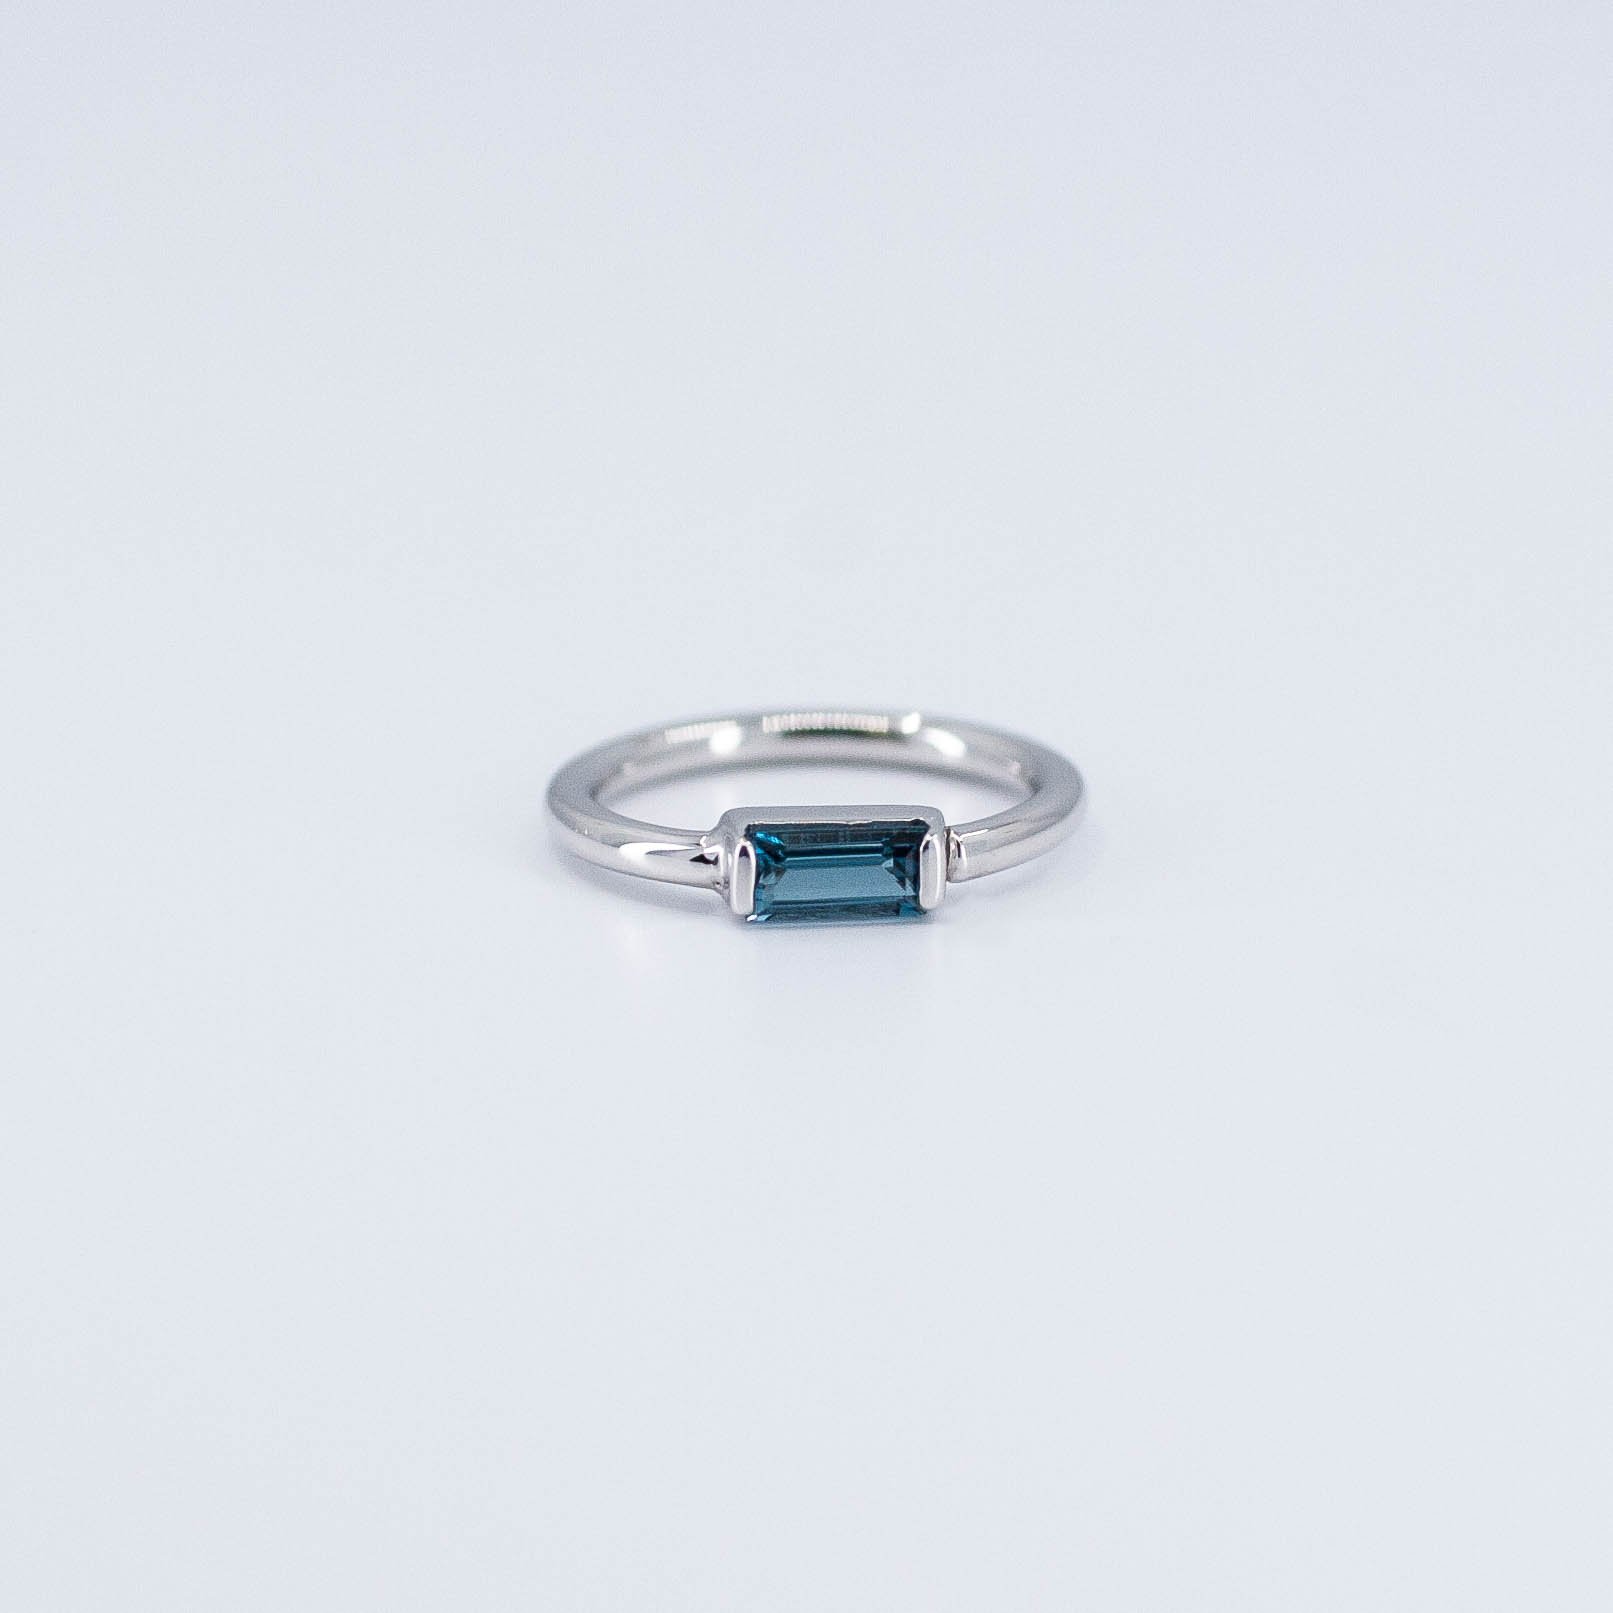
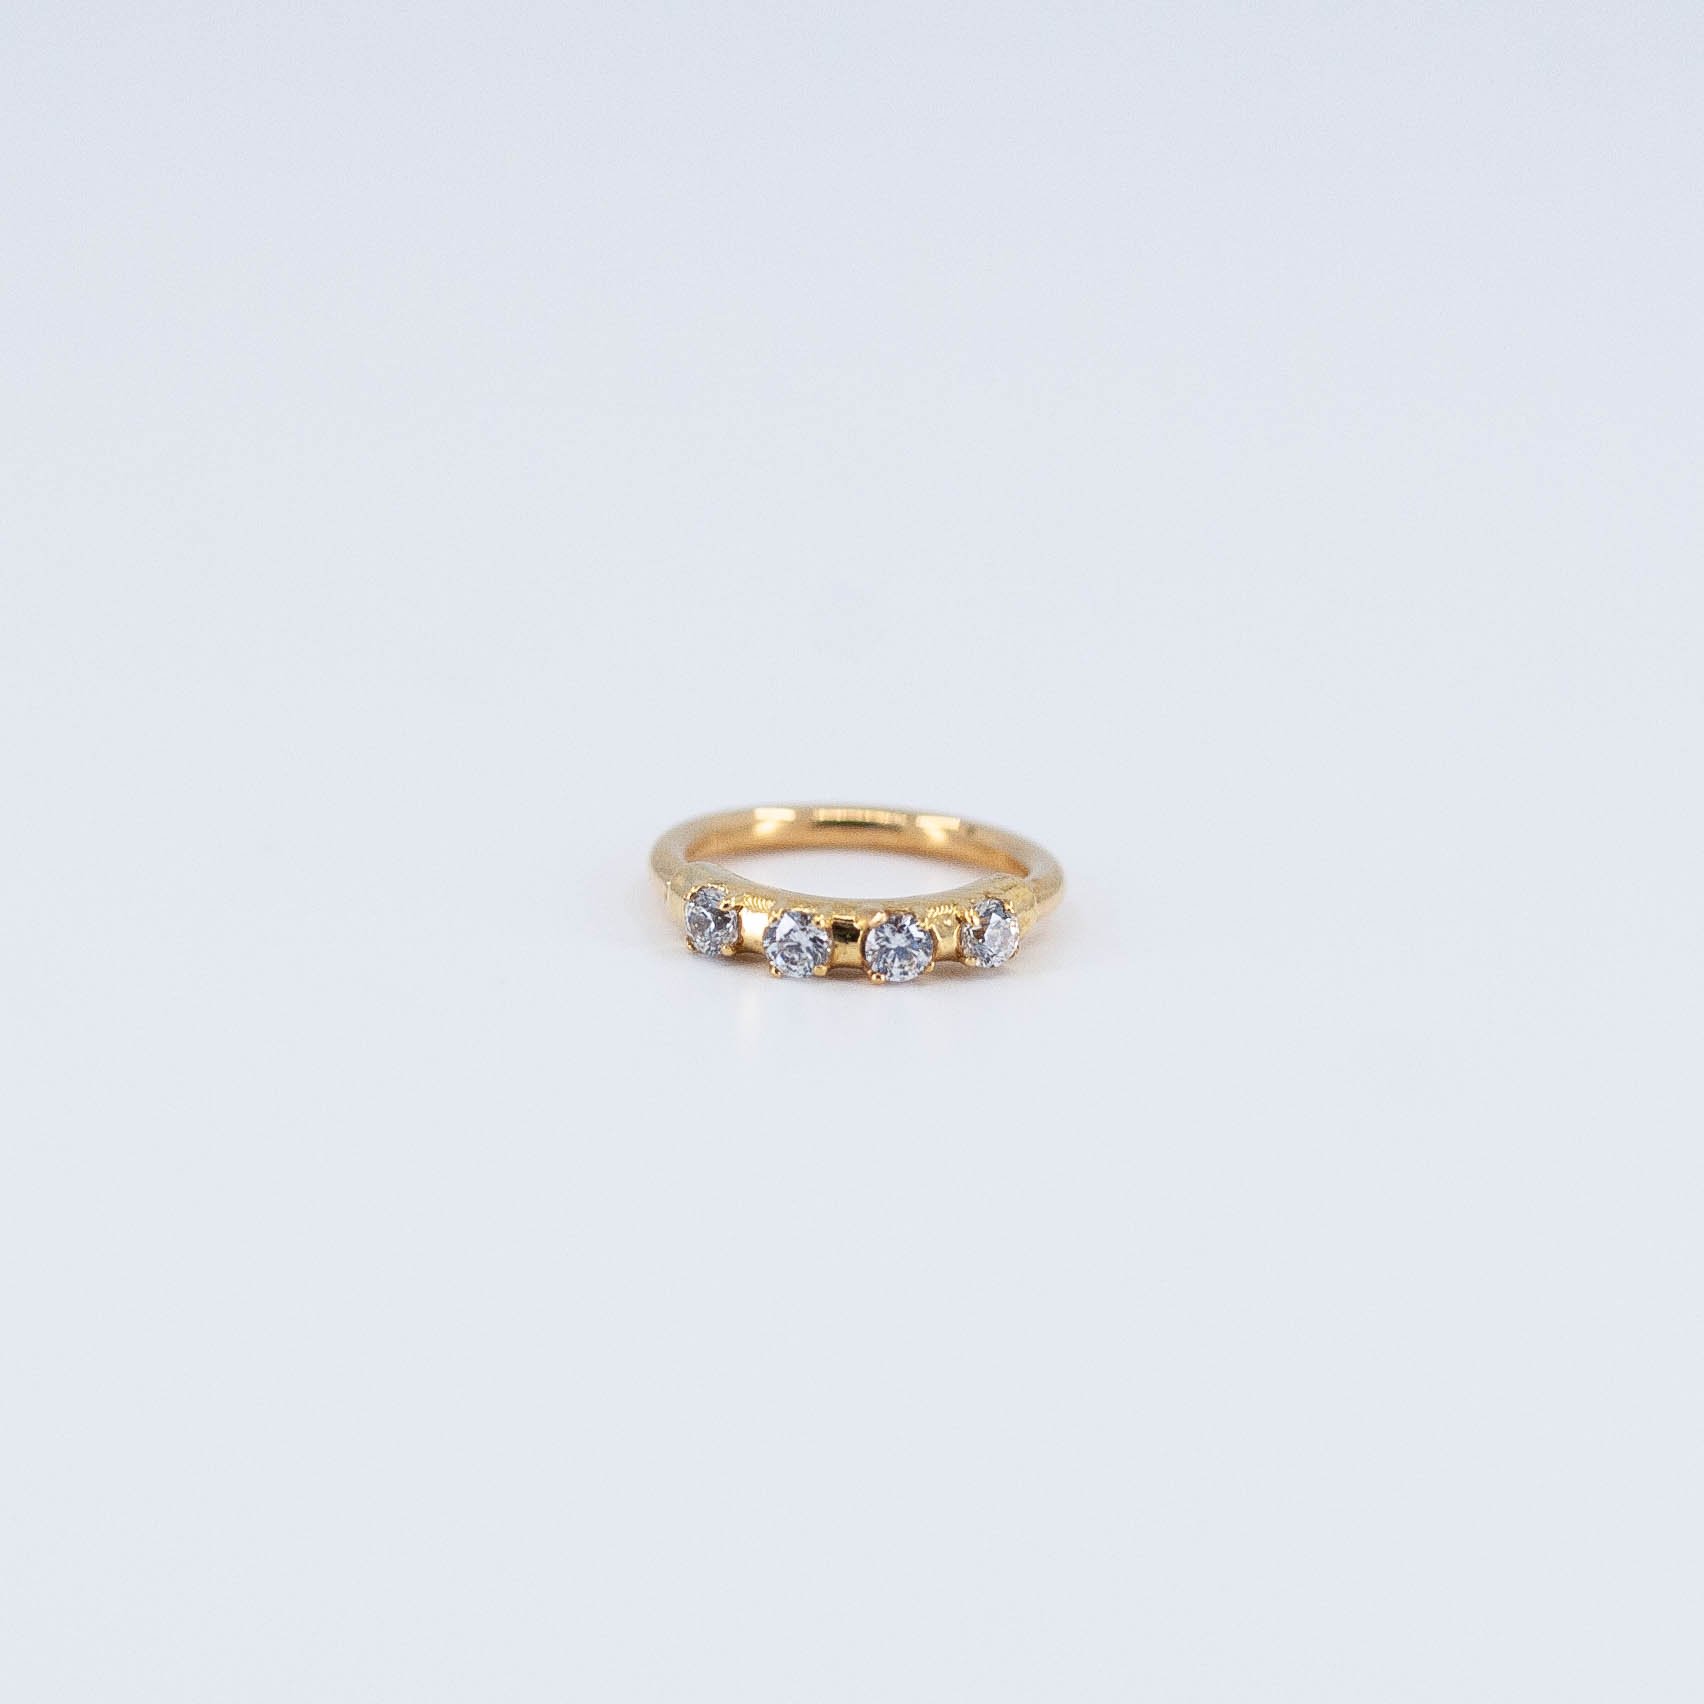
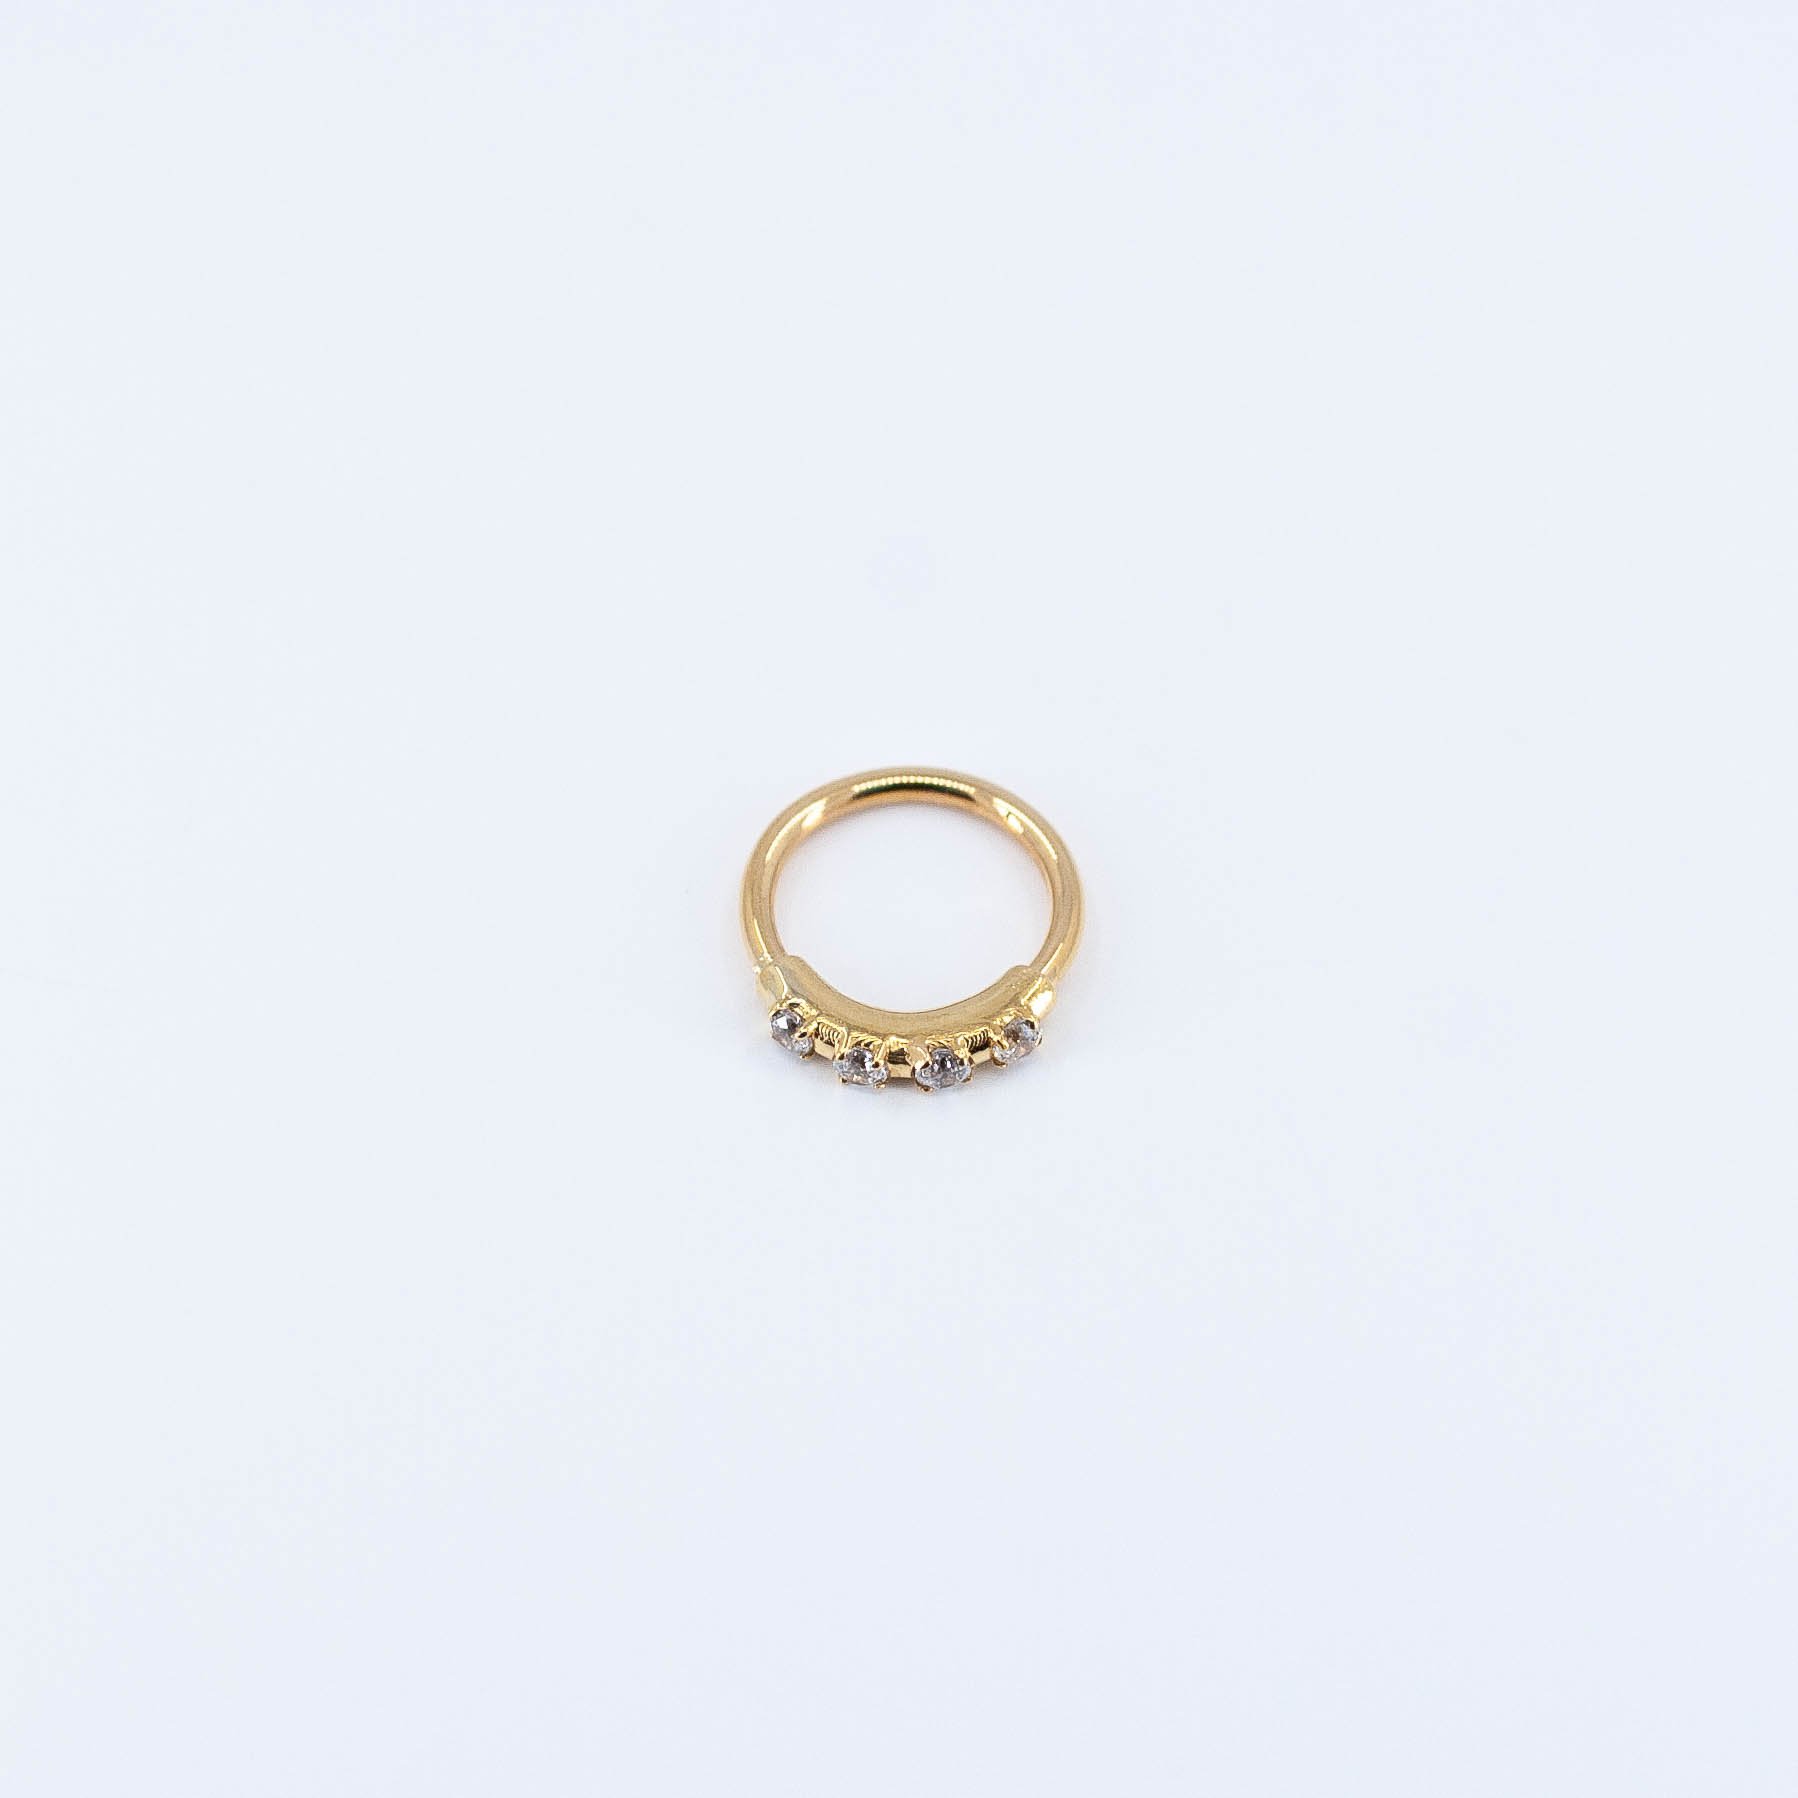
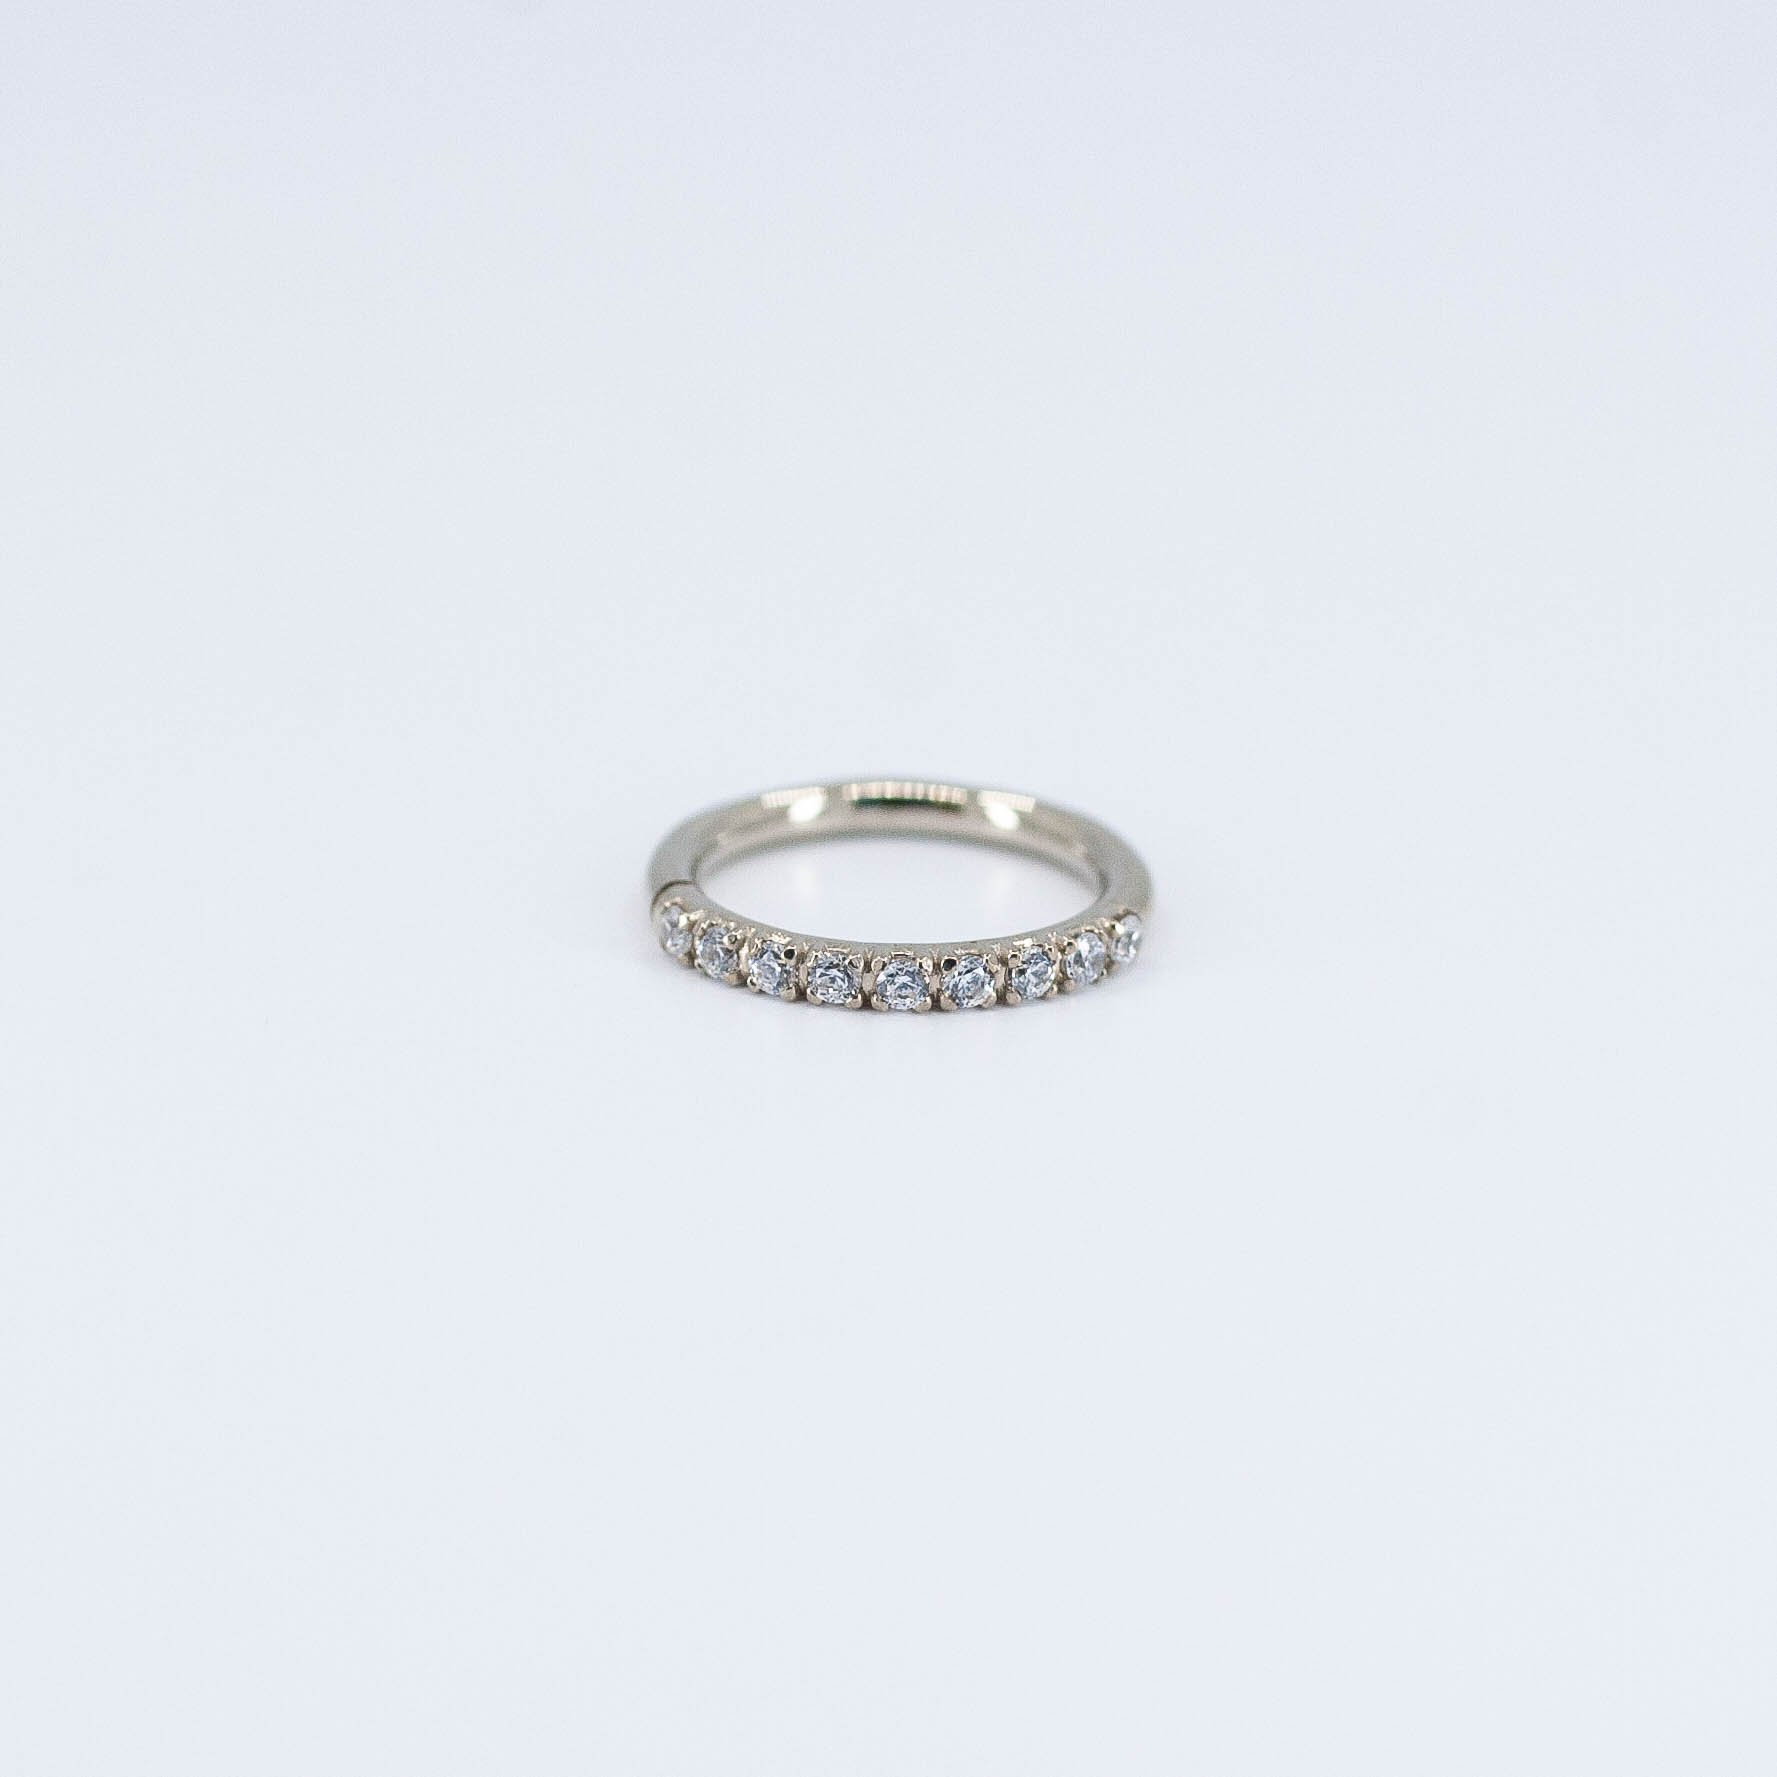
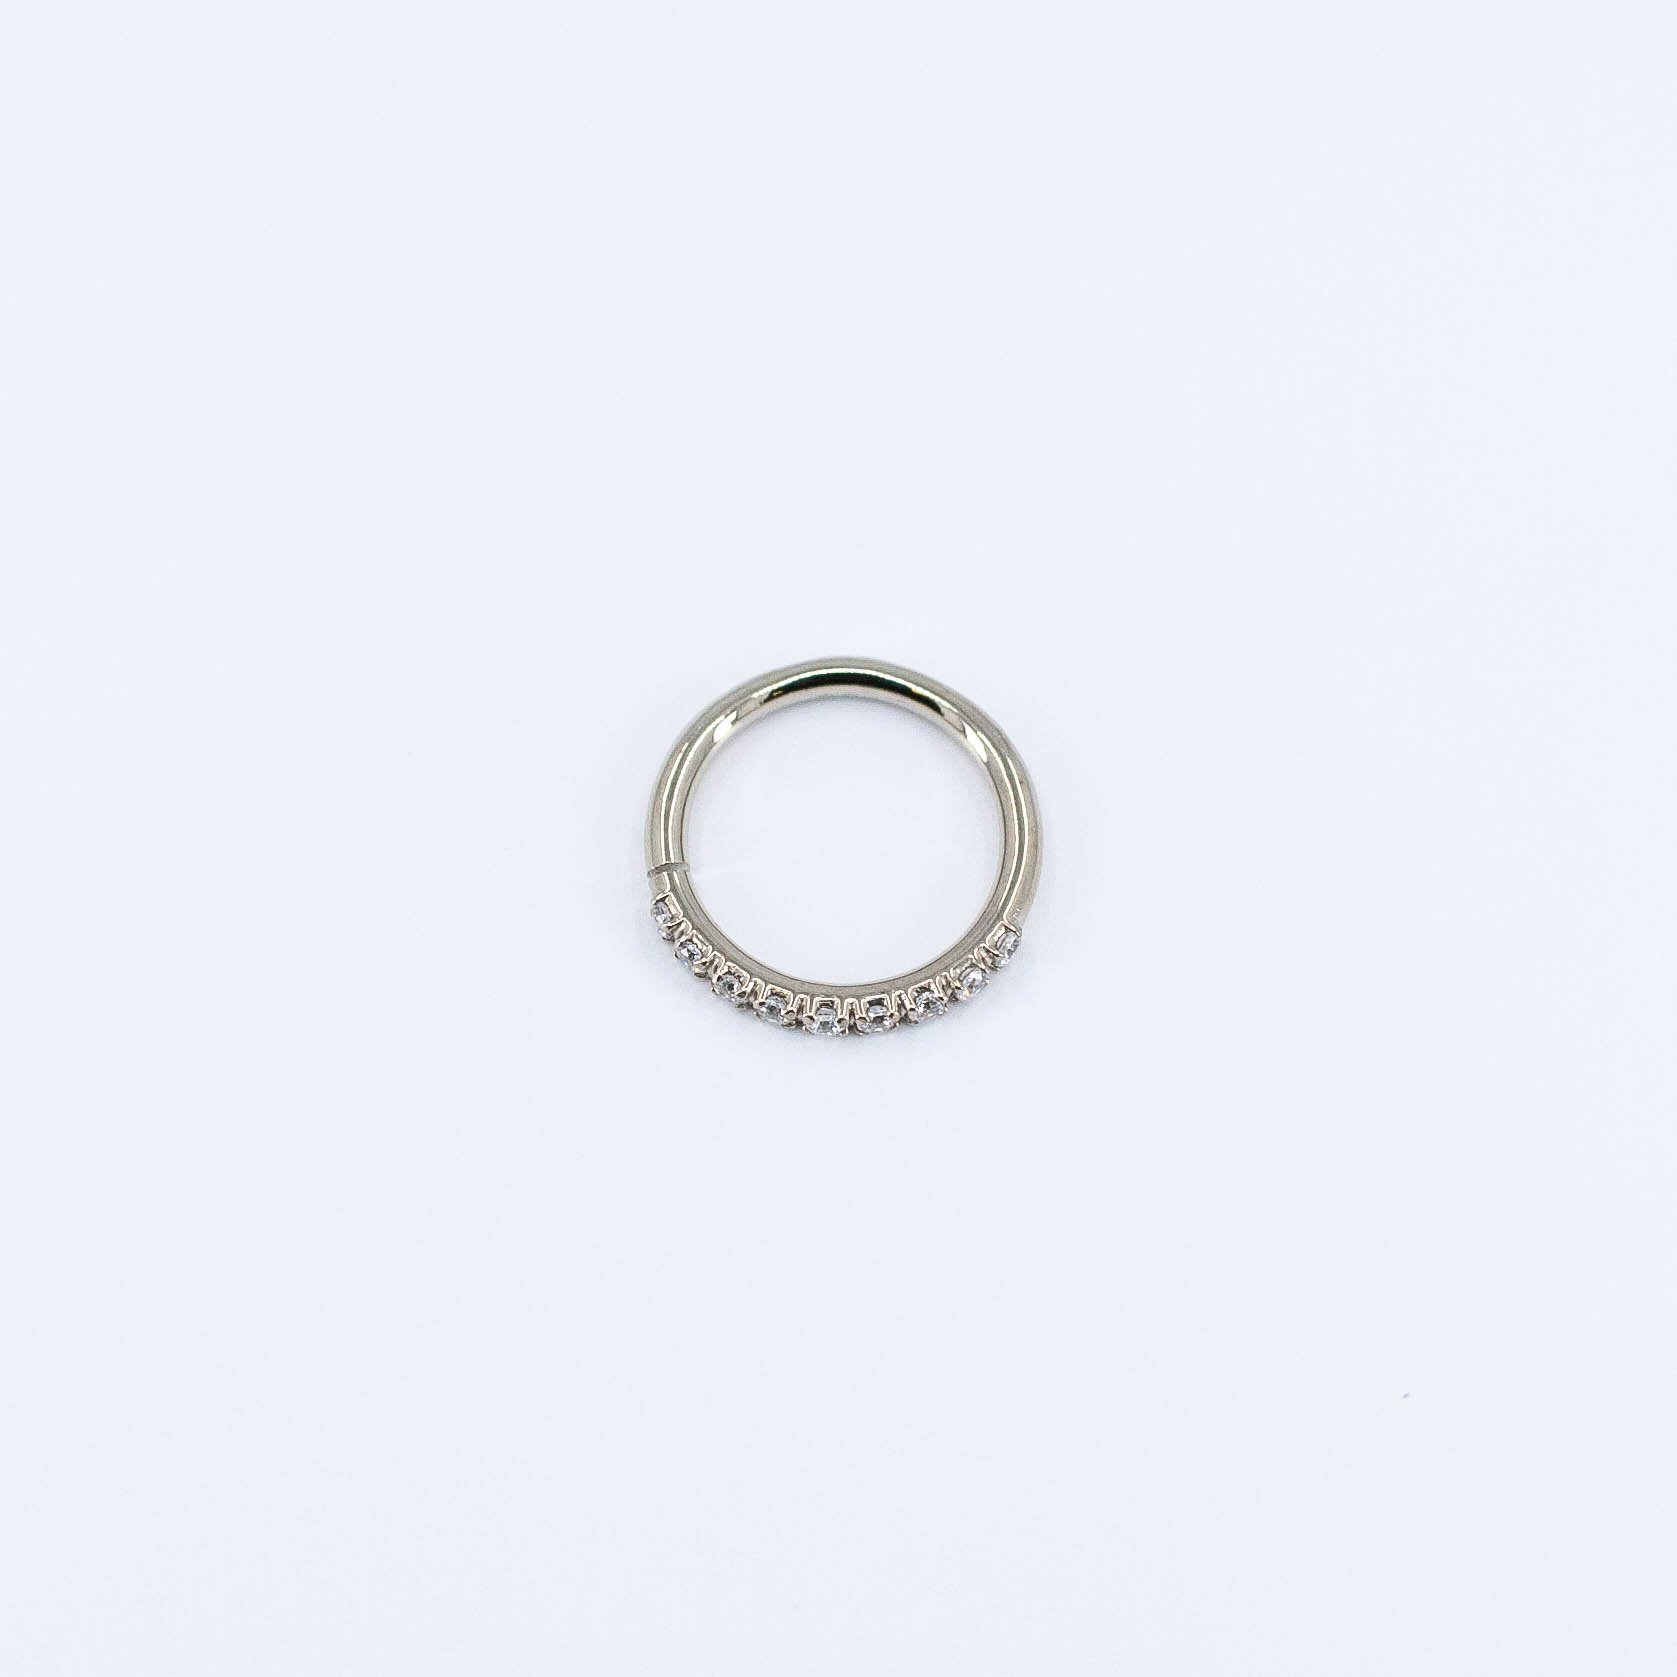
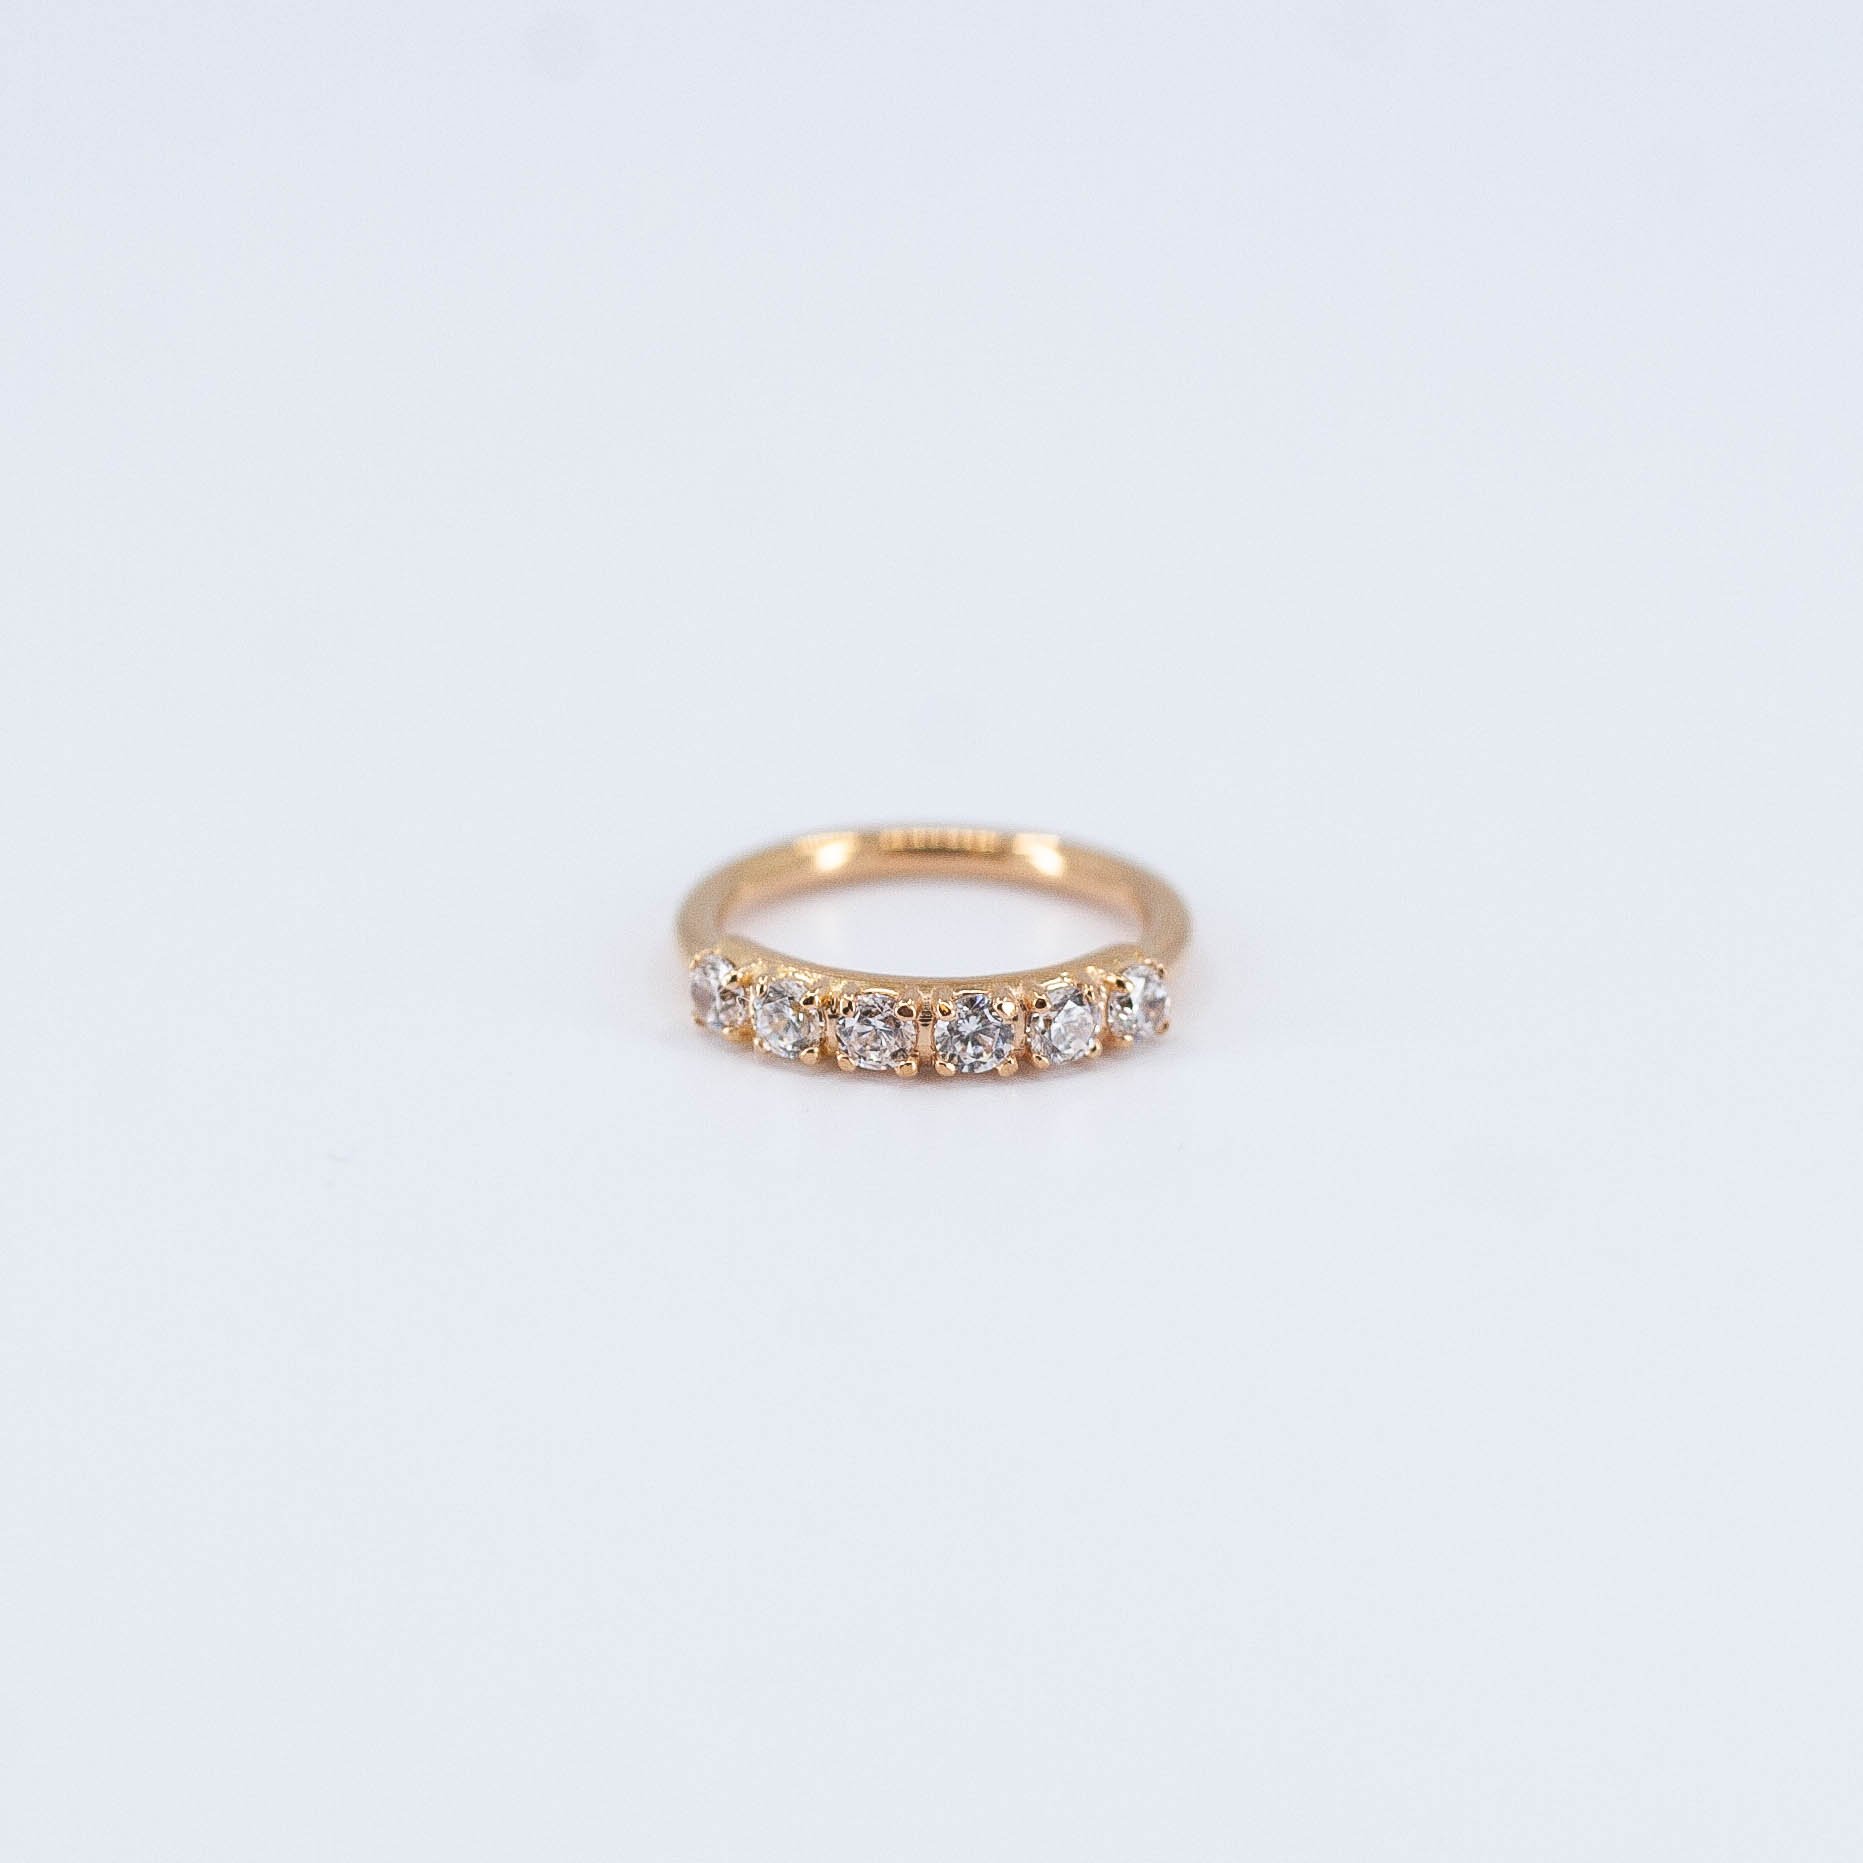
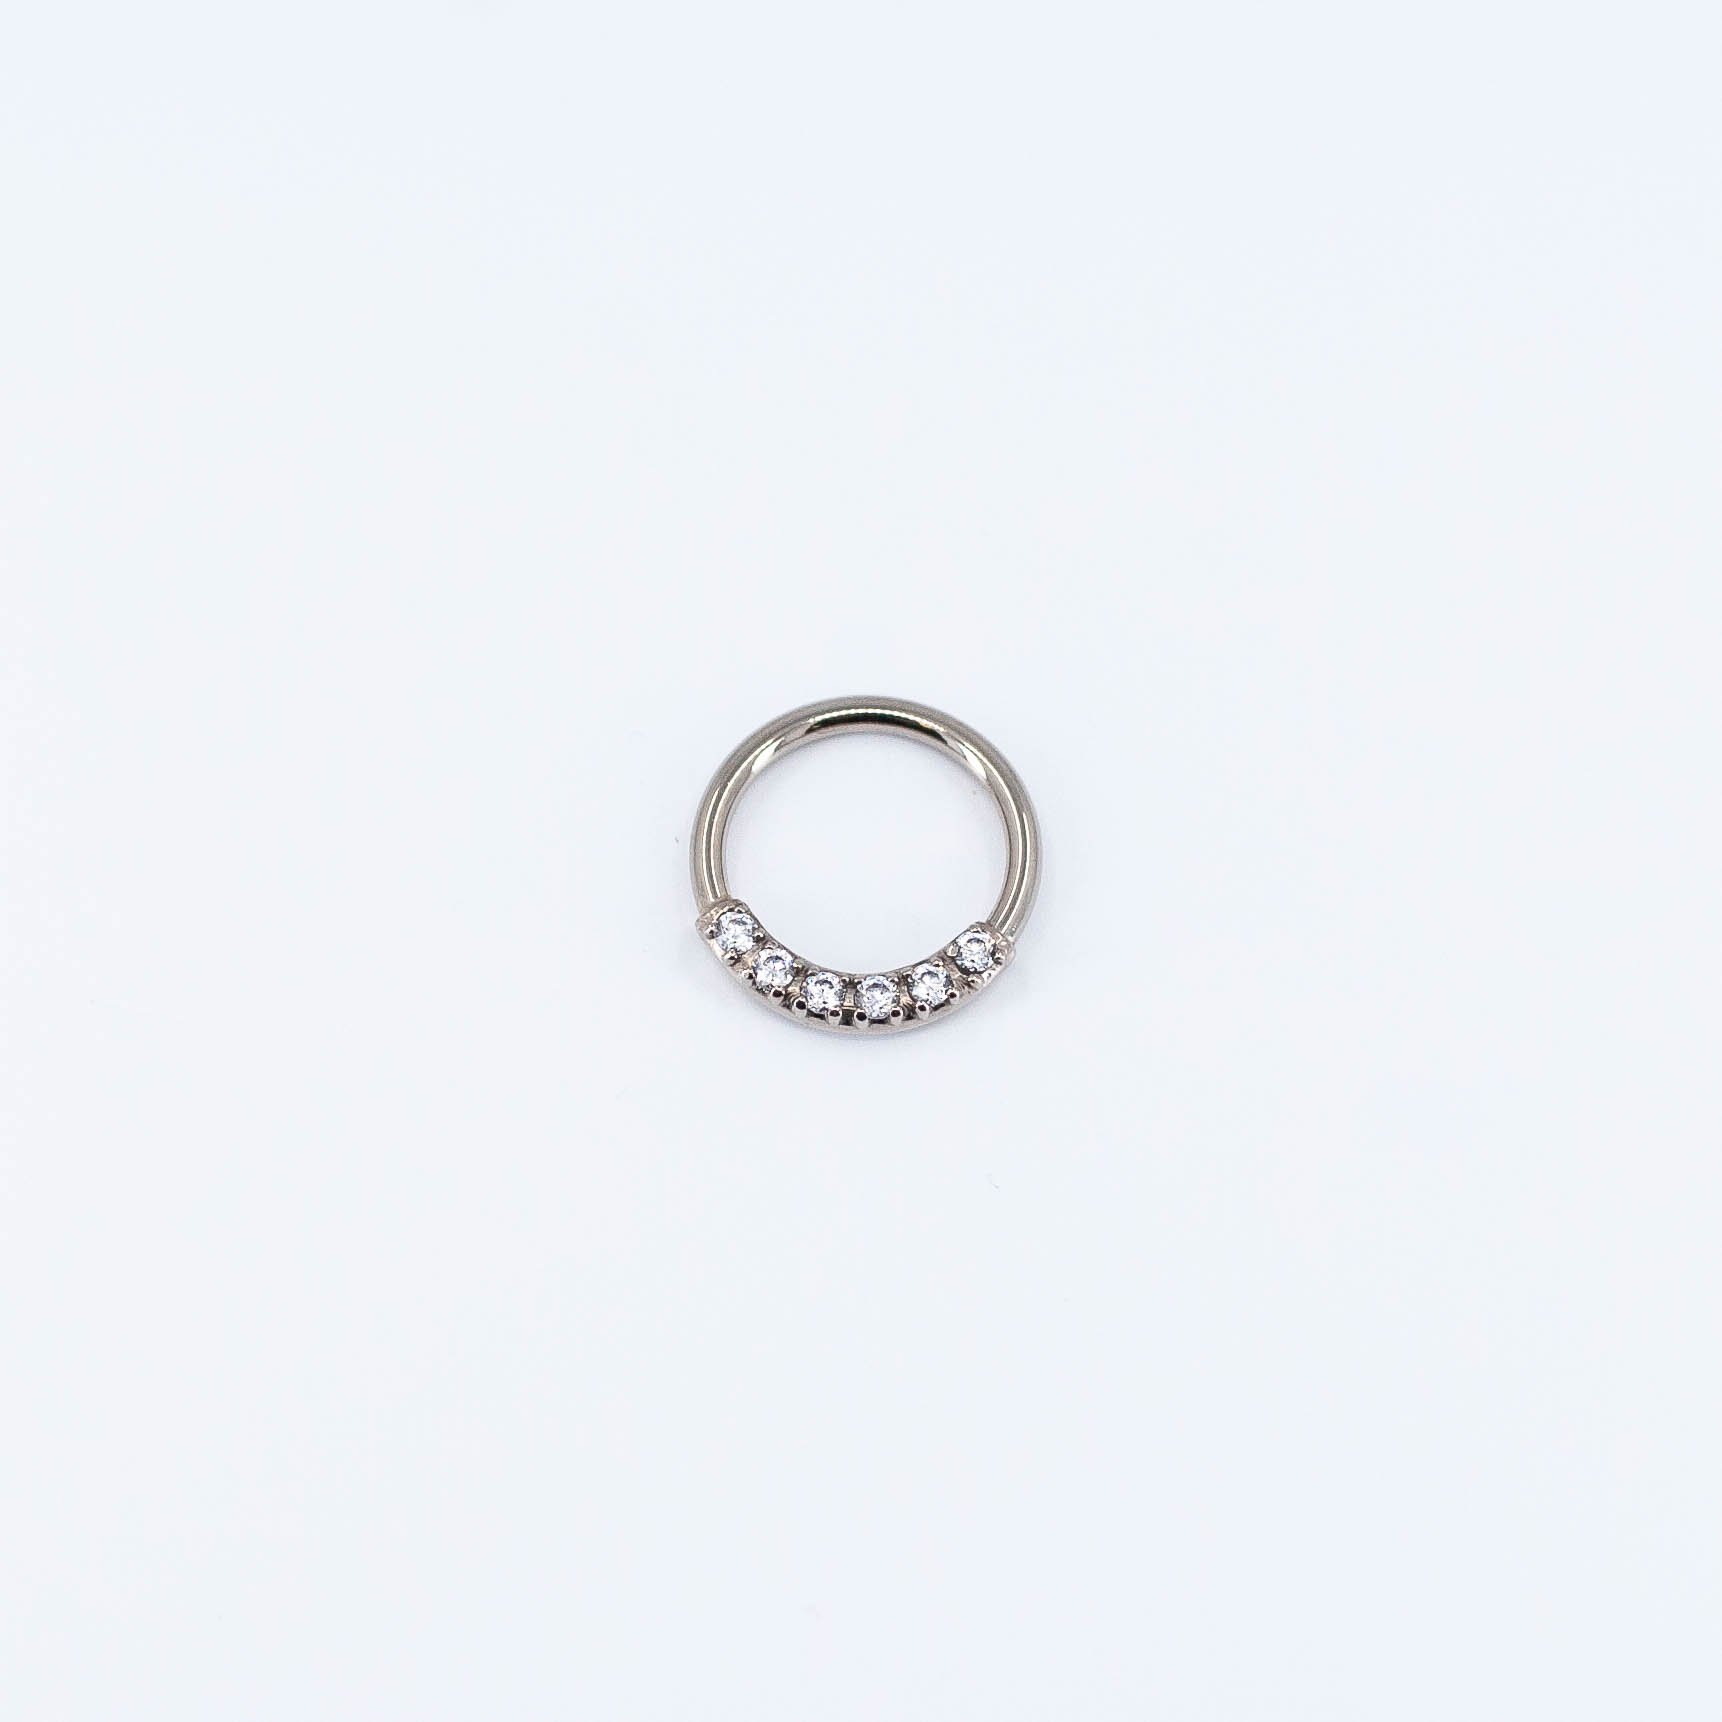
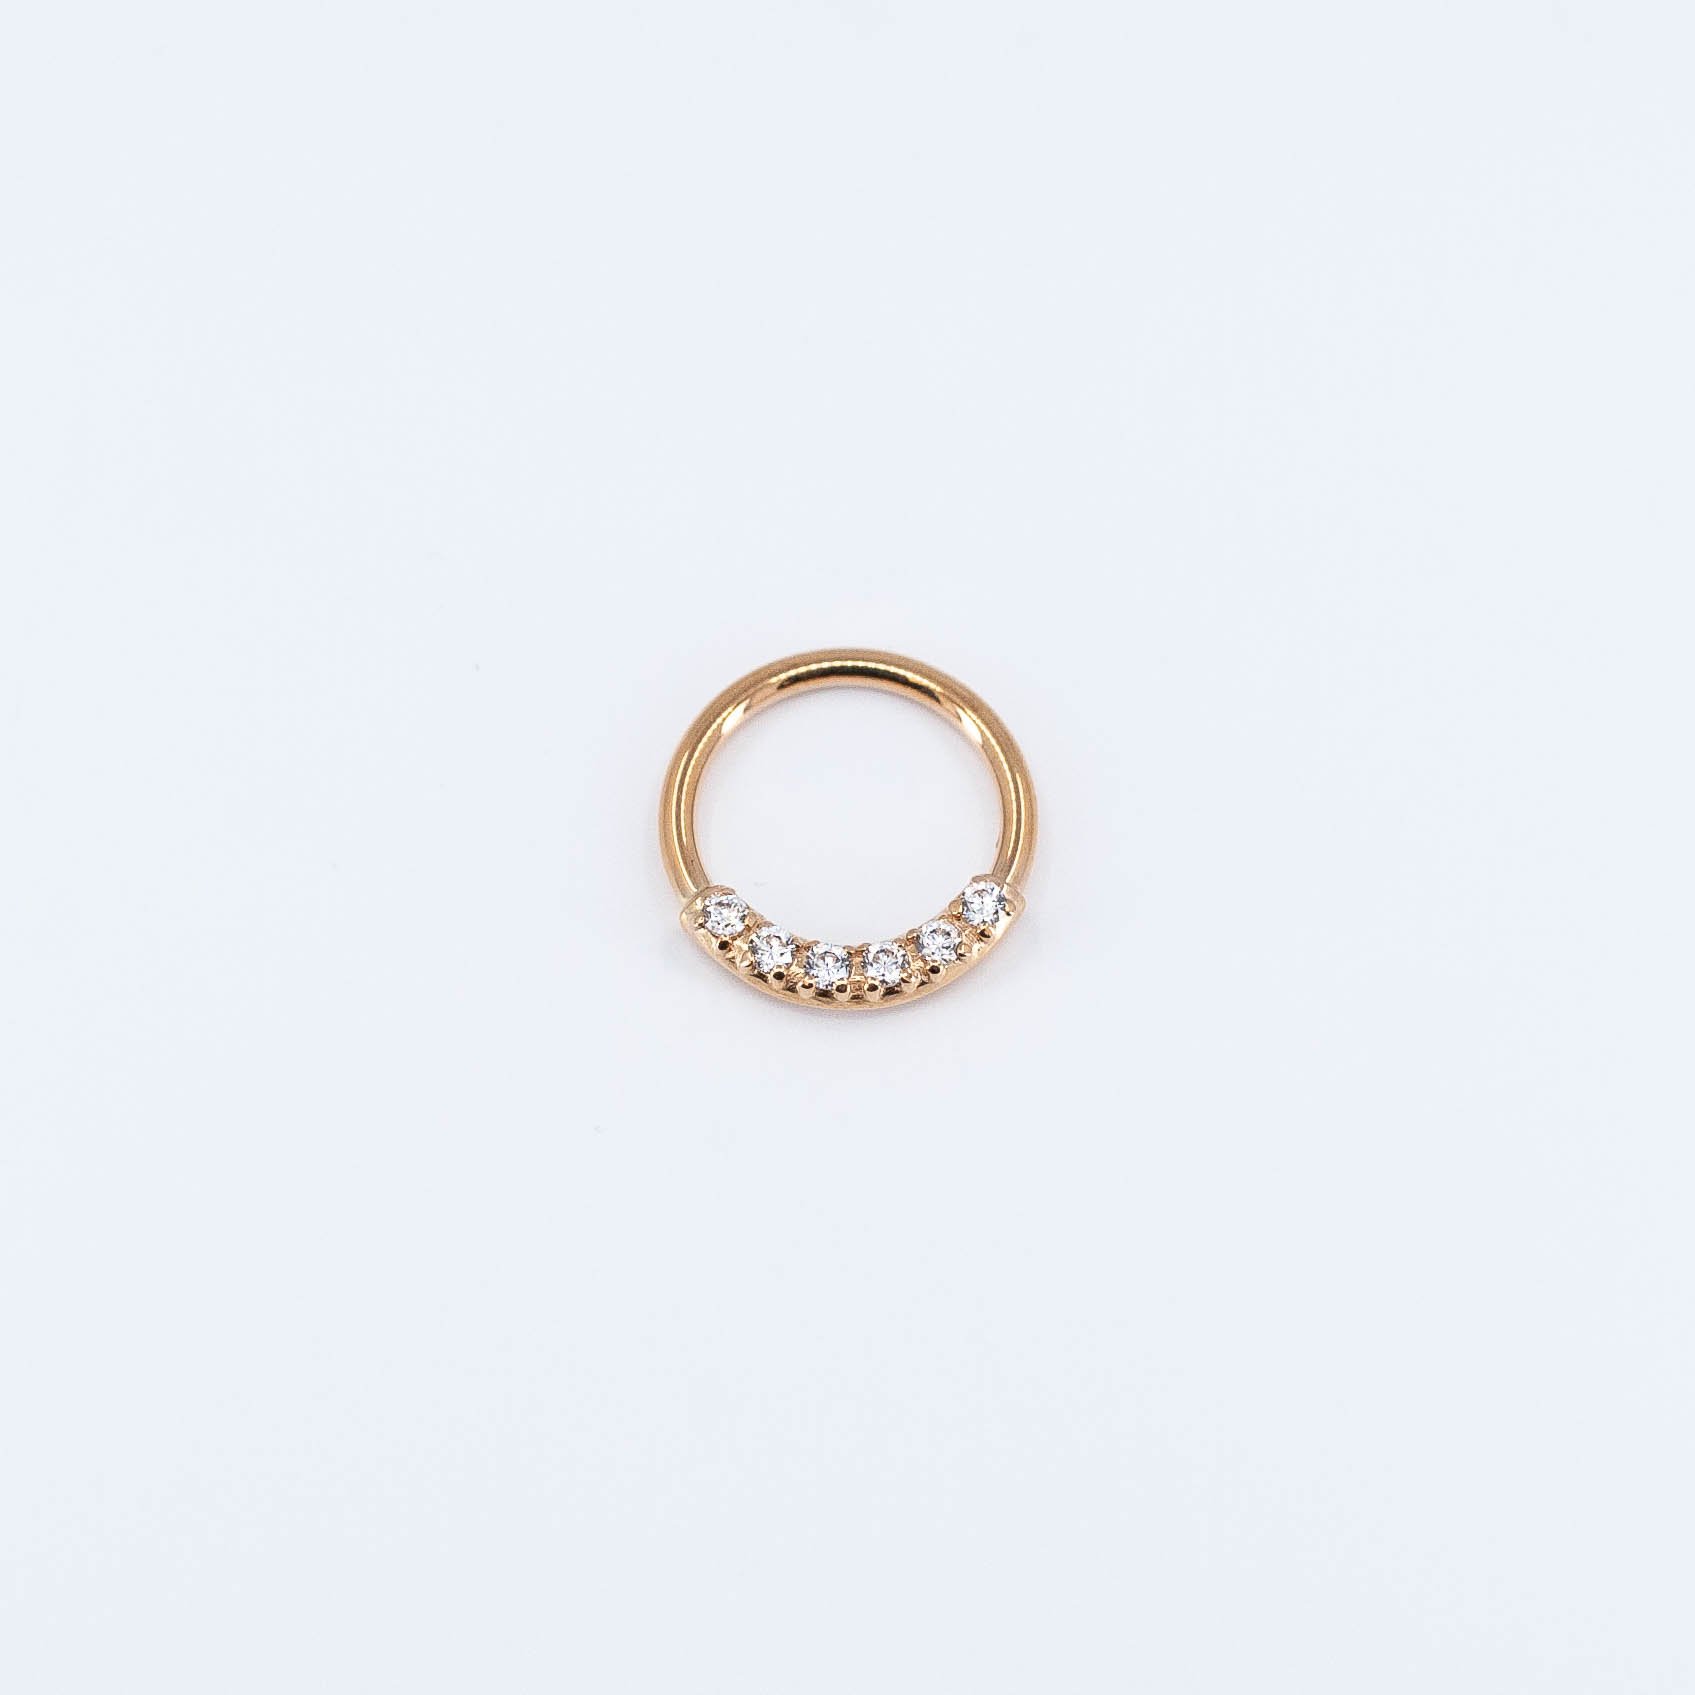
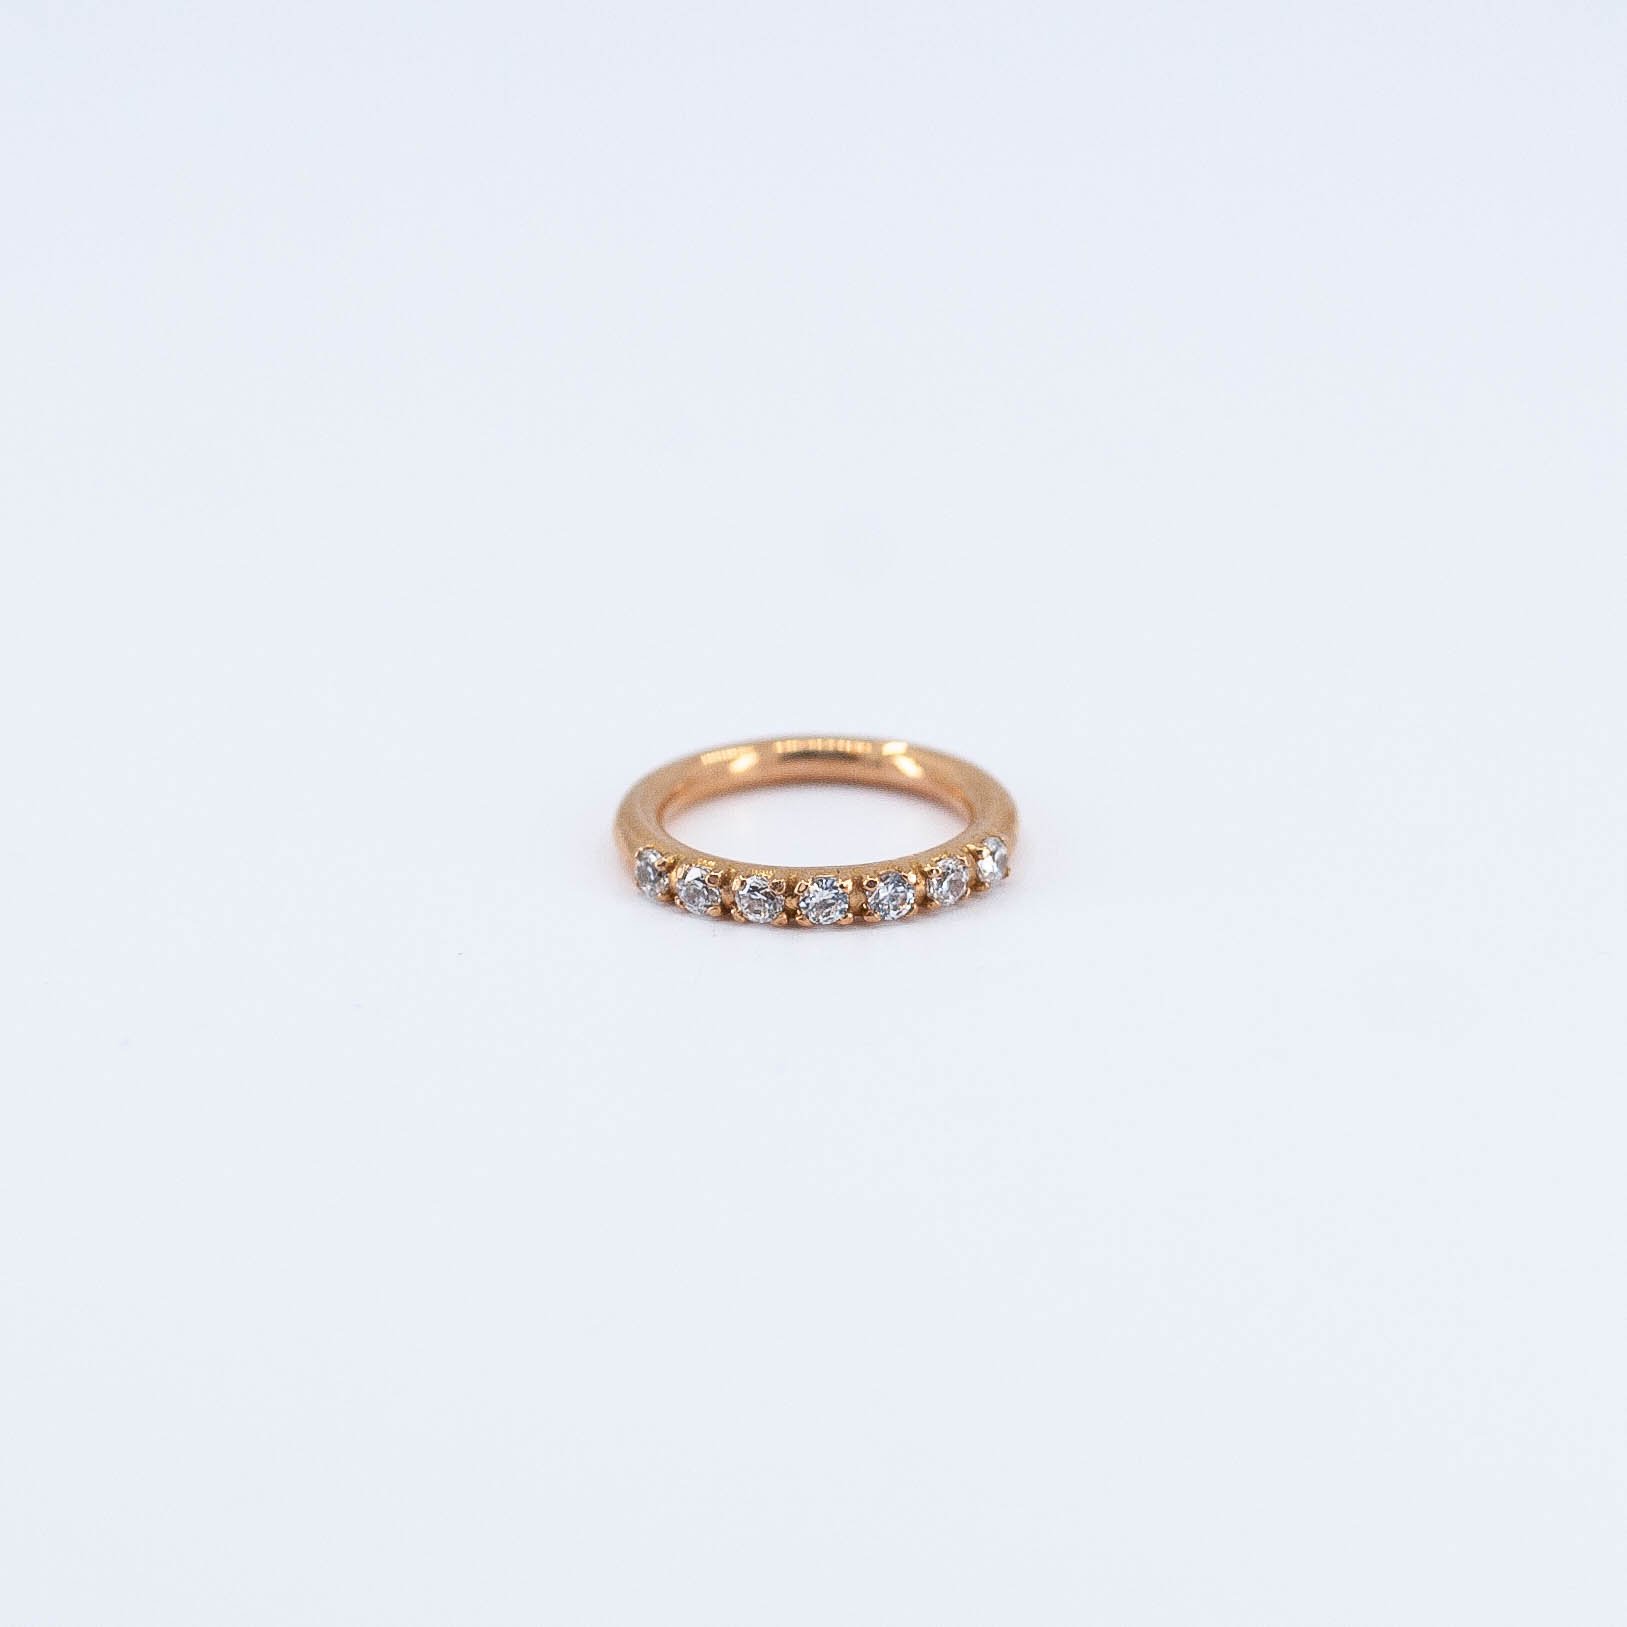
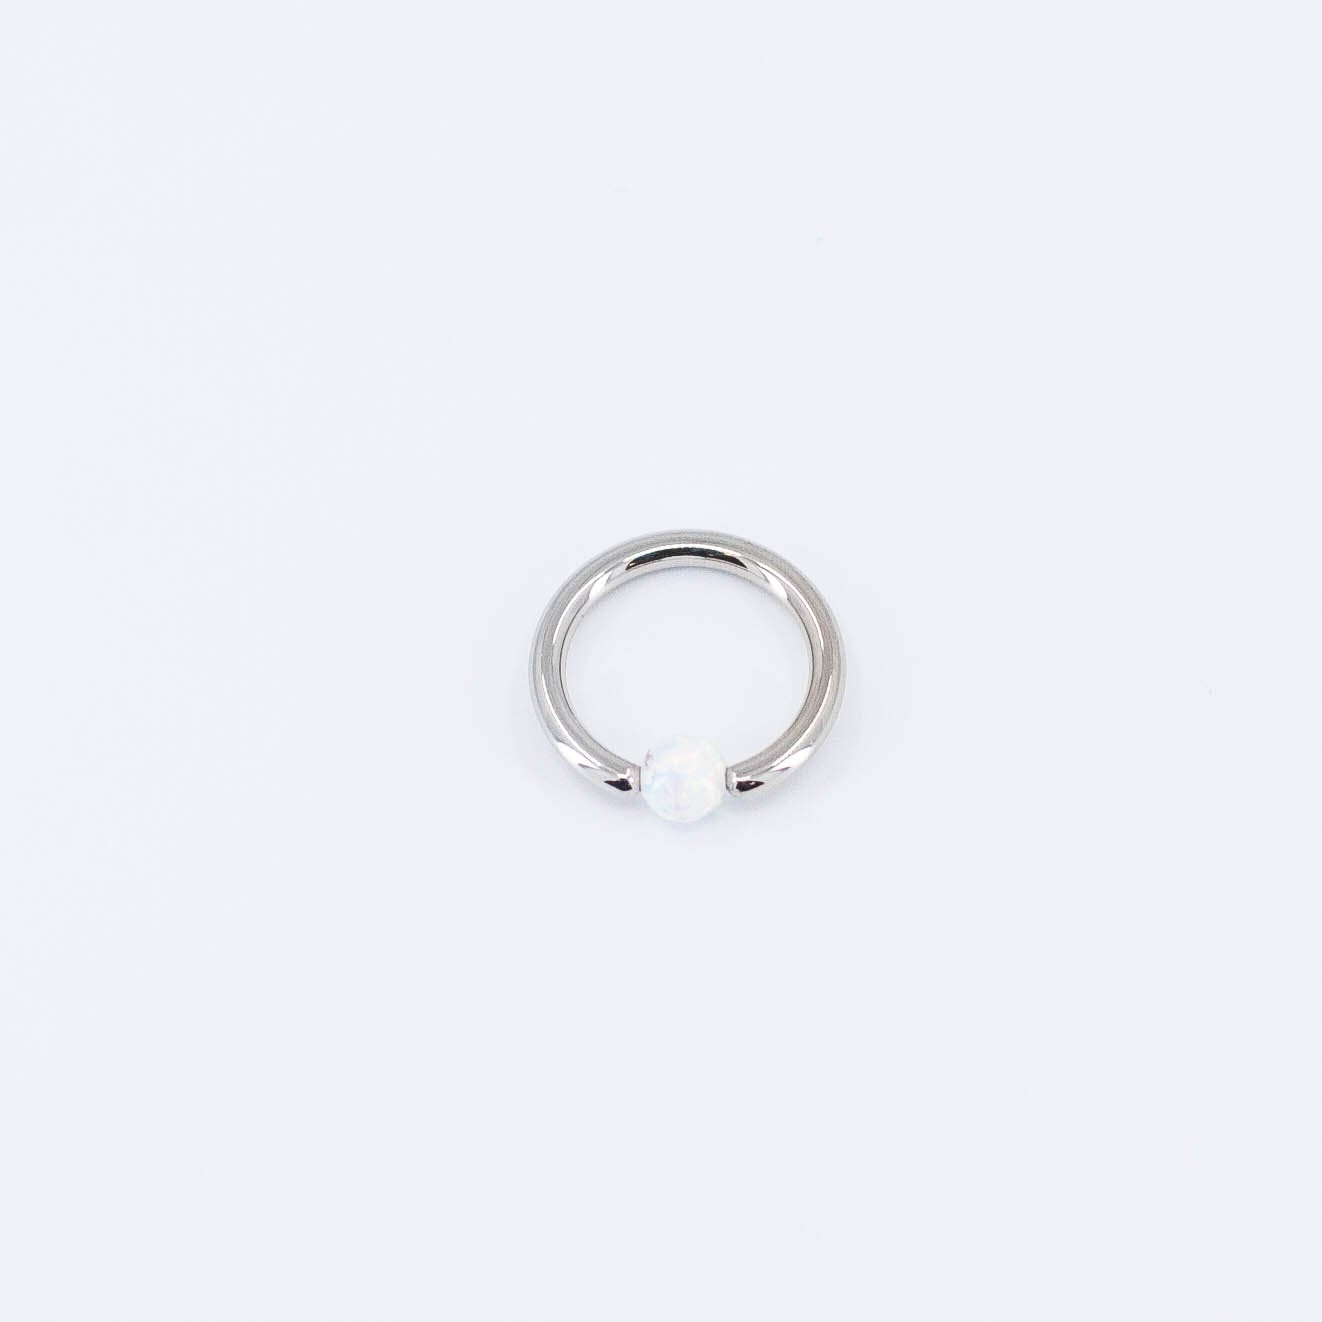
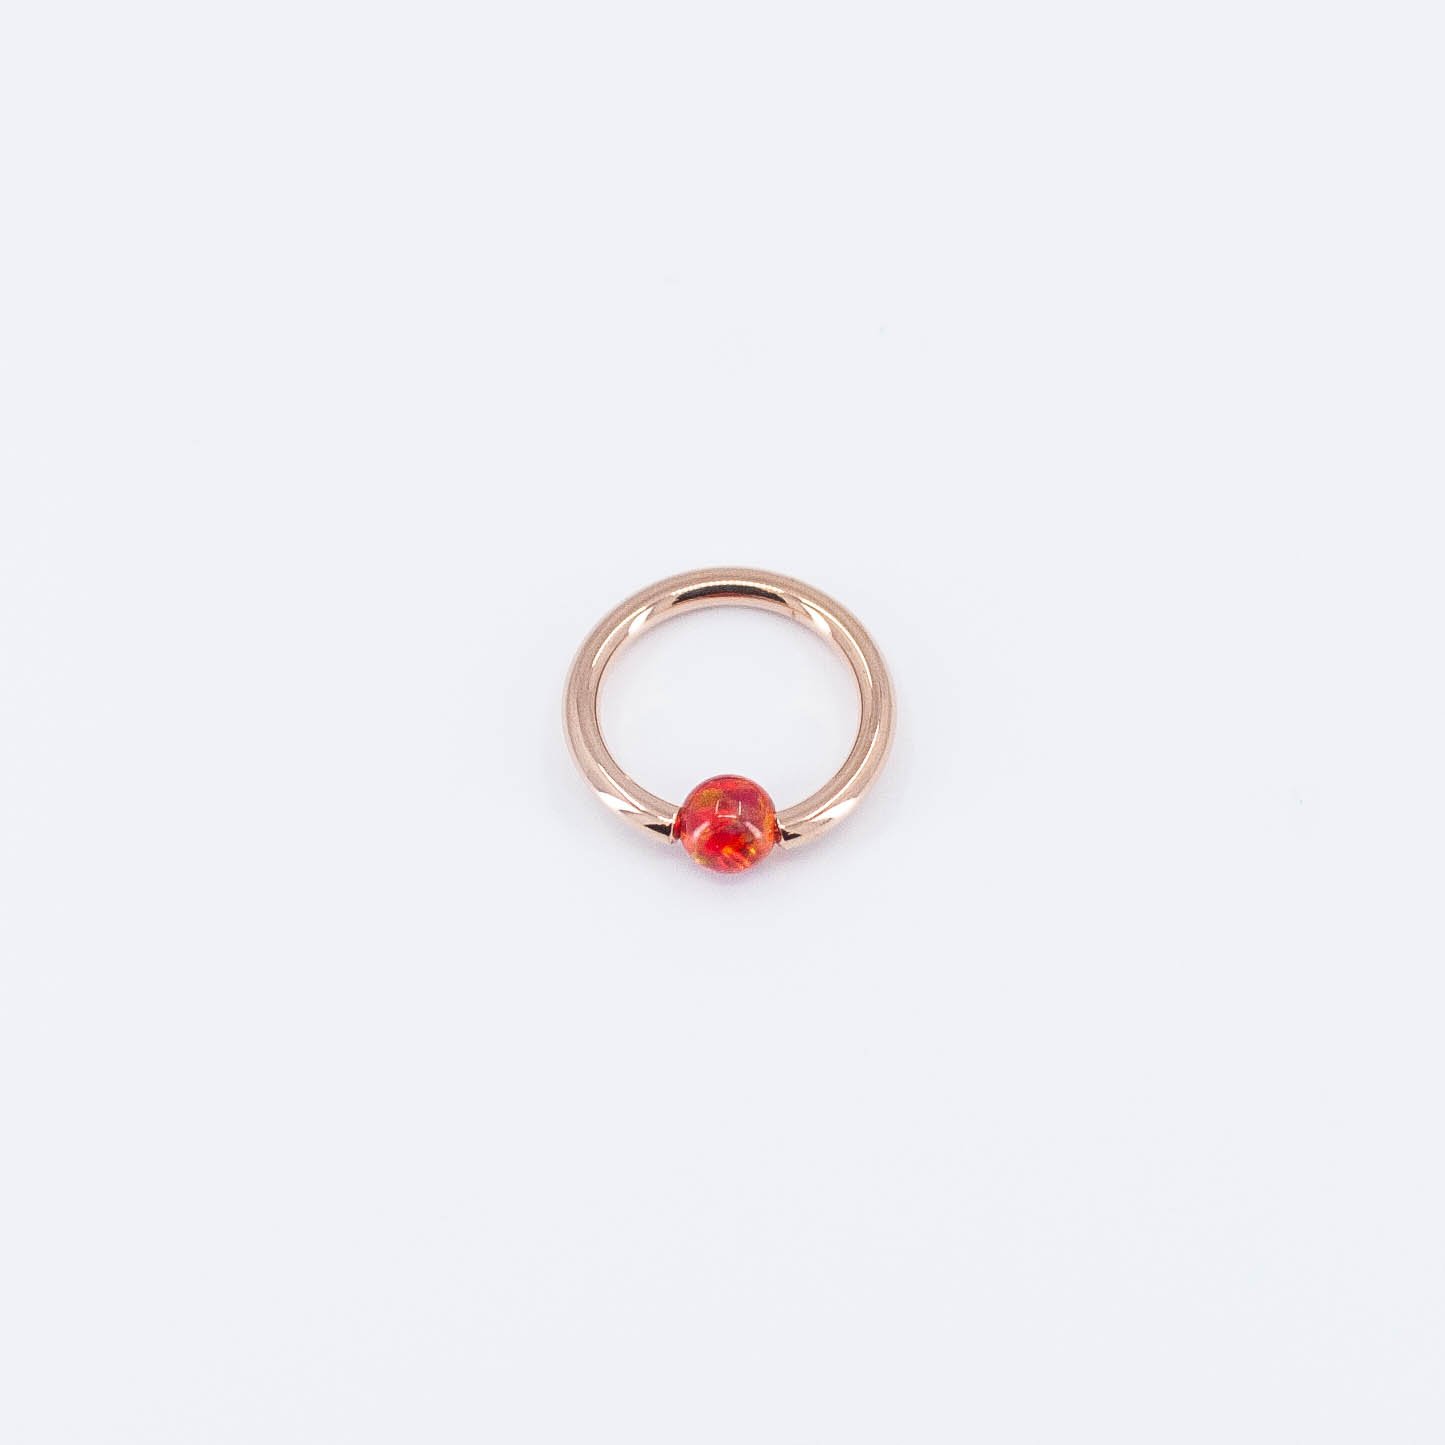
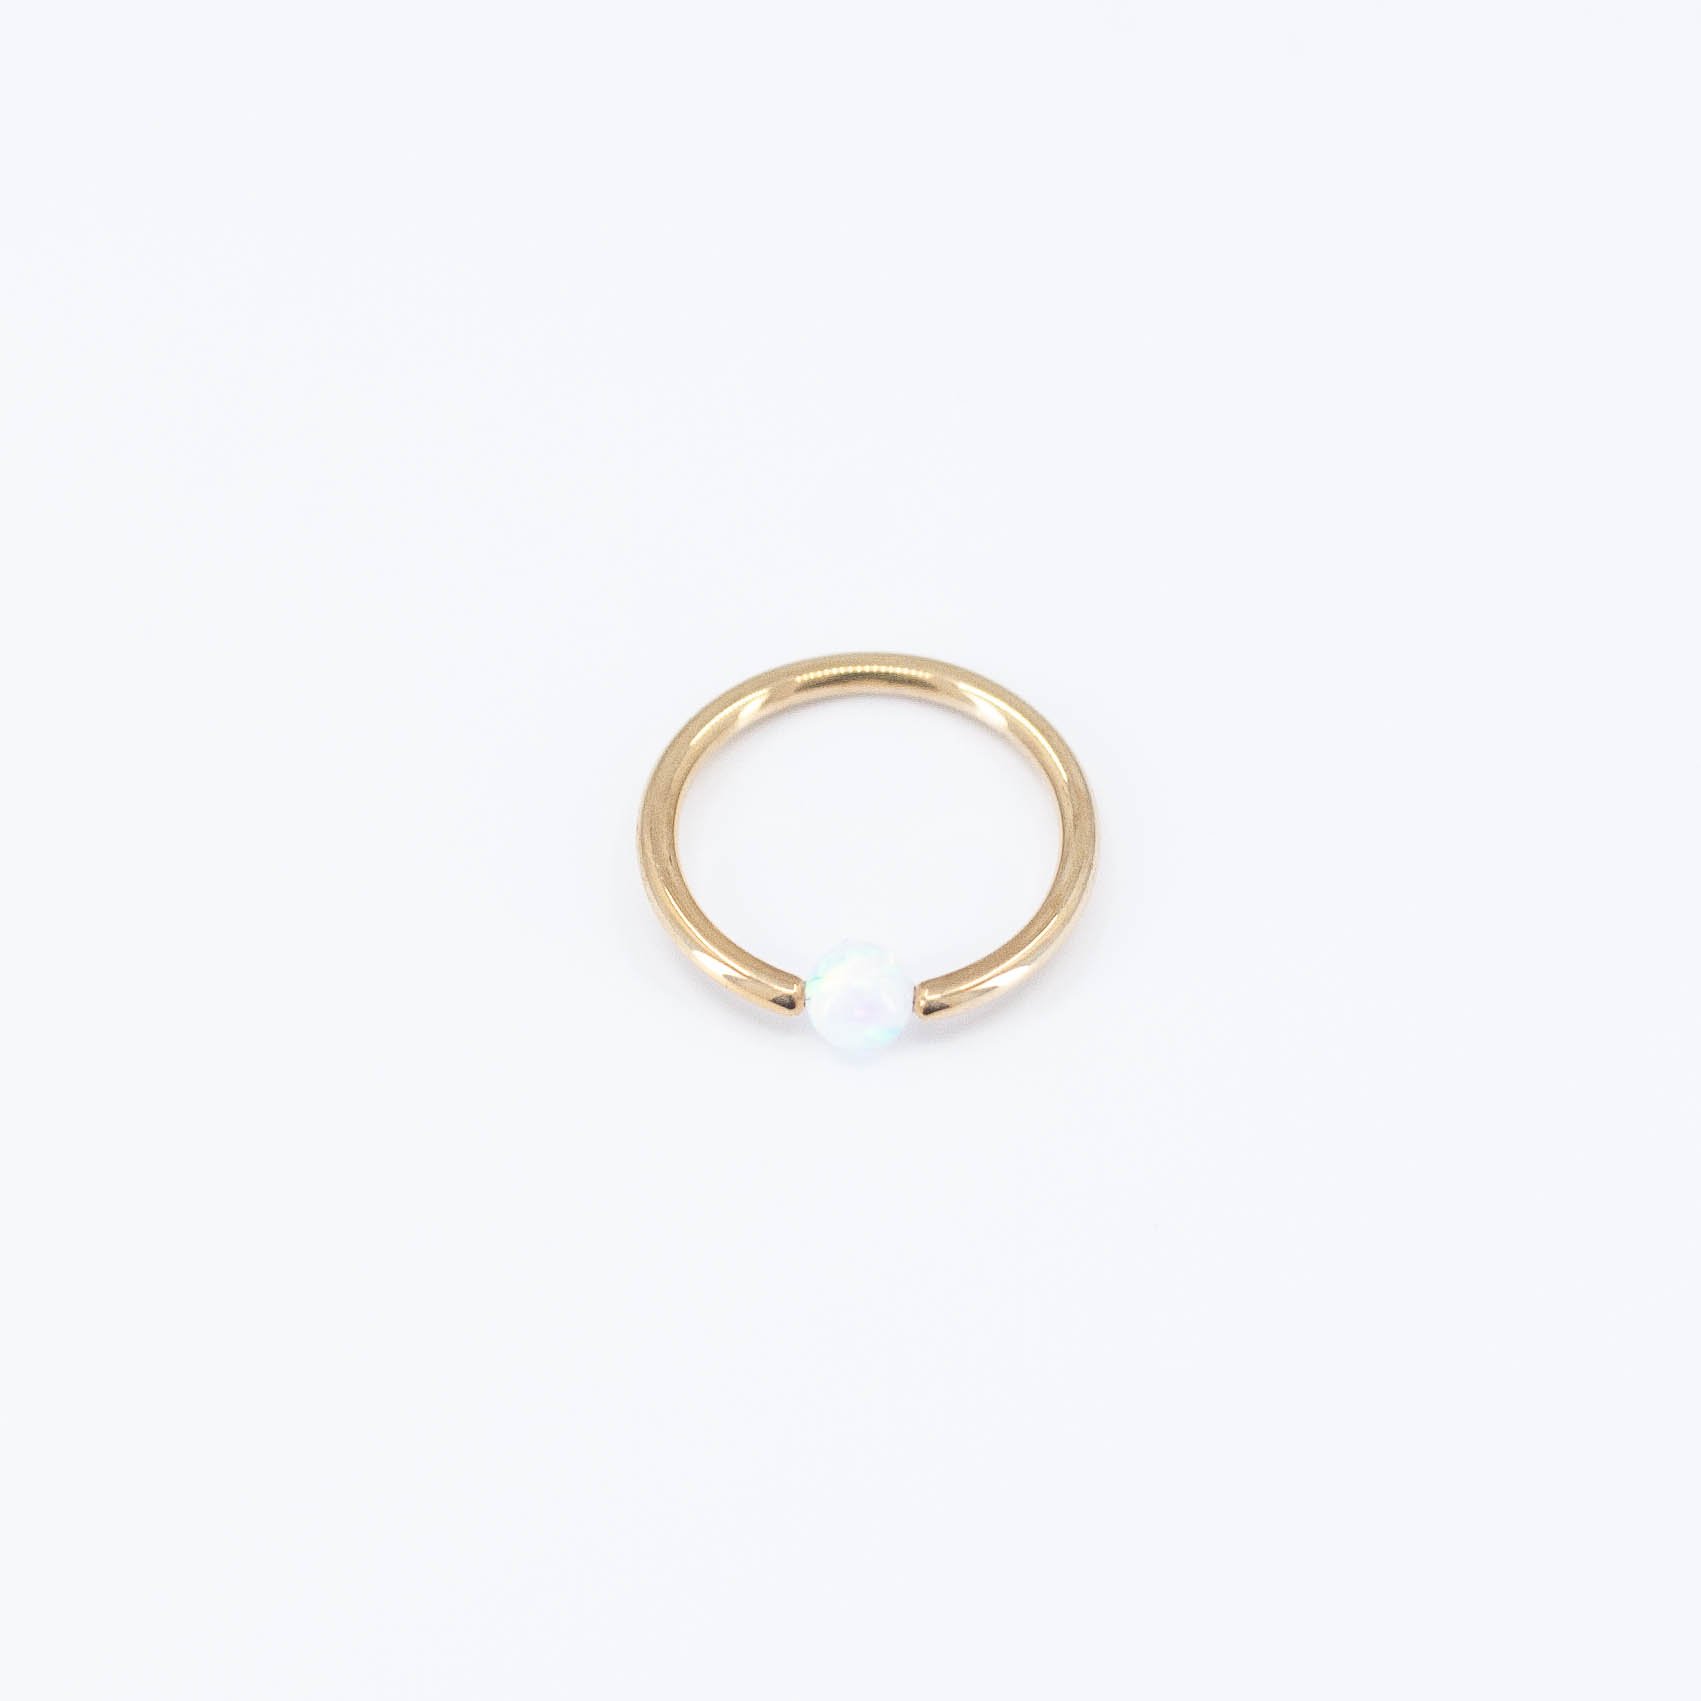
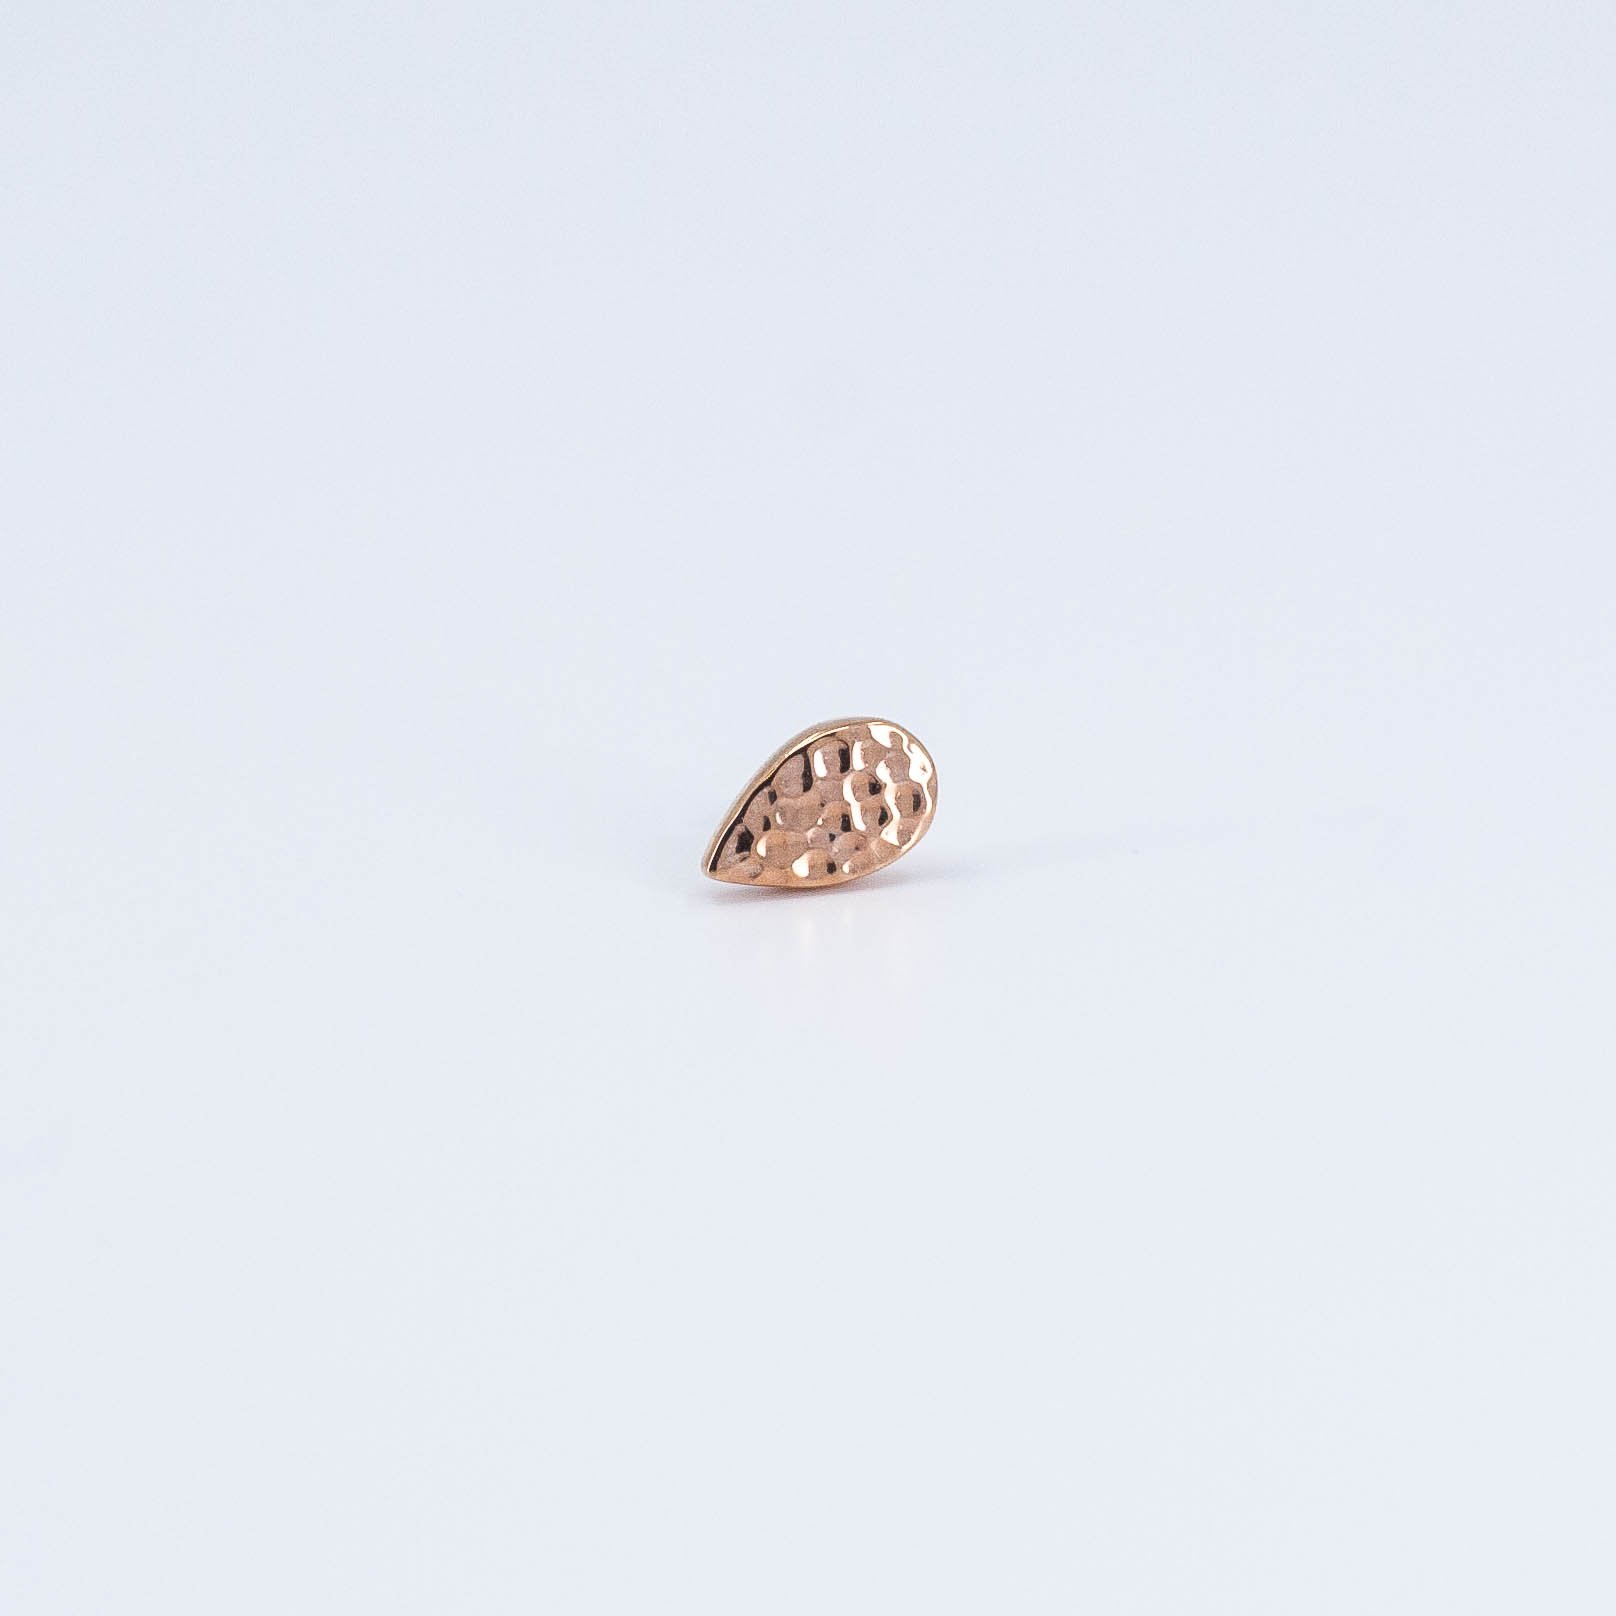
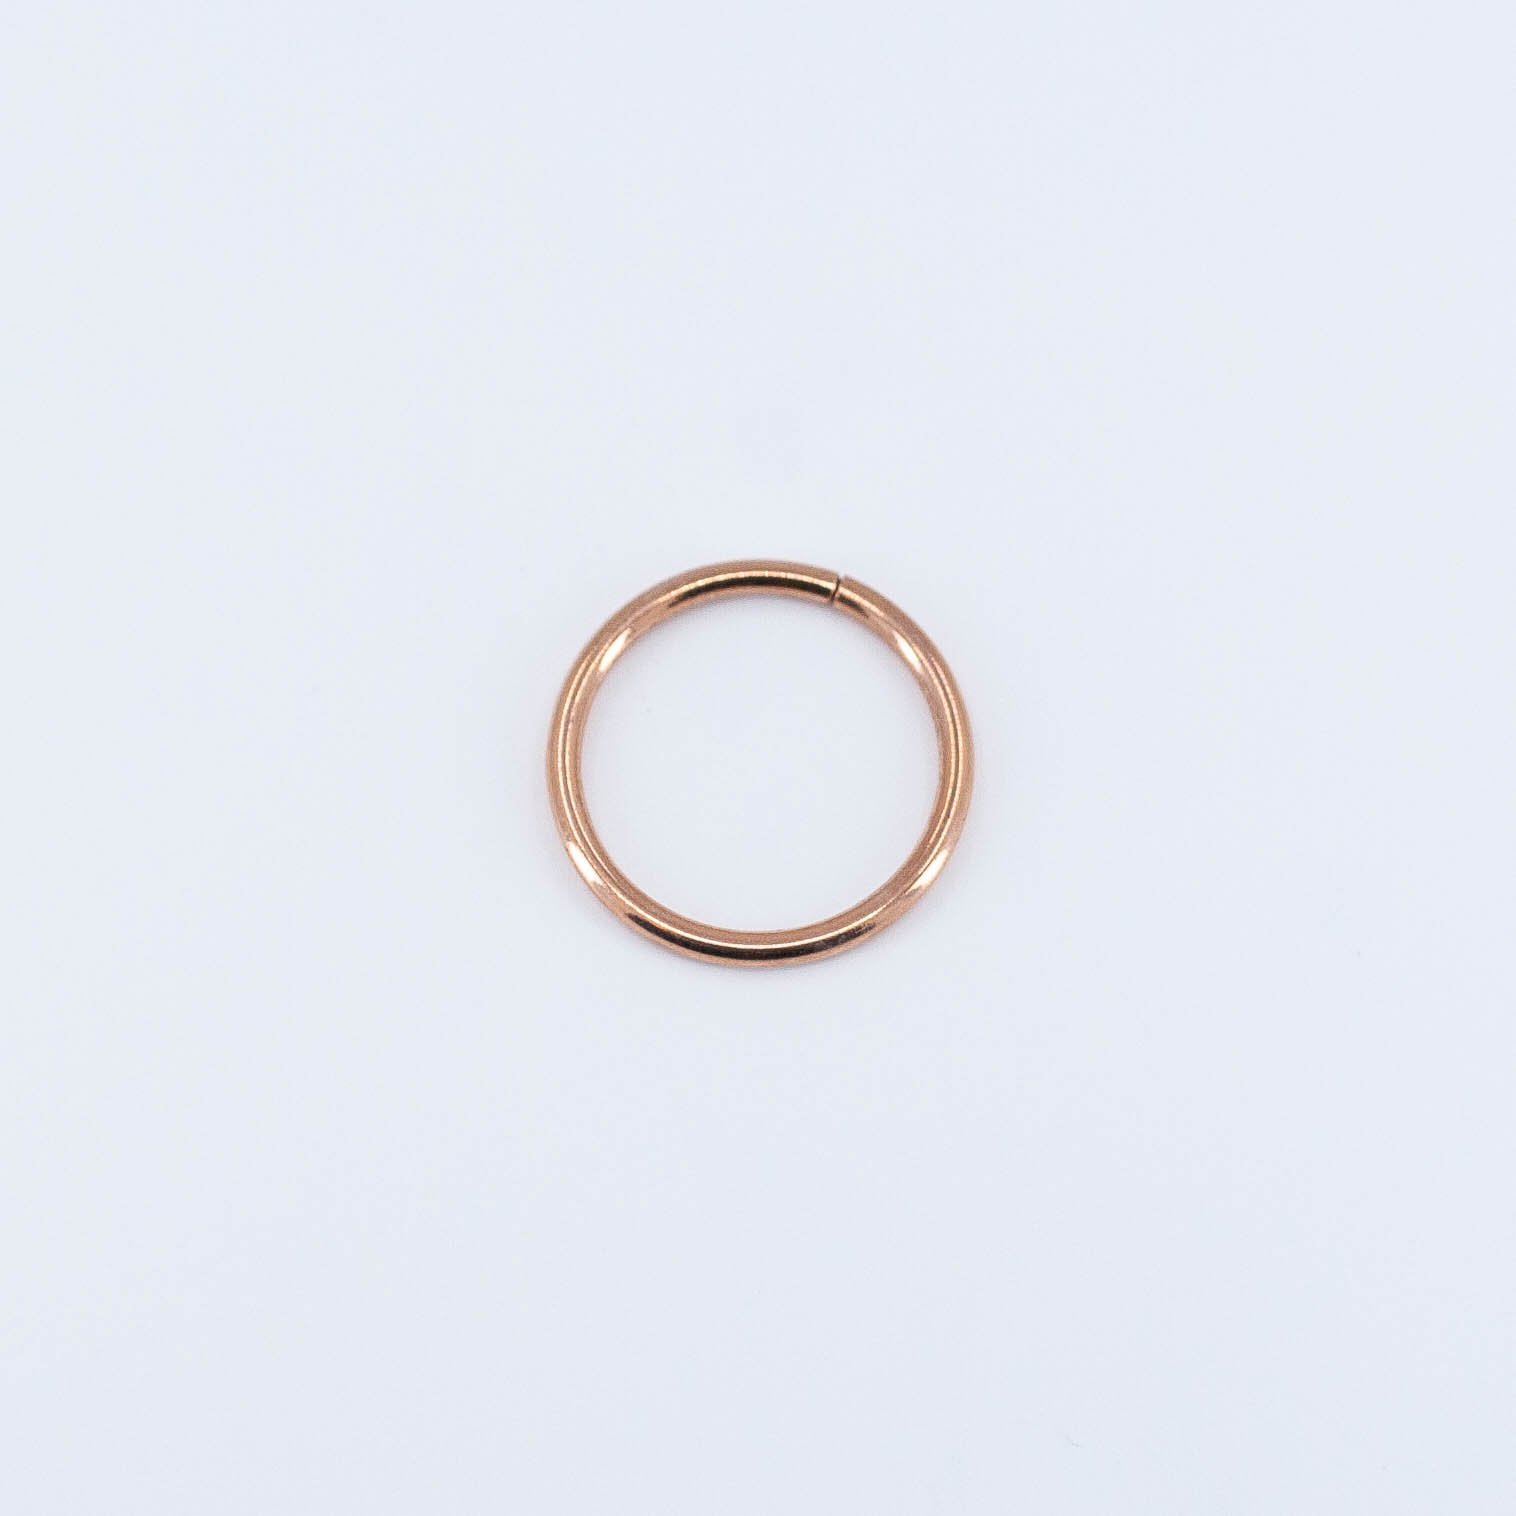
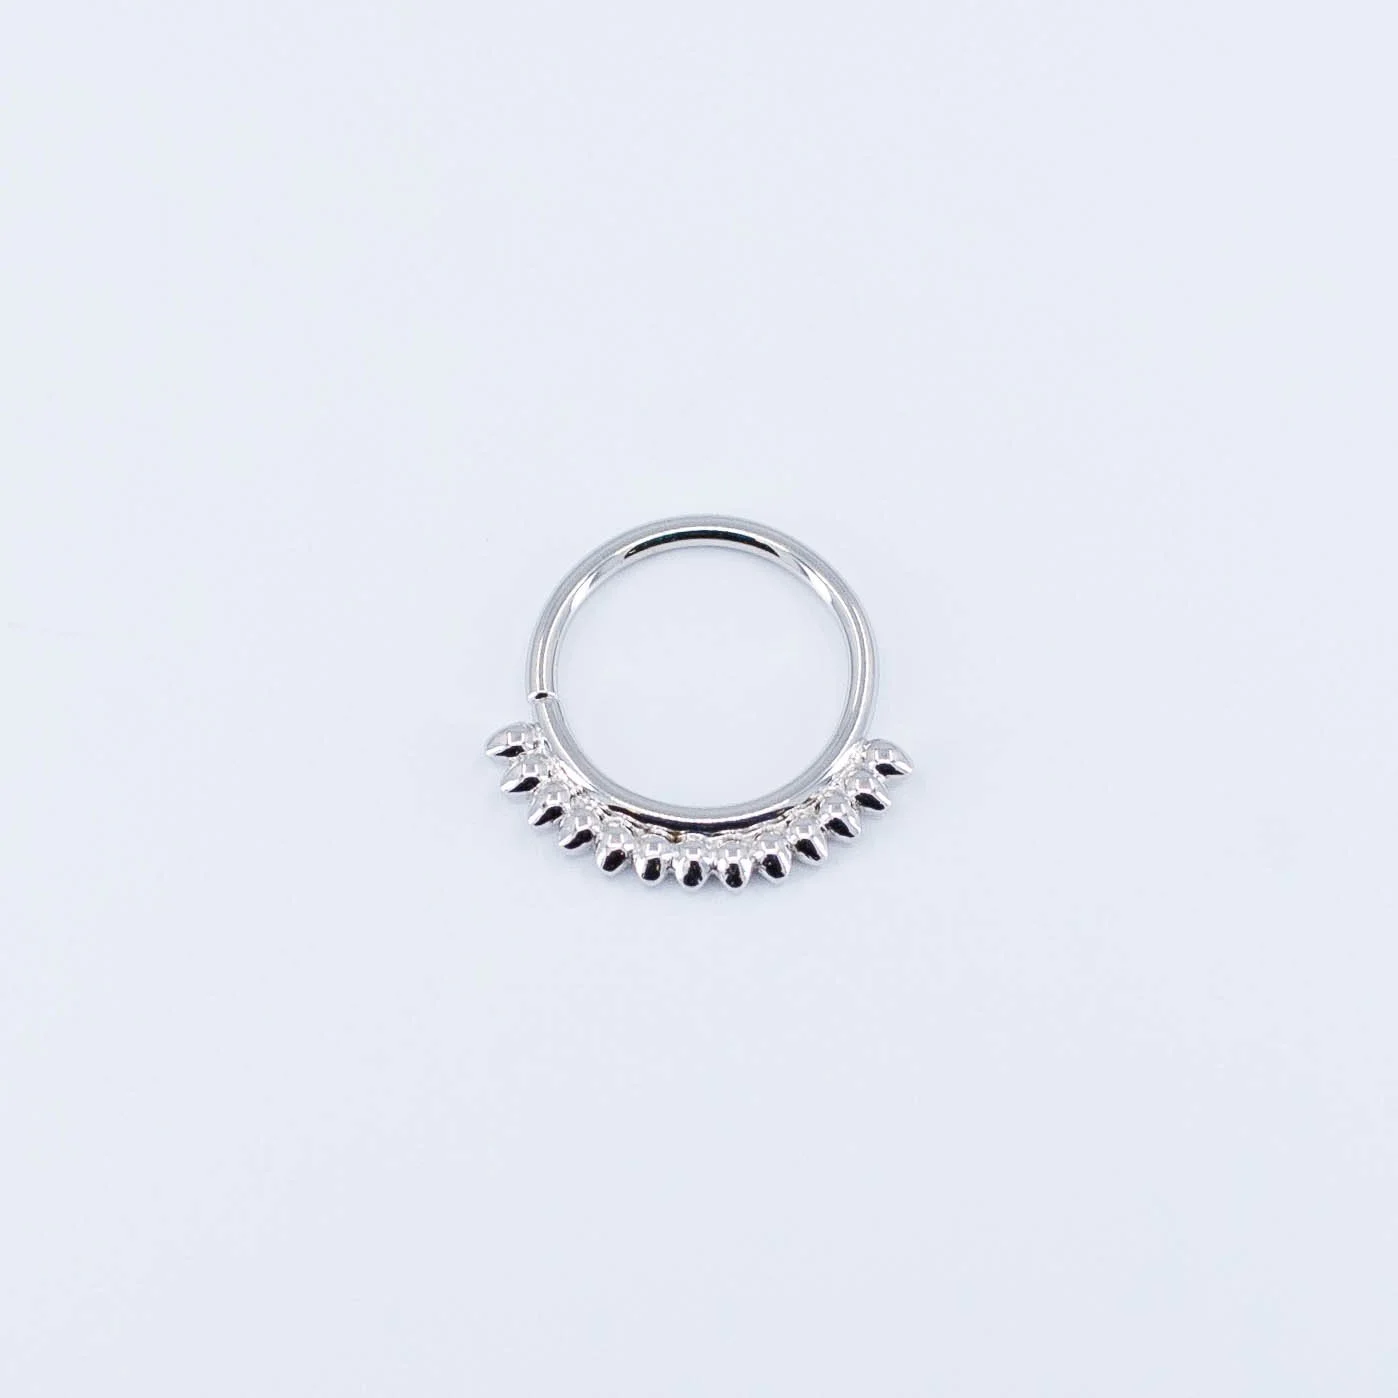
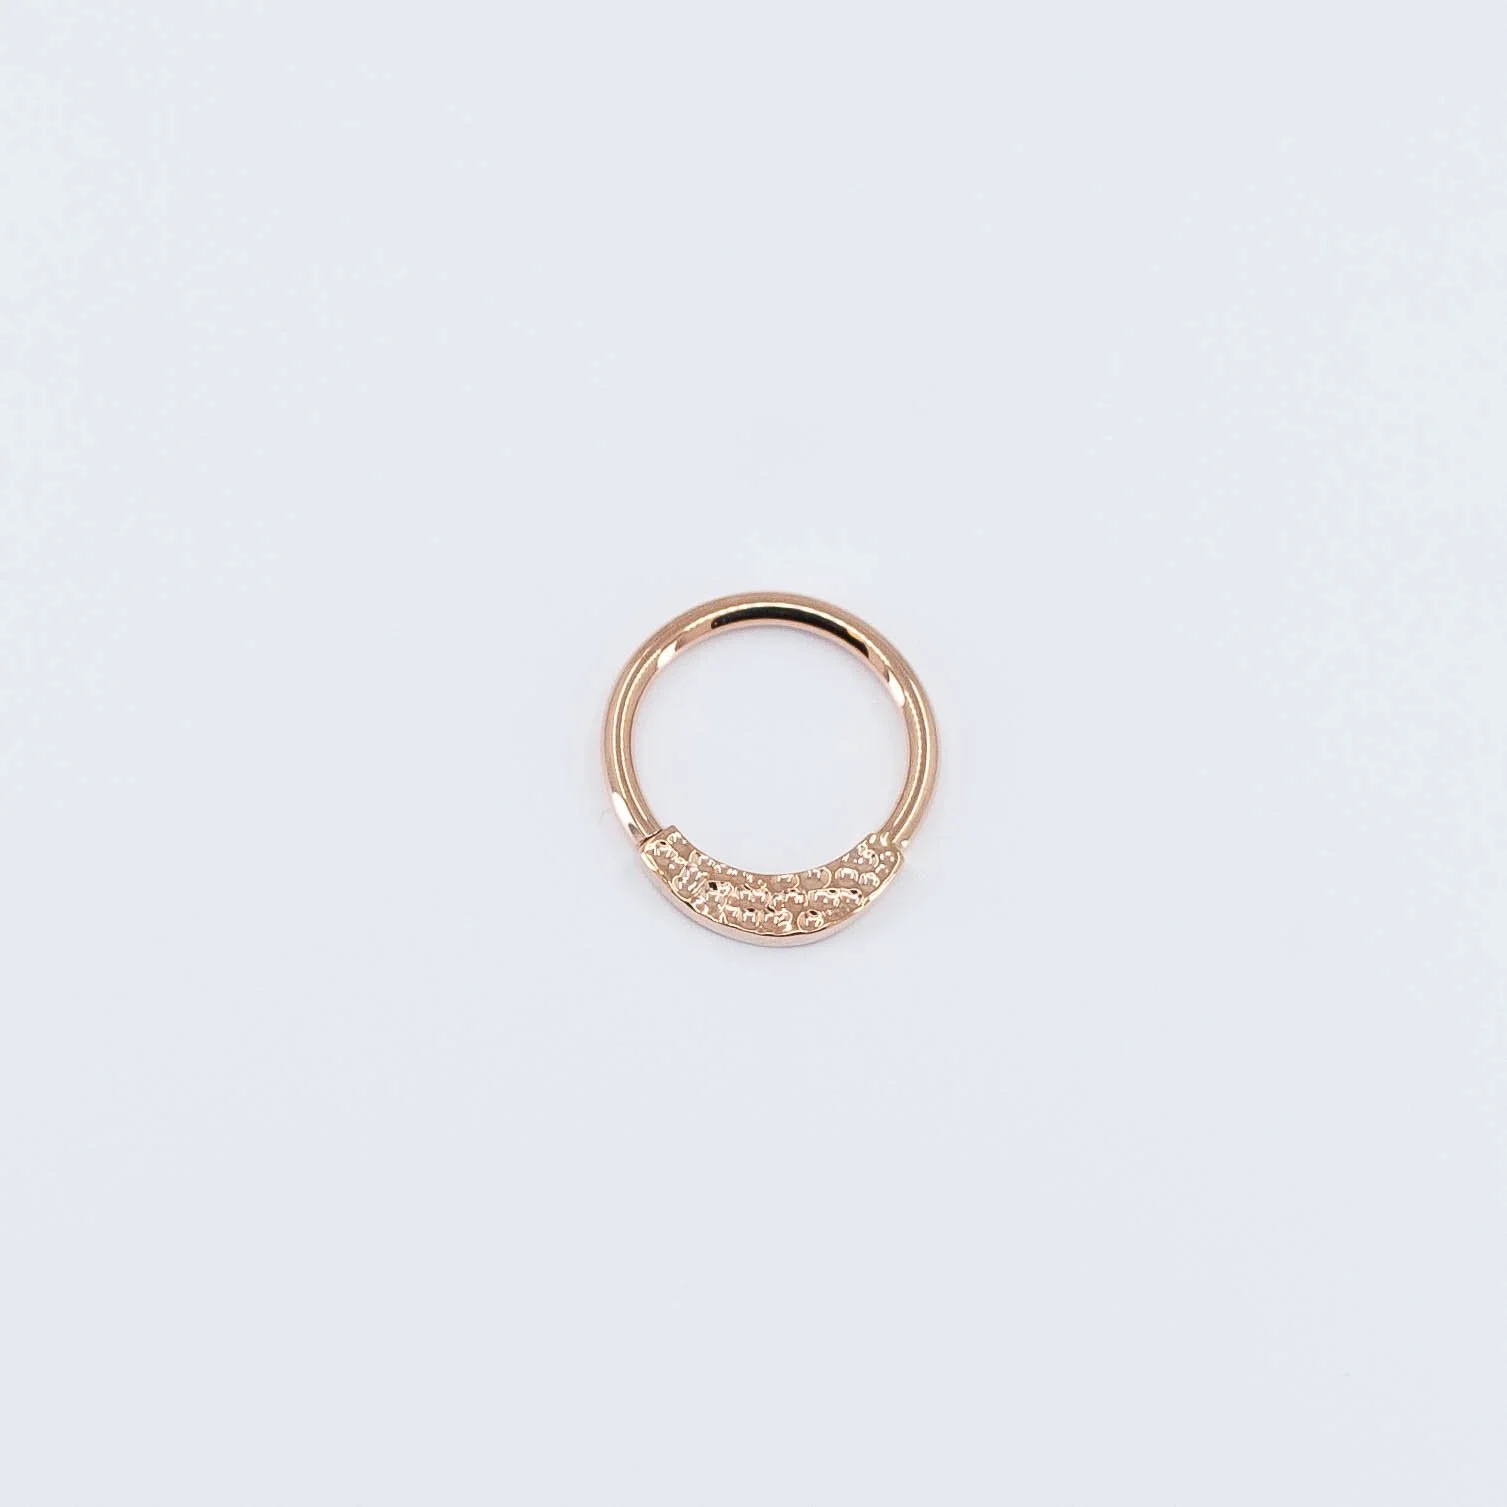
Shop Plugs | Clicker | Chains | Rings | Ends | Hangers & Weights | Coils/Spreaders/Hooks | Gift Certificates | Plugs Clicker Chains Rings Ends Hangers & Weights Coils/Spreaders/Hooks Gift Certificates Stainless Steel & Stone Plug Pair - Boulder Opal - Stainless Steel - 1" - Plug - Reign $950.00 Add To Cart Living Doll - White Sapphire AA - 14k White Gold - 16g - 7/16" - 2mm - Ring - Sleeping Goddess $540.00 Add To Cart Seam Ring w/Prong Diamond - Genuine Diamond - 14k Rose Gold - 16g - 3/8" - 2mm - Ring - LCK Fine Jewelry $500.00 Add To Cart Seam Ring w/Prong Diamond - Genuine Diamond - 14k White Gold - 16g - 3/8" - 2mm - Ring - LCK Fine Jewelry $500.00 Add To Cart Seam Ring Cup and Divot - 14k Yellow Gold - 18g - 1/4" - Ring - Dusk $110.00 Add To Cart Seam Ring - 14k Yellow Gold - 18g - 5/16" - Ring - Cinch $110.00 Add To Cart Seam Ring - 14k White Gold - 18g - 9/32" - Ring - Cinch $110.00 Add To Cart Seam Ring - 14k Yellow Gold - 18g - 11/32" - Ring - Cinch $115.00 Add To Cart Seam Ring - 14k Rose Gold - 18g - 1/4" - Ring - Cinch $110.00 Add To Cart Seam Ring - 14k White Gold - 18g - 1/4" - Ring - Cinch $110.00 Add To Cart Seam Ring - 14k Yellow Gold - 18g - 9/32" - Ring - Cinch $110.00 Add To Cart Seam Ring - 18k Rose Gold - 16g - 1/2" - Ring - Jewelry This Way $220.00 Add To Cart Seam Ring - 18k White Gold - 16g - 1/2" - Ring - Jewelry This Way $220.00 Add To Cart Seam Ring - 18k Yellow Gold - 16g - 1/2" - Ring - Jewelry This Way $220.00 Add To Cart Seam Ring - 18k Rose Gold - 16g - 7/16" - Ring - Jewelry This Way $200.00 Add To Cart Seam Ring - 18k White Gold - 16g - 7/16" - Ring - Jewelry This Way $200.00 Add To Cart Seam Ring - 18k Yellow Gold - 16g - 7/16" - Ring - Jewelry This Way $200.00 Add To Cart Seam Ring - 18k Rose Gold - 18g - 3/8" - Ring - Jewelry This Way $125.00 Add To Cart Seam Ring - 18k WhiteGold - 18g - 9/32" - Ring - Jewelry This Way $110.00 Add To Cart Seam Ring - 18k Rose Gold - 18g - 9/32" - Ring - Jewelry This Way $110.00 Add To Cart Seam Ring - 18k WhiteGold - 18g - 3/8" - Ring - Jewelry This Way $125.00 Add To Cart Seam Ring - 14k Yellow Gold - 18g - 3/8" - Ring - Jewelry This Way $125.00 Add To Cart Seam Ring - 14k Rose Gold - 18g - 5/16" - Ring - Jewelry This Way $110.00 Add To Cart Seam Ring - 14k White Gold - 18g - 5/16" - Ring - Jewelry This Way $110.00 Add To Cart Witches Hat - 18k Rose Gold - 18g/16g - 8x7.5mm - End - Threadless - Anatometal $255.00 Add To Cart Witches Hat - 18k White Gold - 18g/16g - 8x7.5mm - End - Threadless - Anatometal $255.00 Add To Cart Witches Hat - 18k Yellow Gold - 18g/16g - 8x7.5mm - End - Threadless - Anatometal $255.00 Add To Cart Myla - 14k Yellow Gold - 16g - 3/8" - Ring - BVLA $360.00 Add To Cart Feather Seam Ring - 14k Rose Gold - 16g - 7/16" - Ring - BVLA $460.00 Add To Cart Myla - 14k Rose Gold - 16g - 3/8" - Ring - BVLA $415.00 Add To Cart Janus Seam Ring - 14k Rose Gold - 16g - 7/16" - Ring - BVLA $435.00 Add To Cart Feather Seam Ring - 14k Yellow Gold - 16g - 7/16" - Ring - BVLA $415.00 Add To Cart Myla - 14k White Gold - 16g - 7/16" - Ring - BVLA $415.00 Add To Cart Peace Sign Seam Ring - 14k White Gold - 16g - 7/16" - Ring - BVLA $215.00 Add To Cart Graduating Latchmi - VS Diamond - 14k White Gold - 16g - 7/16" - 1.75mm - Ring - BVLA $640.00 Add To Cart Seam Ring with Fixed Flat Triangle - 14k Rose Gold - 16g - 7/16" - 5mm - Ring - BVLA $360.00 Add To Cart Janus Seam Ring - 14k White Gold - 16g - 7/16" - Ring - BVLA $435.00 Add To Cart Hammered Seam Ring - 14k Rose Gold - 16g - 3/8" - Ring - BVLA $295.00 Add To Cart Dione Seam Ring - Faceted Oregon Sunstone - 14k Yellow Gold - 7/16" - 16g - 2.5mm - Ring - BVLA $405.00 Add To Cart Myla - 14k Rose Gold - 16g - 7/16" - Ring - BVLA $435.00 Add To Cart Dione Seam Ring - Swiss Blue Topaz Cab - 14k White Gold - 7/16" - 16g - 2.5mm - Ring - BVLA $410.00 Add To Cart Janna with Hammered Finish - 14k Rose Gold - 16g - 3/8" - Ring - BVLA $415.00 Add To Cart Graduating Latchmi - VS Diamond - 14k Yellow Gold - 16g - 3/8" - 1.75mm - Ring - BVLA $570.00 Add To Cart Barra - White CZ - 14k White Gold - 16g - 5/16" - Ring - BVLA $440.00 Add To Cart Feather Seam Ring - 14k Yellow Gold - 16g - 3/8" - Ring - BVLA $390.00 Add To Cart Violet - London Blue Topaz AA - 14k White Gold - 16g - 5/16" - Ring - BVLA $500.00 Add To Cart Oval Seam Ring - 14k Rose Gold - 20g - 13/32"x9/32" - Ring - BVLA $145.00 Add To Cart Kolo with Tri Bead Accents - 14k Rose Gold - 16g - 5/16" - Ring - BVLA $390.00 Add To Cart Seam Ring with Fixed Baguette - London Blue Topaz - 14k White Gold - 16g - 3/8" - Ring - BVLA $340.00 Add To Cart Feel the Spin - 14k Yellow Gold - 16g - 5/16" - Ring - BVLA $490.00 Add To Cart Feather Seam Ring - 14k Rose Gold - 16g - 3/8" - Ring - BVLA $430.00 Add To Cart Amaro with Filigree - 14k White Gold - 16g - 5/16" - Ring - BVLA $300.00 Add To Cart Azalea - 14k Rose Gold - 16g - 3/8" - Ring - BVLA $435.00 Add To Cart Feel the Spin - 14k Rose Gold - 16g - 5/16" - Ring - BVLA $530.00 Add To Cart Seam Ring with Fixed Flat Triangle - 14k Yellow Gold - 16g - 3/8" - 4mm - Ring - BVLA $300.00 Add To Cart Myla - 14k Yellow Gold - 16g - 7/16" - Ring - BVLA $380.00 Add To Cart Barra - Amethyst AA Rose Cut - 14k White Gold - 16g - 3/8" - Ring - BVLA $450.00 Add To Cart Kolo with Tri Bead Accents - 14k Rose Gold - 16g - 3/8" - Ring - BVLA $455.00 Add To Cart Feel the Spin - 14k White Gold - 16g - 5/16" - Ring - BVLA $520.00 Add To Cart Hammered Seam Ring - 14k White Gold - 16g - 3/8" - Ring - BVLA $275.00 Add To Cart Snake - 14k Rose Gold - 16g - 7/16" - Ring - Body Gems $330.00 Add To Cart Seam Ring - 18k White Gold - 16g - 3/8" - Ring - Anatometal $205.00 Add To Cart Seam Ring - 18k White Gold - 16g - 1/4" - Ring - Anatometal $175.00 Add To Cart Seam Ring - 18k Rose Gold - 16g - 1/4" - Ring - Anatometal $175.00 Add To Cart Seam Ring - 18k Rose Gold - 16g - 3/8" - Ring - Anatometal $205.00 Add To Cart Seam Ring - 18k Yellow Gold - 16g - 1/4" - Ring - Anatometal $175.00 Add To Cart Seam Ring - 18k Yellow Gold - 16g - 3/8" - Ring - Anatometal $205.00 Add To Cart Seam Ring - 18k Rose Gold - 16g - 5/16" - Ring - Anatometal $195.00 Add To Cart Seam Ring - 18k White Gold - 16g - 5/16" - Ring - Anatometal $195.00 Add To Cart Side Set Transition Ring - White CZ - 18k White Gold - 18g - 3/8" - Ring - Anatometal $285.00 Add To Cart Side Set Transition Ring - White CZ - 18k Rose Gold - 18g - 3/8" - Ring - Anatometal $285.00 Add To Cart Fixed Puffy Heart Seam Ring - 18k Rose Gold - 16g - 3/8" - Ring - Anatometal $340.00 Add To Cart Seam Ring 232 - Amber Yellow CZ, Brown CZ - 18k Yellow Gold - 16g - 7/16" - Ring - Anatometal $300.00 Add To Cart Side Set Transition Ring - White CZ - 18k Yellow Gold - 18g - 5/16" - Ring - Anatometal $225.00 Add To Cart Side Set Gemmed Seam Ring - White CZ - 18k White Gold - 16g - 3/8" - Ring - Anatometal $300.00 sold out Add To Cart Charlotte - Arctic Blue CZ - 18k Yellow Gold - 18g/16g - 12x5mm - End - Threadless - Anatometal $220.00 Add To Cart Charlotte - Aurora CZ - 18k White Gold - 18g/16g - 12x5mm - End - Threadless - Anatometal $220.00 Add To Cart Emma - Lilac CZ - 18k White Gold - 18g/16g - 12x6mm - End - Threadless - Anatometal $240.00 Add To Cart Emma - Pistachio CZ - 18k Rose Gold - 18g/16g - 12x6mm - End - Threadless - Anatometal $240.00 Add To Cart Olivia - Salmon Pink CZ - 18k White Gold - 18g/16g - 10x5mm - End - Threadless - Anatometal $200.00 Add To Cart Olivia - Light Blue CZ - 18k Rose Gold - 18g/16g - 10x5mm - End - Threadless - Anatometal $200.00 Add To Cart 3 Gem Marquise Fan with Bead Accents - Sapphire, White CZ - 18k Yellow Gold - 18g/16g - 8x5.5mm - End - Threadless - Anatometal $220.00 Add To Cart Seam Ring 223 - Aurora Borealis CZ, Blue Zirconia CZ - 18k Rose Gold - 16g - 7/16" - Ring - Anatometal $475.00 Add To Cart Seam Ring 222 - White CZ - 18k Rose Gold - 16g - 3/8" - Ring - Anatometal $310.00 Add To Cart Side Set Gemmed Seam Ring - White CZ - 18k Rose Gold - 16g - 3/8" - Ring - Anatometal $300.00 Add To Cart Side Set Seam Ring - White CZ - 18k Yellow Gold - 16g - 5/16" - Ring - Anatometal $270.00 sold out Add To Cart Side Set Transition Ring - White CZ - 18k Yellow Gold - 18g - 3/8" - Ring - Anatometal $285.00 Add To Cart Side Set Transition Ring - White CZ - 18k Rose Gold - 18g - 5/16" - Ring - Anatometal $225.00 Add To Cart Transition Ring - White CZ - 18k White Gold - 16g - 1.5mm - 3/8" - Ring - Anatometal $390.00 Add To Cart Transition Ring - White CZ - 18k Rose Gold - 16g - 1.5mm - 3/8" - Ring - Anatometal $390.00 Add To Cart Cascada - White CZ - 14k White Gold - 5/16" - 16g - Ring - BVLA $1,280.00 Add To Cart Transition Ring - White CZ - 18k Yellow Gold - 16g - 3/8" - Ring - Anatometal $390.00 Add To Cart Fixed Puffy Heart Seam Ring - 18k White Gold - 16g - 7/16" - Ring - Anatometal $425.00 Add To Cart Transition Ring - White CZ - 18k White Gold - 18g - 3/8" - Ring - Anatometal $285.00 Add To Cart Side Set Gemmed Seam Ring - White CZ - 18k Rose Gold - 16g - 5/16" - Ring - Anatometal $270.00 Add To Cart Fixed Bead Ring - 14k White Gold - 3/8" - 16g - 1/8" - Ring - BVLA $220.00 Add To Cart Fixed Bead Ring - 14k Rose Gold - 3/8" - 16g - 2mm - Ring - BVLA $210.00 Add To Cart Fixed Bead Ring - 14k Rose Gold - 3/8" - 16g - 3/32" - Ring - BVLA $240.00 Add To Cart Fixed Bead Ring - 14k Rose Gold - 5/16" - 18g - 2mm - Ring - BVLA $160.00 Add To Cart Fixed Bead Ring - 14k Yellow Gold - 3/8" - 18g - 2mm - Ring - BVLA $160.00 Add To Cart Fixed Bead Ring - 14k White Gold - 3/8" - 16g - 3/32" - Ring - BVLA $225.00 Add To Cart Fixed Bead Ring - 14k White Gold - 5/16" - 18g - 2mm - Ring - BVLA $160.00 Add To Cart Fixed Bead Ring - 14k White Gold - 3/8" - 18g - 2mm - Ring - BVLA $160.00 Add To Cart Fixed Bead Ring - 14k Rose Gold - 3/8" - 18g - 2mm - Ring - BVLA $160.00 Add To Cart Fixed Bead Ring - 14k Yellow Gold - 3/8" - 16g - 3/32" - Ring - BVLA $215.00 Add To Cart Fixed Bead Ring - 14k Rose Gold - 5/16" - 16g - 3/32" - Ring - BVLA $200.00 Add To Cart Fixed Bead Ring - 14k Yellow Gold - 5/16" - 18g - 2mm - Ring - BVLA $150.00 Add To Cart Fixed Bead Ring - 14k Yellow Gold - 5/16" - 16g - 3/32" - Ring - BVLA $200.00 Add To Cart Fixed Bead Ring - 14k Rose Gold - 7/16" - 16g - 3/32" - Ring - BVLA $200.00 Add To Cart Fixed Bead Ring - 14k Yellow Gold - 5/16" - 16g - 2mm - Ring - BVLA $200.00 Add To Cart Fixed Bead Ring - 14k White Gold - 3/8" - 16g - 2mm - Ring - BVLA $210.00 Add To Cart Fixed Bead Ring - 14k White Gold - 5/16" - 16g - 3/32" - Ring - BVLA $200.00 Add To Cart Fixed Bead Ring - 14k White Gold - 7/16" - 16g - 3/32" - Ring - BVLA $200.00 Add To Cart Fixed Bead Ring - 14k Yellow Gold - 7/16" - 16g - 3/32" - Ring - BVLA $200.00 Add To Cart Fixed Bead Ring - 14k White Gold - 5/16" - 16g - 2mm - Ring - BVLA $200.00 Add To Cart Fixed Bead Ring Navel Set - White CZ - 18k Yellow Gold - 18g - 5/16" - Ring - Anatometal $210.00 Add To Cart Fixed Bead Ring Navel Set - White CZ - 18k White Gold - 18g - 5/16" - Ring - Anatometal $210.00 Add To Cart Beaded Clicker - 14k White Gold - 1/2" - 16g - Clicker - Junipurr $420.00 Add To Cart Beaded Clicker - 14k Rose Gold - 7/16" - 16g - Clicker - Junipurr $400.00 Add To Cart Beaded Clicker - 14k Yellow Gold - 3/8" - 16g - Clicker - Junipurr $375.00 Add To Cart Beaded Clicker - 14k White Gold - 5/16" - 16g - Clicker - Junipurr $350.00 Add To Cart Captive Bead Ring - Synthetic White Opal - 14k White Gold - 5/16" - 18g - Ring - Body Gems $110.00 Add To Cart Captive Bead Ring - Synthetic White Opal - 14k White Gold - 5/16" - 16g - Ring - Body Gems $165.00 Add To Cart Captive Bead Ring - Synthetic Red Opal - 14k Rose Gold - 5/16" - 16g - Ring - Body Gems $165.00 Add To Cart Captive Bead Ring - Synthetic White Opal - 14k Yellow Gold - 3/8" - 16g - Ring - Body Gems $185.00 Add To Cart Captive Bead Ring - Genuine Opal - 14k Rose Gold - 7/16" - 16g - Ring - Body Gems $195.00 Add To Cart Captive Bead Ring - Synthetic White Opal - 14k Yellow Gold - 7/16" - 16g - Ring - Body Gems $195.00 Add To Cart Captive Bead Ring - Black Onyx - 14k White Gold - 3/8" - 16g - Ring - Body Gems $185.00 Add To Cart Captive Bead Ring - Synthetic White Opal - 14k Rose Gold - 5/16" - 18g - Ring - Body Gems $110.00 Add To Cart Captive Bead Ring - Synthetic White Opal - 14k Yellow Gold - 5/16" - 18g - Ring - Body Gems $110.00 Add To Cart Captive Bead Ring - Synthetic White Opal - 14k Yellow Gold - 3/8" - 18g - Ring - Body Gems $120.00 Add To Cart Captive Bead Ring - Synthetic White Opal - 14k Rose Gold - 3/8" - 18g - Ring - Body Gems $120.00 Add To Cart Captive Bead Ring - Black Onyx - 14k White Gold - 3/8" - 18g - Ring - Body Gems $120.00 Add To Cart Captive Bead Ring - Synthetic White Opal - 14k White Gold - 7/16" - 16g - Ring - Body Gems $195.00 Add To Cart Clicker Seam - 14k Yellow Gold - 5/16" - 16g - Clicker - Maria Tash $195.00 Add To Cart Clicker Seam - 14k Yellow Gold - 3/8" - 16g - Clicker - Maria Tash $195.00 Add To Cart Clicker Seam - 14k White Gold - 3/8" - 16g - Clicker - Maria Tash $195.00 Add To Cart Clicker Seam - 14k Rose Gold - 1/4" - 16g - Clicker - Maria Tash $195.00 Add To Cart Clicker Seam - 14k Rose Gold - 3/8" - 16g - Clicker - Maria Tash $195.00 Add To Cart Clicker Seam - 14k Yellow Gold - 1/4" - 16g - Clicker - Maria Tash $185.00 Add To Cart Clicker Seam - 14k White Gold - 1/4" - 16g - Clicker - Maria Tash $185.00 Add To Cart Clicker Seam - 14k Rose Gold - 1/4" - 18g - Clicker - Maria Tash $145.00 Add To Cart Clicker Seam - 14k White Gold - 1/4" - 18g - Clicker - Maria Tash $145.00 Add To Cart Clicker Seam - 14k Yellow Gold - 1/4" - 18g - Clicker - Maria Tash $145.00 Add To Cart Clicker Seam - 14k Rose Gold - 3/8" - 18g - Clicker - Maria Tash $165.00 Add To Cart Clicker Seam - 14k White Gold - 3/8" - 18g - Clicker - Maria Tash $165.00 Add To Cart Clicker Seam - 14k Yellow Gold - 3/8" - 18g - Clicker - Maria Tash $165.00 Add To Cart Clicker Seam - 14k Rose Gold - 5/16" - 18g - Clicker - Maria Tash $155.00 Add To Cart Clicker Seam - 14k White Gold - 5/16" - 18g - Clicker - Maria Tash $155.00 Add To Cart Eternity Clicker - White CZ - 14k Yellow Gold - 3/8" - 16g - Clicker - Maria Tash $385.00 Add To Cart Eternity Clicker - White CZ - 14k Rose Gold - 5/16" - 16g - Clicker - Maria Tash $360.00 sold out Add To Cart Eternity Clicker - White CZ - 14k Yellow Gold - 5/16" - 16g - Clicker - Maria Tash $360.00 Add To Cart Violet - Grey Sapphire AA DC - 14k Rose Gold - 3/8" - 16g - Ring - BVLA $1,120.00 Add To Cart Tension Ring - Yellow CZ - 14k Rose Gold - 7/16" - 16g - Ring - BVLA $180.00 Add To Cart Aster 05 - 14k White Gold - 18g/16g - 7mm - End - Threadless - Tether $220.00 Add To Cart Aster 04 - 14k Rose Gold - 18g/16g - 5mm - End - Threadless - Tether $180.00 Add To Cart Gamma 02 - 14k White Gold - 18g/16g - 8x3mm - End - Threadless - Tether $160.00 Add To Cart Beta 11 - 14k Yellow Gold - 18g/16g - 5x4mm - End - Threadless - Tether $140.00 Add To Cart Alpha 03 - 14k White Gold - 18g/16g - 4mm - End - Threadless - Tether $135.00 Add To Cart Moon & Bezel - Aurora Borealis CZ - 18k Rose Gold - 18g/16g - 6x5mm - End - Threadless - Anatometal $160.00 Add To Cart Orsa - Blue Zircon AA, White Sapphire AA - 14k White Gold - 18g/16g - 3.5mm - End - Threadless - Sleeping Goddess $315.00 Add To Cart Triplet - Canary Yellow Sapphire - 14k White Gold - 18g/16g - 5mm - End - Threadless - Scylla $150.00 Add To Cart Double Pear Milgrain - Genuine Diamond - 14k White Gold - 18g/16g - 6x4.5mm - End - Threadless - Scylla $320.00 Add To Cart Gita 9 Bead Diamond - 14k Yellow Gold - 18g/16g - 5x3.5mm - End - Threadless - Quetzalli $165.00 Add To Cart Bella Square Large 9 Bead Square - 14k Yellow Gold - 18g/16g - 3.5mm - End - Threadless - Quetzalli $140.00 Add To Cart Square Bali - White CZ - 14k White Gold - 18g/16g - 5.5mm - End - Threadless - Neo Metal $90.00 Add To Cart Moldavite - 14k White Gold - 18g/16g - 3mm - End - Threadless - Maya Organics $90.00 Add To Cart Spider - 14k Yellow Gold - 18g/16g - 6.5x6mm - End - Threadless - Leroi $105.00 Add To Cart Daphne - White CZ - 14k White Gold - 18g/16g - 13x3mm - End - Threadless - Junipurr $235.00 Add To Cart Prong - White CZ - 14k Yellow Gold - 18g/16g - 4.5mm - End - Threadless - Junipurr $115.00 Add To Cart Round Cab Prong - Rainbow Moonstone - 14k Yellow Gold - 18g/16g - 3.5mm - End - Threadless - BVLA $195.00 Add To Cart Hammered Pentagram - Black CZ - 14k Yellow Gold - 18g/16g - 6mm - End - Threadless - BVLA $260.00 Add To Cart Round Cup Bezel - Iolite Cab - 14k White Gold - 18g/16g - 4mm - End - Threadless - BVLA $180.00 Add To Cart Rectangle Illusion - Black CZ - 14k Rose Gold - 18g/16g - 3x2.5mm - End - Threadless - BVLA $190.00 Add To Cart Pineapple - 14k Rose Gold - 18g/16g -7x3mm - End - Threadless - BVLA $225.00 Add To Cart Round Cup Bezel - Iolite Cab - 14k White Gold - 18g/16g - 5mm - End - Threadless - BVLA $210.00 Add To Cart Round Cup Bezel - Smokey Quartz Cab - 14k Rose Gold - 18g/16g - 5mm - End - Threadless - BVLA $190.00 Add To Cart Arrow - 14k White Gold - 18g/16g - 8.5x2mm - End - Threadless - BVLA $180.00 Add To Cart Tri Bead Arc - 14k Rose Gold - 18g/16g - 3.5x2mm - End - Threadless - BVLA $160.00 Add To Cart Pi - 14k Yellow Gold - 18g/16g - 4x4mm - End - Threadless - BVLA $210.00 Add To Cart Timka Trillion Prong w/ Bead Accents - Peach Topaz - 14k White Gold - 18g/16g - 5.5x4mm - End - Threadless - BVLA $265.00 Add To Cart Flat Hammered Tear Drop - 14k Rose Gold - 18g/16g - 5x3mm - End - Threadless - BVLA $205.00 Add To Cart Triplet - White Opal - 14k Rose Gold - 18g/16g - 4.5mm - End - Threadless - Body Gems $135.00 Add To Cart OM - 14k Rose Gold - 18g/16g - 6mm - End - Threadless - Body Gems $195.00 Add To Cart OM - 14k Yellow Gold - 18g/16g - 6mm - End - Threadless - Body Gems $195.00 Add To Cart OM - 14k White Gold - 18g/16g - 6mm - End - Threadless - Body Gems $195.00 Add To Cart Pyrro 1 - Labradorite - 18k Yellow Gold - 18g/16g - 5.5x4mm - End - Threadless - Auris $180.00 Add To Cart Madalin - White Opal - 18k Rose Gold - 18g/16g - 9.5x3.5mm - End - Threadless - Auris $270.00 Add To Cart Medium Leaf Cab - White Opal - 18k Rose Gold - 18g/16g - 5x3mm - End - Threadless - Auris $165.00 Add To Cart Centaura - White CZ - 18k Rose Gold - 18g/16g - 7x3mm - End - Threadless - Auris $255.00 Add To Cart Marquise Prong - Arctic Blue CZ - 18k Yellow Gold - 18g/16g - 4.5x2.5mm - End - Threadless - Anatometal $90.00 Add To Cart Trio - Amethyst - 18k White Gold - 18g/16g - 3.5mm - End - Threadless - Anatometal $130.00 Add To Cart Tapered Baguette Fan - Pink Salmon CZ - 18k Rose Gold - 18g/16g - 8x5mm - End - Threadless - Anatometal $215.00 Add To Cart Virtue - Pistachio CZ - 18k Yellow Gold - 18g/16g - 5mm - End - Threadless - Anatometal $115.00 Add To Cart Zia - Genuine Lapis Cab - 18k White Gold - 18g/16g - 4mm - End - Threadless - Anatometal $105.00 Add To Cart Lindsey - Genuine Brandy Wine Topaz - 18k Yellow Gold - 18g/16g - 4.5x3mm - End - Threadless - Anatometal $175.00 Add To Cart Marquise Prong - Amethyst CZ - 18k White Gold - 18g/16g - 4.5x2.5mm - End - Threadless - Anatometal $90.00 Add To Cart Miro - White CZ, Sapphire CZ - 18k Yellow Gold - 18g/16g - 6.5mm - End - Threadless - Anatometal $275.00 Add To Cart Ducky - 18k Yellow Gold - 18g/16g - 4.5x4mm - End - Threadless - Anatometal $120.00 Add To Cart Tapered Baguette - White CZ - 18k Yellow Gold - 18g/16g - 4.5x2.5mm - End - Threadless - Anatometal $100.00 Add To Cart Previous Next