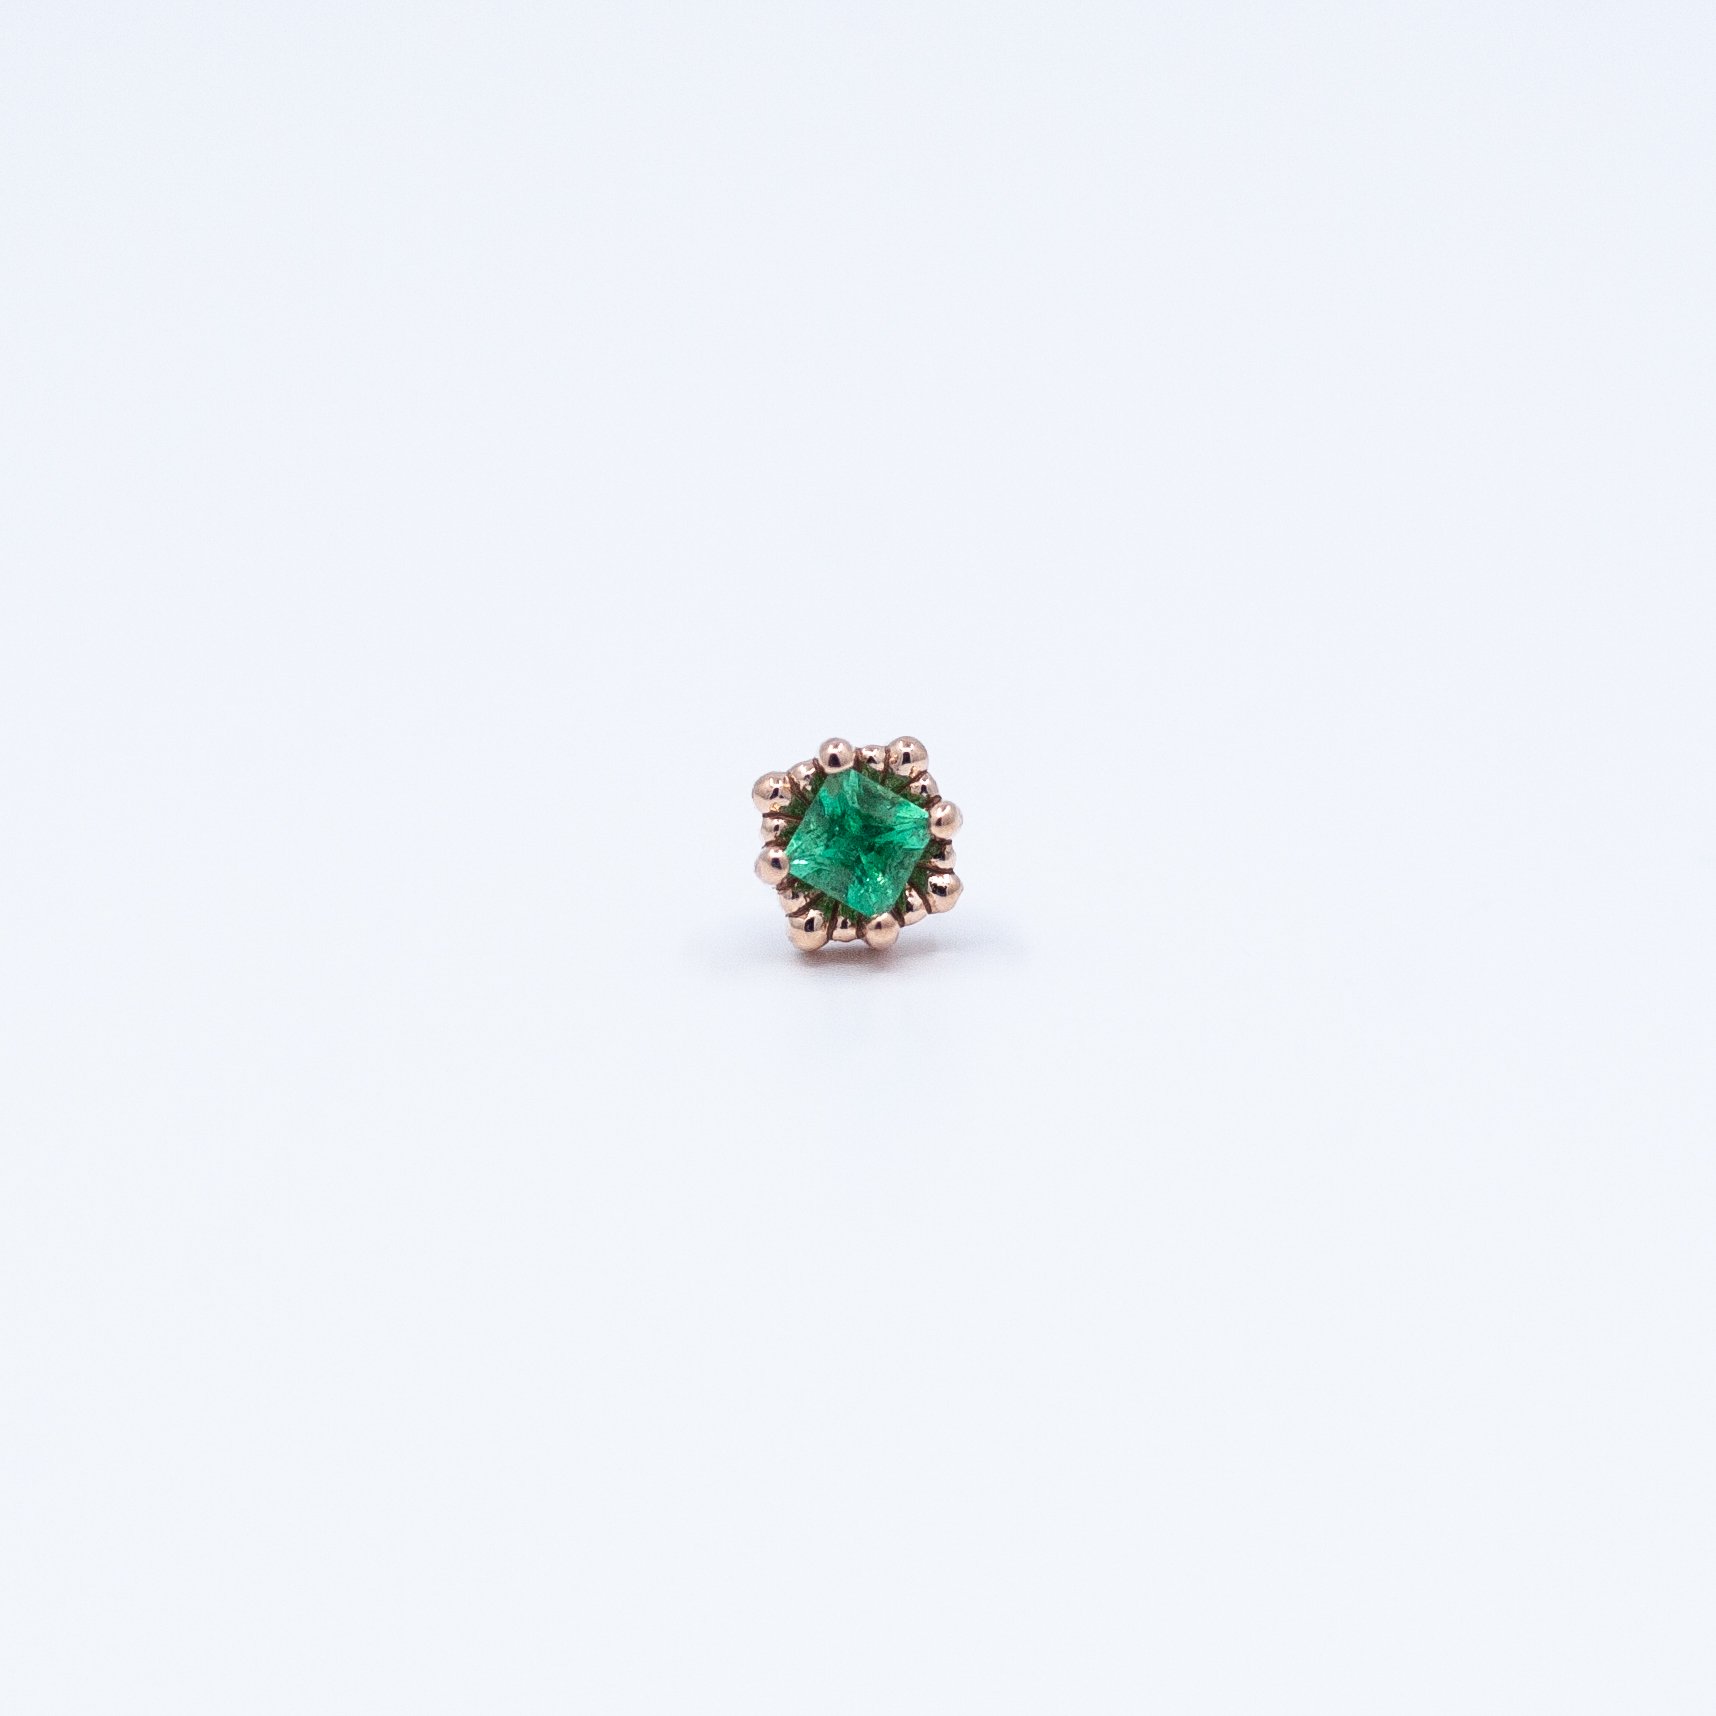
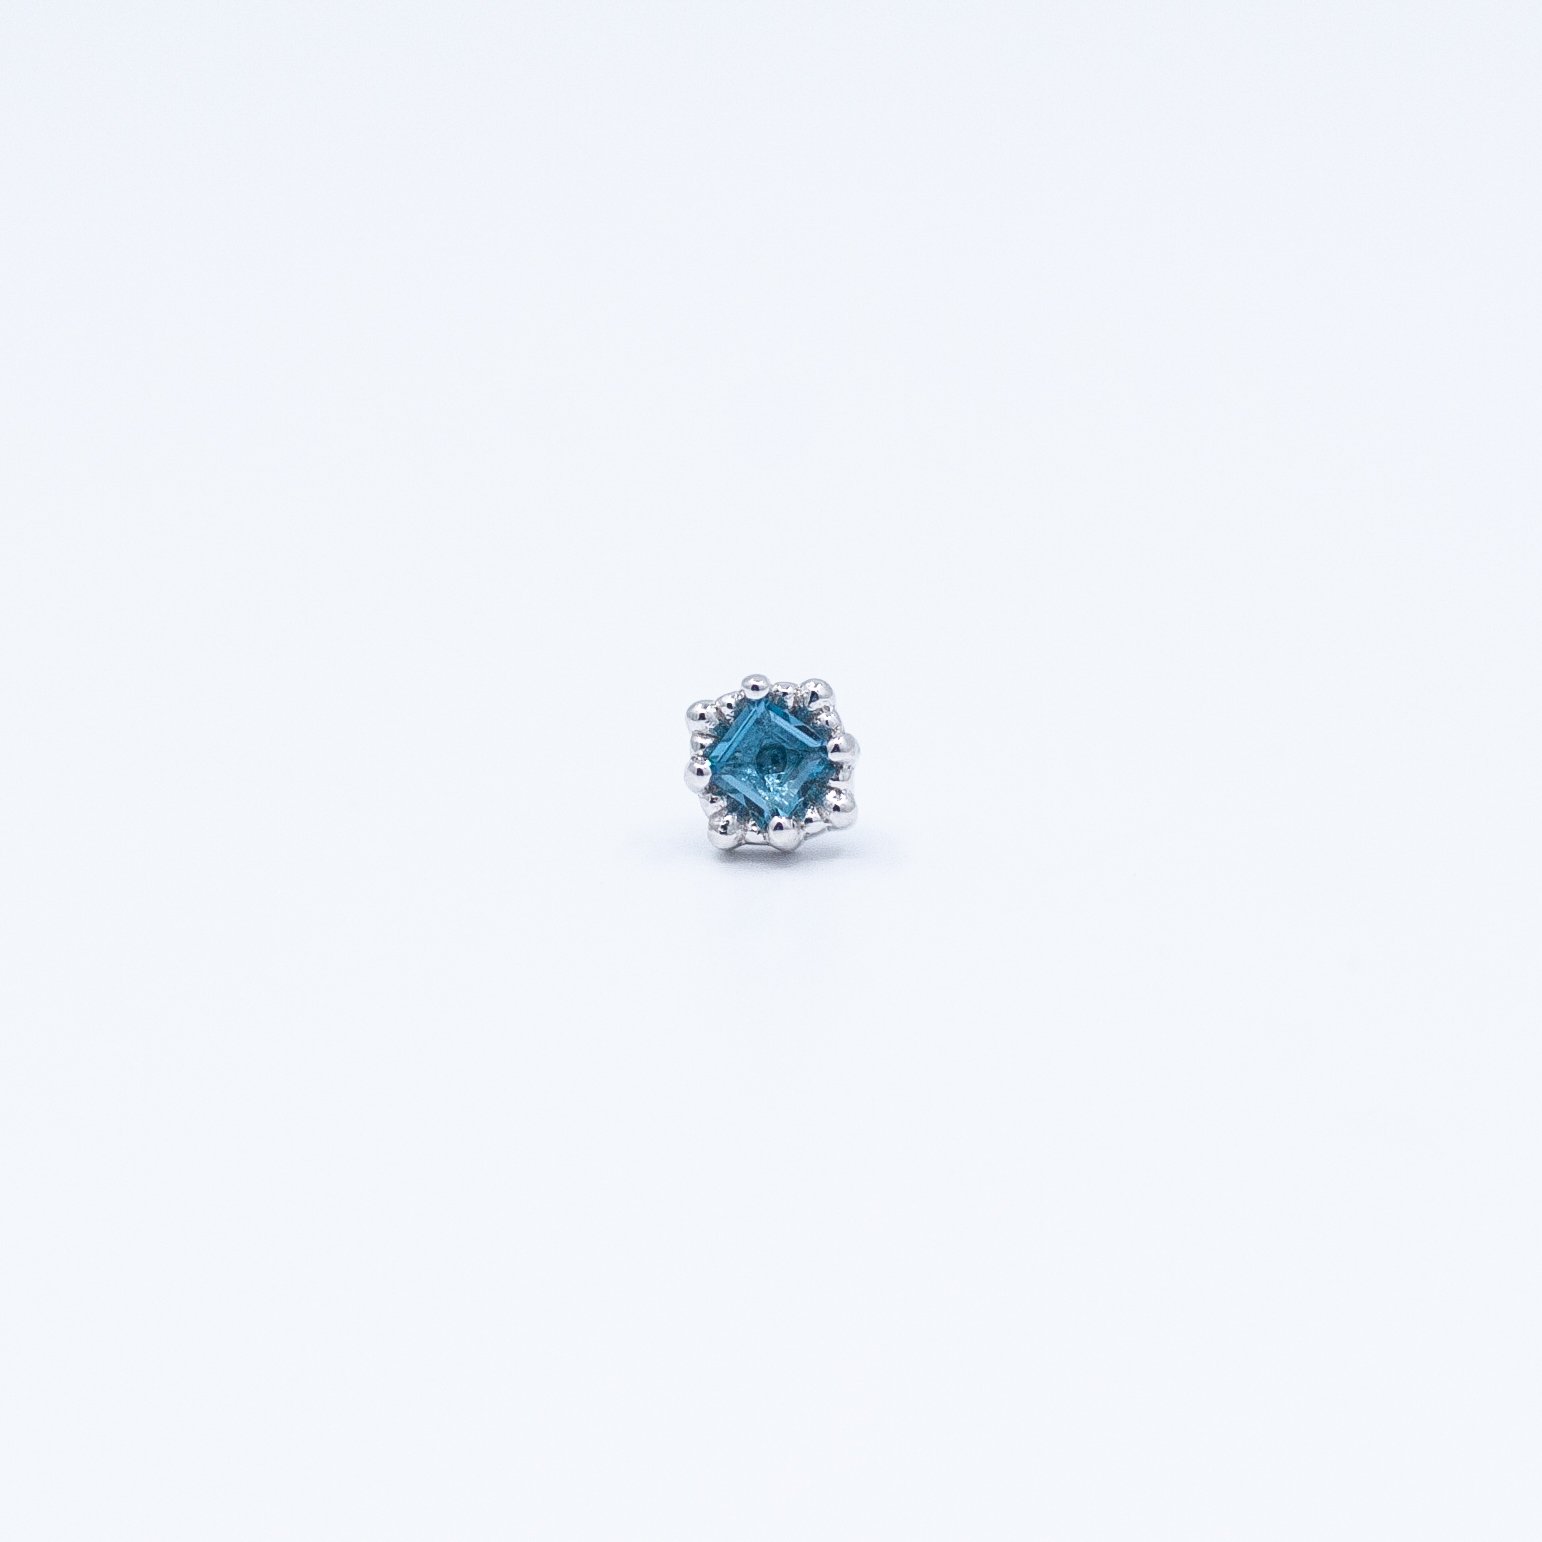
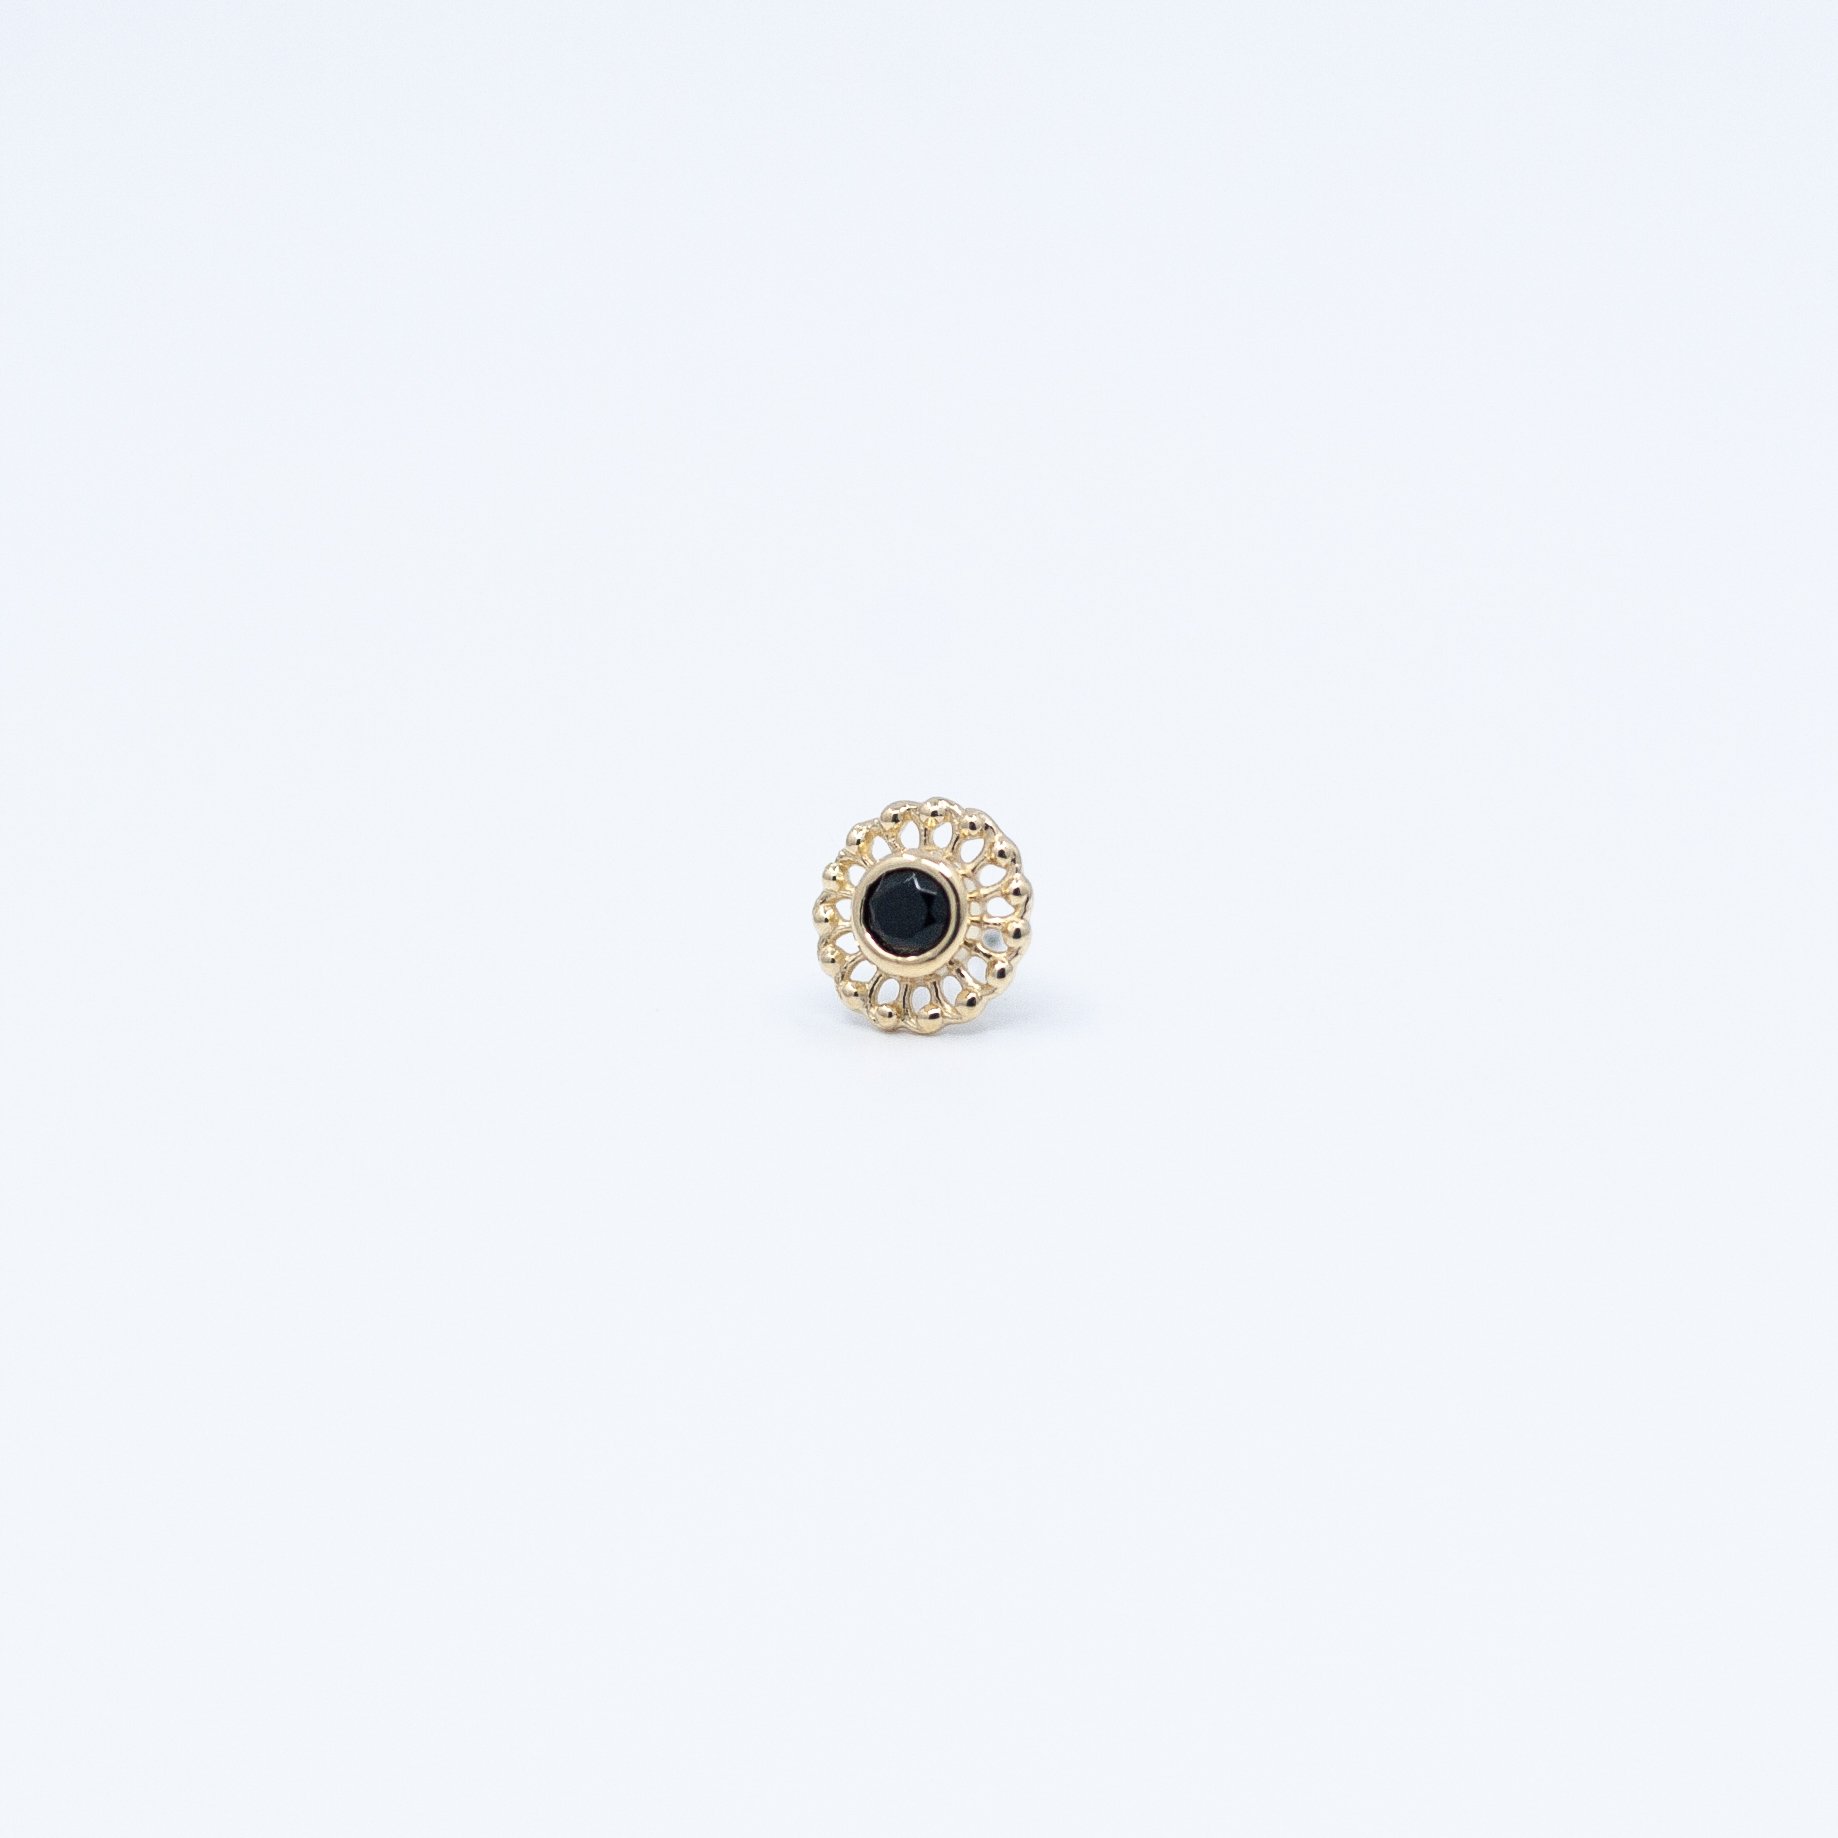
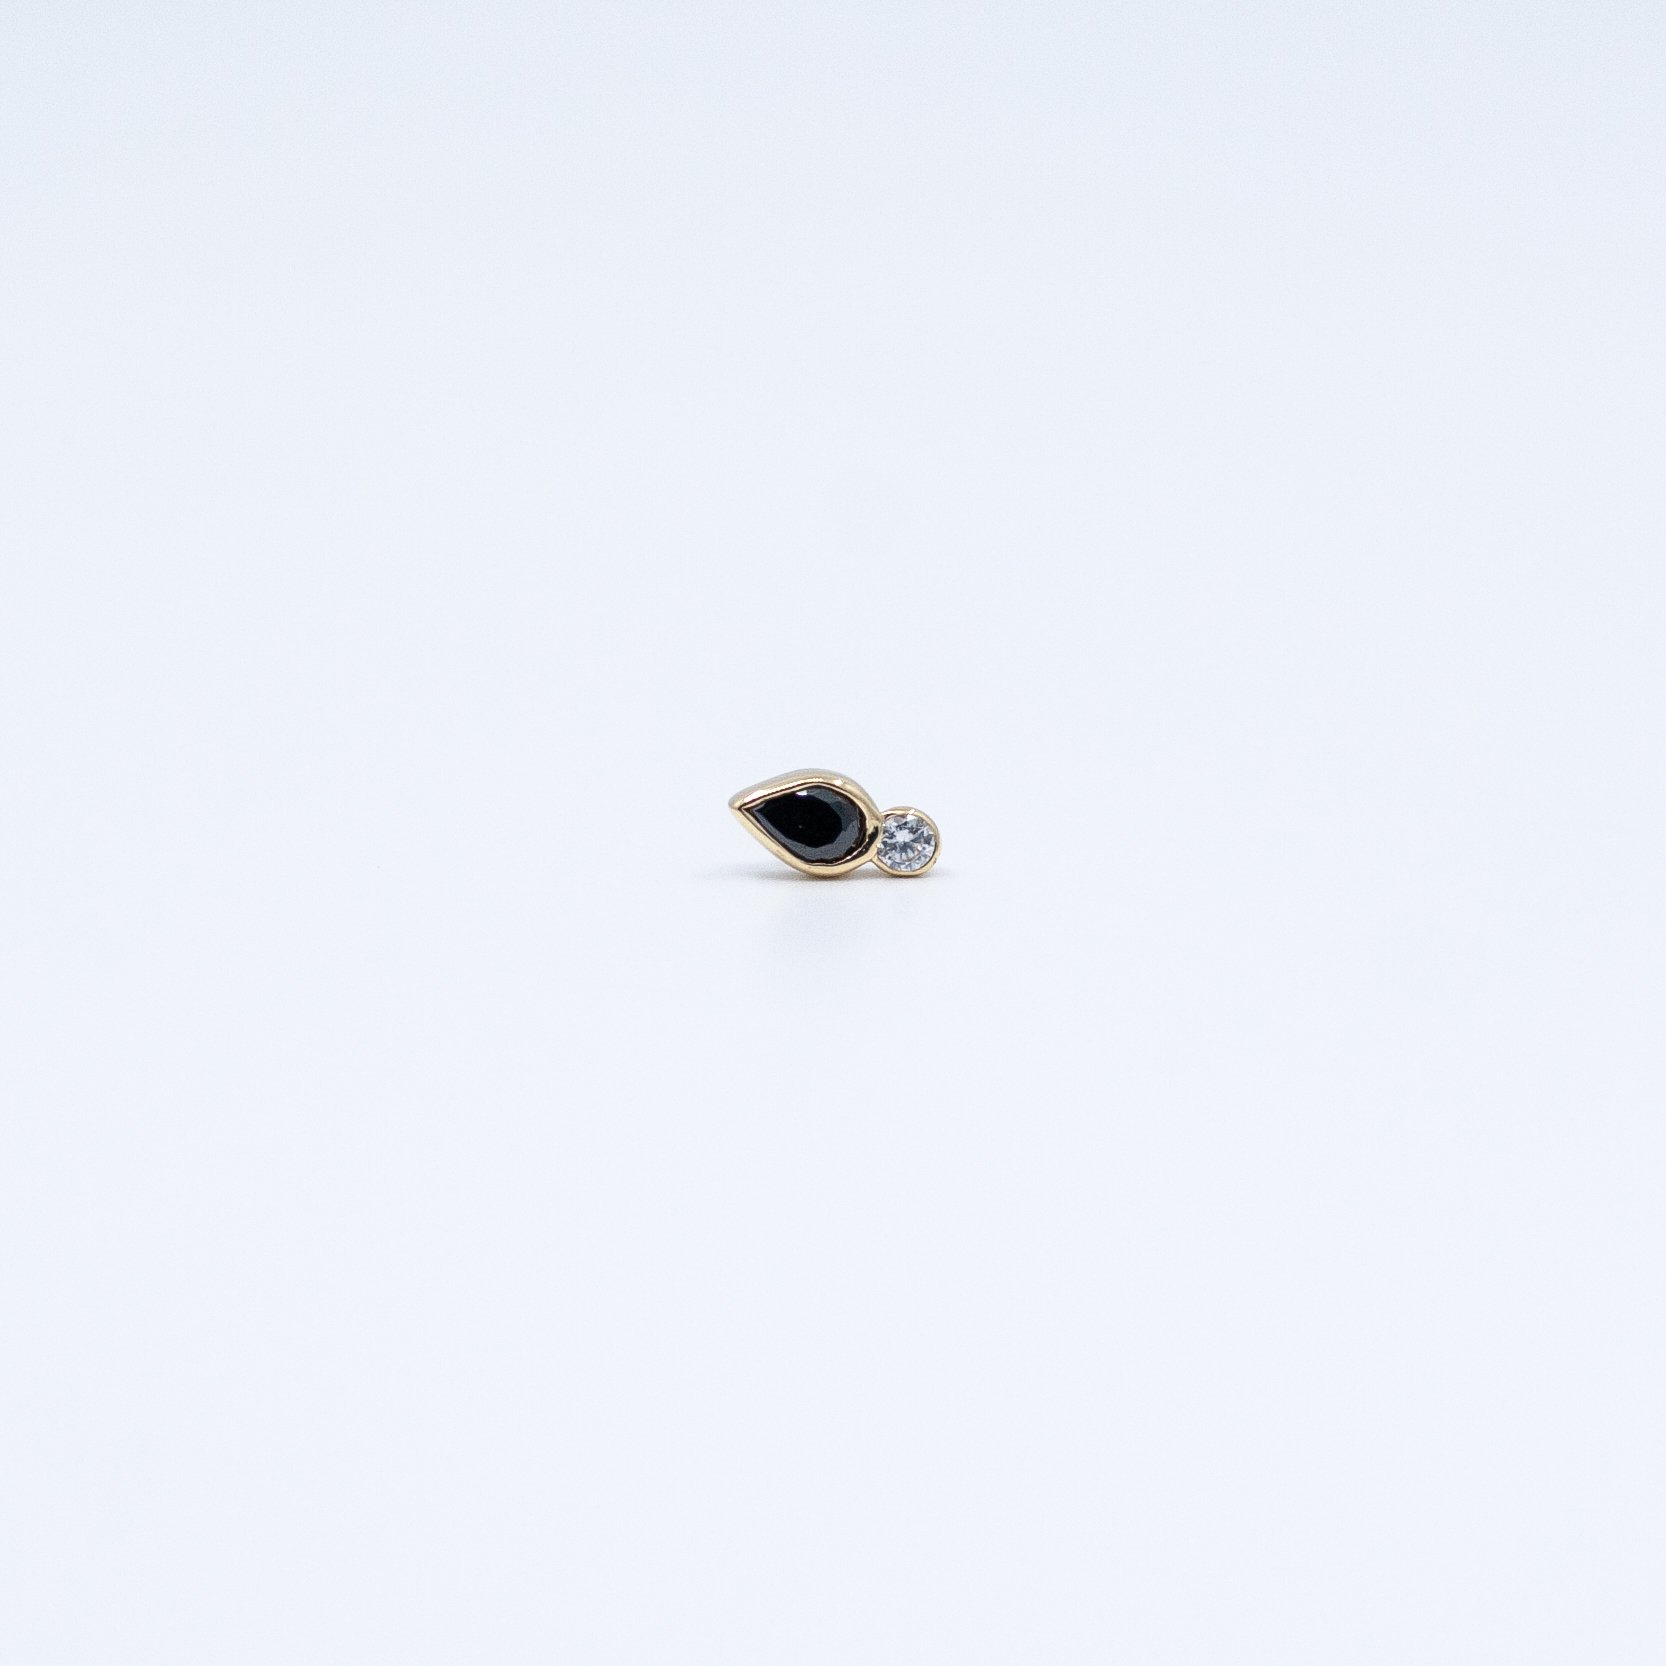
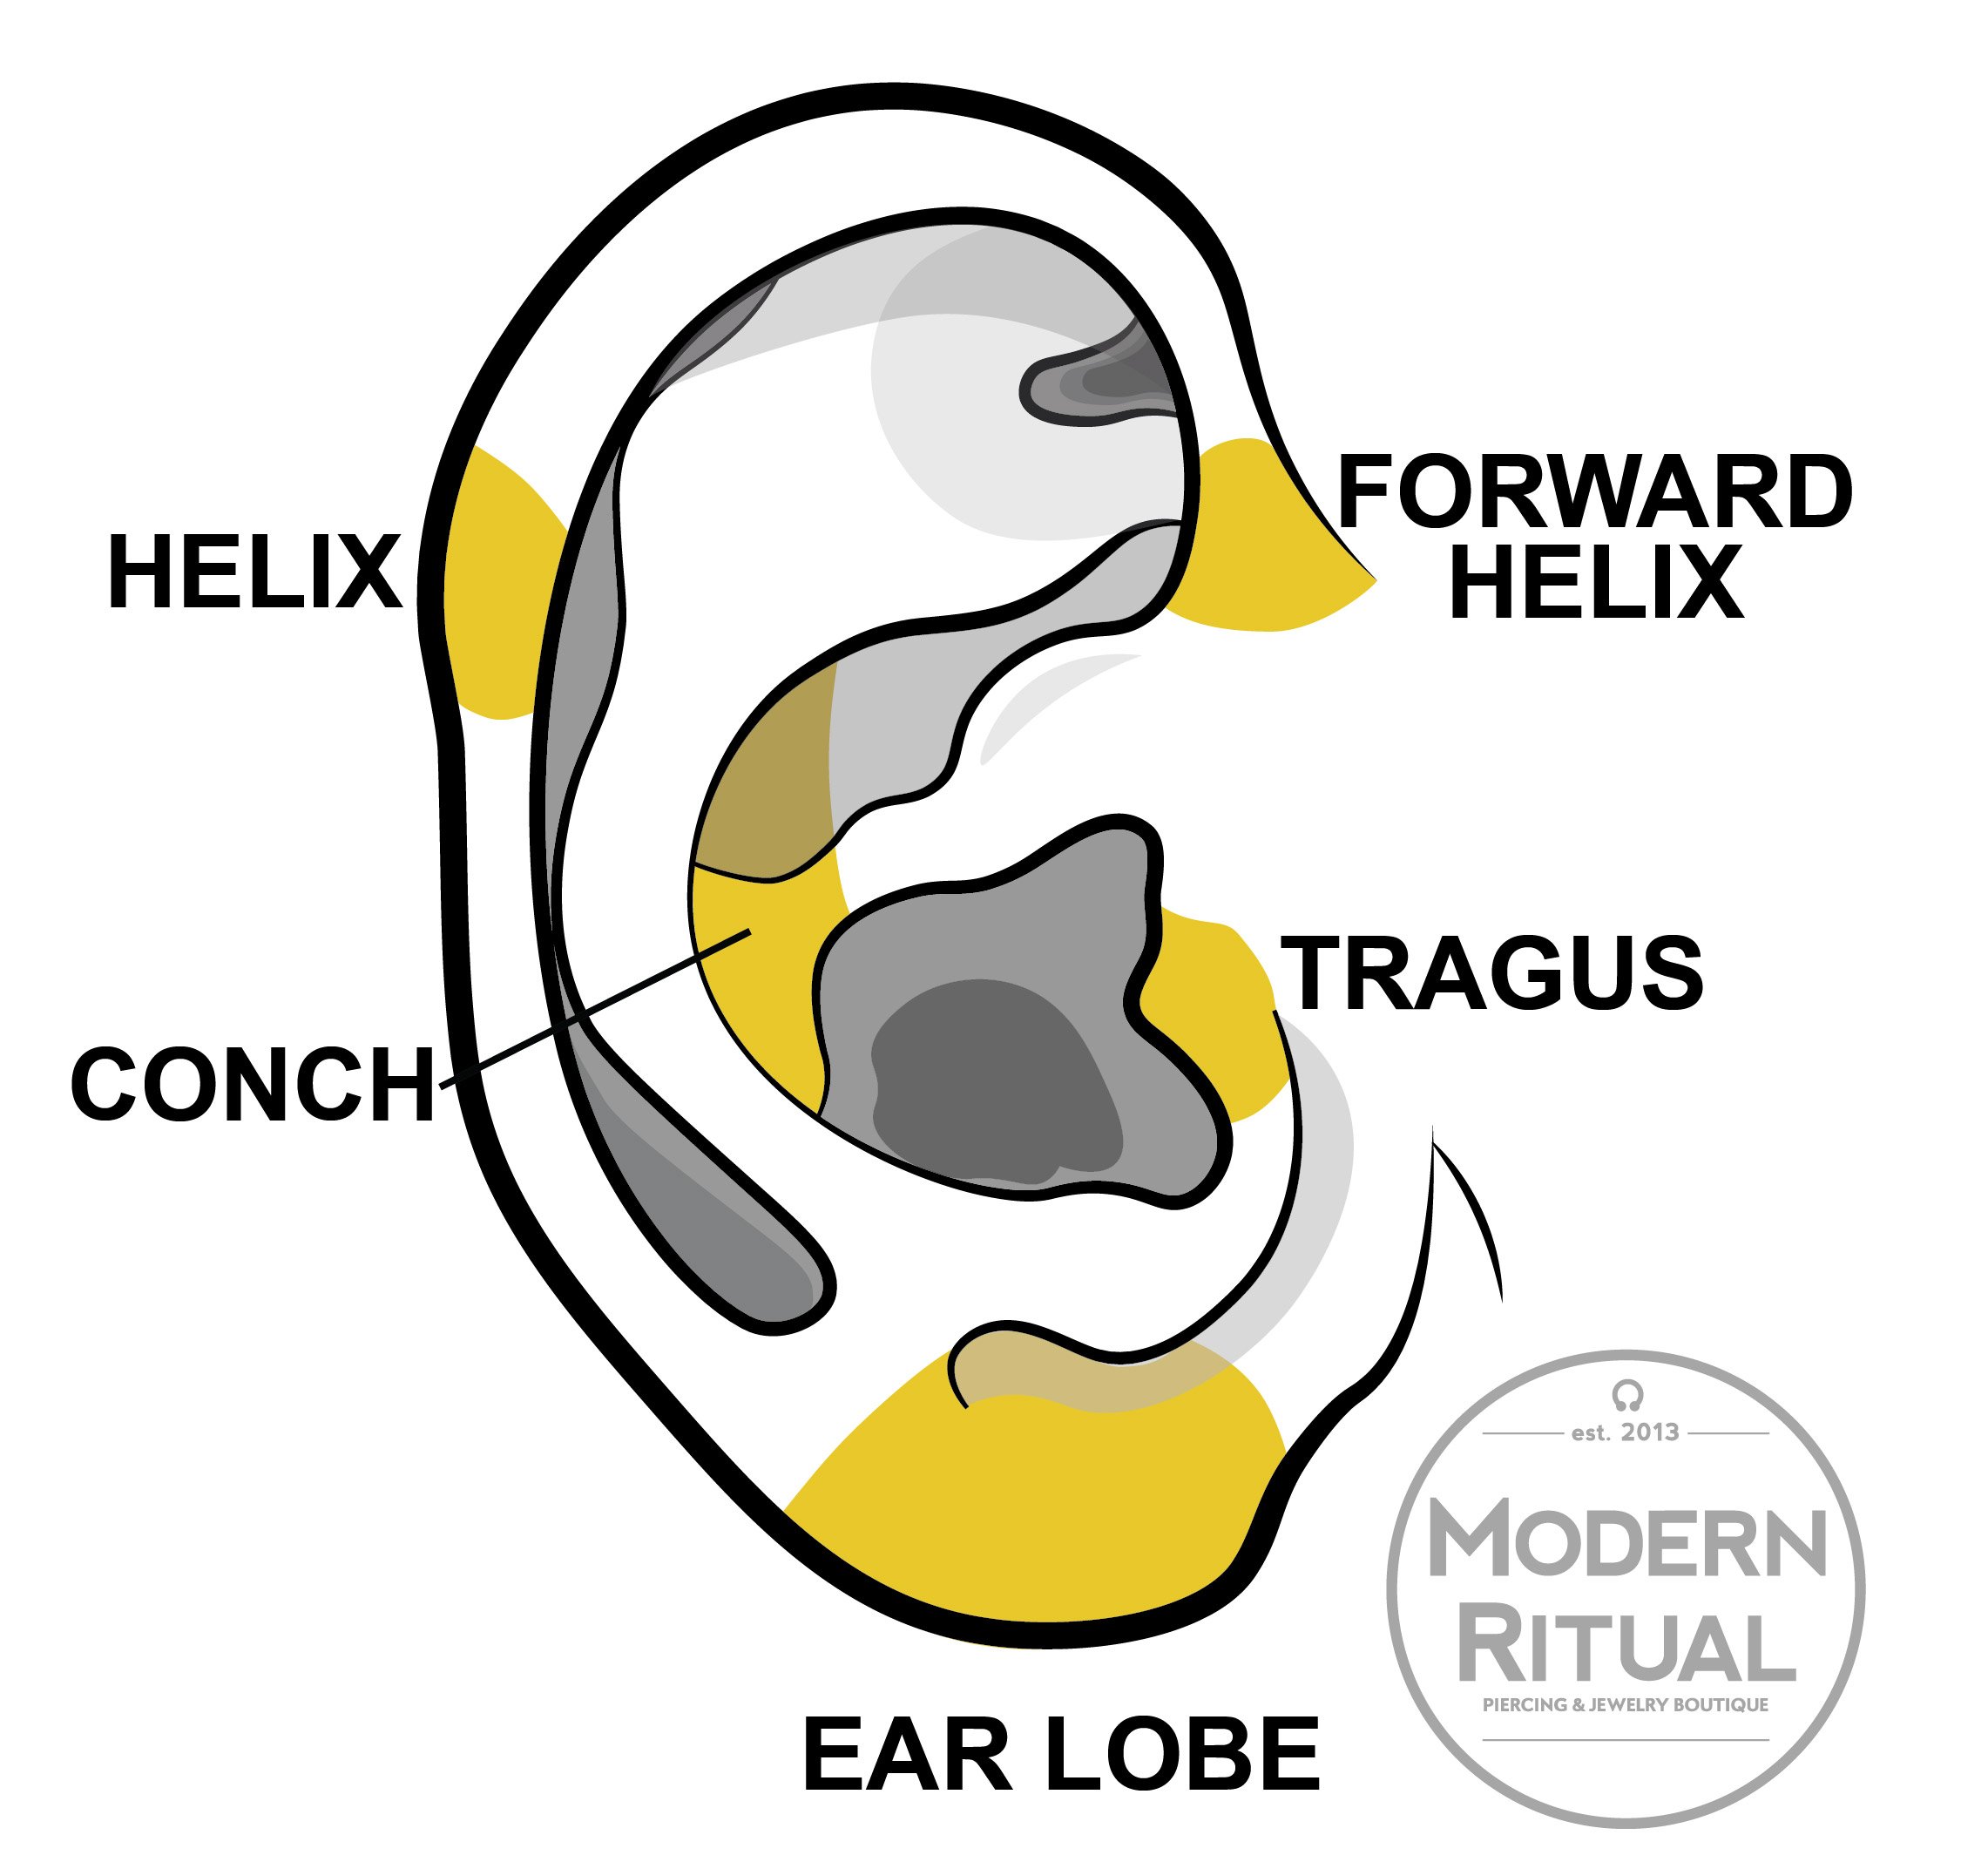
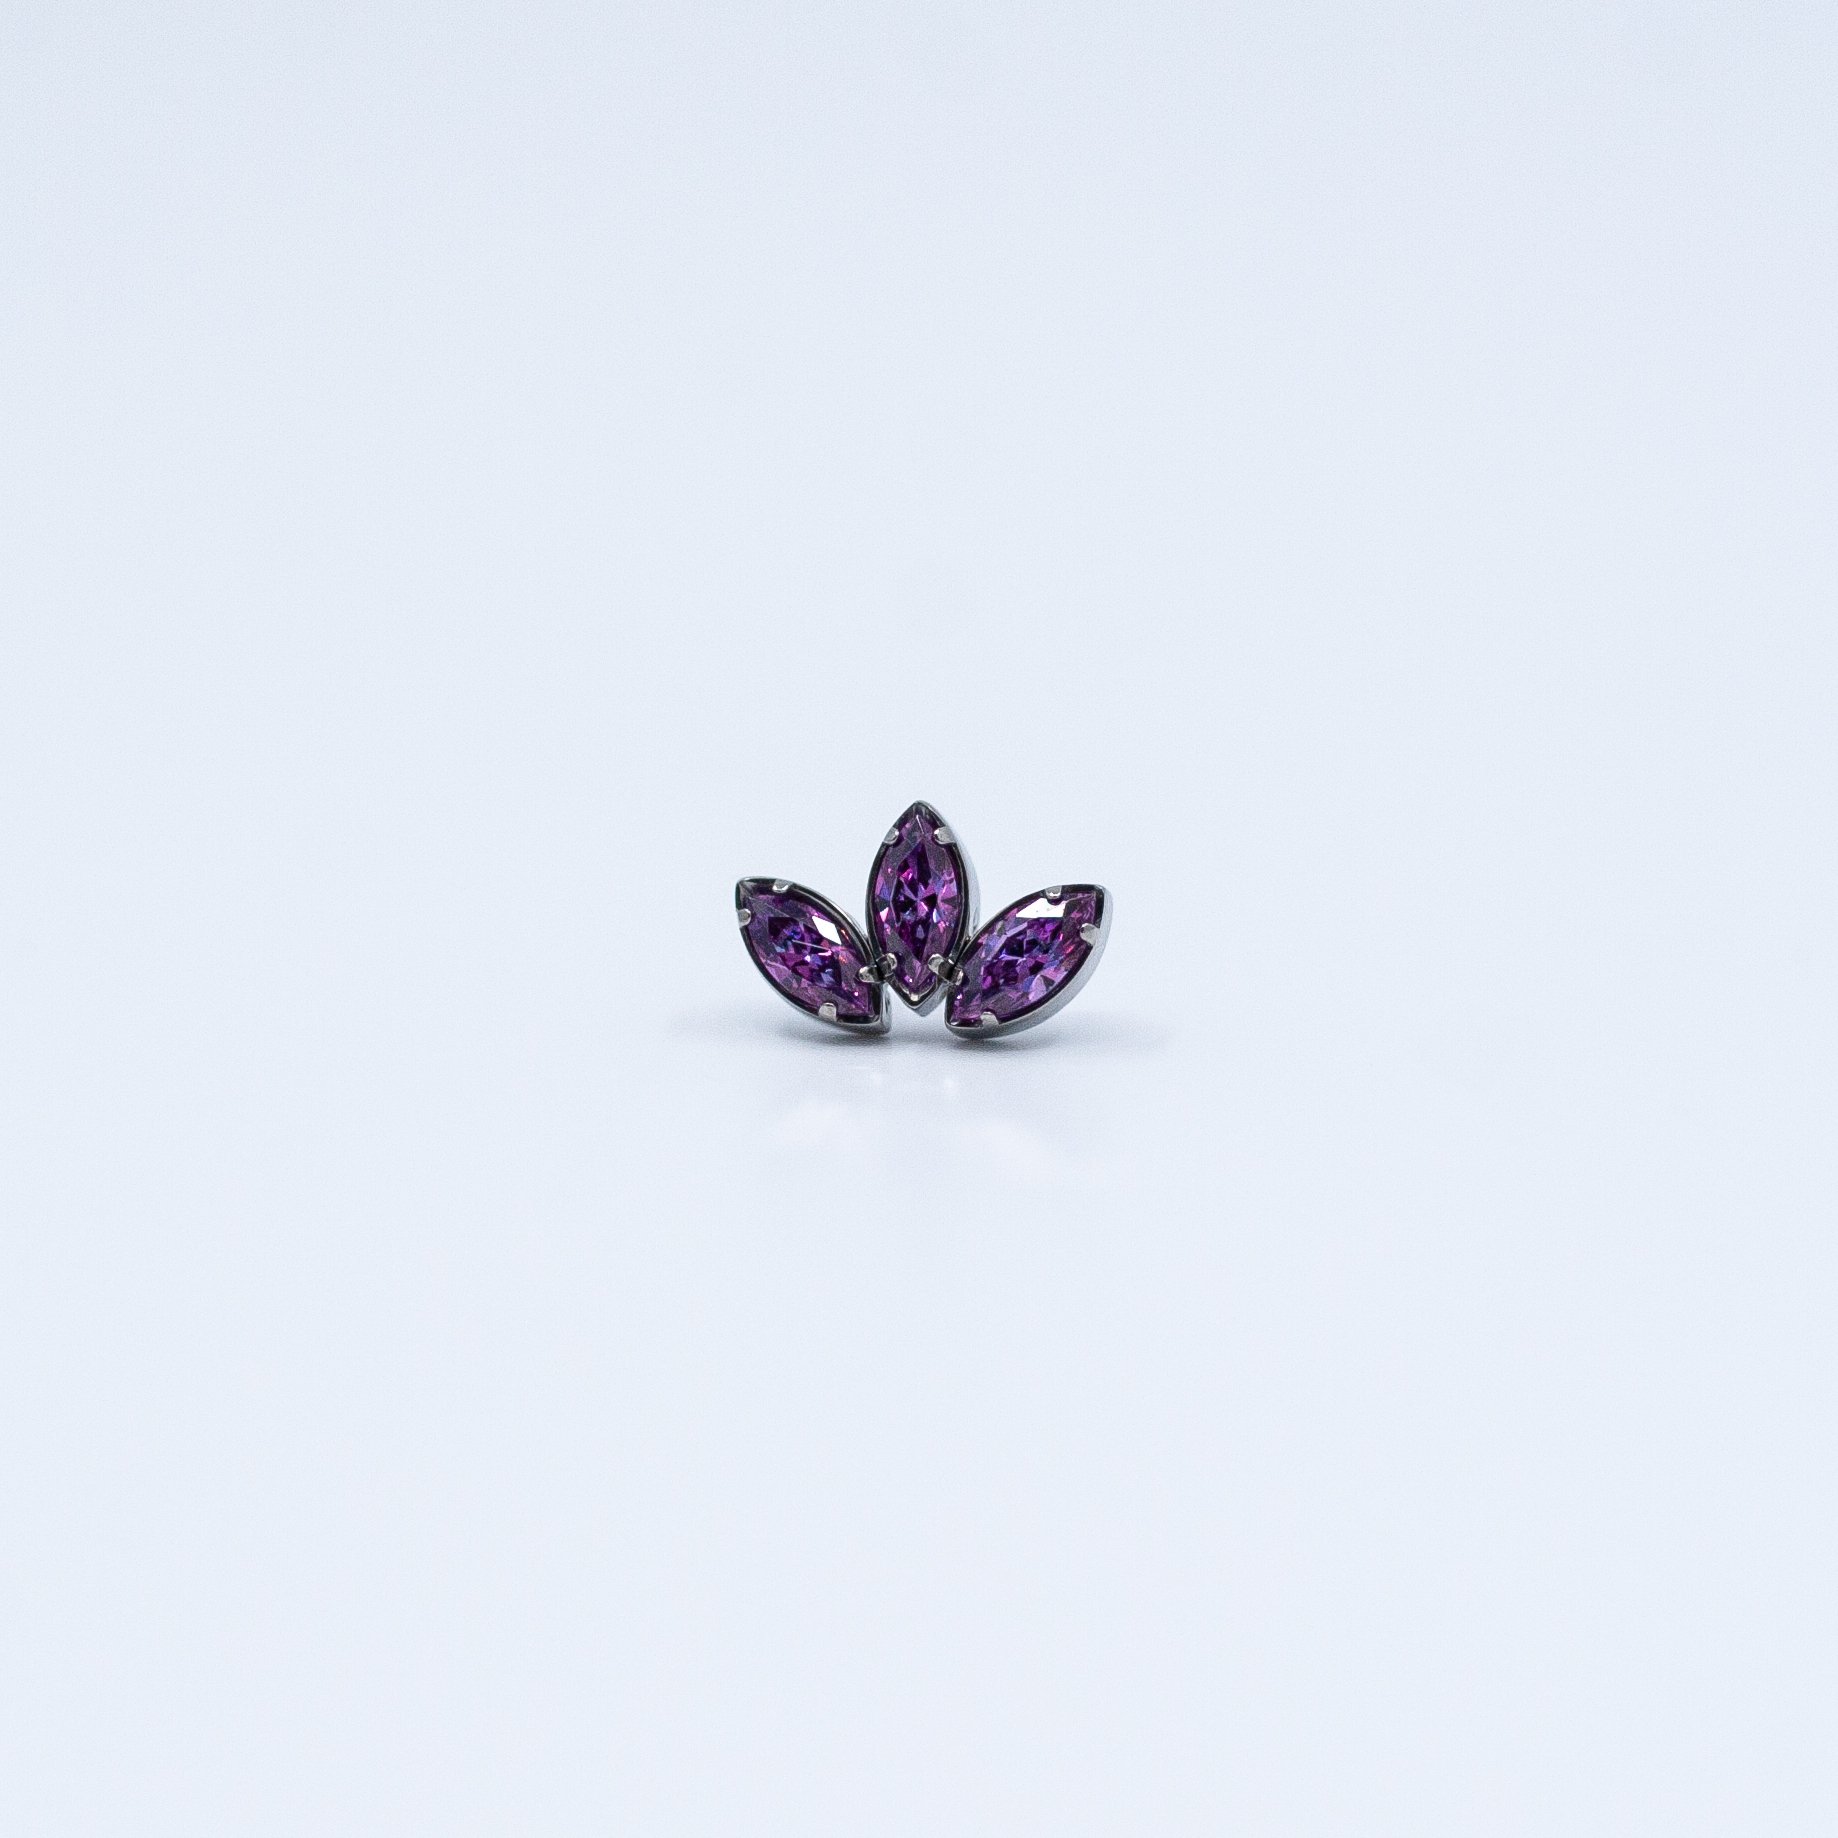
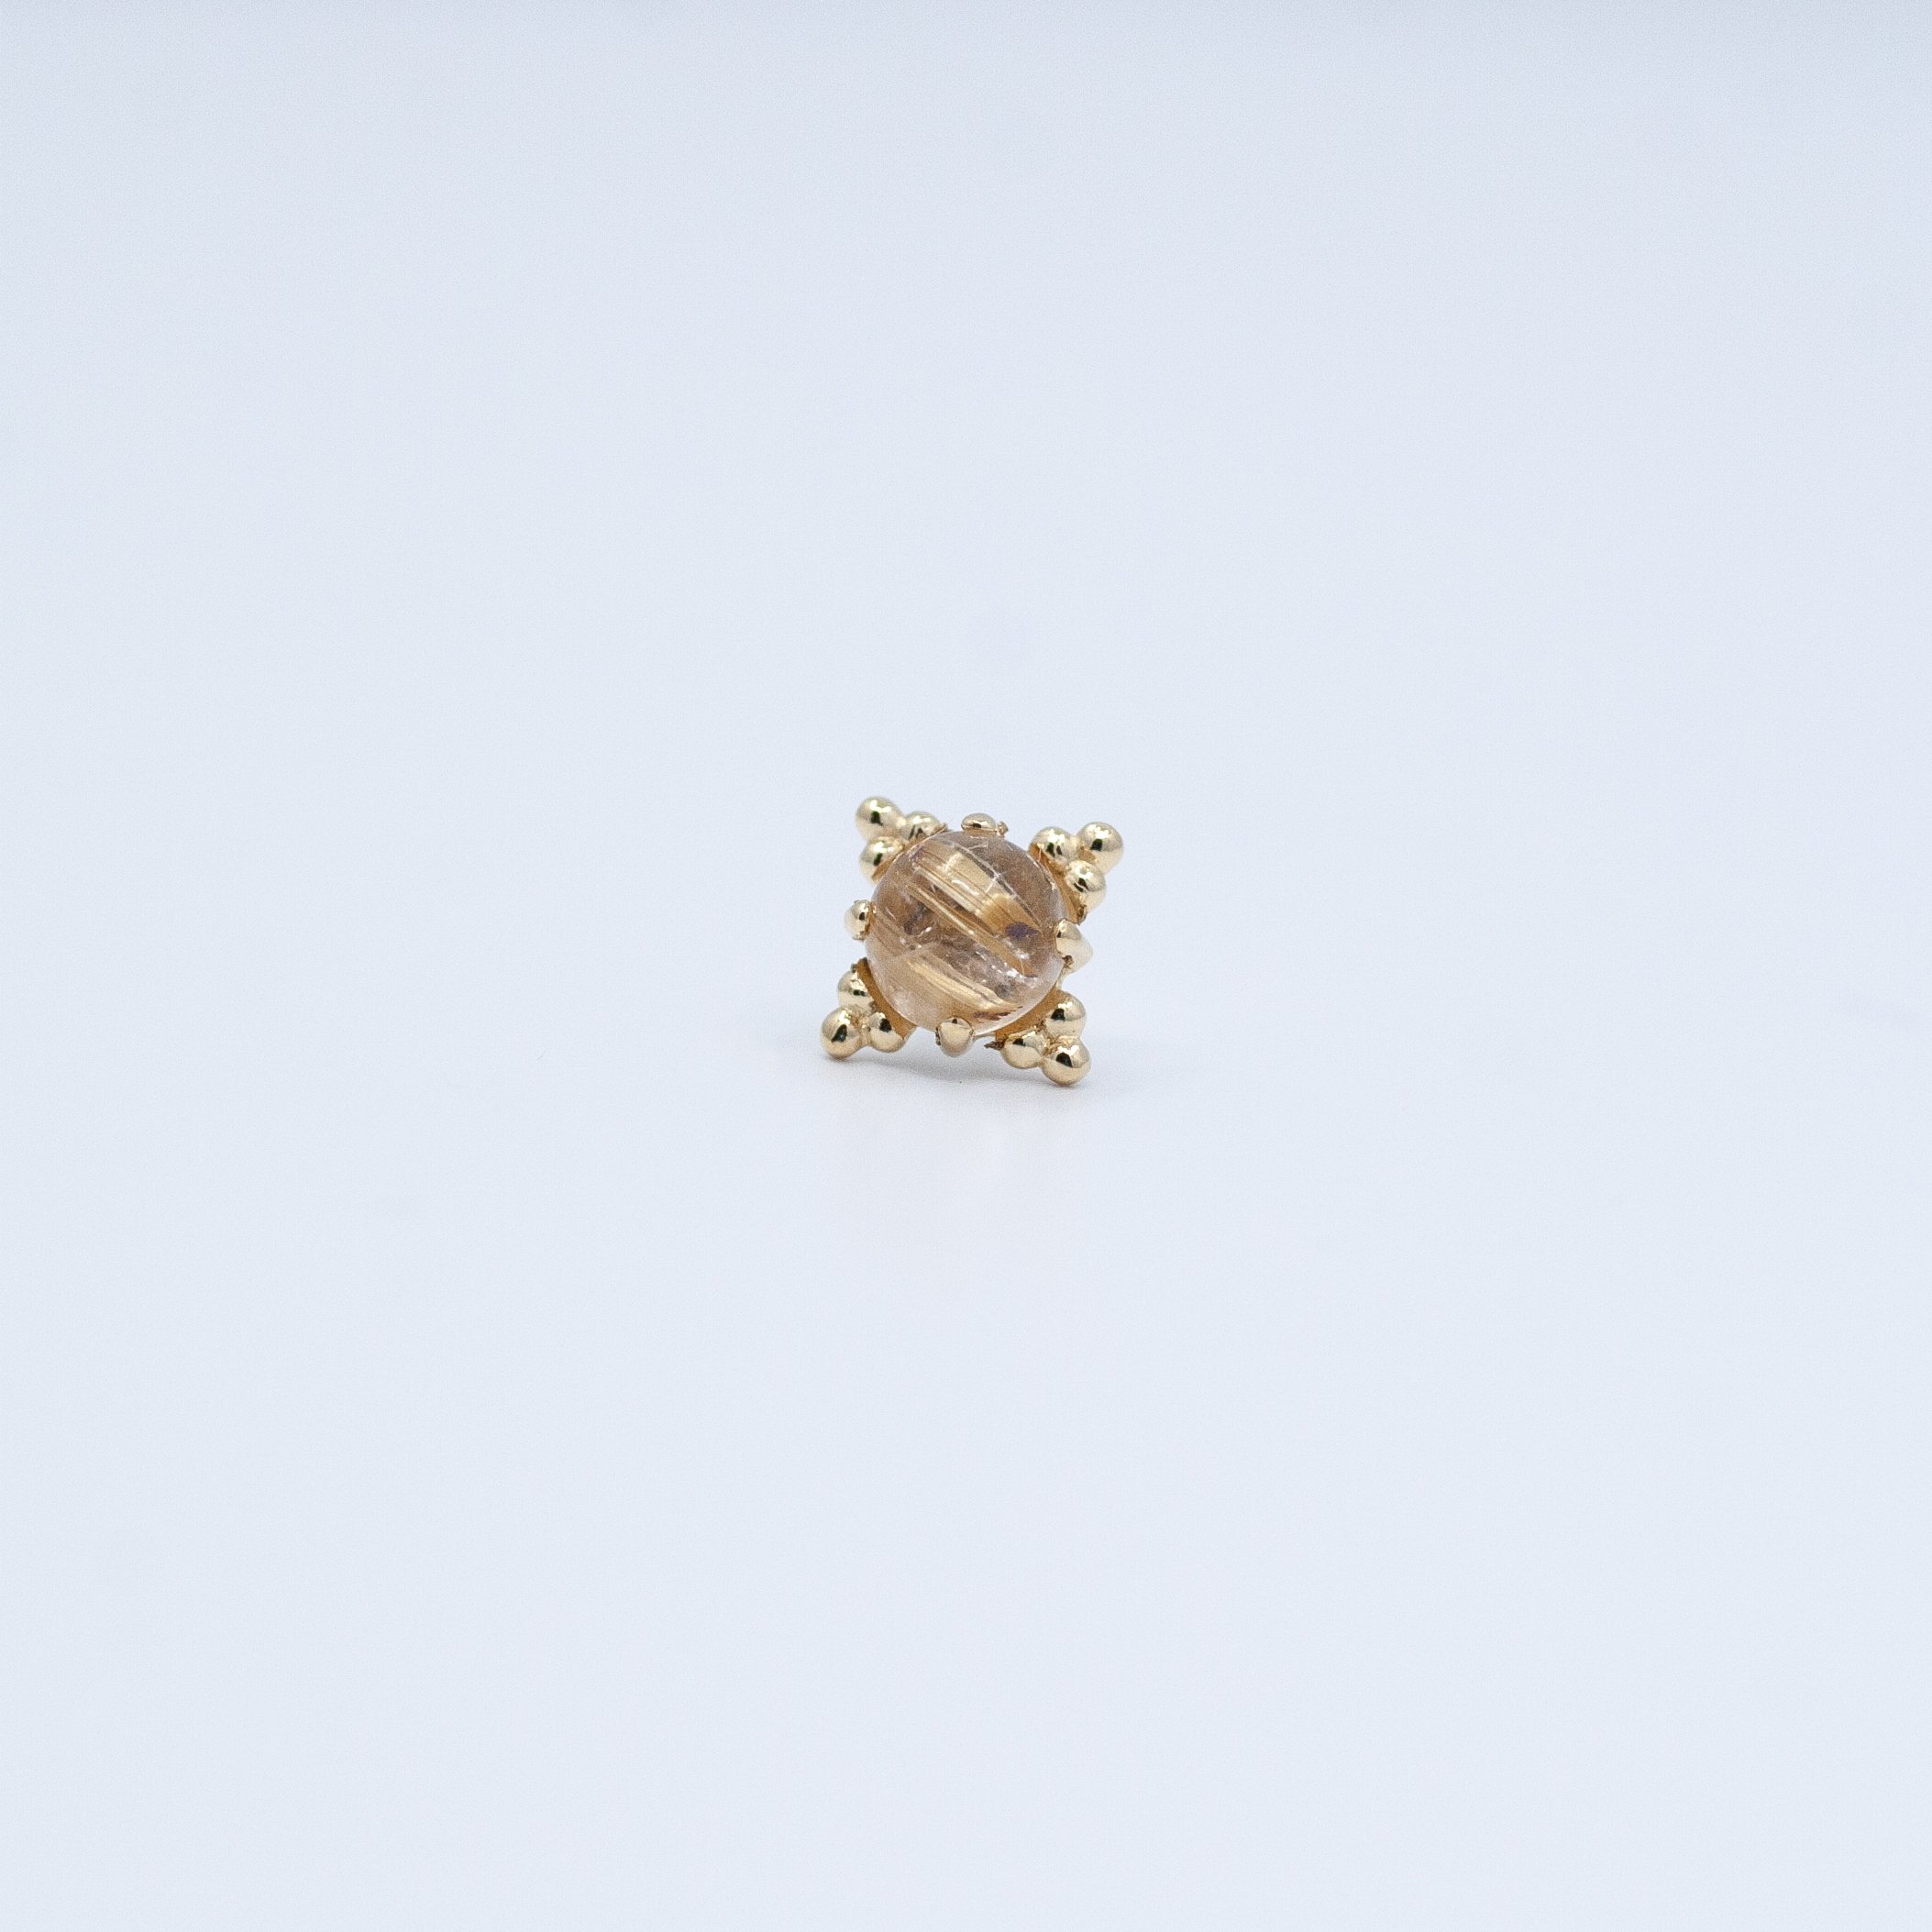
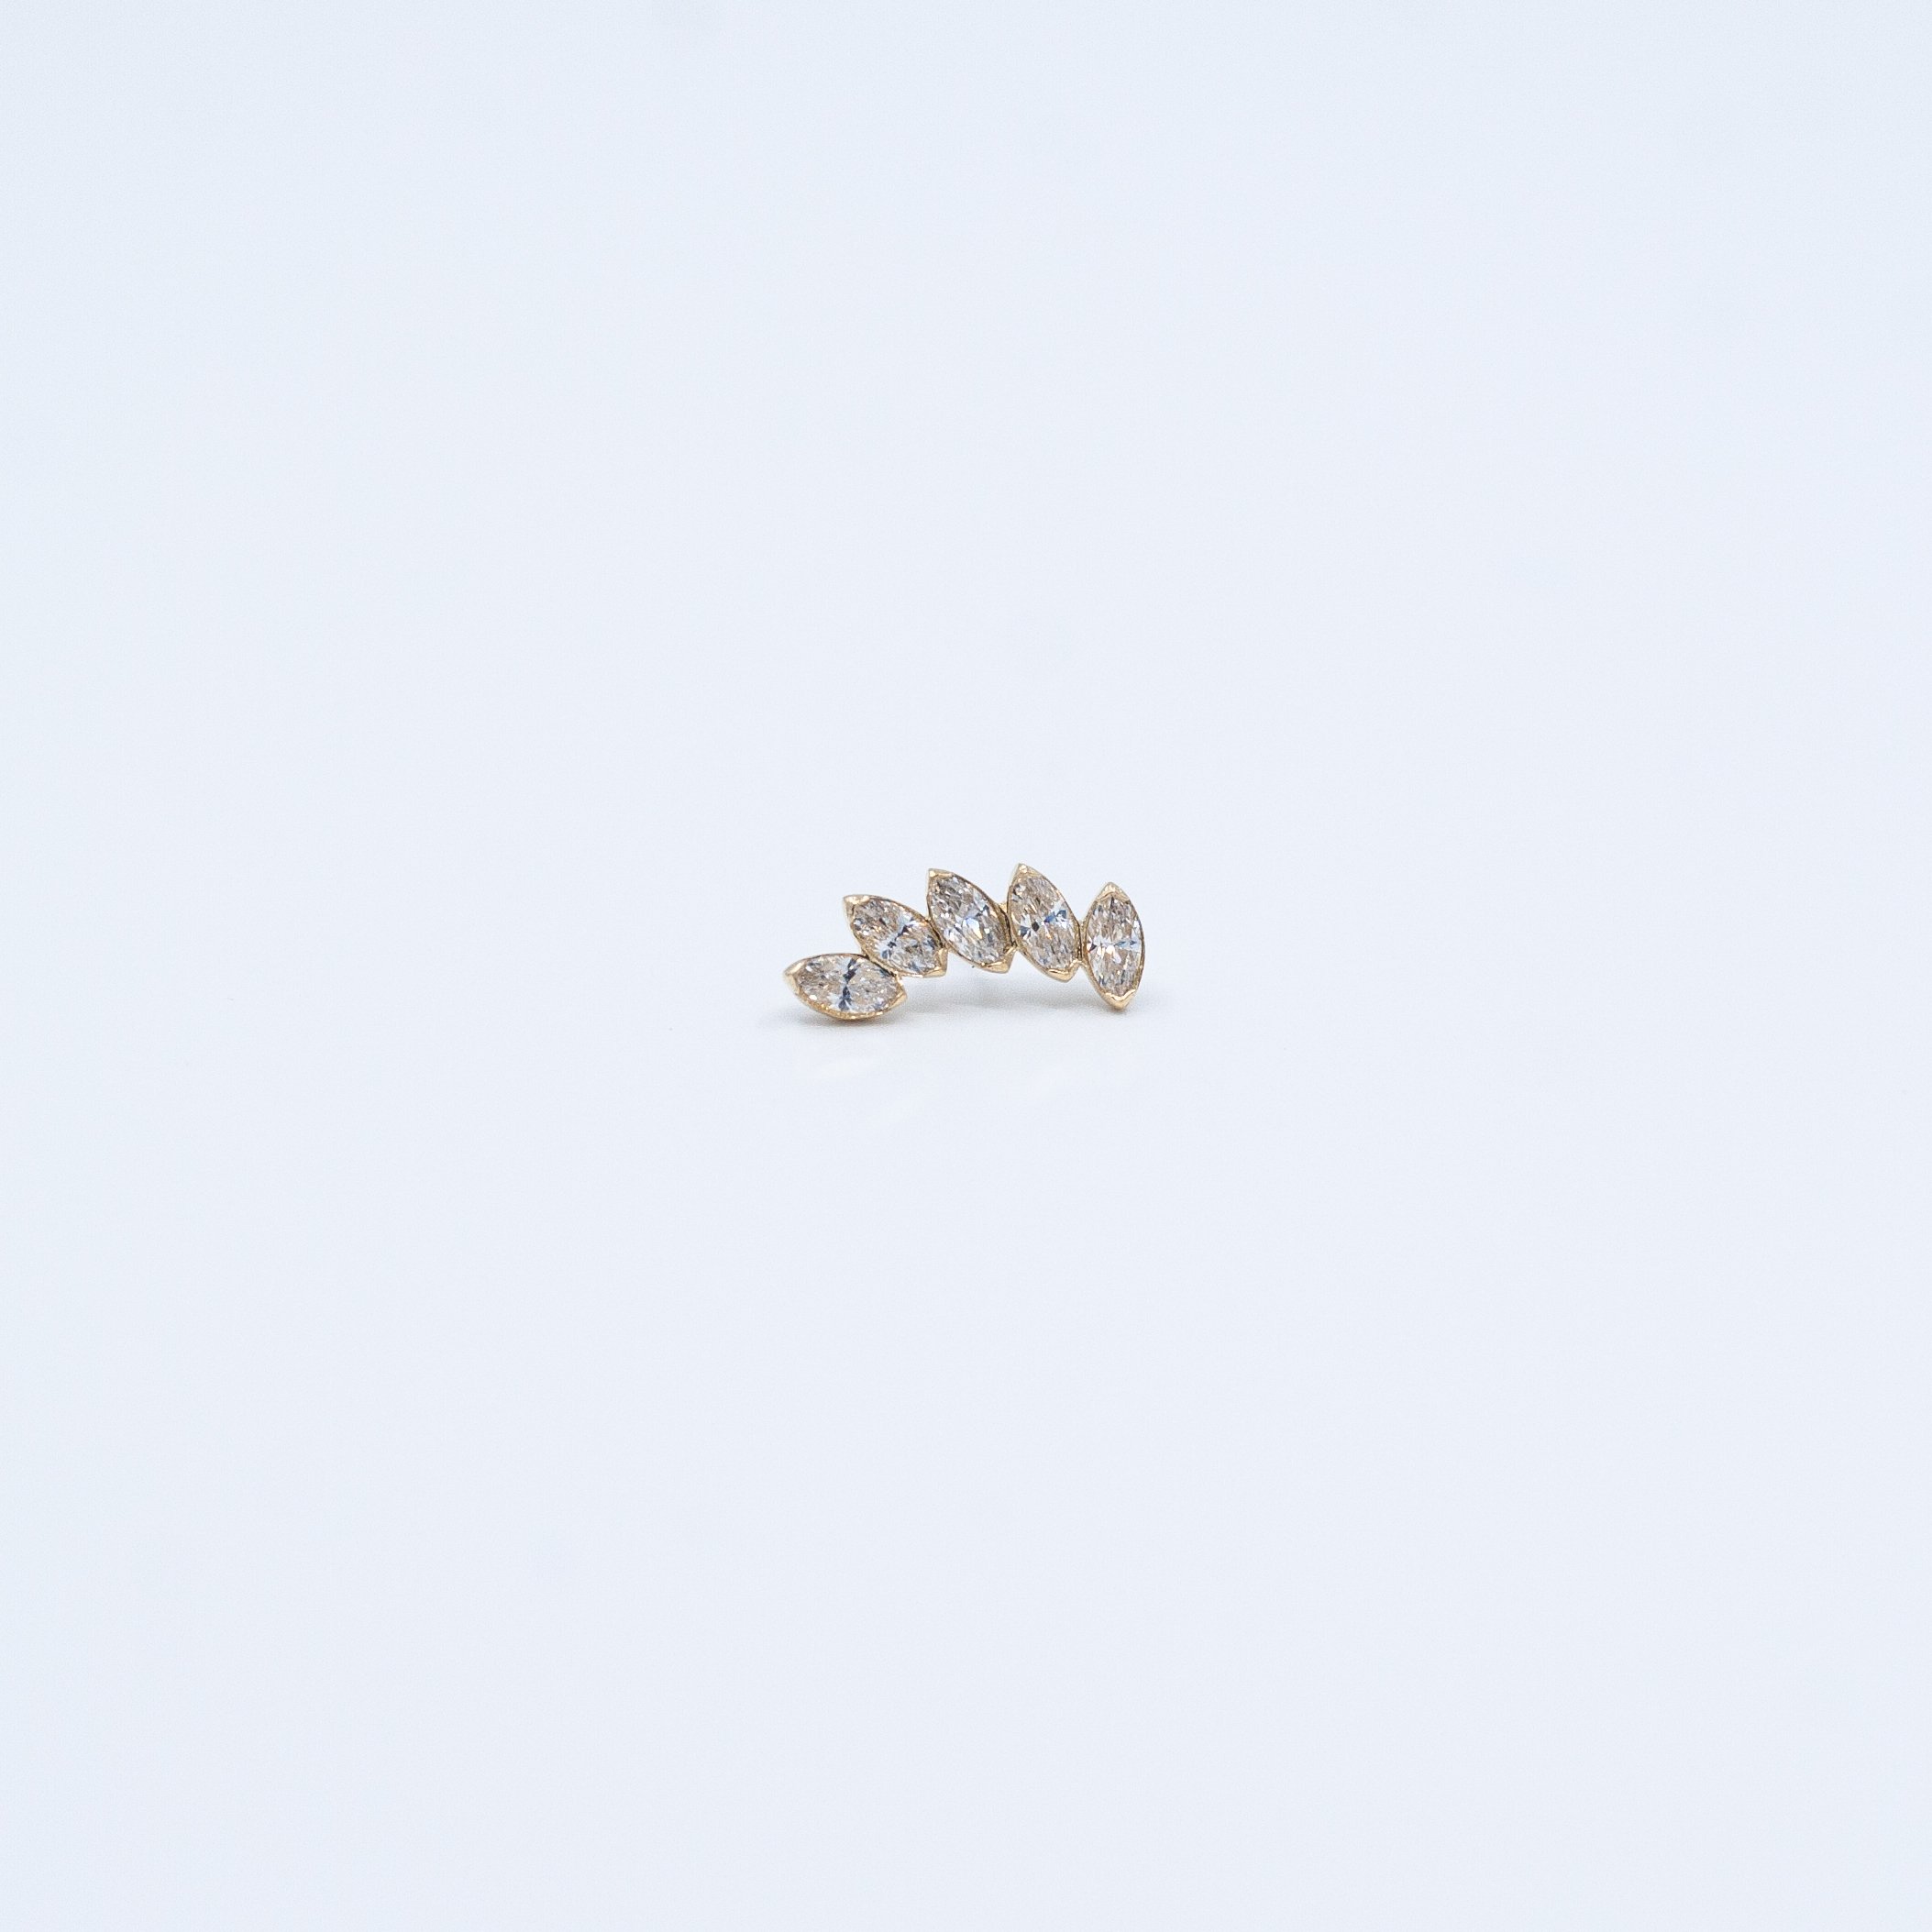
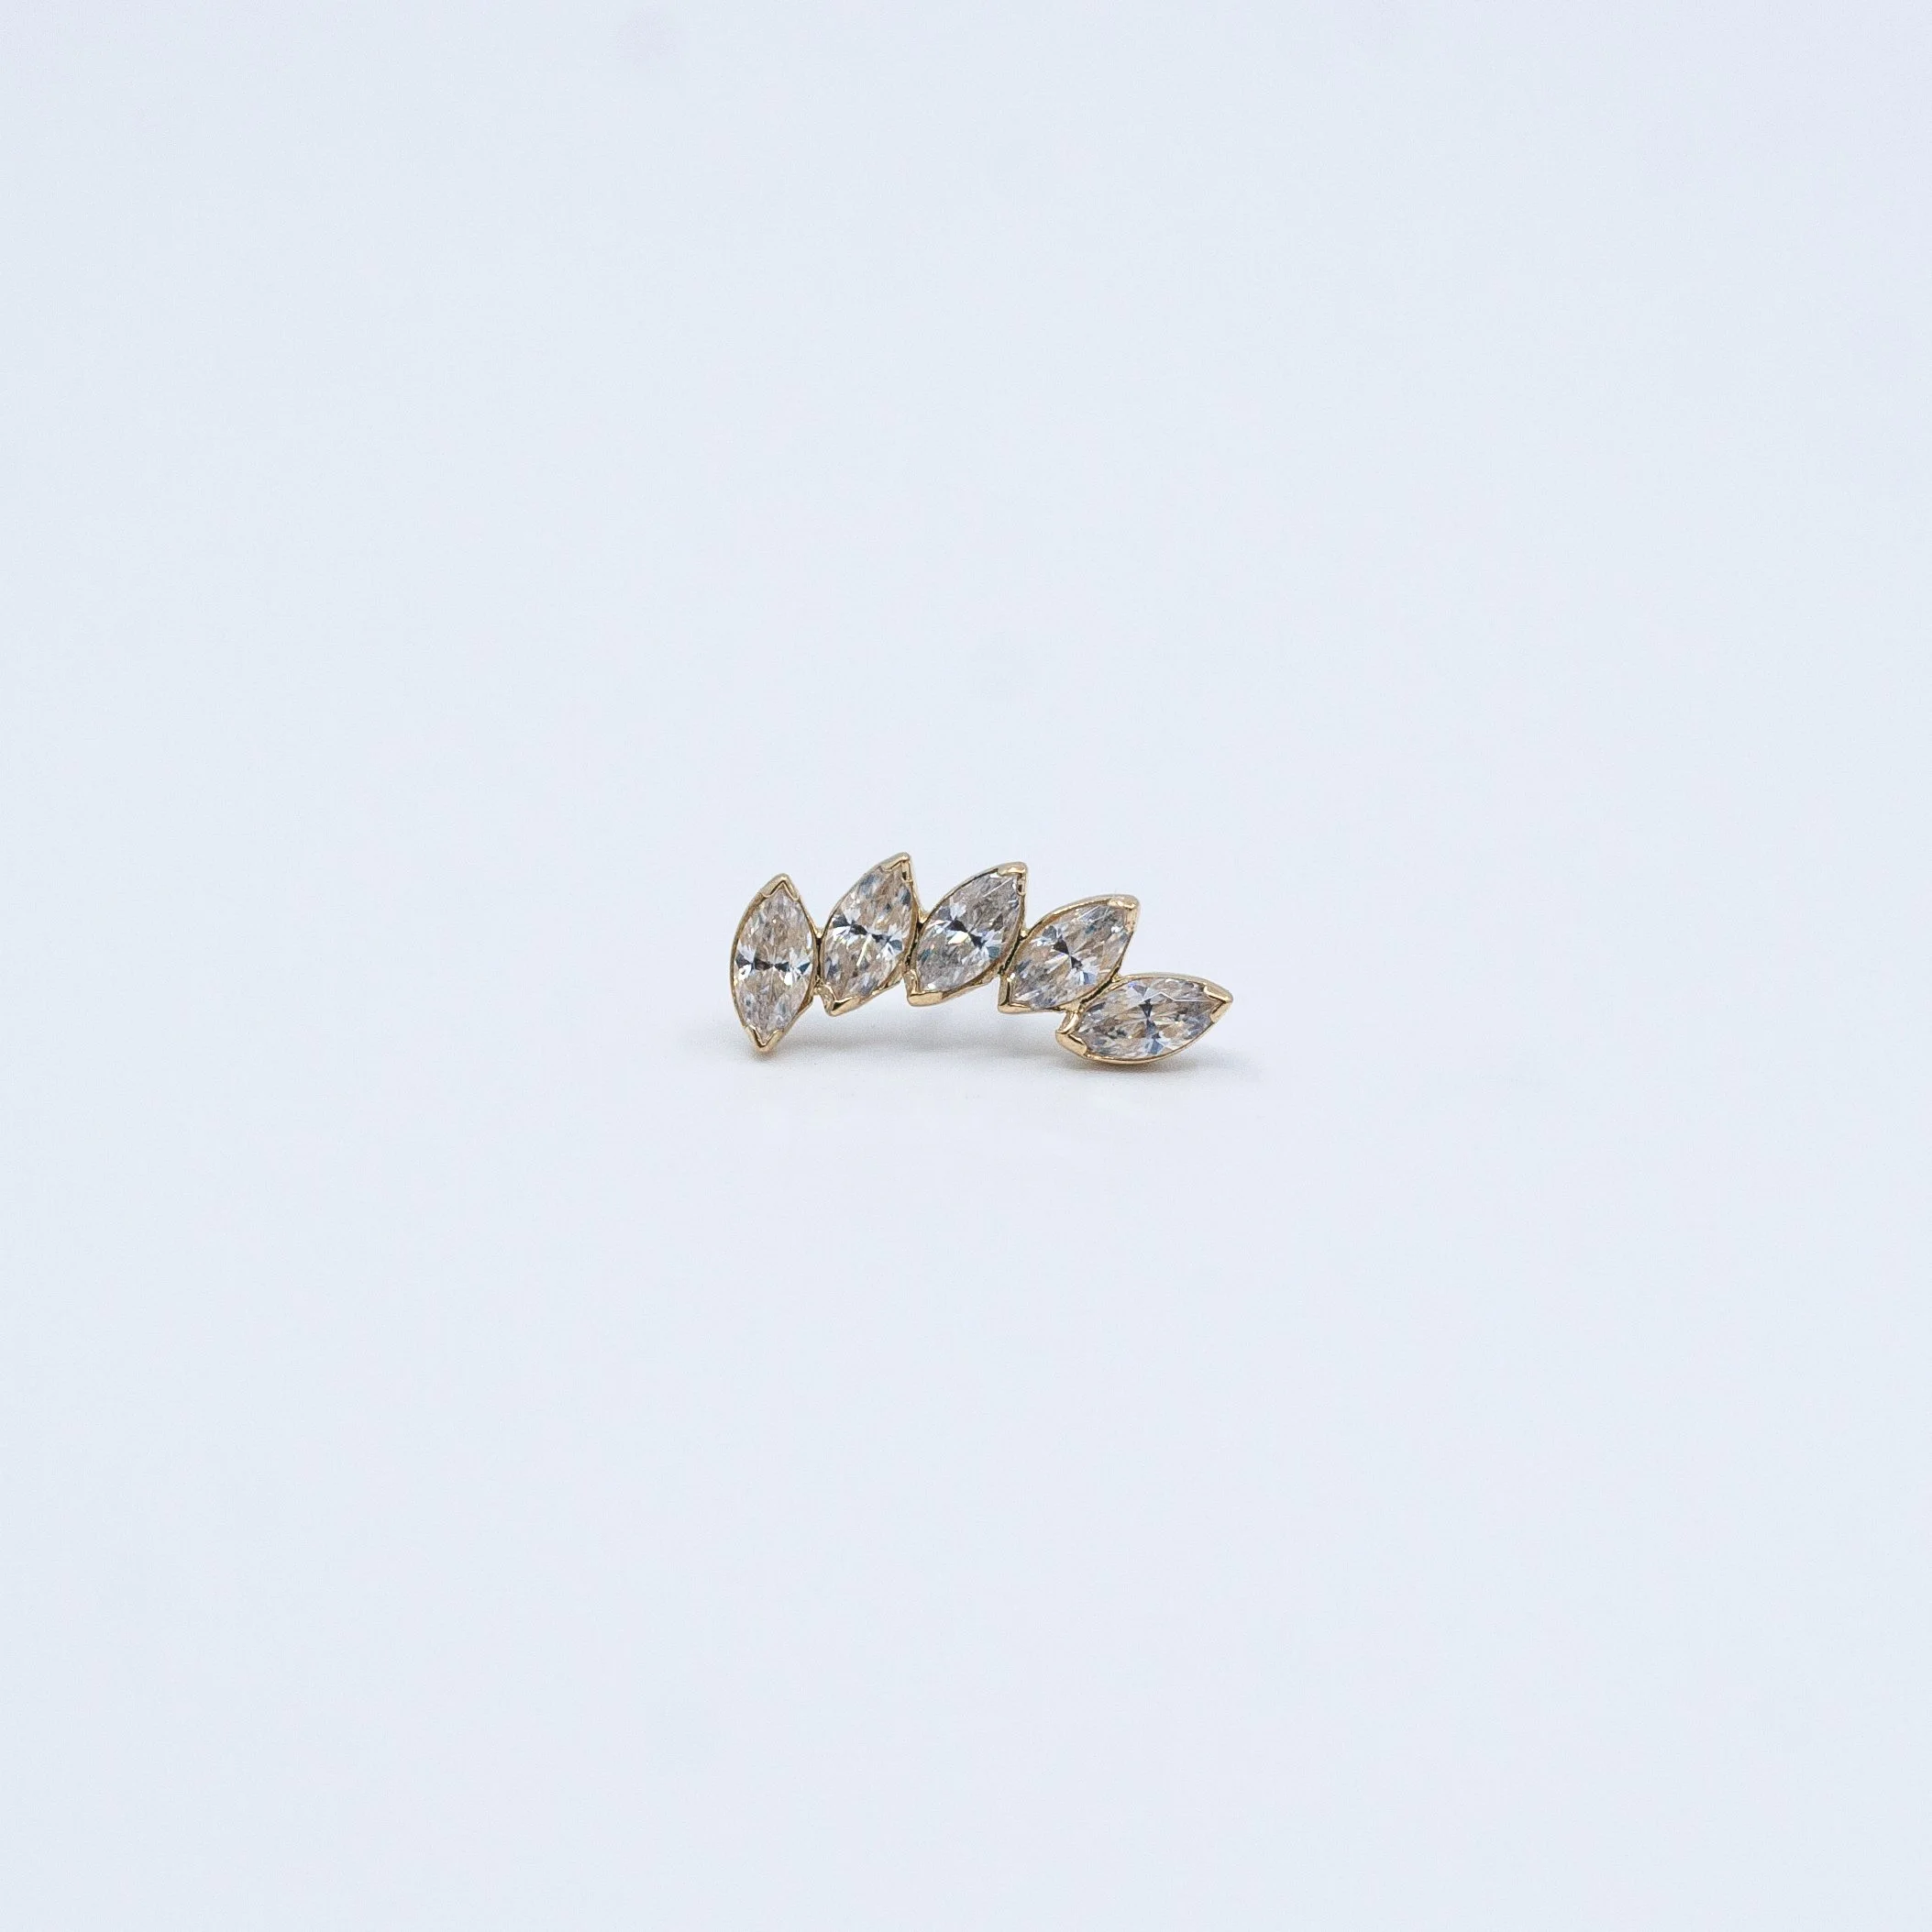
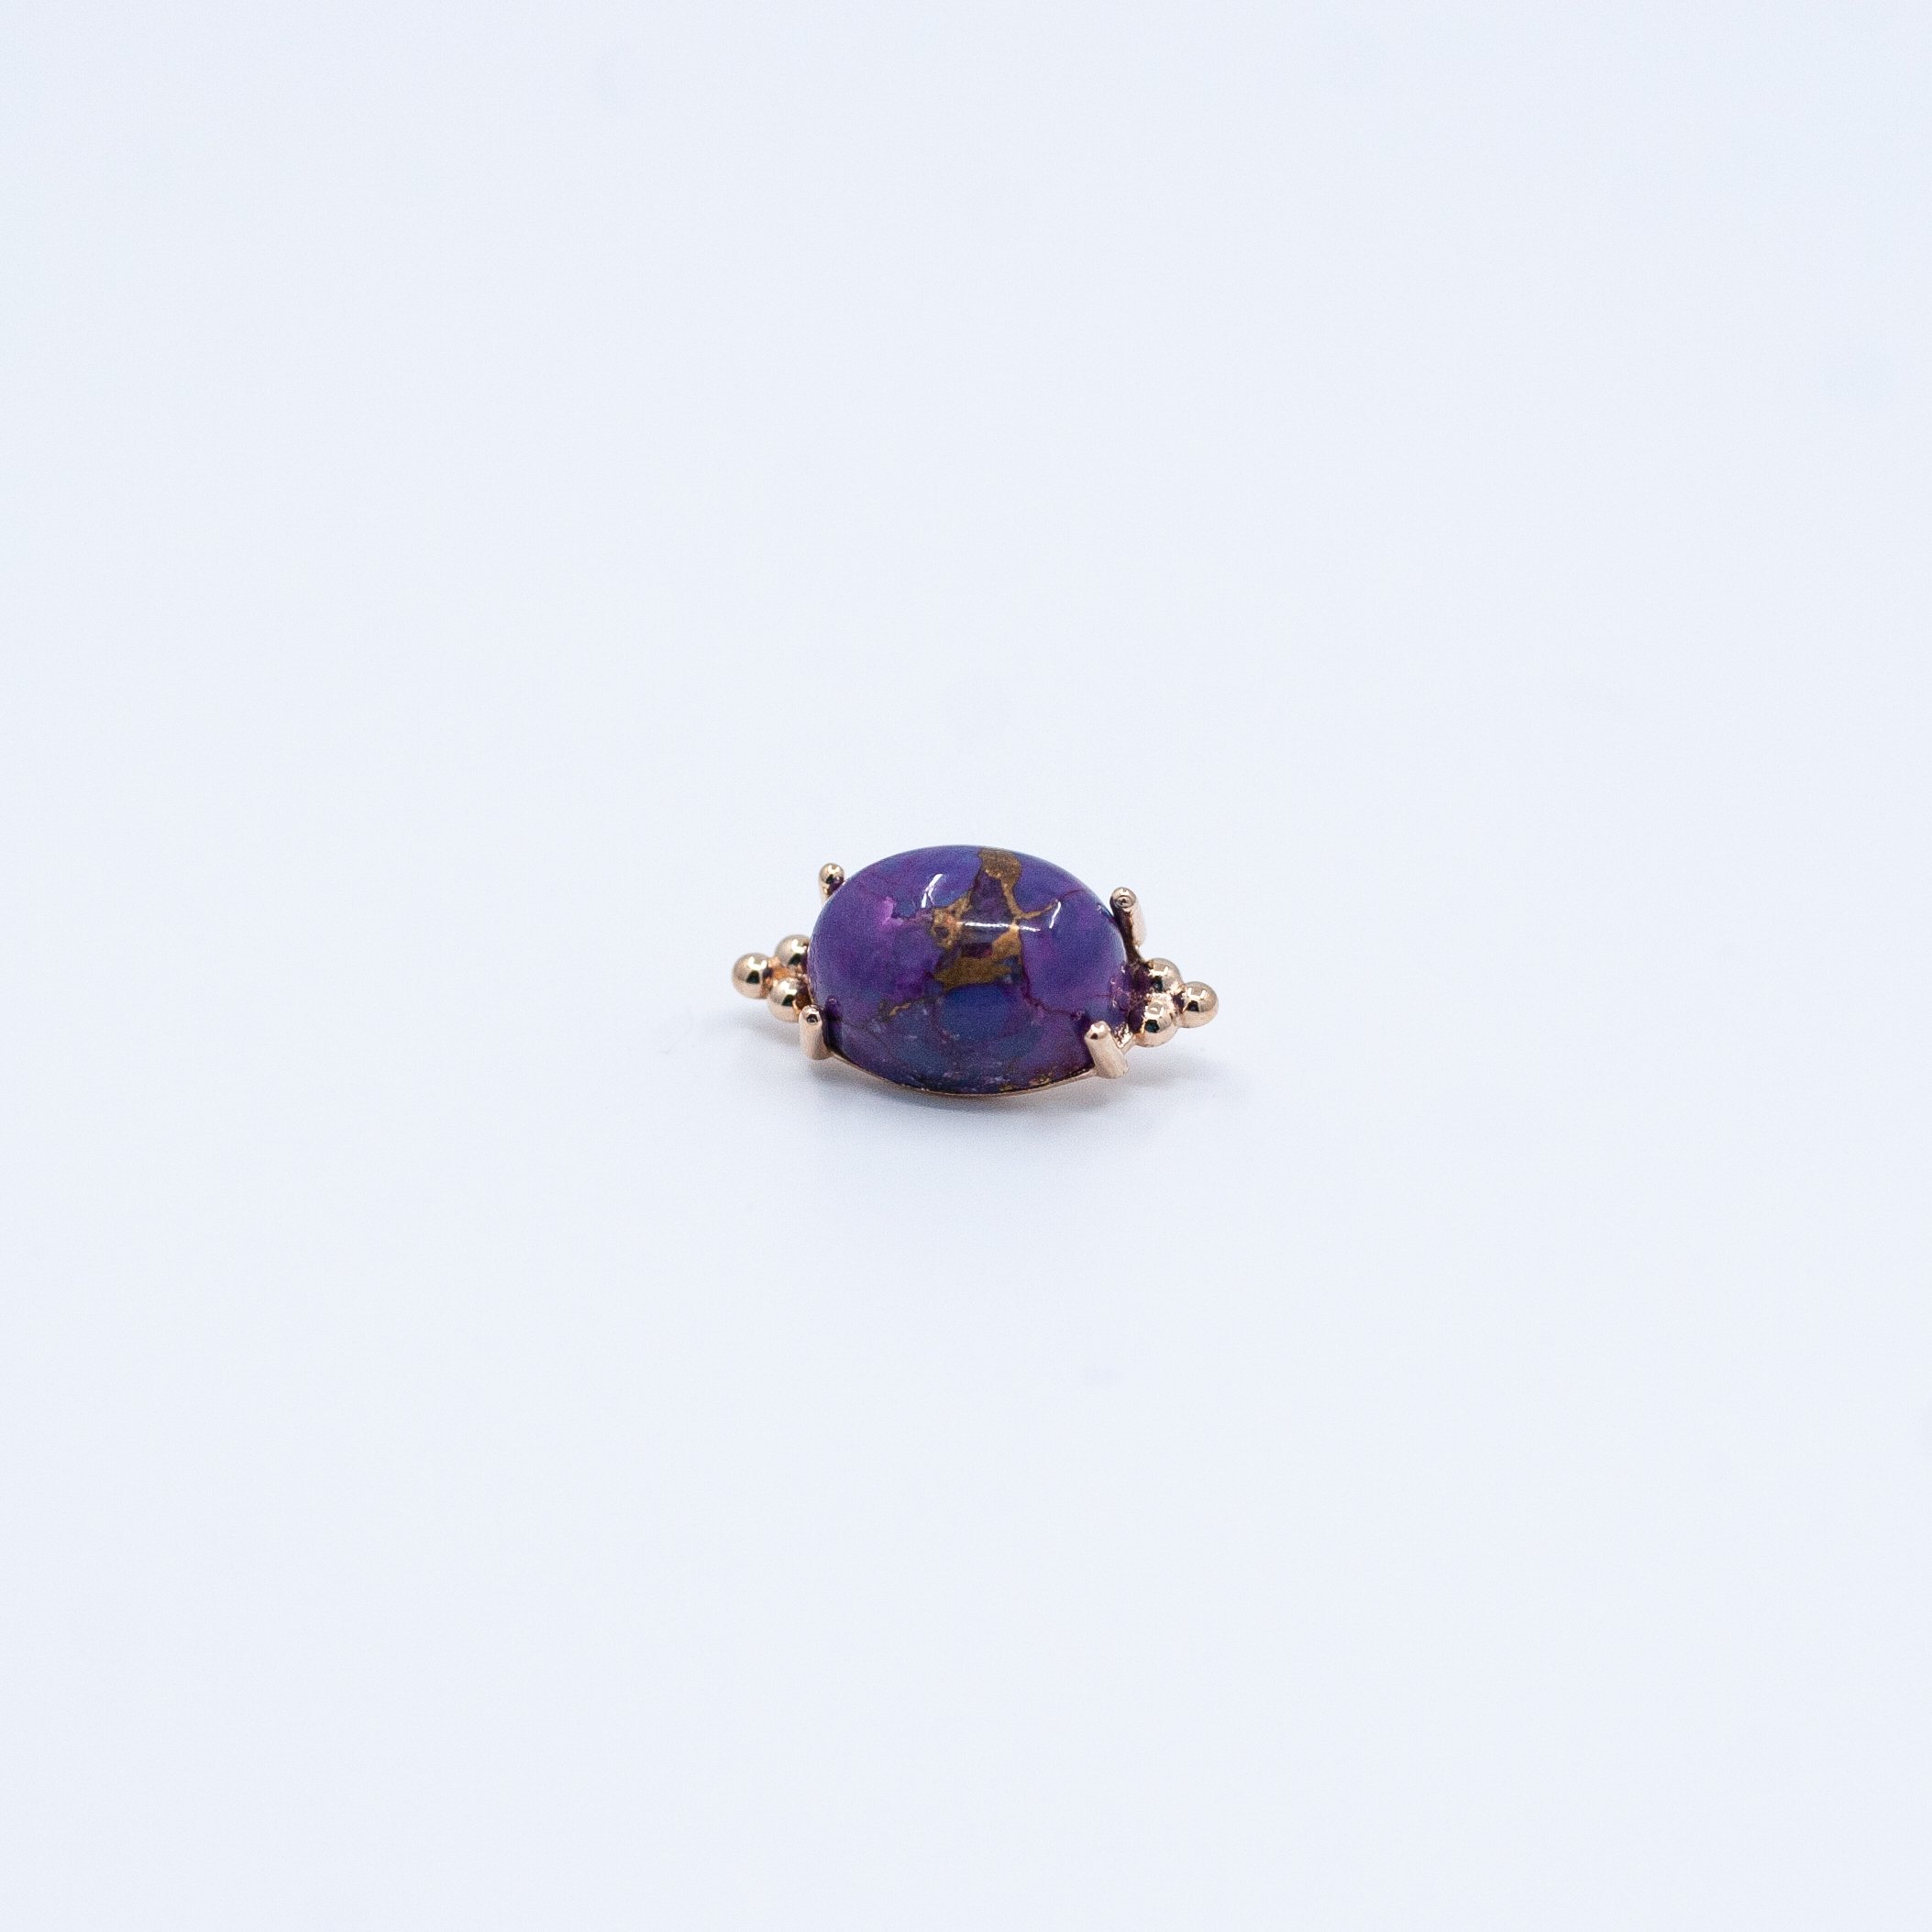
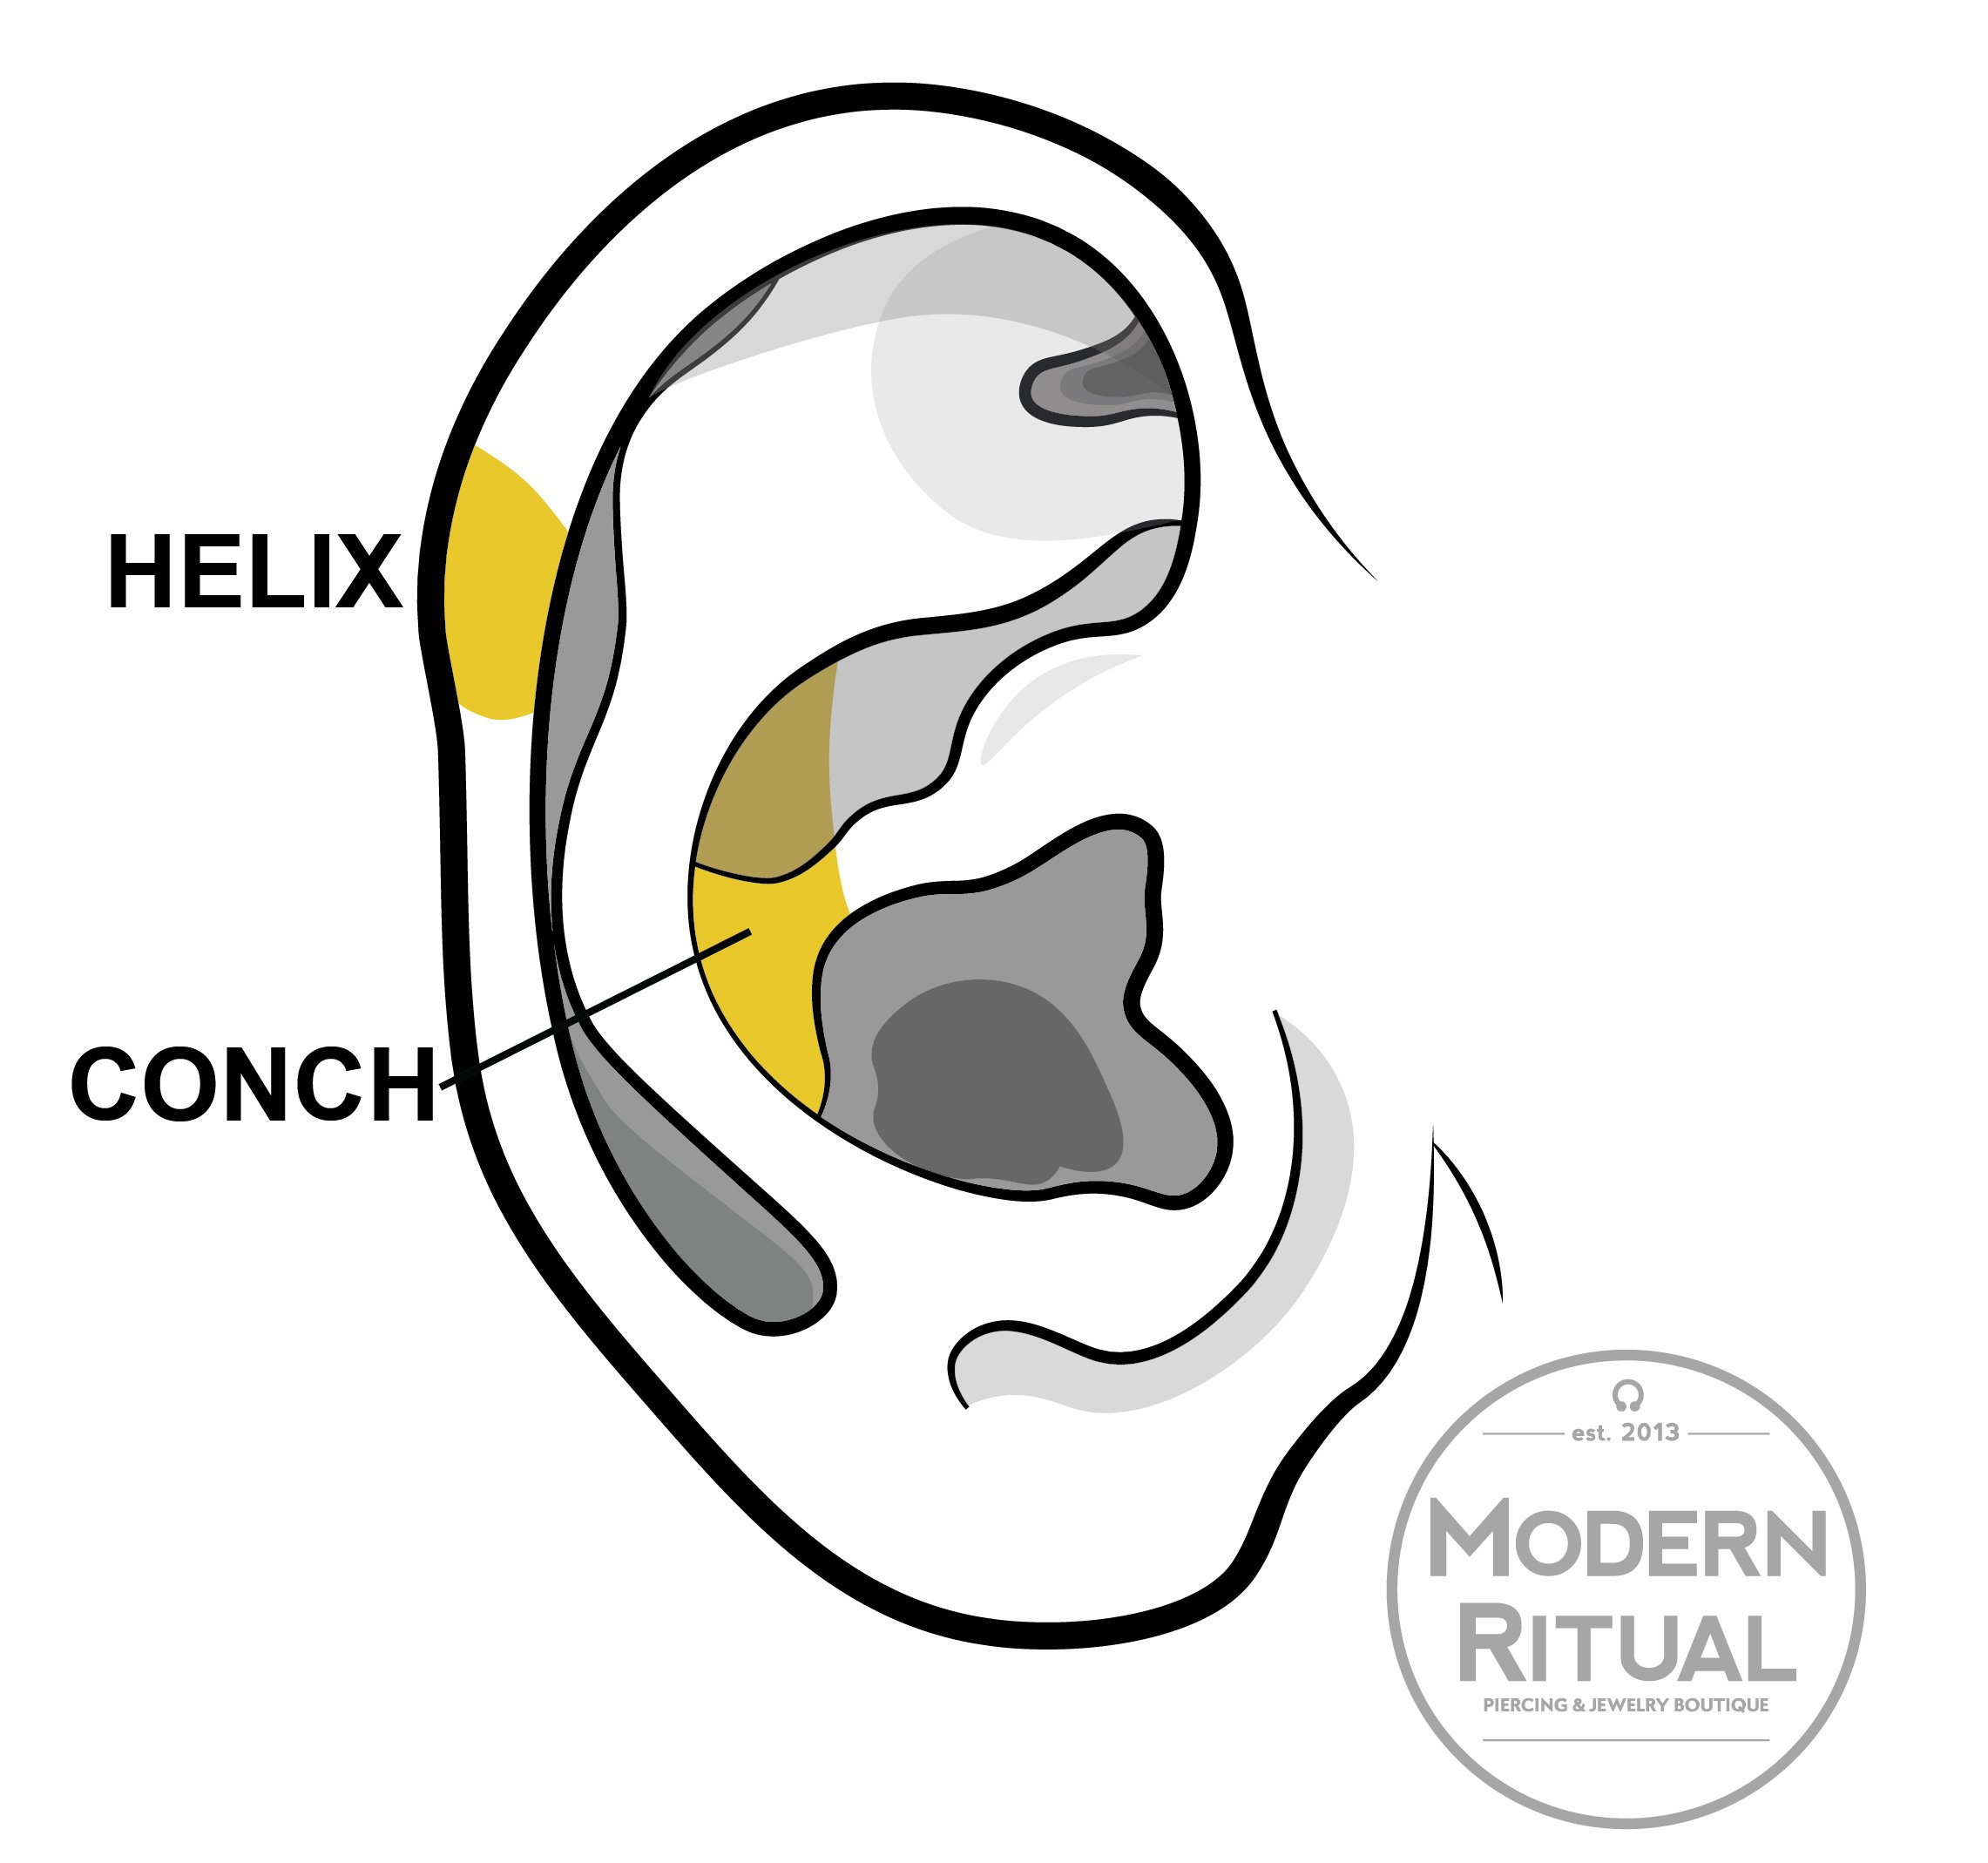
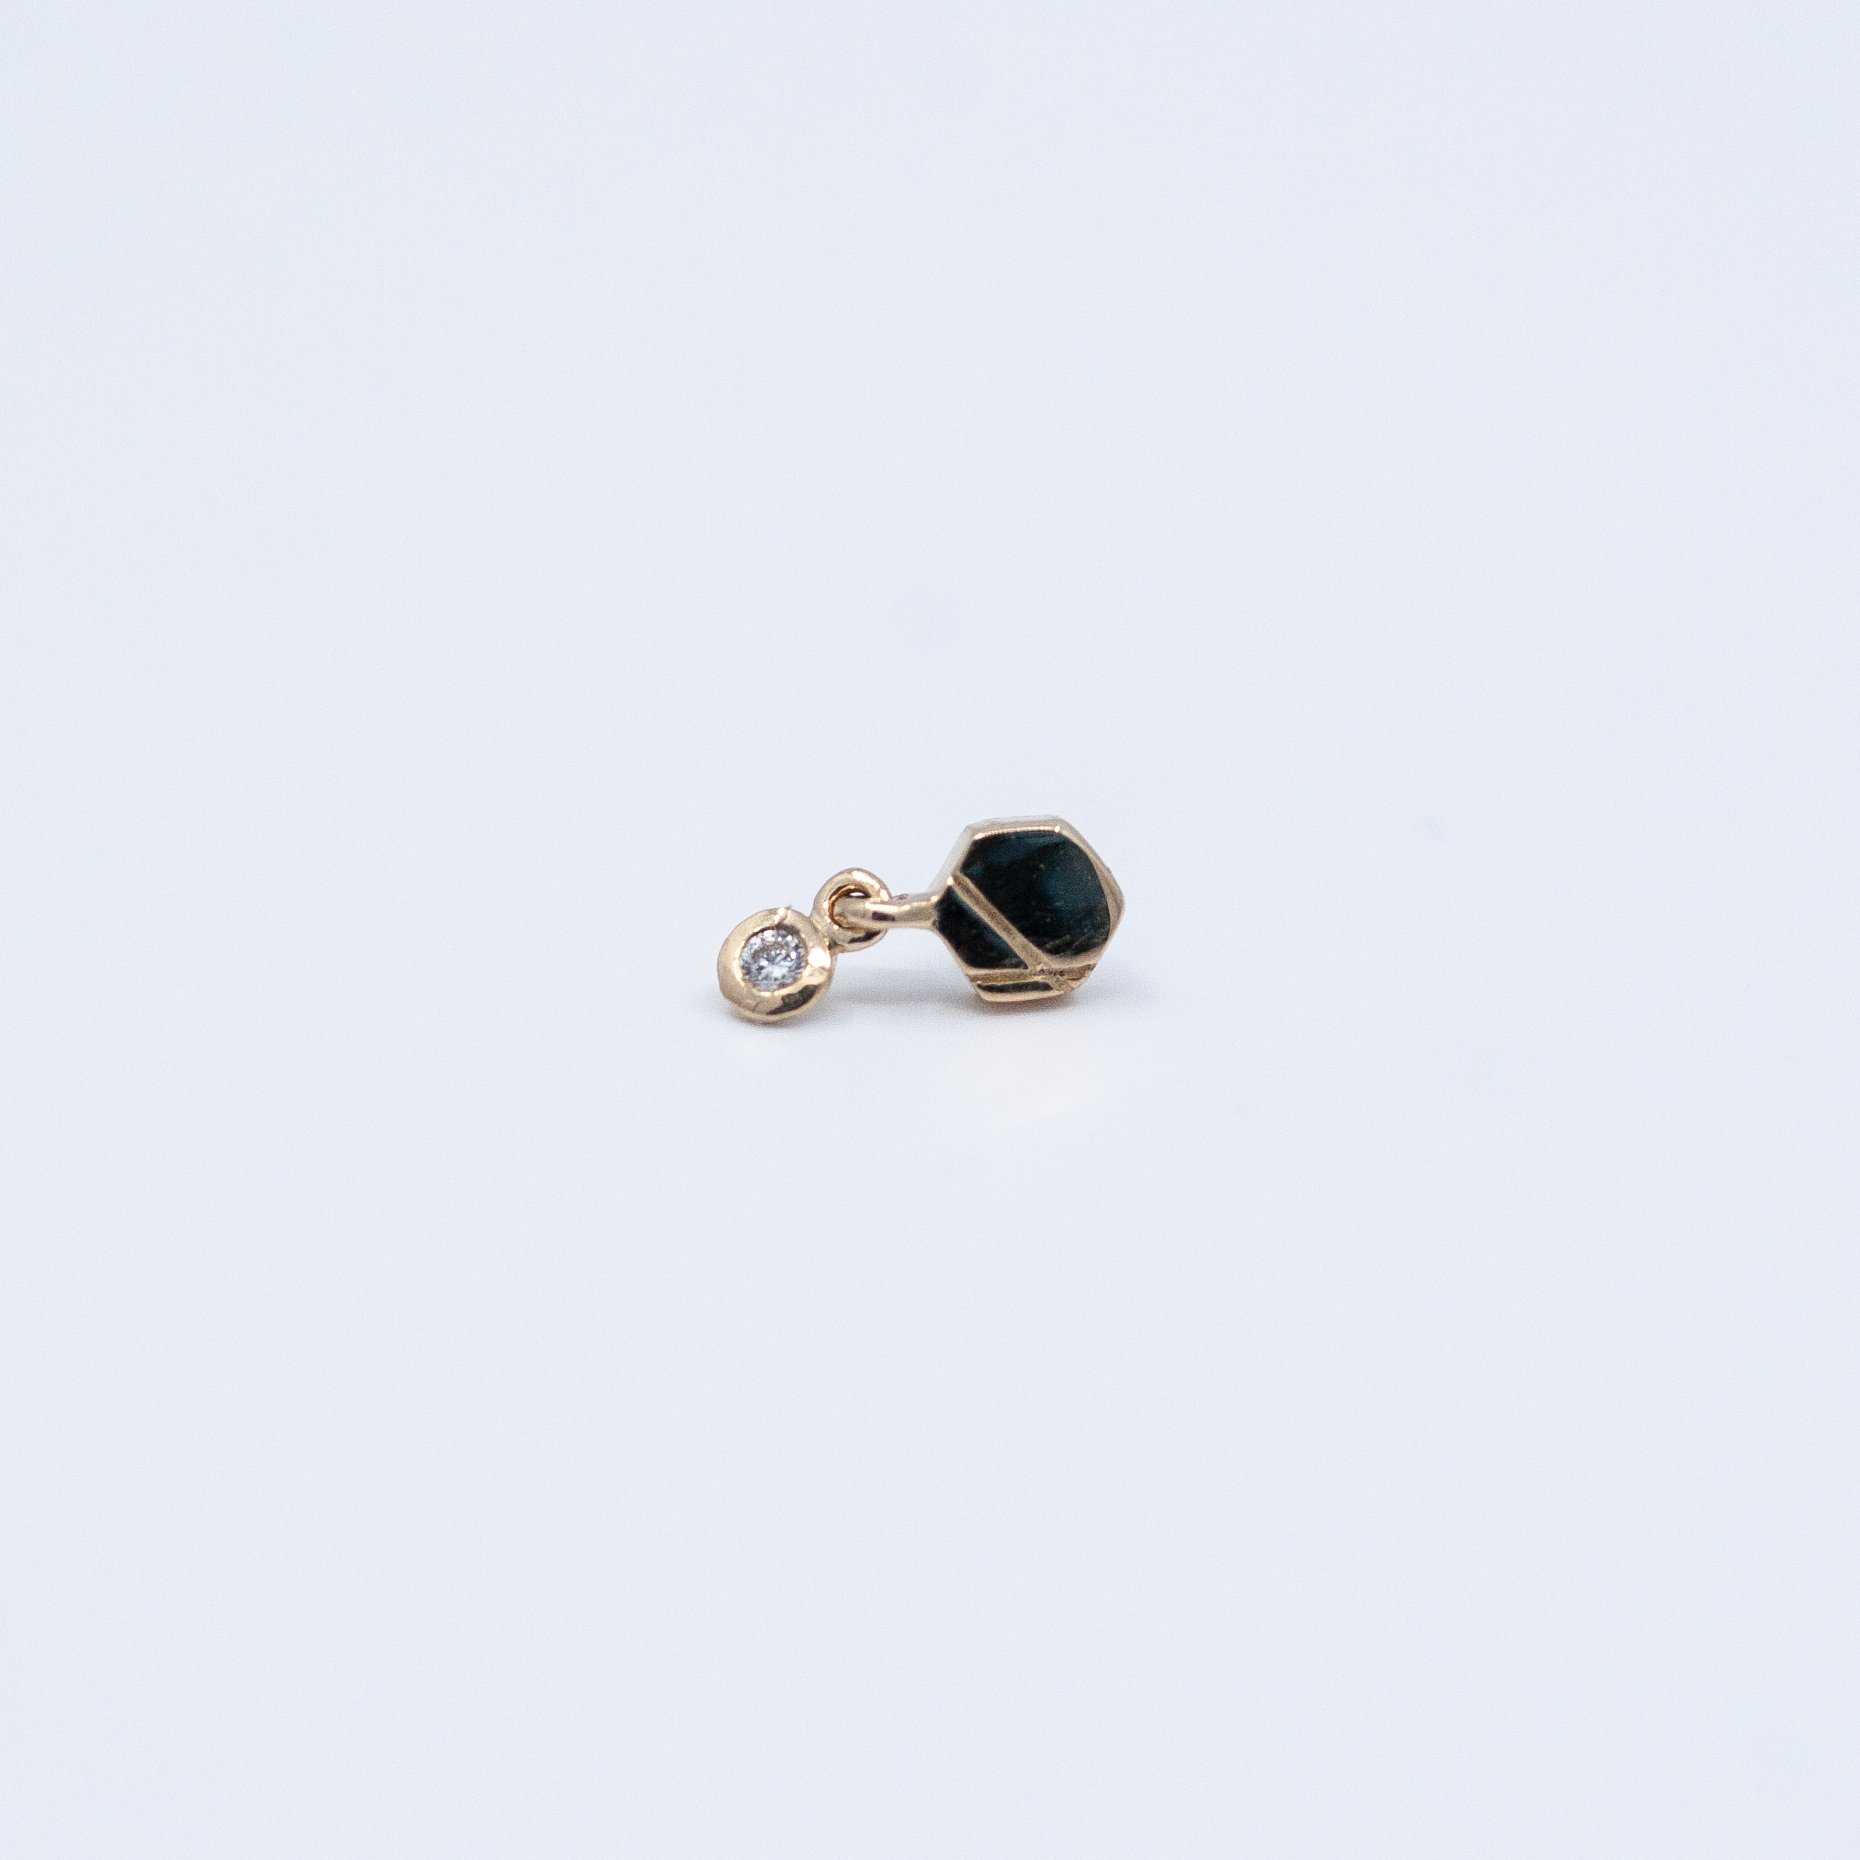
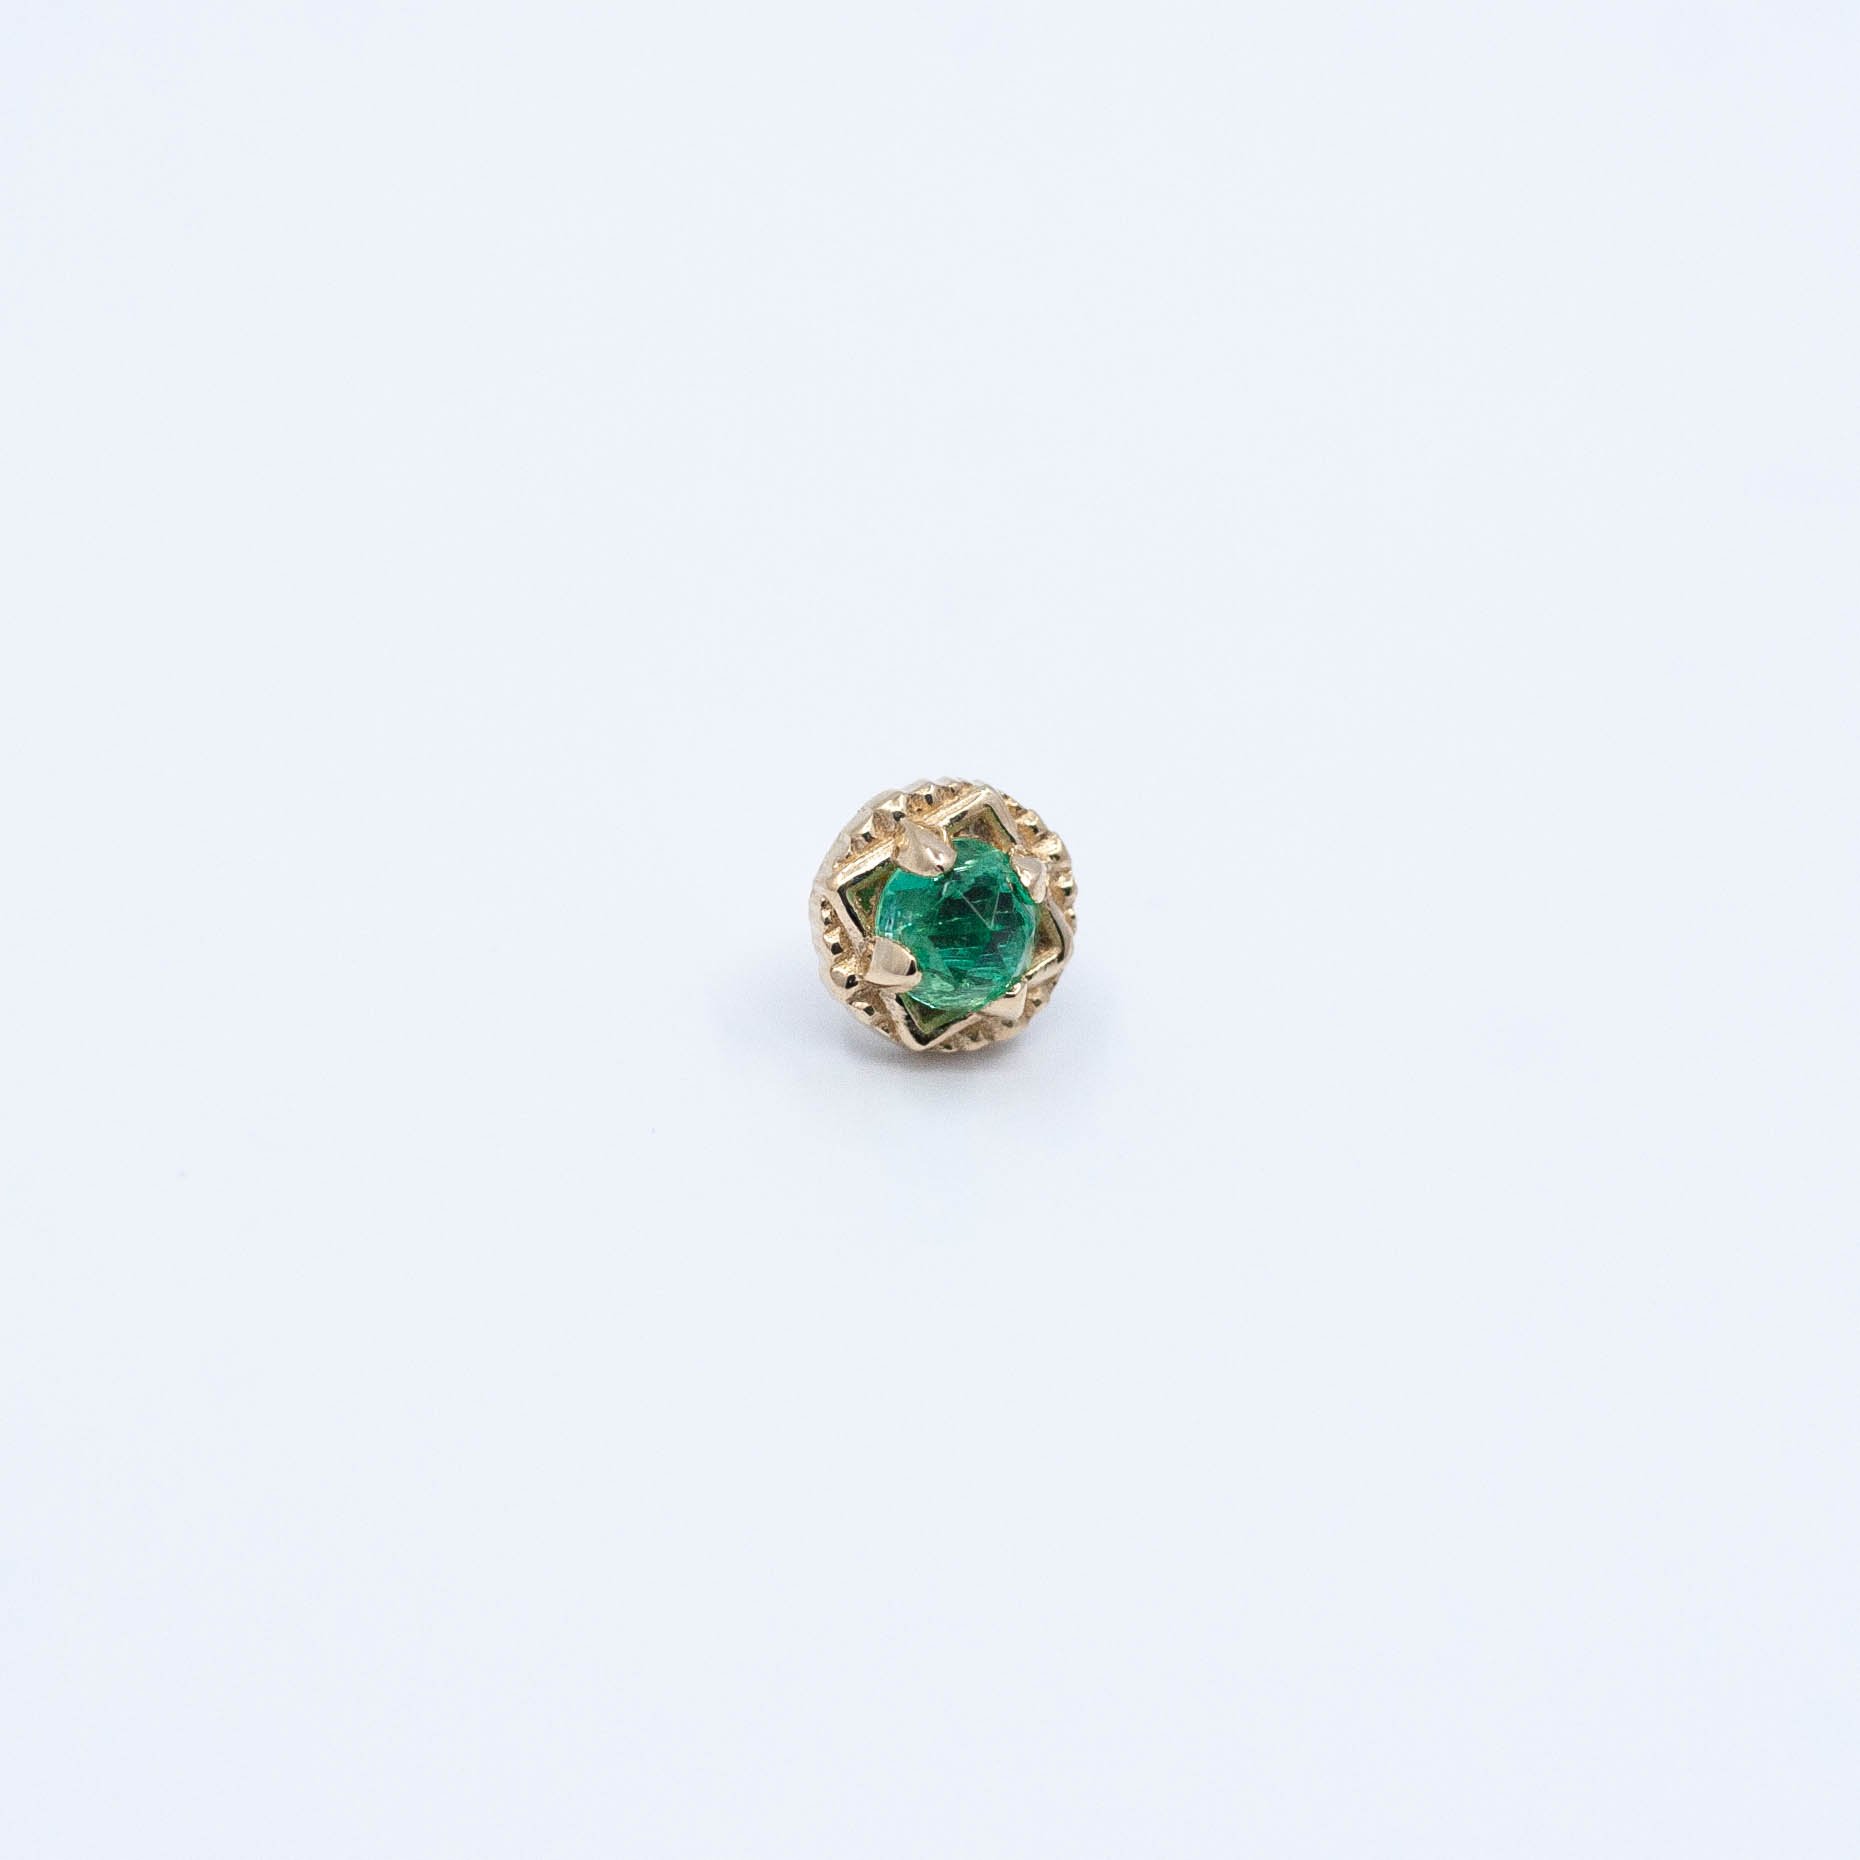
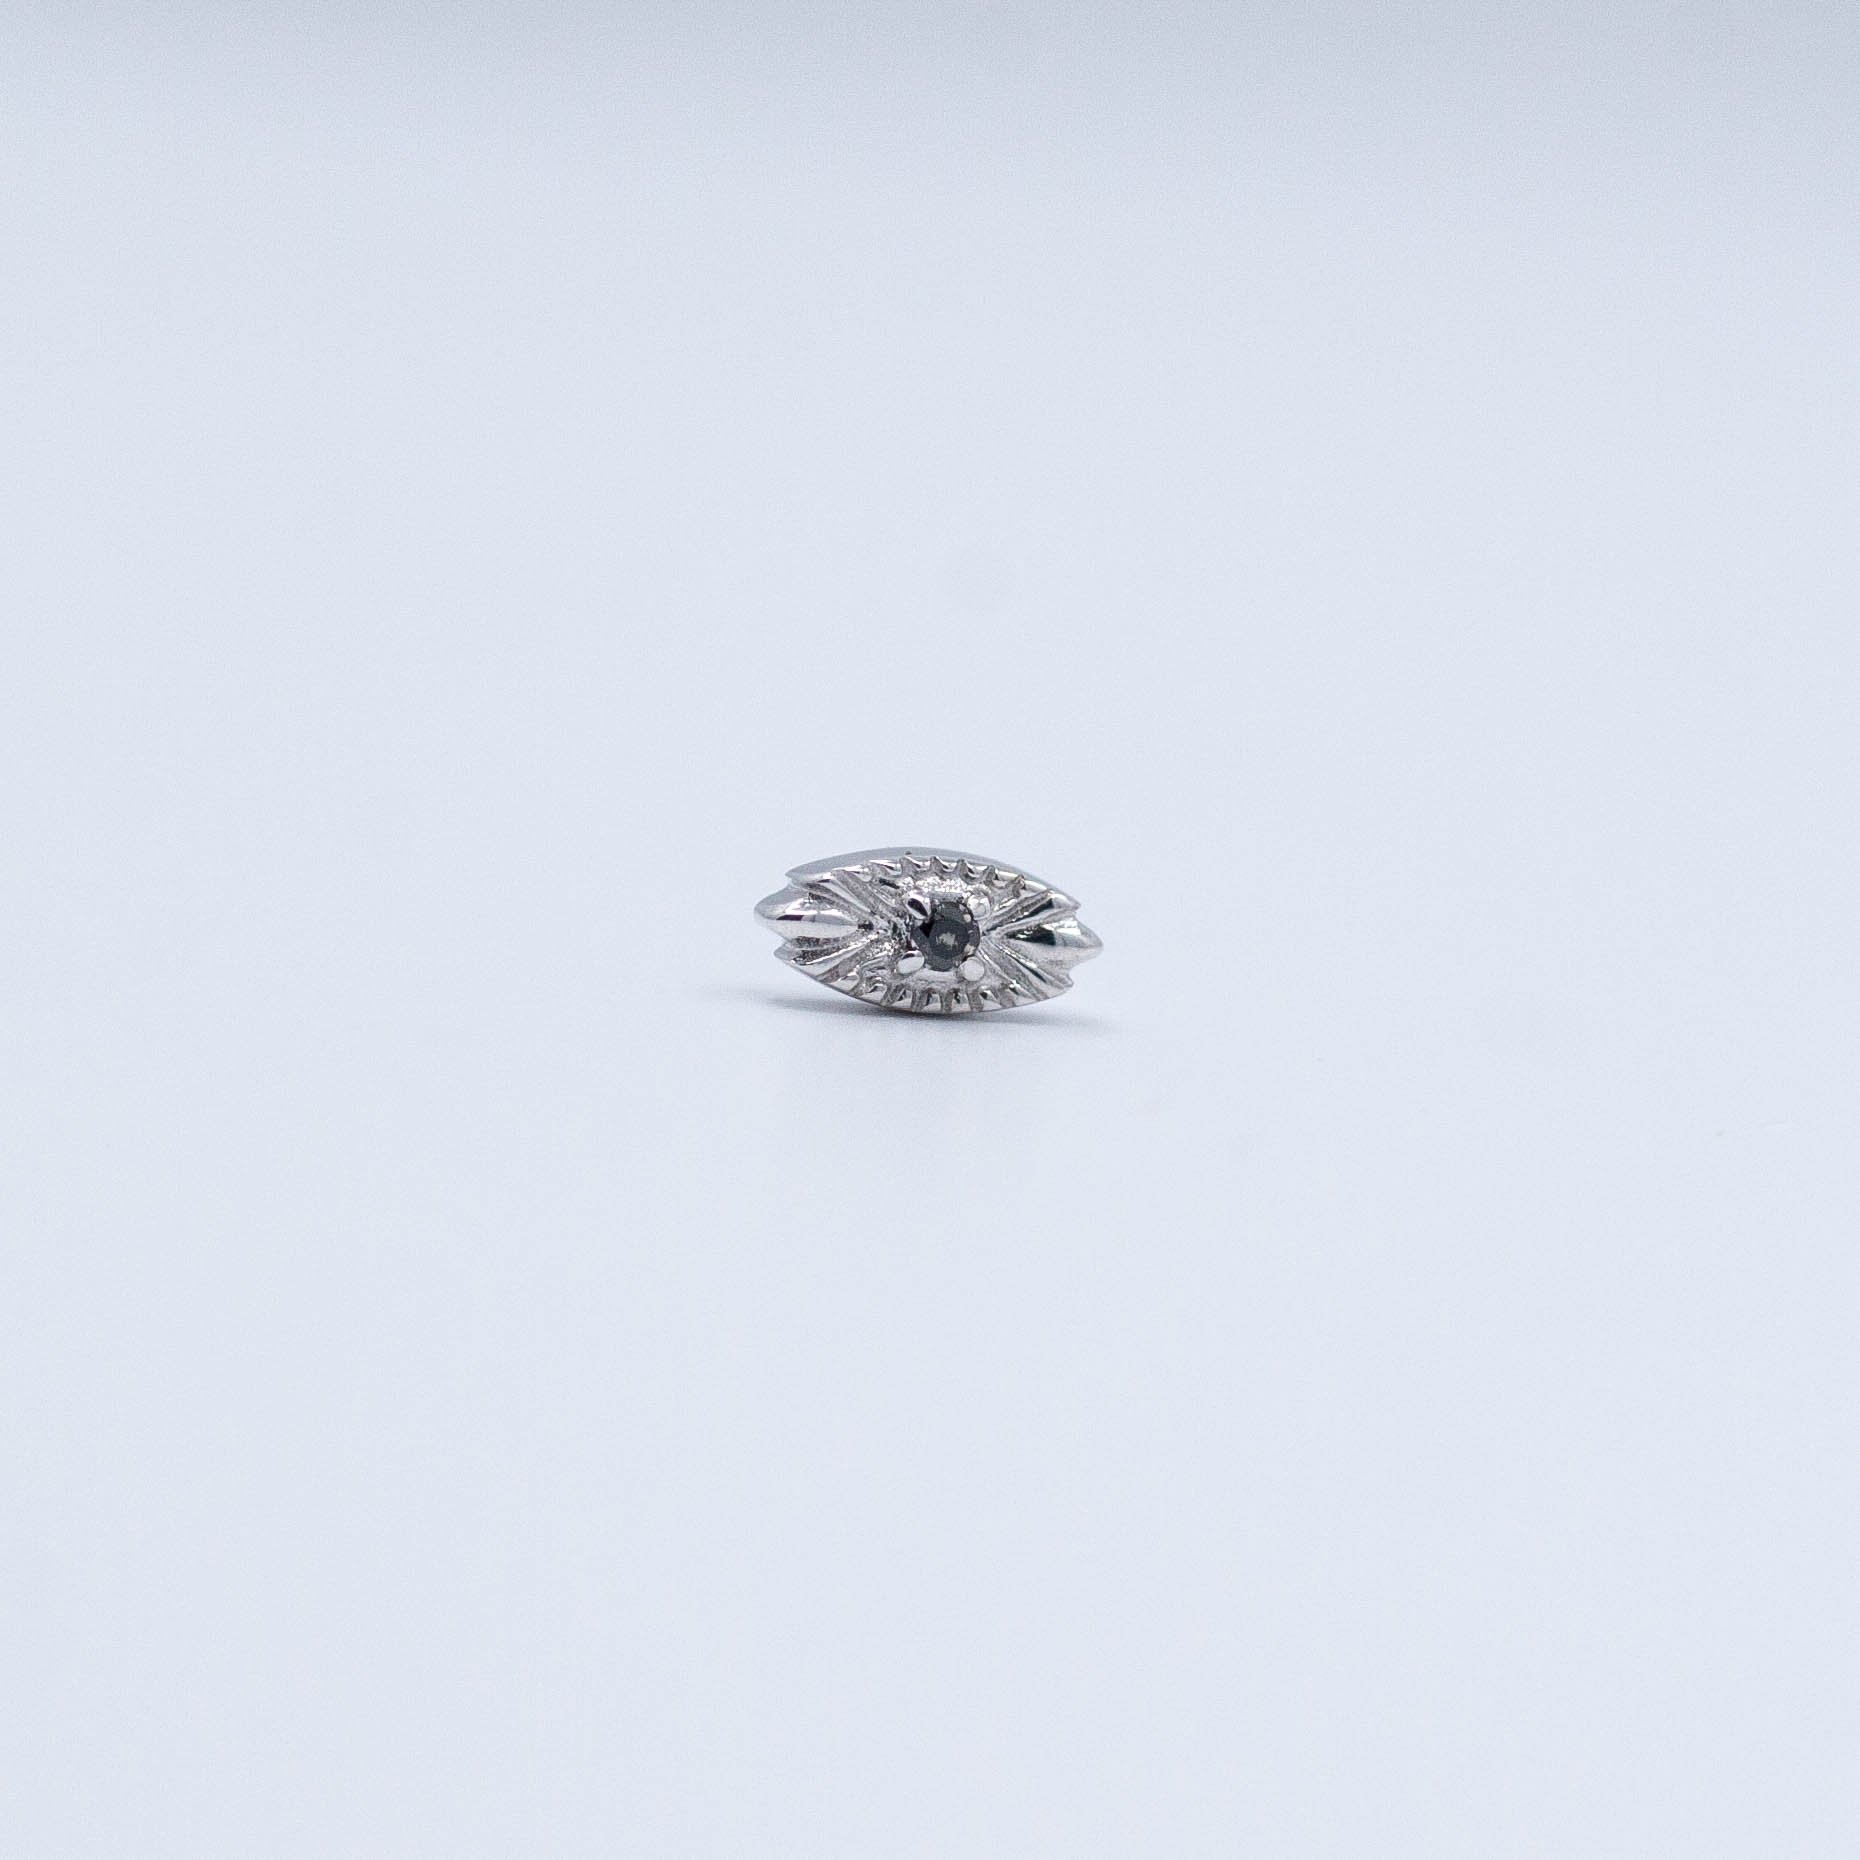
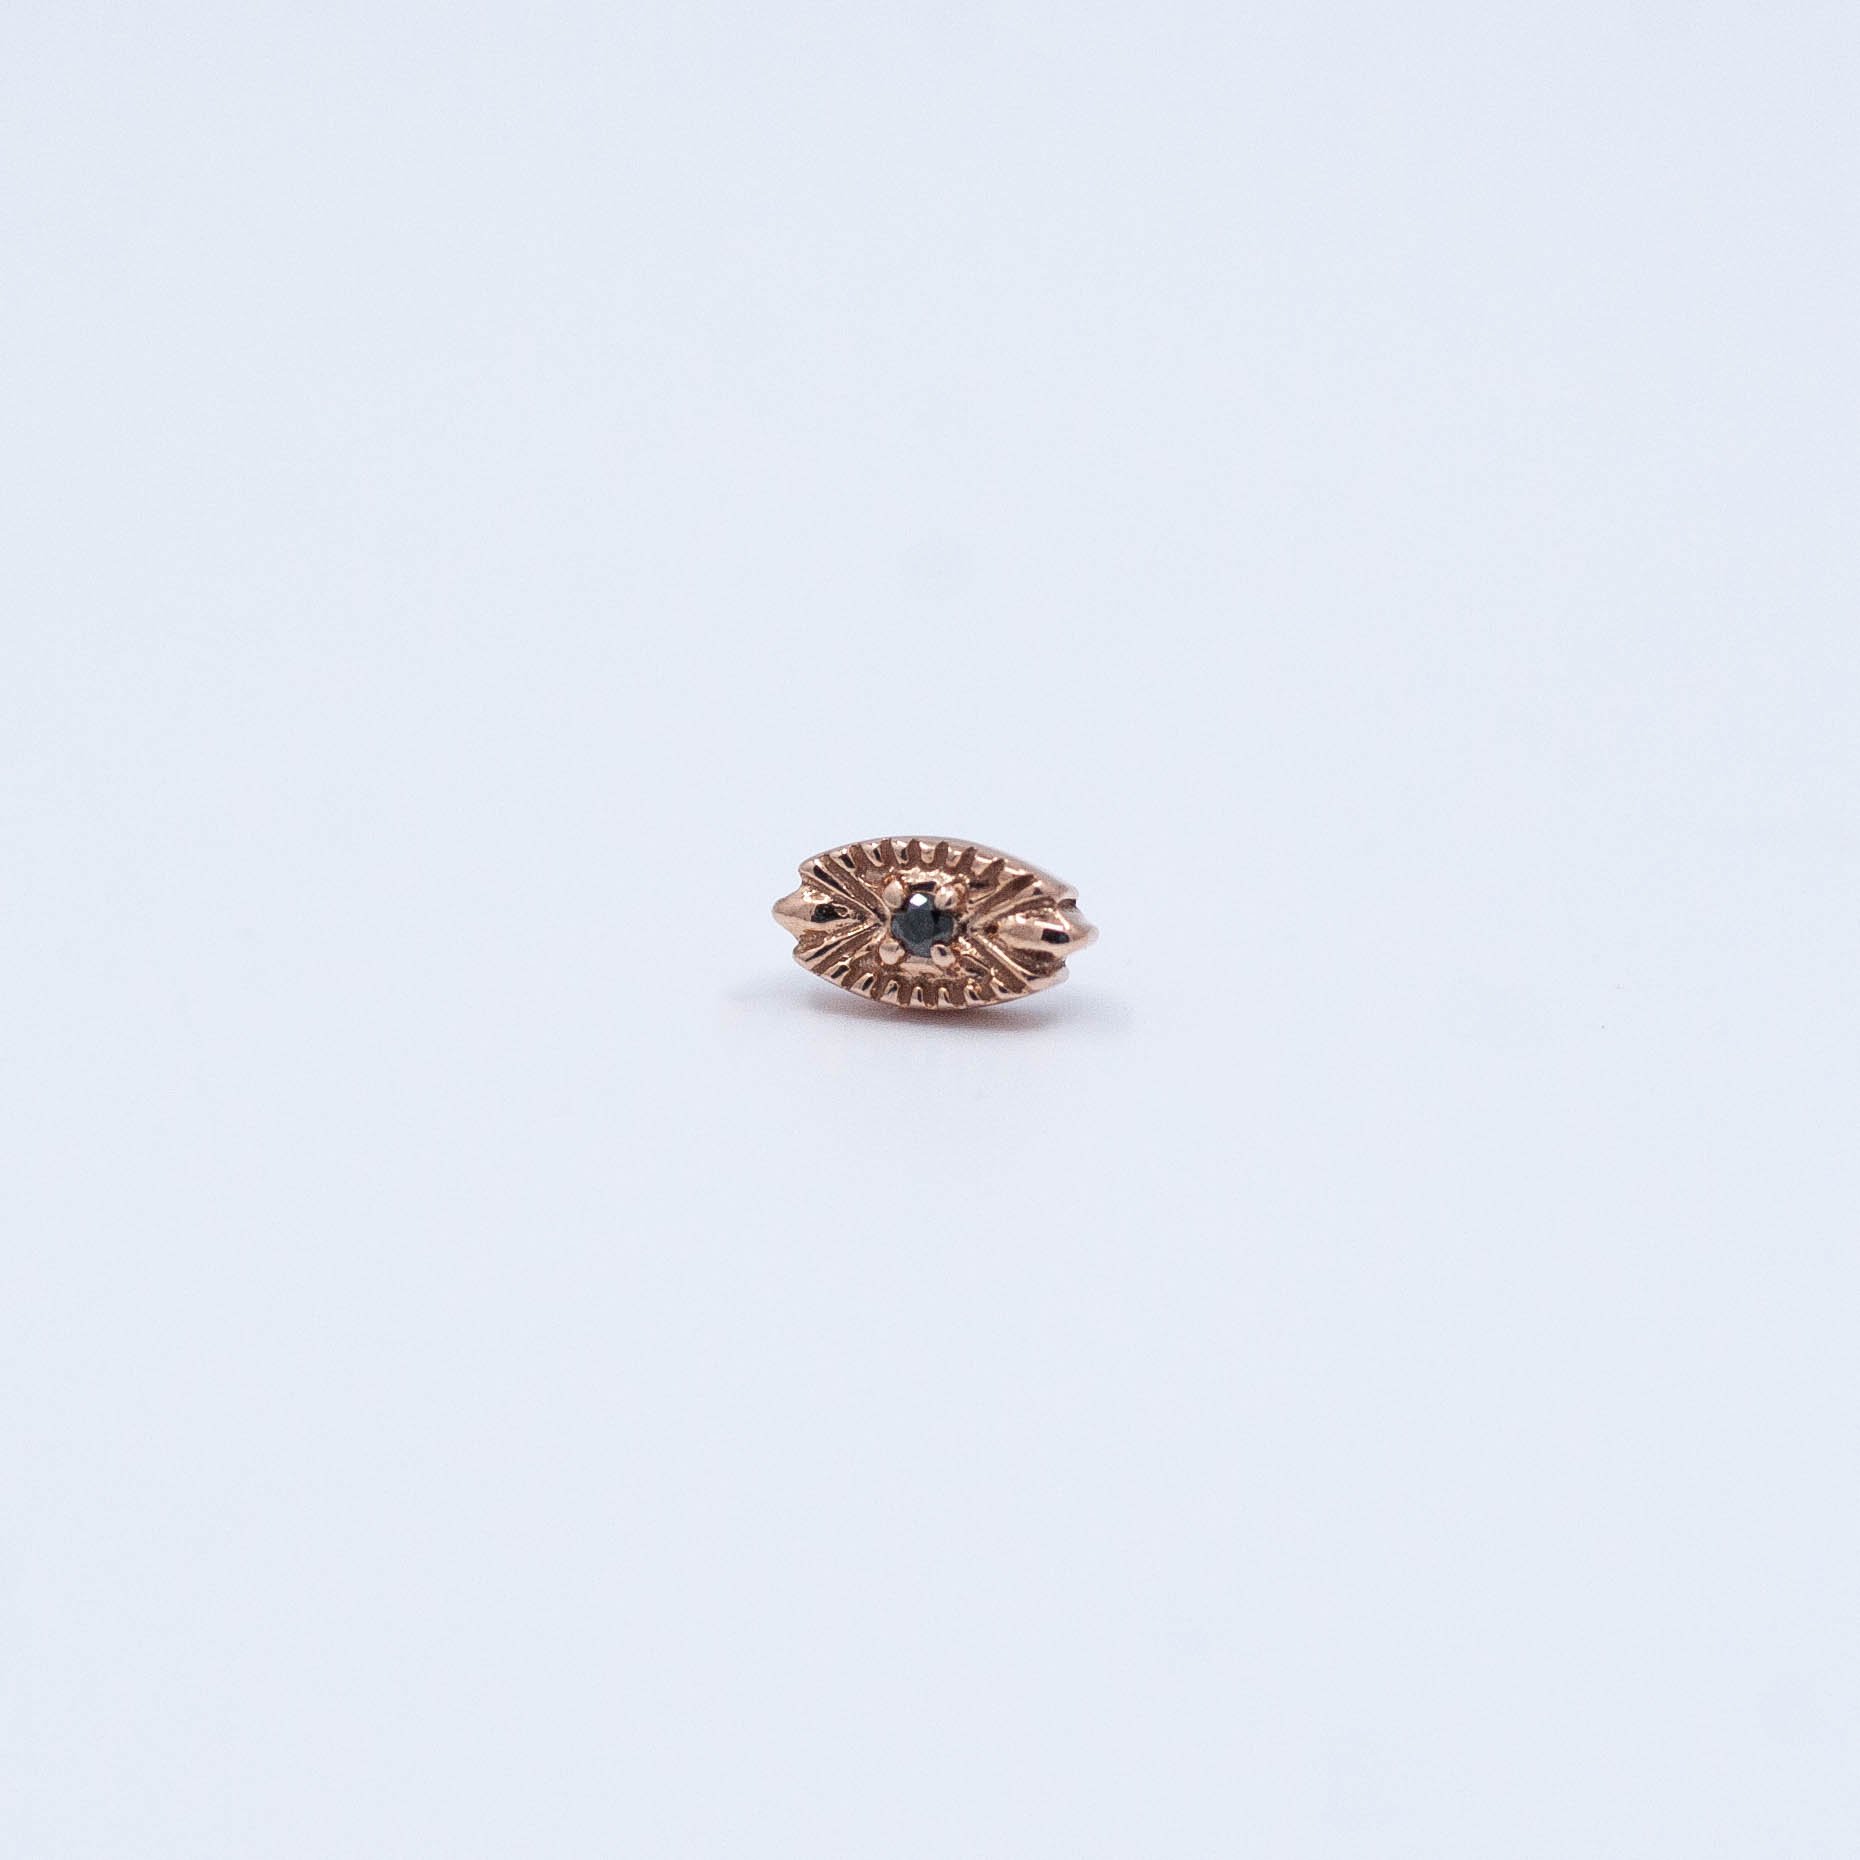
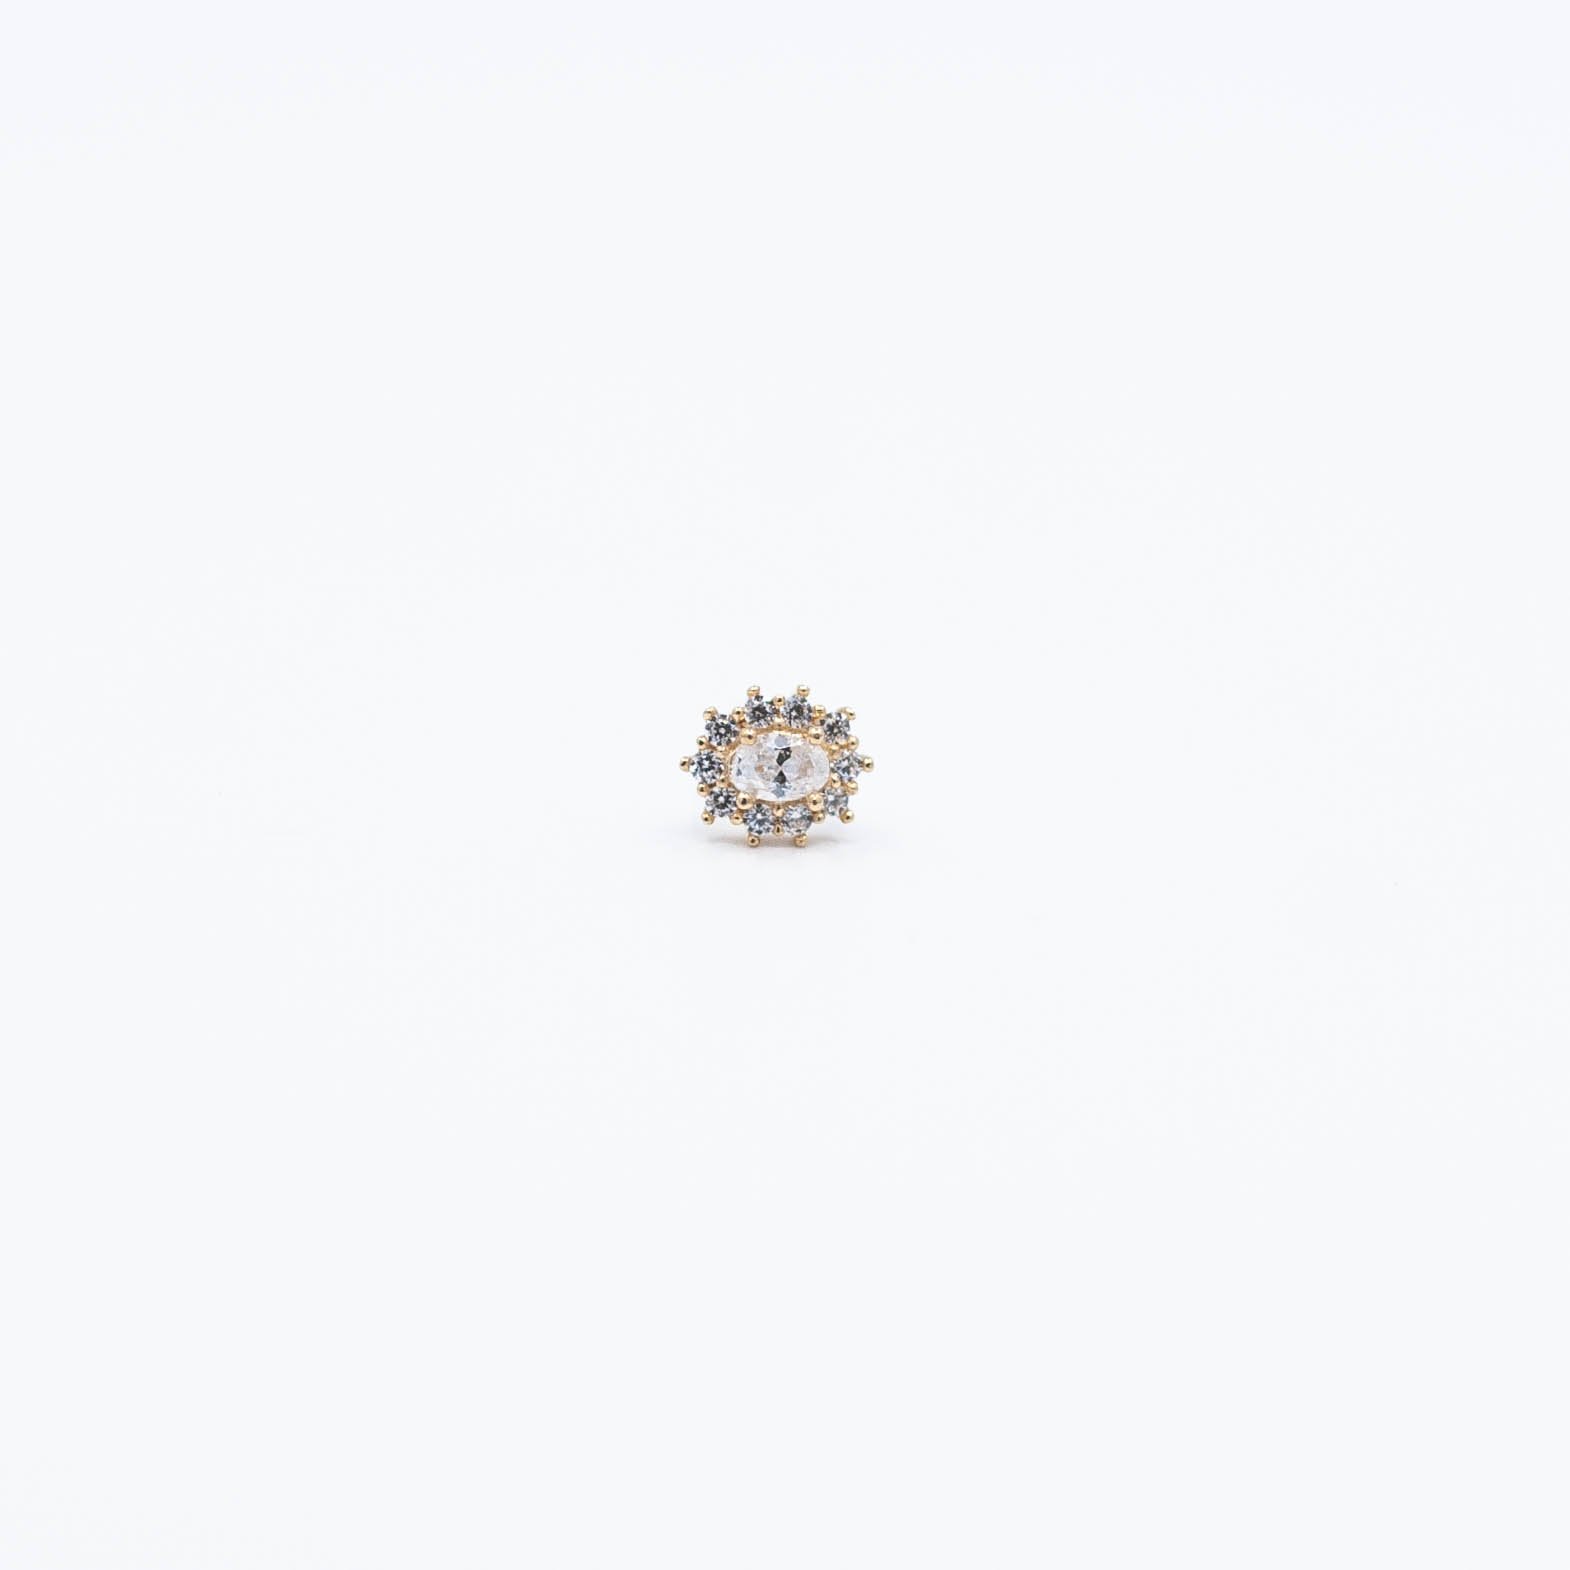
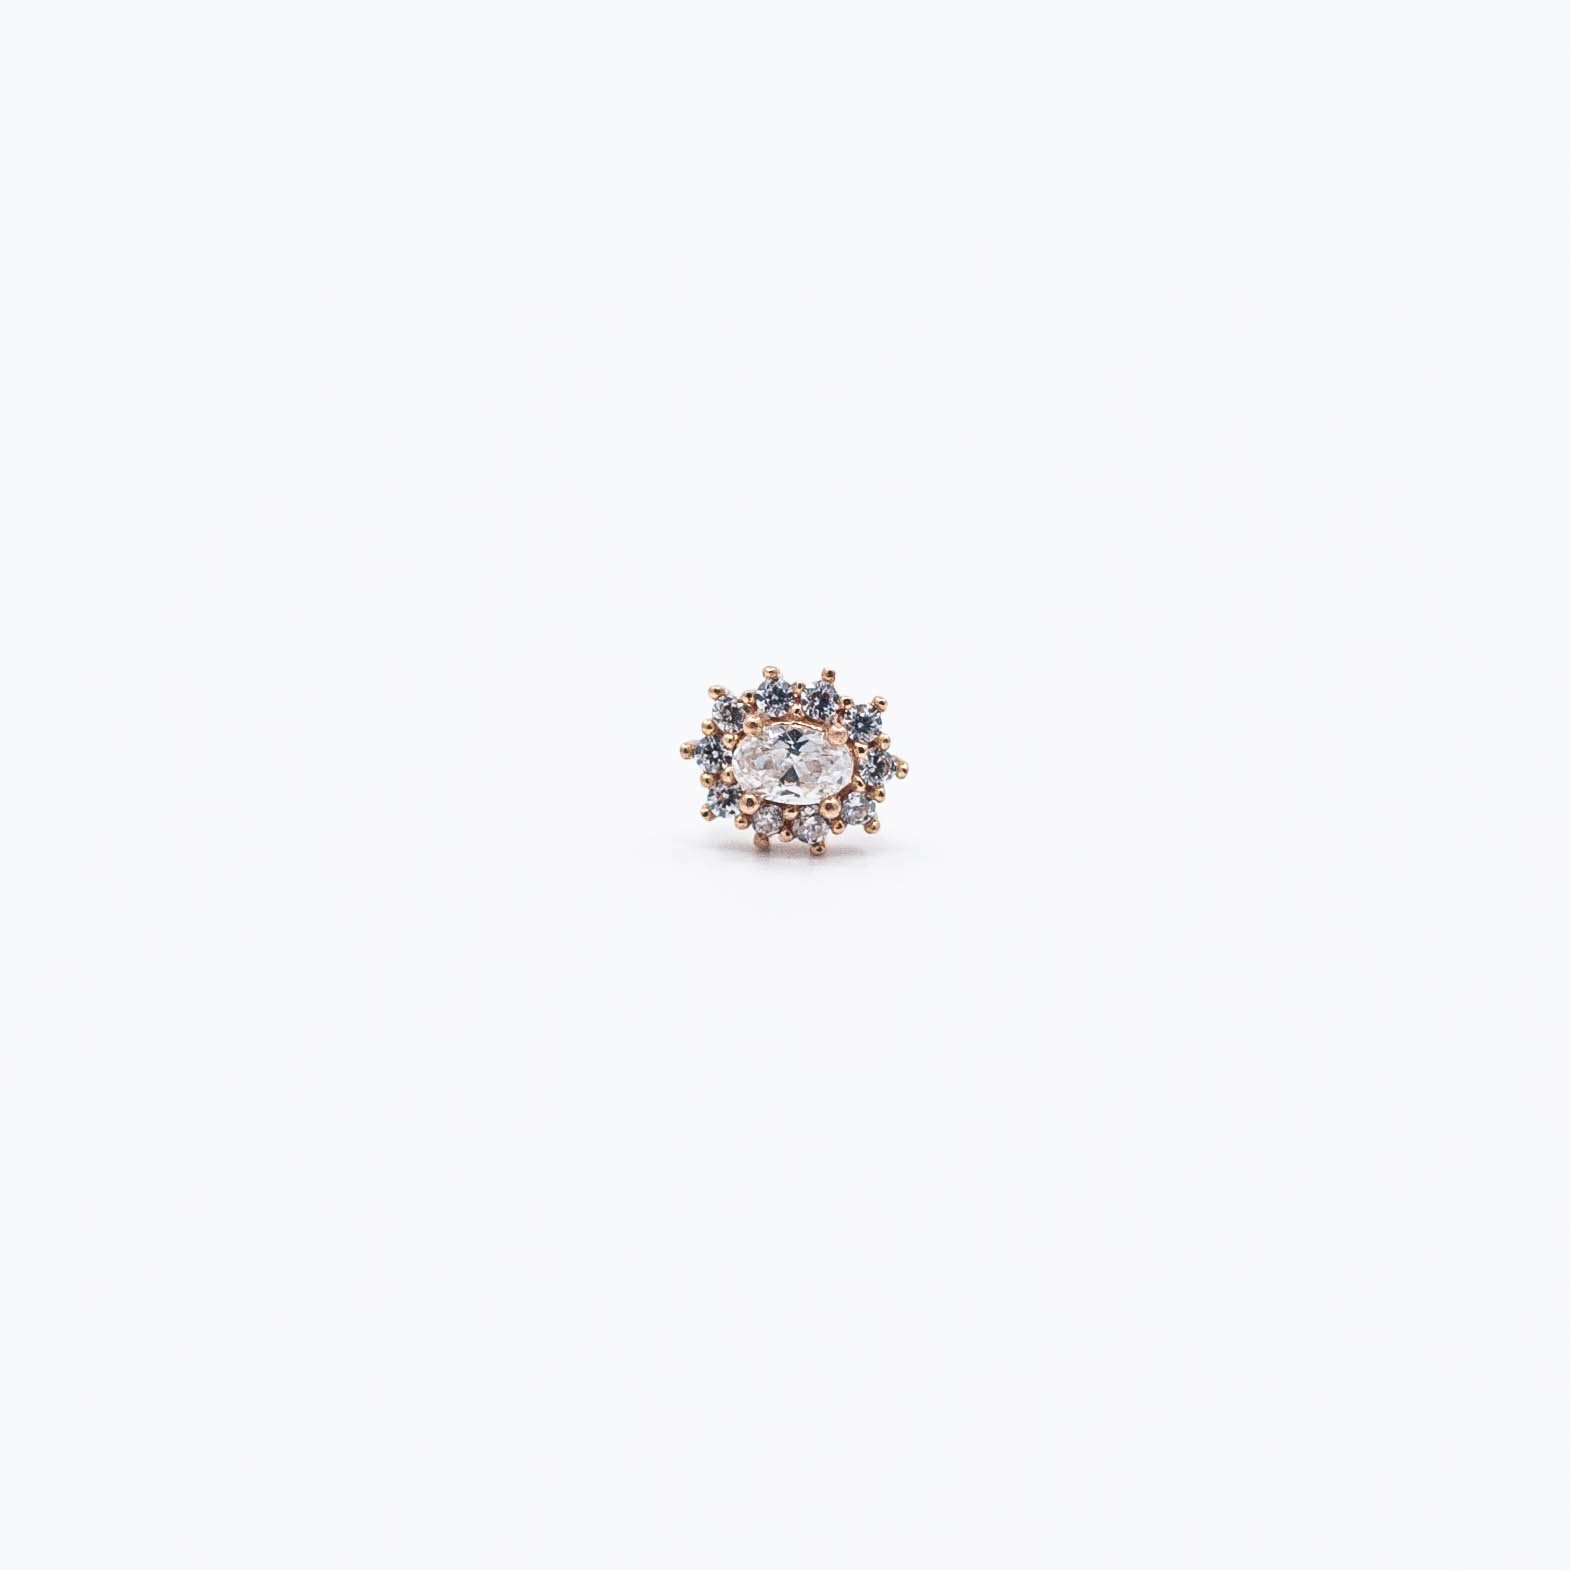
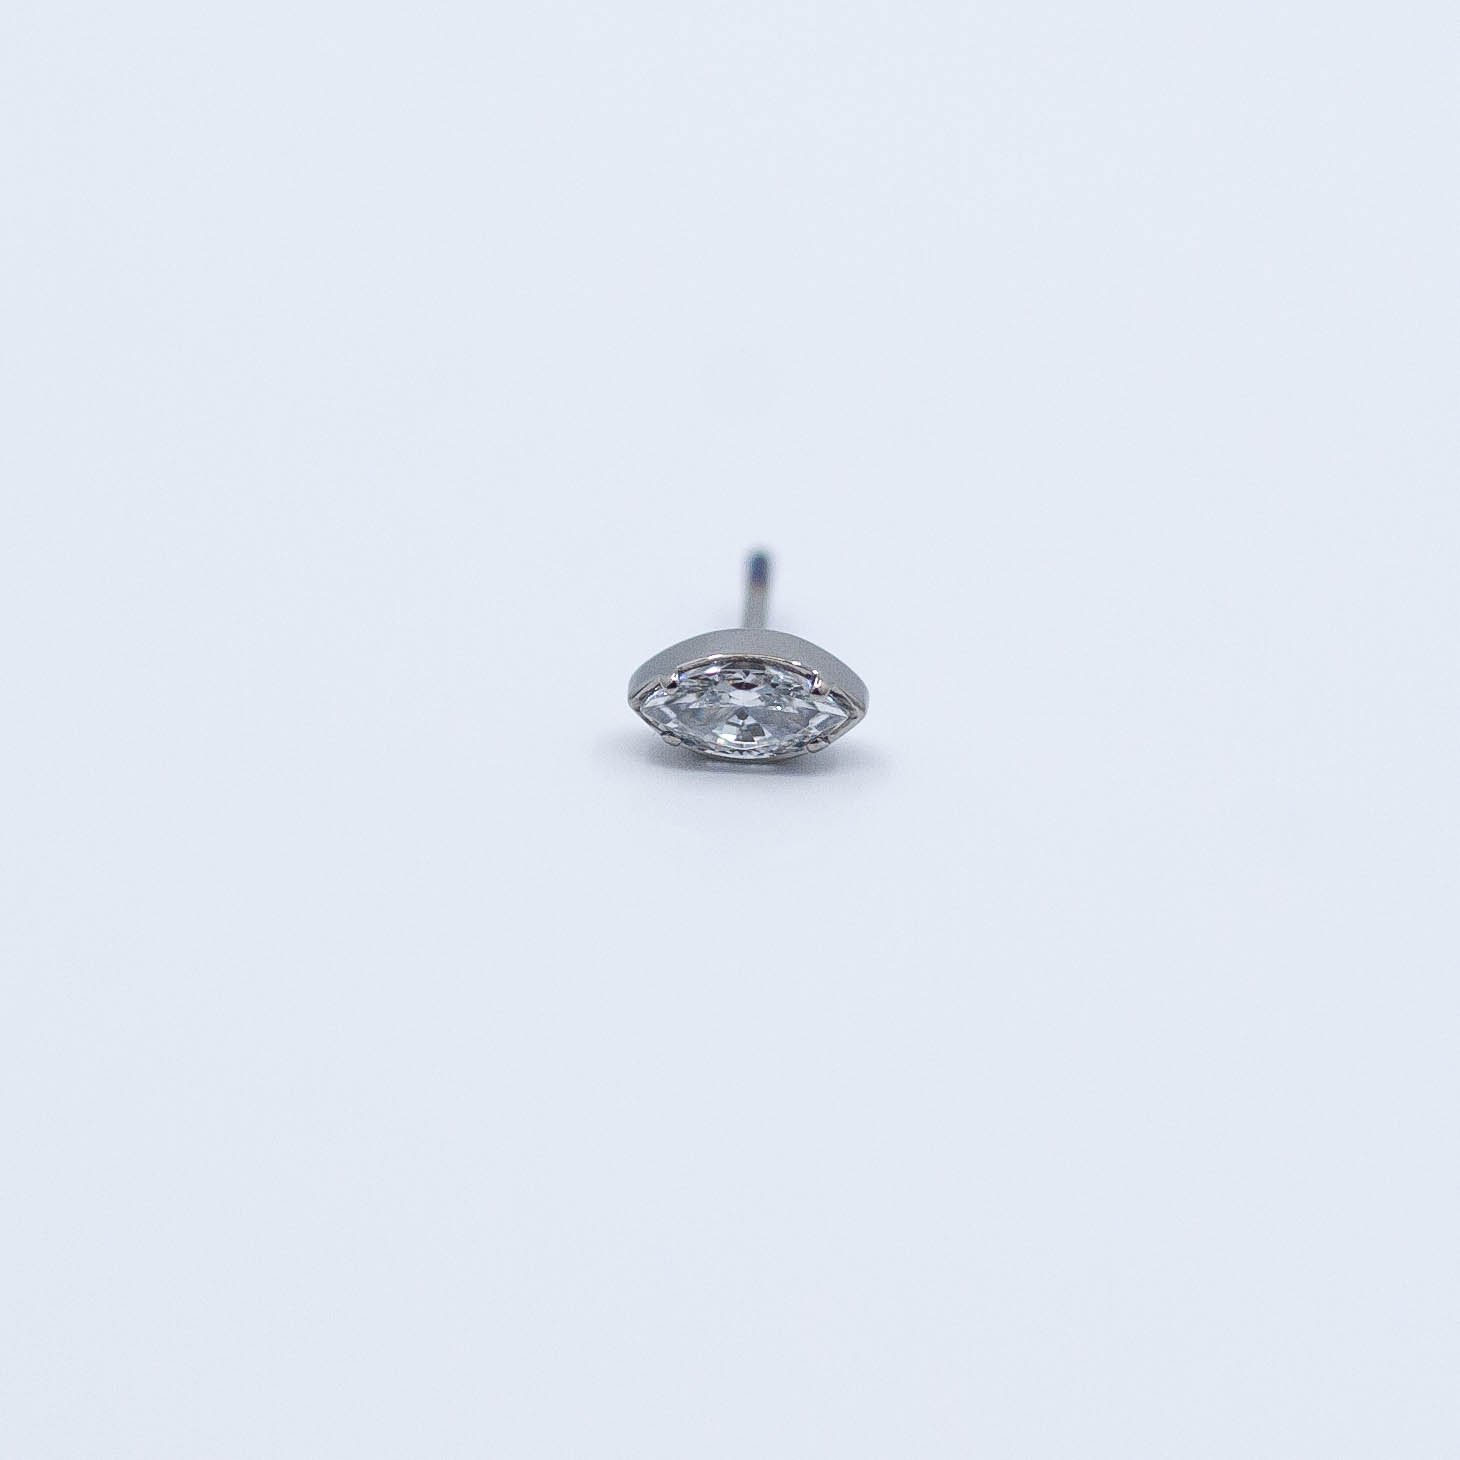
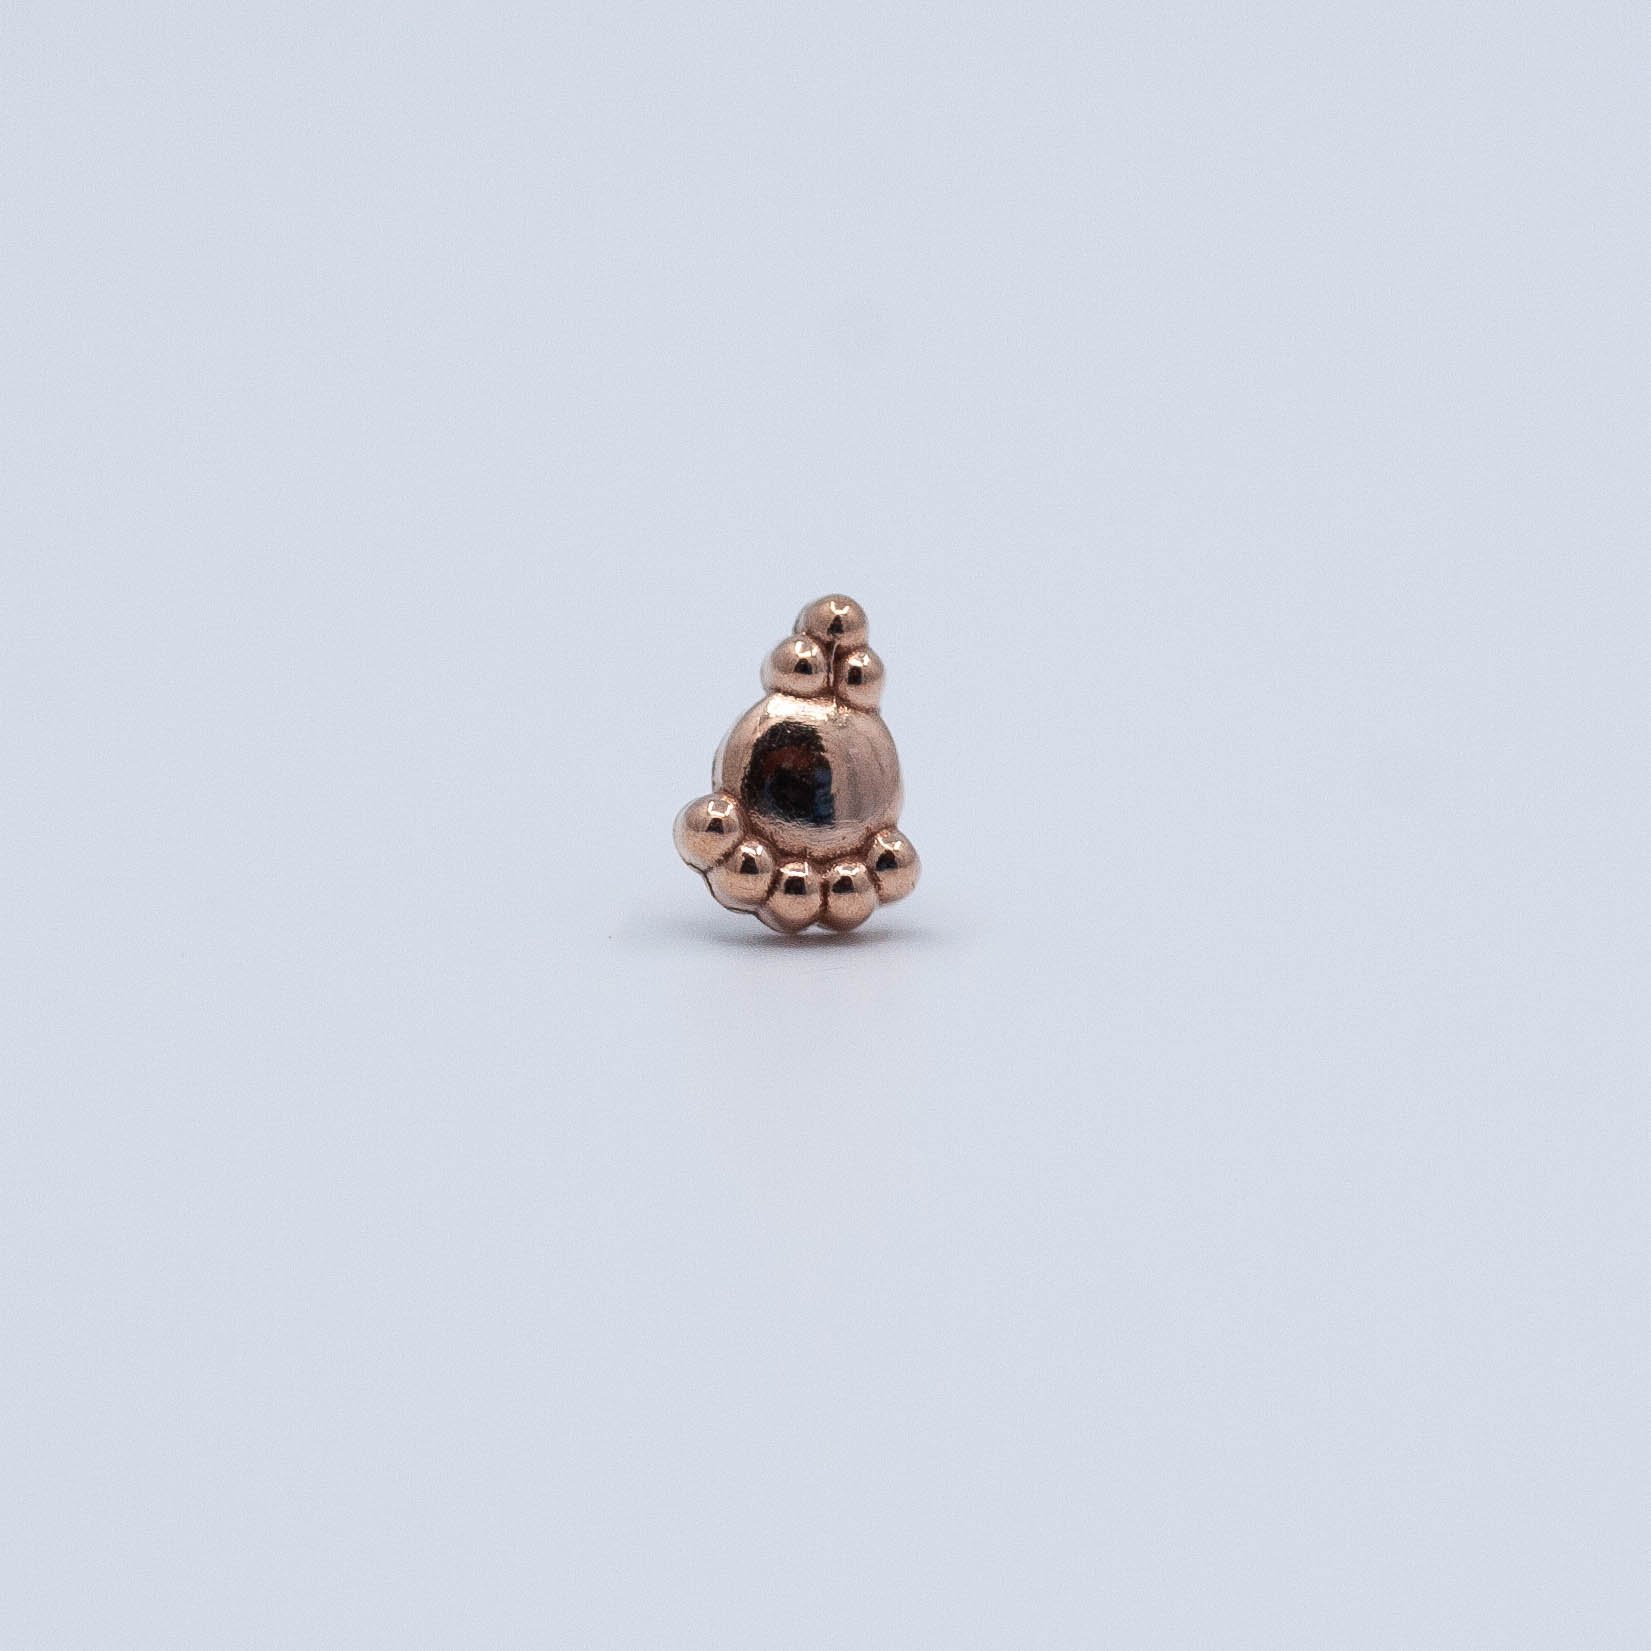
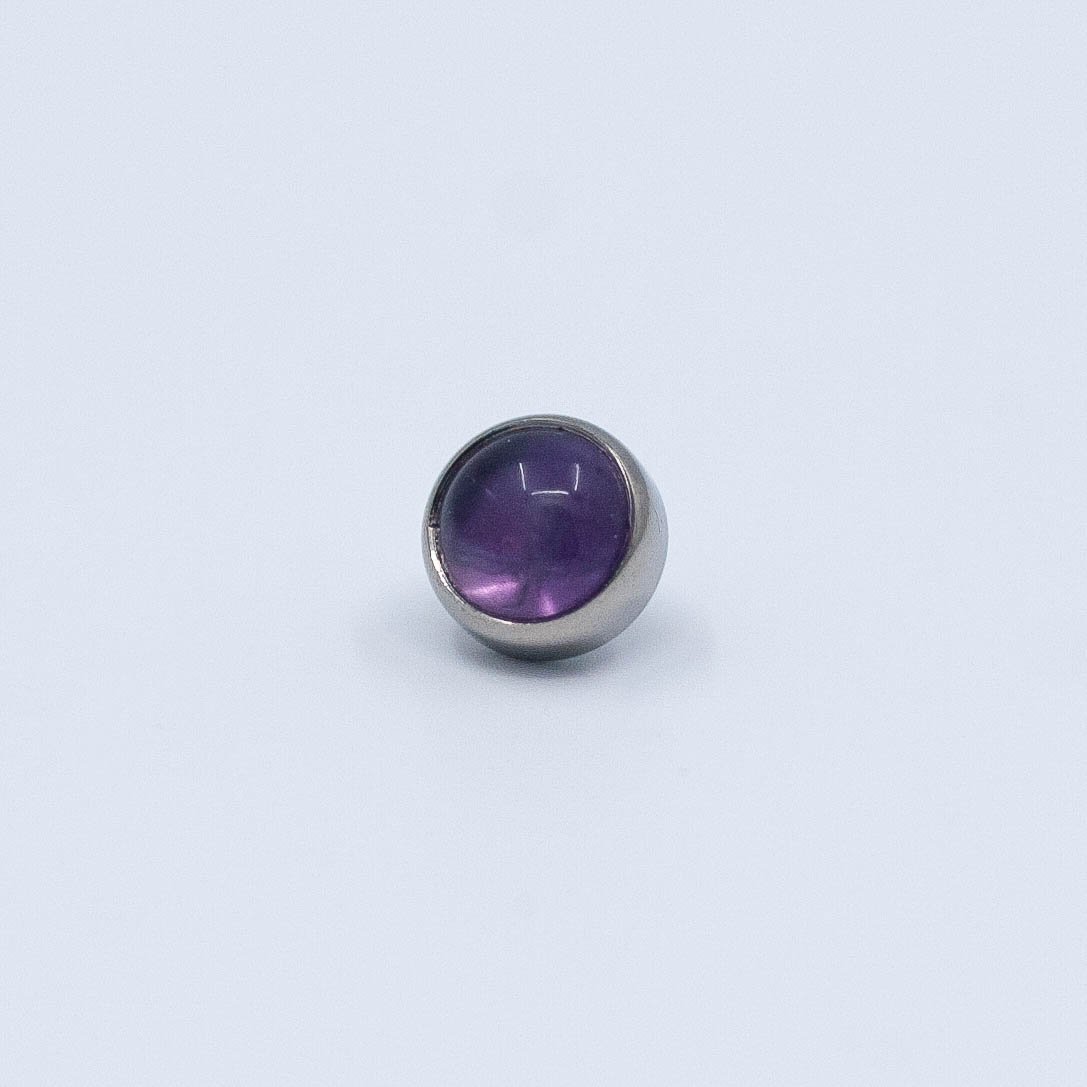
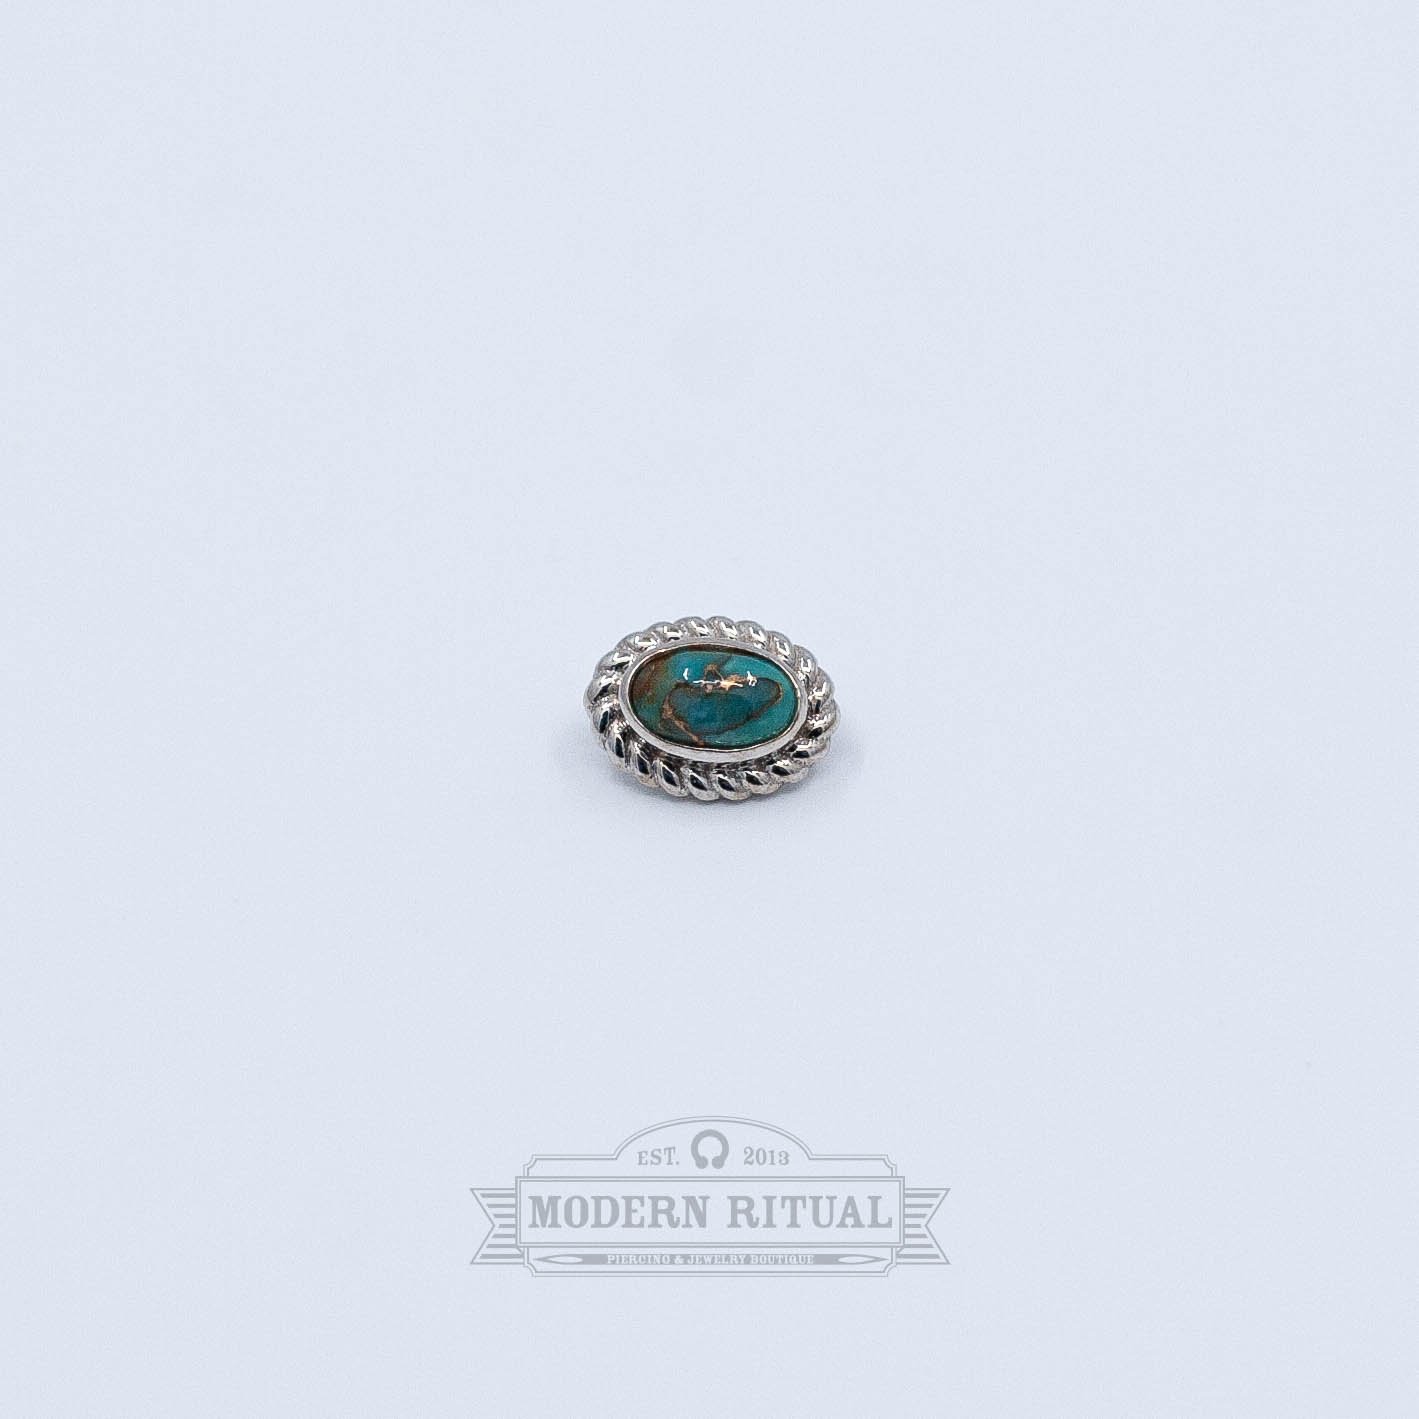
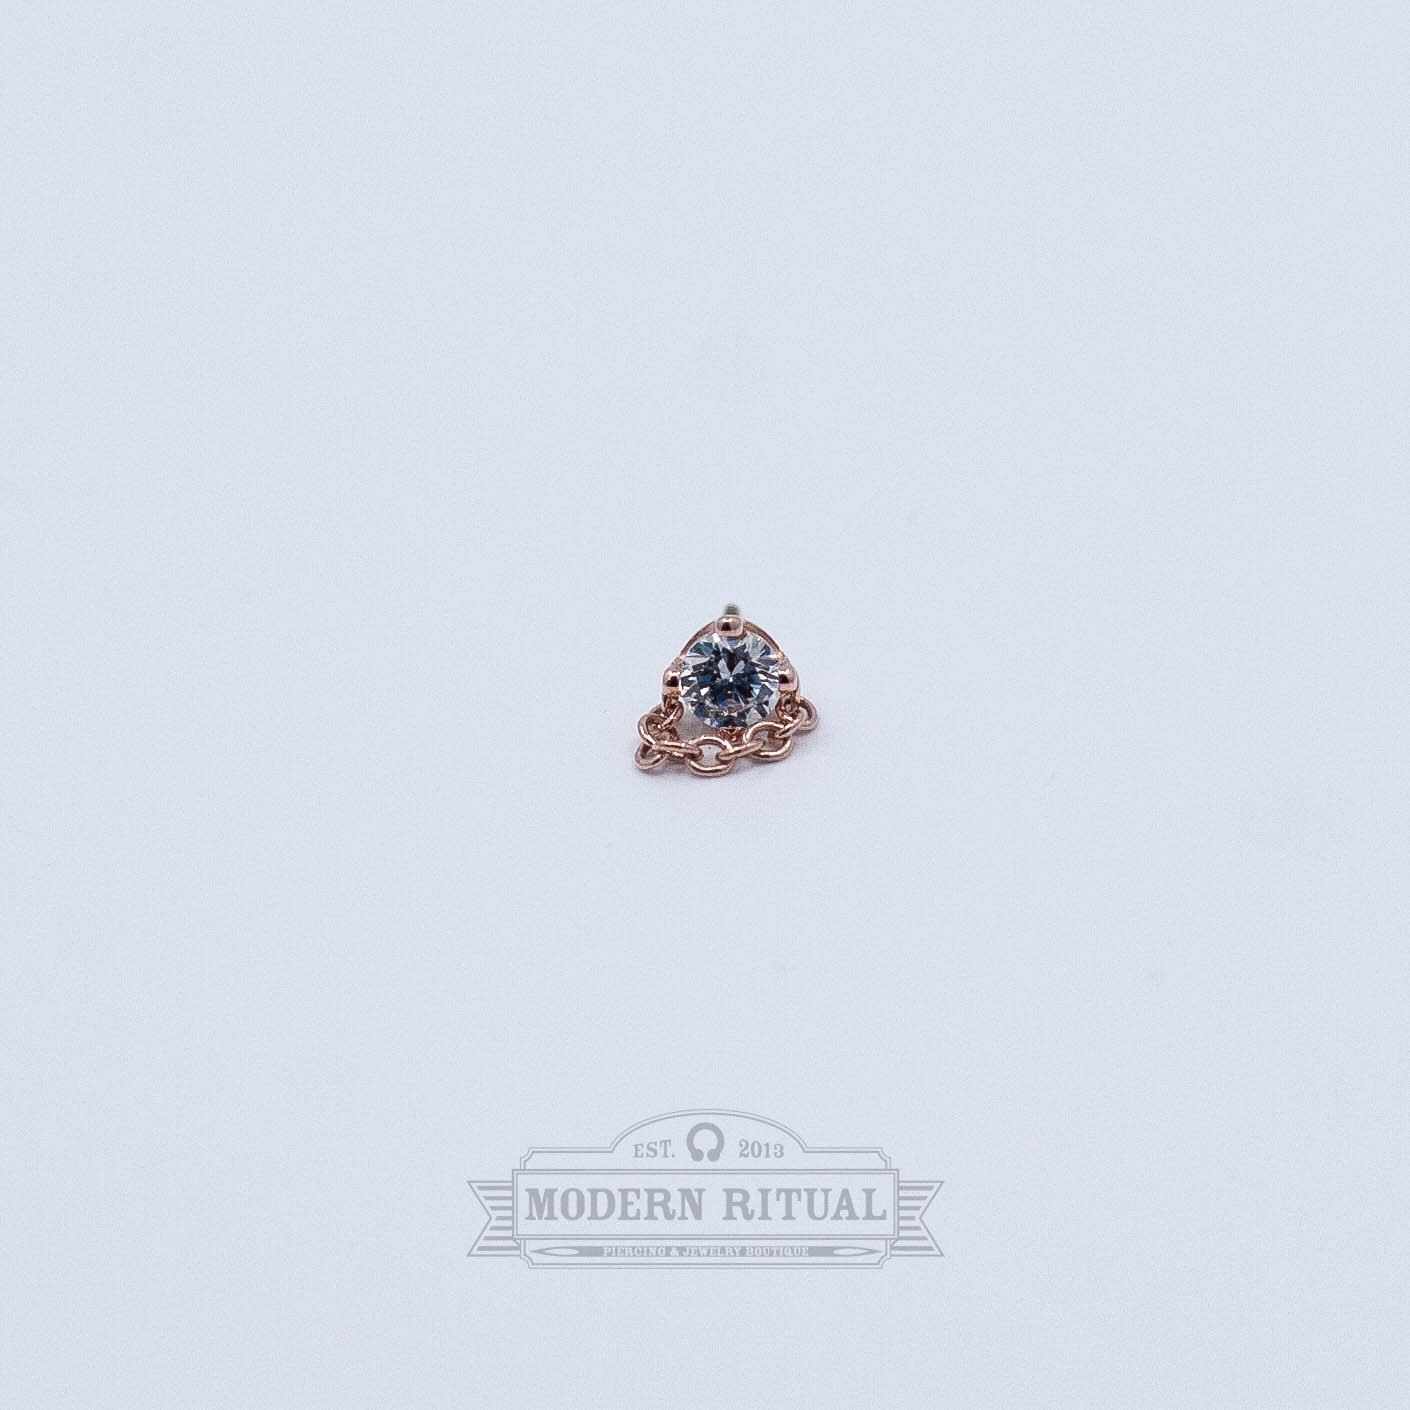
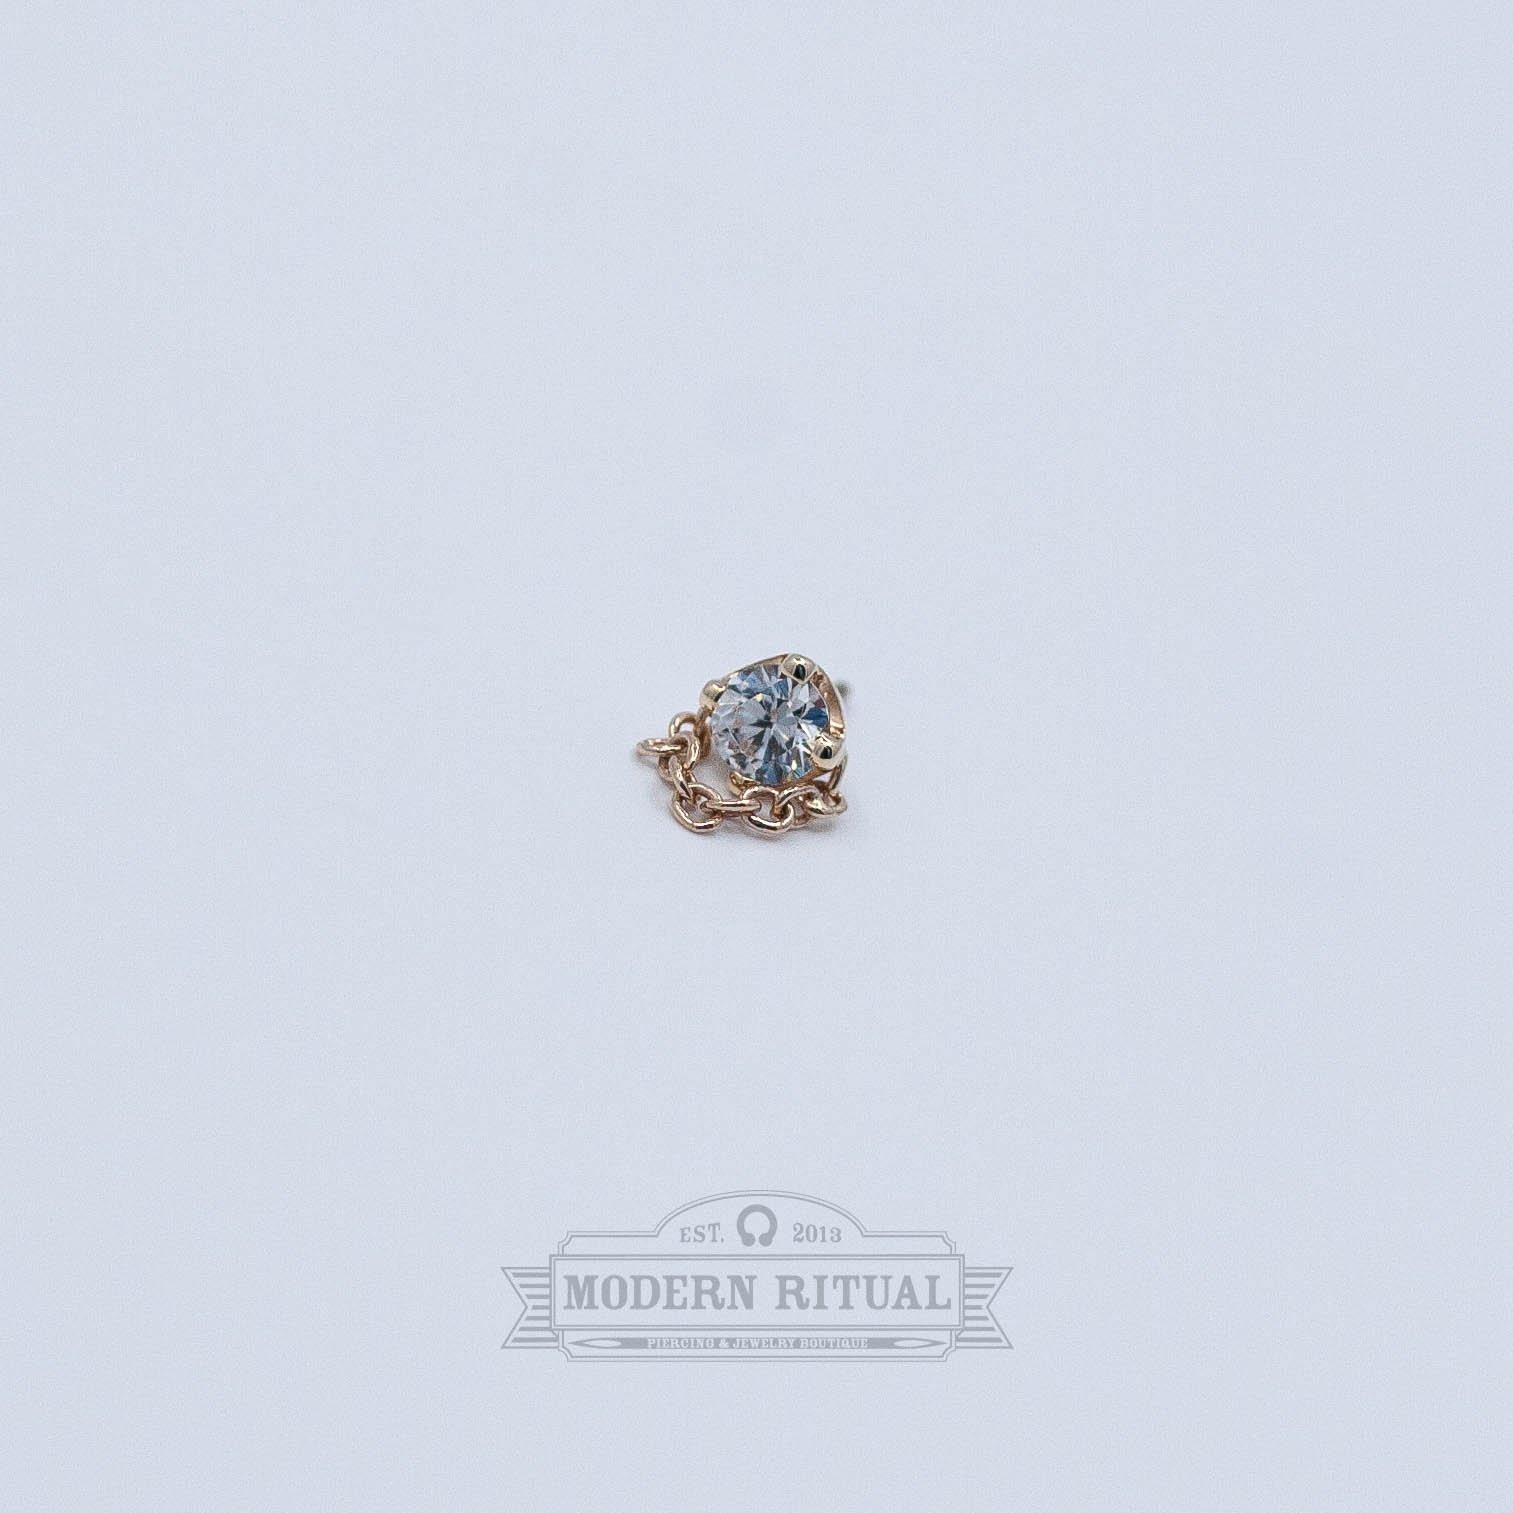
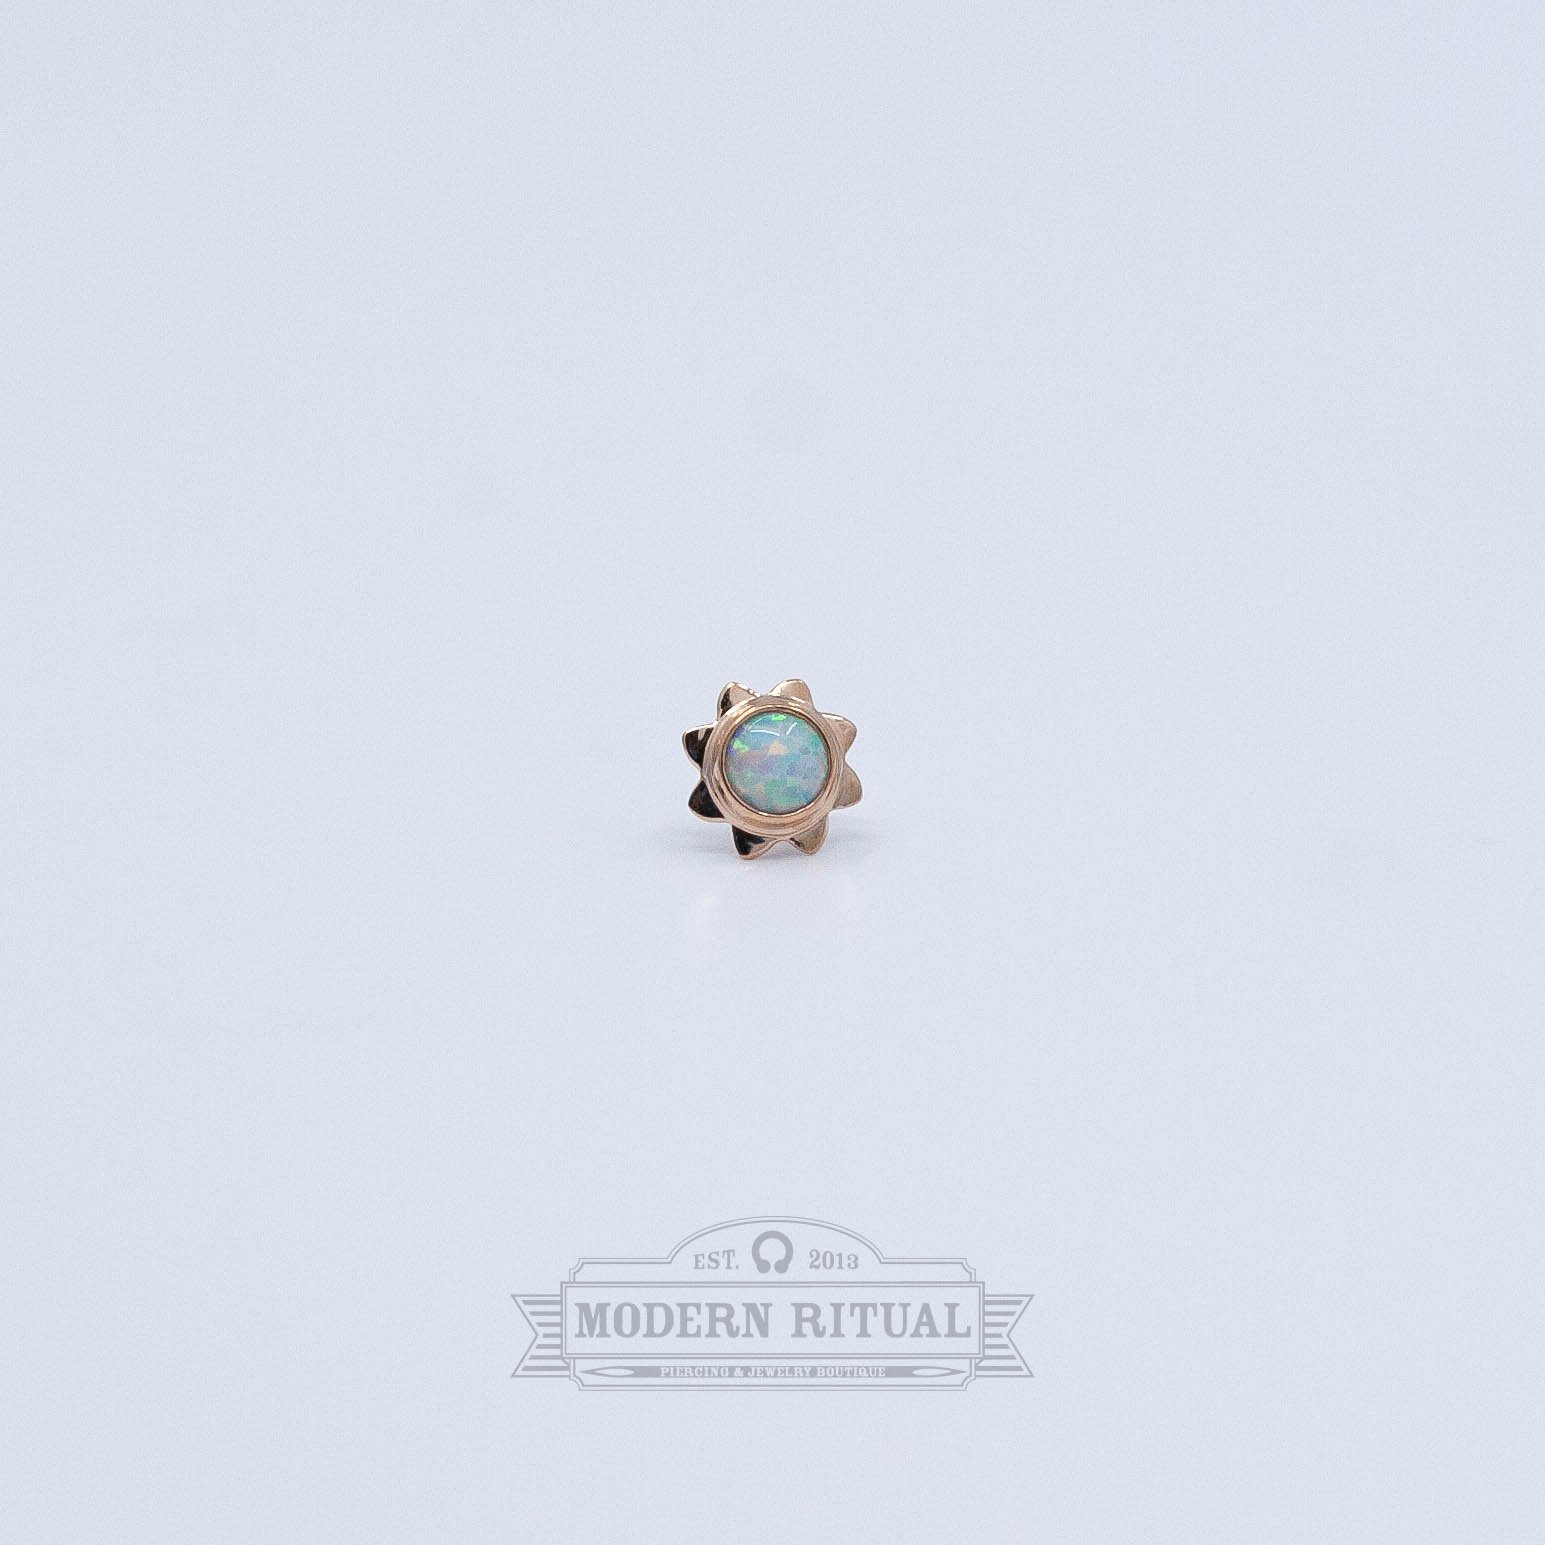
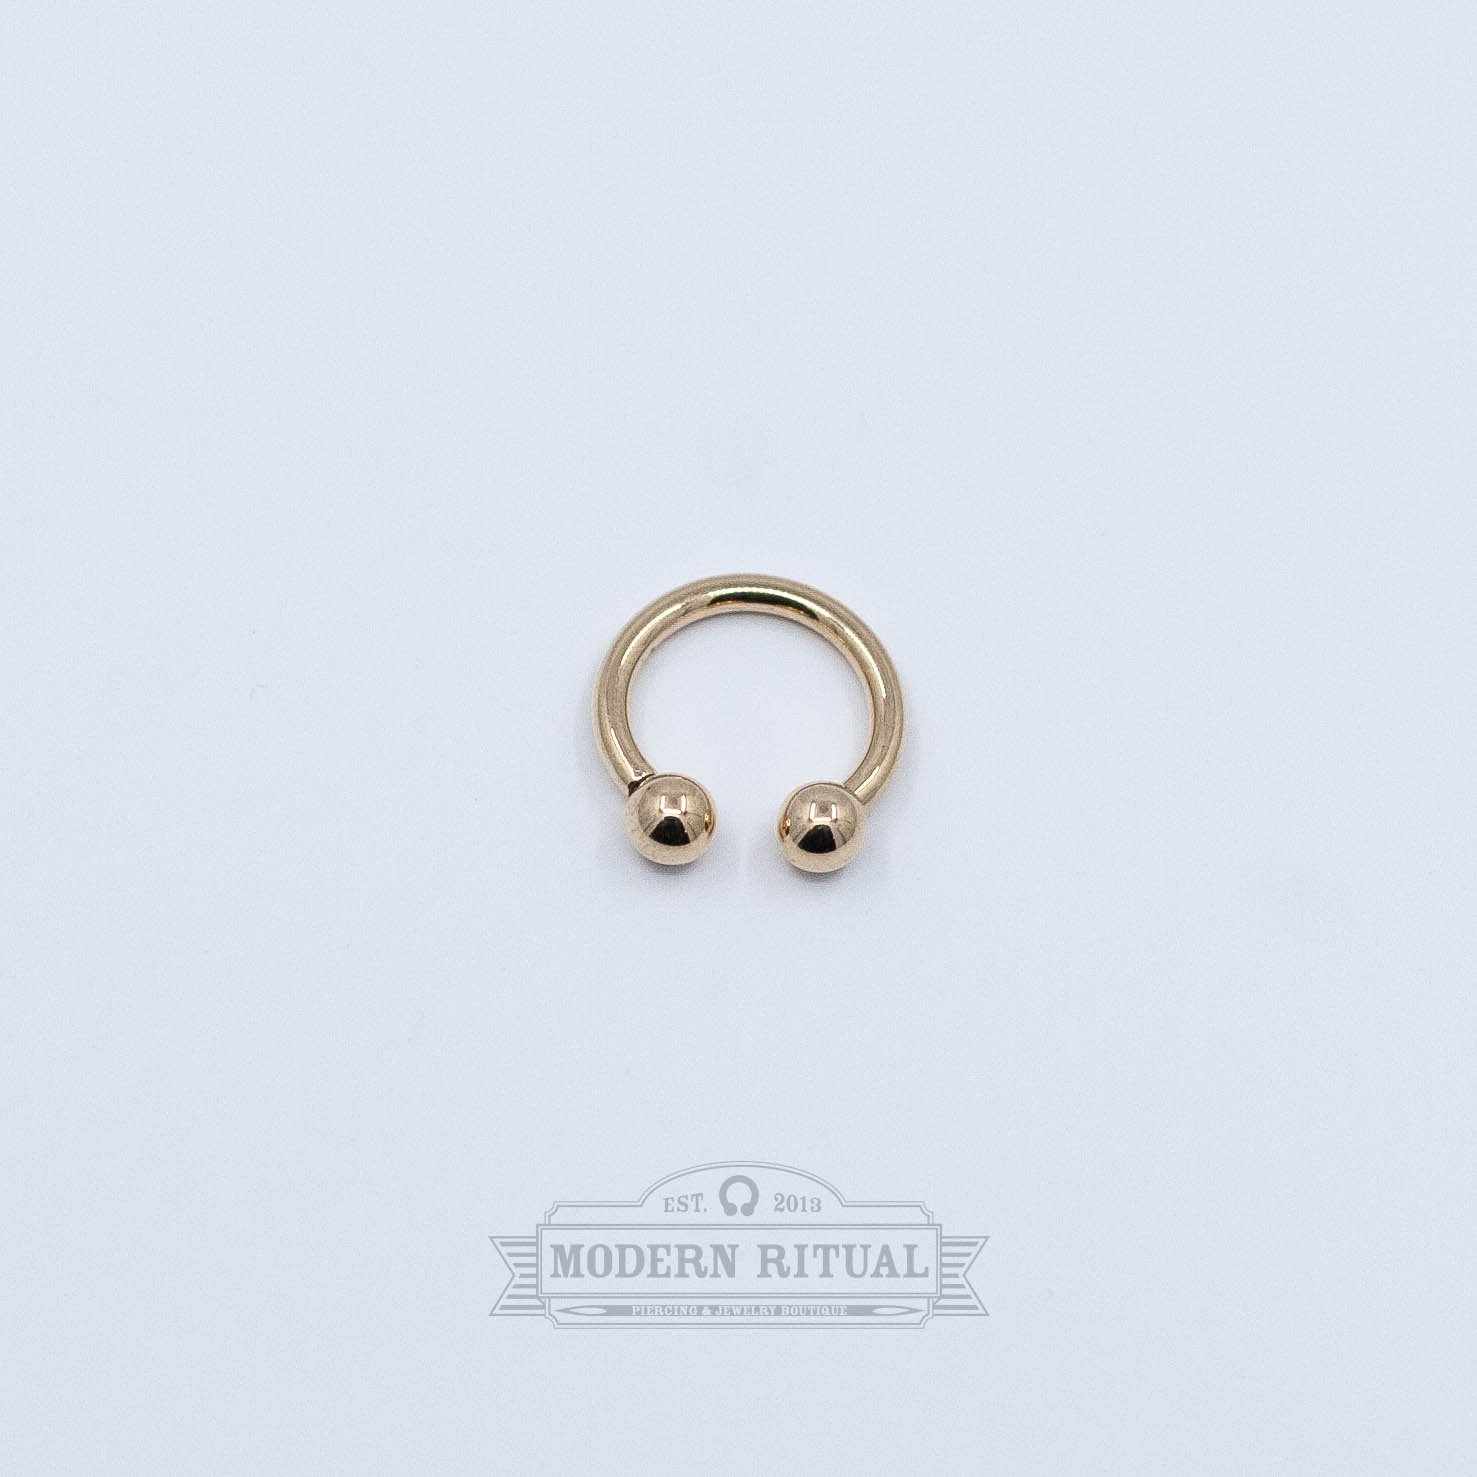
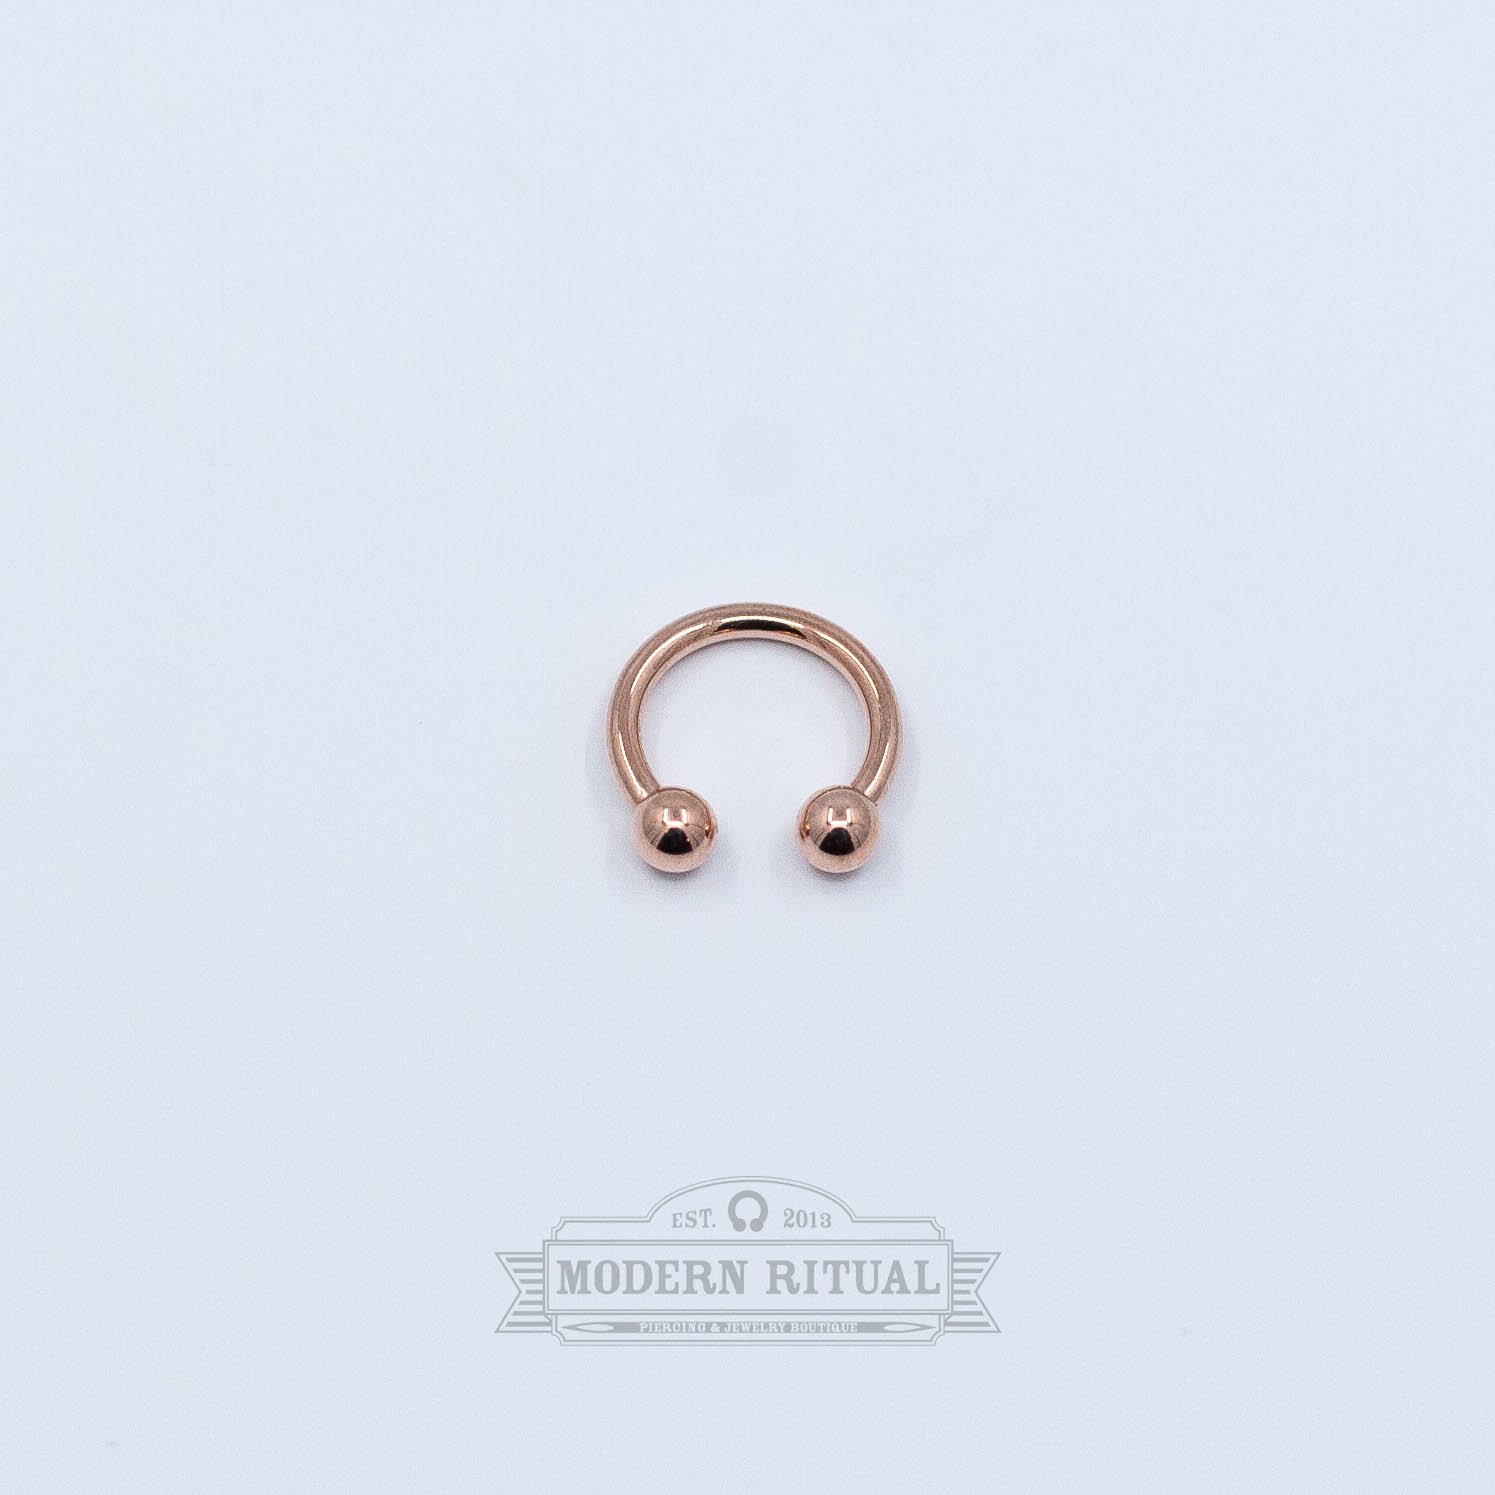
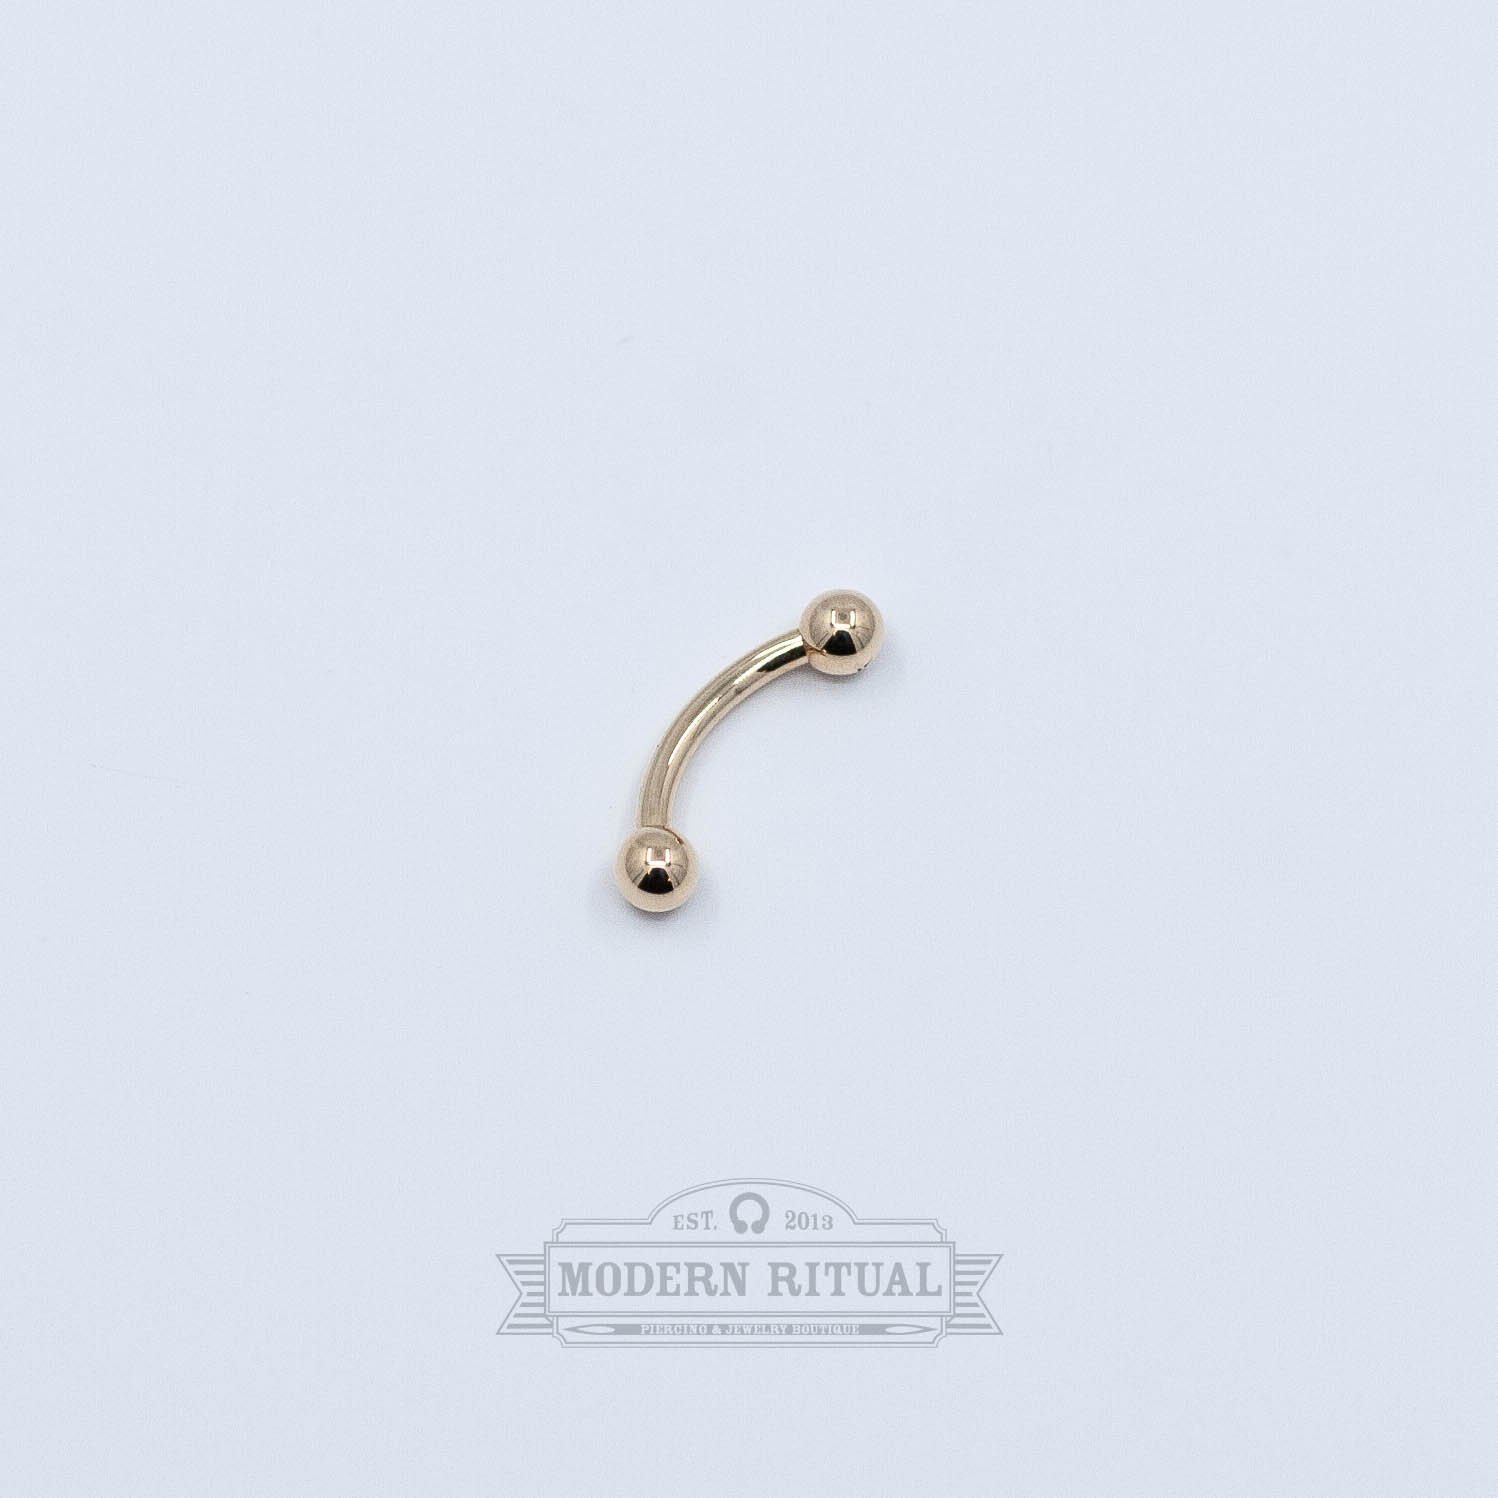
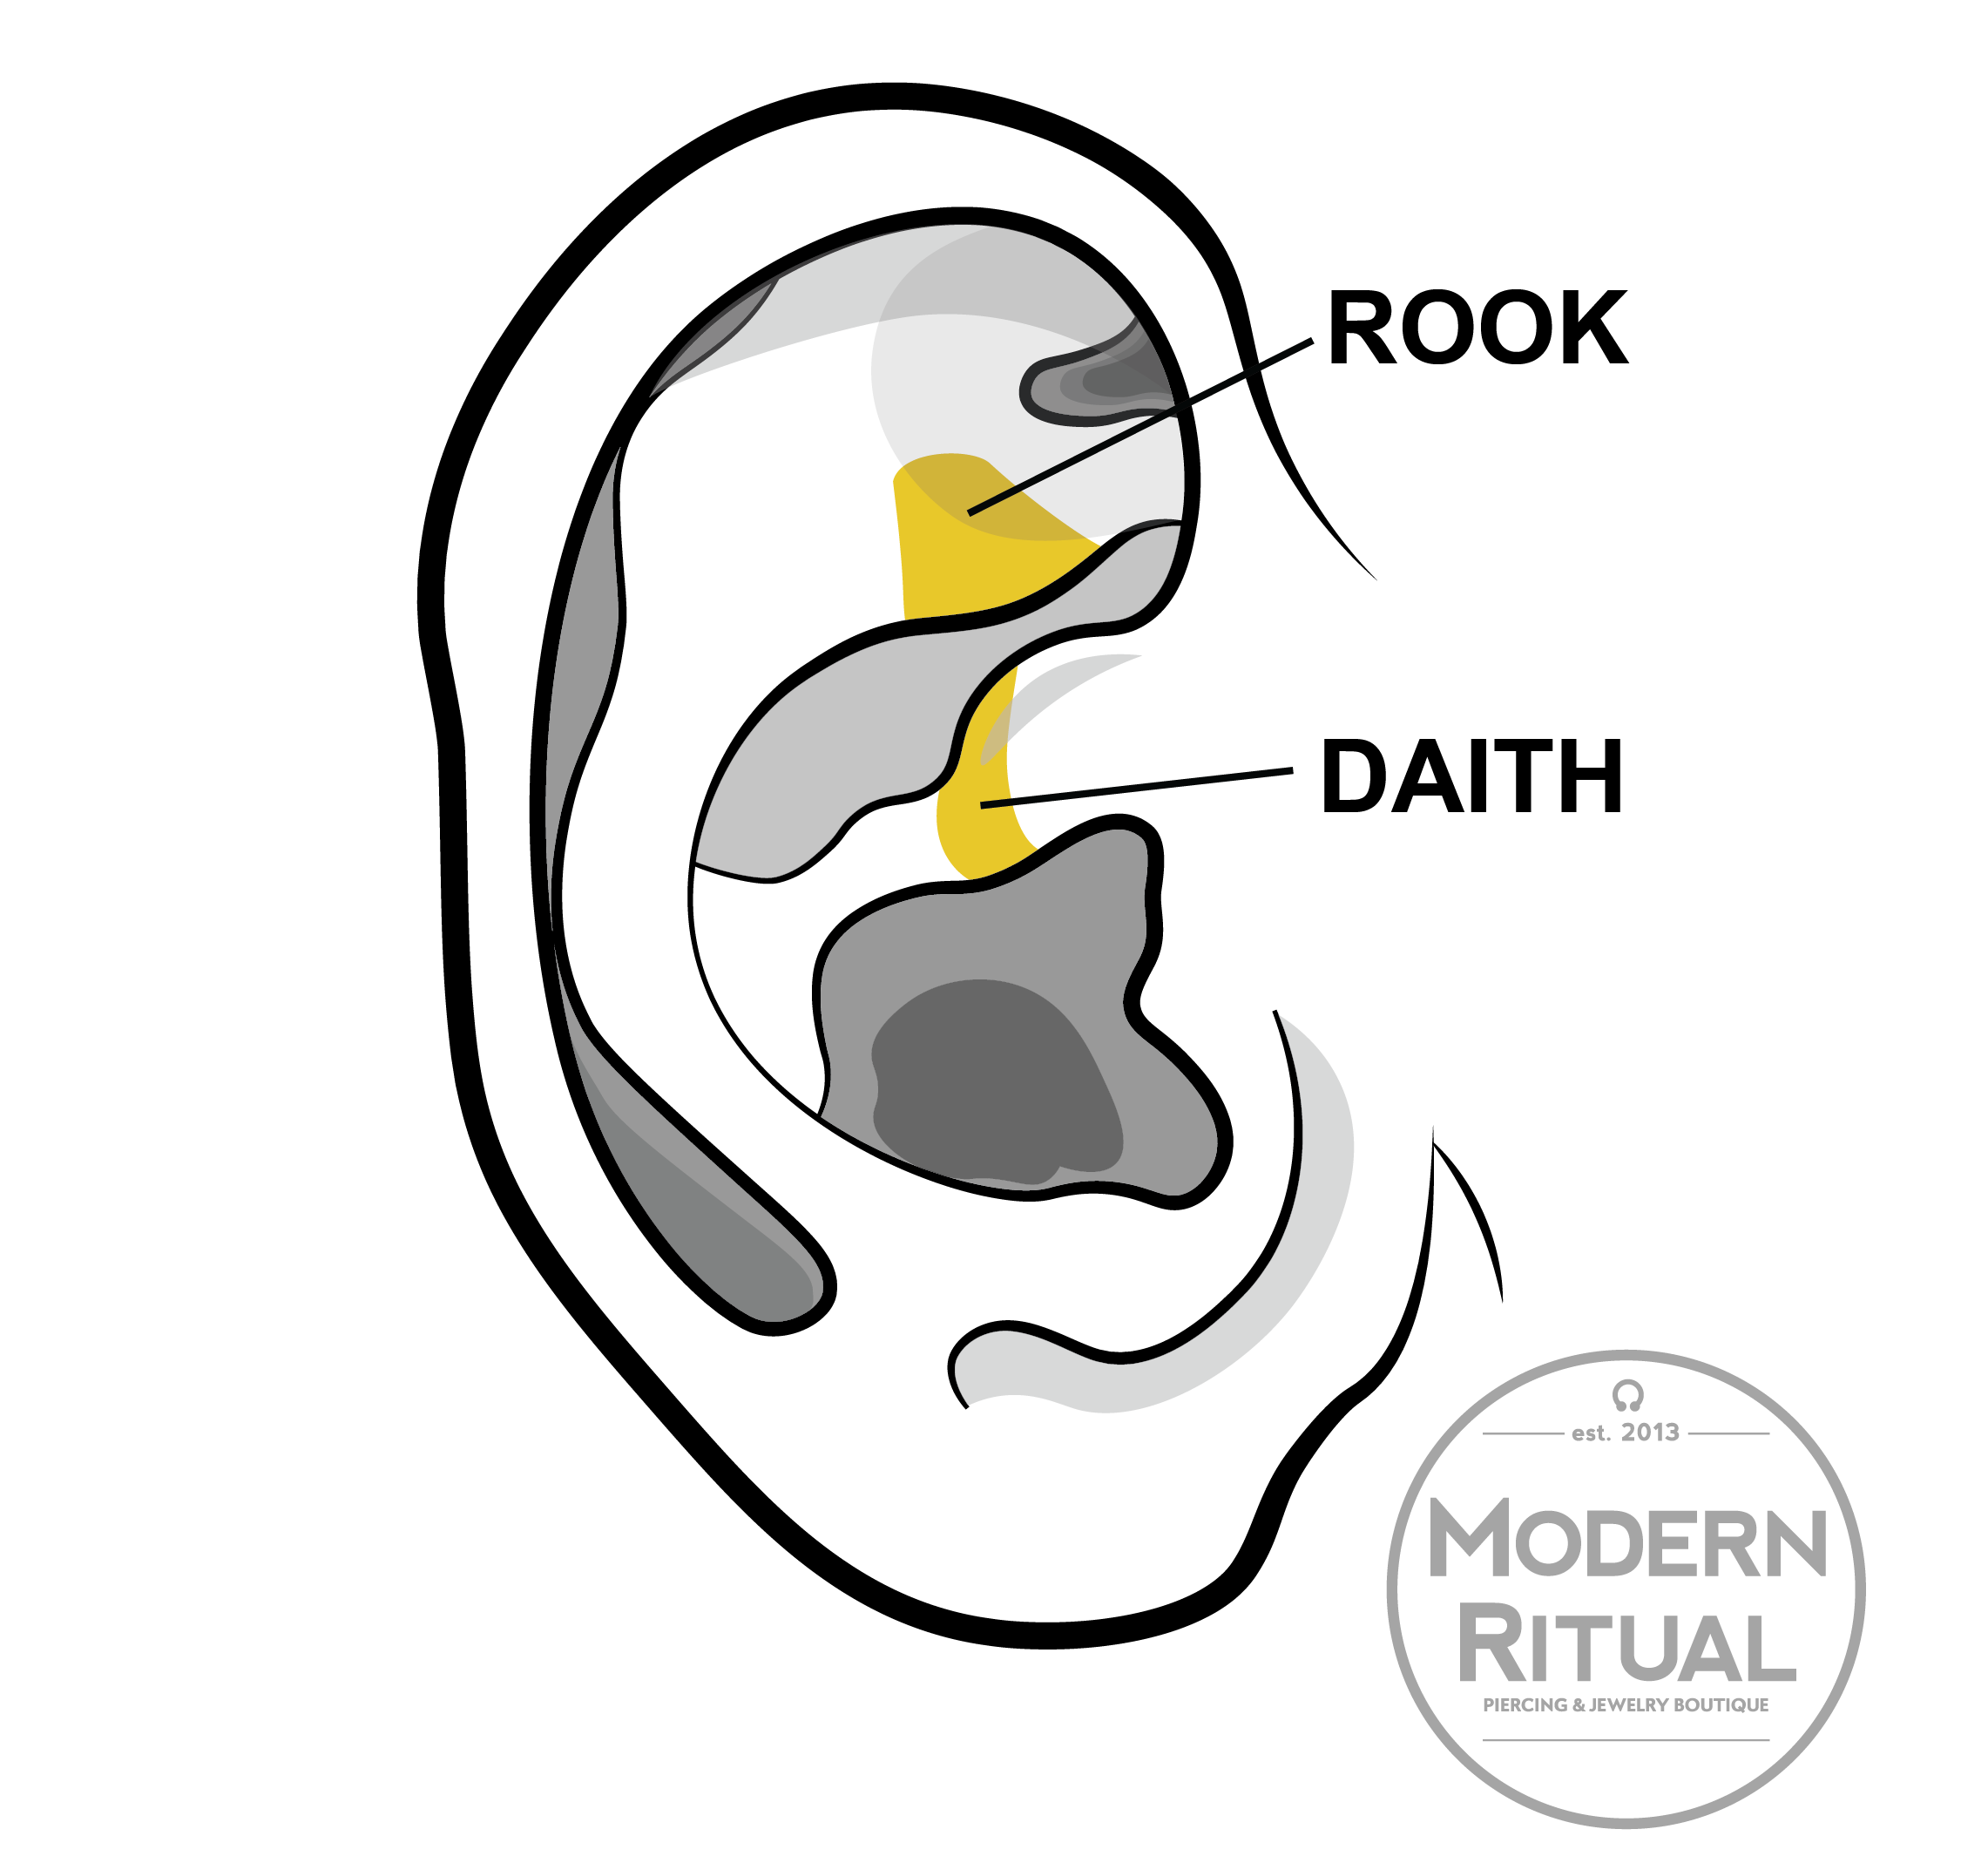
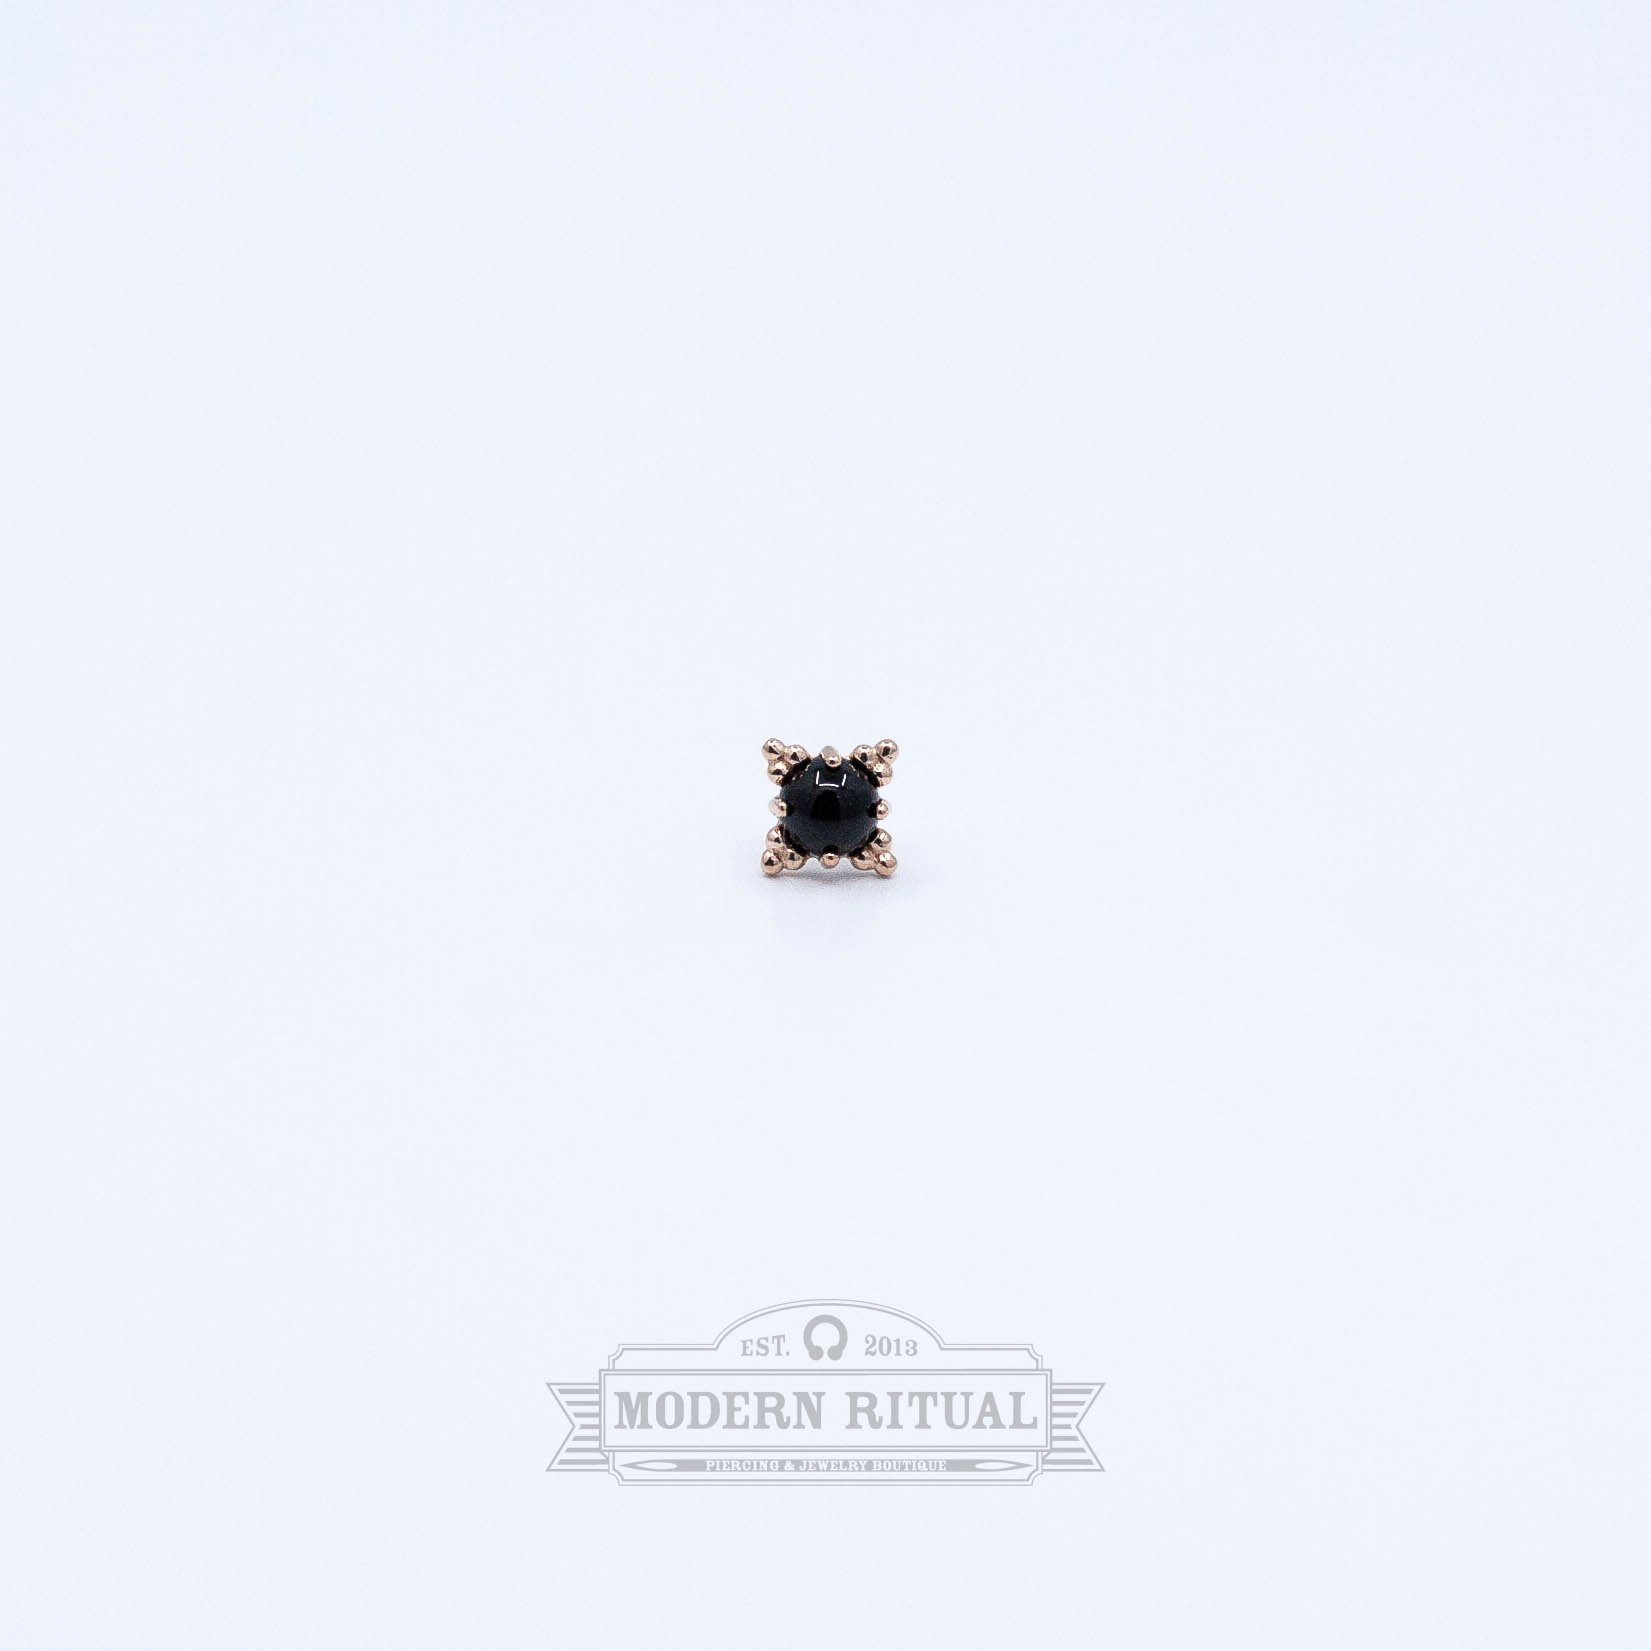
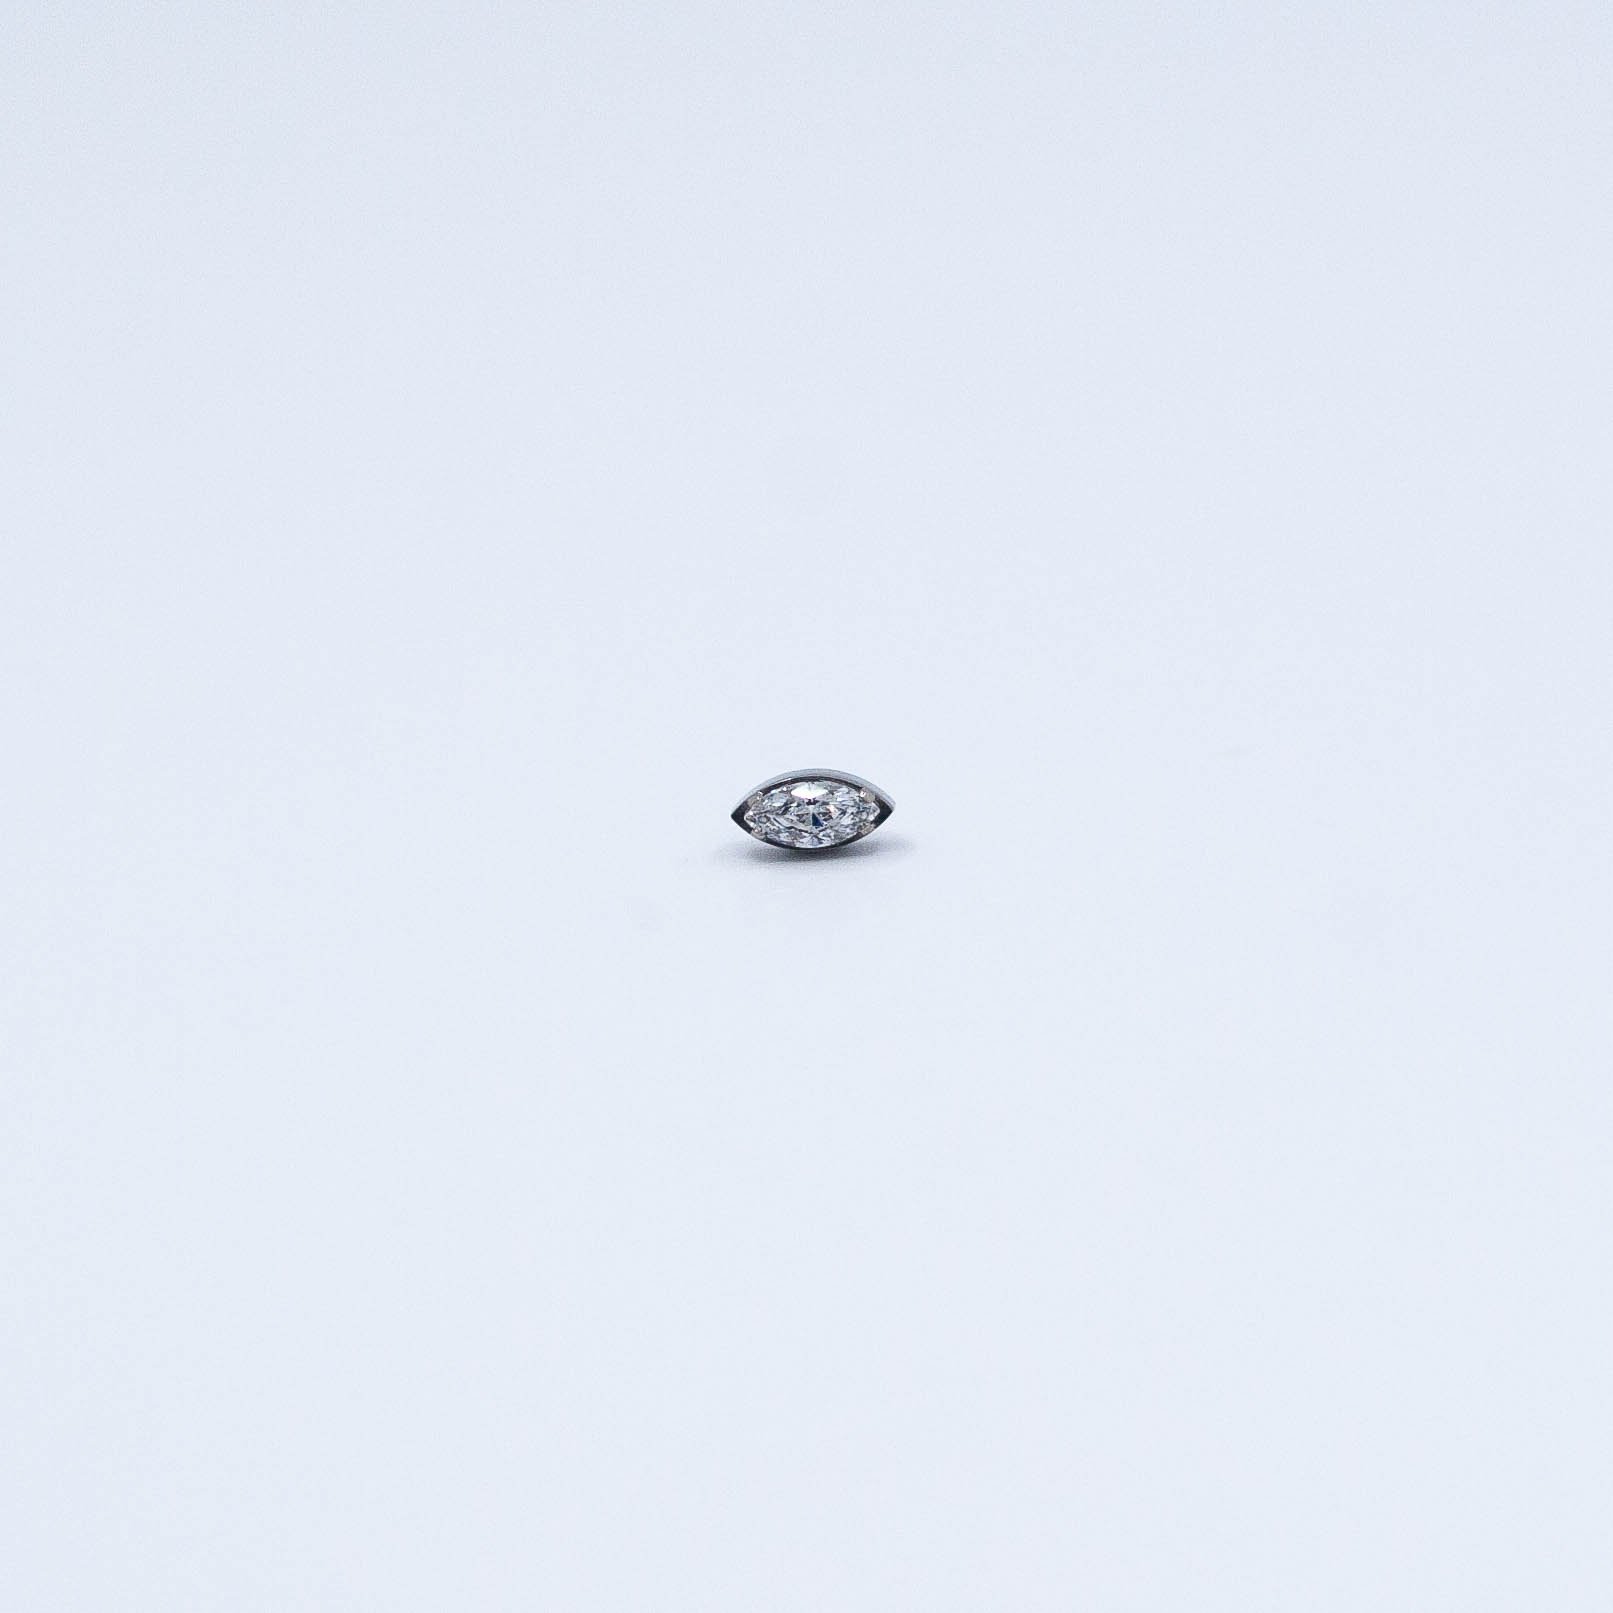
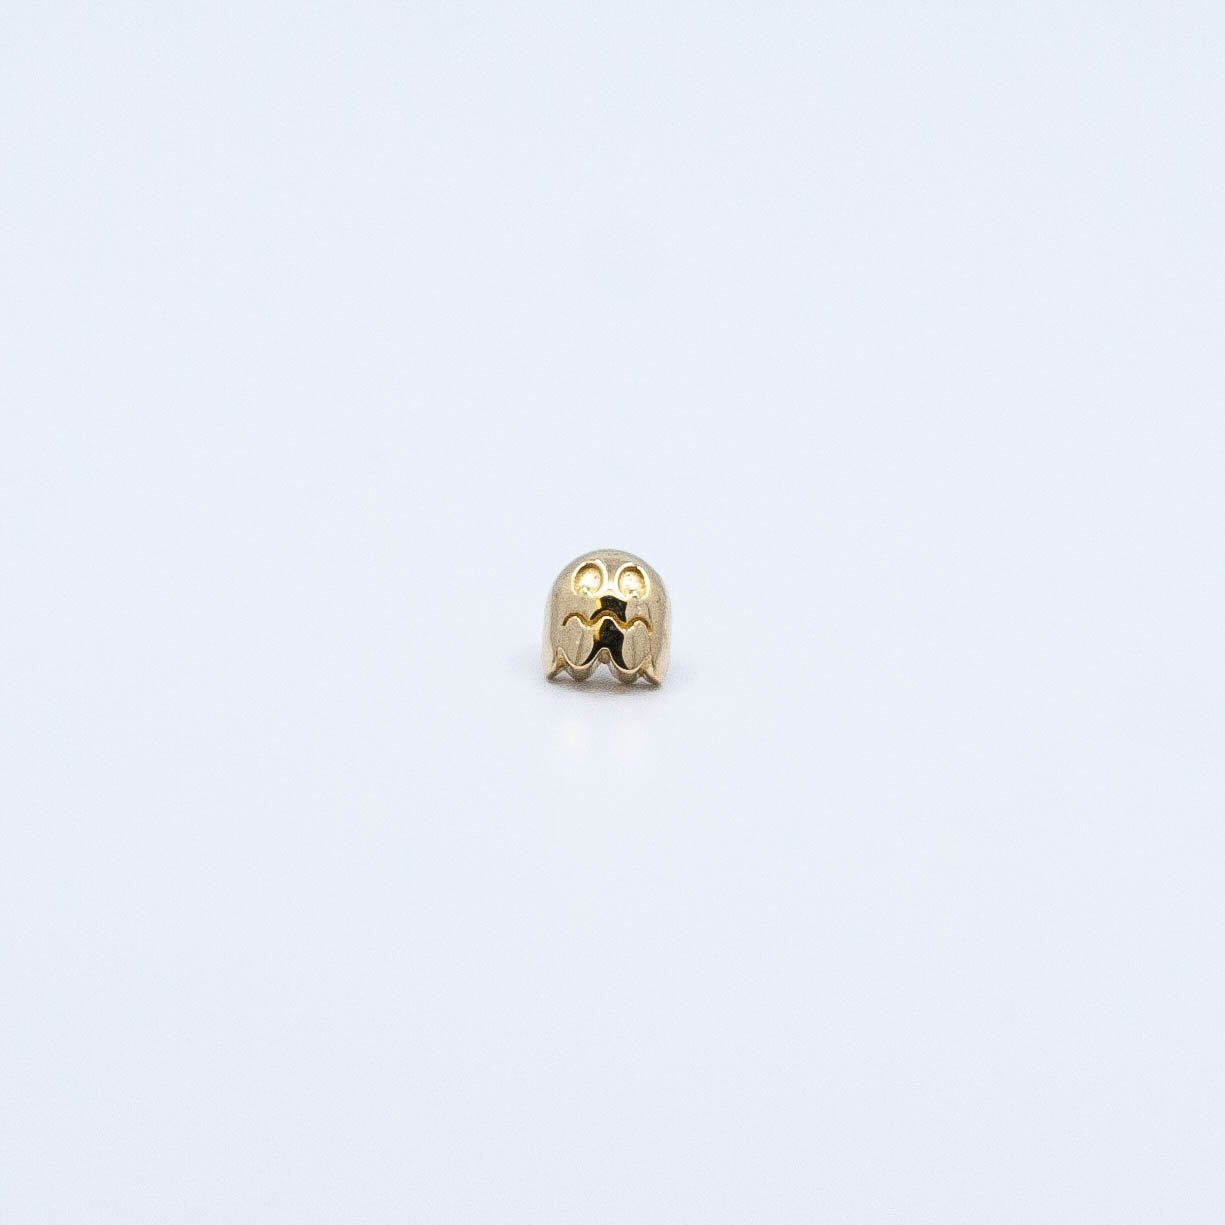
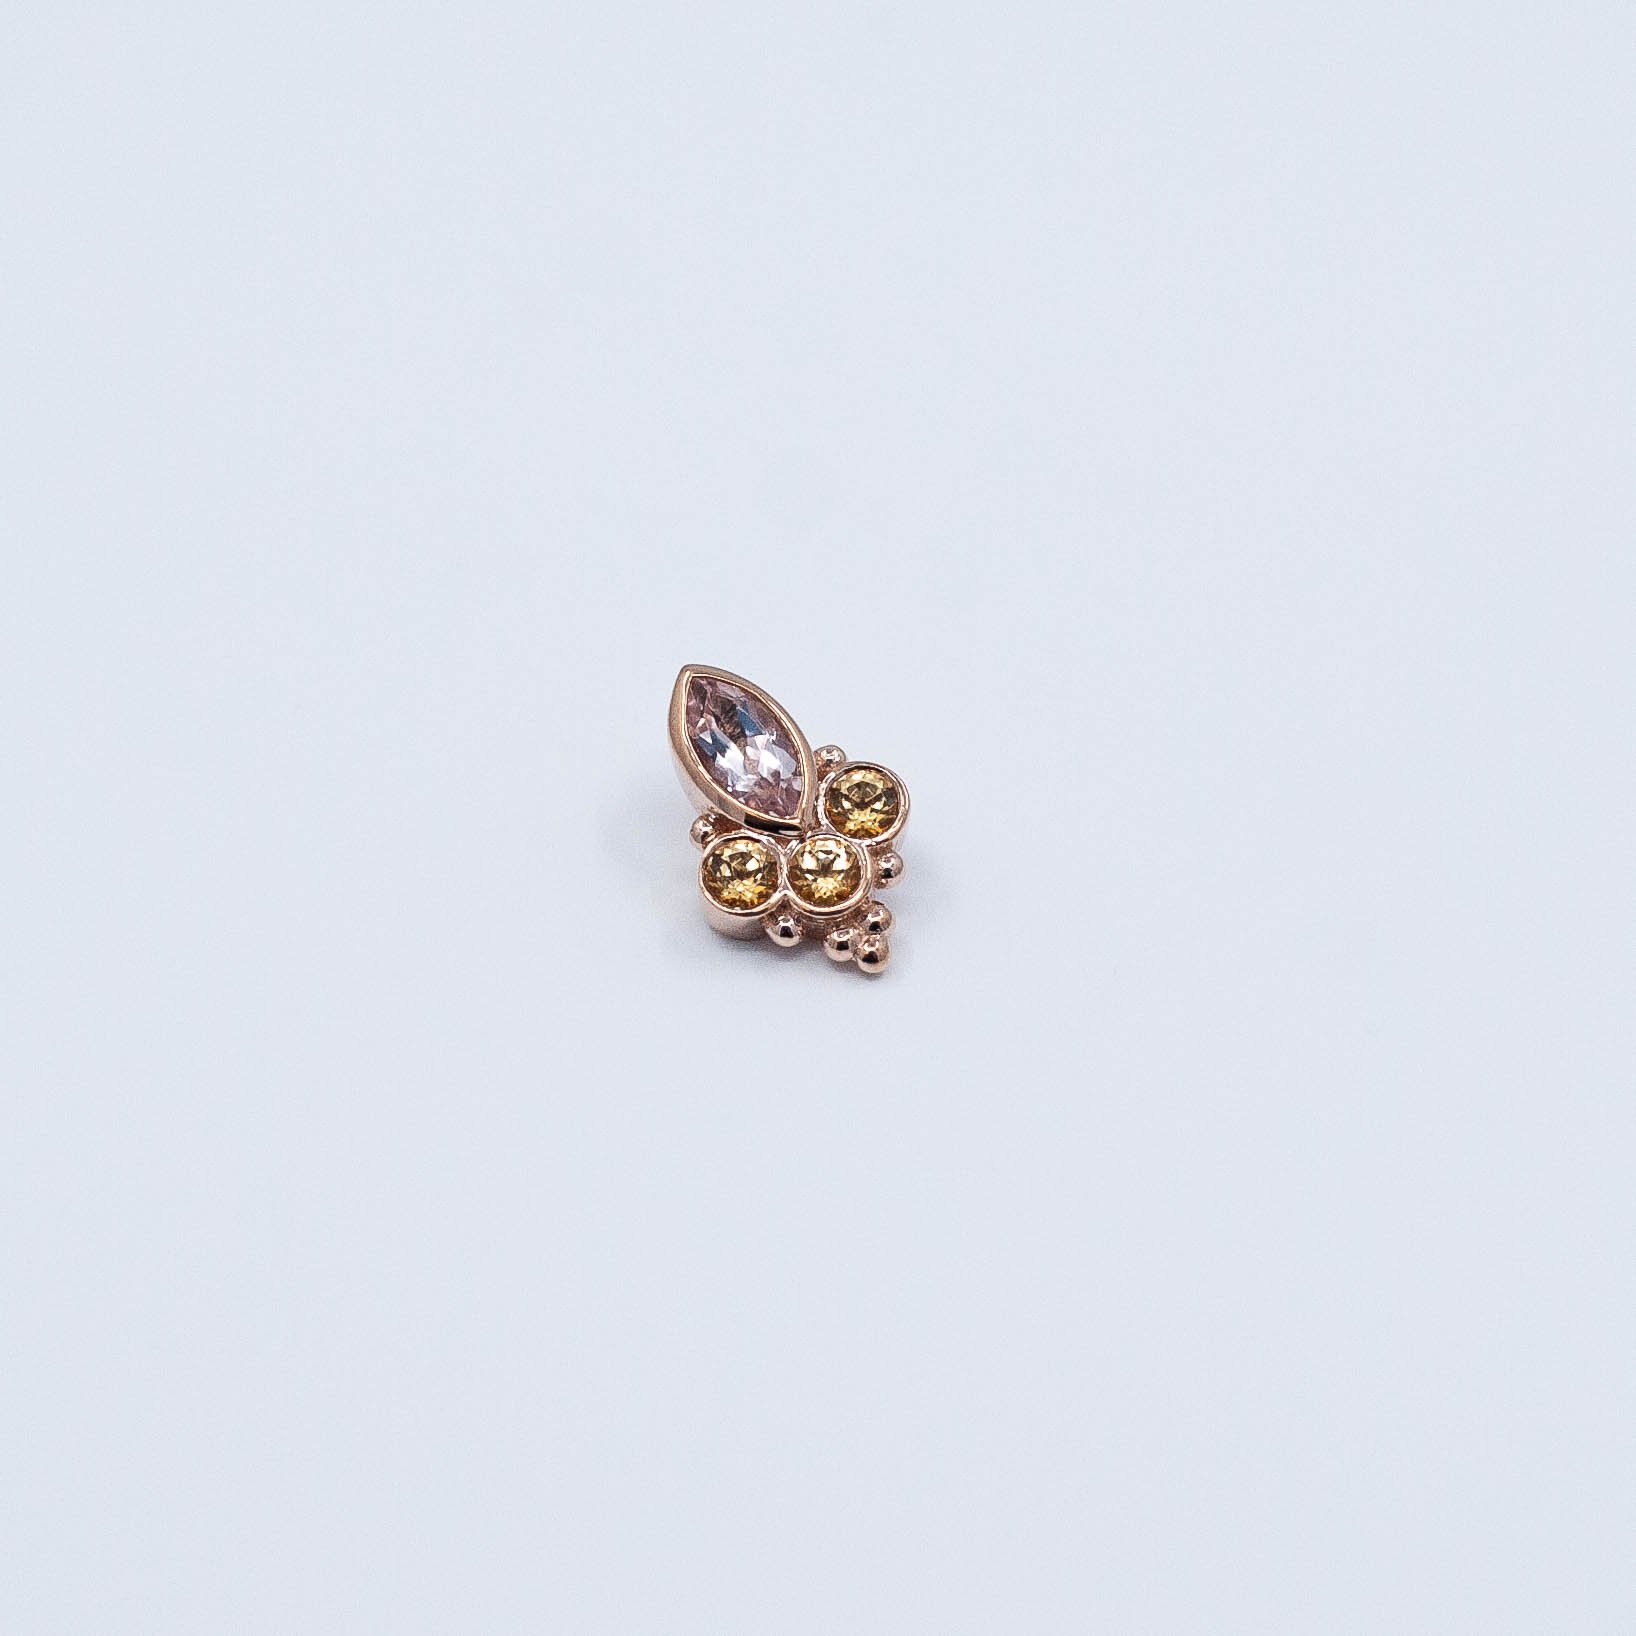
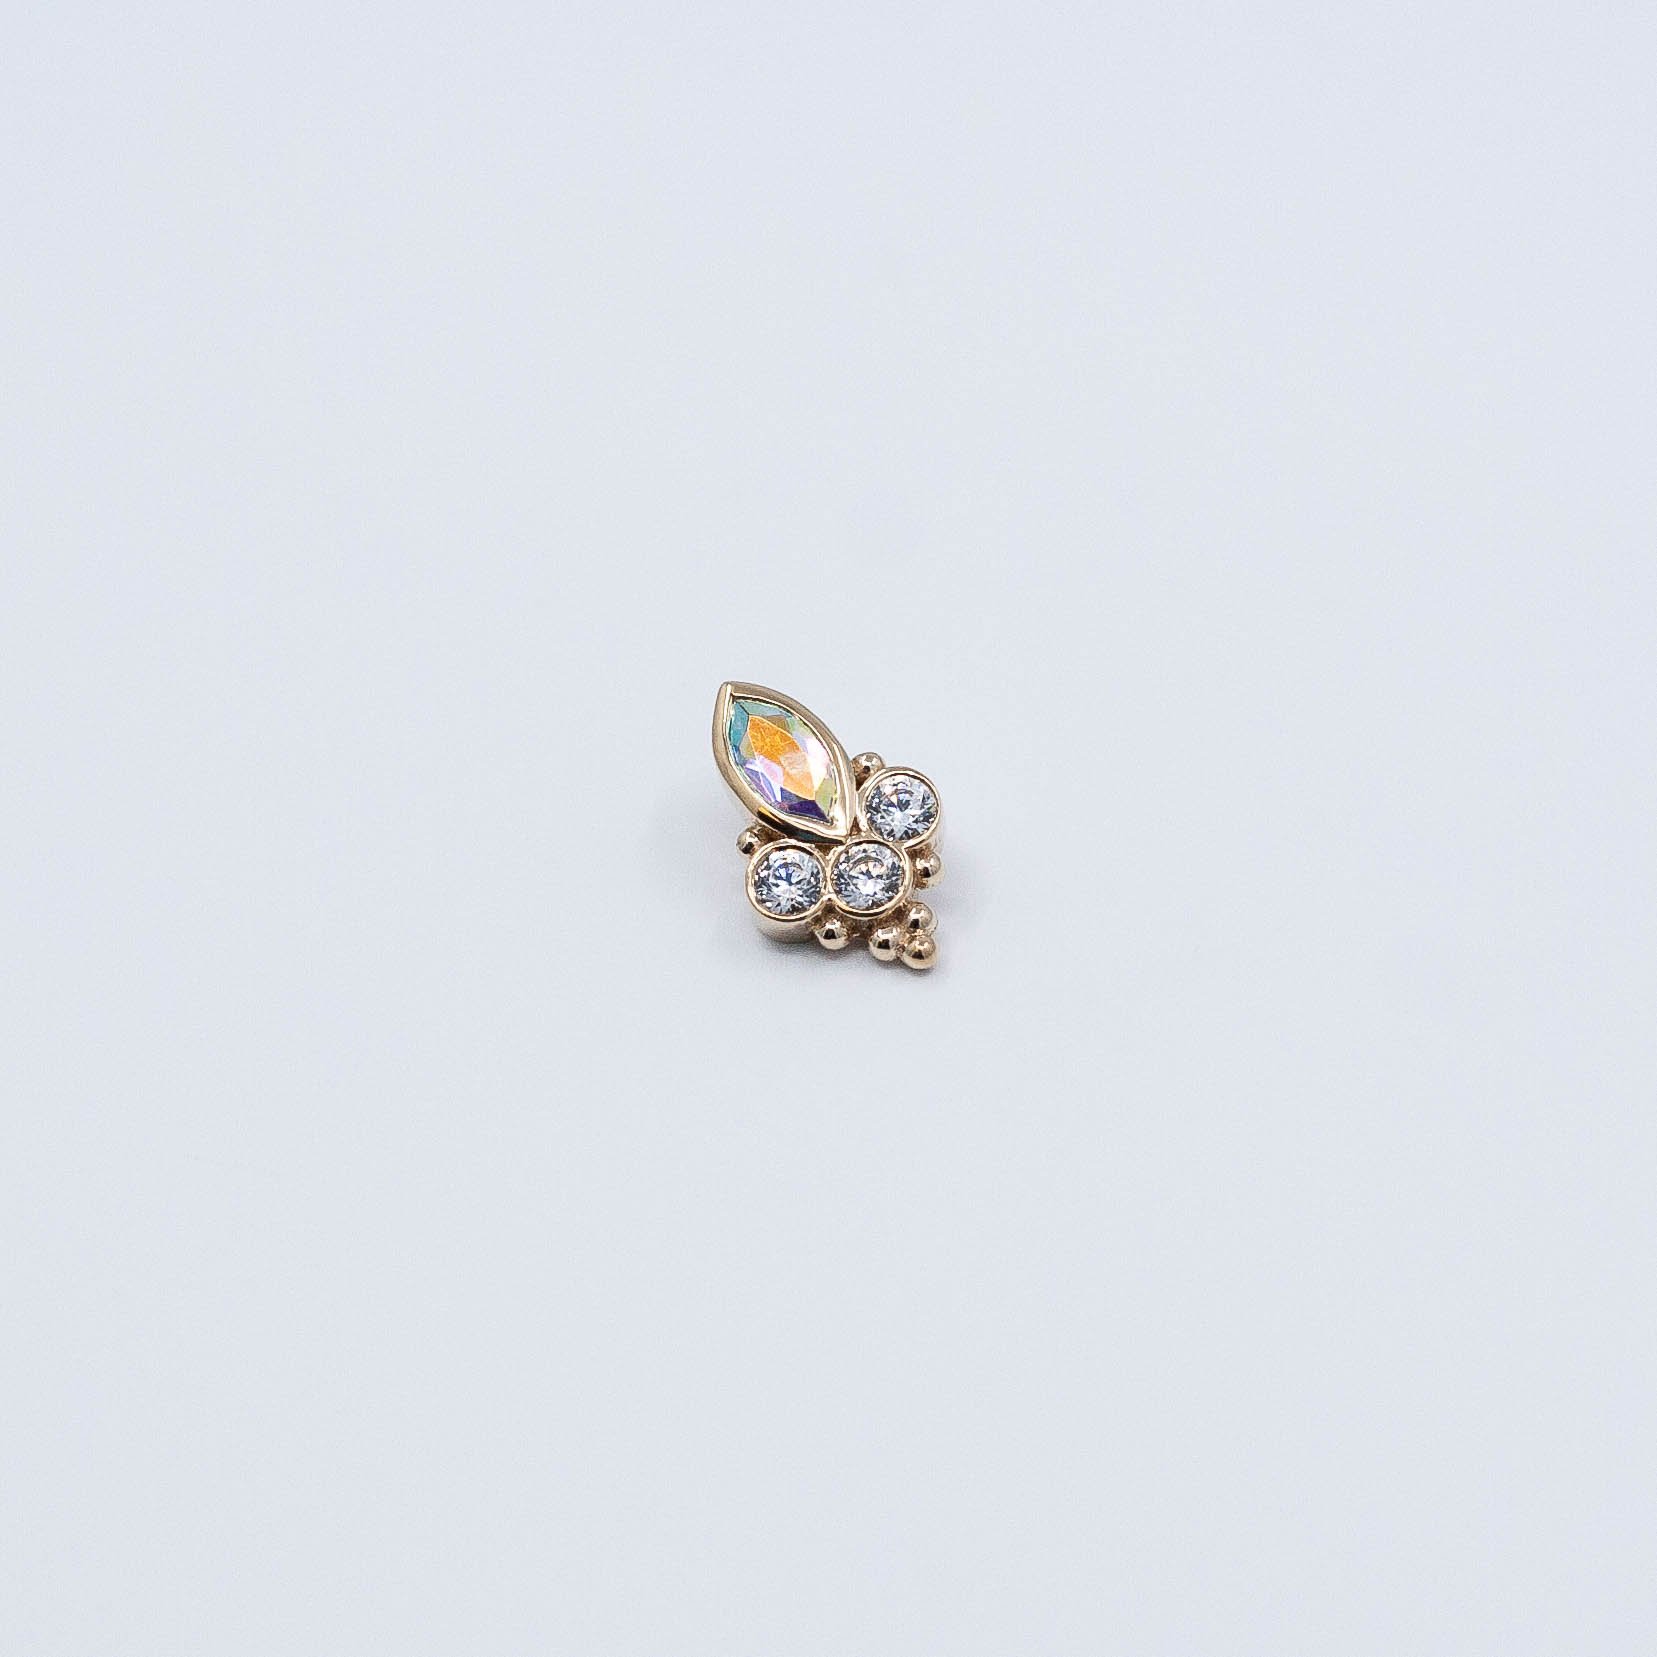
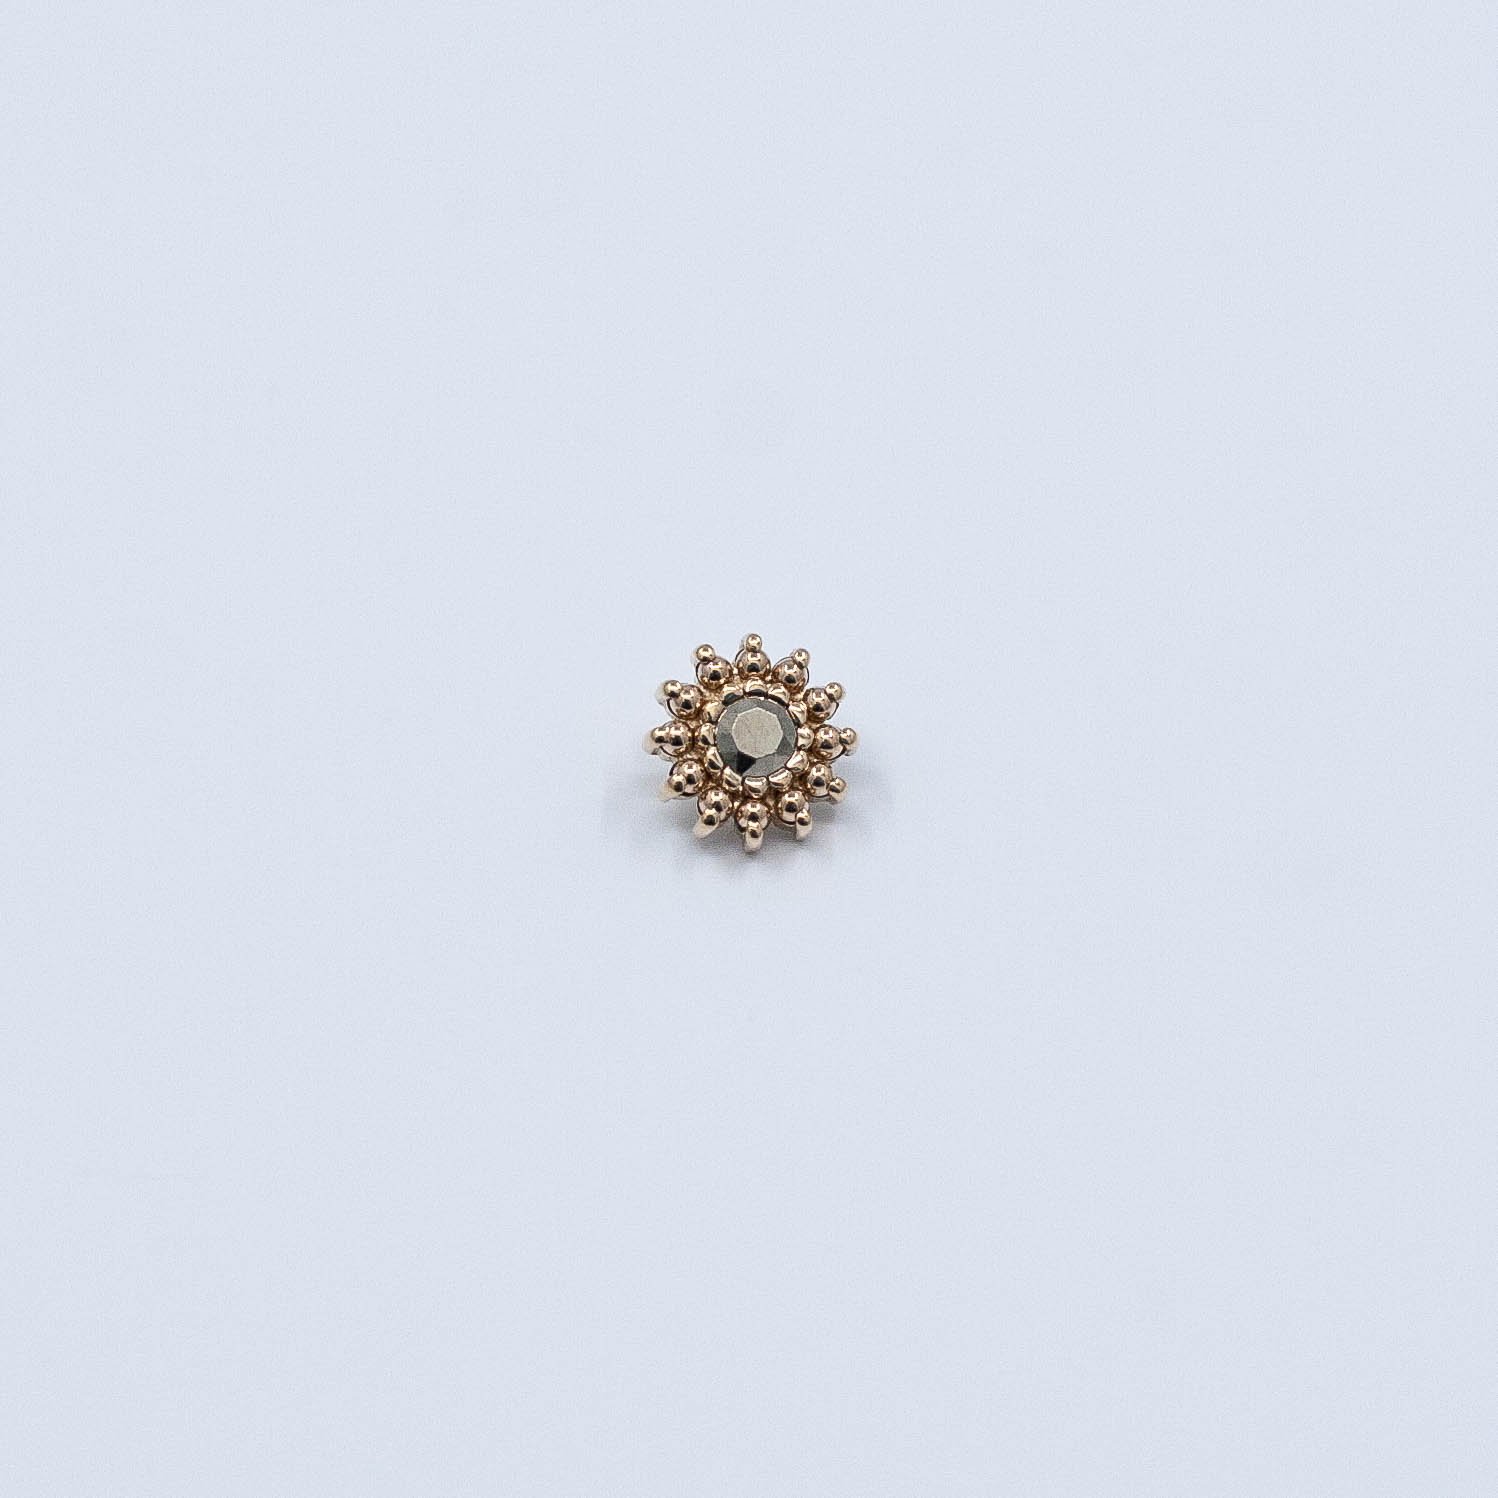
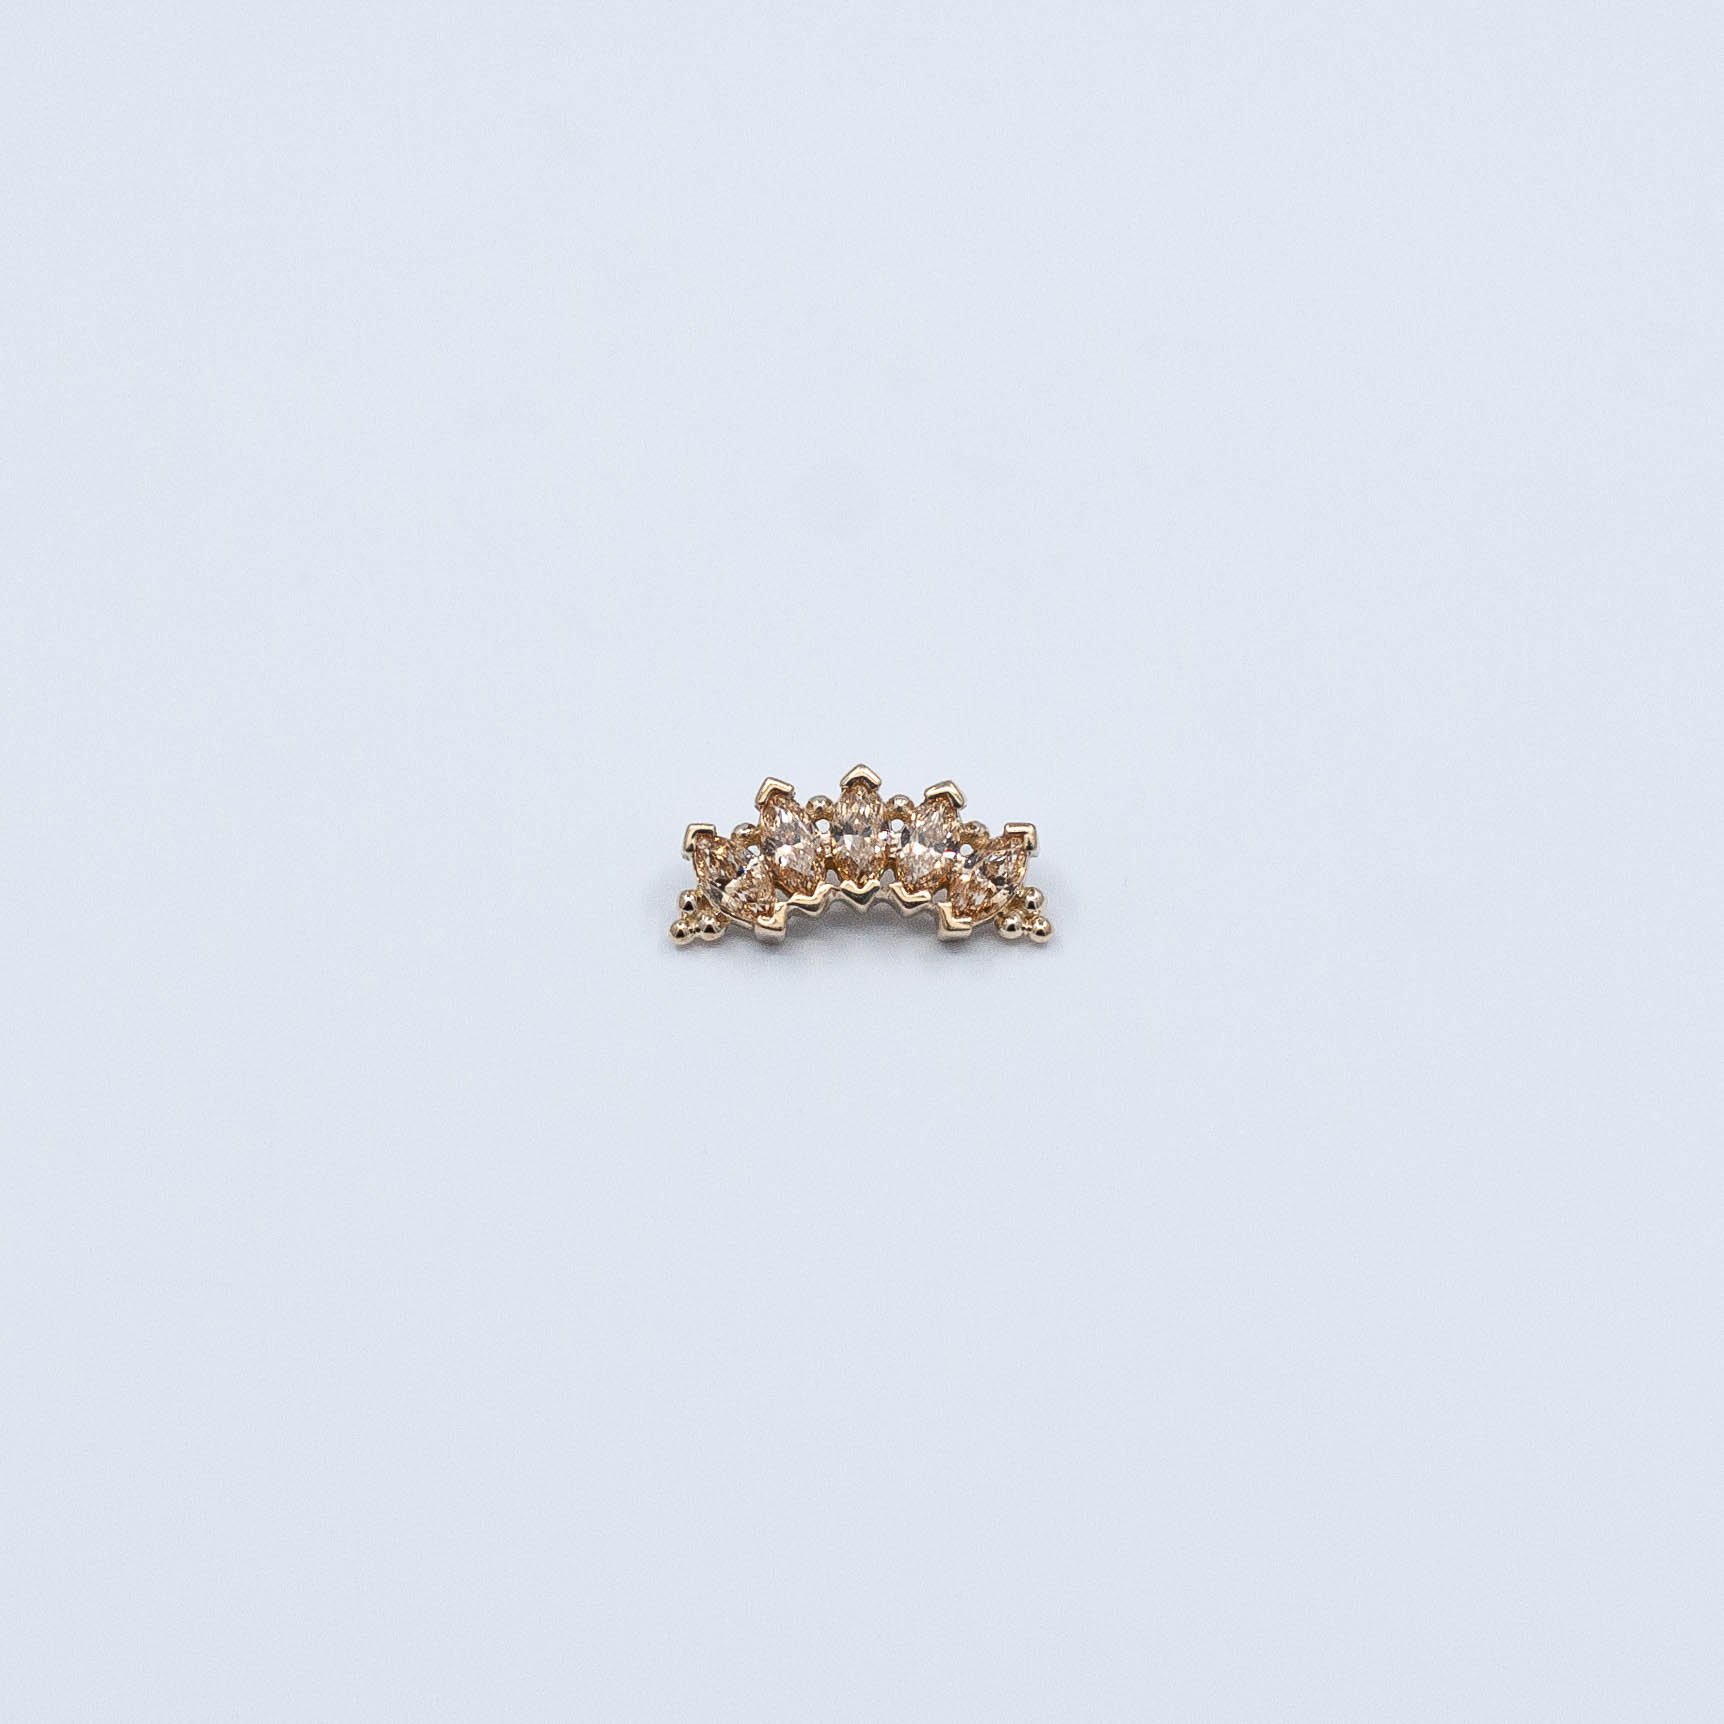
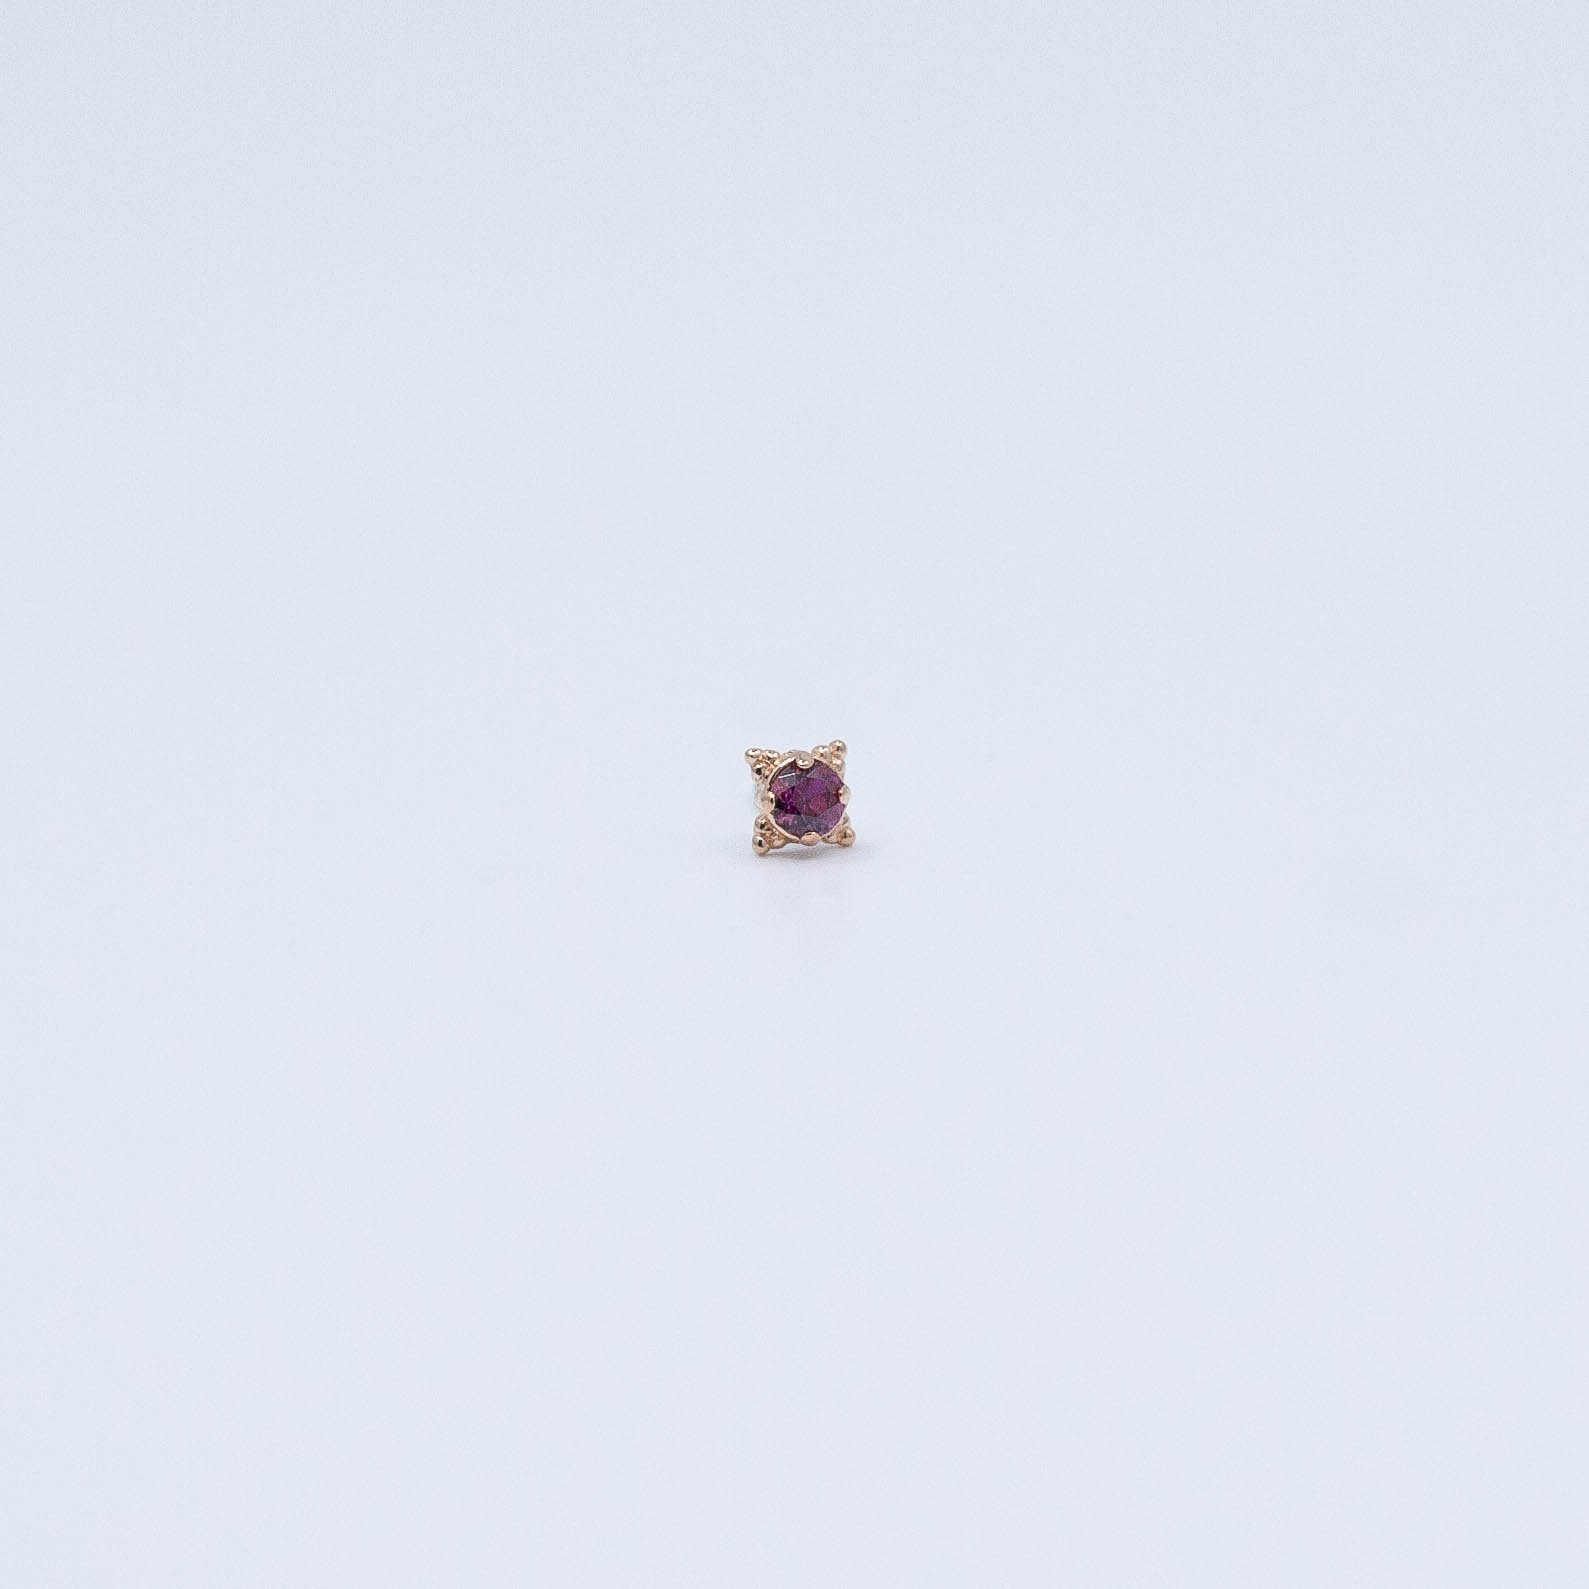
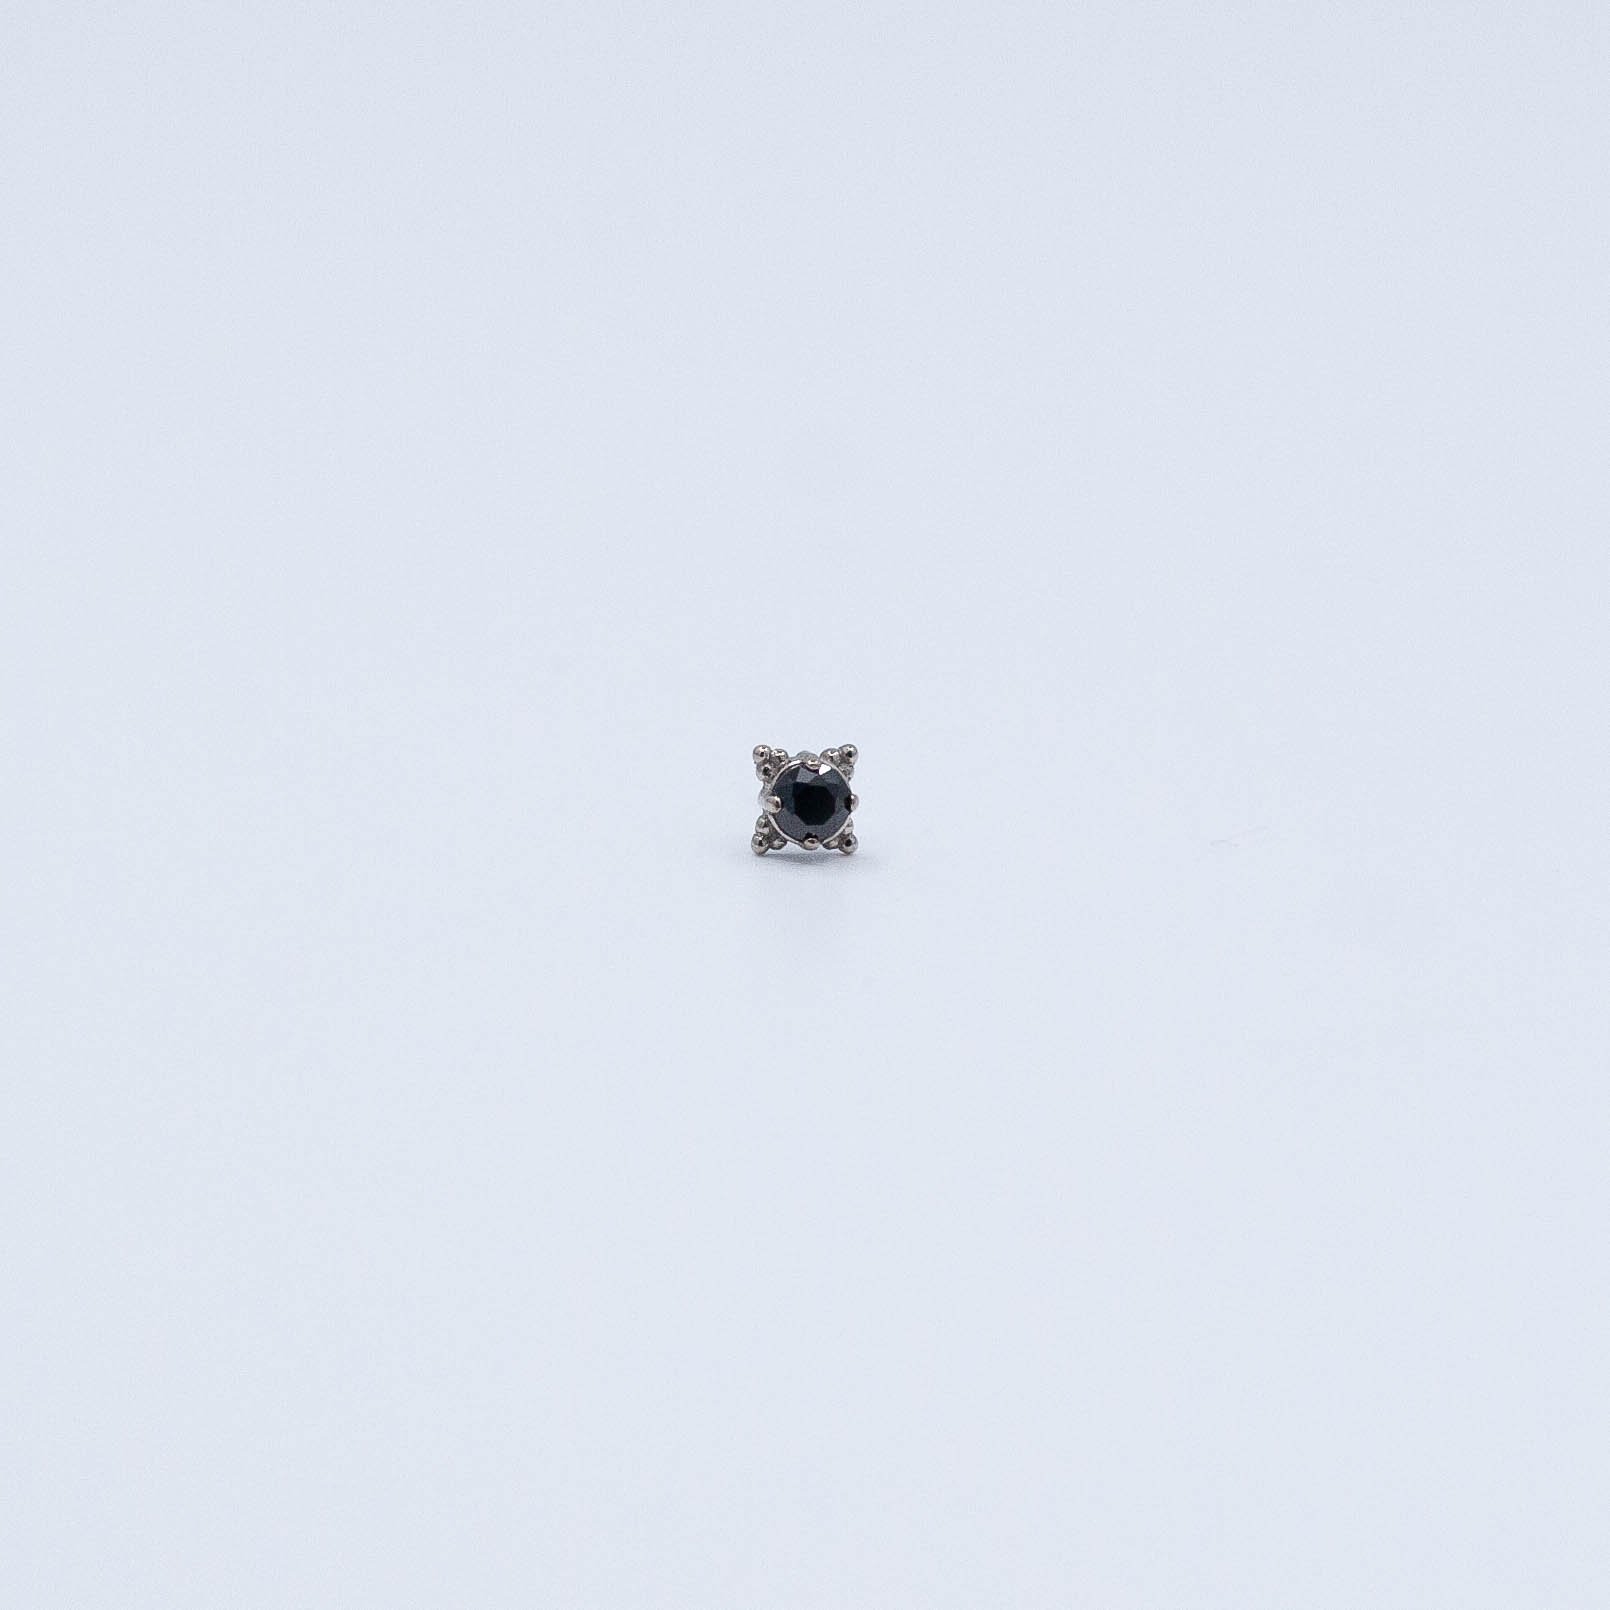
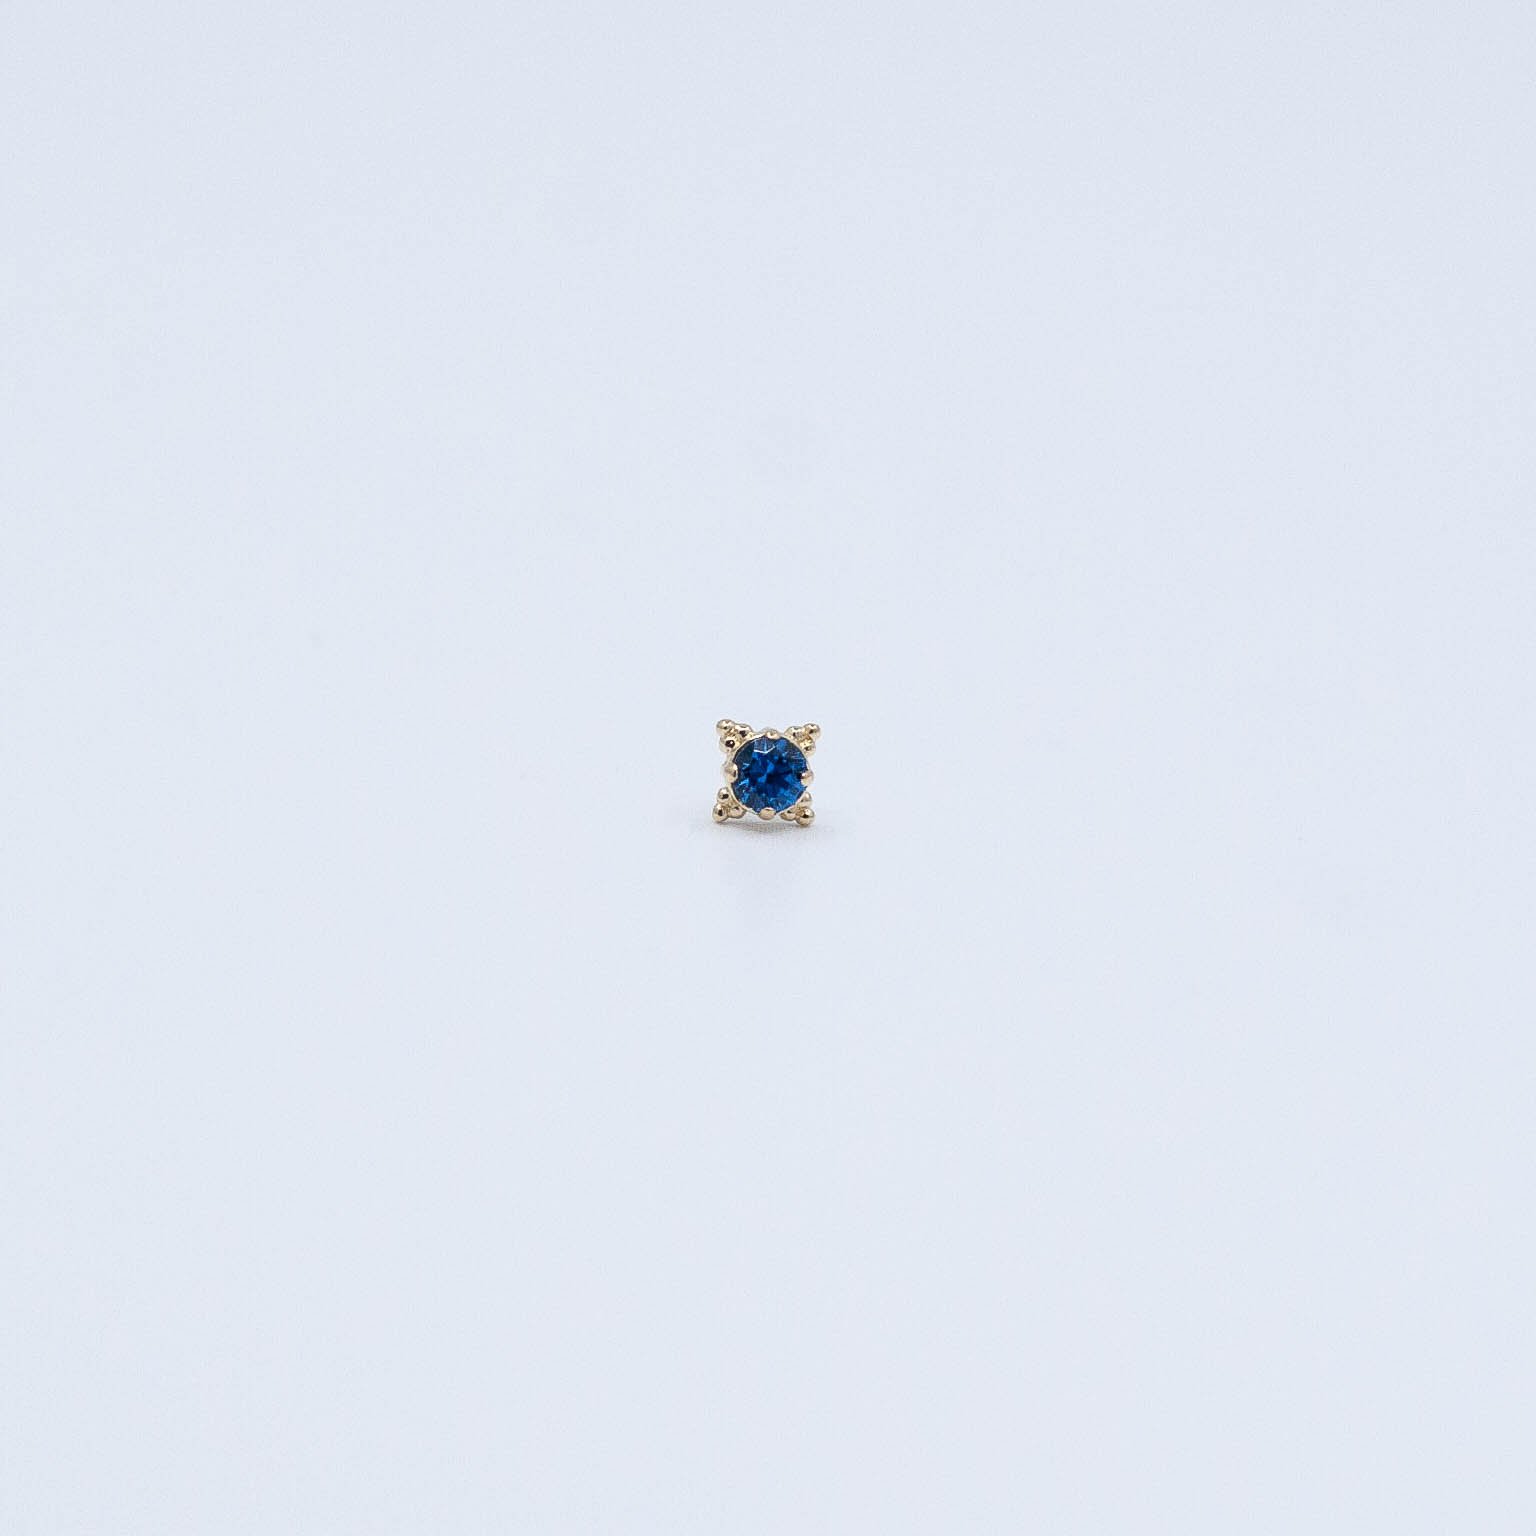
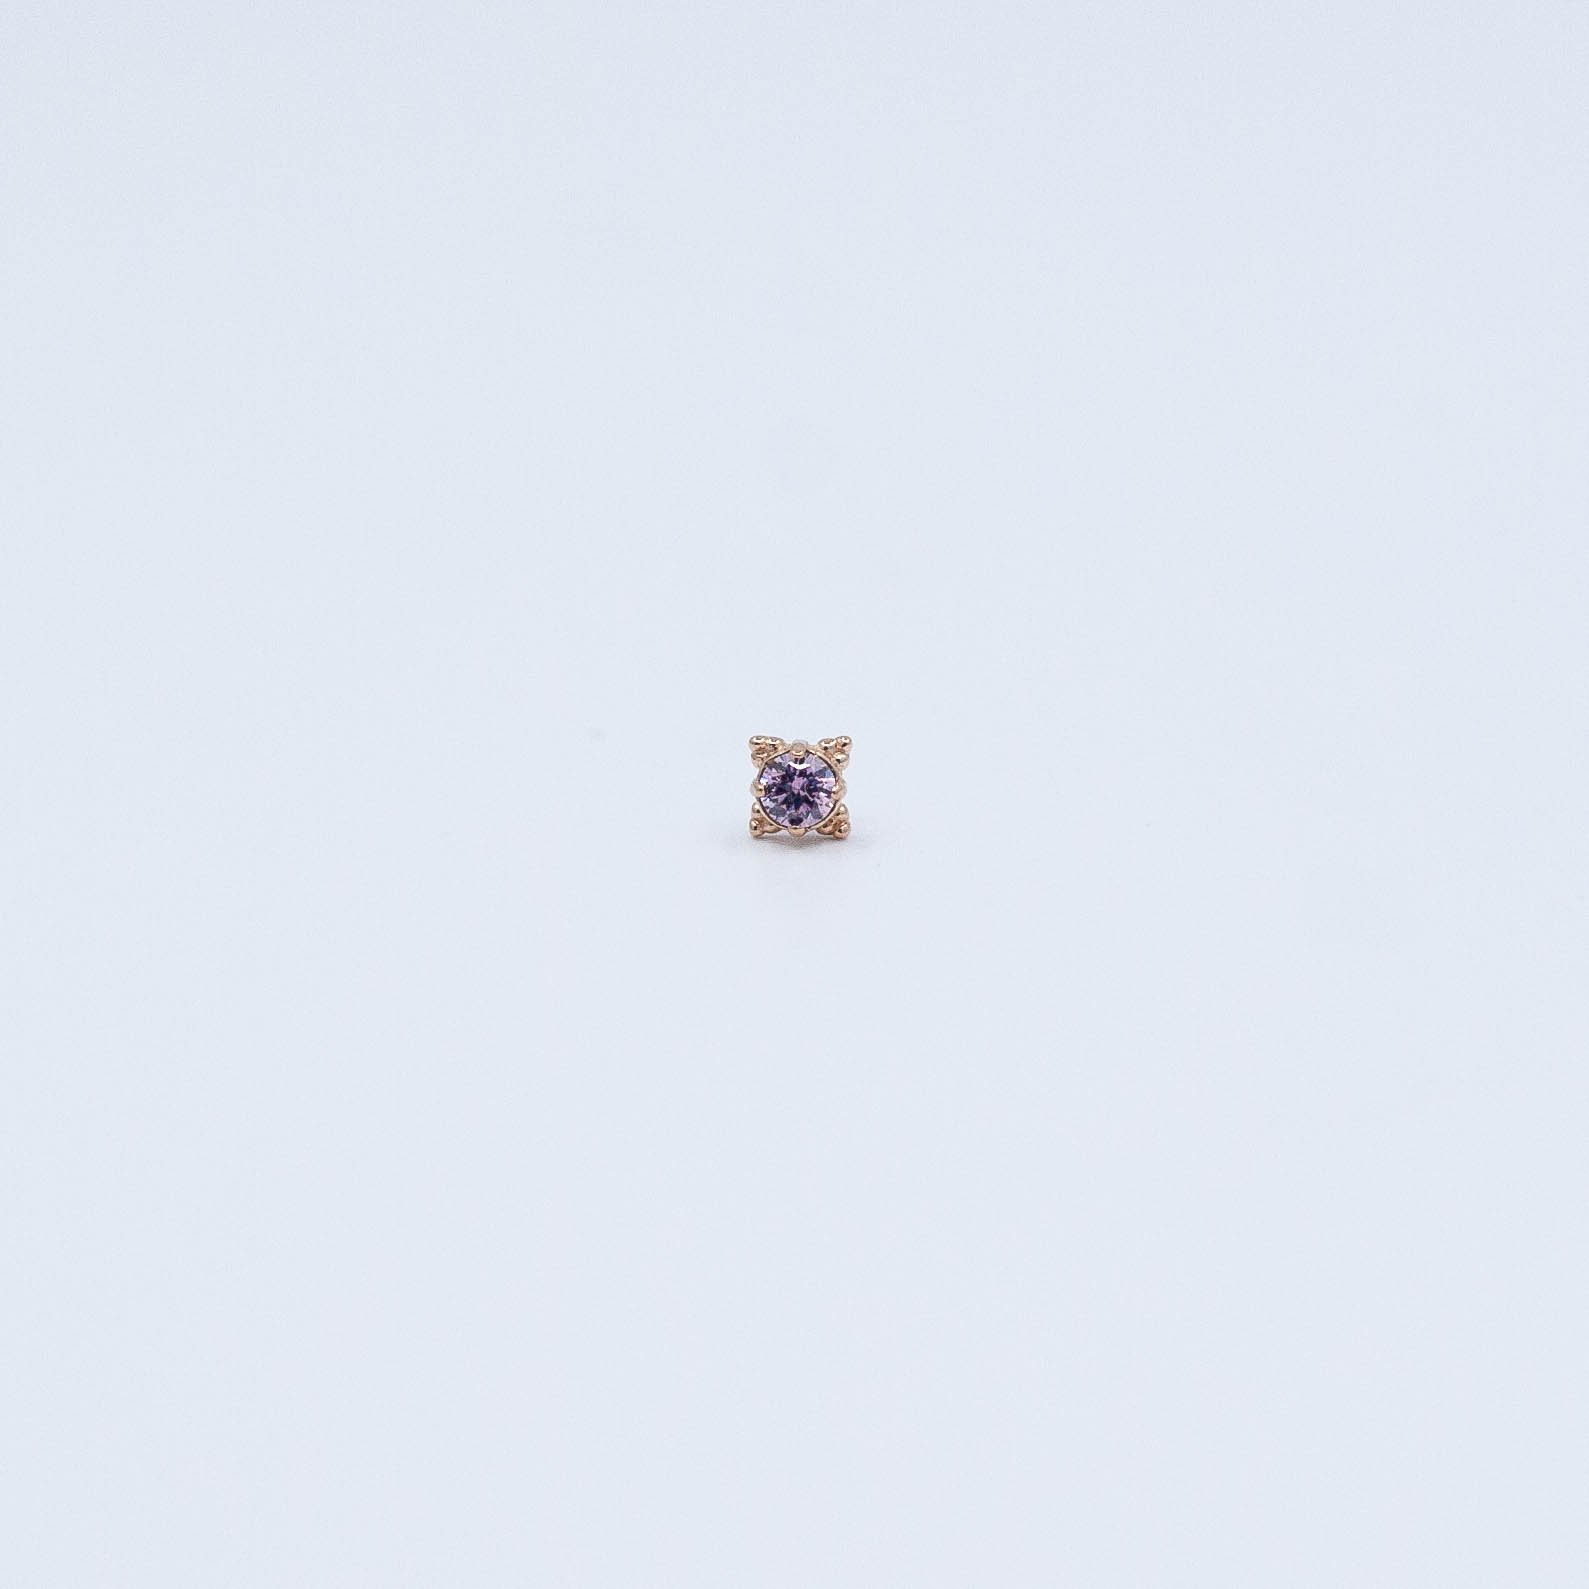
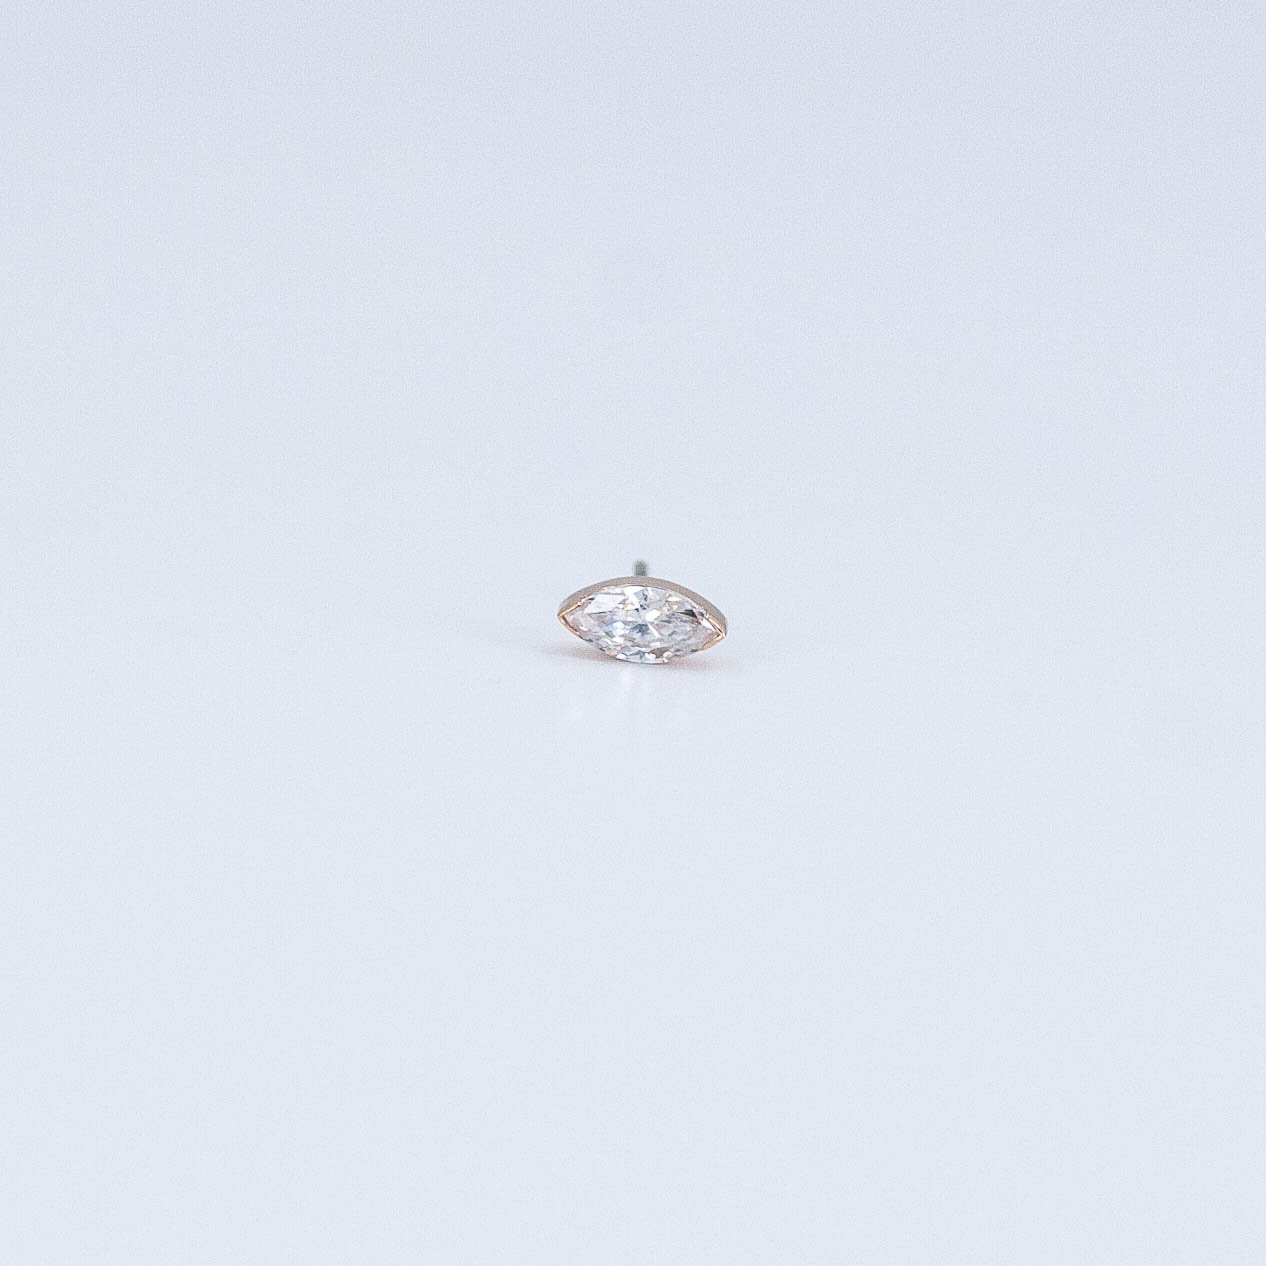
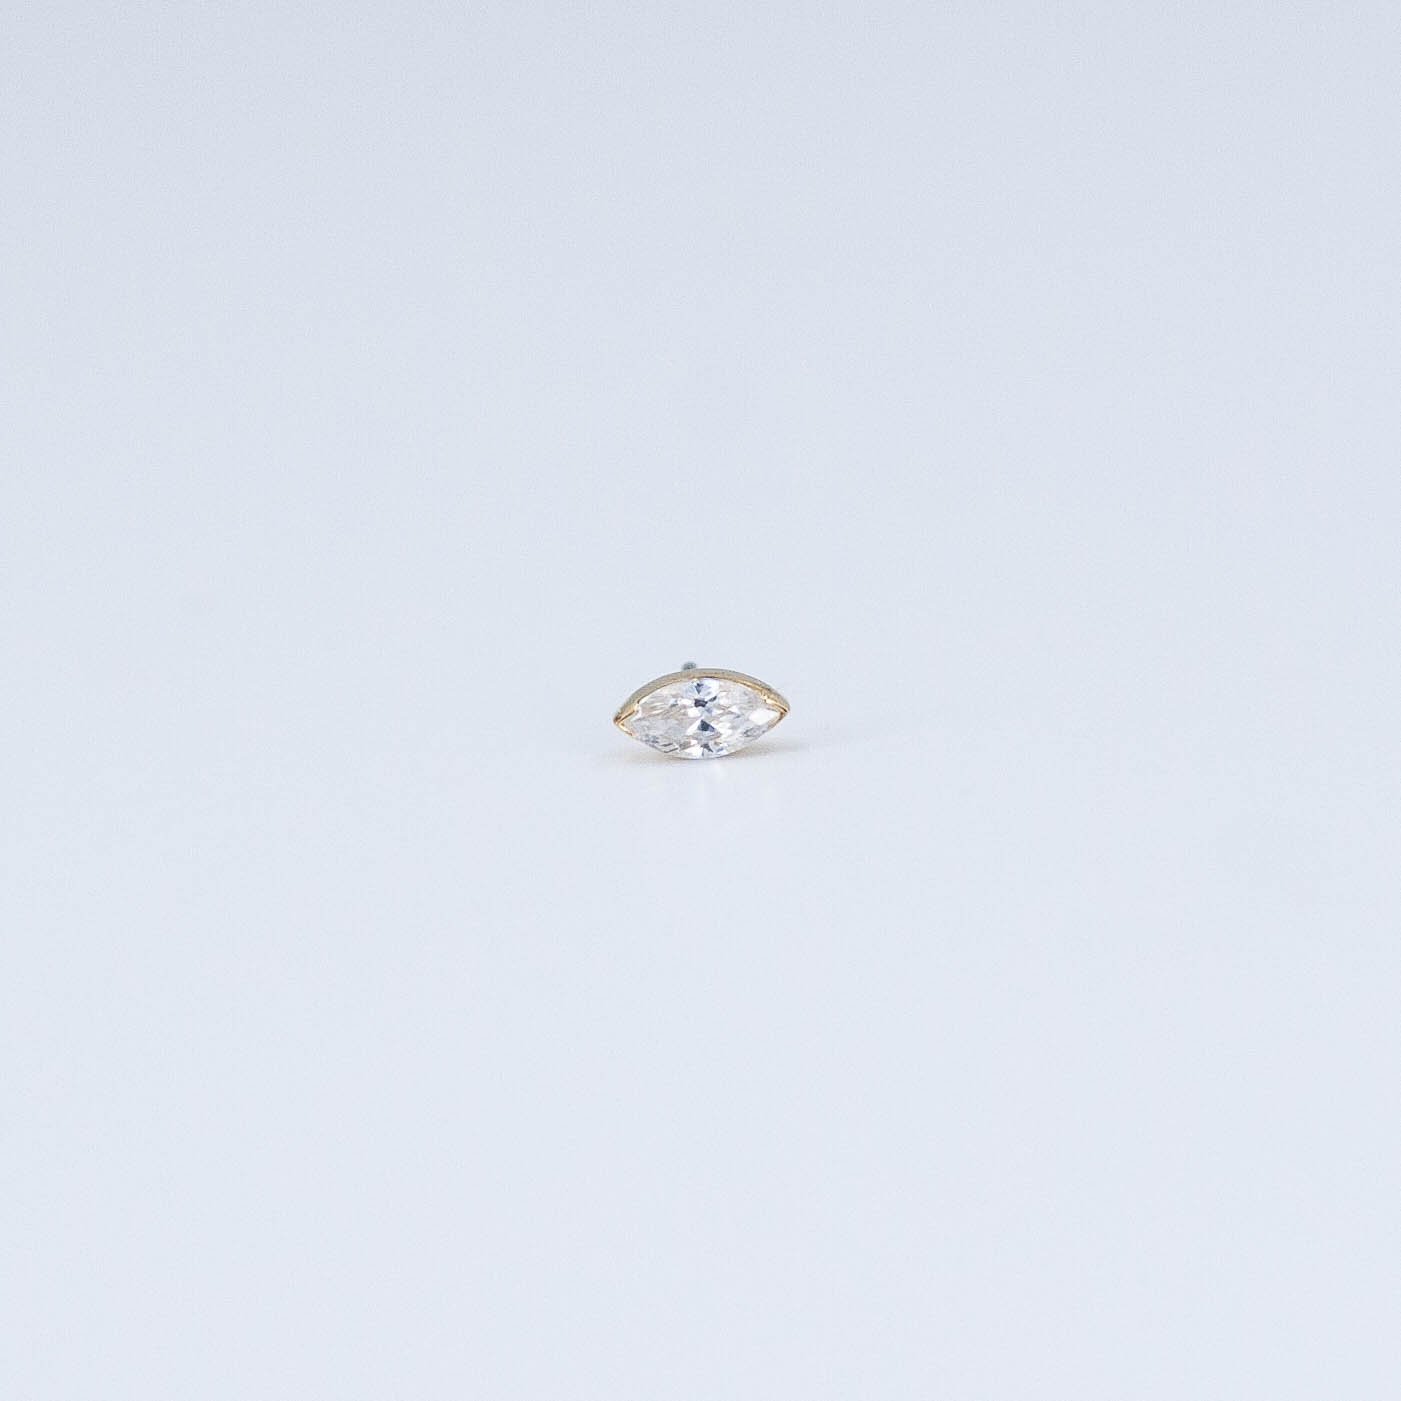
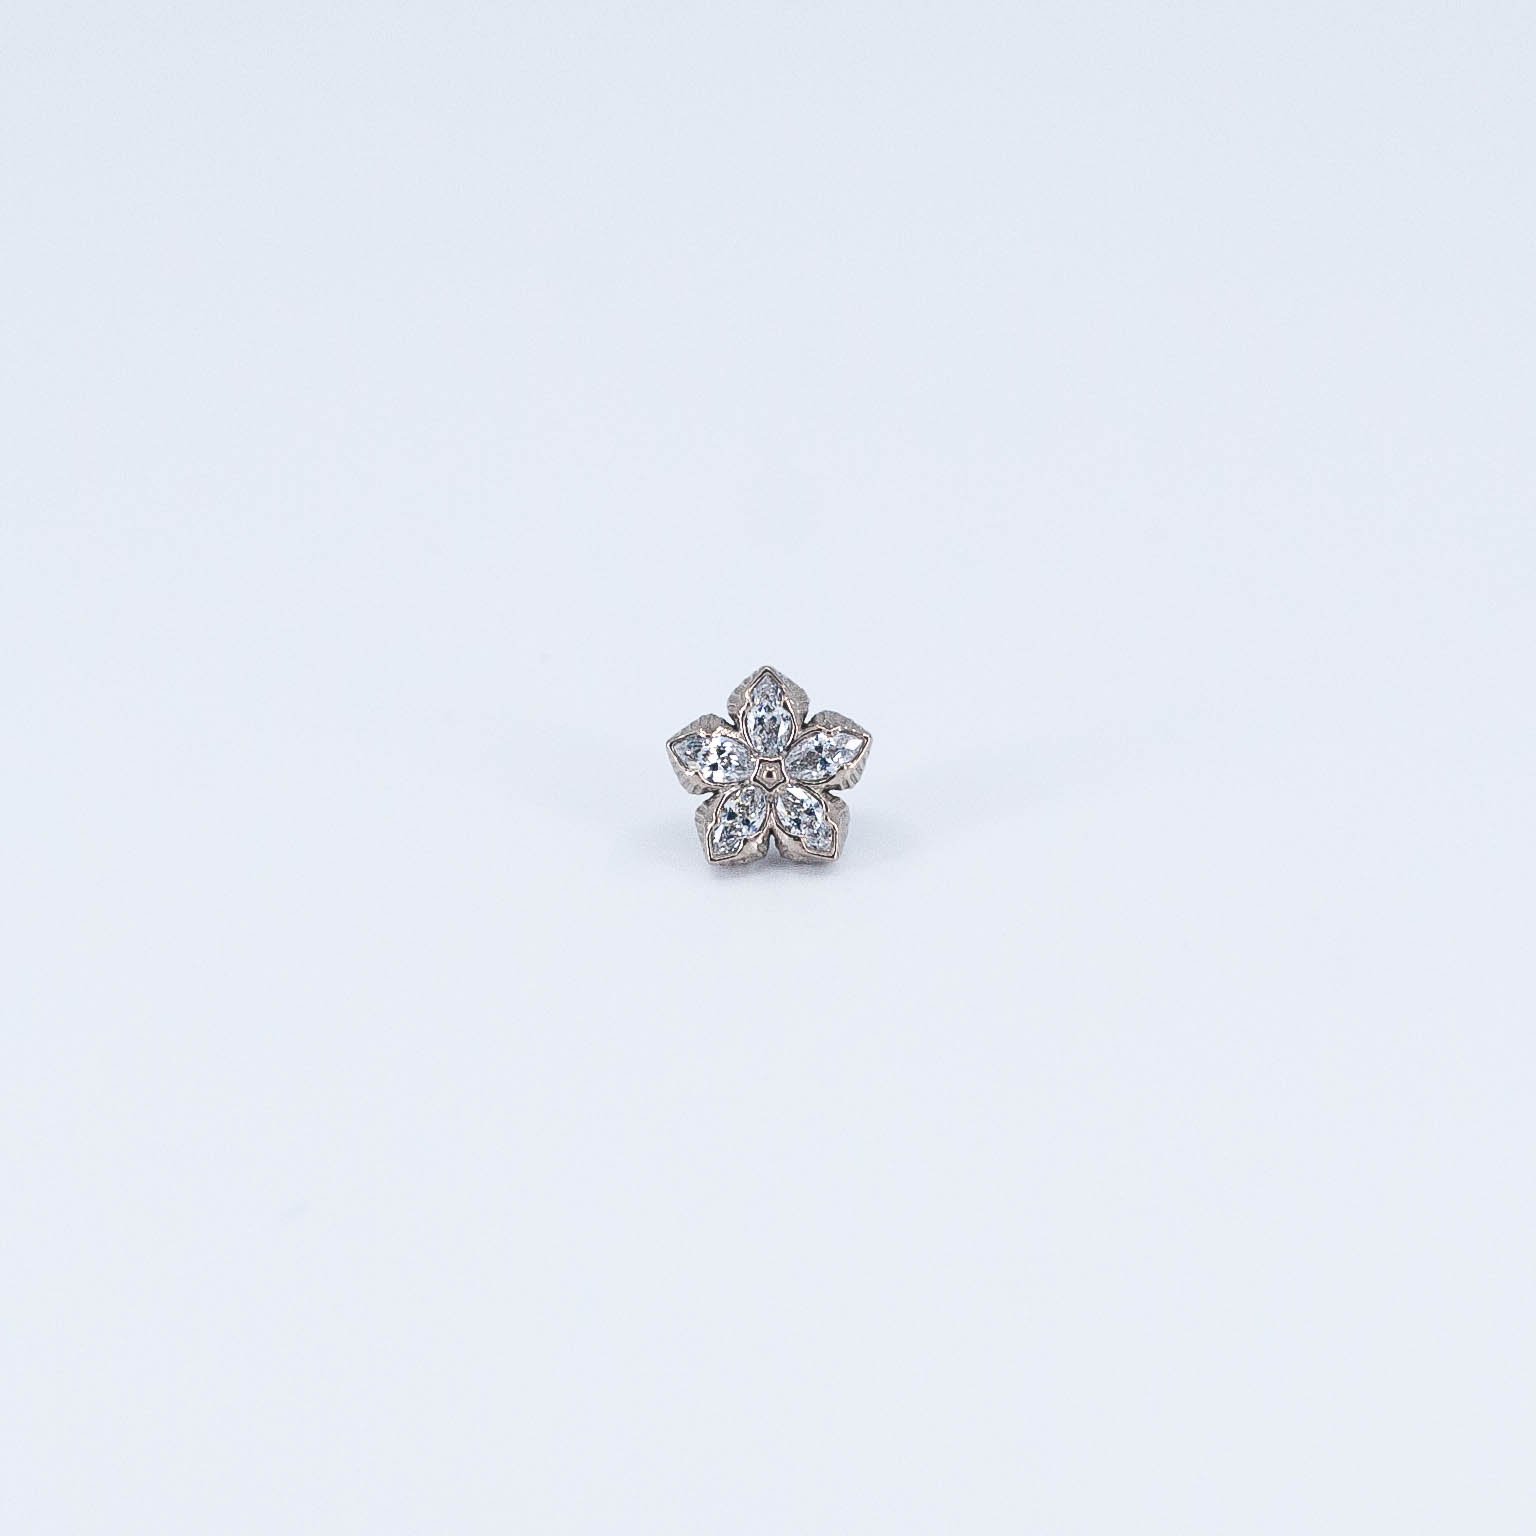
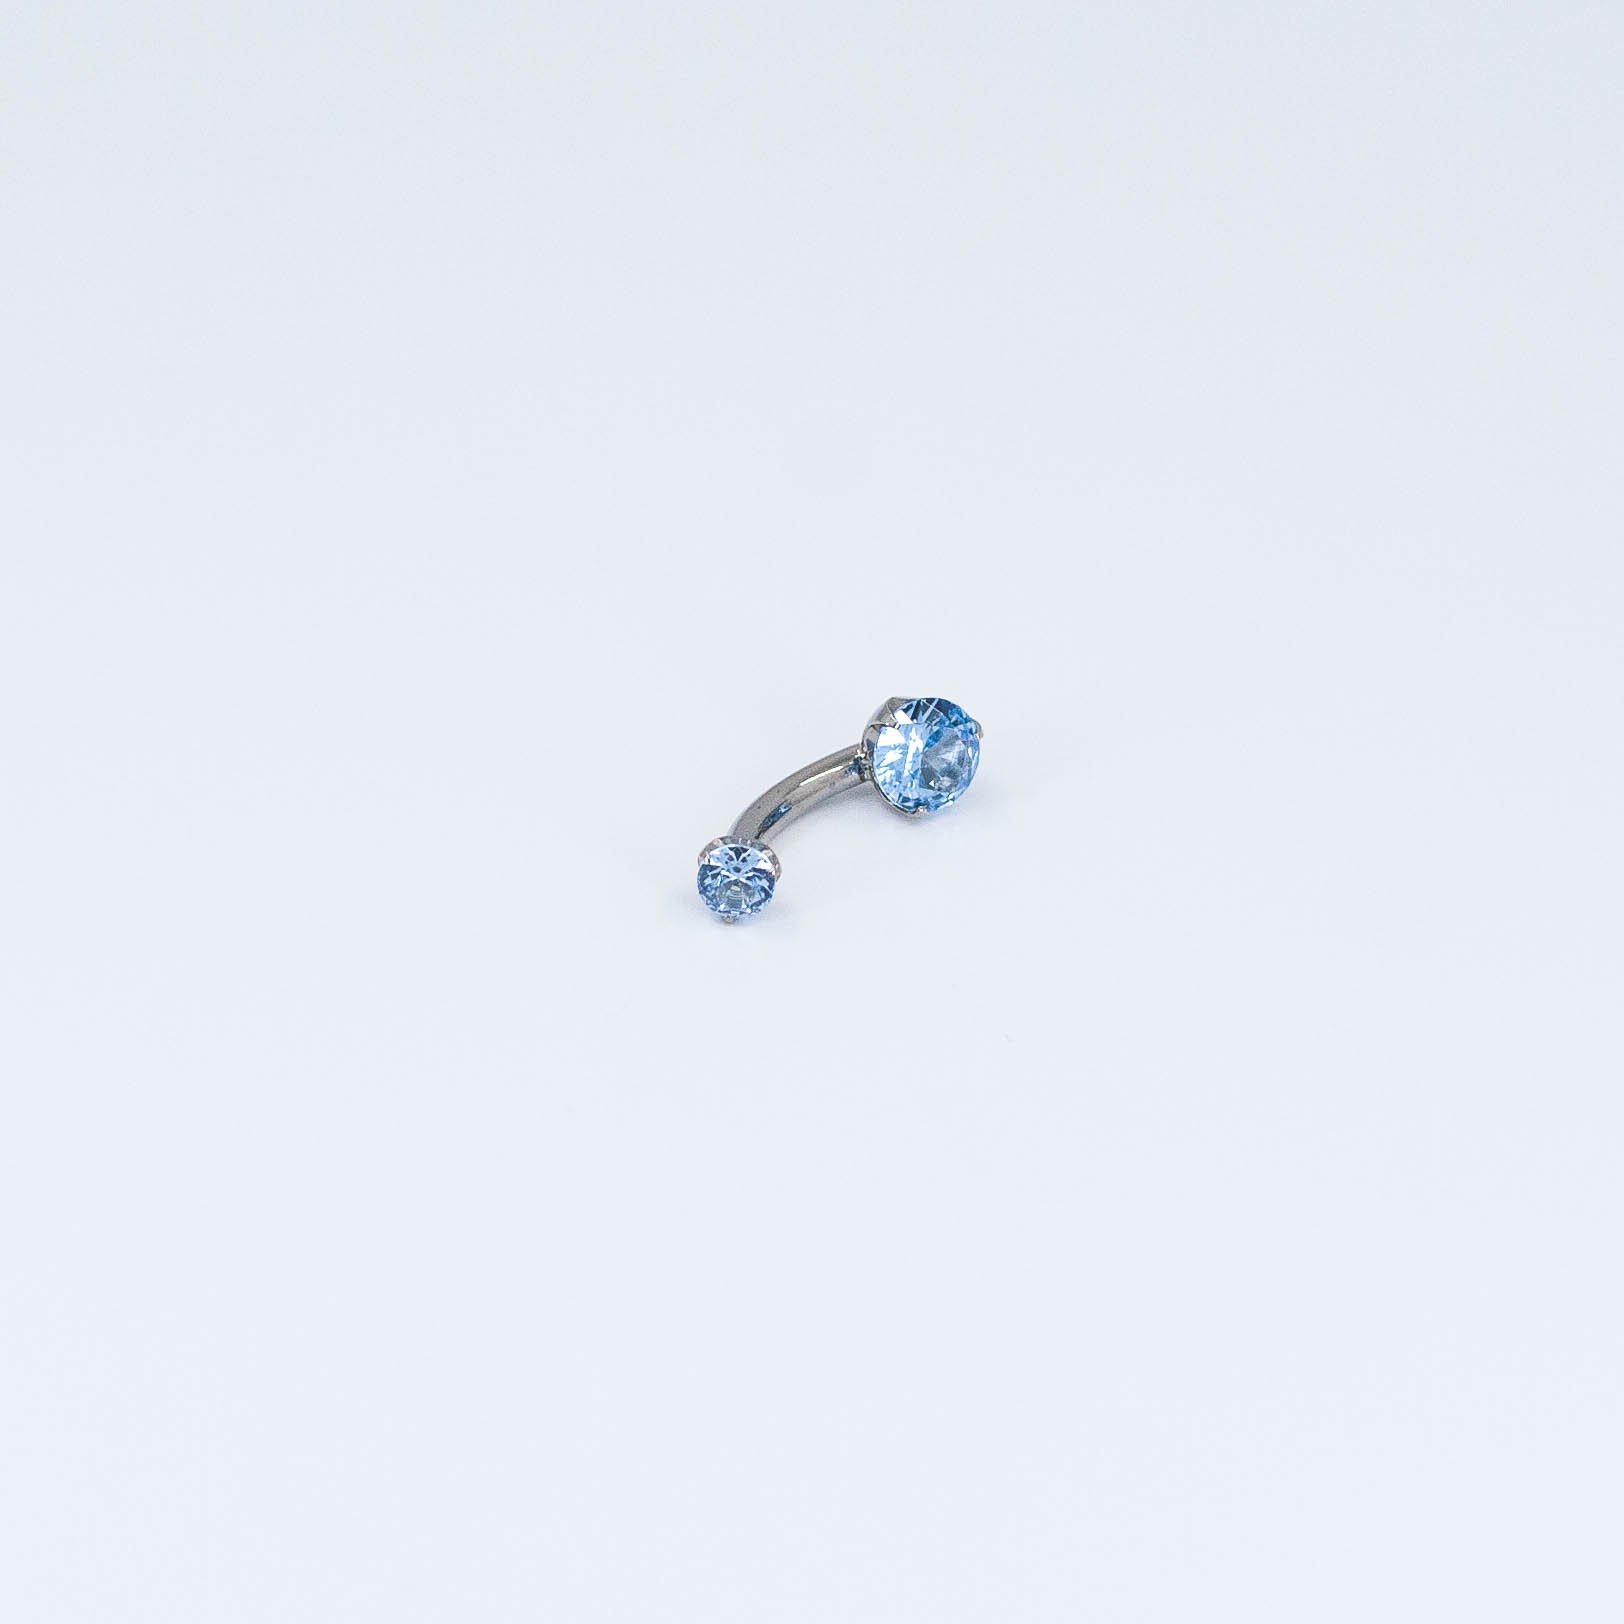
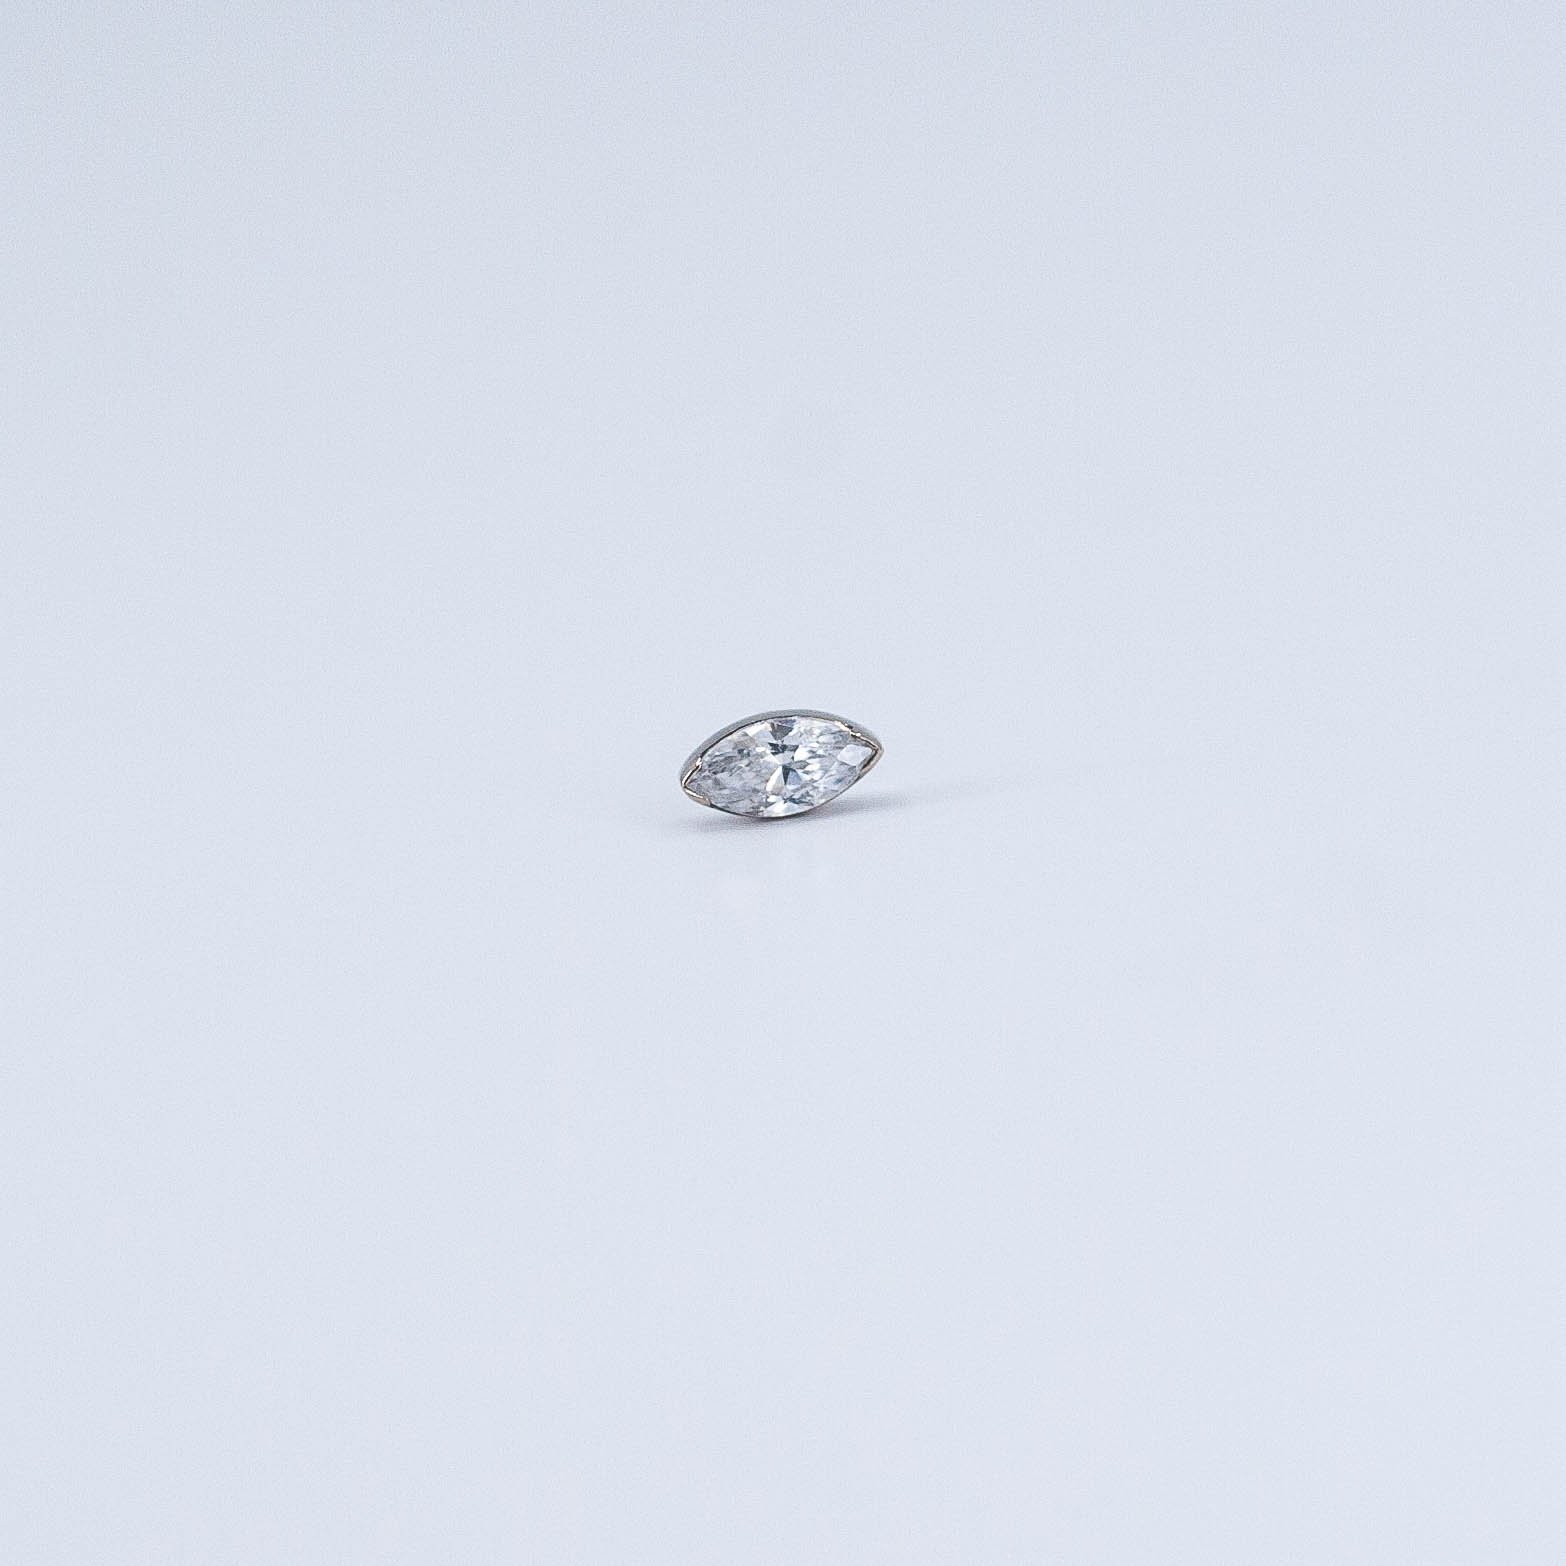
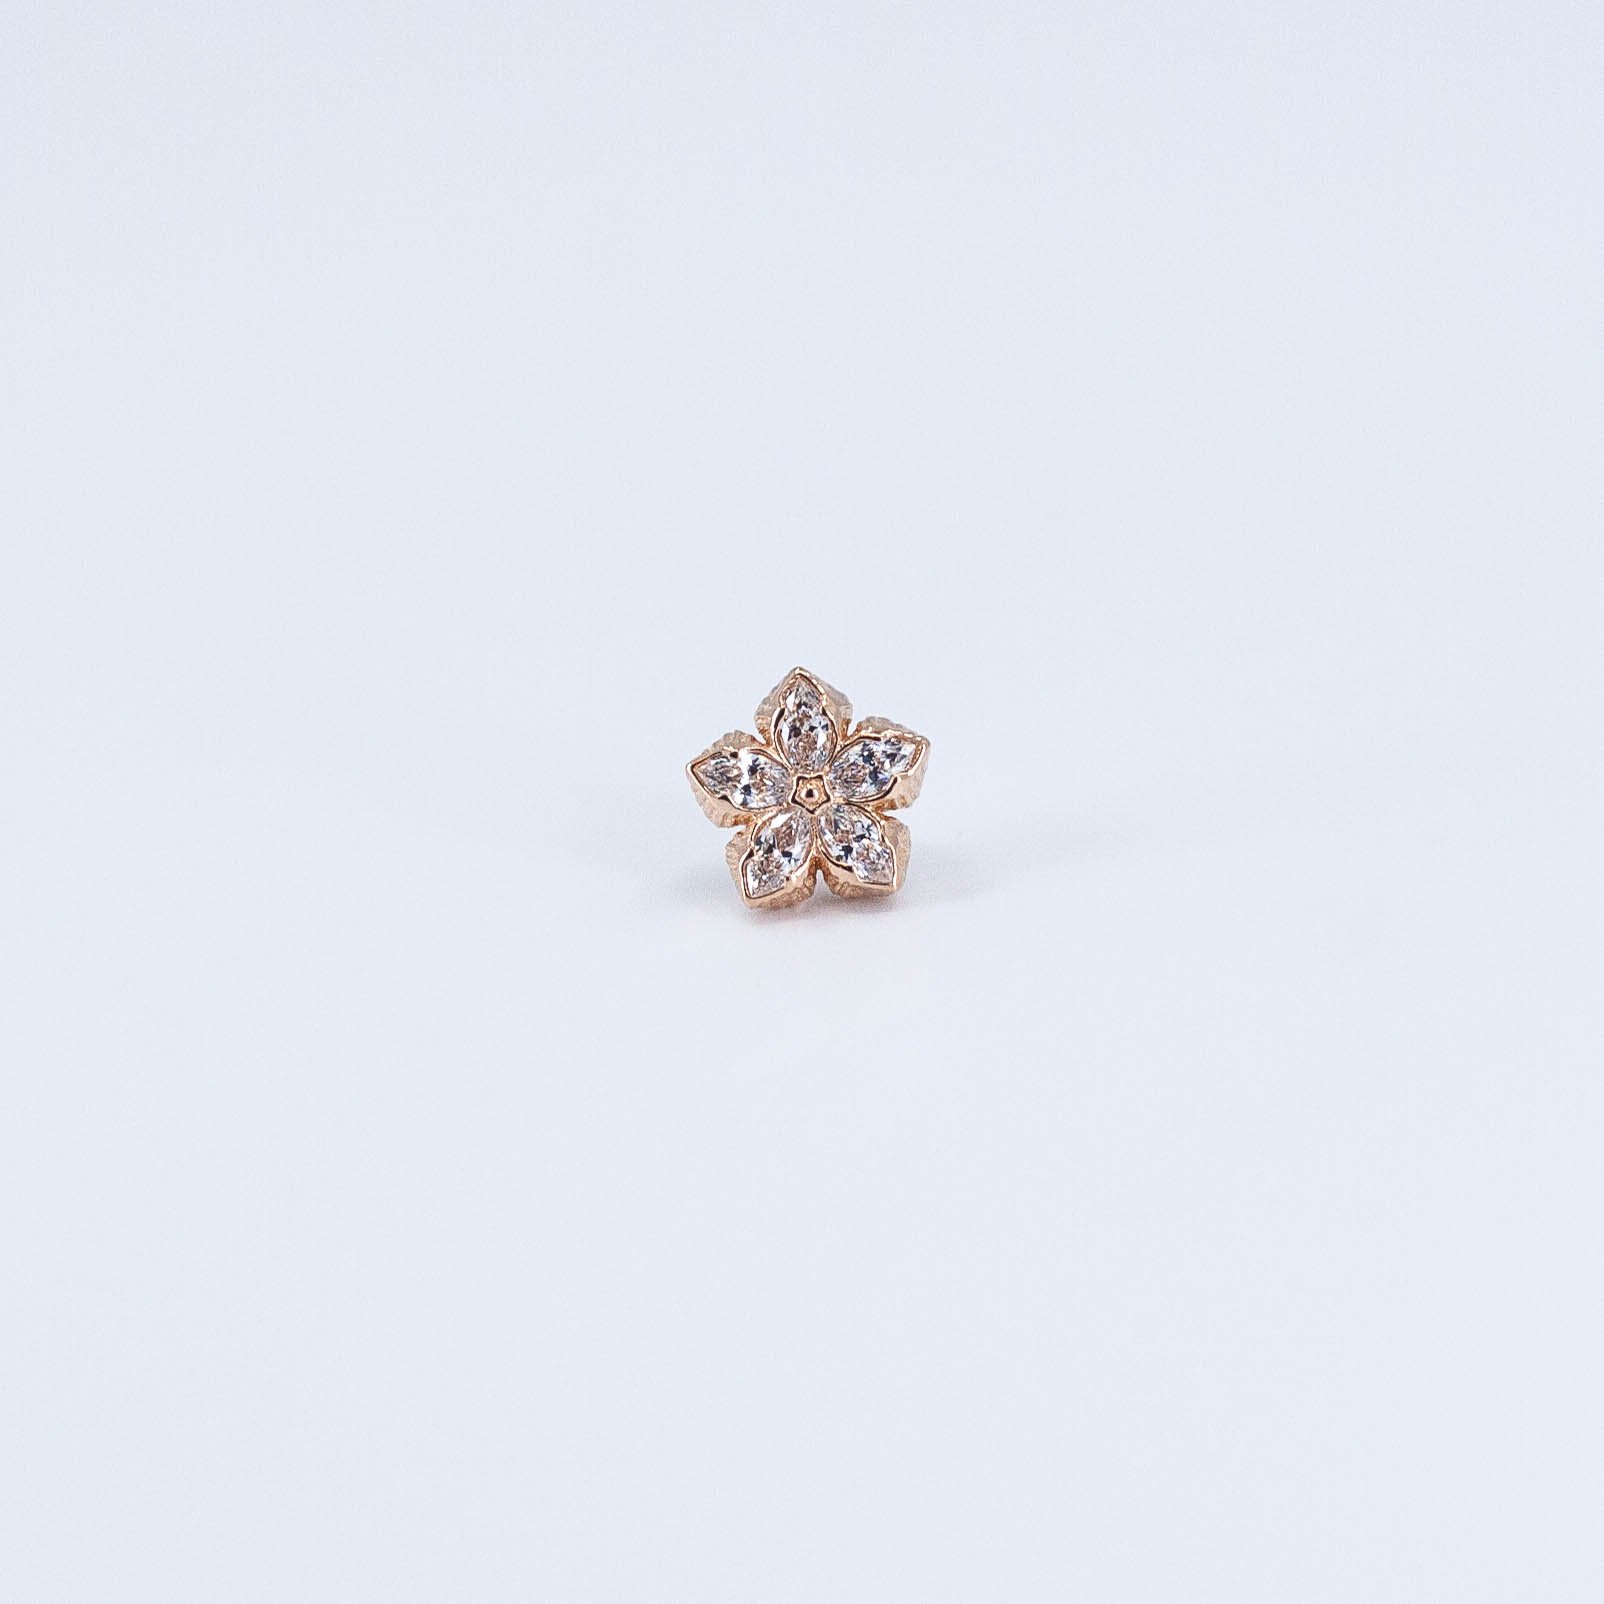
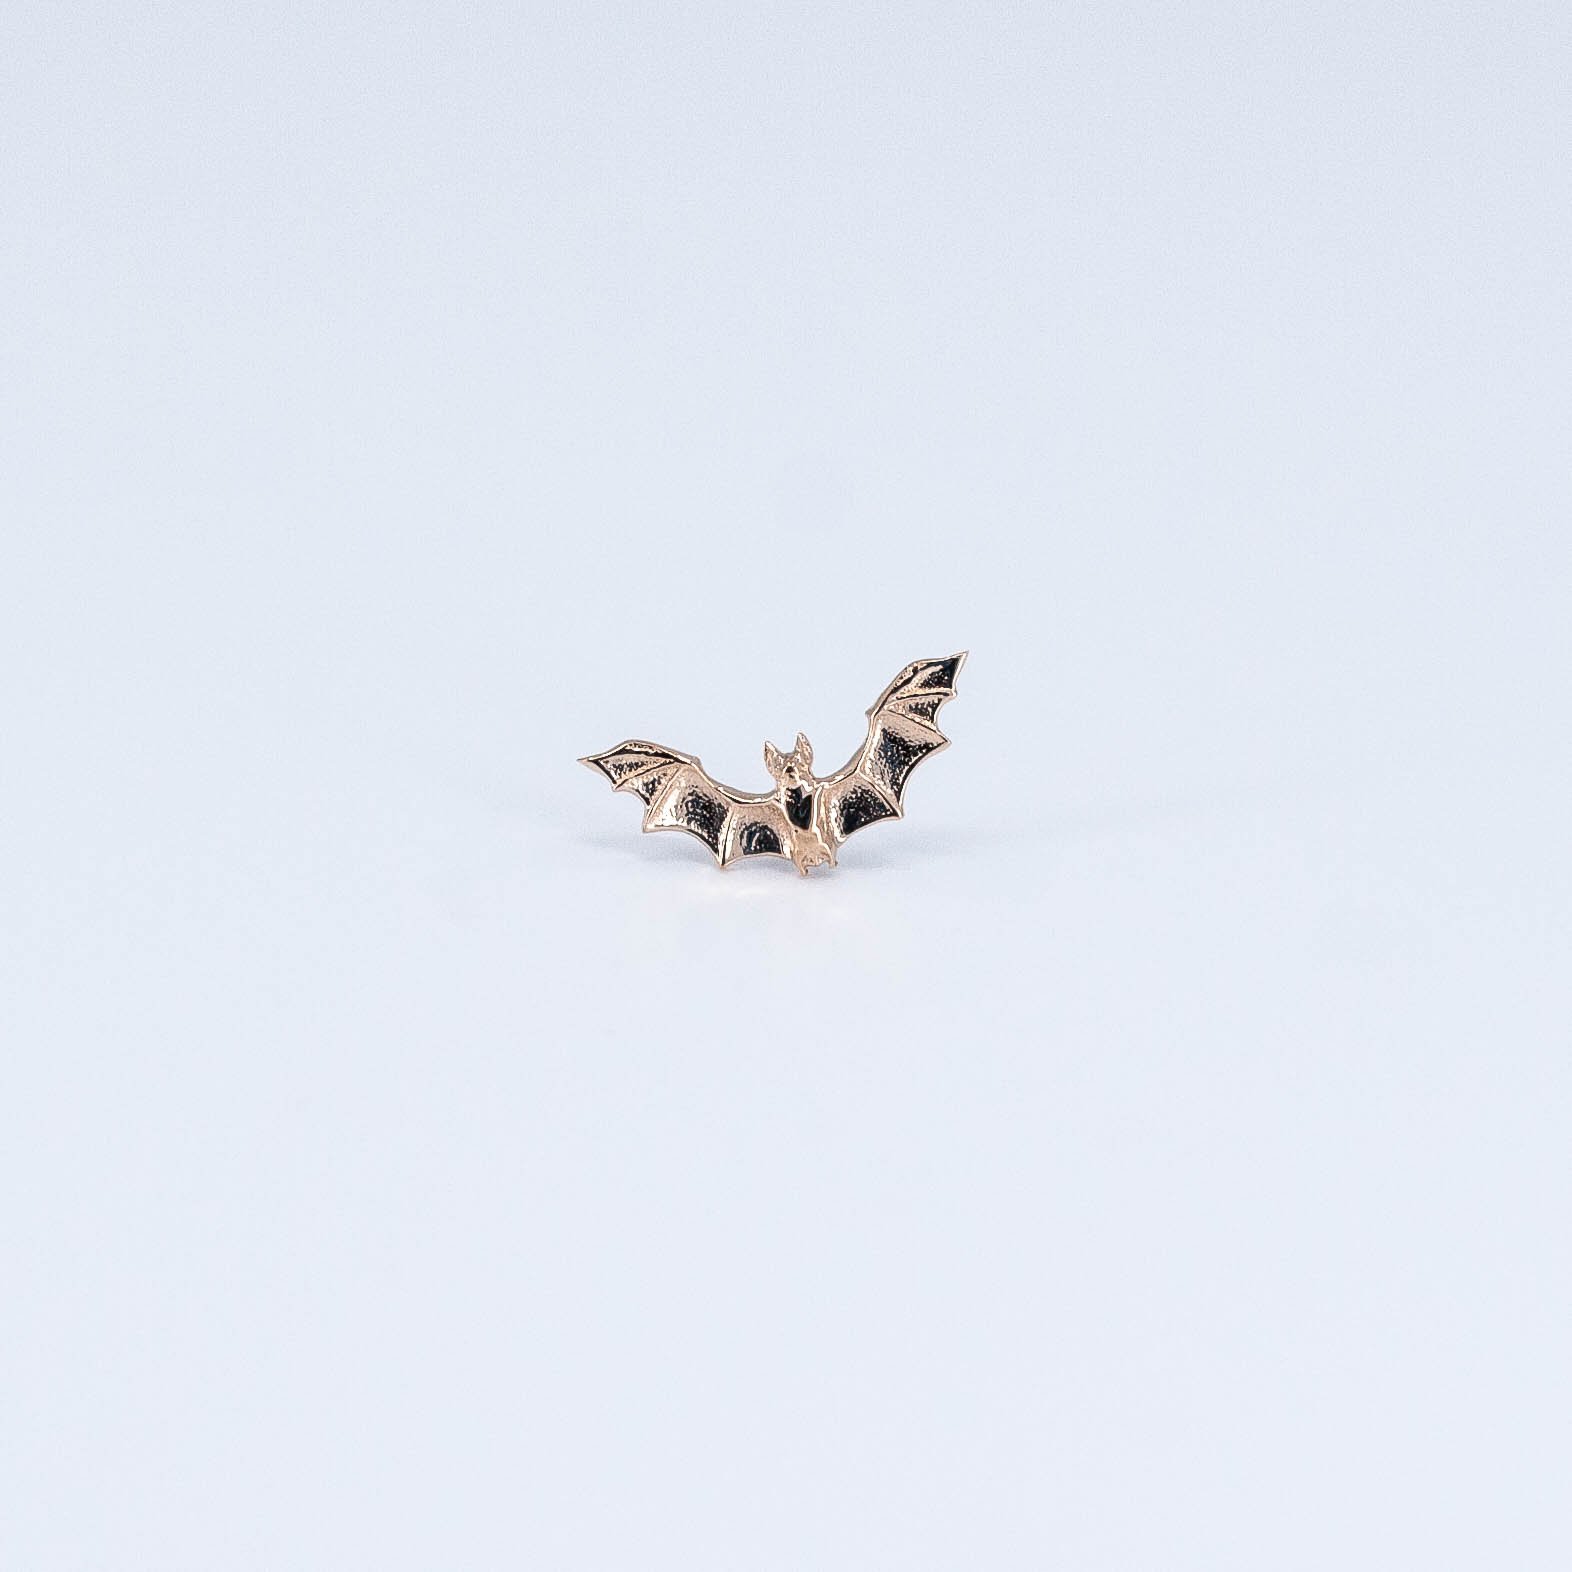
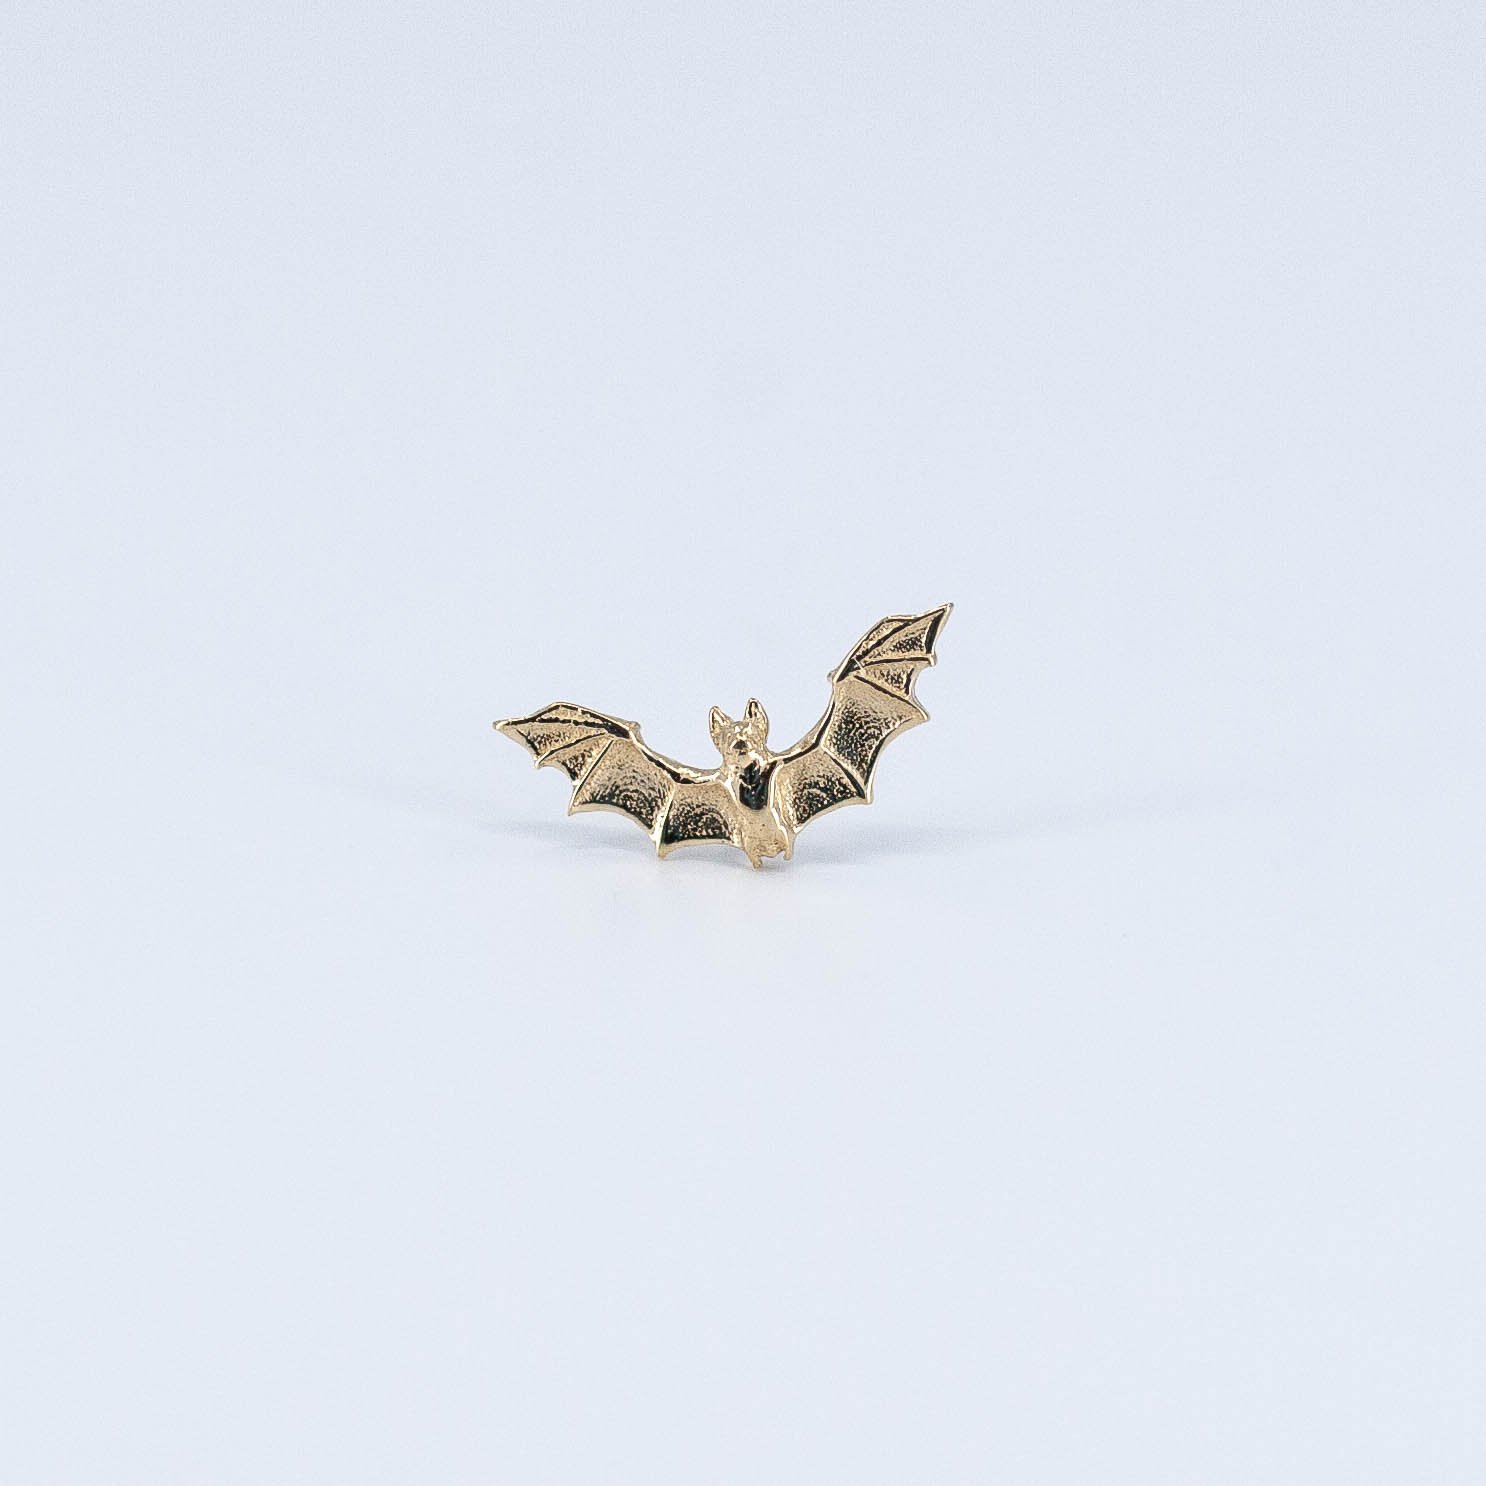
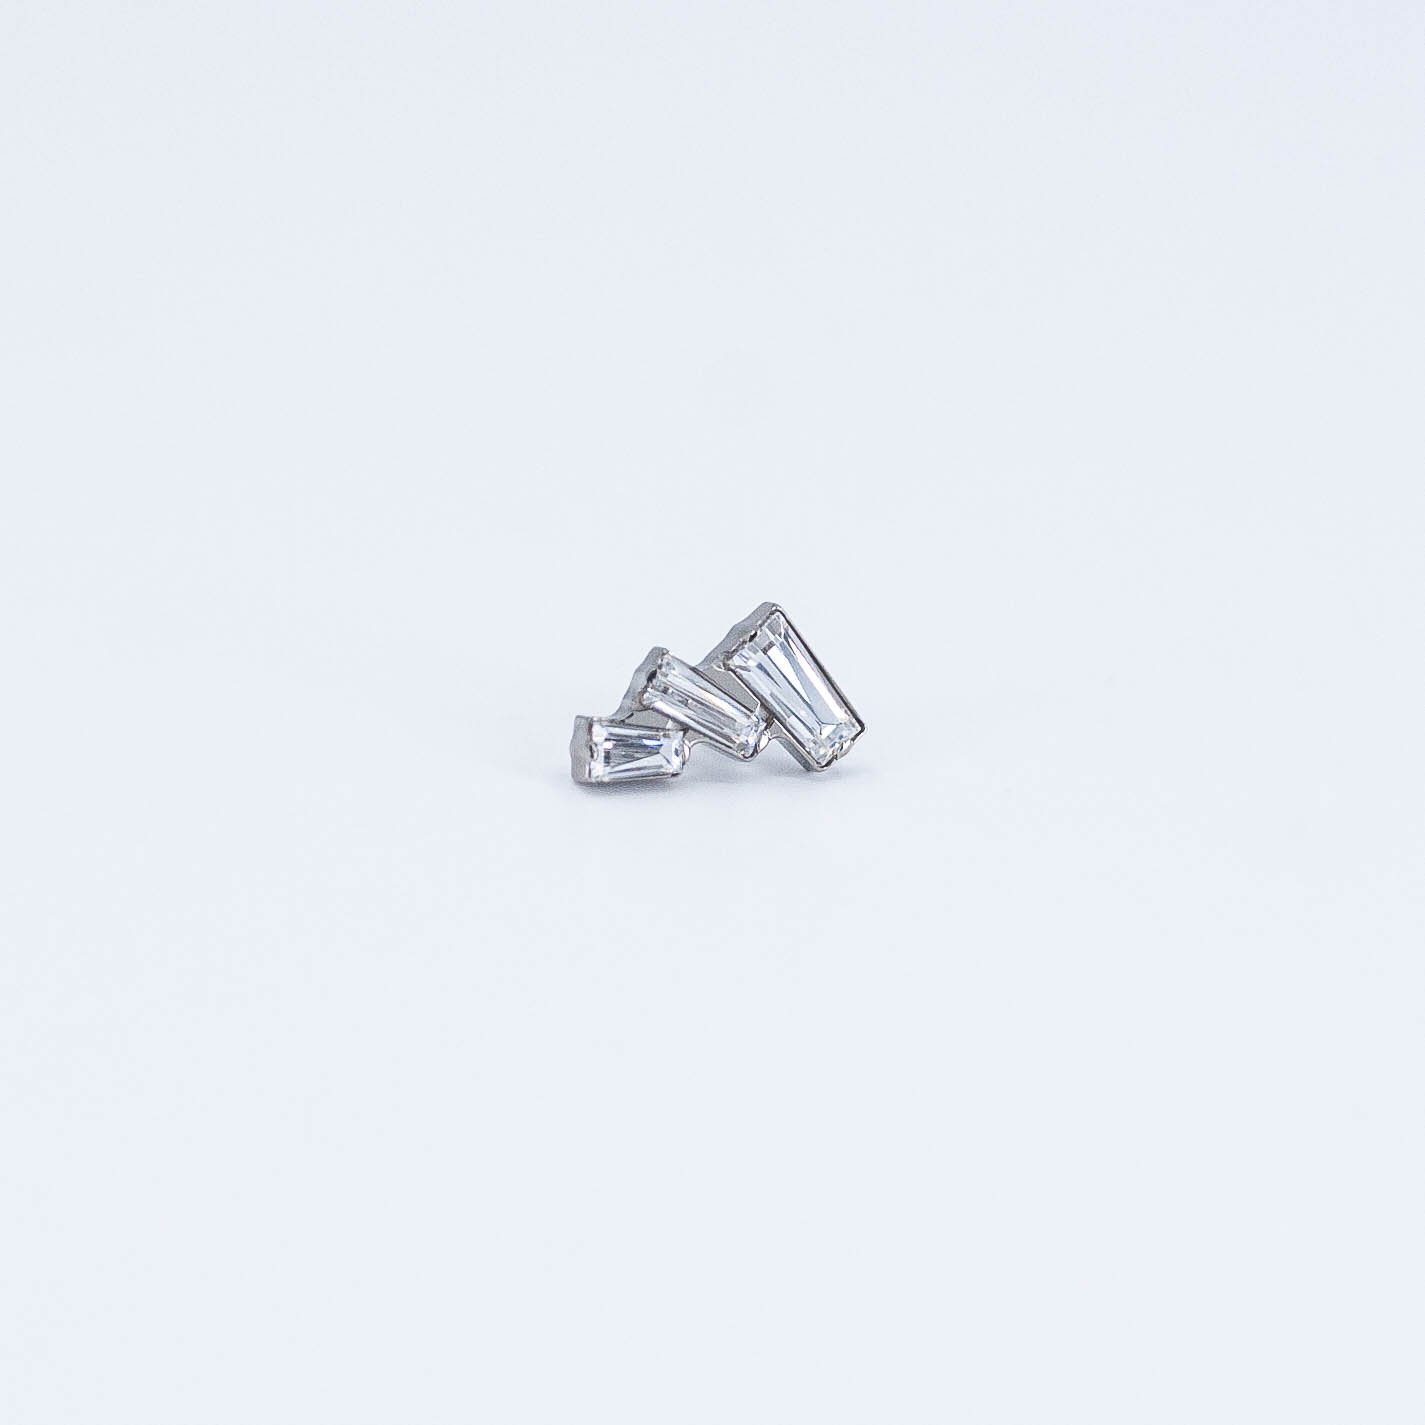
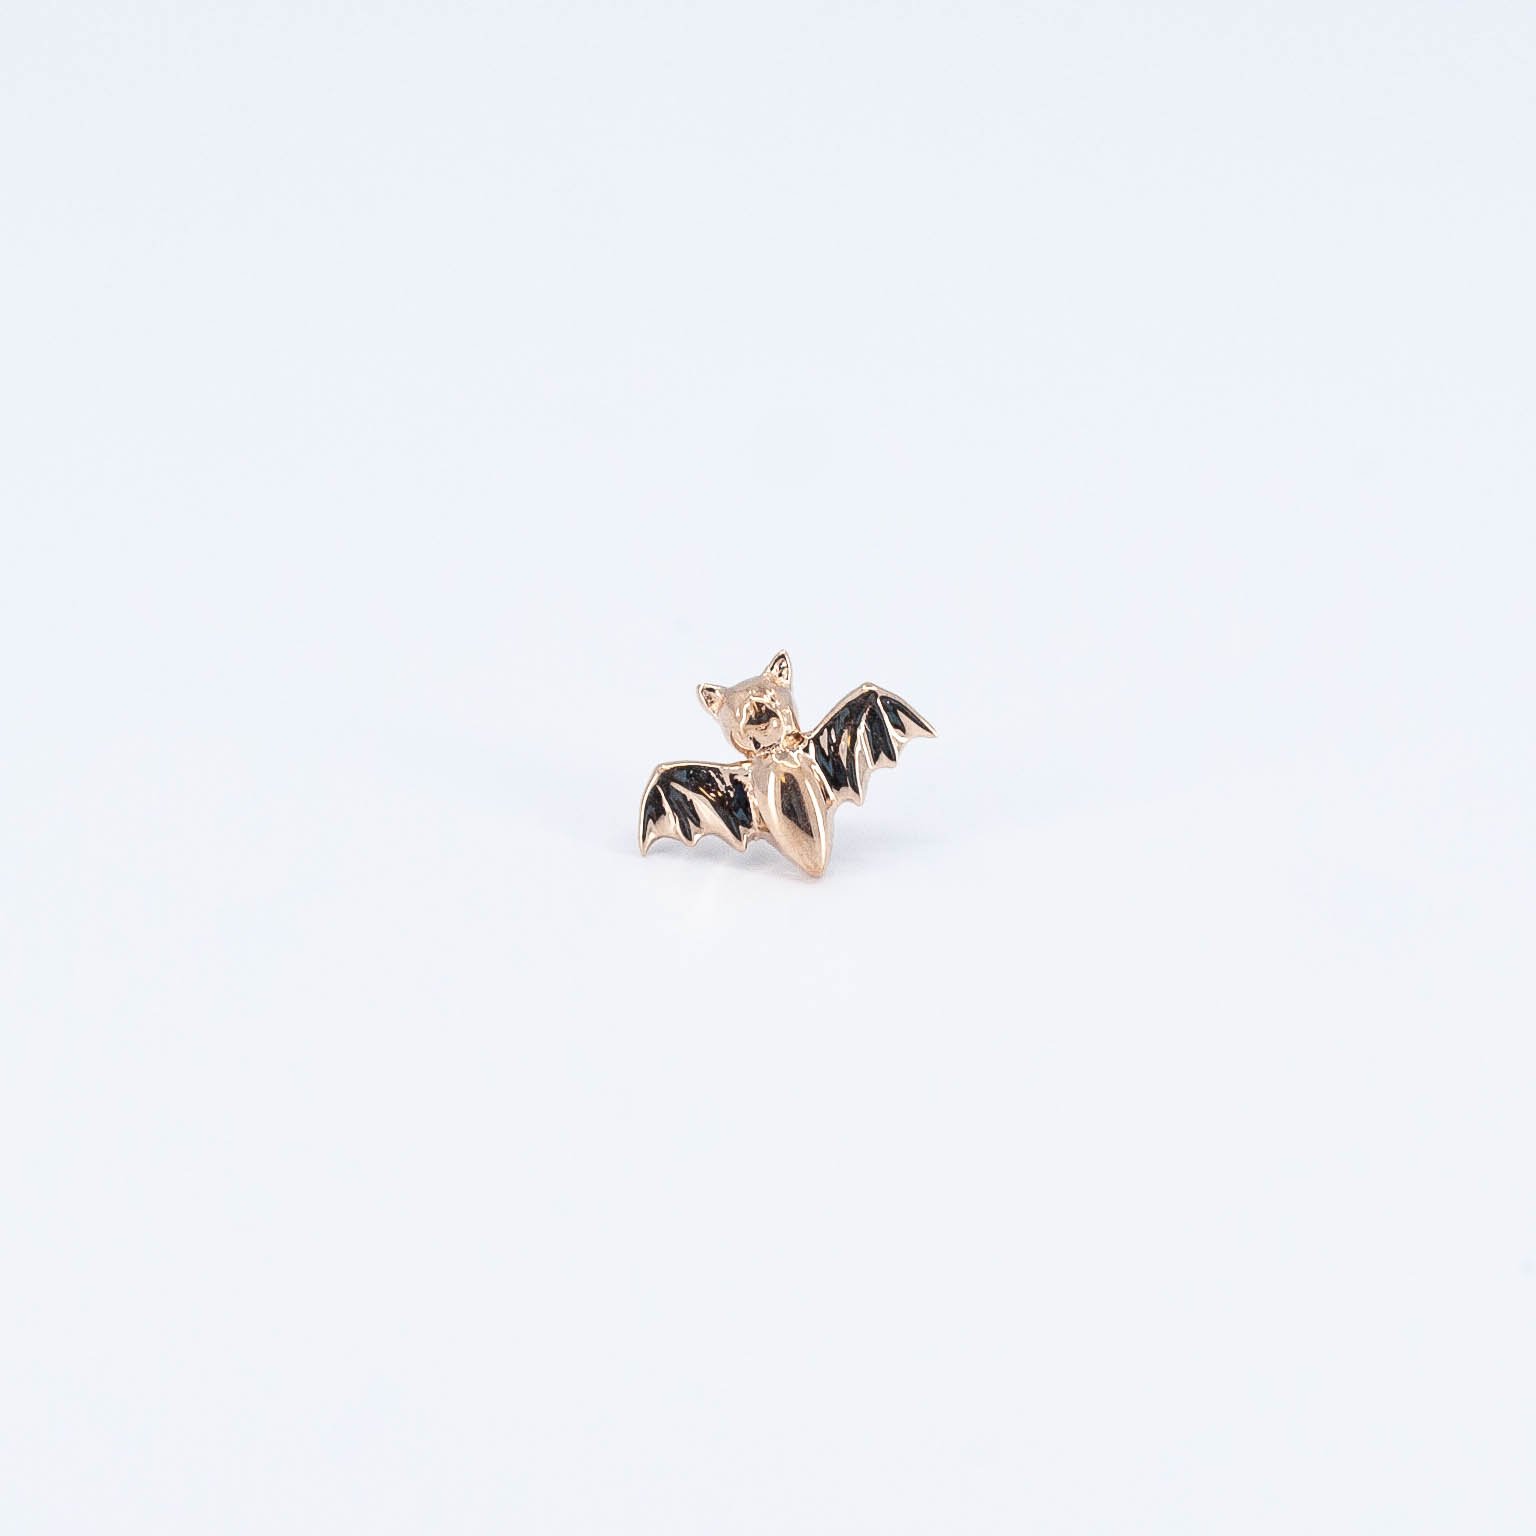
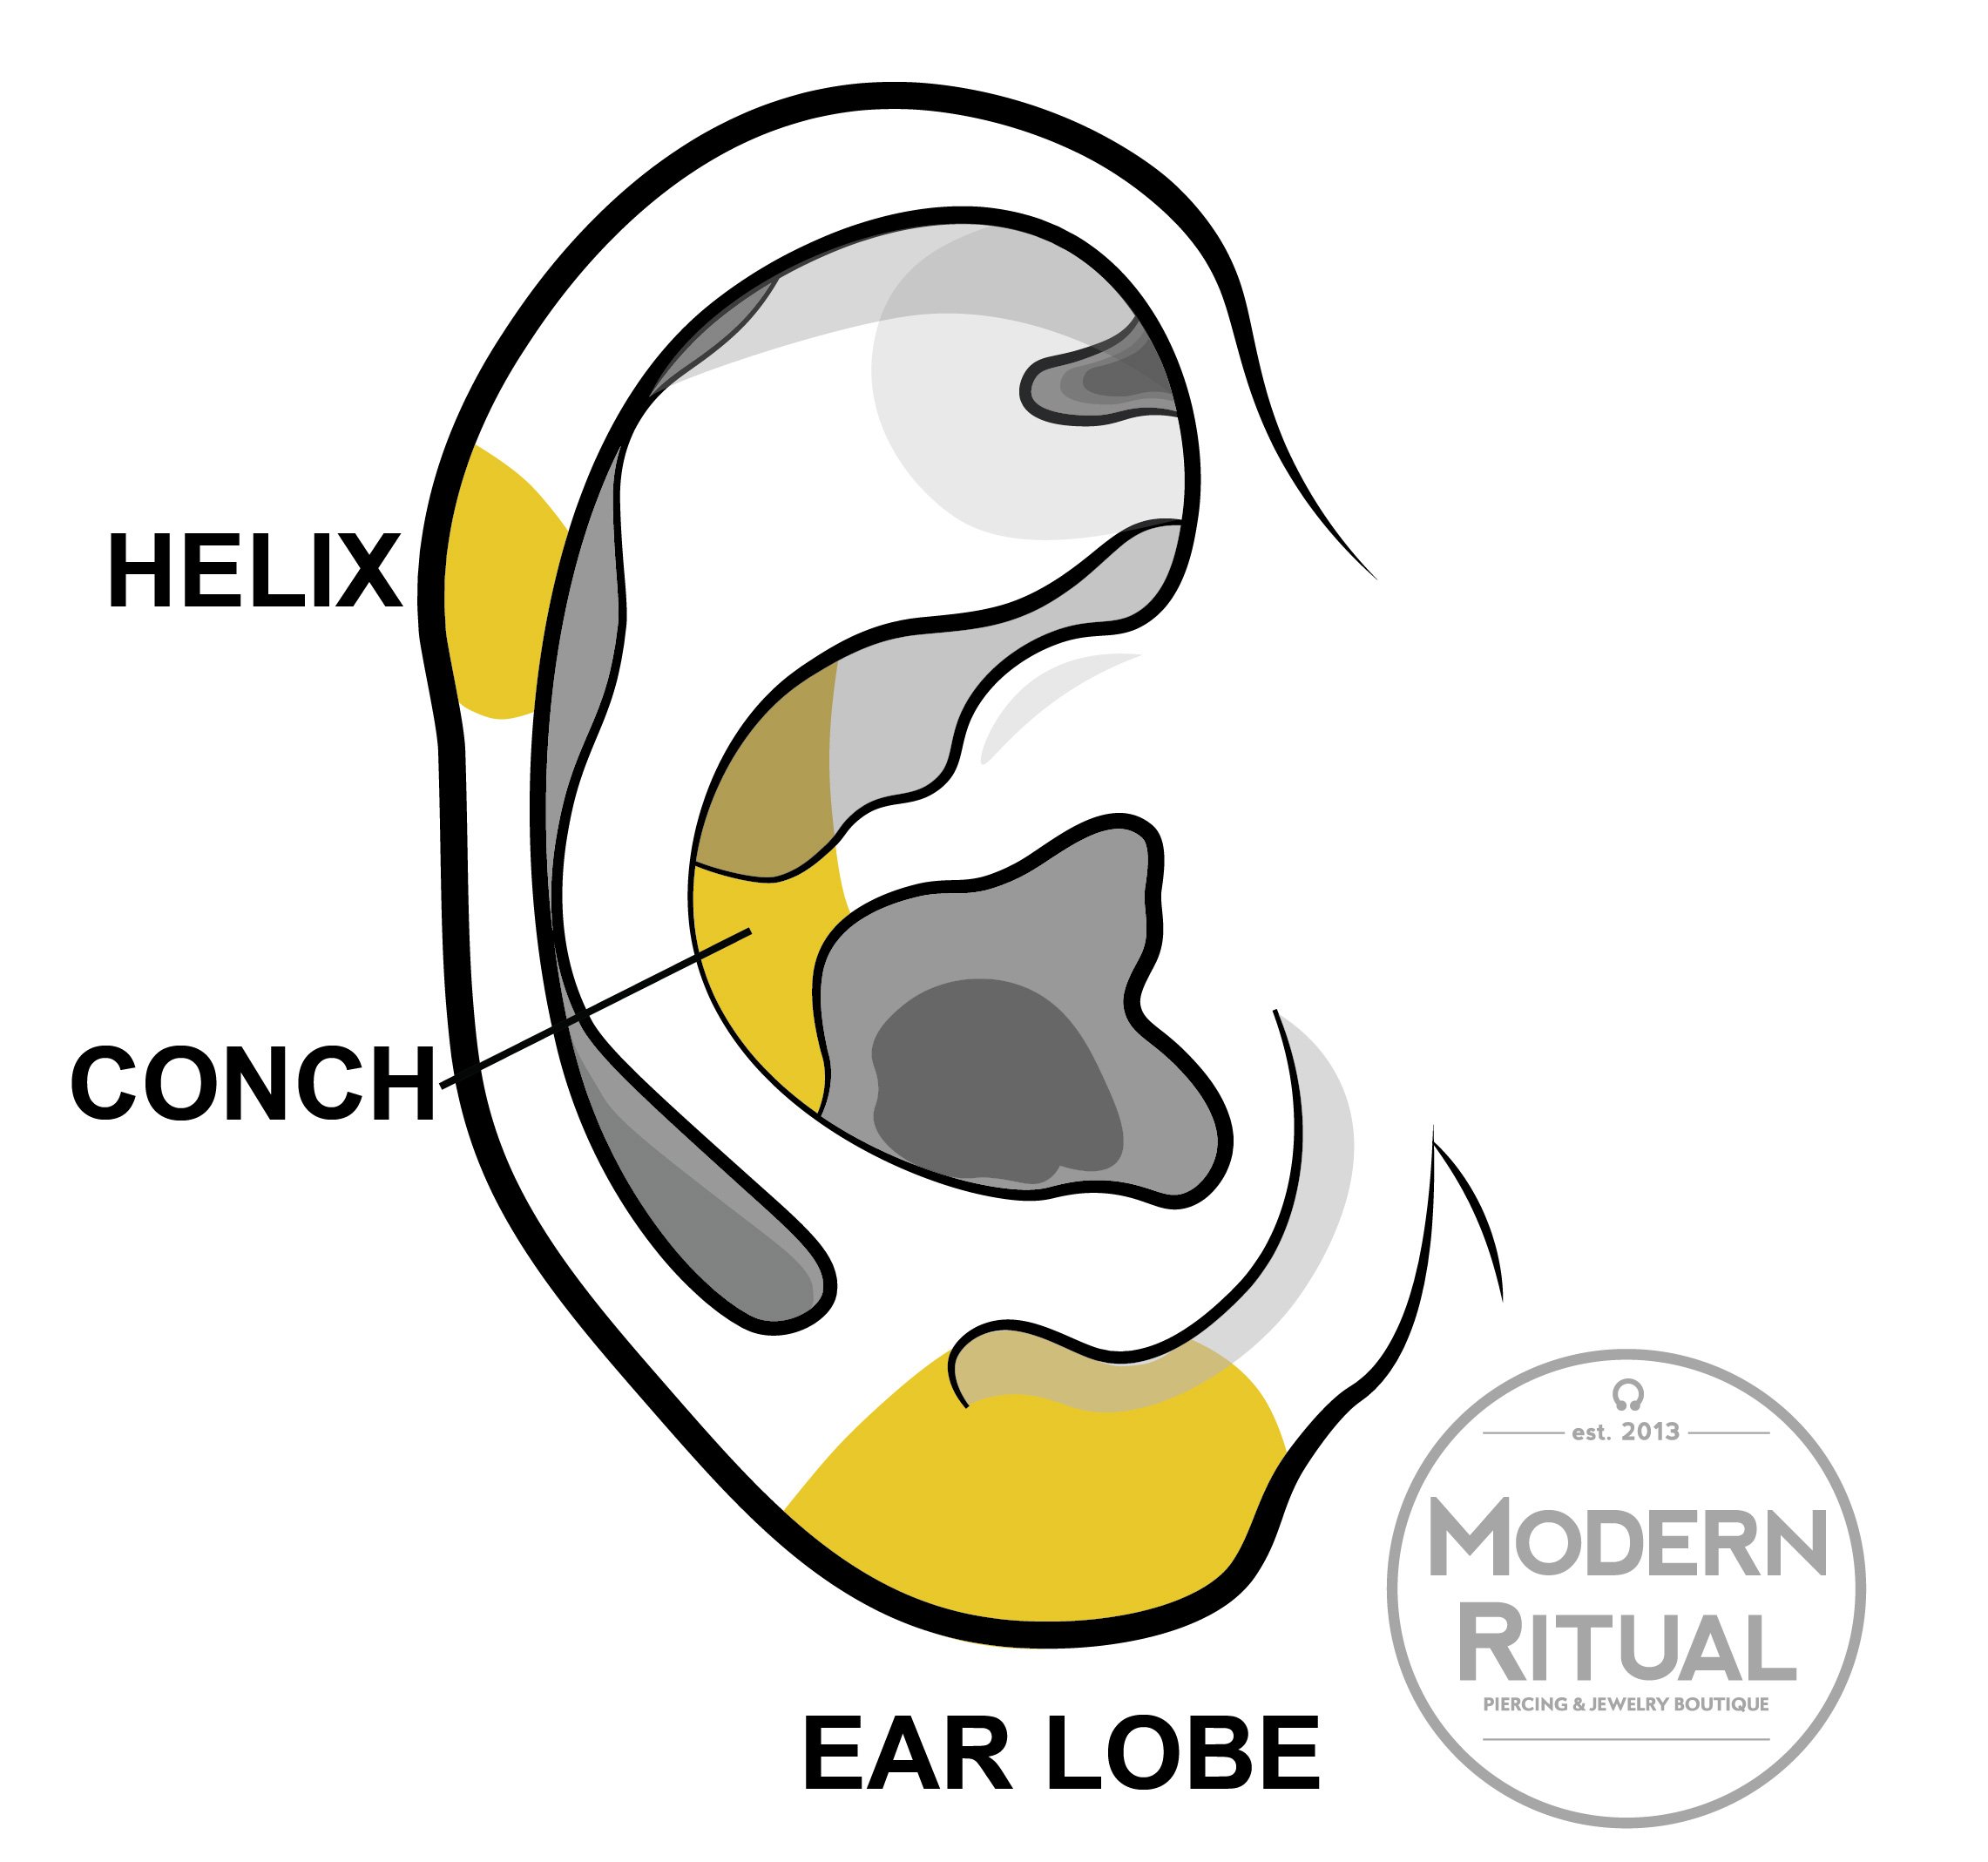
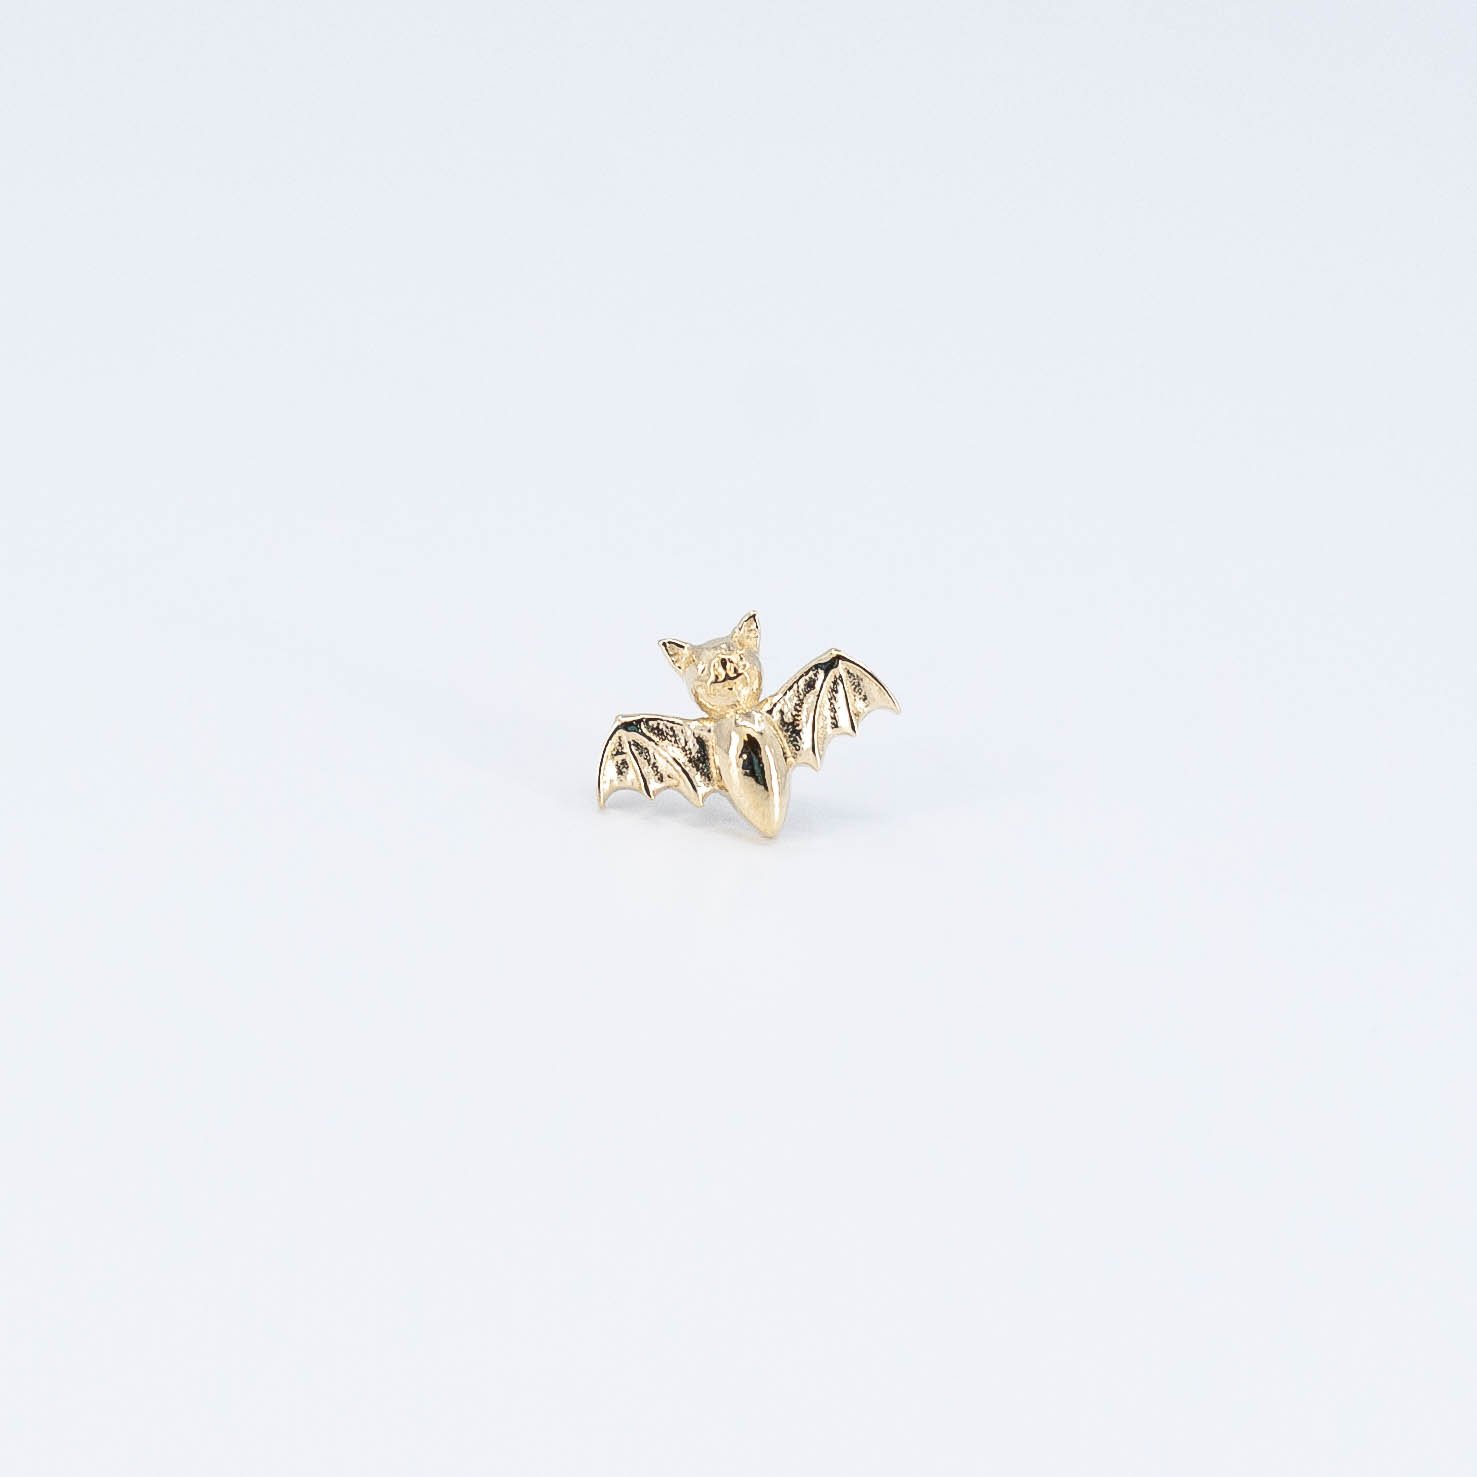
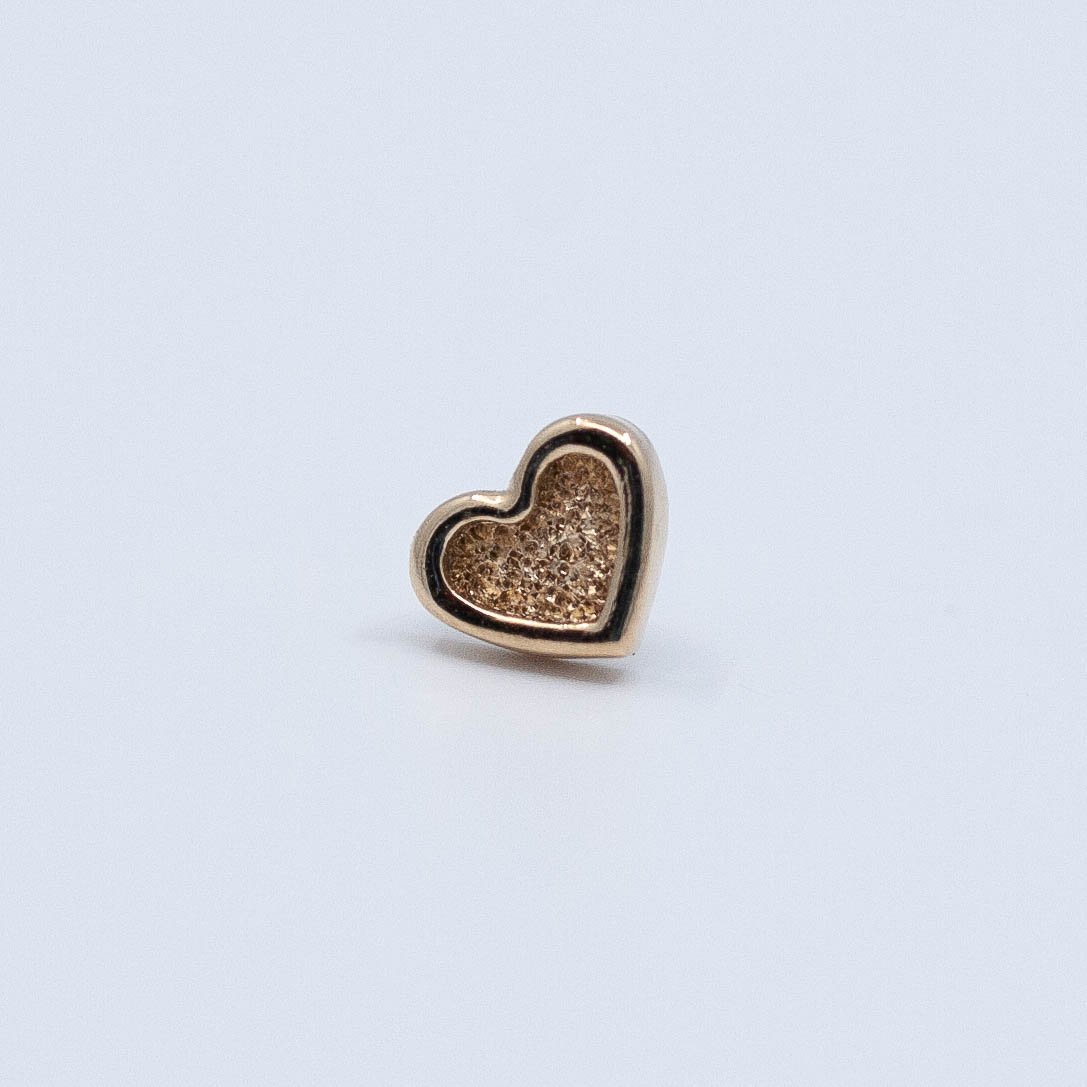
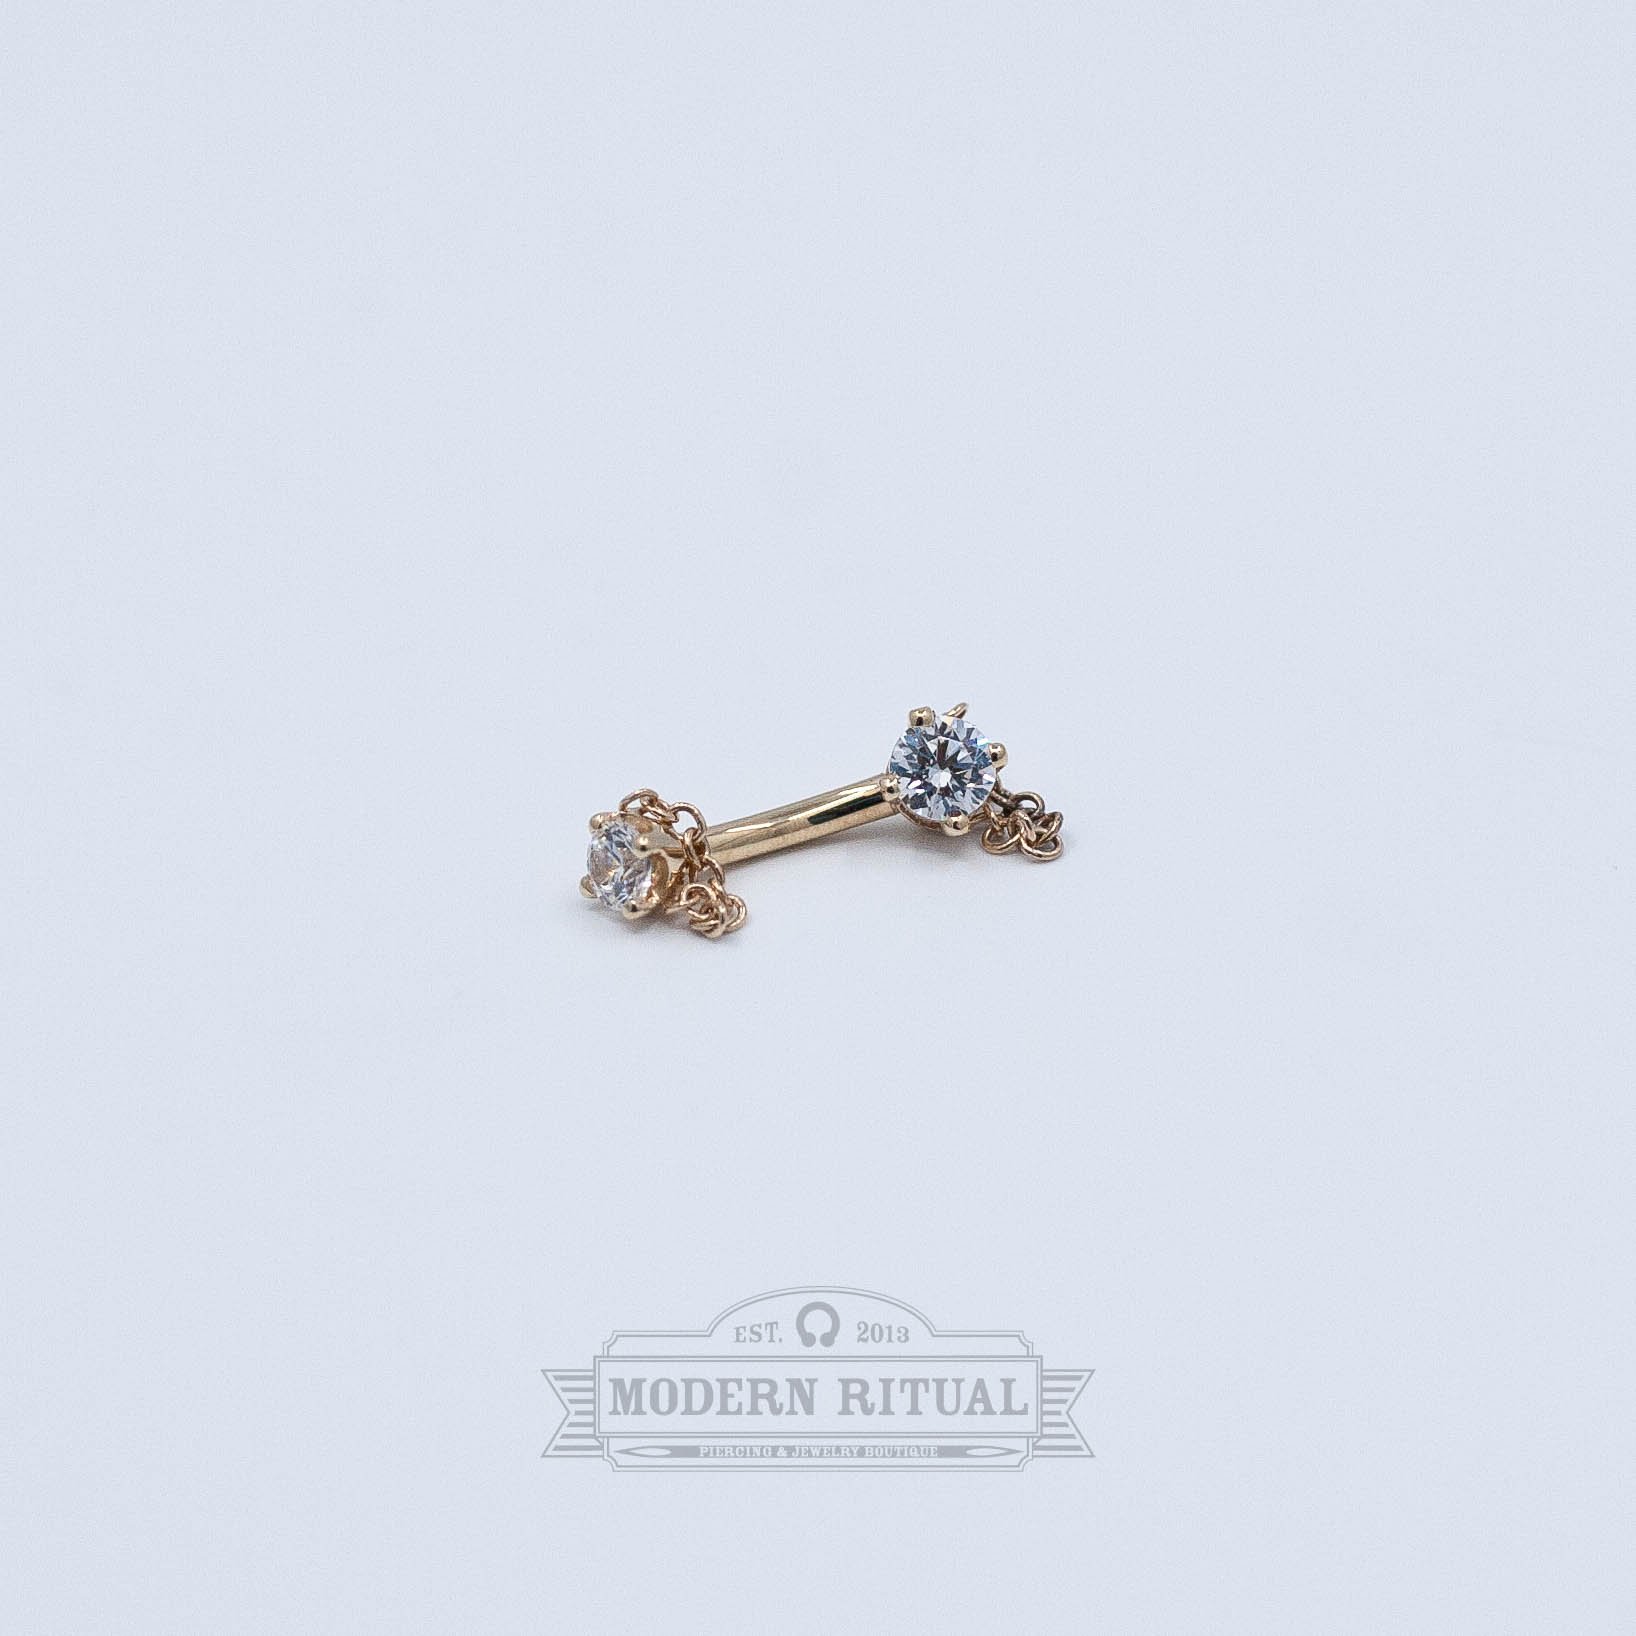
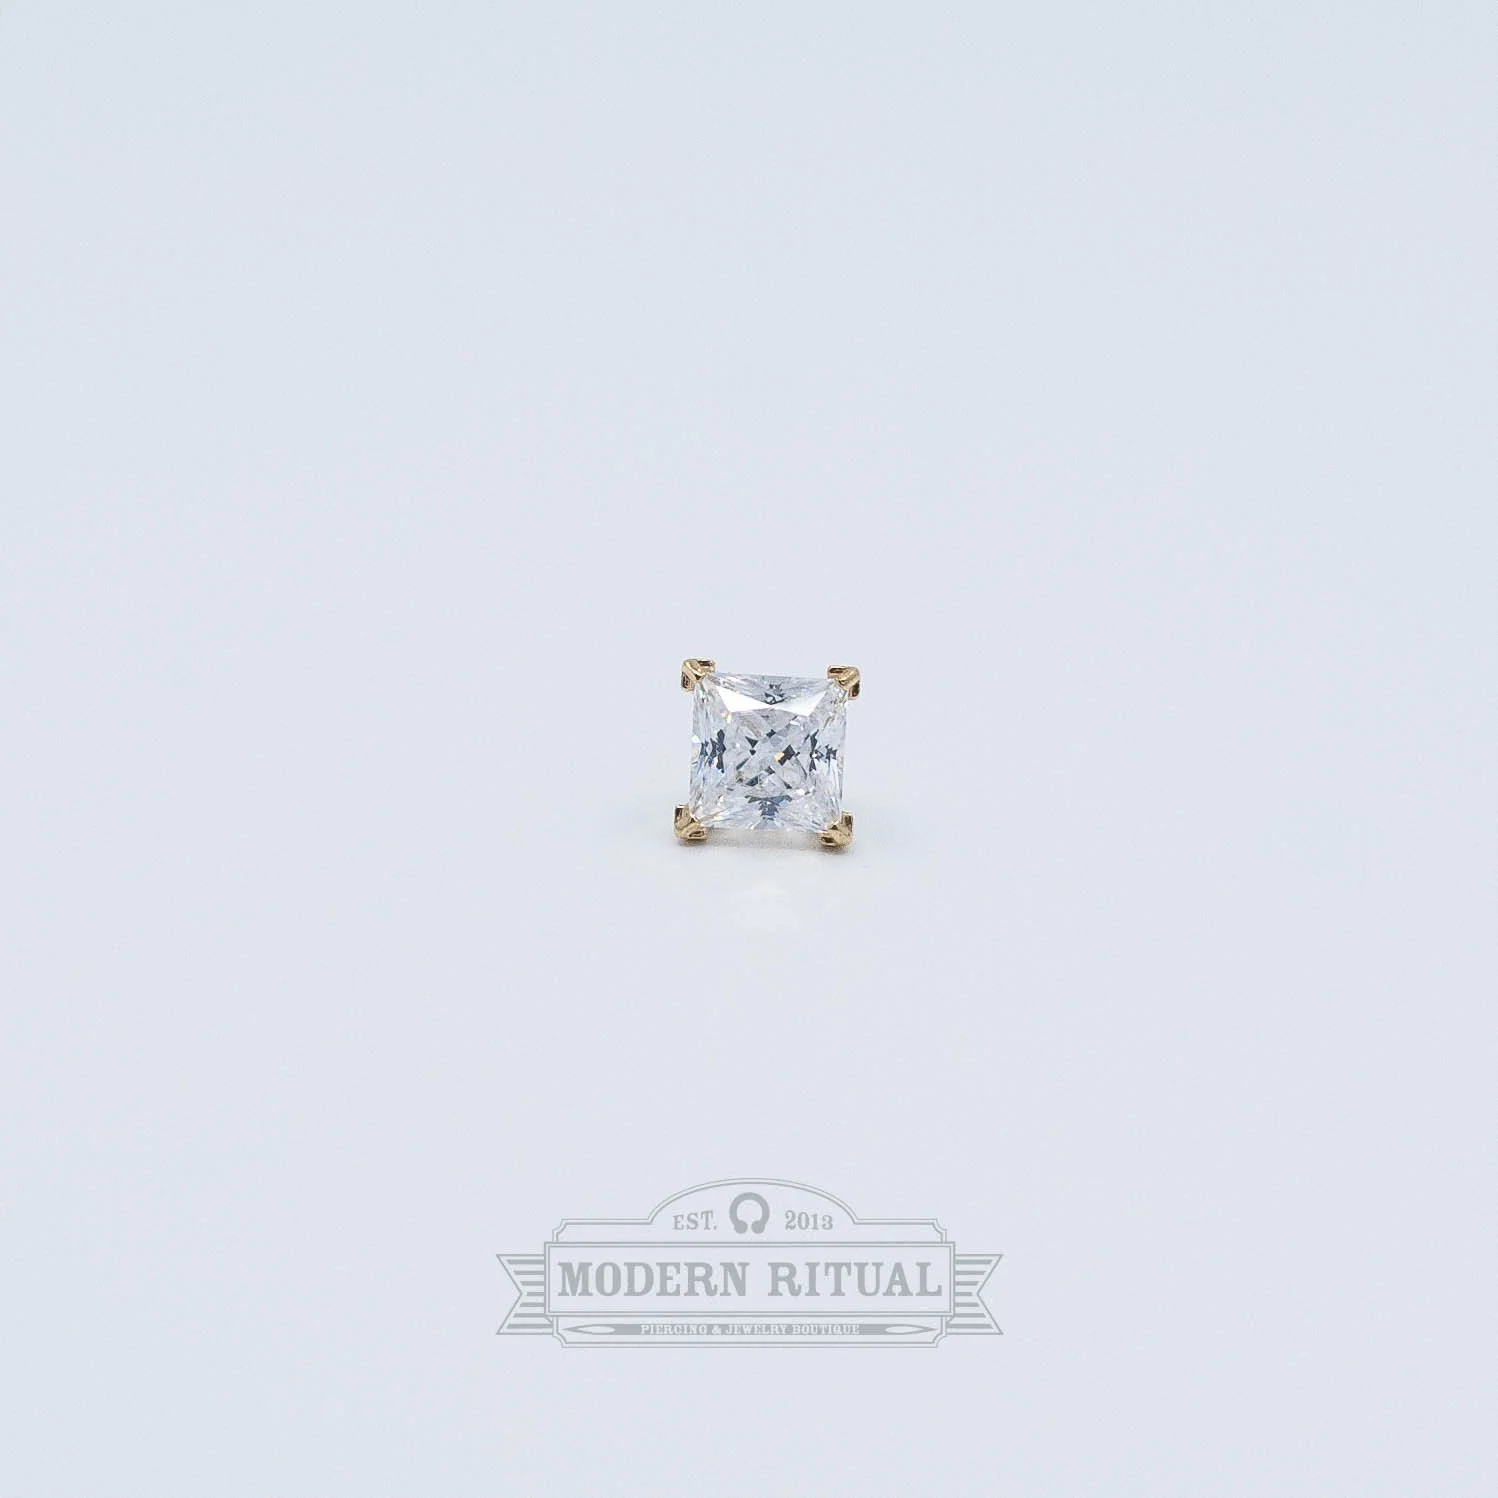
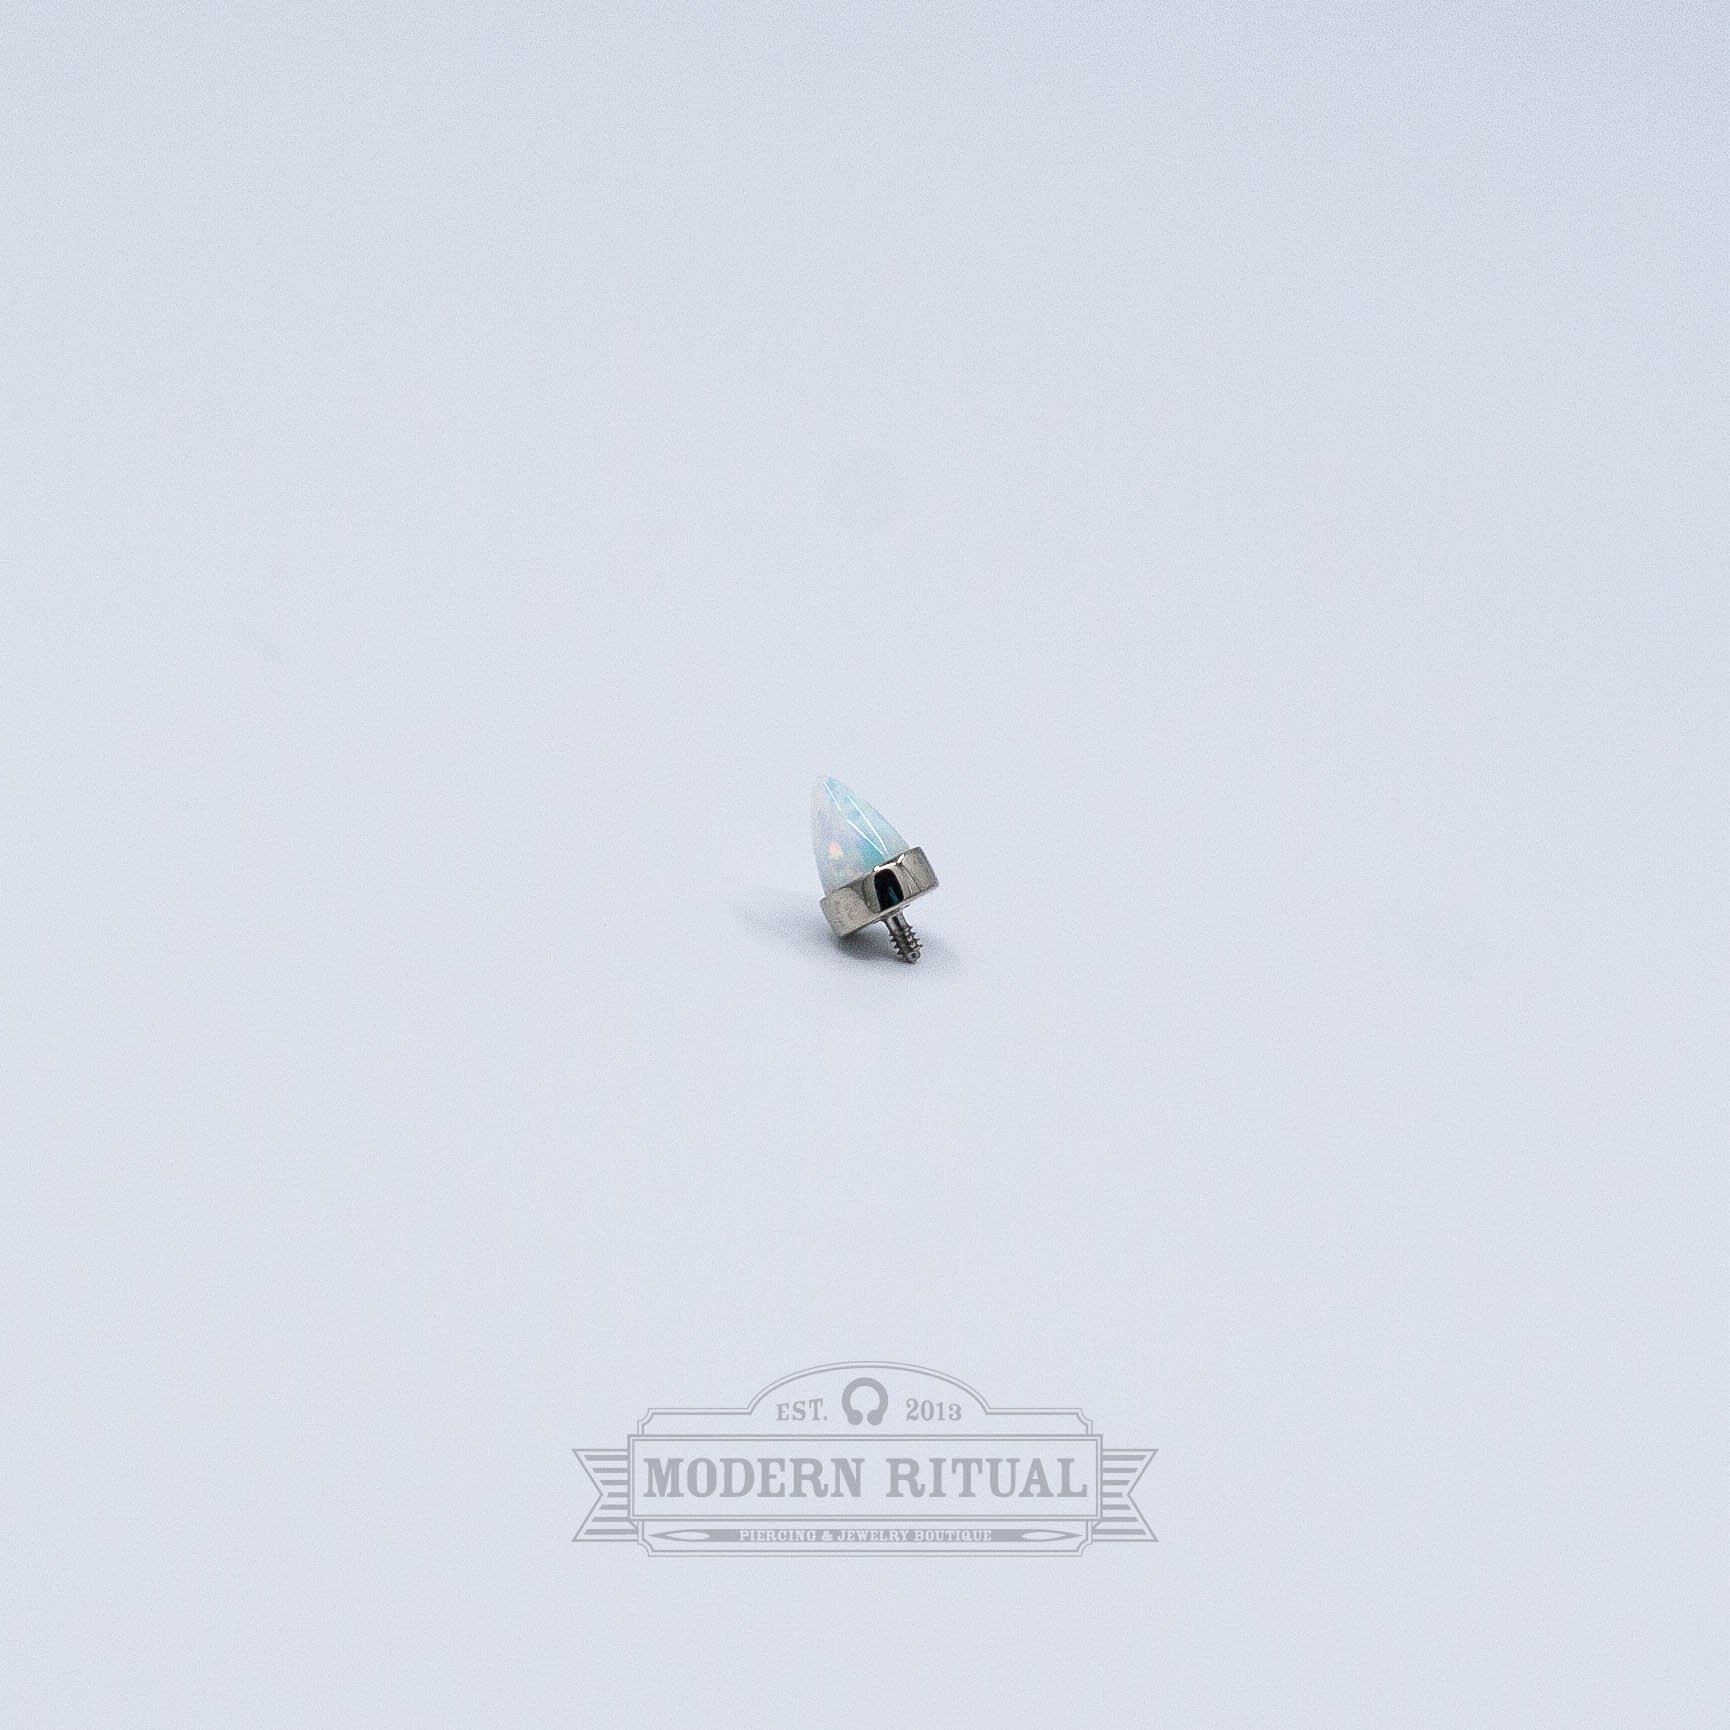
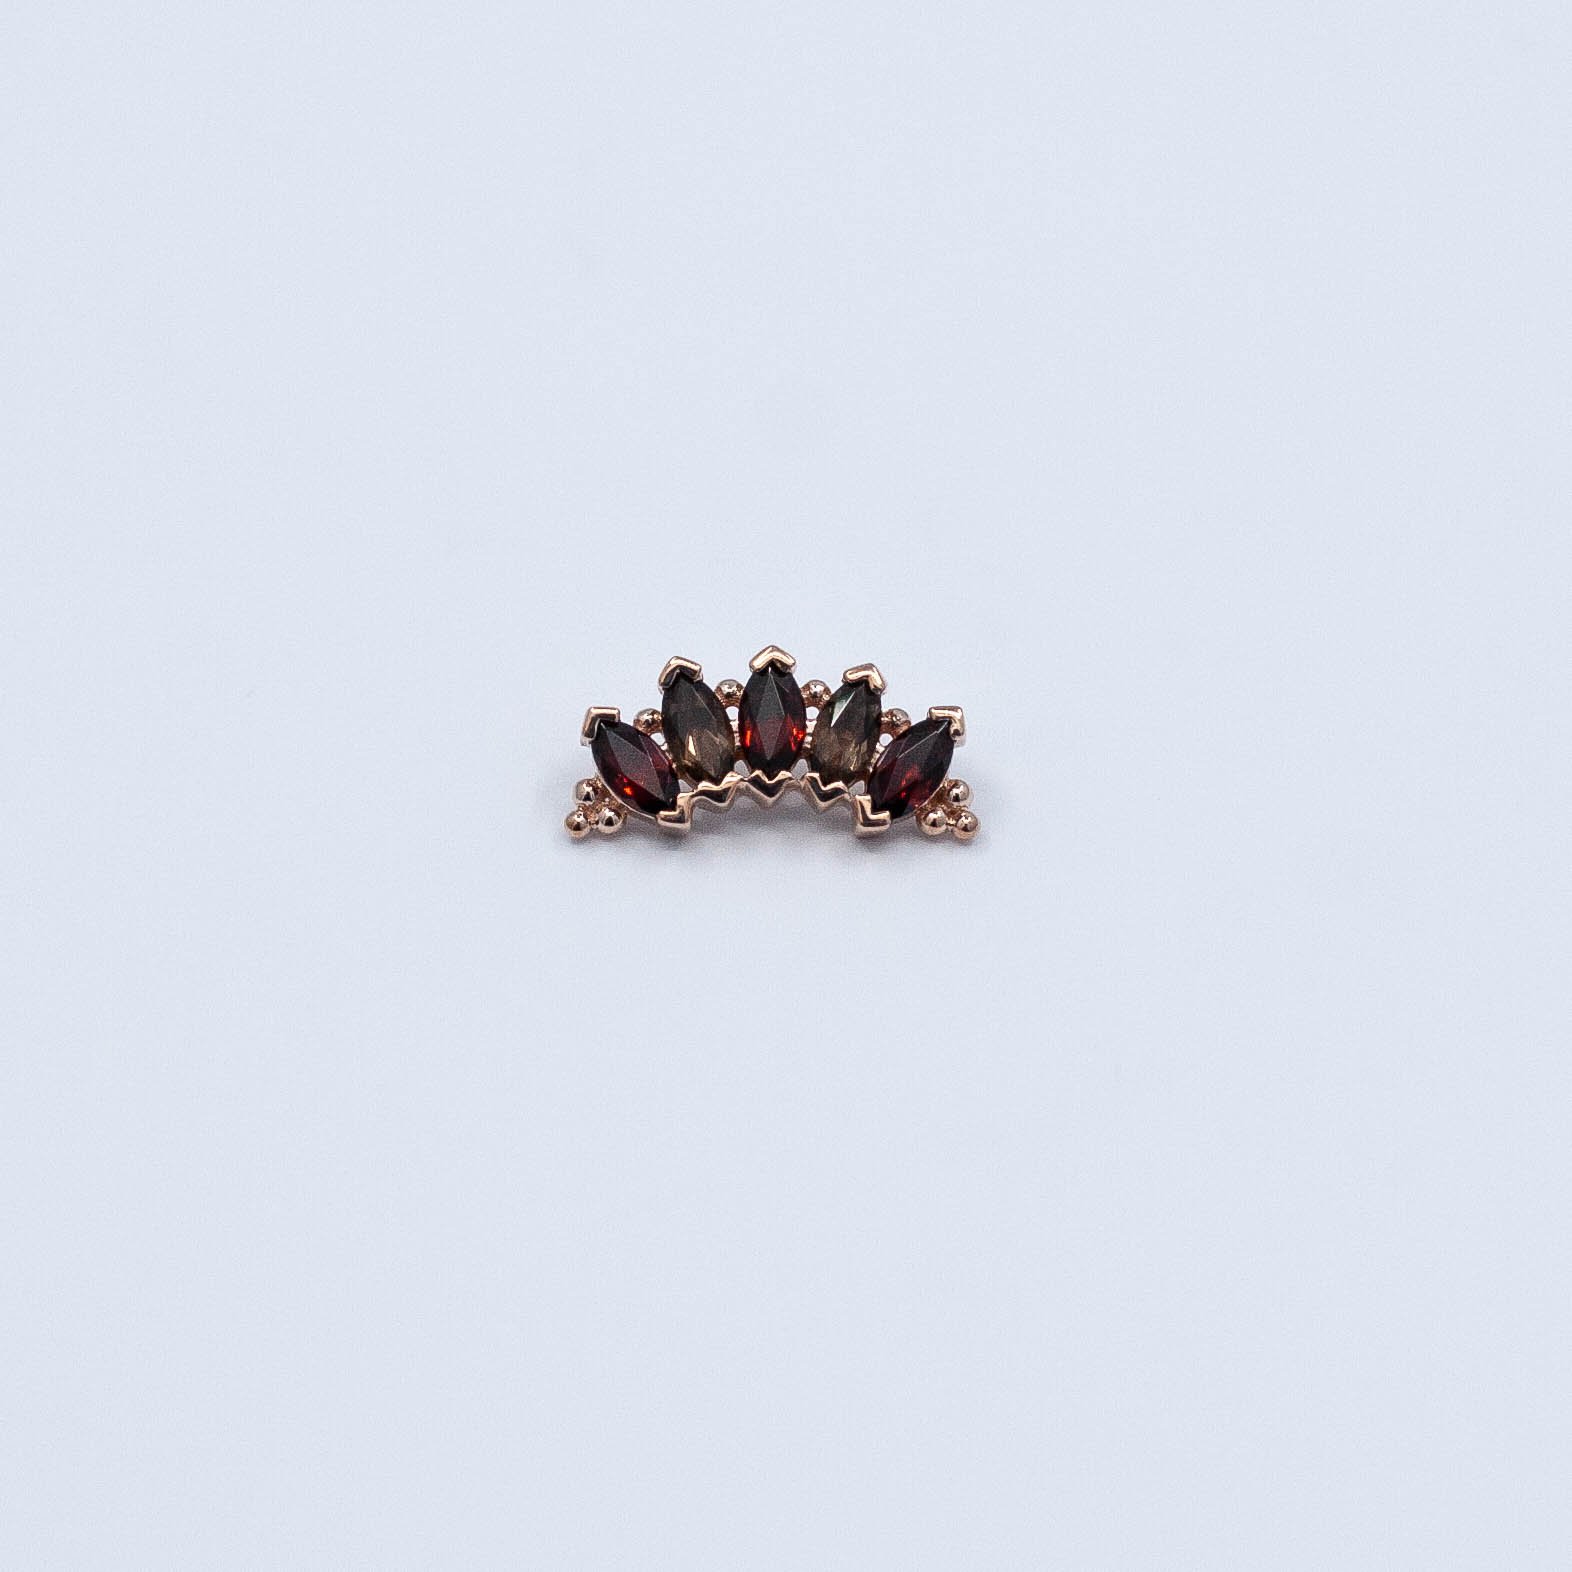
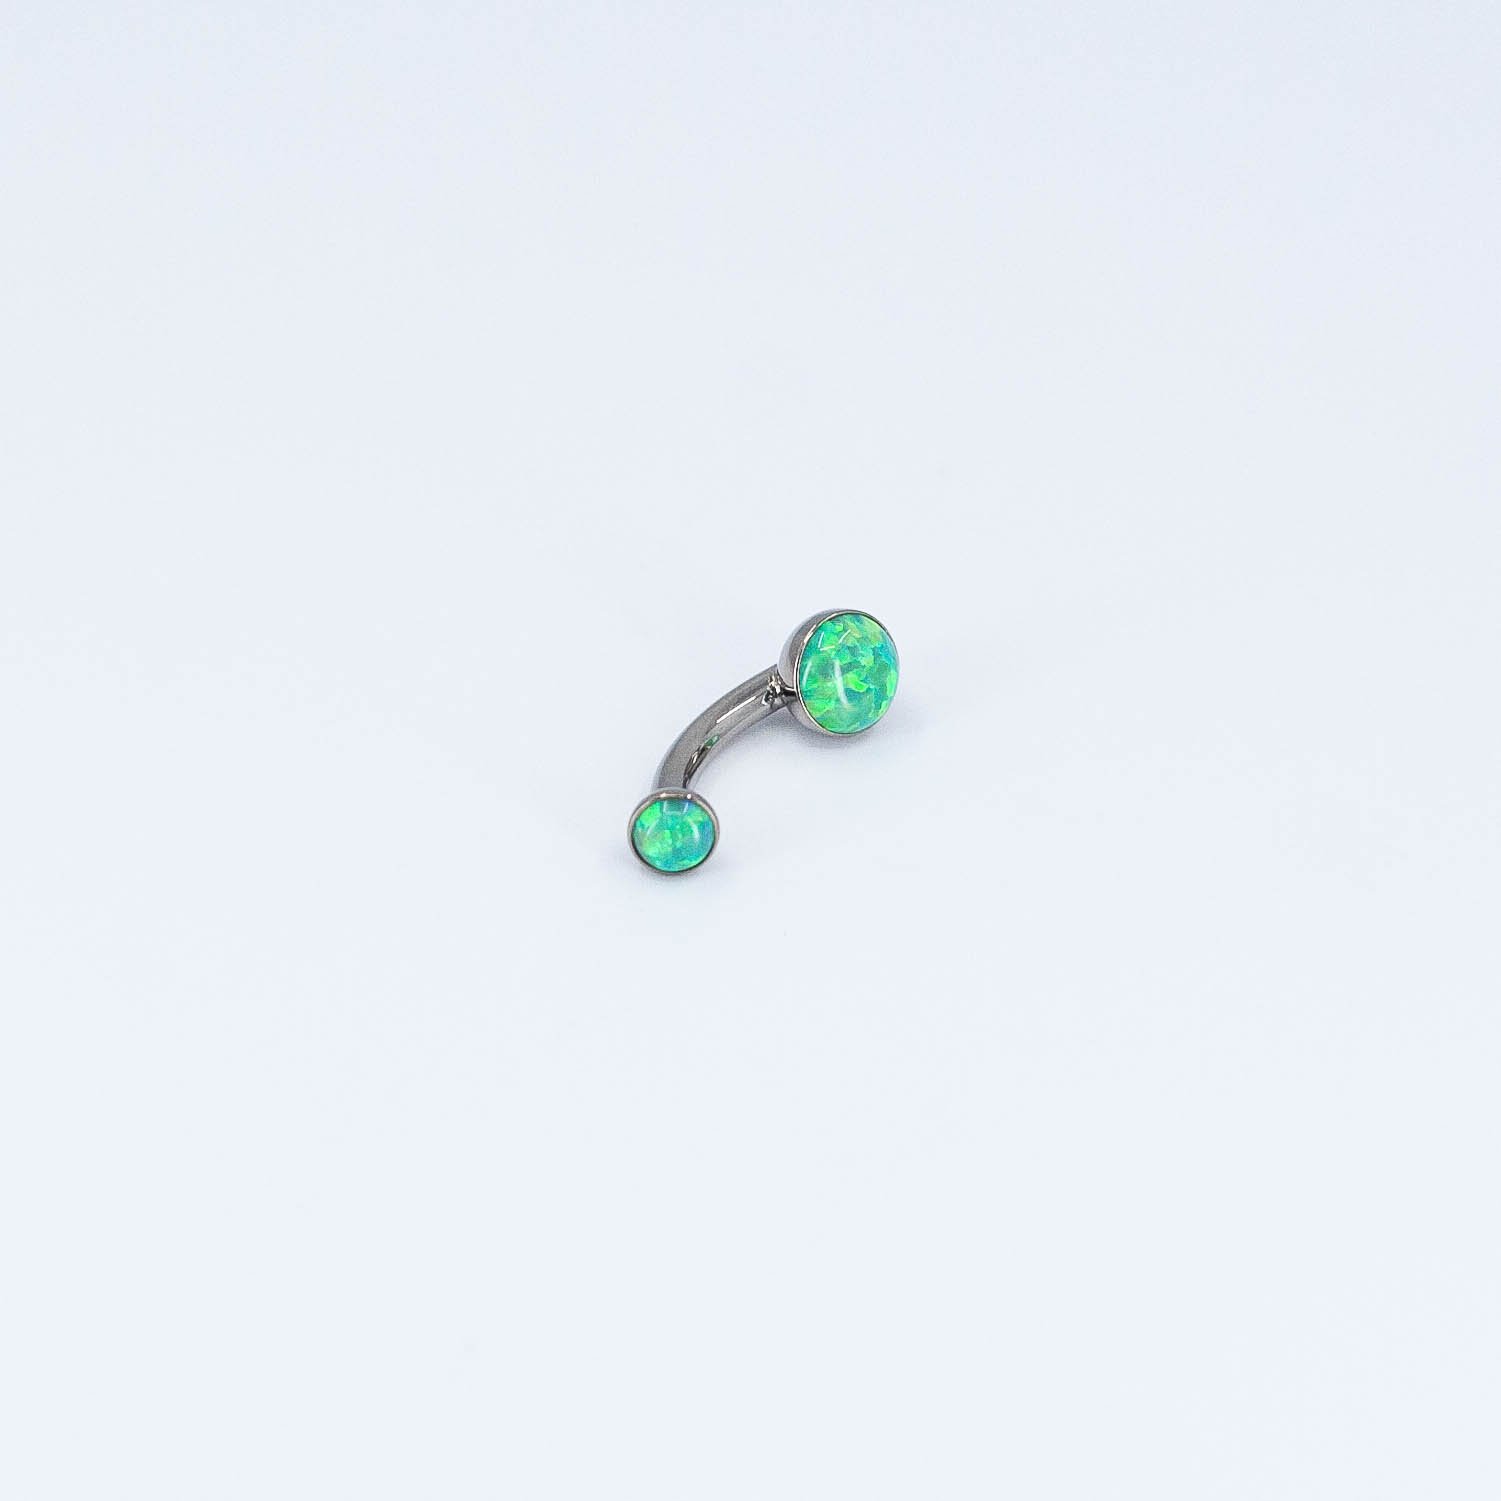
Ends Captive | Threaded | Threadless | Plugs Clicker Chains Rings Ends Captive Threaded Threadless Hangers & Weights Coils/Spreaders/Hooks Gift Certificates Melange - Emerald - 14k Rose Gold - 18g/16g - 4mm - 3mm - End - Threadless - Tether $220.00 Add To Cart Melange - London Blue Topaz - 14k White Gold - 18g/16g - 4mm - 3mm - End - Threadless - Tether $180.00 Add To Cart Melange - Amethyst - 14k White Gold - 18g/16g - 4mm - 3mm - End - Threadless - Tether $175.00 Add To Cart Horizon - 14k Rose Gold - 18g/16g/14g - 12.5x3mm - End - Threadless - Tether $215.00 Add To Cart Horizon - 14k White Gold - 18g/16g/14g - 12.5x3mm - End - Threadless - Tether $215.00 Add To Cart Horizon - 14k Yellow Gold - 18g/16g/14g - 12.5x3mm - End - Threadless - Tether $215.00 Add To Cart Virtue - Black CZ - 18k Yellow Gold - 18g/16g/14g - 4.5mm - 2mm - End - Threadless - Anatometal $115.00 Add To Cart Icon - Black CZ, White CZ - 18k Yellow Gold - 18g/16g - 5.5x3mm - End - Threadless - Anatometal $130.00 Add To Cart Sonoma Pear - Arctic Blue CZ - 18k White Gold - 18g/16g/14g - 4.5x3.5mm - End - Threadless - Anatometal $160.00 Add To Cart Sonoma Pear - Periwinkle CZ - 18k Yellow Gold - 18g/16g/14g - 4.5x3.5mm - End - Threadless - Anatometal $160.00 Add To Cart 3 Gem Marquise Fan - Lilac CZ - Titanium - 18g/16g/14g - 6x4mm - End - Threadless - Anatometa $80.00 Add To Cart Prium - 18g/16g/14g - Sleepy Lavender Opal - 12.5x3.5mm - Titanium - End - Threadless - Industrial Strength $115.00 Add To Cart Solid Eclipse Martele - Black Glass/Niobium - 18g - Plug - Gorilla Glass $160.00 Add To Cart Solid Eclipse Martele - Forest Green Glass/Niobium - 18g - Plug - Gorilla Glass $160.00 Add To Cart 4 Bead Cluster - 14k White Gold - 18g - 3x2mm - End - Threadless - Leroi $100.00 Add To Cart 4 Bead Cluster - 14k Yellow Gold - 18g - 3x2mm - End - Threadless - Leroi $100.00 Add To Cart 3 Bead Cluster - 14k Yellow Gold - 18g - 2mm - End - Threadless - Leroi $95.00 Add To Cart 3 Bead Cluster - 14k Rose Gold - 18g - 2mm - End - Threadless - Leroi $95.00 Add To Cart Prium - 18g/16g/14g - Synthetic Carmine Opal - 13x4mm - Titanium - End - Threadless - Industrial Strength $115.00 Add To Cart Disk - 18k White Gold - 18g - 2mm - End - Threadless - Anatometal $90.00 Add To Cart Zia - Rutilated Quartz - 18k Yellow Gold - 18g/16g/14g - 7mm - 4mm - End - Threadless - Anatometal $150.00 Add To Cart 5 Gem Fanfare Left - White CZ - 18k Yellow Gold - 18g/16g - 10x4mm - End - Threadless - Anatometal $250.00 Add To Cart 5 Gem Fanfare Right - White CZ - 18k Yellow Gold - 18g/16g - 10x4mm - End - Threadless - Anatometal $250.00 Add To Cart Farata - Purple Copper Turquoise - 18k Rose Gold - 14g/12g - 13x6mm - Threaded - End - Anatometal $270.00 Add To Cart Titanium Moon - Titanium - 18g/16g - 5x4mm - End - Threadless - Anatometal $55.00 Add To Cart Hex Diamond Drop - Diamond - 14k Yellow Gold - 18g/16g - 2.75x8.25mm - End - Threadless - Tether $250.00 Add To Cart Omega 24 - Emerald - 14k Yellow Gold - 18g/16g/14g - 5.5mm - 3mm - End - Threadless - Tether $580.00 Add To Cart Omega 24 - Tourmalated Quartz - 14k White Gold - 18g/16g/14g - 5.5mm - 3mm - End - Threadless - Tether $430.00 Add To Cart Galaxia - Pyrite/Black Diamond - 14k Yellow Gold - 18g/16g/14g/12g - 6mm - 4mm/1mm - End - Threadless - Tether $490.00 Add To Cart Galaxia - Tourmalated Quartz/Black Diamond - 14k White Gold - 18g/16g/14g/12g - 6mm - 4mm/1mm - End - Threadless - Tether $490.00 Add To Cart Galaxia - Zawadi Sapphire/Black Diamond - 14k Rose Gold - 18g/16g/14g/12g - 6mm - 4mm/1mm - End - Threadless - Tether $580.00 Add To Cart Nazar - Black Diamond - 14k White Gold - 18g/16g - 5.25x2.5mm - 1.25mm - End - Threadless - Tether $185.00 Add To Cart Nazar - Black Diamond - 14k Rose Gold - 18g/16g - 5.25x2.5mm - 1.25mm - End - Threadless - Tether $185.00 Add To Cart Hex Diamond Drop - Diamond - 14k Rose Gold - 18g/16g - 2.75x8.25mm - End - Threadless - Tether $250.00 Add To Cart Melange Princess - Diamond - 14k White Gold - 18g/16g - 4mm - 2.5mm - End - Threadless - Tether $350.00 Add To Cart Omega 24 - Zawadi Sapphire - 14k Rose Gold - 18g/16g/14g - 5.5mm - 3mm - End - Threadless - Tether $450.00 Add To Cart Melange Princess - Diamond - 14k Yellow Gold - 18g/16g - 4mm - 2.5mm - End - Threadless - Tether $350.00 Add To Cart Sanchi 1 - Genuine Labradorite, White CZ - 18k Yellow Gold - 18g/16g/14g/12g - 10x7mm - 3.5mm, 2mm - End - Threadless - Anatometal $365.00 Add To Cart Prong Marquise - London Blue CZ - 18k White Gold - 18g/16g - 5x2.5mm 4x2mm - End - Threadless - Anatometal $100.00 Add To Cart Oval Halo - White CZ - 14k Yellow Gold - 18g/16g/14g - 5.5x4.5mm - End - Threadless - Ember $180.00 Add To Cart Oval Halo - White CZ - 14k Rose Gold - 18g/16g/14g - 5.5x4.5mm - End - Threadless - Ember $180.00 Add To Cart Eclipse - Rose Cut Rainbow Moonstone - 14k Yellow Gold - 18g/16g/14g - 6.5x4.5mm - End - Threadless - Ember $285.00 Add To Cart Eclipse - Rose Cut Rainbow Moonstone - 14k White Gold - 18g/16g/14g - 6.5x4.5mm - End - Threadless - Ember $285.00 Add To Cart Eclipse - Rose Cut Rainbow Moonstone - 14k Rose Gold - 18g/16g/14g - 6.5x4.5mm - End - Threadless - Ember $285.00 Add To Cart Icon - London Blue CZ, Pink Tourmaline CZ - 18k White Gold - 18g/16g - 5.5x3mm - End - Threadless - Anatometal $125.00 Add To Cart Marquise Bezel - White CZ - Titanium - 18g/16g - 3.5x2mm - 3x1.5mm - End - Threadless - Anatometal $45.00 Add To Cart Sanchi - Labradorite/Aquamarine CZ - 18k Rose Gold - 18g/16g/14g - 7x10mm - End - Threadless - Anatometal $315.00 Add To Cart Sandblasted Heart Small - 18g/16g/14g - 14k Yellow Gold - 4.5x4mm - Threadless - End - Industrial Strength $130.00 Add To Cart Sandblasted Heart Large - 18g/16g/14g - 14k Yellow Gold - 6x5mm - Threadless - End - Industrial Strength $150.00 Add To Cart Beaded Dome - 18g/16g/14g - 14k Rose Gold - 4.5x3.25mm - Threadless - End - Industrial Strength $195.00 Add To Cart Beaded Dome - 18g/16g/14g - 14k Yellow Gold - 4.5x3.25mm - Threadless - End - Industrial Strength $195.00 Add To Cart Threaded Bezel - Amethyst - Titanium - 18g/16g - 3.5mm - 3mm - End - Threaded - Industrial Strength $35.00 Add To Cart Threaded Bezel - Almandine Garnet - Titanium - 18g/16g - 3.5mm - 3mm - End - Threaded - Industrial Strength $35.00 Add To Cart Threaded Bezel - Turquoise - Titanium - 18g/16g - 3.5mm - 3mm - End - Threaded - Industrial Strength $35.00 Add To Cart Threaded Bezel - Rose Quartz - Titanium - 18g/16g - 3.5mm - 3mm - End - Threaded - Industrial Strength $35.00 Add To Cart Threaded Bezel - Moonstone - Titanium - 18g/16g - 3.5mm - 3mm - End - Threaded - Industrial Strength $35.00 Add To Cart Threaded Bezel - Blue Agate - Titanium - 18g/16g - 3.5mm - 3mm - End - Threaded - Industrial Strength $35.00 Add To Cart Frankenheart - 14k White Gold - 18g/16g/14g - 4.5x5mm - End - Threadless - Dusk $170.00 Add To Cart Zia - Genuine Labradorite - 18k Rose Gold - 18g/16g - 5.5mm - 3mm - End - Threadless - Anatometal $105.00 Add To Cart Zia - Genuine Citrine - 18k Yellow Gold - 18g/16g/14g - 7.5mm - 4mm - End - Threadless - Anatometal $160.00 Add To Cart Marquise Panaraya - Synthetic White Opal - 14k White Gold - 18g/16g - 16x8.5mm - 5x2.5mm - End - Threaded - BVLA $1,000.00 Add To Cart Curved Barbell w/Front Facing Prongs - White CZ - 14k Yellow Gold - 16g - 5/16" - 2mm - Threaded - BVLA $310.00 sold out Add To Cart Curved Barbell w/Rianna Ends - Chrysoprase - 14k Rose Gold - 16g - 1/4" - 2.5mm, 3.5mm - Threaded - BVLA $760.00 Add To Cart Curved Barbell w/Rianna Ends - Sandblasted Amethyst - 14k White Gold - 16g - 1/4" - 2.5mm, 3.5mm - Threaded - BVLA $770.00 Add To Cart Curved Barbell w/Rianna Ends - White CZ - 14k Yellow Gold - 16g - 1/4" - 2.5mm, 3.5mm - Threaded - BVLA $720.00 Add To Cart Oval Choctaw - Blue Turquoise - 14k White Gold - 18g/16g - 8x6mm - 5x3mm - End - Threaded - BVLA $575.00 Add To Cart Rianna - White CZ - 14k Rose Gold - 18g/16g - 2.5mm - 2.5mm - Threadless - End - BVLA $280.00 Add To Cart Rianna - White CZ - 14k Yellow Gold - 18g/16g - 2.5mm - 2.5mm - Threadless - End - BVLA $280.00 Add To Cart Tritone Braided Raine - Copper Blue Turquoise - 14k Yellow Gold - 18g/16g - 7mm - 4mm - End - Threaded - BVLA $975.00 Add To Cart Sun - White Opal Cab - 18k Rose Gold - 18g/16g - 5.5mm - 3mm - End - Threadless - Neometal $135.00 Add To Cart Sun - White Opal Cab - 18k White Gold - 18g/16g - 5.5mm - 3mm - End - Threadless - Neometal $135.00 Add To Cart Princess Cut Prong - White CZ - 18k Yellow Gold - 18g/16g - 5.5mm - 5mm - End - Threadless - Neometal $180.00 Add To Cart Princess Cut Prong - White CZ - 18k Yellow Gold - 18g/16g - 3.5mm - 3mm - End - Threadless - Neometal $140.00 Add To Cart Pear Fan - Aurora Borealis CZ - 18k White Gold - 18g/16g - 6.5x4mm - 3x2mm - End - Threadless - Anatometal $150.00 Add To Cart Lindsey - Aurora Borealis CZ - 18k Rose Gold - 18g/16g - 4.5x2.5mm - End - Threadless - Anatometal $175.00 Add To Cart Umbra - 14k Yellow Gold - 18g/16g - 6x5mm - End - Threadless - Tether $185.00 Add To Cart Hex Diamond Drop - Diamond - 14k White Gold - 18g/16g - 3x7mm - 1mm - End - Threadless - Tether $240.00 Add To Cart Marquise Prong - White CZ - 18k White Gold - 18g/16g - 4.5x2.5mm - End - Threadless - Anatometal $90.00 Add To Cart Bullet Prong - White Opal - 18k Yellow Gold - 18g/16g - 5x3.5mm - End - Threaded - Anatometal $135.00 Add To Cart Odyssey Prium - 16g/18g - Capri Blue Opal - 12.5x4.5mm - Titanium - End - Threadless - Industrial Strength $115.00 Add To Cart Odyssey Prium - 16g/18g - Lime Green Opal - 12.5x4.5mm - Titanium - End - Threadless - Industrial Strength $115.00 Add To Cart Odyssey Prium #2 - 16g/18g - White Opal - 9.5x3.5mm - Titanium - End - Threadless - Industrial Strength $115.00 Add To Cart Odyssey Prium #2 - 16g/18g - White CZ - 9.5x3.5mm - Titanium - End - Threadless - Industrial Strength $115.00 Add To Cart Odyssey Empress - 16g/18g - White CZ - 8.5x5mm - Titanium - End - Threadless - Industrial Strength $155.00 Add To Cart Prium - Sapphire - 14k Yellow Gold - 18g/16g/14g - 10.75x4mm - Threadless - End - Industrial Strength $370.00 Add To Cart Marquise Fan #2 - White CZ - Titanium - 18g/16g - 5.5x3mm - 1.5mm - Threadless - End - Industrial Strength $130.00 Add To Cart Daith Heart - 14k Rose Gold - 16g - 7/16" - End - Leroi $300.00 Add To Cart Daith Heart - 14k Yellow Gold - 16g - 7/16" - End - Leroi $300.00 Add To Cart Daith Heart - 14k Rose Gold - 16g - 3/8" - End - Leroi $265.00 Add To Cart Daith Heart - 14k Yellow Gold - 16g - 3/8" - End - Leroi $265.00 Add To Cart Circular Barbell w/Balls - 14k Yellow Gold - 16g - 3/8" - 1/8" - Threaded - Leroi $350.00 Add To Cart Circular Barbell w/Balls - 14k Rose Gold - 16g - 3/8" - 1/8" - Threaded - Leroi $350.00 Add To Cart Circular Barbell w/Balls - 14k Yellow Gold - 16g - 5/16" - 1/8" - Threaded - Leroi $335.00 Add To Cart Circular Barbell w/Balls - 14k Rose Gold - 16g - 5/16" - 1/8" - Threaded - Leroi $335.00 Add To Cart Curved Barbell w/Balls - 14k Rose Gold - 16g - 1/4" - 1/8" - Threaded - Leroi $270.00 Add To Cart Curved Barbell w/Balls - 14k Yellow Gold - 16g - 5/16" - 1/8" - Threaded - Leroi $280.00 Add To Cart Curved Barbell w/Balls - 14k Rose Gold - 16g - 5/16" - 1/8" - Threaded - Leroi $280.00 Add To Cart Lindsey - Genuine Tsavorite - 18k Yellow Gold - 18g/16g - 4.5x3mm - End - Threadless - Anatometal $175.00 Add To Cart Zia - Black Onyx Cab - 18k Rose Gold - 18g/16g - 3mm - 2mm - End - Threadless - Anatometal $105.00 Add To Cart Bezel Bullet - White Opal - 18k White Gold - 18g/16g - 5x3.5mm - 3.5x4mm - End - Threaded - Anatometal $115.00 Add To Cart Pac-Man Ghost - 18k Rose Gold - 18g/16g - 6x6mm - End - Threadless - Anatometal $320.00 Add To Cart Pac-Man Ghost - 18k White Gold - 18g/16g - 6x6mm - End - Threadless - Anatometal $320.00 Add To Cart Tapered Baguette - Frost Mint CZ - 18k Rose Gold - 18g/16g - 4.5x2.5mm - End - Threadless - Anatometa $100.00 Add To Cart Sanchi 01 - Genuine Amethyst Cab, White CZ - 18k White Gold - 18g/16g - 7x10mm - 3mm, 2mm - End - Threadless - Anatometal $365.00 Add To Cart Marquise Bezel - White CZ - Titanium - 18g/16g - 4x2mm - End - Threadless - Anatometal $40.00 Add To Cart Pac-Man Ghost - 18k Yellow Gold - 18g/16g - 6x6mm - End - Threadless - Anatometal $360.00 Add To Cart Panaraya Marquise Alternating - Garnet AA, Smoky Quartz - 14k Rose Gold - 16g - 12.5x6mm - 4x2mm - End - Threaded - BVLA $800.00 sold out Add To Cart Sarai Marquise - Honey Topaz, Morganite - 14k Rose Gold - 16g - 12x8mm -Threaded - BVLA $920.00 Add To Cart Mini Eloise w/Beaded Accents - Chrysoprase Cab - 14k Rose Gold - 16g - 6.5x4mm - 3x1.5mm - End - Threaded - BVLA $420.00 Add To Cart Elaine - White Sapphire, VS Diamond, Rose Cut Oregon Sunstone - 14k Rose Gold - 16g - 10mm -Threaded - BVLA $1,750.00 Add To Cart The Rose 13 Gem Cluster - Champagne CZ, Faceted Oregon Sunstone - 14k Rose Gold - 16g - 5mm - 1mm - 2.5mm - End - Threaded - BVLA $525.00 Add To Cart Panaraya Marquise - Rose Cut Labradorite - 14k White Gold - 16g - 12.5x6mm - 4x2mm - End - Threaded - BVLA $1,000.00 Add To Cart Mini Eloise w/Beaded Accents - Amethyst AA - 14k White Gold - 16g - 6.5x4mm - 3x1.5mm - End - Threaded - BVLA $400.00 Add To Cart Elaine - White CZ, Rainbow Moonstone - 14k White Gold - 16g - 10mm -Threaded - BVLA $1,020.00 Add To Cart The Rose 13 Gem Cluster - Swiss Blue Topaz & Mercury Mist Topaz - 14k White Gold - 16g - 5mm - 2.5mm - End - Threaded - BVLA $610.00 Add To Cart Mini Eloise w/Beaded Accents - Black CZ - 14k Yellow Gold - 16g - 6.5x4mm - 3x1.5mm - End - Threaded - BVLA $325.00 Add To Cart Sarai Marquise - White CZ & Mercury Mist Topaz - 14k Yellow Gold - 16g - 12x8mm -Threaded - BVLA $700.00 Add To Cart The Rose 13 Gem Cluster - Marcasite - 14k Yellow Gold - 16g - 5mm - 2.5mm - End - Threaded - BVLA $590.00 Add To Cart The Rose 13 Gem Cluster - Champagne Sapphire, Faceted Oregon Sunstone - 14k Yellow Gold - 16g - 10mm - 5mm - 1.5mm - End - Threaded - BVLA $1,020.00 Add To Cart Panaraya Marquise - Champagne CZ - 14k Yellow Gold - 16g - 12.5x6mm - 4x2mm - End - Threaded - BVLA $670.00 Add To Cart Sarai Marquise - Amethyst AA & White Opal AAA - 14k White Gold - 16g - 12x8mm -Threaded - BVLA $900.00 Add To Cart 3 Gem Fanfare Right - Amber Yellow CZ - 18k Rose Gold - 18g/16g - 6x3.5mm - End - Threadless - Anatometal $165.00 Add To Cart 3 Gem Fanfare Left - Amber Yellow CZ - 18k Rose Gold - 18g/16g - 6x3.5mm - End - Threadless - Anatometal $165.00 Add To Cart 3 Gem Fanfare Right - Aurora Borealis CZ - 18k Rose Gold - 18g/16g - 6x3.5mm - End - Threadless - Anatometal $165.00 Add To Cart 3 Gem Fanfare Left - Aurora Borealis CZ - 18k Rose Gold - 18g/16g - 6x3.5mm - End - Threadless - Anatometal $165.00 Add To Cart 3 Gem Fanfare Left - Aurora Borealis CZ - 18k White Gold - 18g/16g - 6x3.5mm - End - Threadless - Anatometal $165.00 Add To Cart 3 Gem Fanfare Right - Arctic Blue CZ - 18k White Gold - 18g/16g - 6x3.5mm - End - Threadless - Anatometal $165.00 Add To Cart 3 Gem Fanfare Left - Arctic Blue CZ - 18k White Gold - 18g/16g - 6x3.5mm - End - Threadless - Anatometal $165.00 Add To Cart 3 Gem Fanfare Right - Brown CZ - 18k Yellow Gold - 18g/16g - 6x3.5mm - End - Threadless - Anatometal $165.00 Add To Cart 3 Gem Fanfare Left - Brown CZ - 18k Yellow Gold - 18g/16g - 6x3.5mm - End - Threadless - Anatometal $165.00 Add To Cart 3 Gem Fanfare Right - Aurora Borealis CZ - 18k Yellow Gold - 18g/16g - 6x3.5mm - End - Threadless - Anatometal $165.00 Add To Cart 3 Gem Fanfare Left - Aurora Borealis CZ - 18k Yellow Gold - 18g/16g - 6x3.5mm - End - Threadless - Anatometal $165.00 Add To Cart Zia - Aurora Borealis CZ - 18k Rose Gold - 18g/16g - 3mm - 2mm - End - Threadless - Anatometal $85.00 Add To Cart Zia - Black CZ - 18k Rose Gold - 18g/16g - 3mm - 2mm - End - Threadless - Anatometal $85.00 Add To Cart Zia - Smoke CZ - 18k White Gold - 18g/16g - 3mm - 2mm - End - Threadless - Anatometal $85.00 Add To Cart Zia - Champagne CZ - 18k White Gold - 18g/16g - 3mm - 2mm - End - Threadless - Anatometal $85.00 Add To Cart Zia - Pistachio CZ - 18k Rose Gold - 18g/16g - 3mm - 2mm - End - Threadless - Anatometal $85.00 Add To Cart Zia - Red CZ - 18k Rose Gold - 18g/16g - 3mm - 2mm - End - Threadless - Anatometal $85.00 Add To Cart Zia - Black CZ - 18k White Gold - 18g/16g - 3mm - 2mm - End - Threadless - Anatometal $85.00 Add To Cart Zia - Amethyst - 18k White Gold - 18g/16g - 3mm - 2mm - End - Threadless - Anatometal $85.00 Add To Cart Zia - Sapphire - 18k Yellow Gold - 18g/16g - 3mm - 2mm - End - Threadless - Anatometal $85.00 Add To Cart Zia - Primrose CZ - 18k Rose Gold - 18g/16g - 3mm - 2mm - End - Threadless - Anatometal $85.00 Add To Cart Zia - Aurora Borealis CZ - 18k White Gold - 18g/16g - 3mm - 2mm - End - Threadless - Anatometal $85.00 Add To Cart Zia - Brown CZ - 18k Yellow Gold - 18g/16g - 3mm - 2mm - End - Threadless - Anatometal $85.00 Add To Cart Zia - Emerald - 18k Yellow Gold - 18g/16g - 3mm - 2mm - End - Threadless - Anatometal $85.00 Add To Cart Zia - Black CZ - 18k Yellow Gold - 18g/16g - 3mm - 2mm - End - Threadless - Anatometal $85.00 Add To Cart Icon - Aurora Borealis, Mint Green - 18k White Gold - 18g/16g - 5x2mm - End - Threadless - Anatometal $130.00 sold out Add To Cart Marquise Prong - Pistachio CZ - 18k Rose Gold - 18g/16g - 2x4mm - End - Threadless - Anatometal $85.00 Add To Cart Sonoma Pear - Tangerine - 18k White Gold - 18g/16g - 4x4.5mm - 3x2mm - End - Threadless - Anatometal $145.00 sold out Add To Cart Cat Moon - 18k Rose Gold - 18g/16g - 9x5mm - End - Threadless - Anatometal $135.00 Add To Cart 3 Gem Mini Marquise Fan - Sapphire - 18k Yellow Gold - 18g/16g - 6x4mm - End - Threadless - Anatometal $150.00 Add To Cart Marquise Bezel - White CZ - 18k Rose Gold - 18g/16g - 4.5x2.5mm - End - Threadless - Anatometal $90.00 Add To Cart Marquise Bezel - White CZ - 18k Yellow Gold - 18g/16g - 4.5x2.5mm - End - Threadless - Anatometal $90.00 Add To Cart Adina - White CZ - 18k White Gold - 18g/16g - 7mm - 3x1.5mm - End - Threadless - Anatometal $315.00 Add To Cart 2 Gem Navel Curve - 12g - Aqua CZ - 3/8" - 6mm, 4mm - Titanium - Navel - Industrial Strength $90.00 sold out Add To Cart 2 Gem Navel Curve - 12g - Purple Opal - 3/8" - 6mm, 4mm - Titanium - Navel - Industrial Strength $90.00 Add To Cart 2 Gem Navel Curve - 12g - Pink Opal - 3/8" - 6mm, 4mm - Titanium - Navel - Industrial Strength $90.00 Add To Cart 2 Gem Navel Curve - 12g - Black CZ - 3/8" - 6mm, 4mm - Titanium - Bezel - Navel - Industrial Strength $90.00 Add To Cart 2 Gem Navel Curve - 12g - Black Opal - 3/8" - 6mm, 4mm - Titanium - Navel - Industrial Strength $90.00 Add To Cart 2 Gem Navel Curve - 12g - Black CZ - 3/8" - 6mm, 4mm - Titanium - Prong - Navel - Industrial Strength $90.00 Add To Cart 2 Gem Navel Curve - 12g - Garnet - 3/8" - 6mm, 4mm - Titanium - Navel - Industrial Strength $90.00 Add To Cart 2 Gem Navel Curve - 12g - Kiwi Opal - 3/8" - 6mm, 4mm - Titanium - Navel - Industrial Strength $90.00 sold out Add To Cart 2 Gem Navel Curve - 12g - Azure Opal - 3/8" - 6mm, 4mm - Titanium - Navel - Industrial Strength $90.00 Add To Cart 2 Gem Navel Curve - 12g - Mint CZ - 3/8" - 6mm, 4mm - Titanium - Navel - Industrial Strength $90.00 Add To Cart 2 Gem Navel Curve - 12g - Pink CZ - 3/8" - 6mm, 4mm - Titanium - Navel - Industrial Strength $90.00 Add To Cart 2 Gem Navel Curve - 12g - Turquoise - 3/8" - 6mm, 4mm - Titanium - Navel - Industrial Strength $90.00 Add To Cart 2 Gem Navel Curve - 12g - Teal Opal - 3/8" - 6mm, 4mm - Titanium - Navel - Industrial Strength $90.00 Add To Cart 2 Gem Navel Curve - 12g - Pacific Opals - 3/8" - 6mm, 4mm - Titanium - Navel - Industrial Strength $90.00 Add To Cart 2 Gem Navel Curve - 12g - Amethyst - 3/8" - 6mm, 4mm - Titanium - Navel - Industrial Strength $90.00 Add To Cart 2 Gem Navel Curve - 12g - Arctic - 3/8" - 6mm, 4mm - Titanium - Navel - Industrial Strength $90.00 Add To Cart 2 Gem Navel Curve - 12g - Citrine - 3/8" - 6mm, 4mm - Titanium - Navel - Industrial Strength $90.00 Add To Cart 2 Gem Navel Curve - 12g - Emerald - 3/8" - 6mm, 4mm - Titanium - Navel - Industrial Strength $90.00 Add To Cart 2 Gem Navel Curve - 12g - Sapphire - 3/8" - 6mm, 4mm - Titanium - Navel - Industrial Strength $90.00 Add To Cart 2 Gem Navel Curve - 12g - White Opal - 3/8" - 6mm, 4mm - Titanium - Navel - Industrial Strength $90.00 Add To Cart 2 Gem Navel Curve - 12g - White CZ - 3/8" - 6mm, 4mm - Titanium - Navel - Industrial Strength $90.00 Add To Cart 2 Gem Navel Curve - 12g - White Opal - 7/16" - 6mm, 4mm - Titanium - Navel - Industrial Strength $90.00 Add To Cart 2 Gem Navel Curve - 12g - White CZ - 1/2" - 6mm, 4mm - Titanium - Navel - Industrial Strength $90.00 Add To Cart Hammered Disk - 18k White Gold - 18g/16g - 3mm - End - Threadless - Anatometal $115.00 Add To Cart Elijah - White CZ - 18k White Gold - 18g/16g - 6.5mm - 3.5mm - End - Threadless - Anatometal $360.00 Add To Cart Marquise Bezel - White CZ - 18k White Gold - 18g/16g - 4.5x2.5mm - End - Threadless - Anatometal $90.00 Add To Cart Adina - White CZ - 18k Rose Gold - 18g/16g - 7mm - 3x1.5mm - End - Threadless - Anatometal $315.00 Add To Cart Adina - White CZ - 18k Yellow Gold - 18g/16g - 7mm - 3x1.5mm - End - Threadless - Anatometal $315.00 sold out Add To Cart Vampire Bat - 18k Rose Gold - 18g/16g - 13.5x5.5mm - End - Threadless - Anatometal $130.00 Add To Cart Vampire Bat - 18k White Gold - 18g/16g - 13.5x5.5mm - End - Threadless - Anatometal $130.00 Add To Cart Vampire Bat - 18k Yellow Gold - 18g/16g - 13.5x5.5mm - End - Threadless - Anatometal $130.00 Add To Cart Pumpkin 3 - 18k Rose Gold - 18g/16g - 7x6.5mm - End - Threadless - Anatometal $275.00 Add To Cart Pumpkin 3 - 18k White Gold - 18g/16g - 7x6.5mm - End - Threadless - Anatometal $275.00 Add To Cart Pumpkin 3 - 18k Yellow Gold - 18g/16g - 7x6.5mm - End - Threadless - Anatometal $275.00 Add To Cart Pumpkin 1 - 18k Rose Gold - 18g/16g - 7x6mm - End - Threadless - Anatometal $275.00 Add To Cart Pumpkin 1 - 18k White Gold - 18g/16g - 7x6mm - End - Threadless - Anatometal $275.00 Add To Cart Pumpkin 1 - 18k Yellow Gold - 18g/16g - 7x6mm - End - Threadless - Anatometal $275.00 Add To Cart Sensu Left - White CZ - Titanium - 18g/16g - 8x6mm - Threadless - End - Industrial Strength $115.00 Add To Cart Sensu Right - White CZ - Titanium - 18g/16g - 8x6mm - Threadless - End - Industrial Strength $115.00 Add To Cart Queen Crown - Aurora Borealis CZ - 18k White Gold - 18g/16g - 5mm - 4mm - End - Threadless - Anatometal $125.00 Add To Cart Cute Vampire Bat - 18k Rose Gold - 18g/16g - 10x7mm - End - Threadless - Anatometal $220.00 Add To Cart Cute Vampire Bat - 18k Yellow Gold - 18g/16g - 10x7mm - End - Threadless - Anatometal $220.00 Add To Cart Oliver - White CZ - 18k Rose Gold - 18g/16g - 5.5mm - 2mm - End - Threadless - Anatometal $190.00 Add To Cart Oliver - White CZ - 18k Yellow Gold - 18g/16g - 5.5mm - 2mm - End - Threadless - Anatometal $190.00 Add To Cart Isabella - White CZ - 18k Rose Gold - 18g/16g - 6.5x3mm - 3x1.5mm - 1.5mm - End - Threadless - Anatometal $150.00 sold out Add To Cart Isabella - White CZ - 18k White Gold - 18g/16g - 6.5x3mm - 3x1.5mm - 1.5mm - End - Threadless - Anatometal $150.00 Add To Cart Next