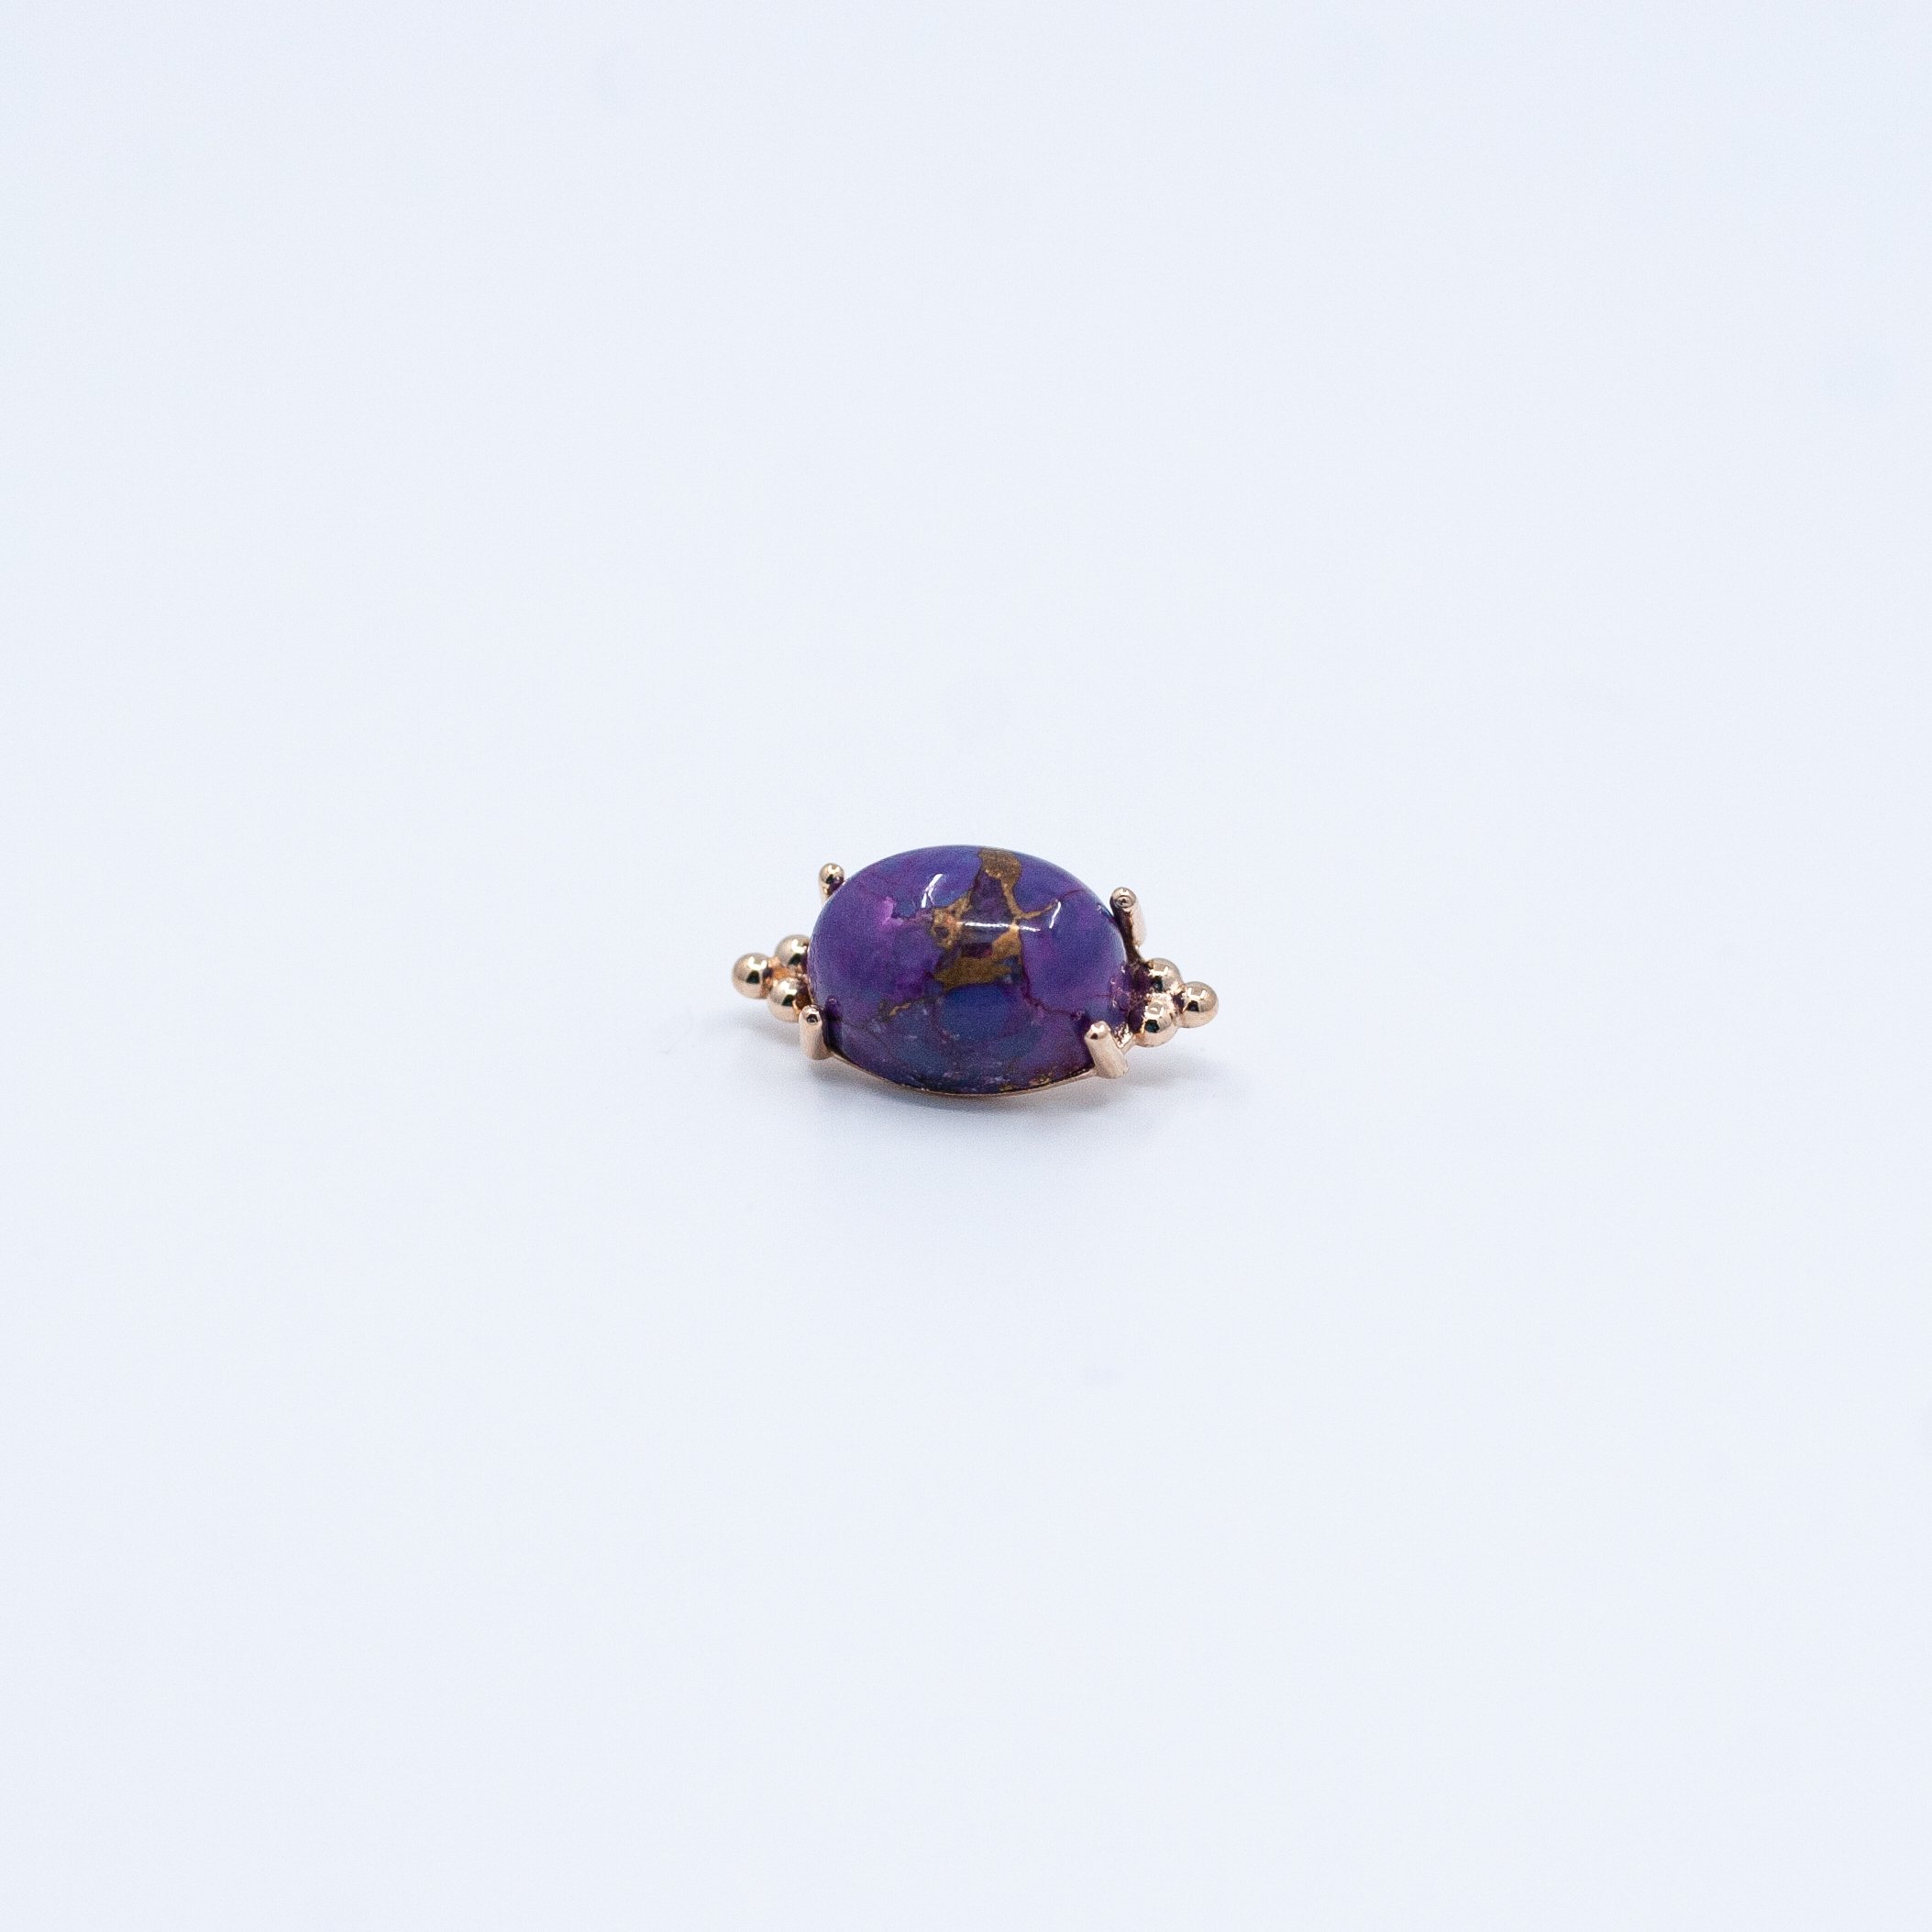
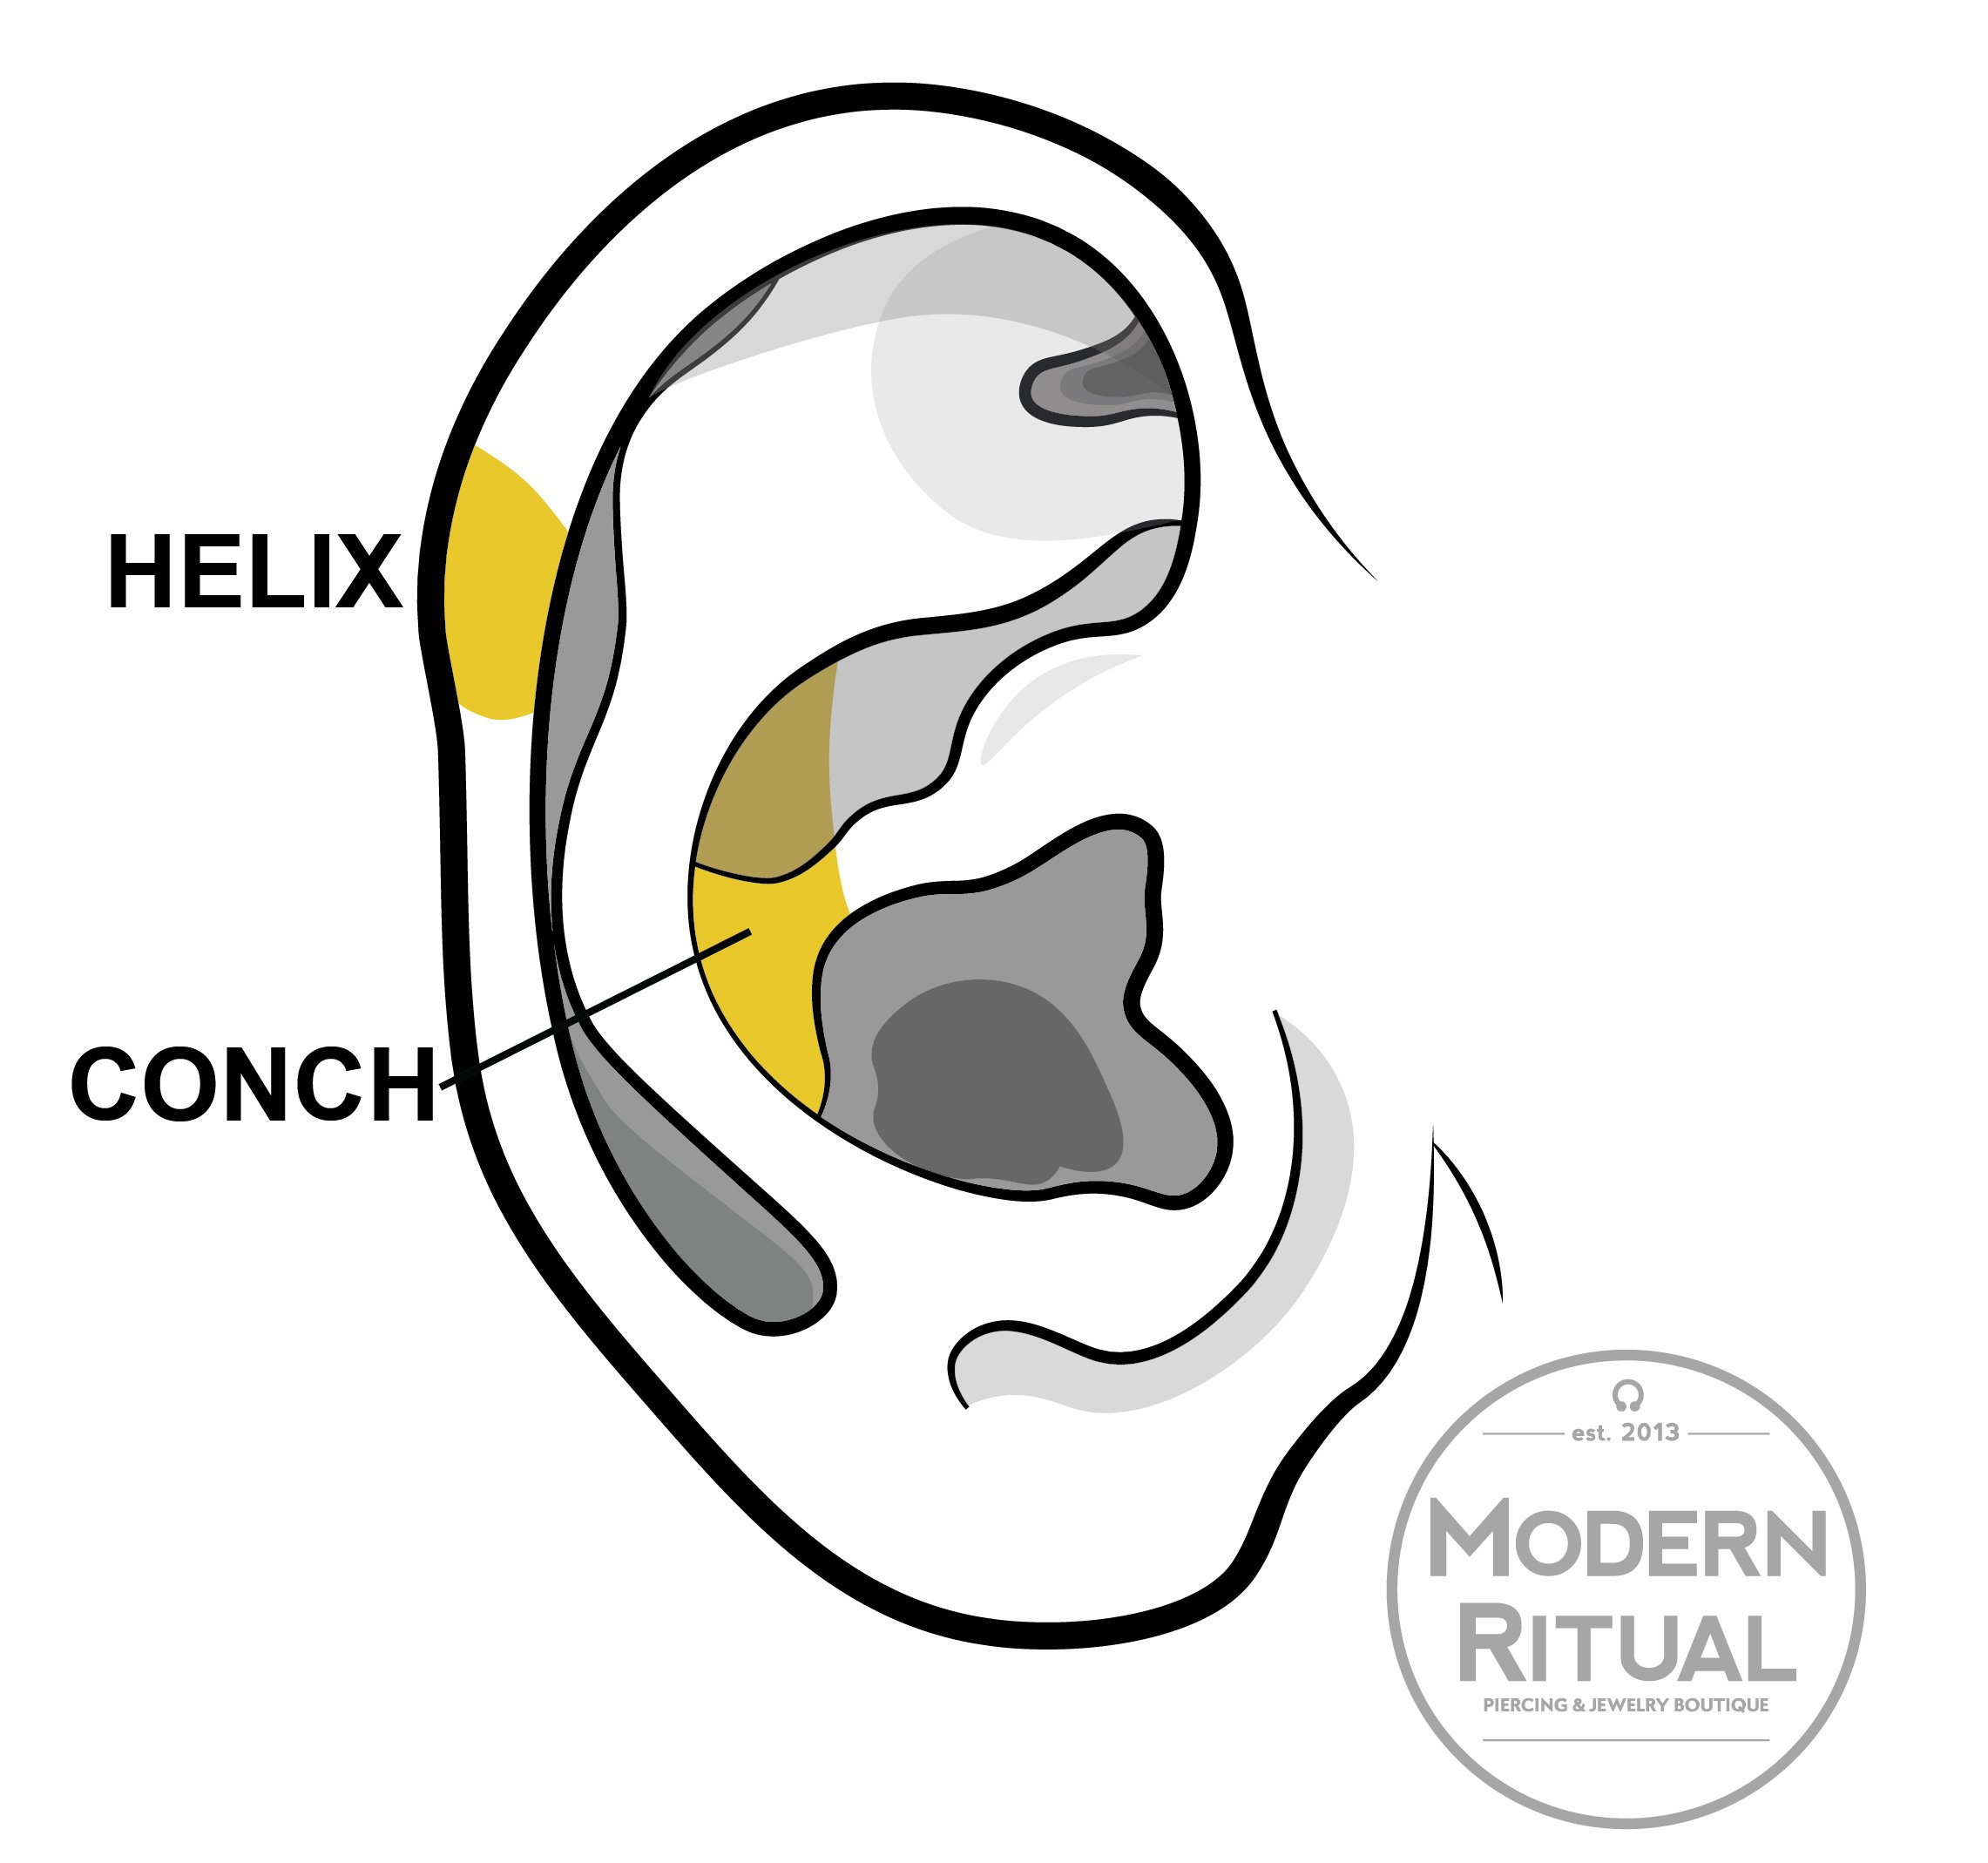
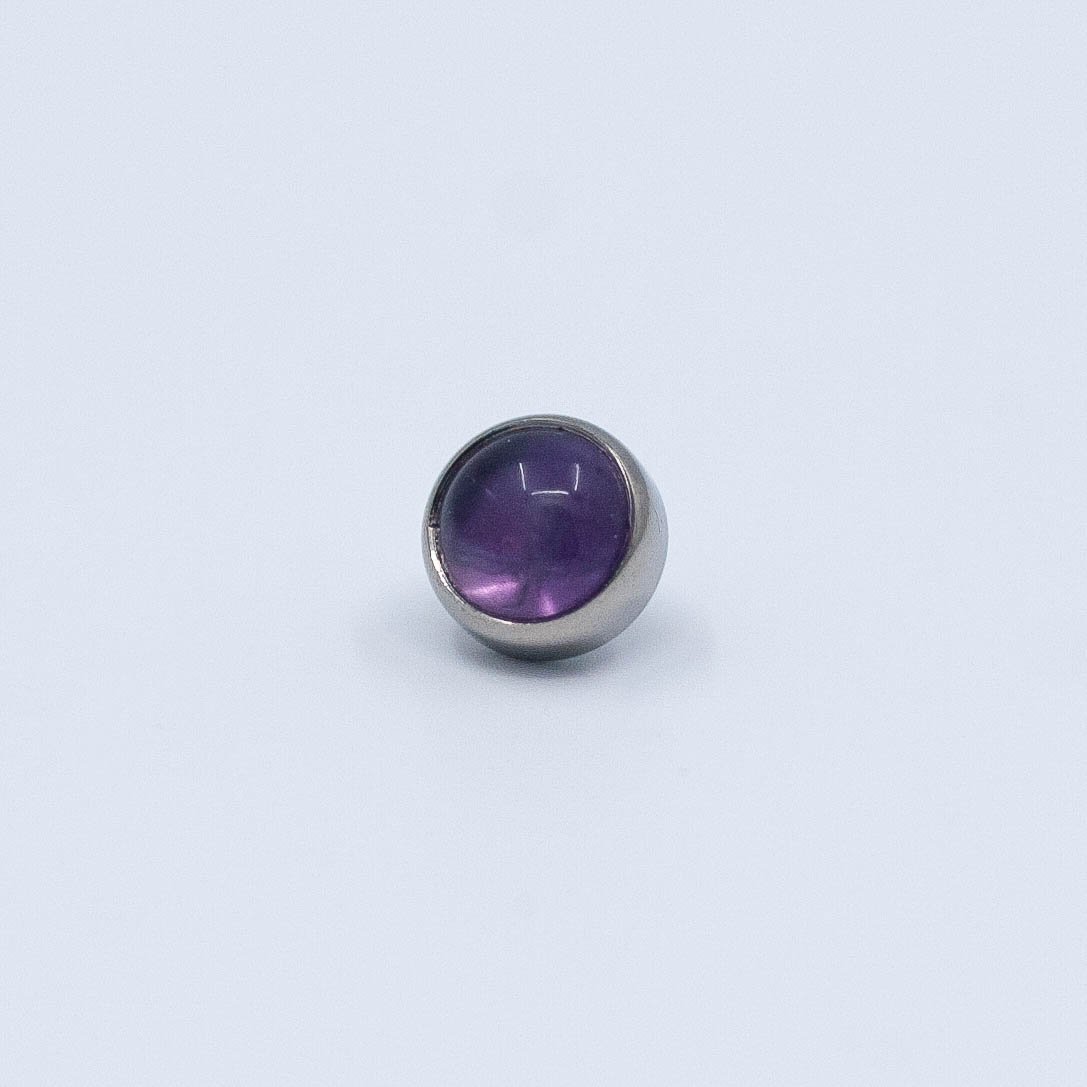
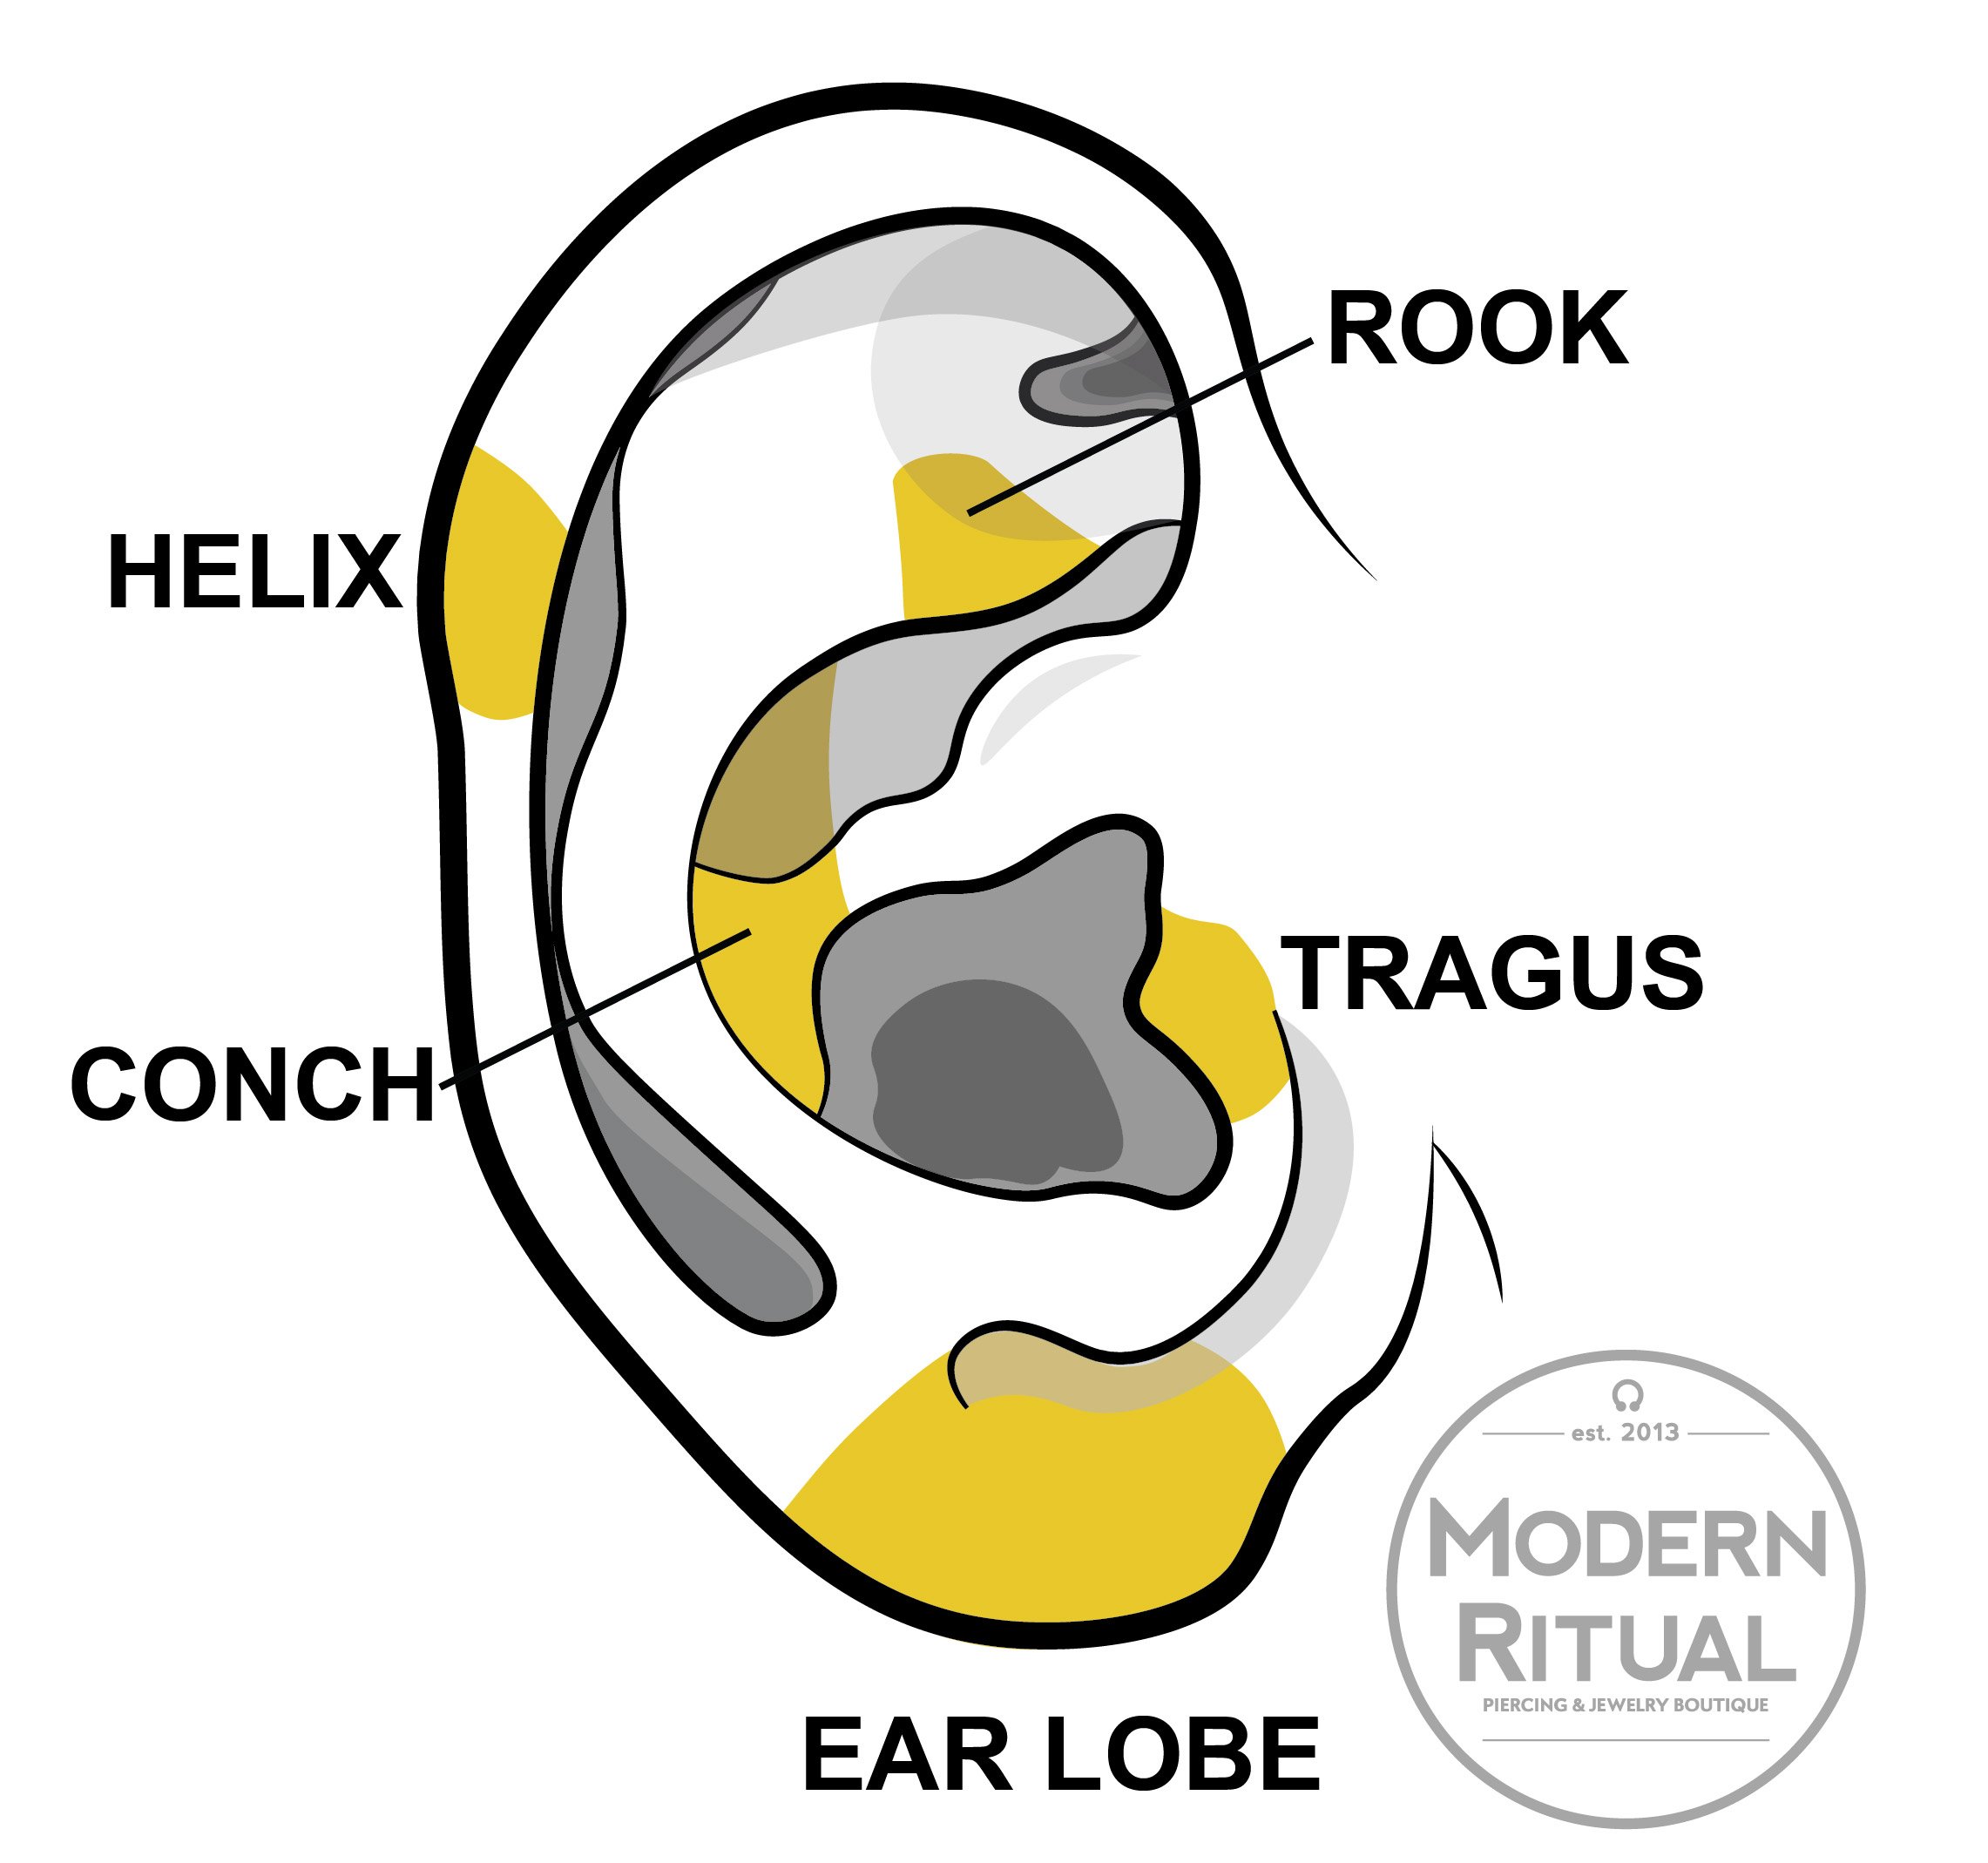
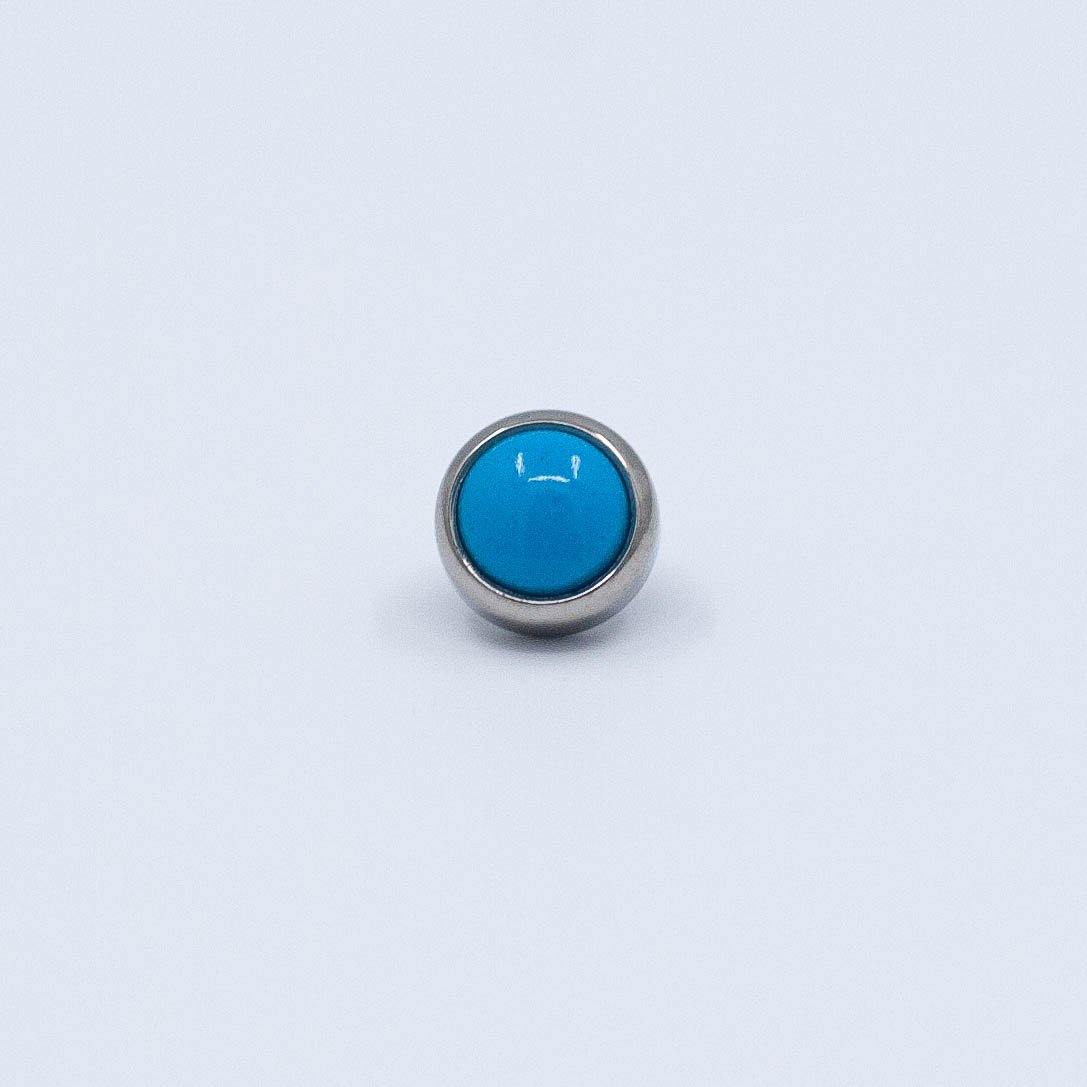
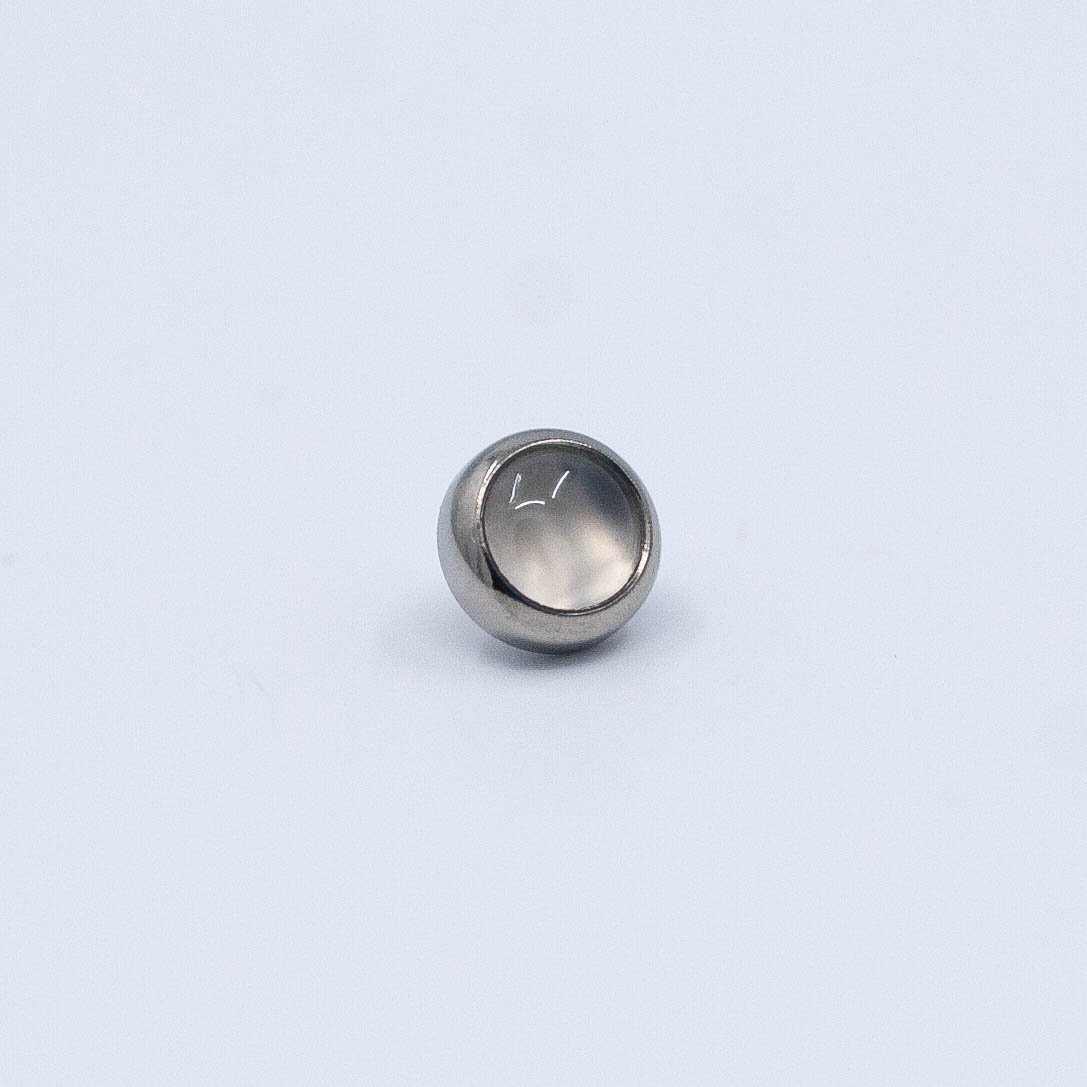
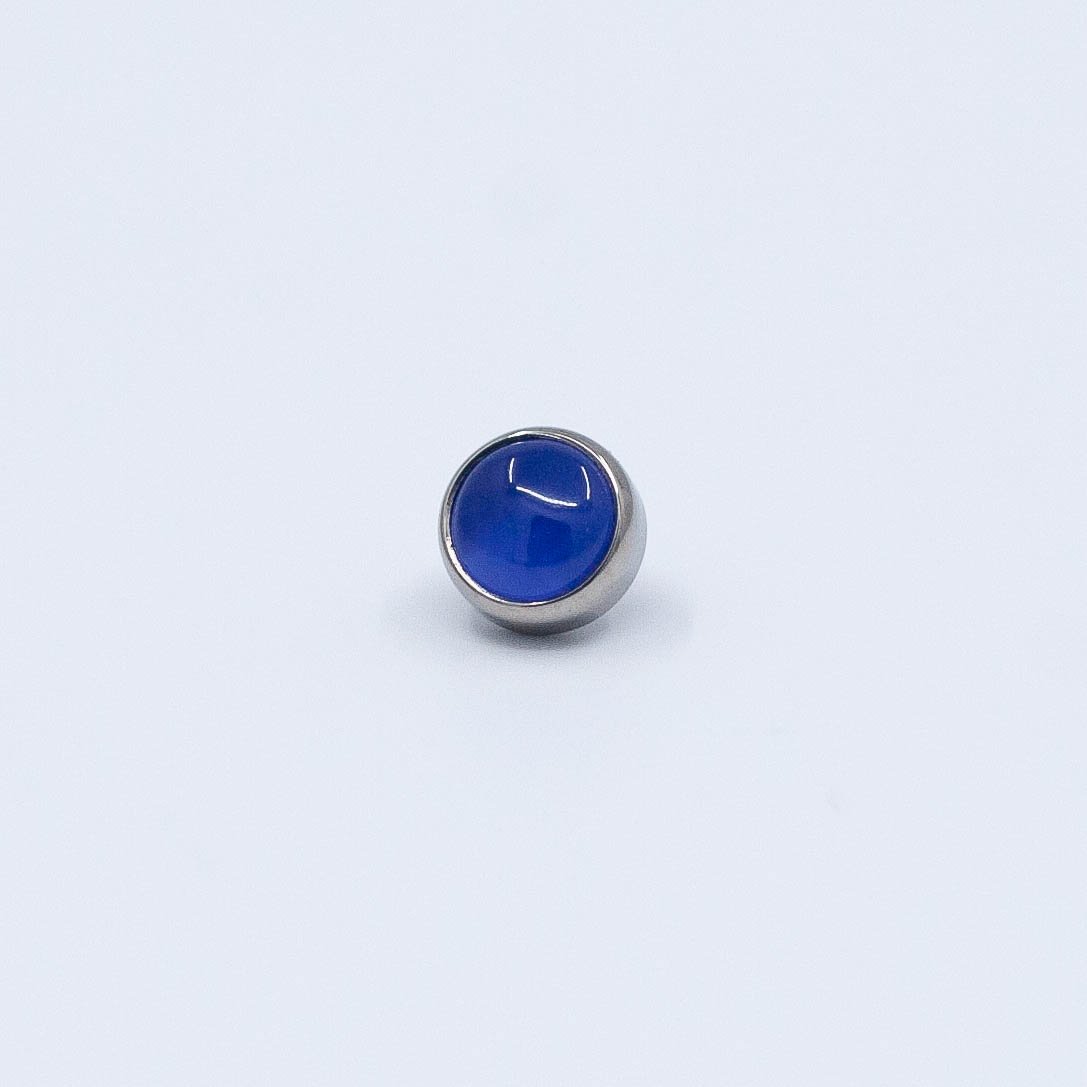
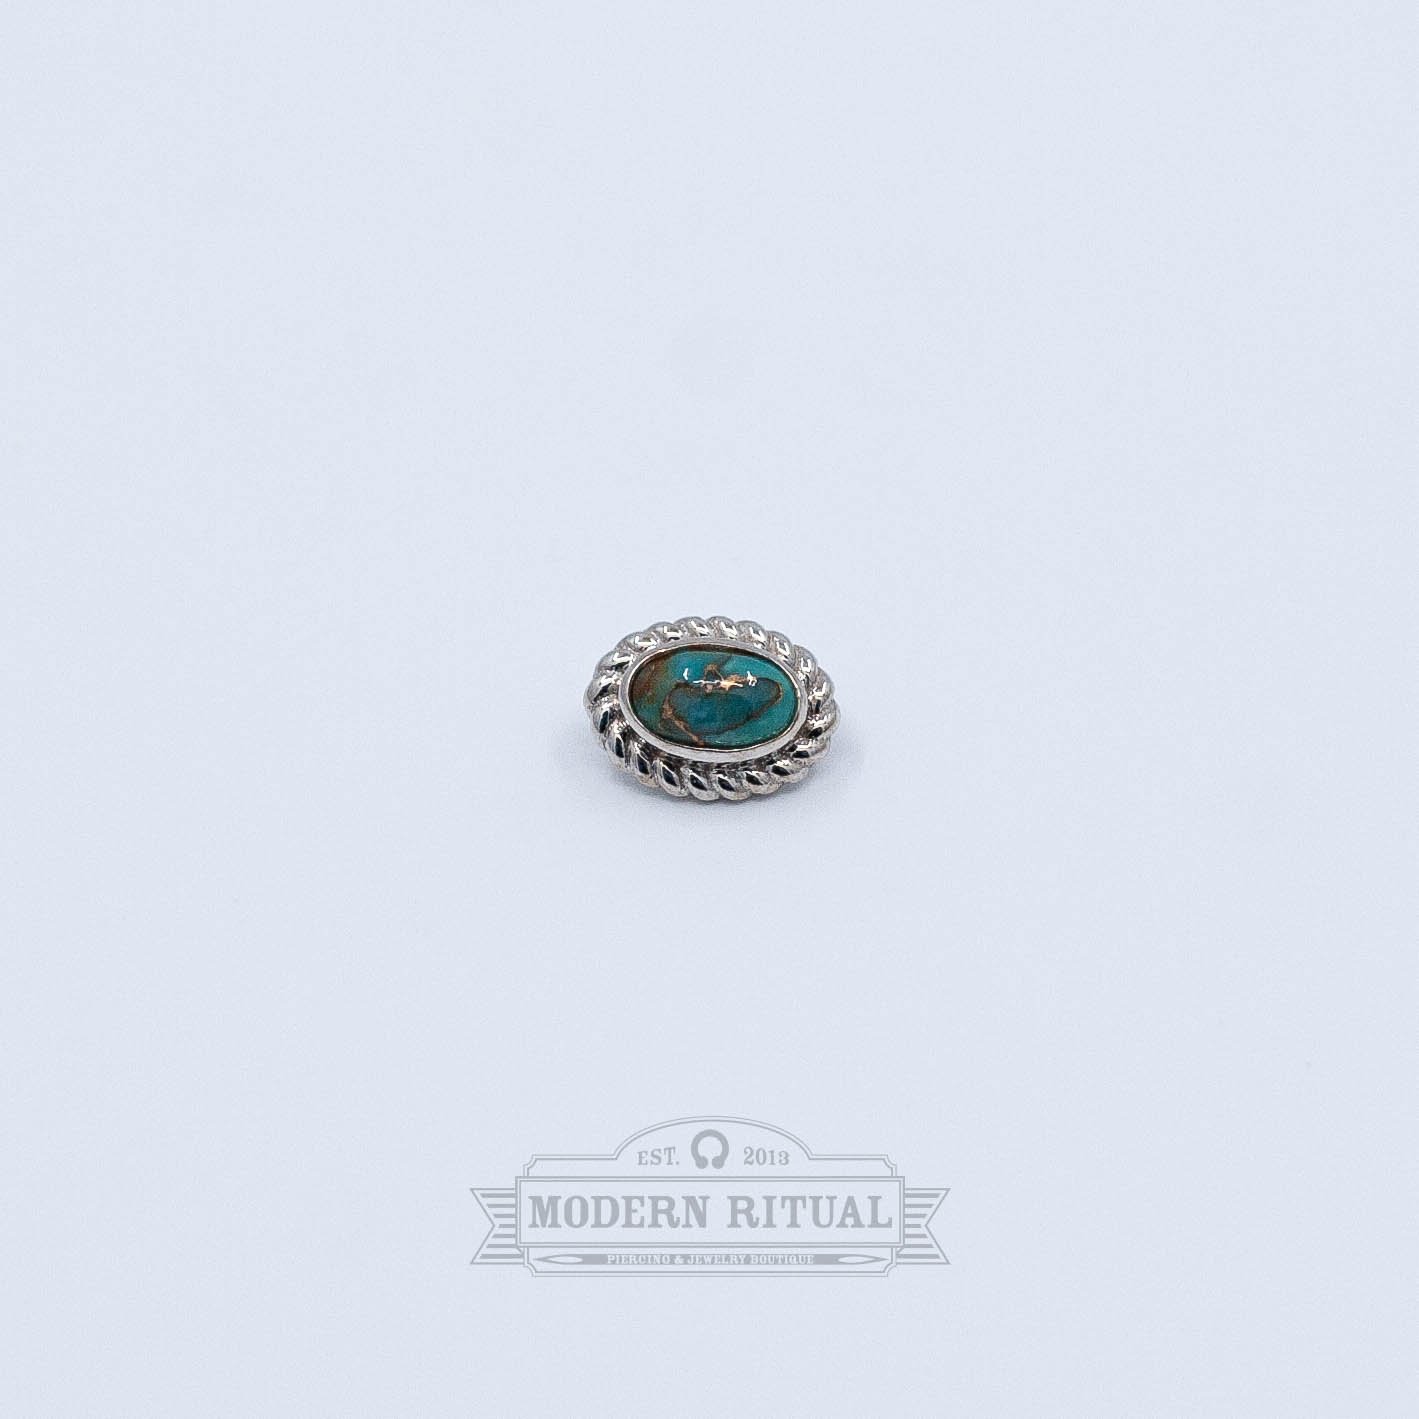
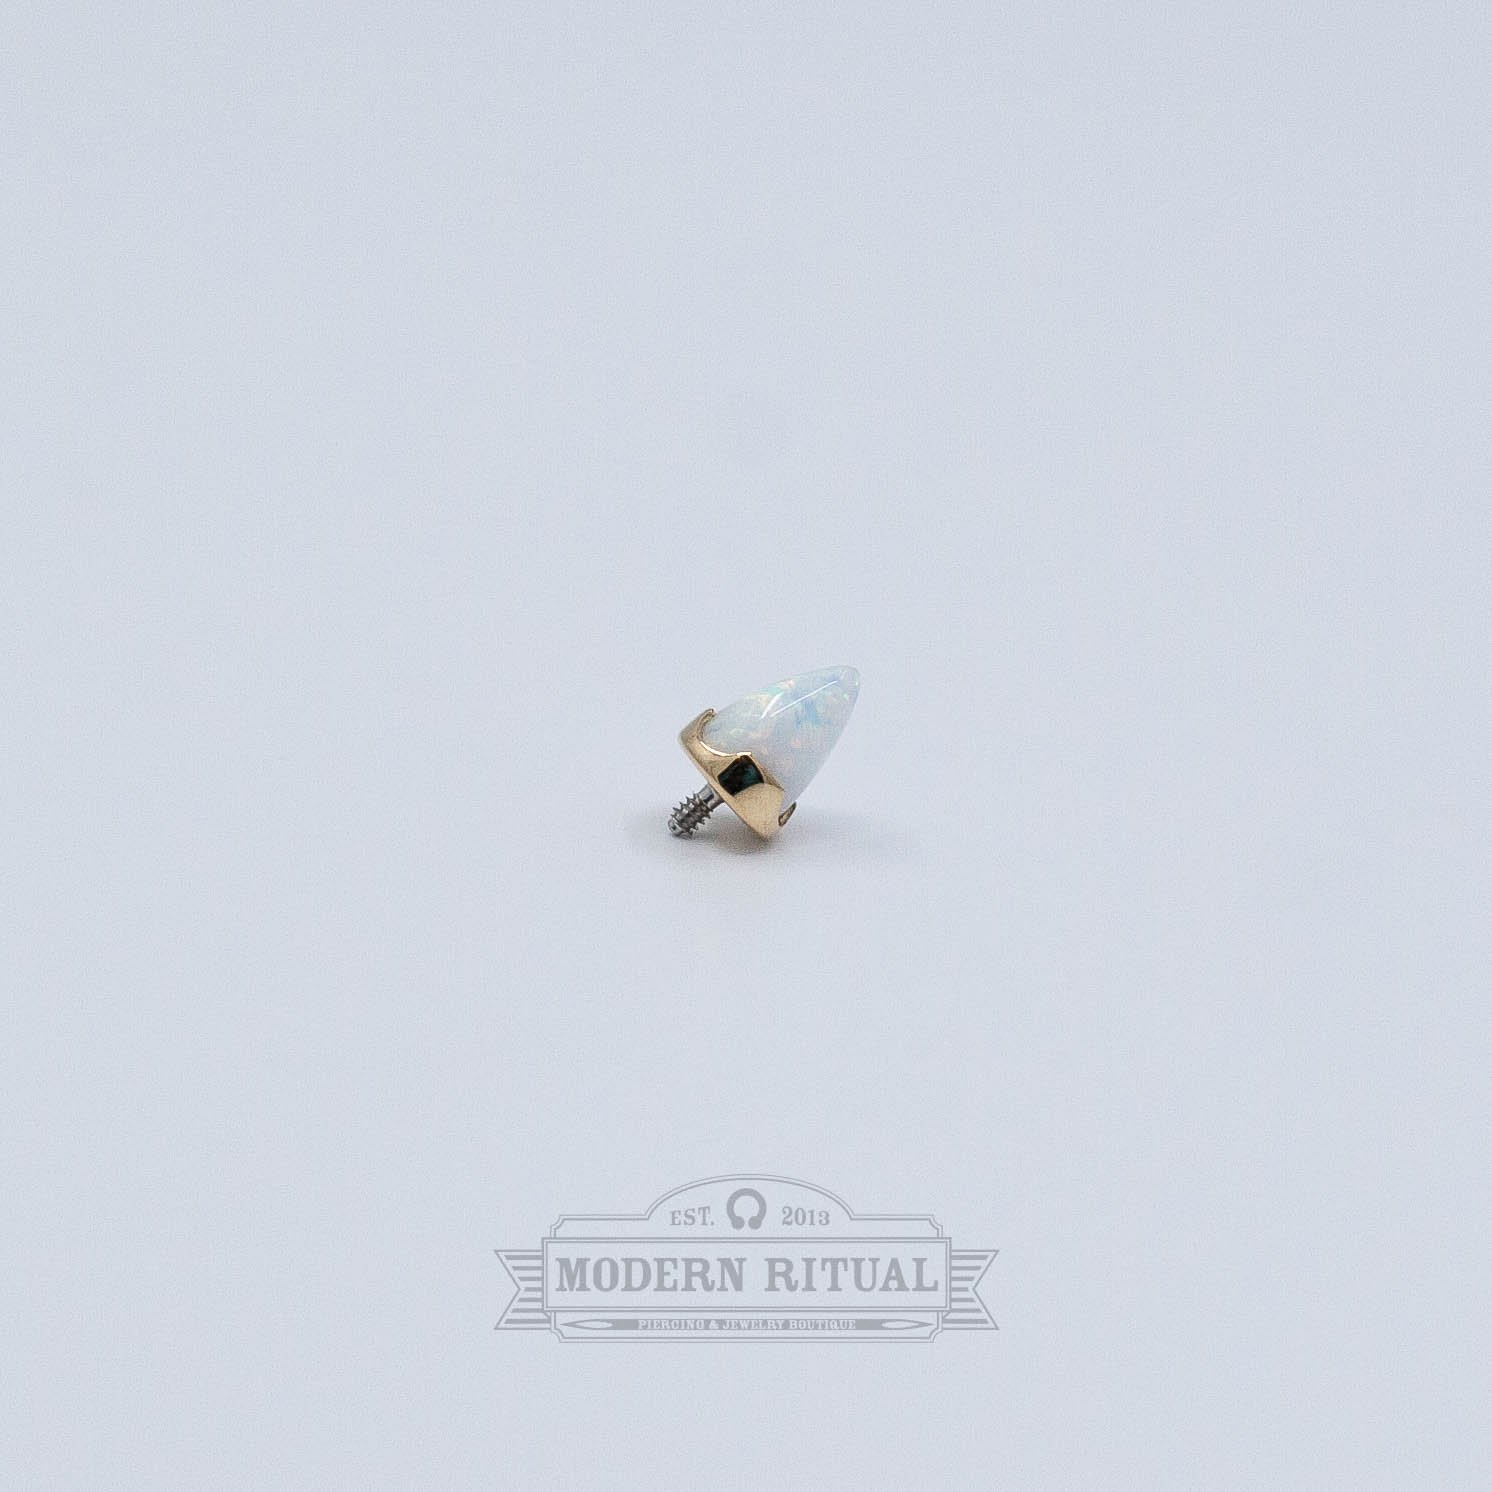
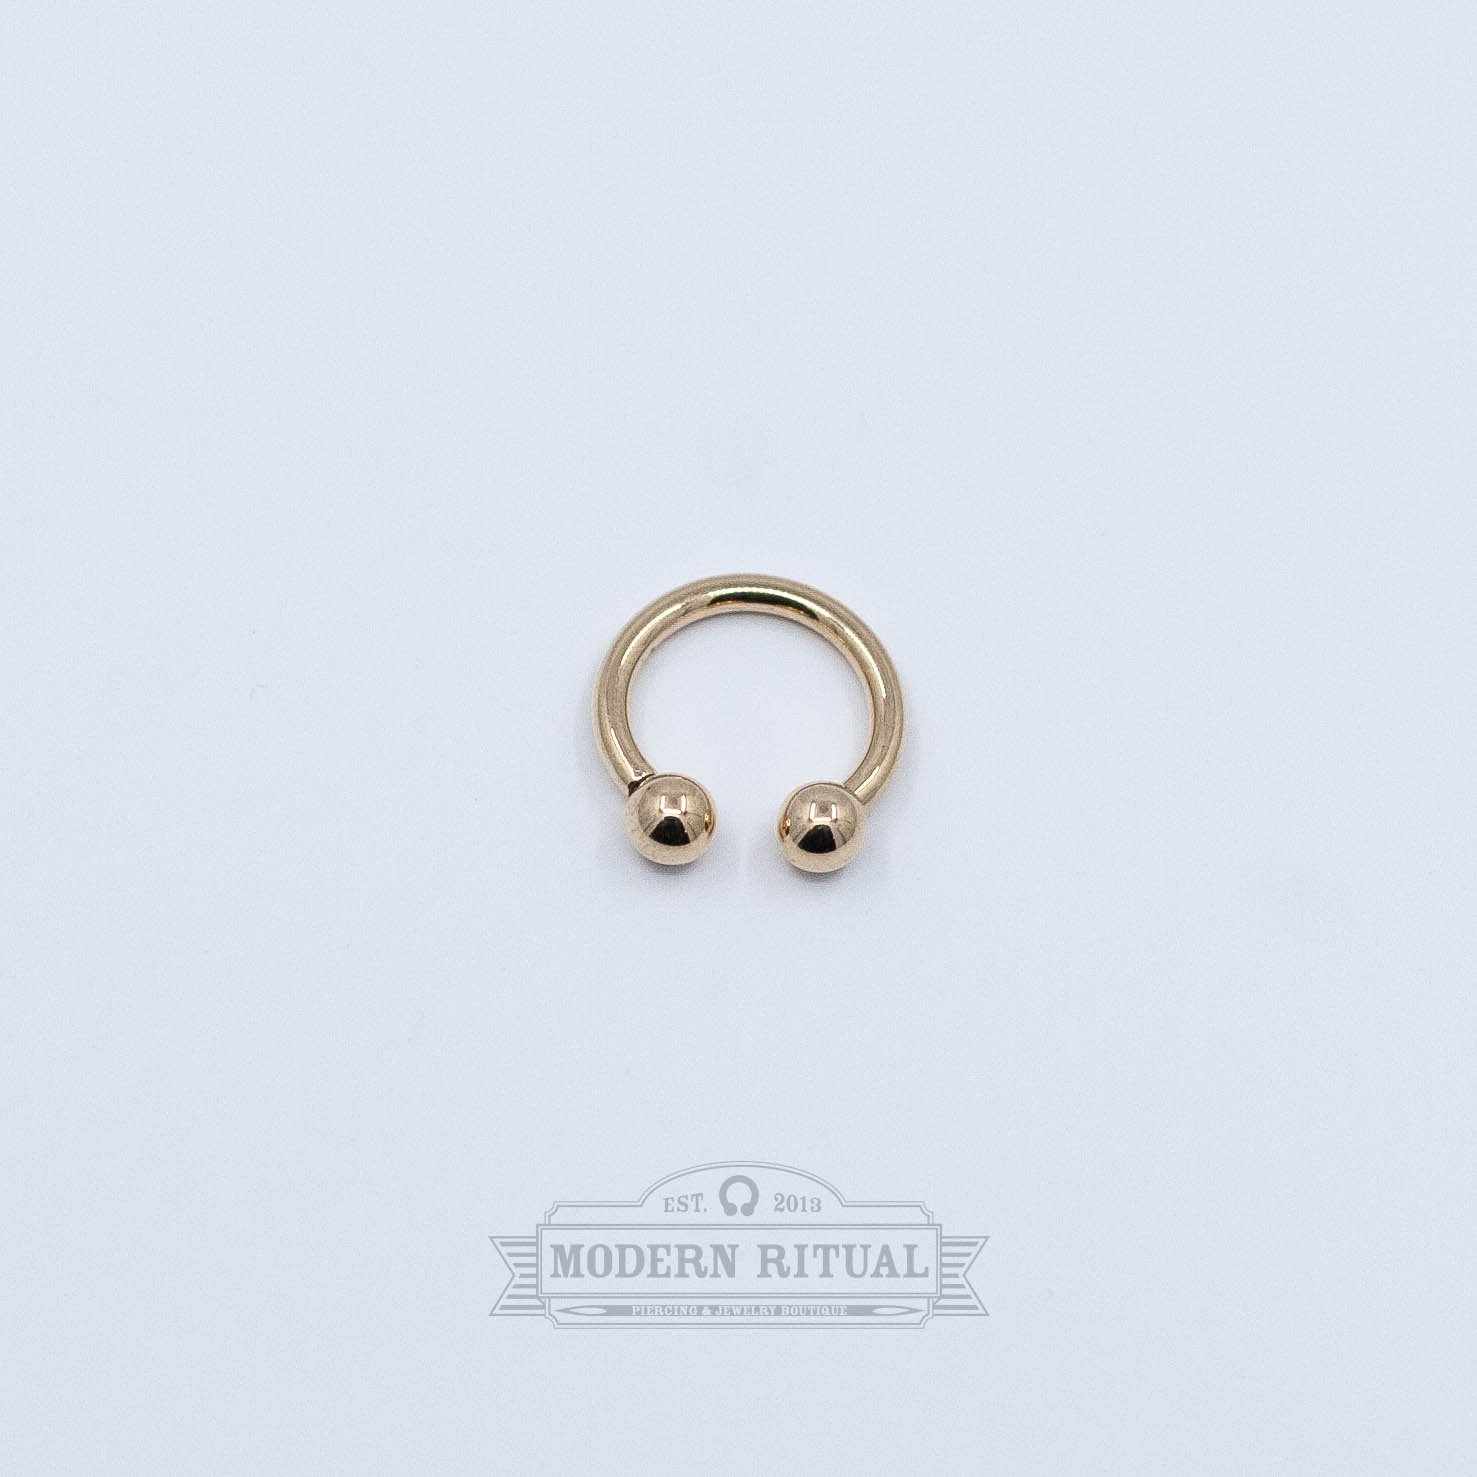
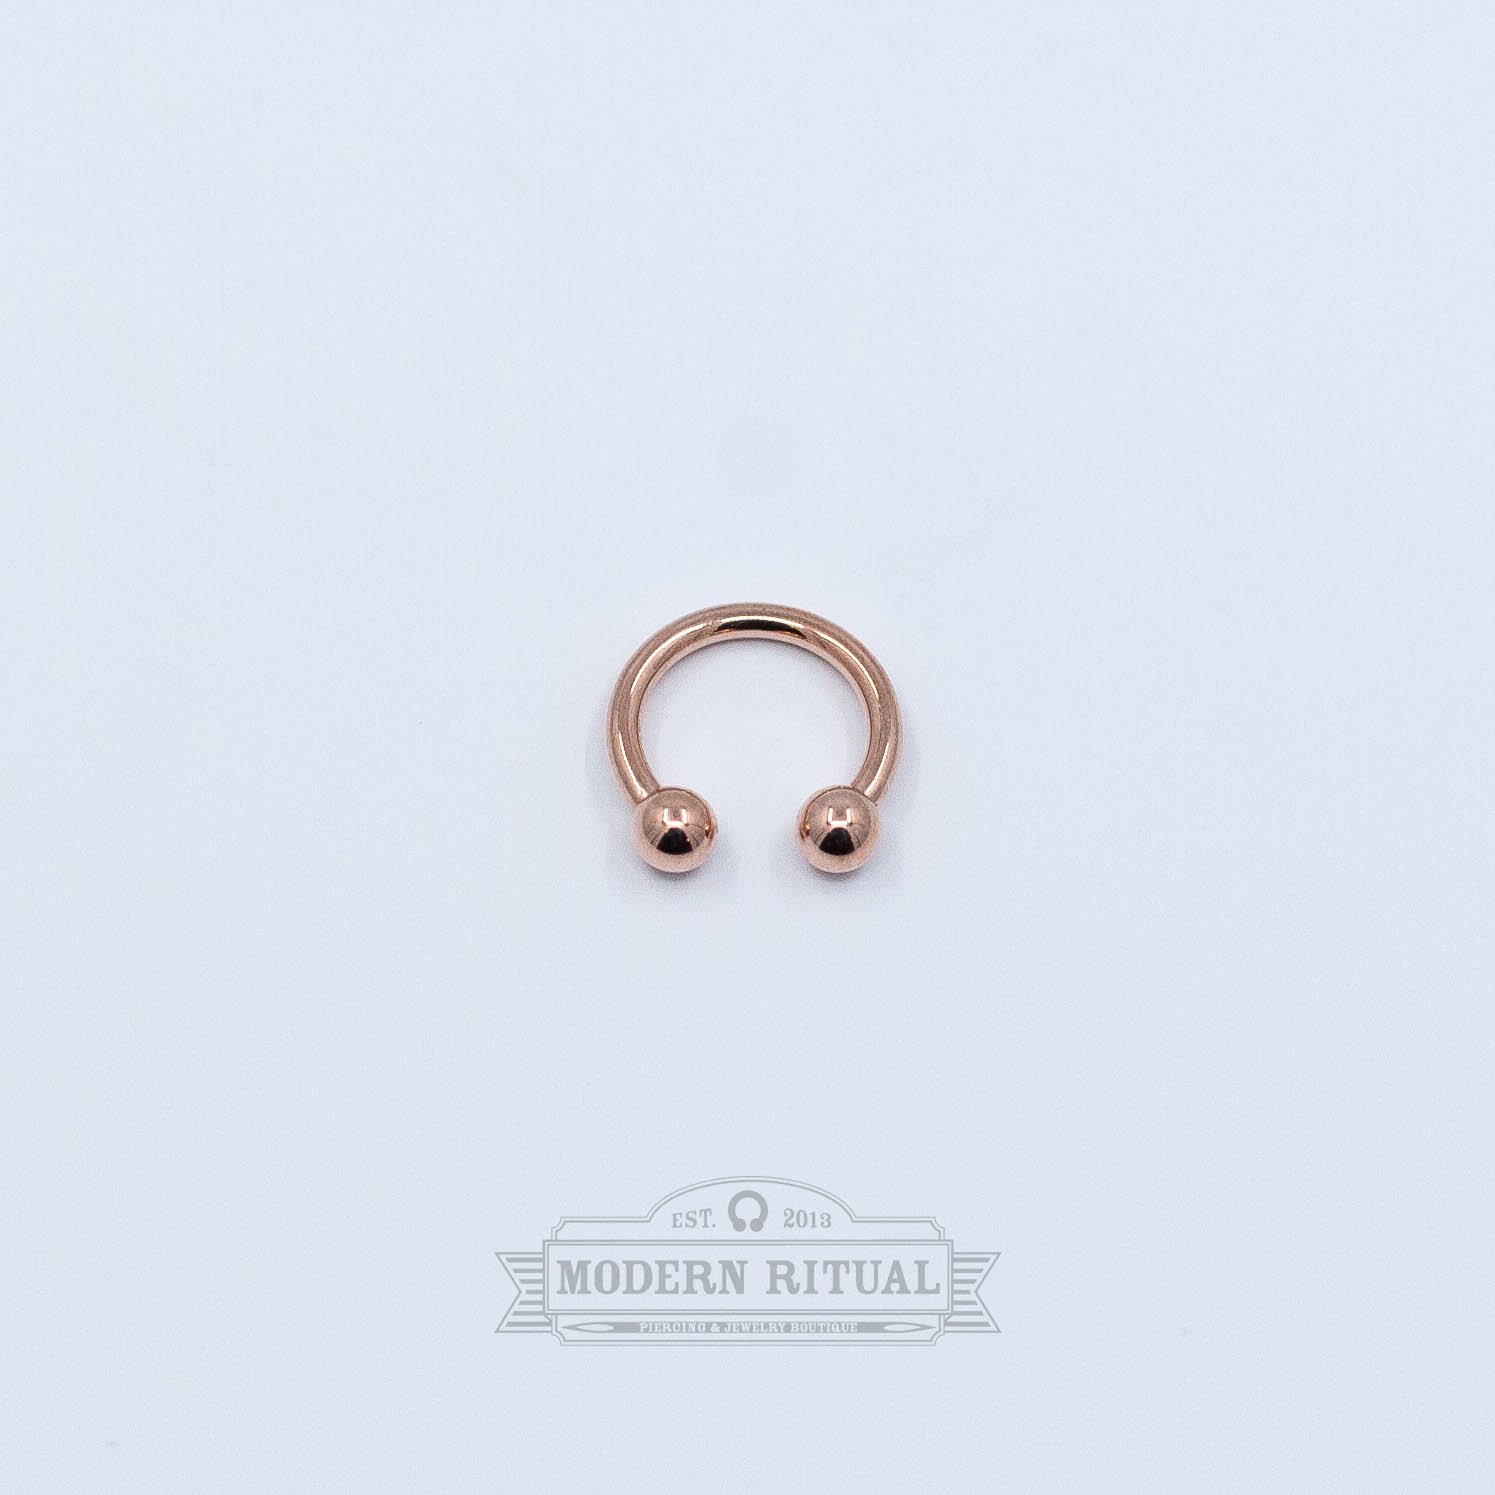
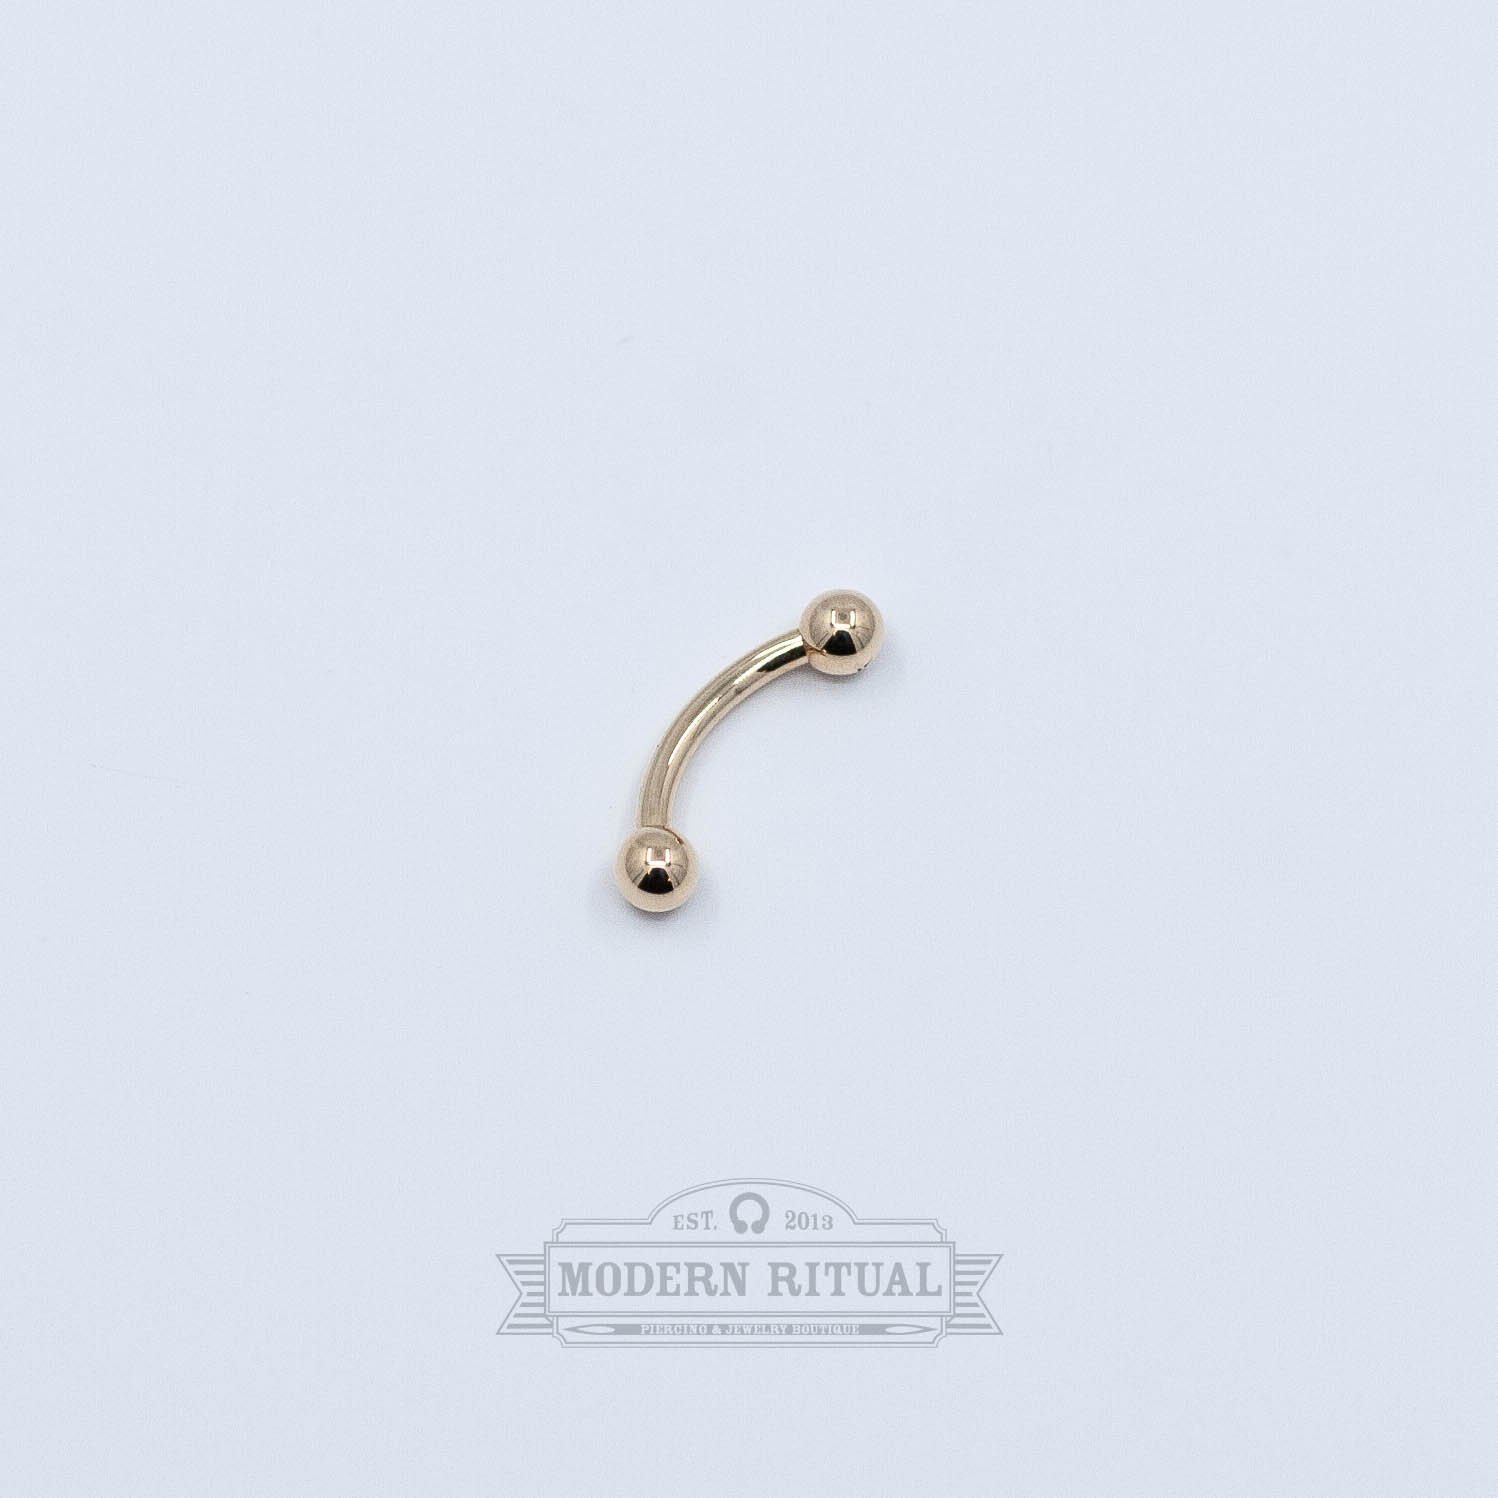
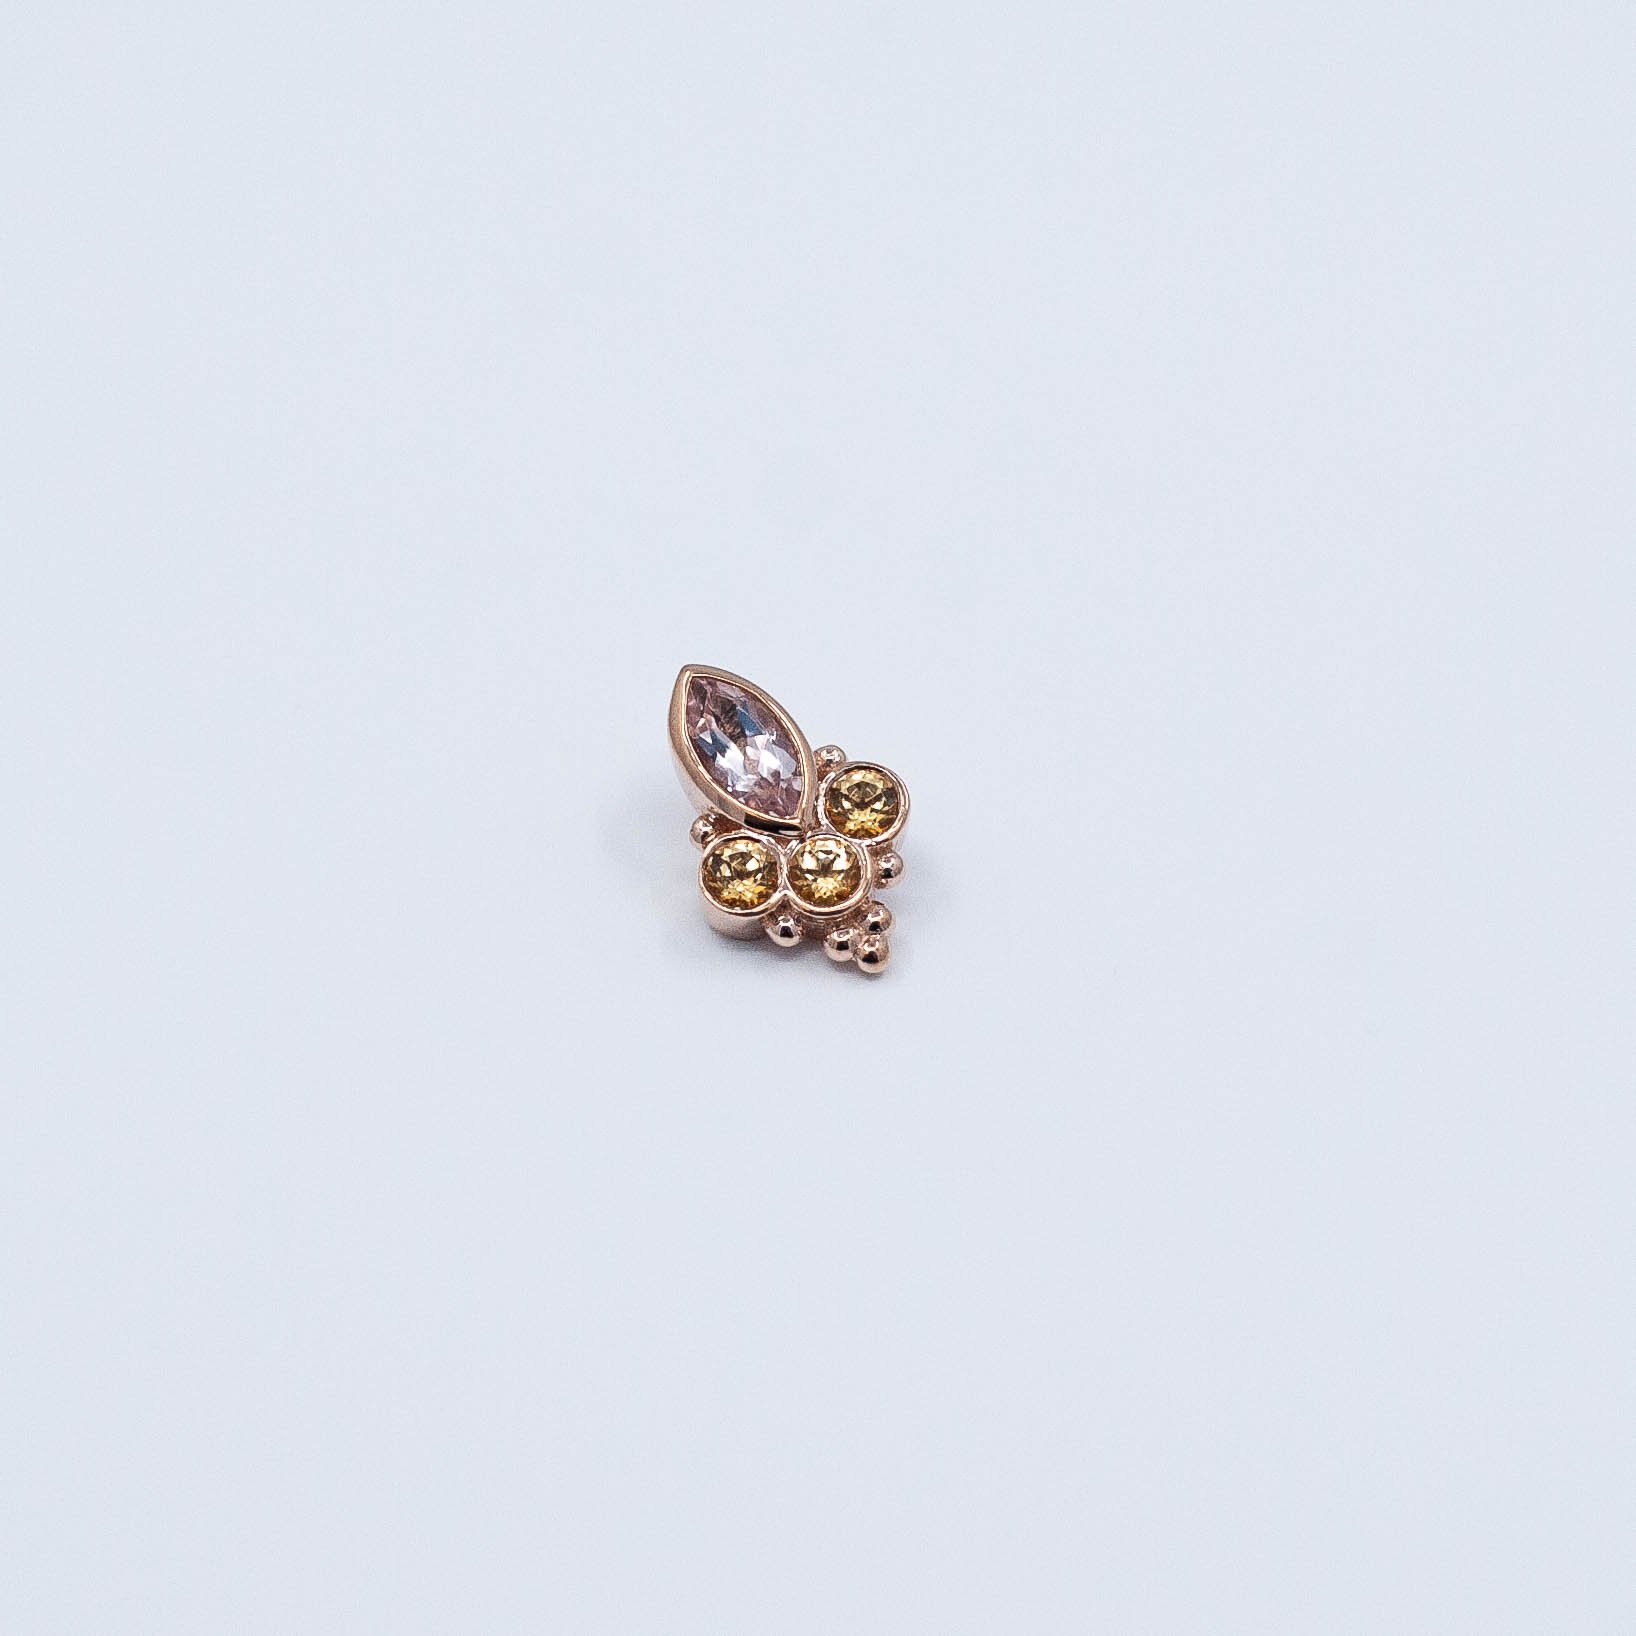
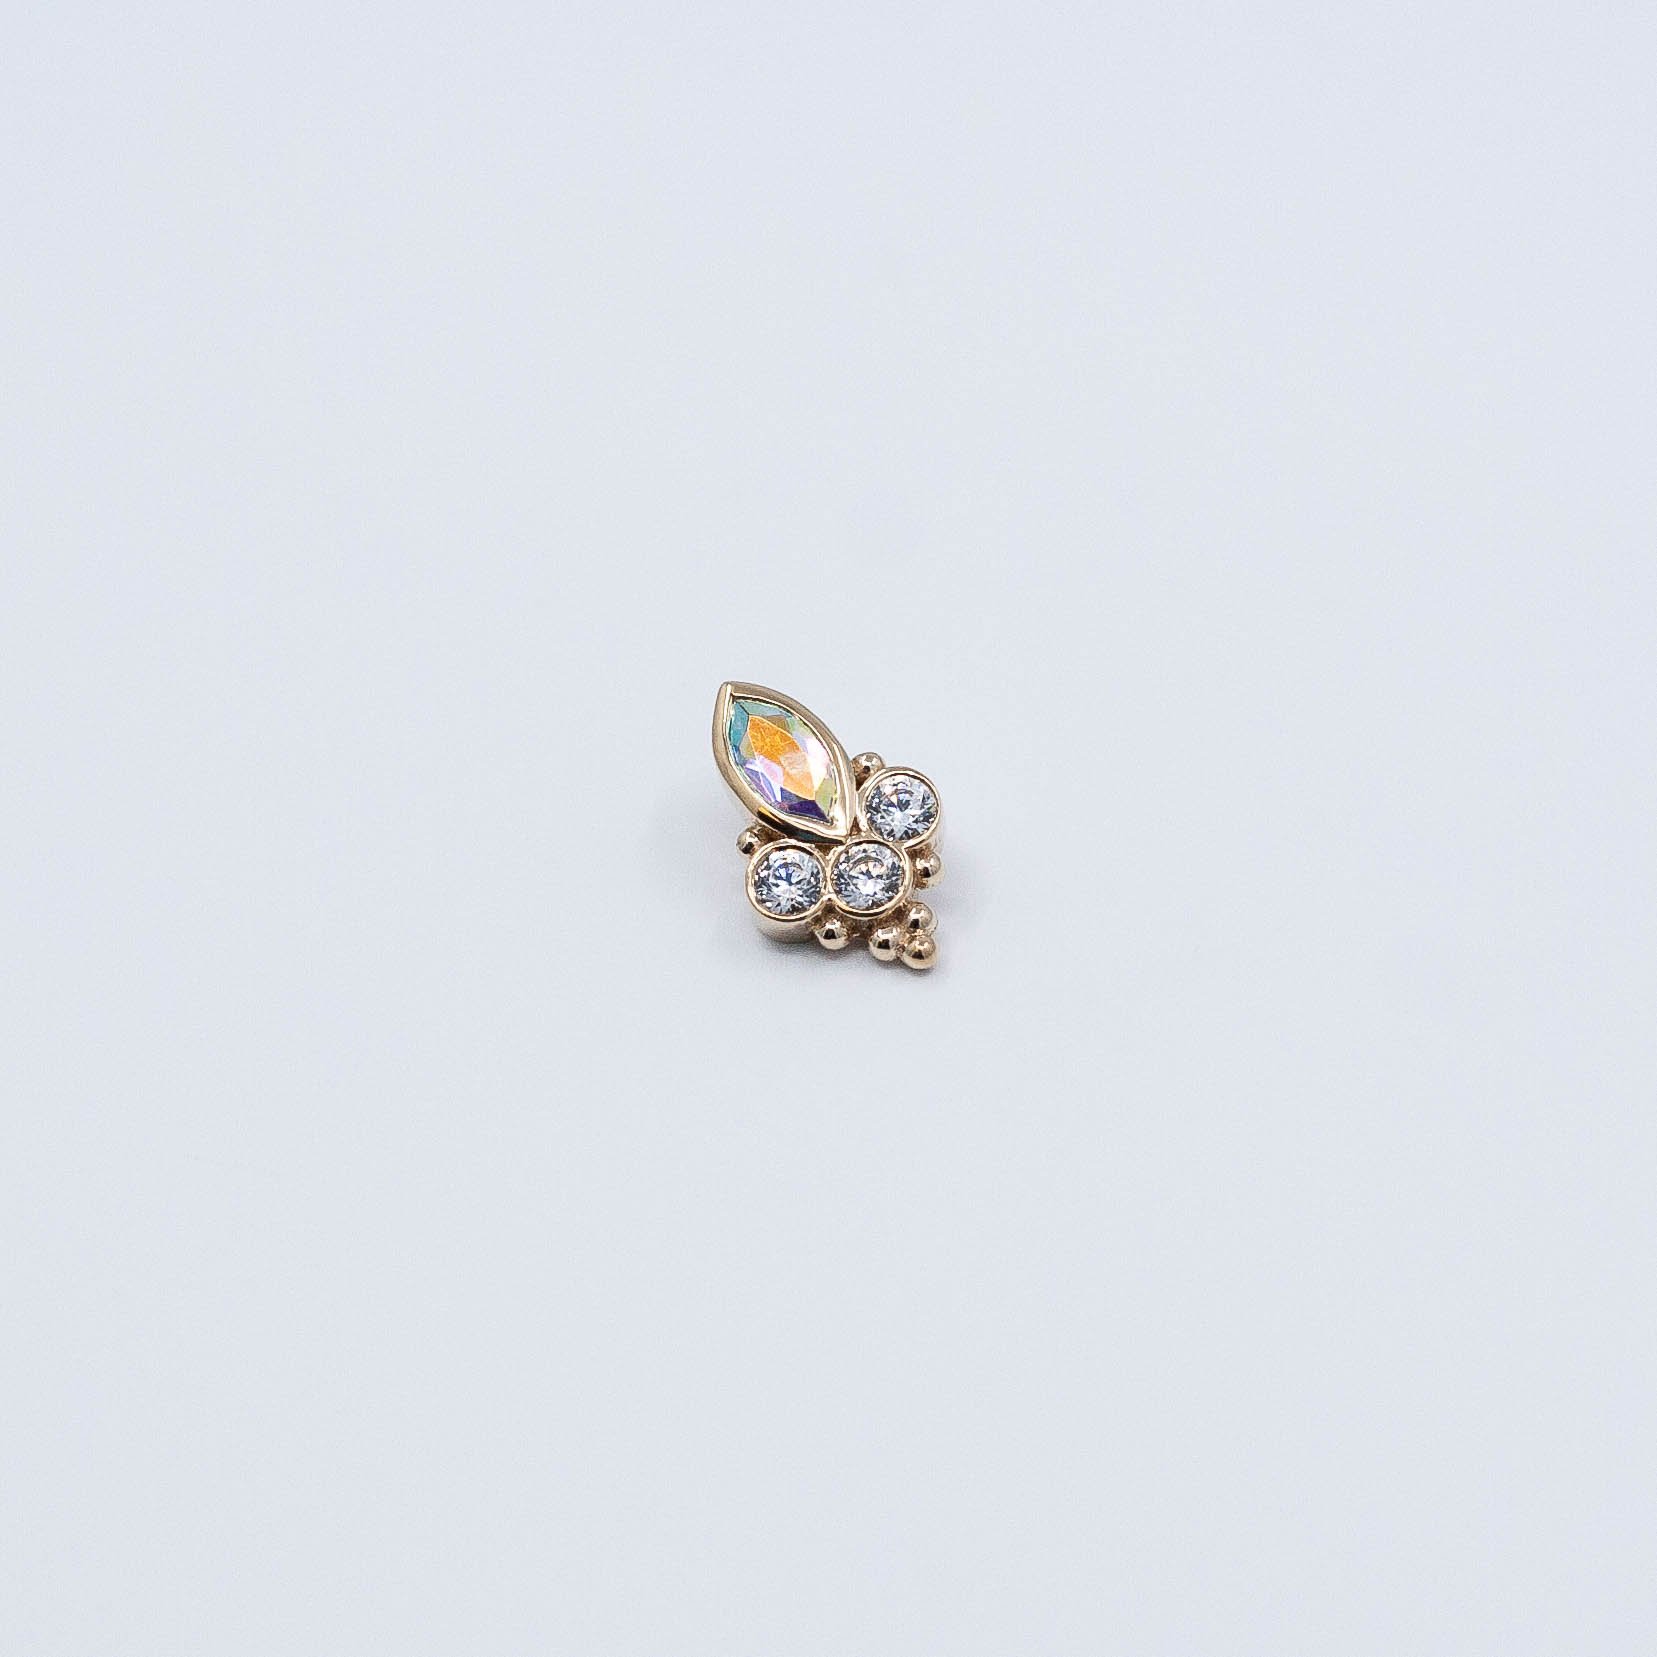
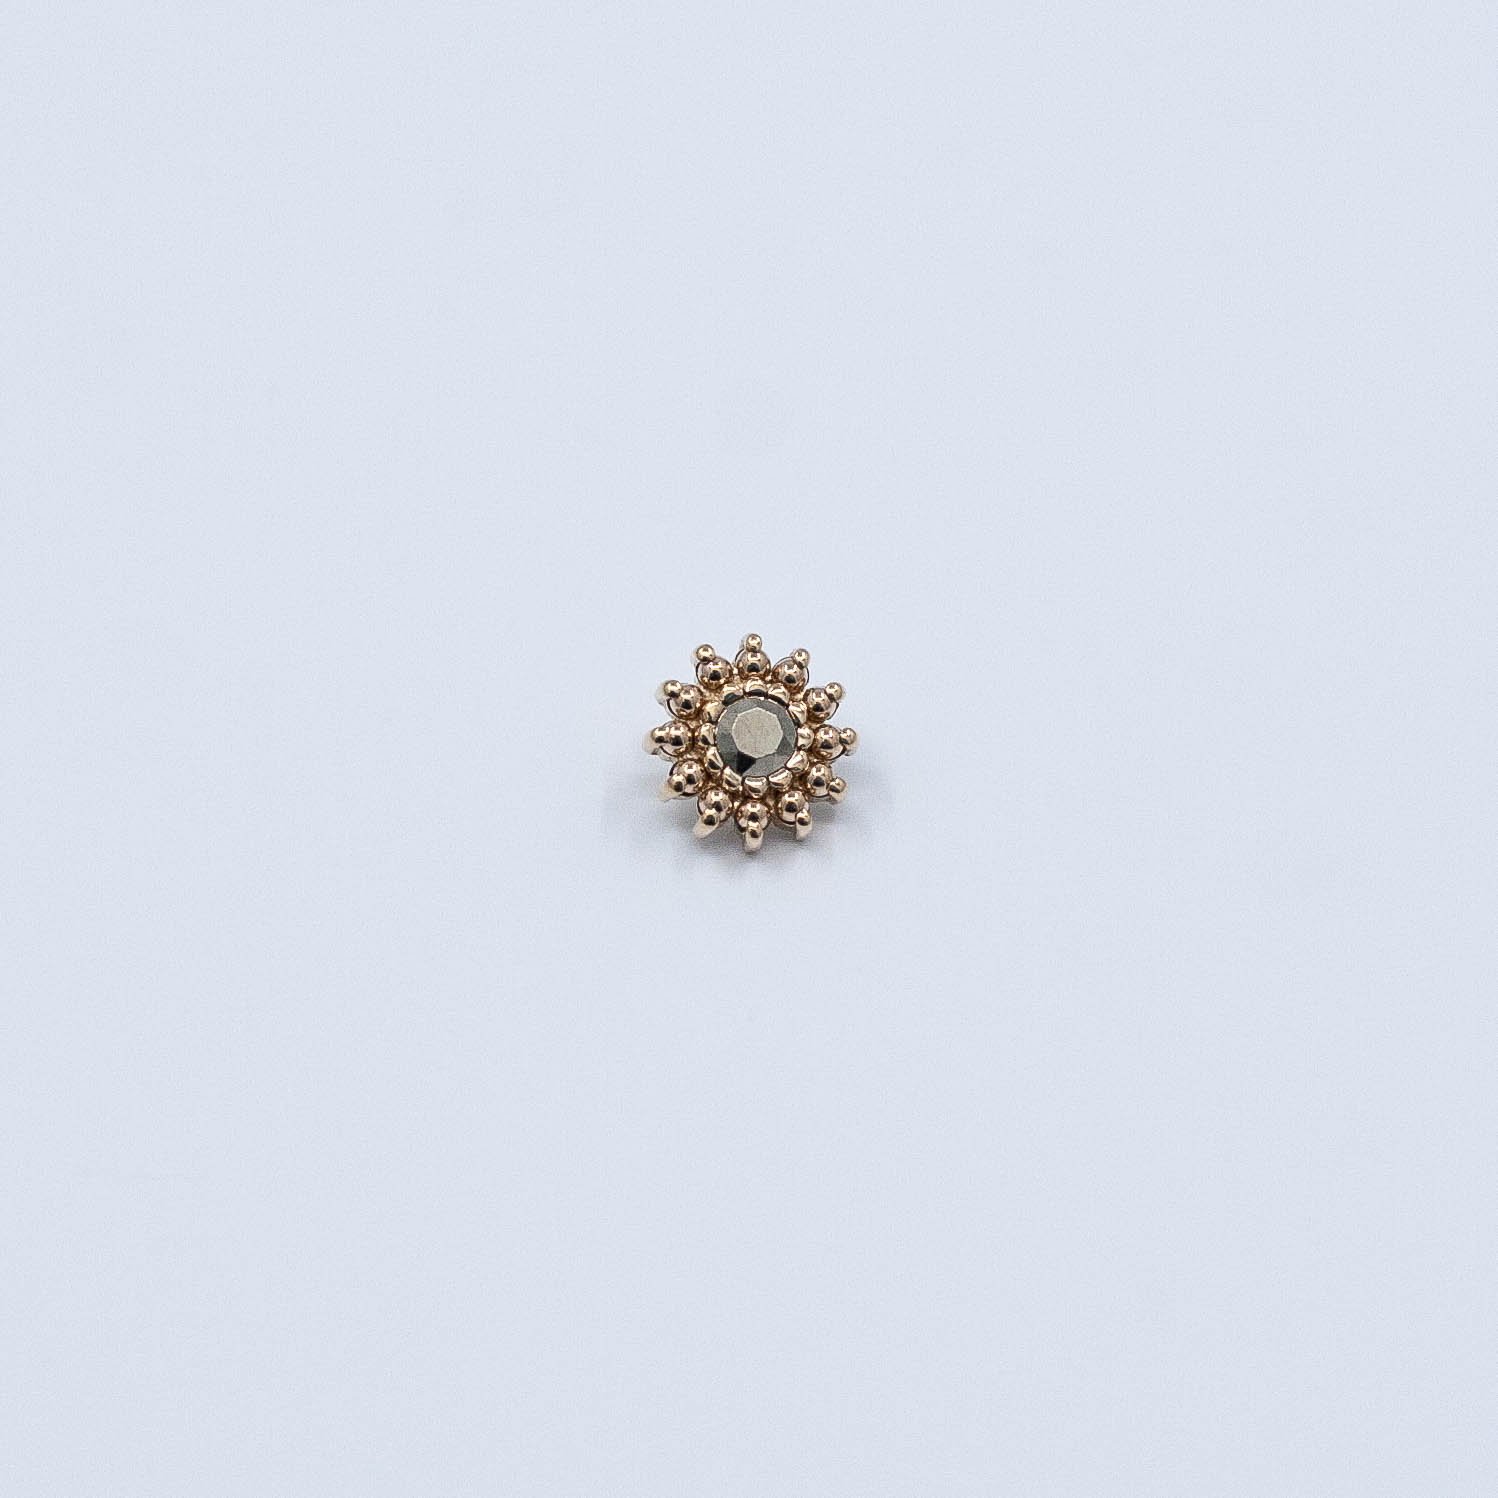
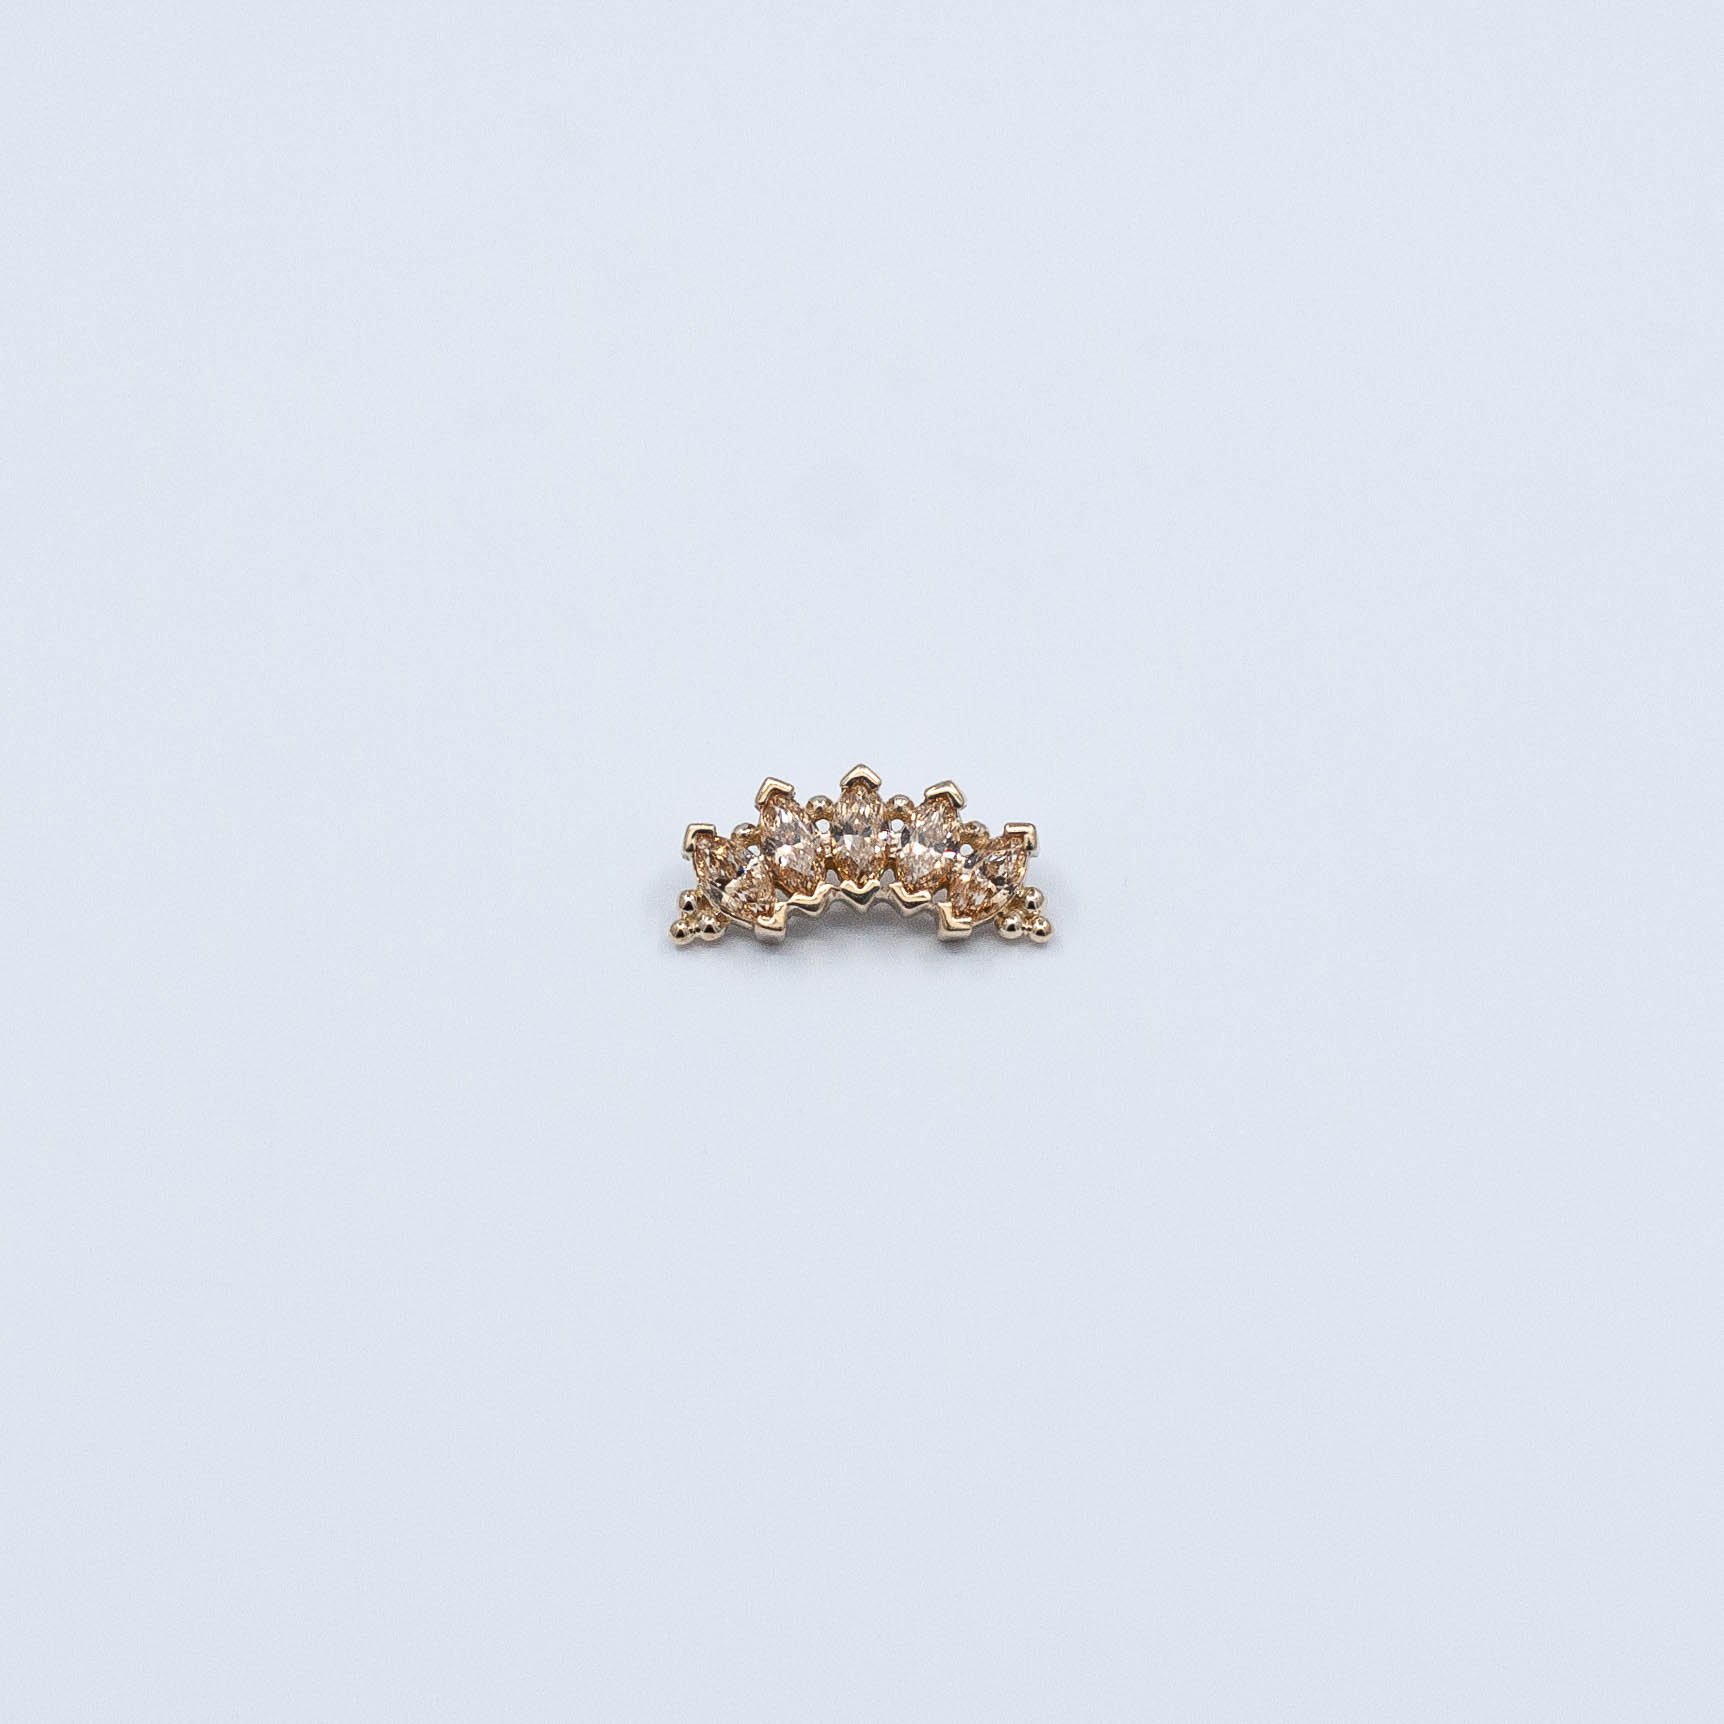
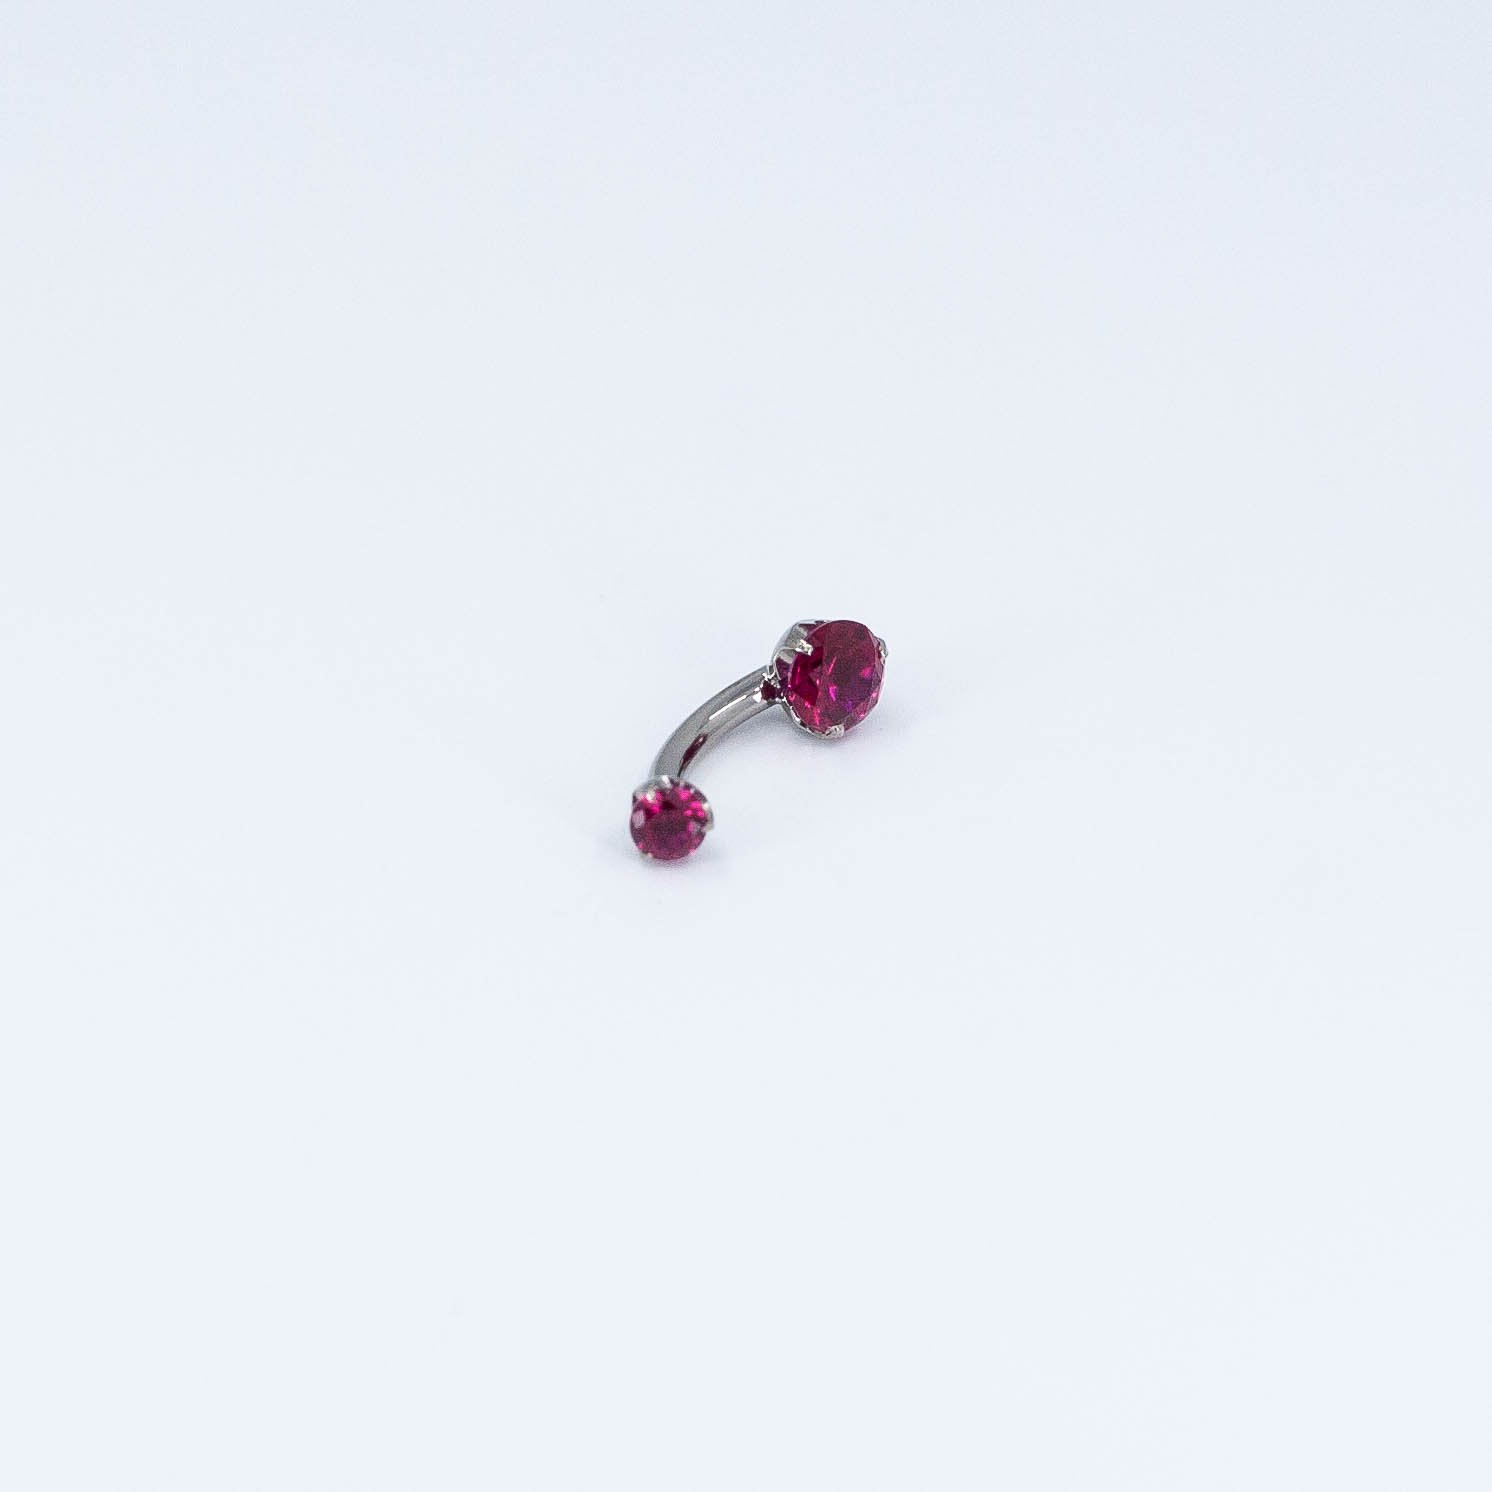
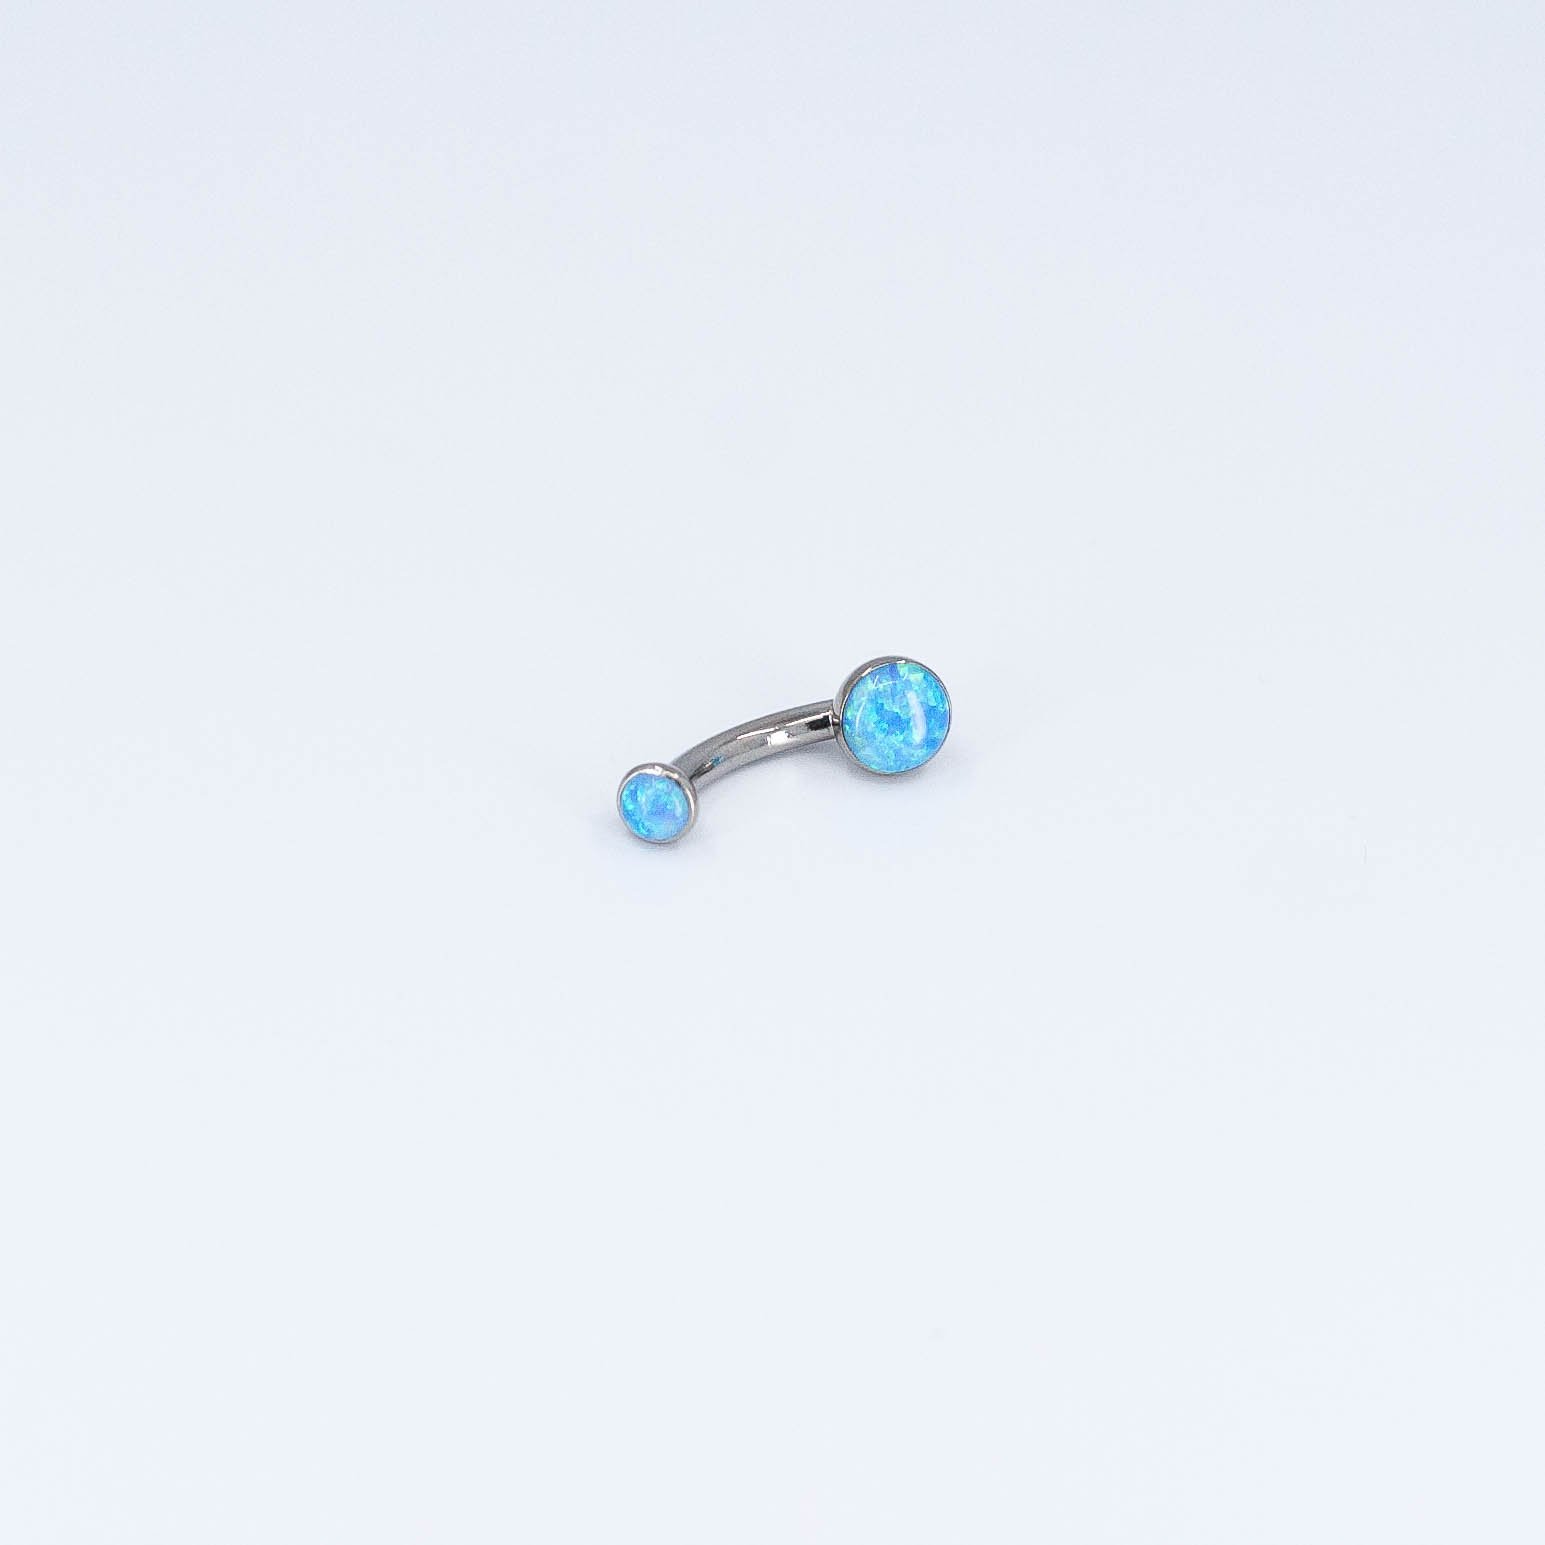
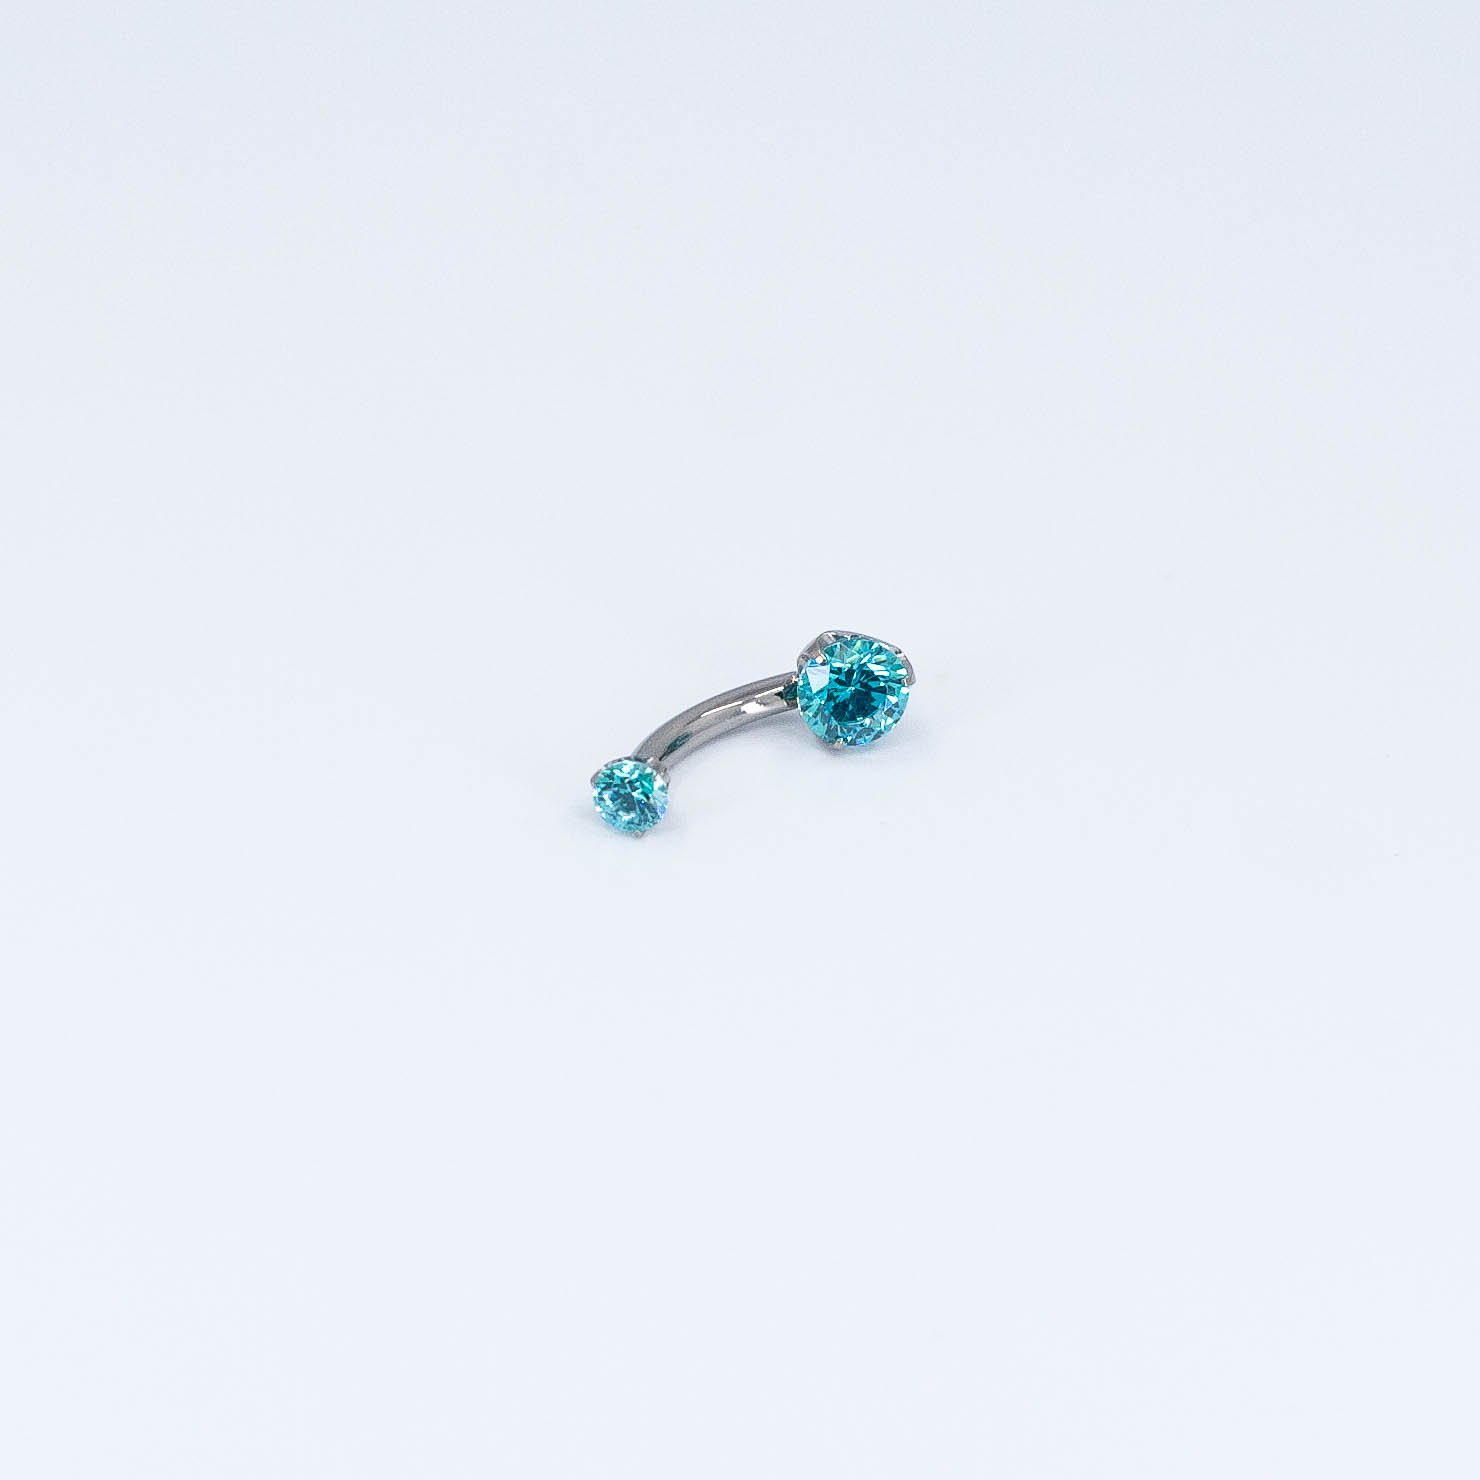
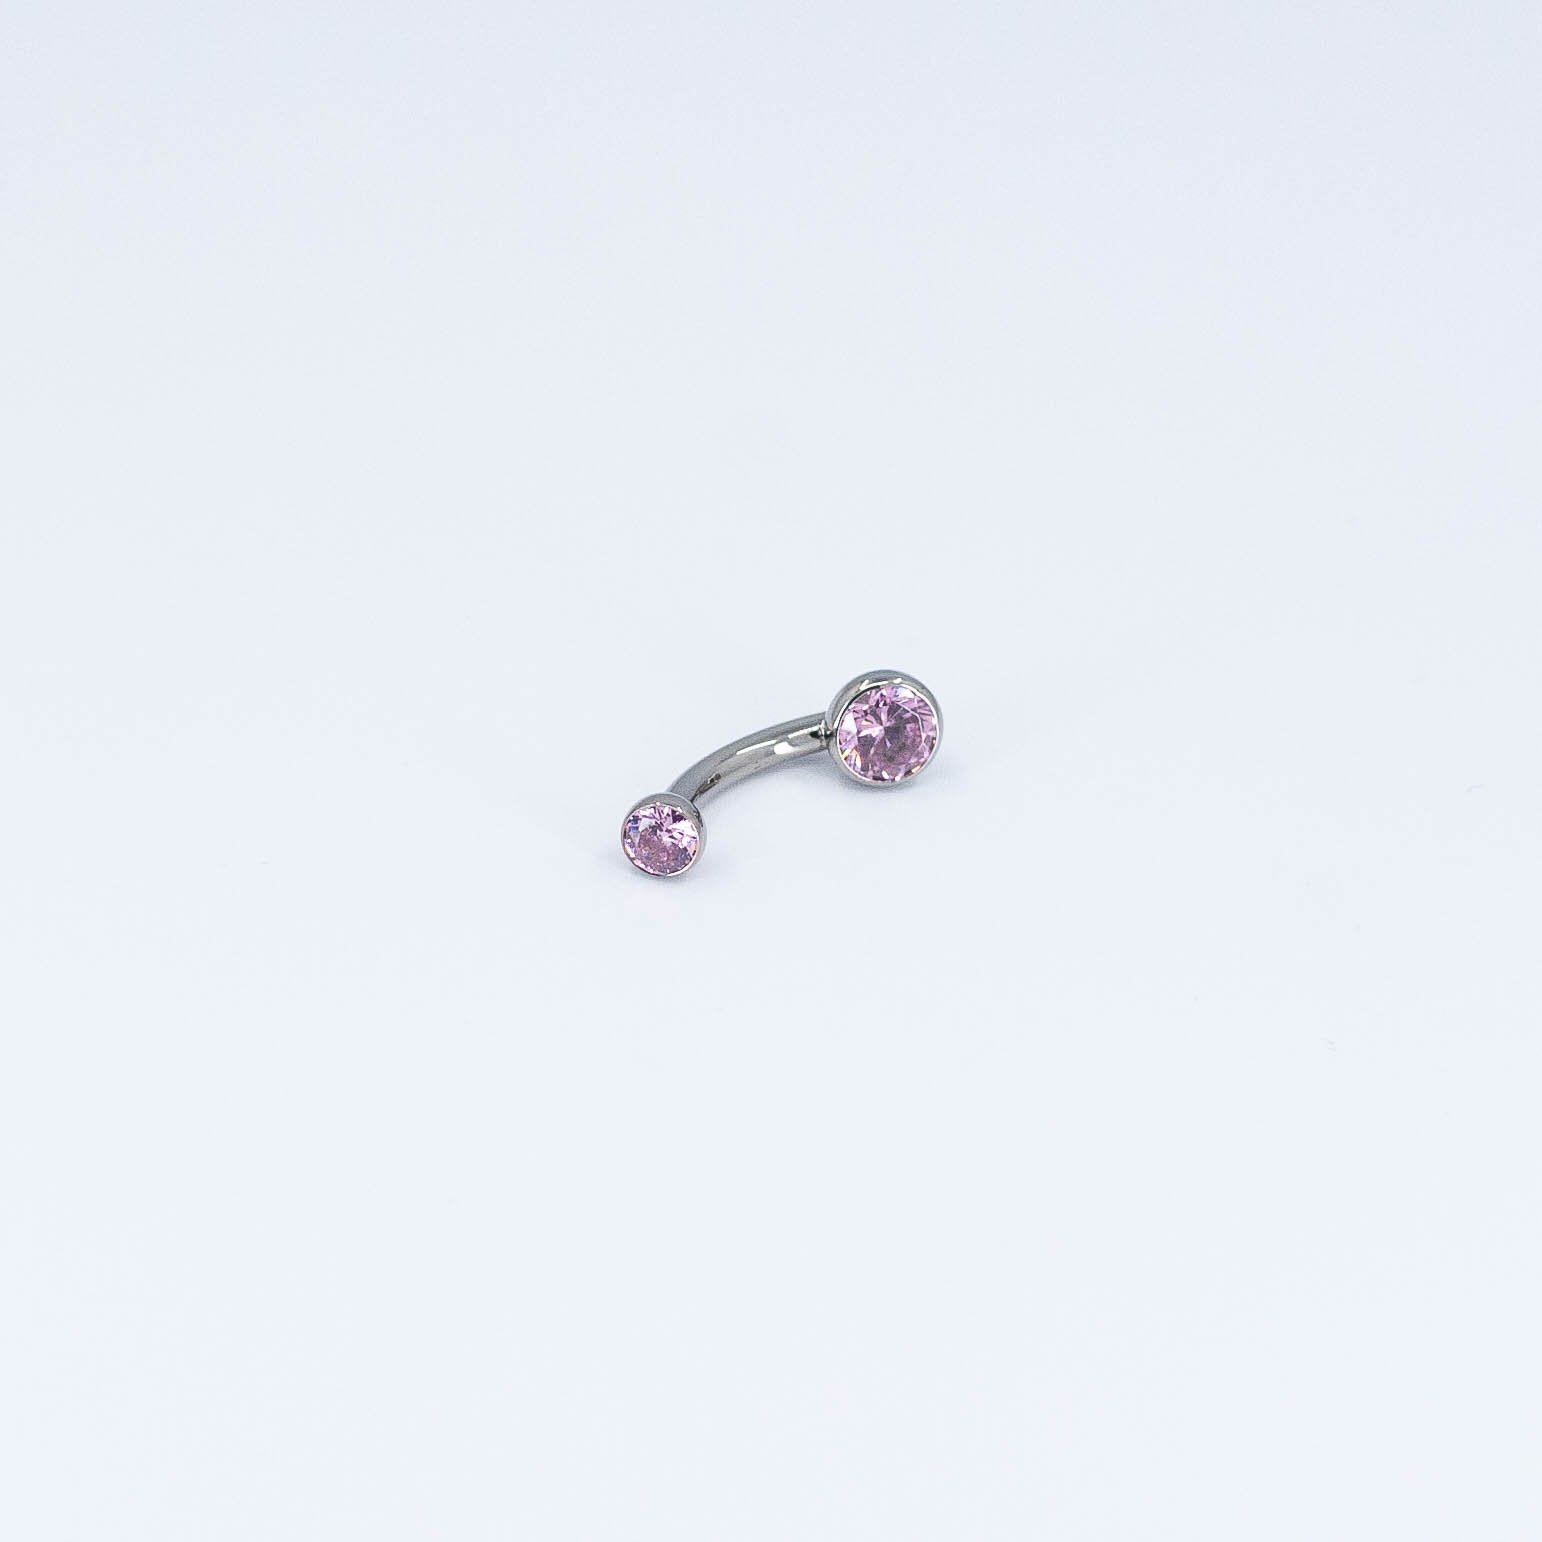
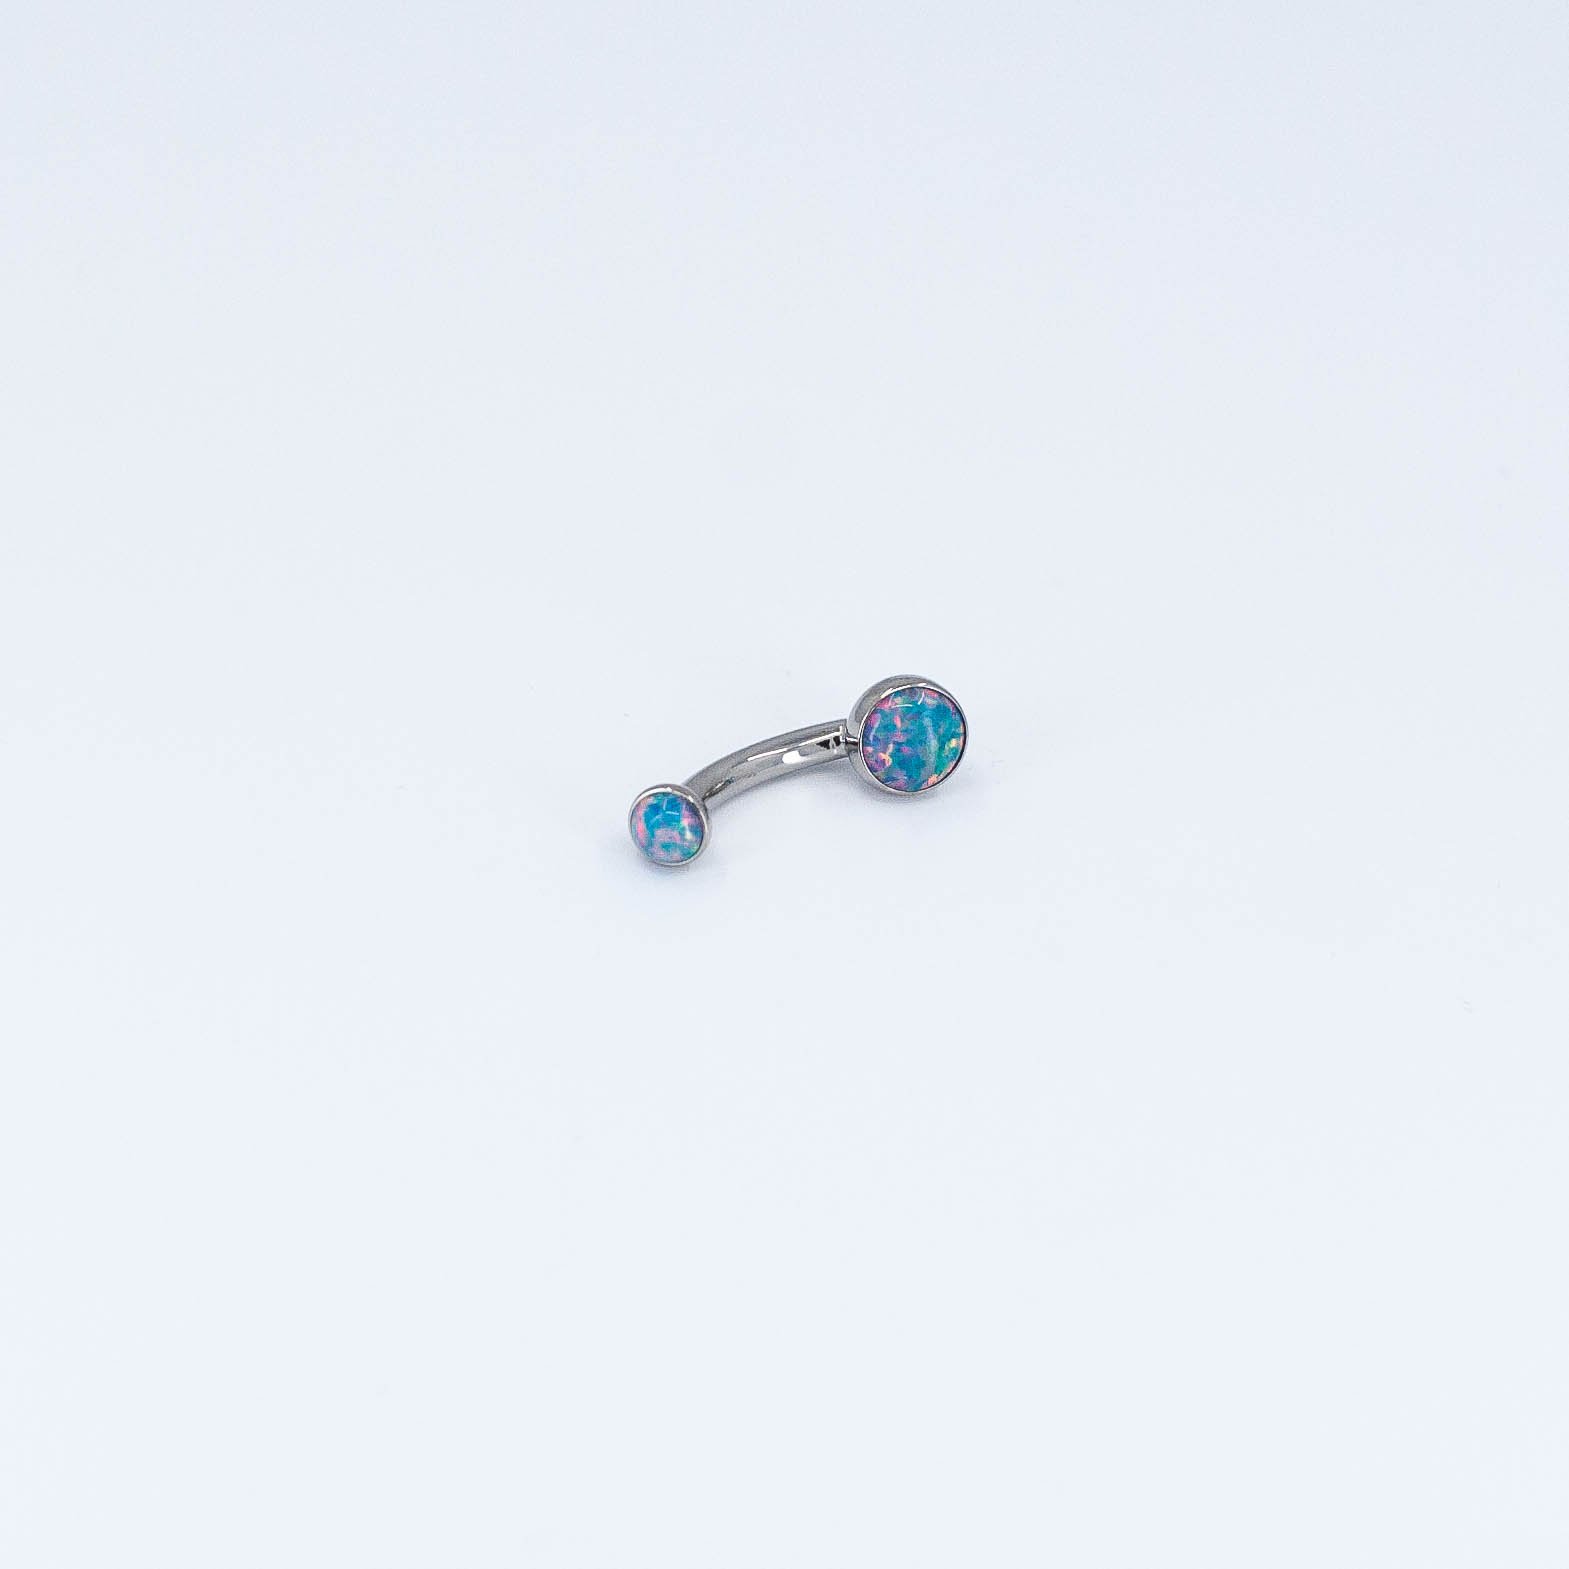
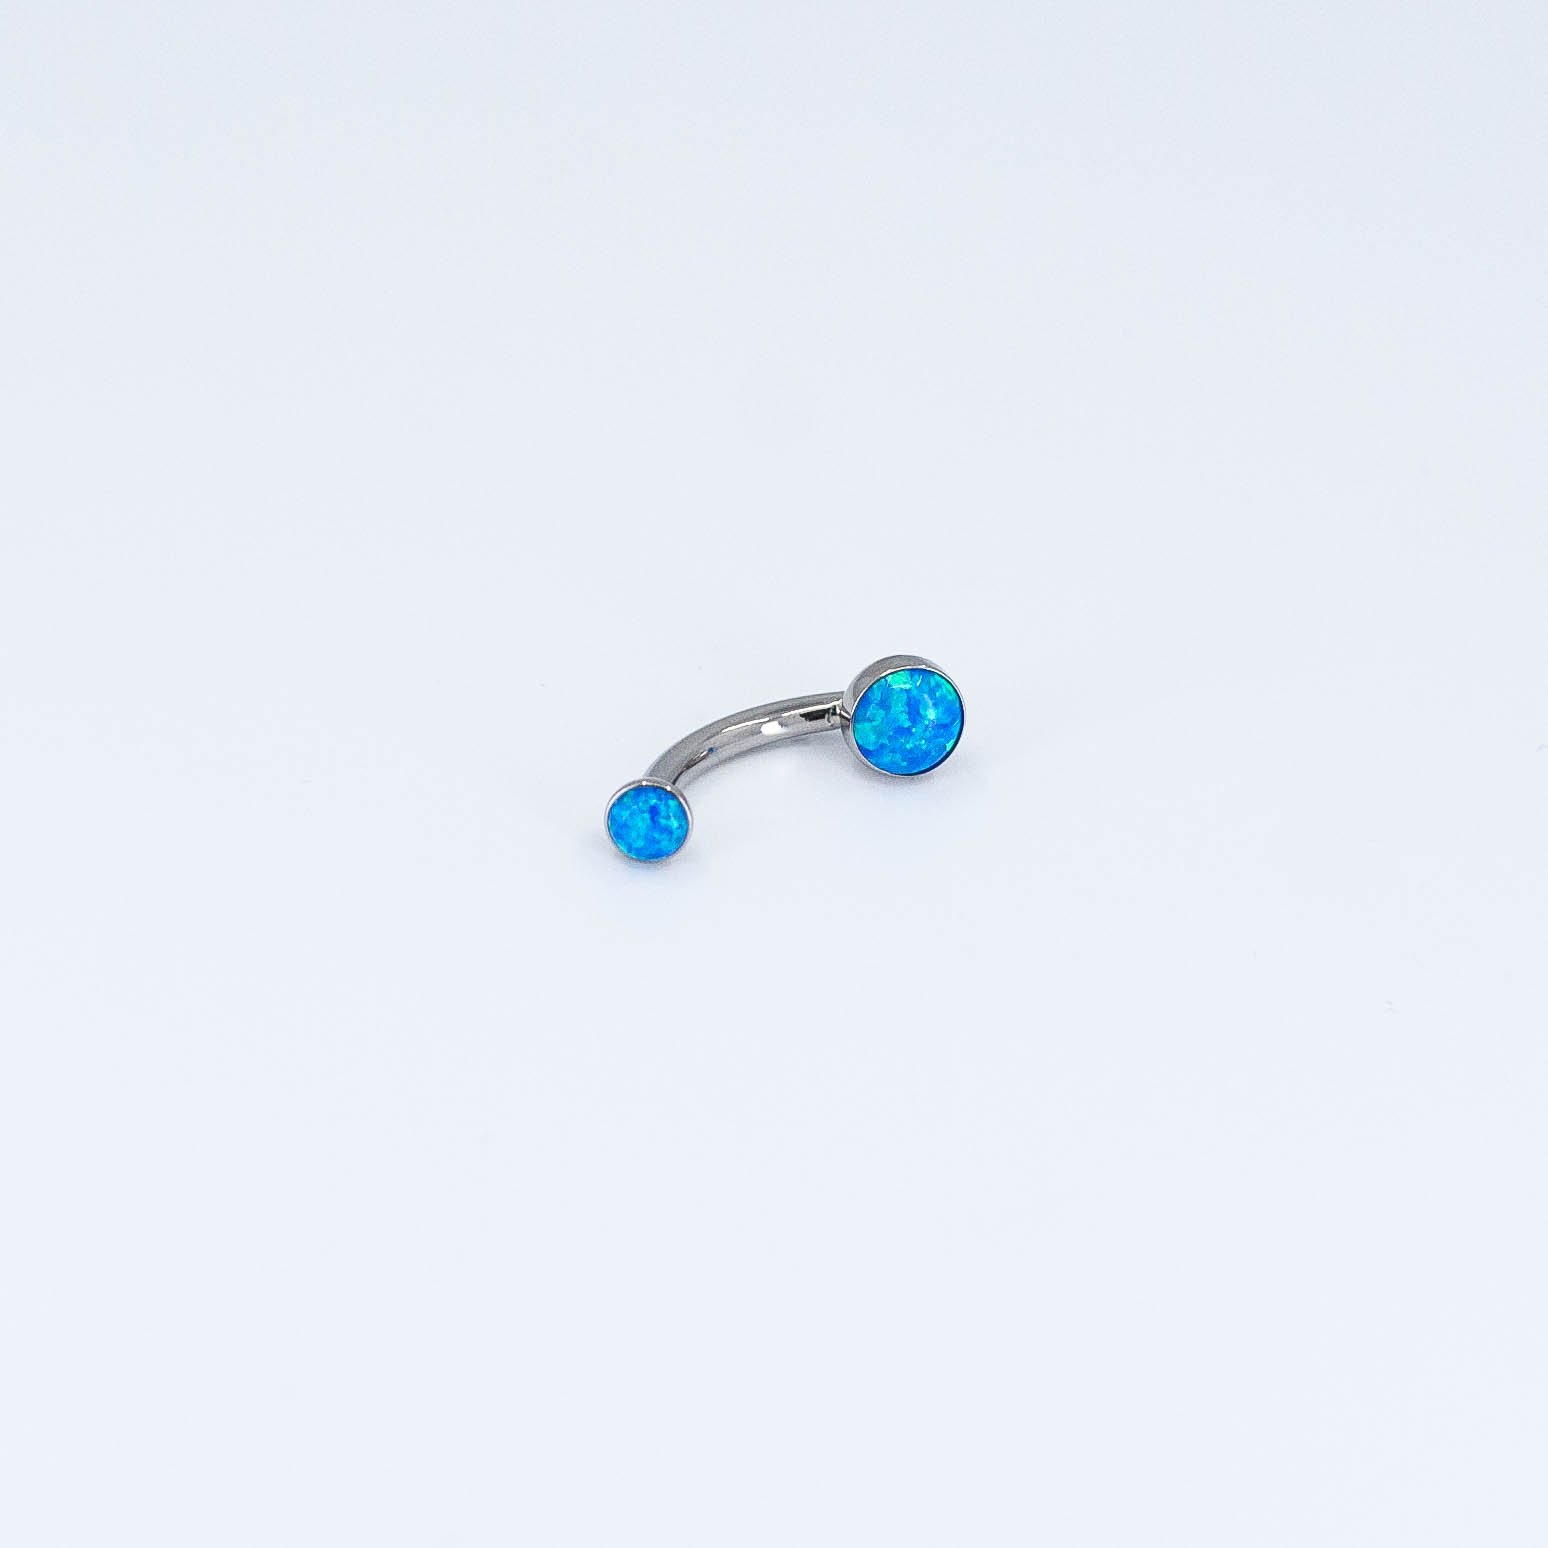
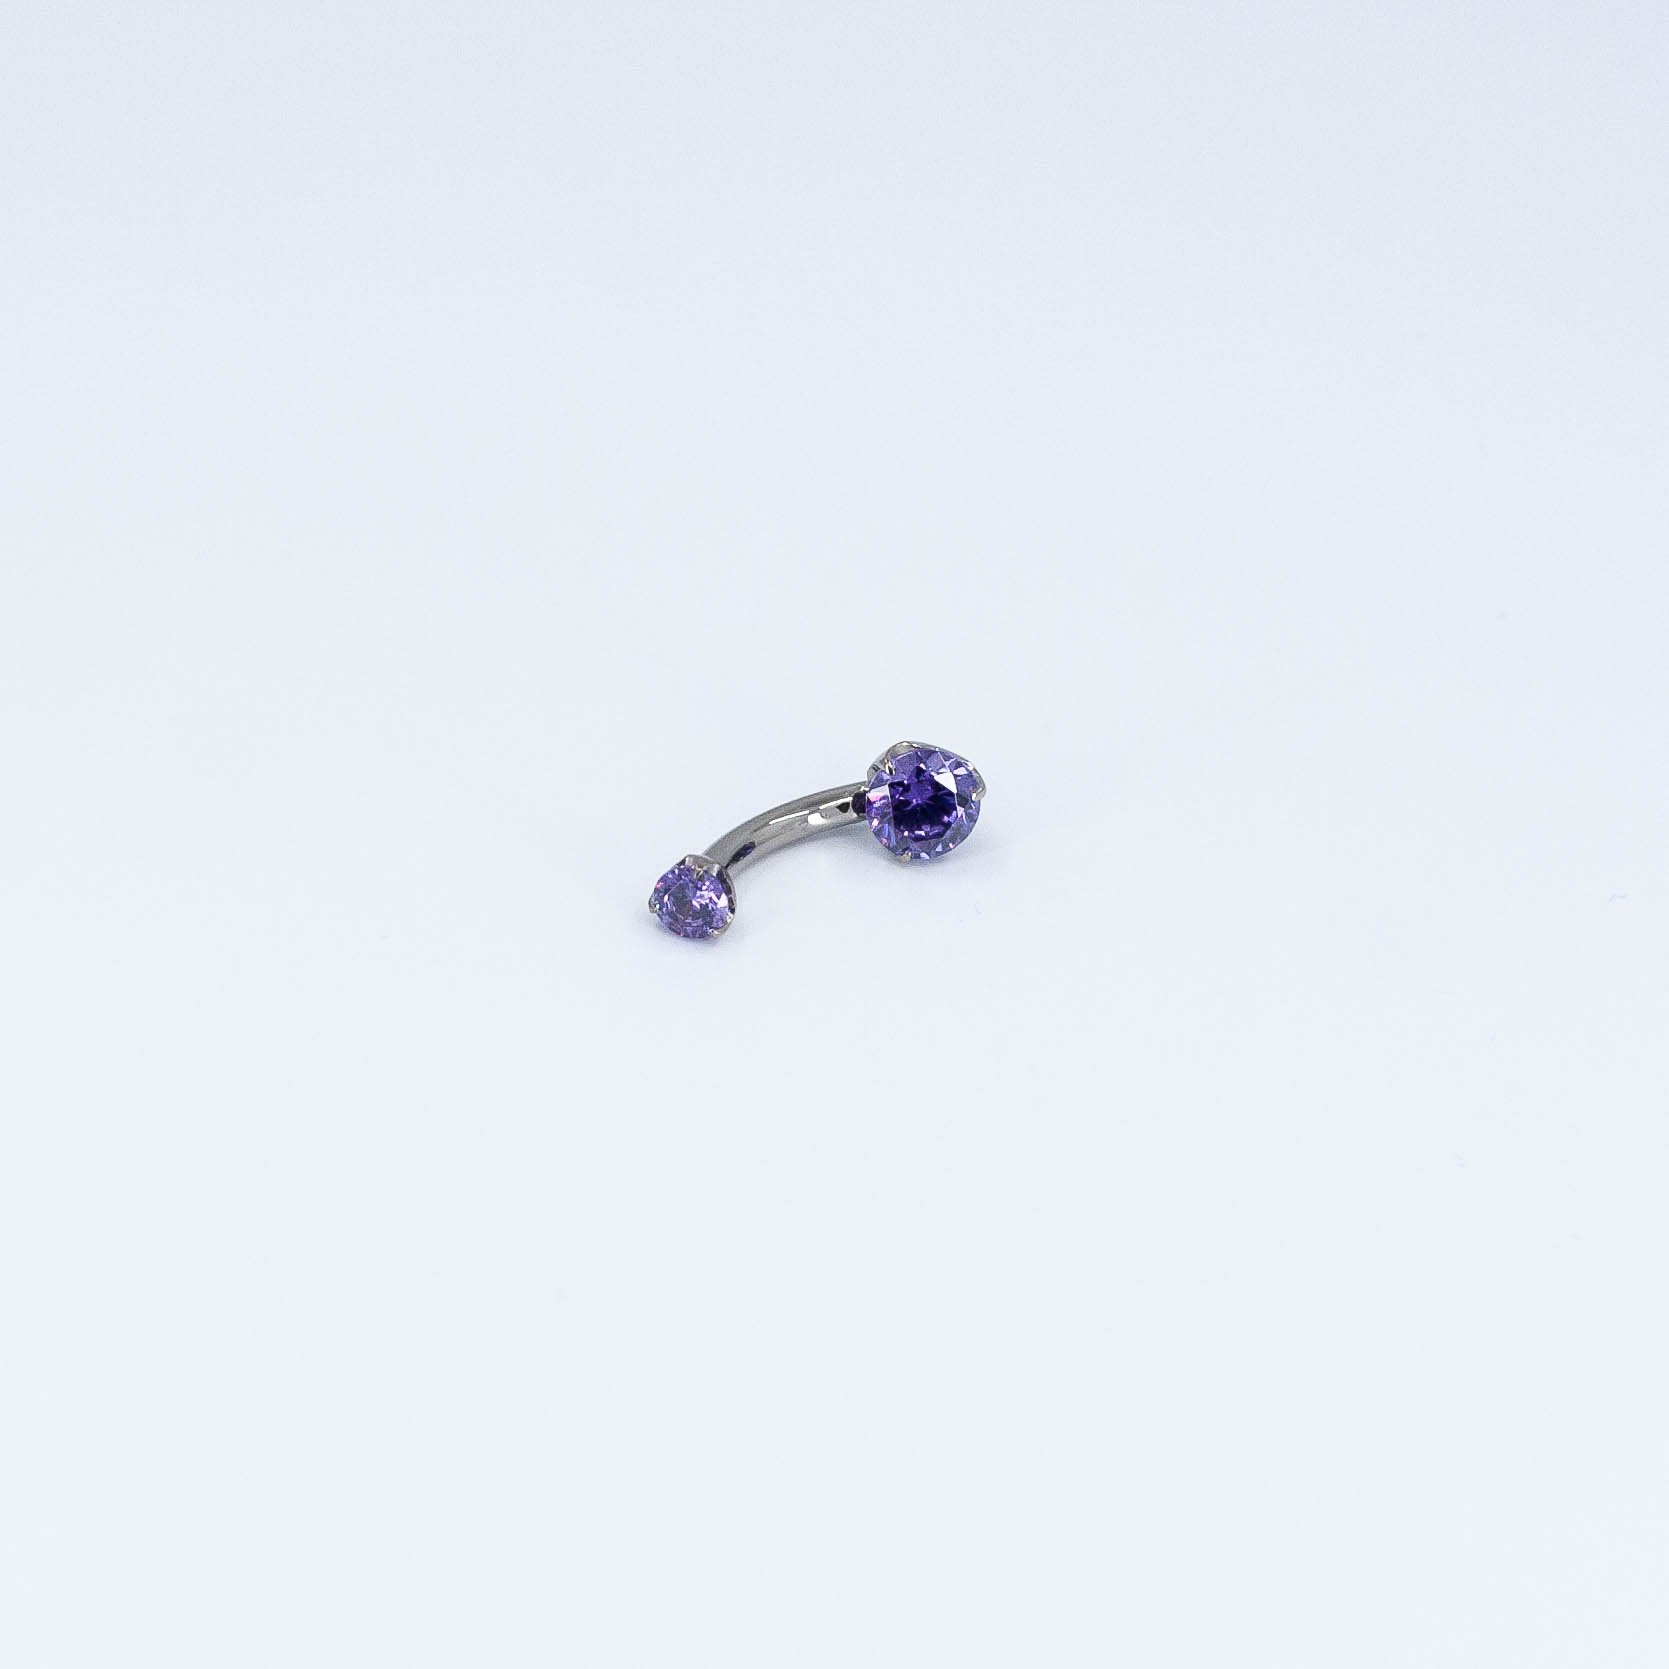
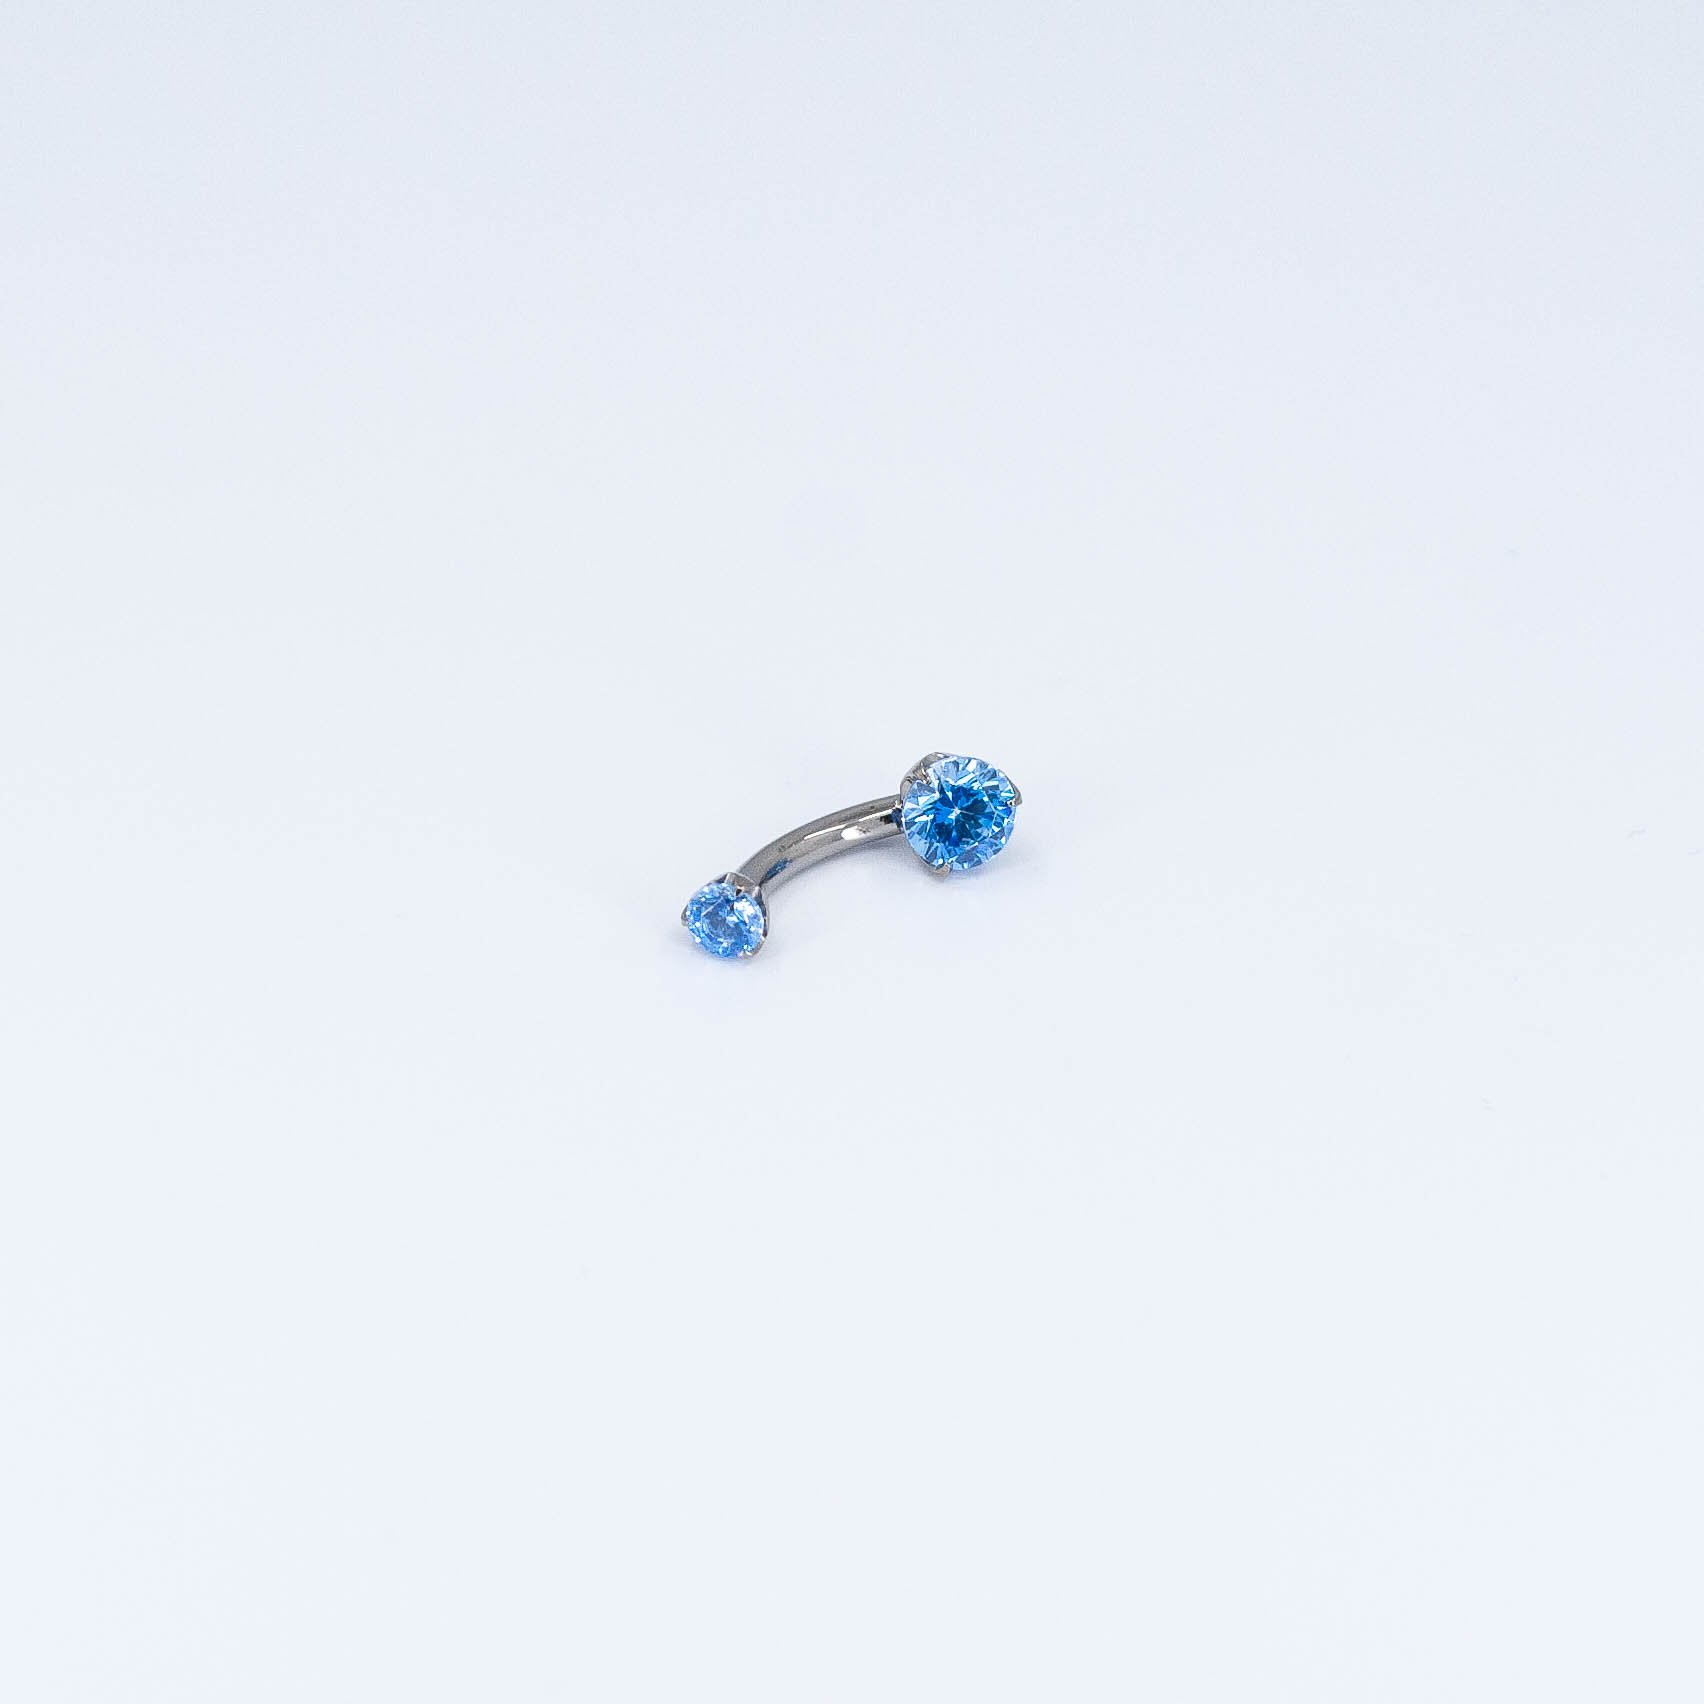
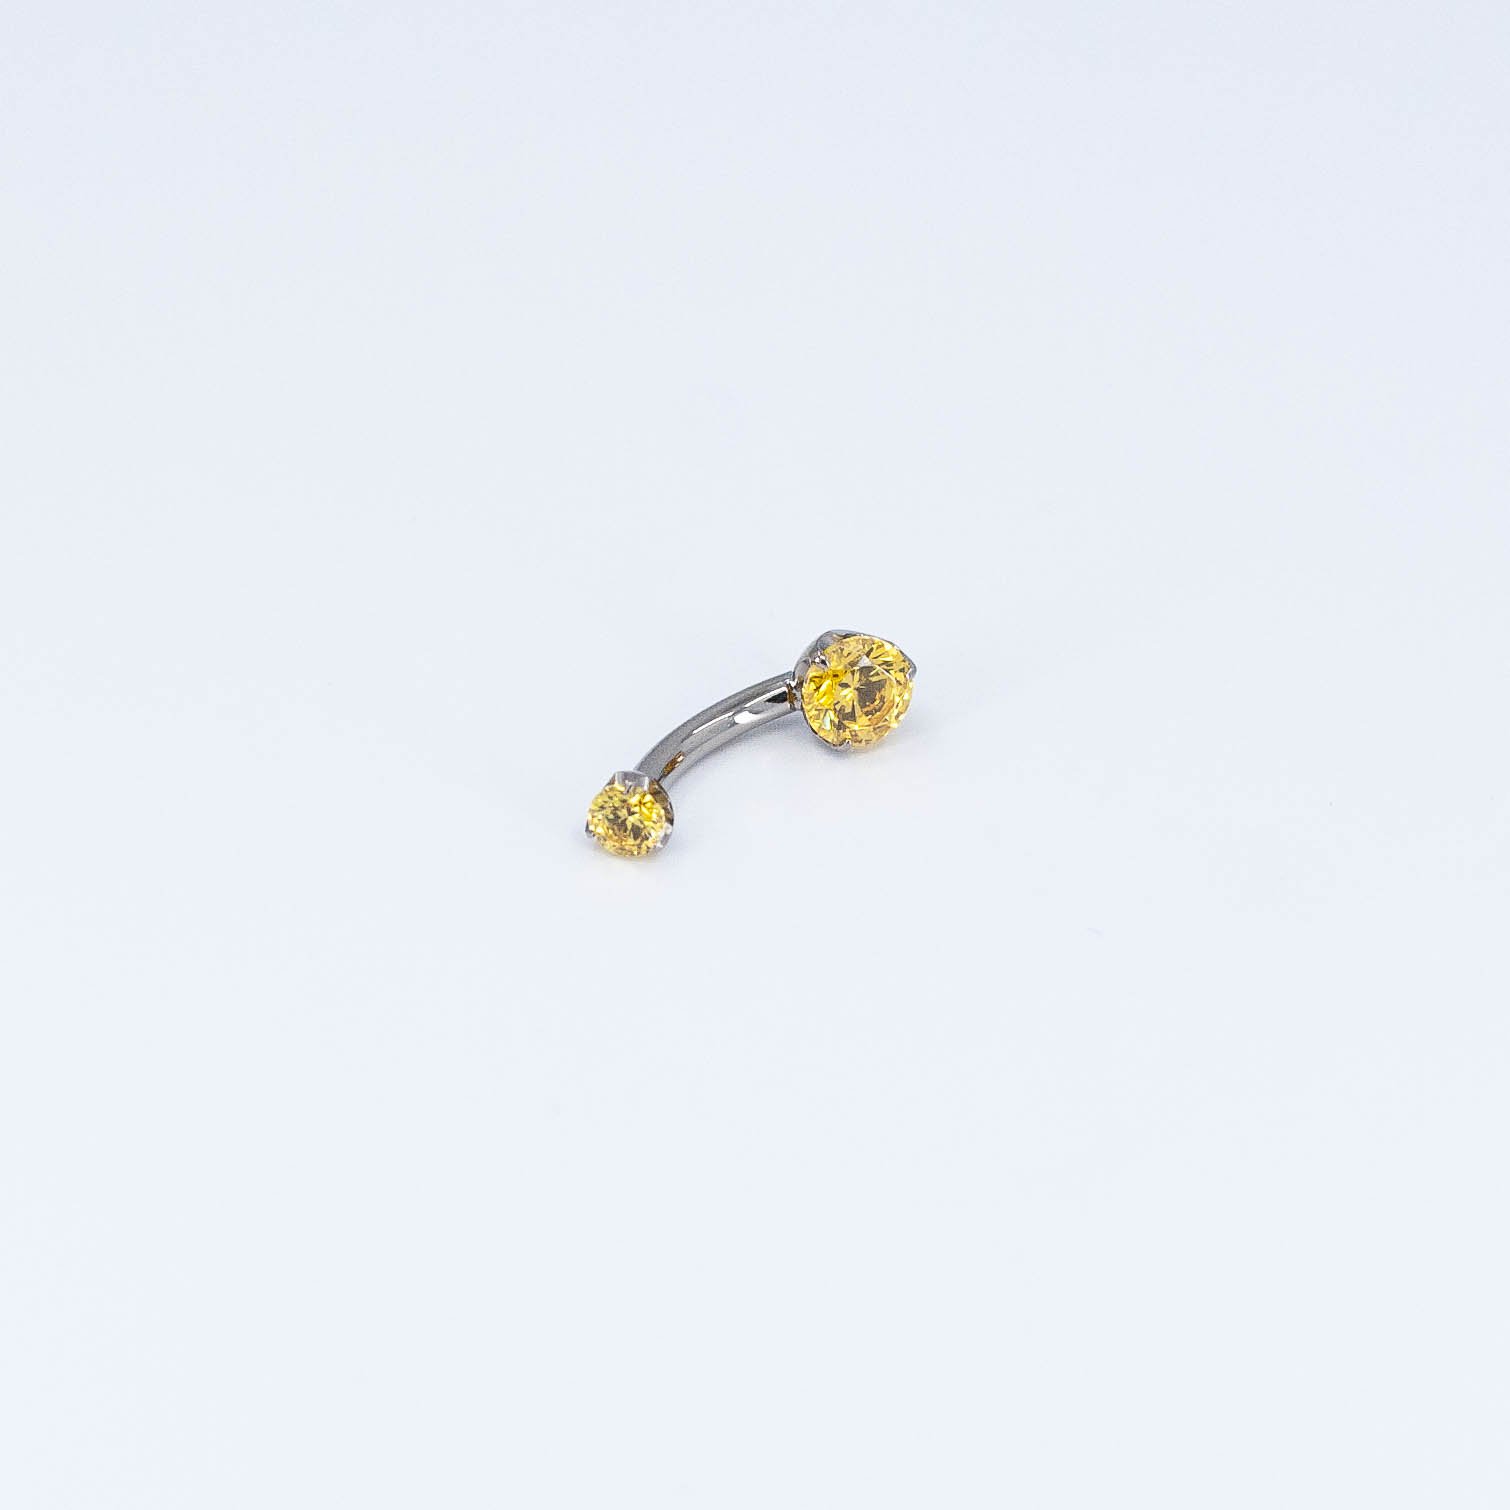
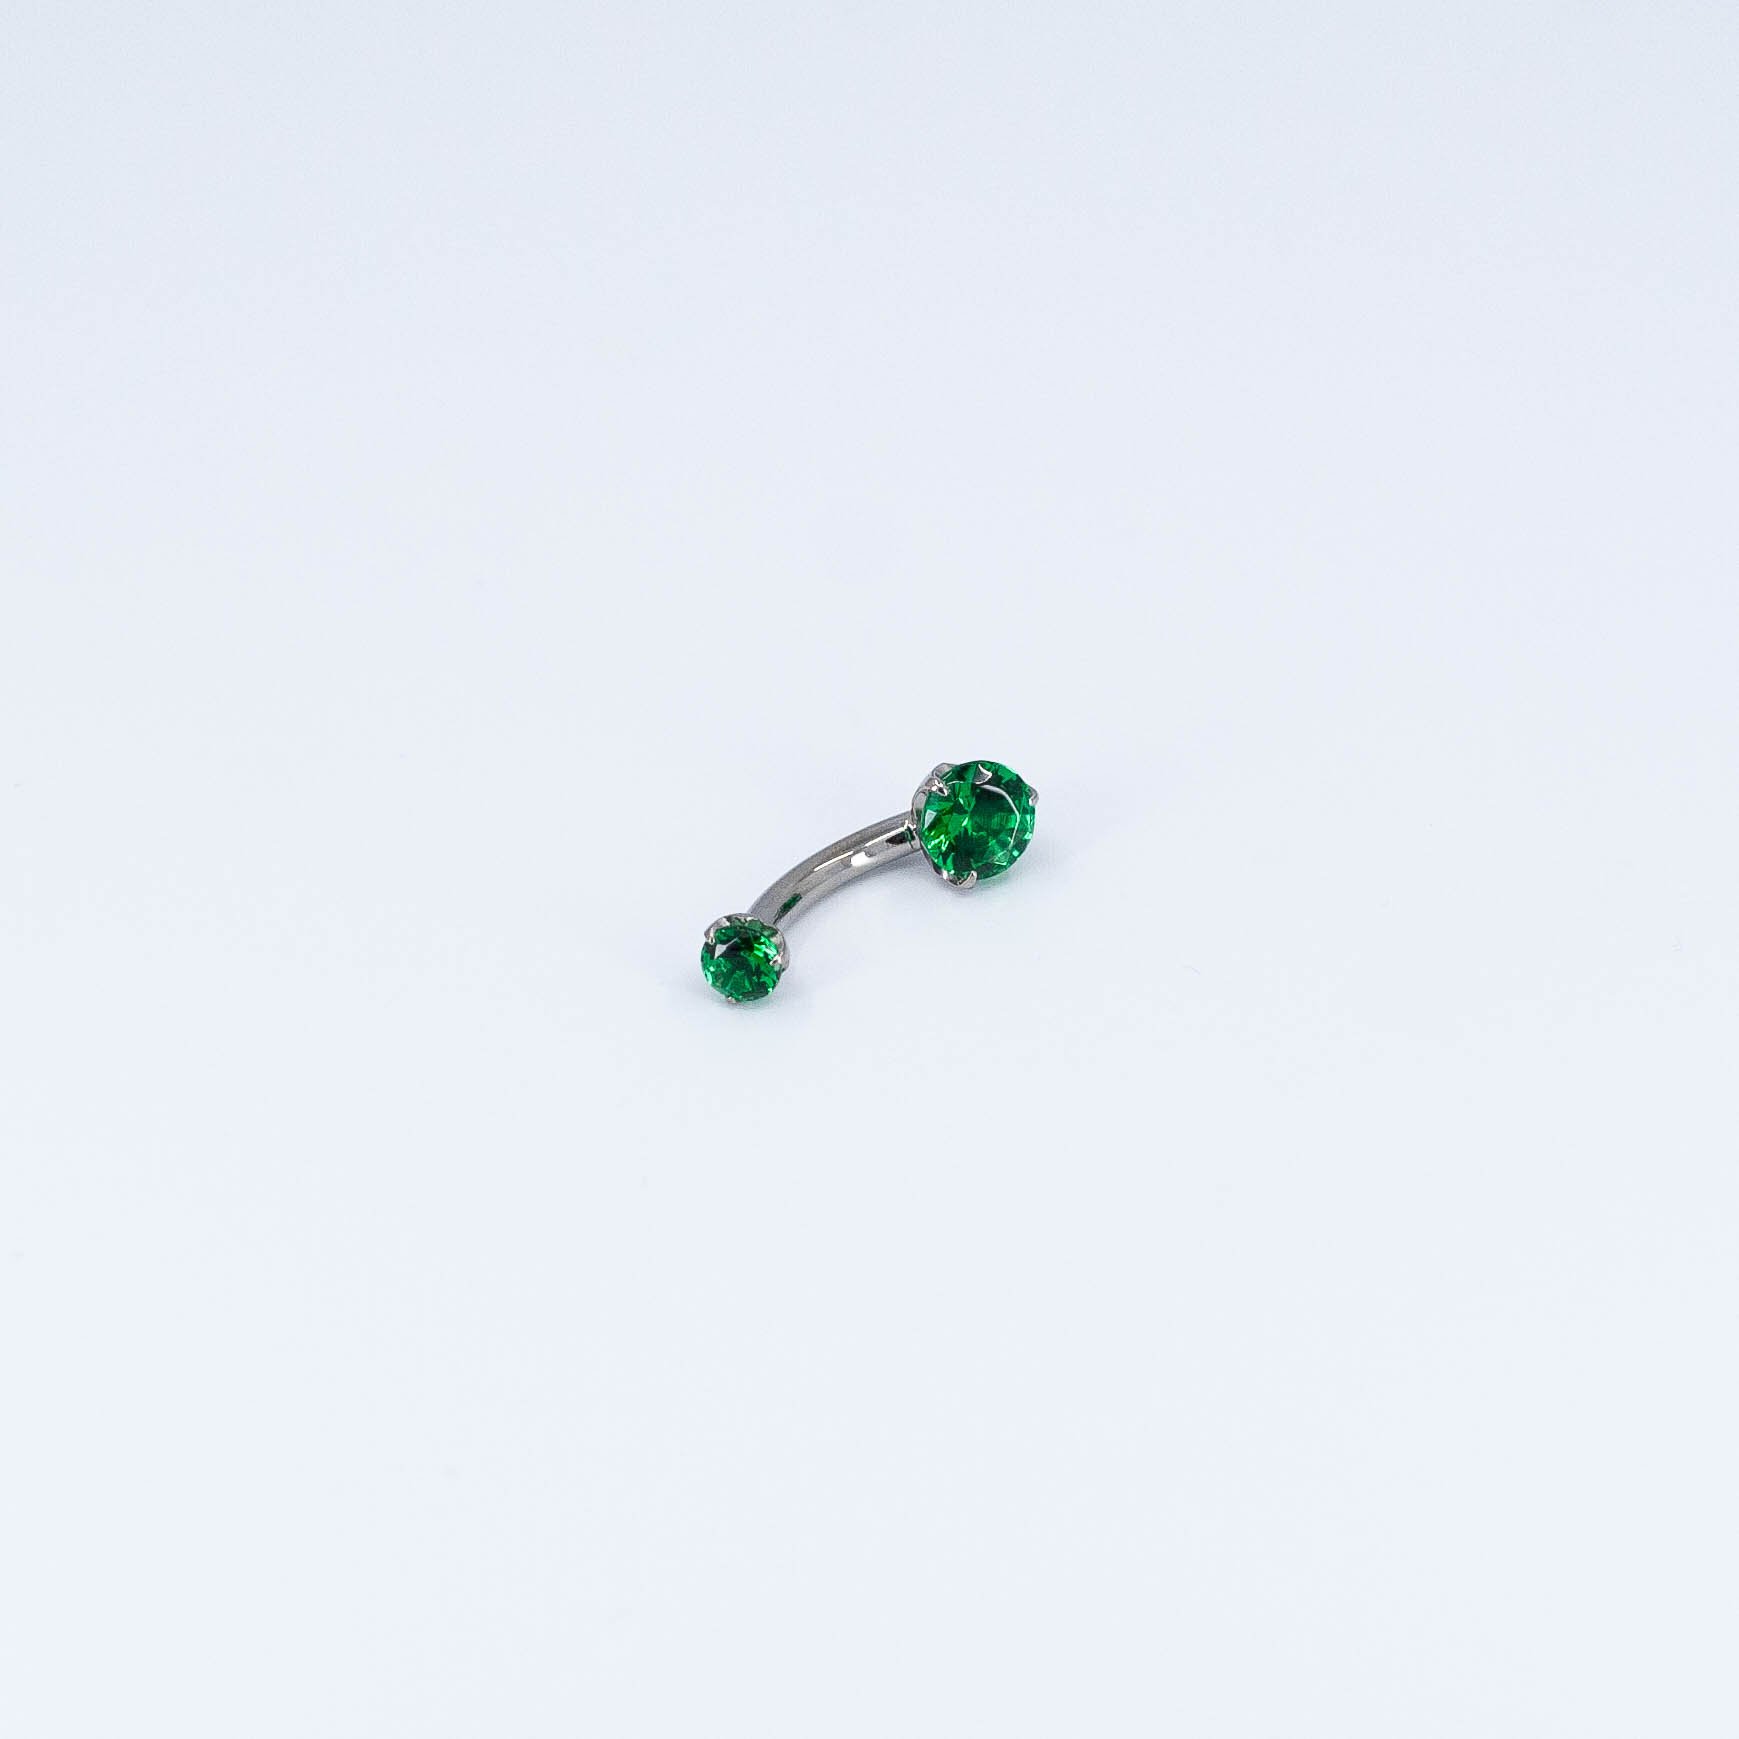
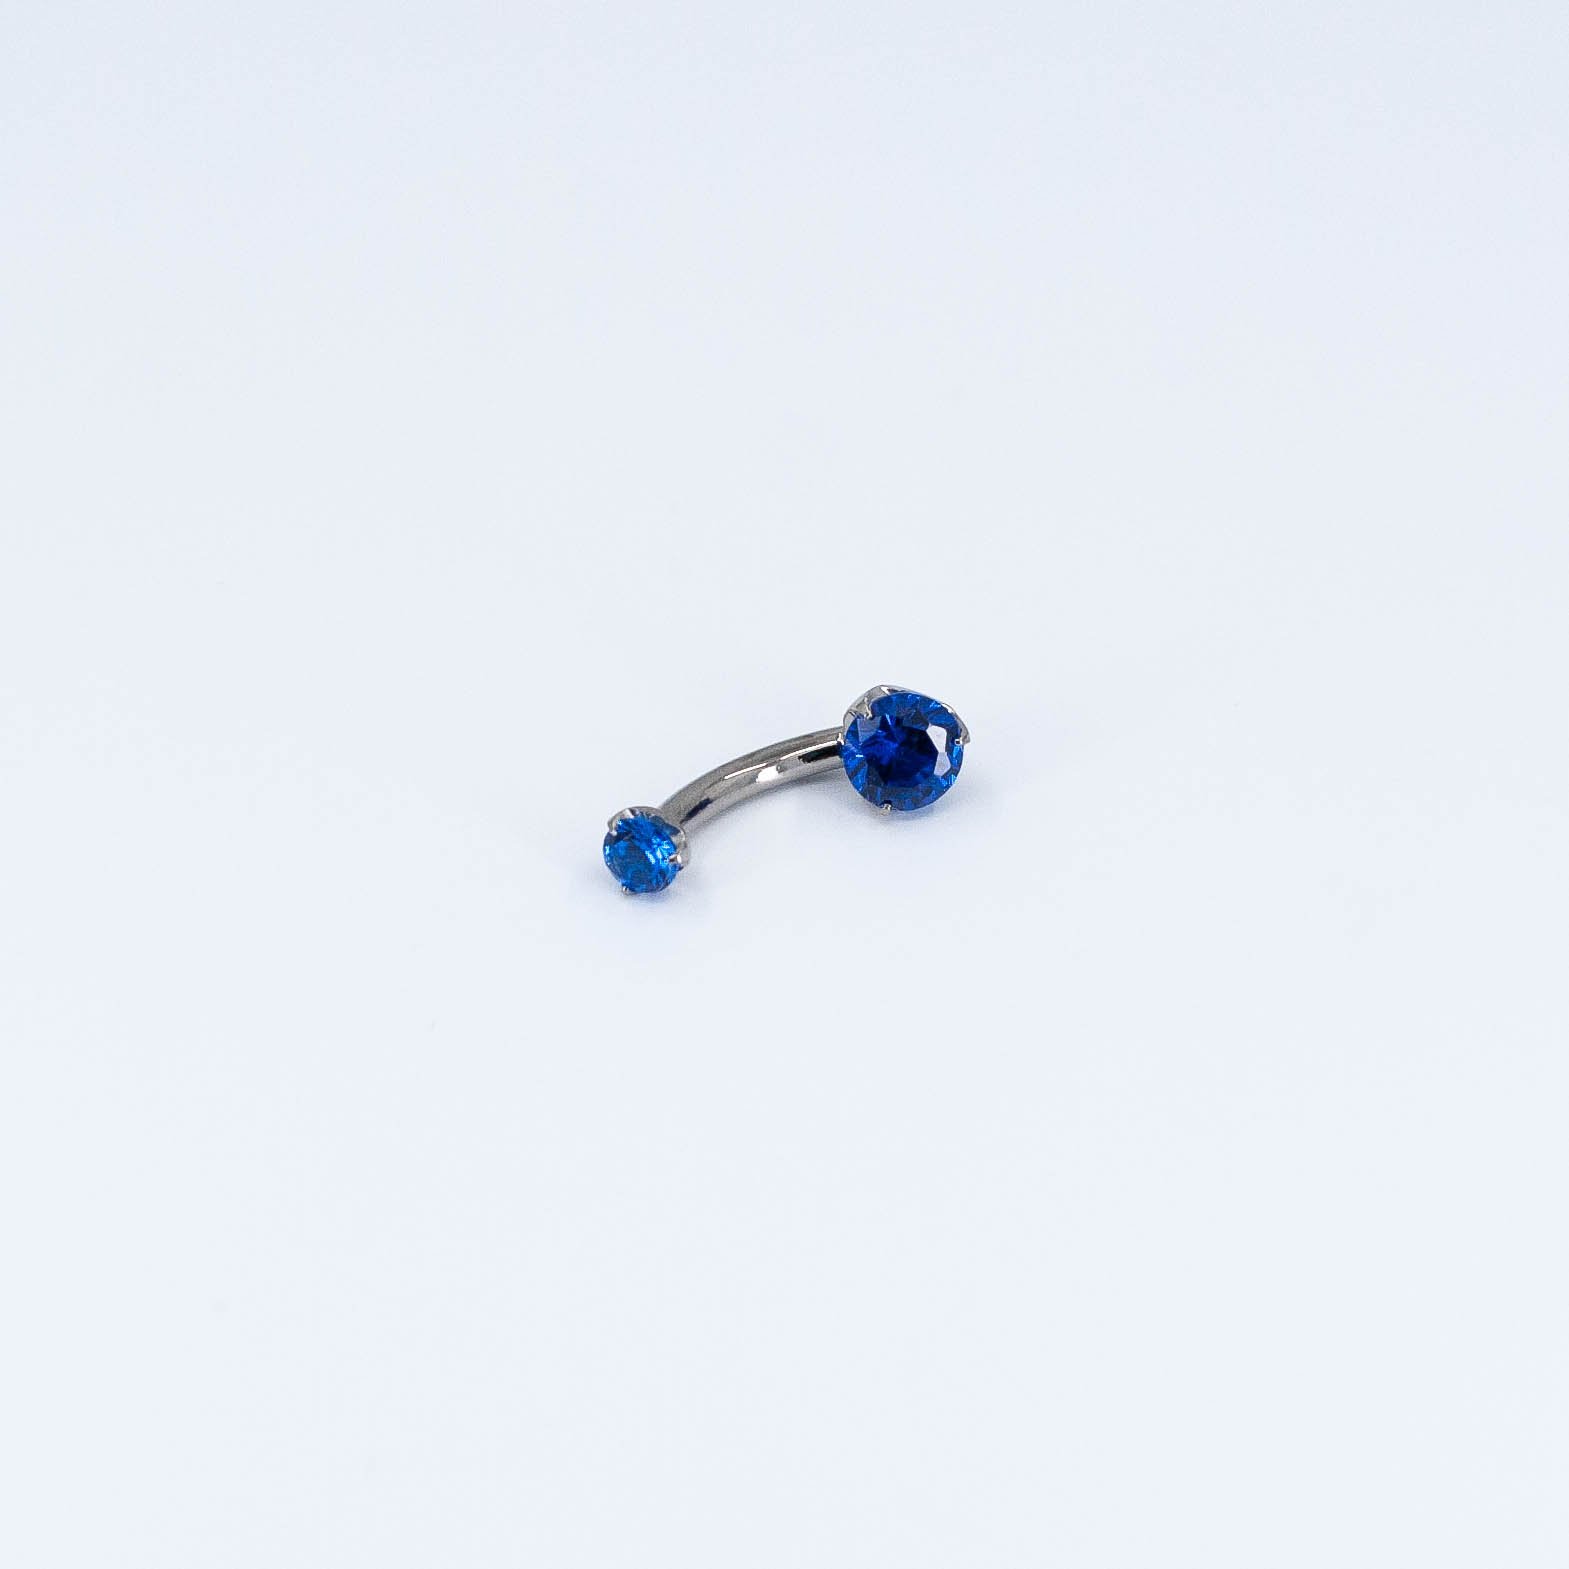
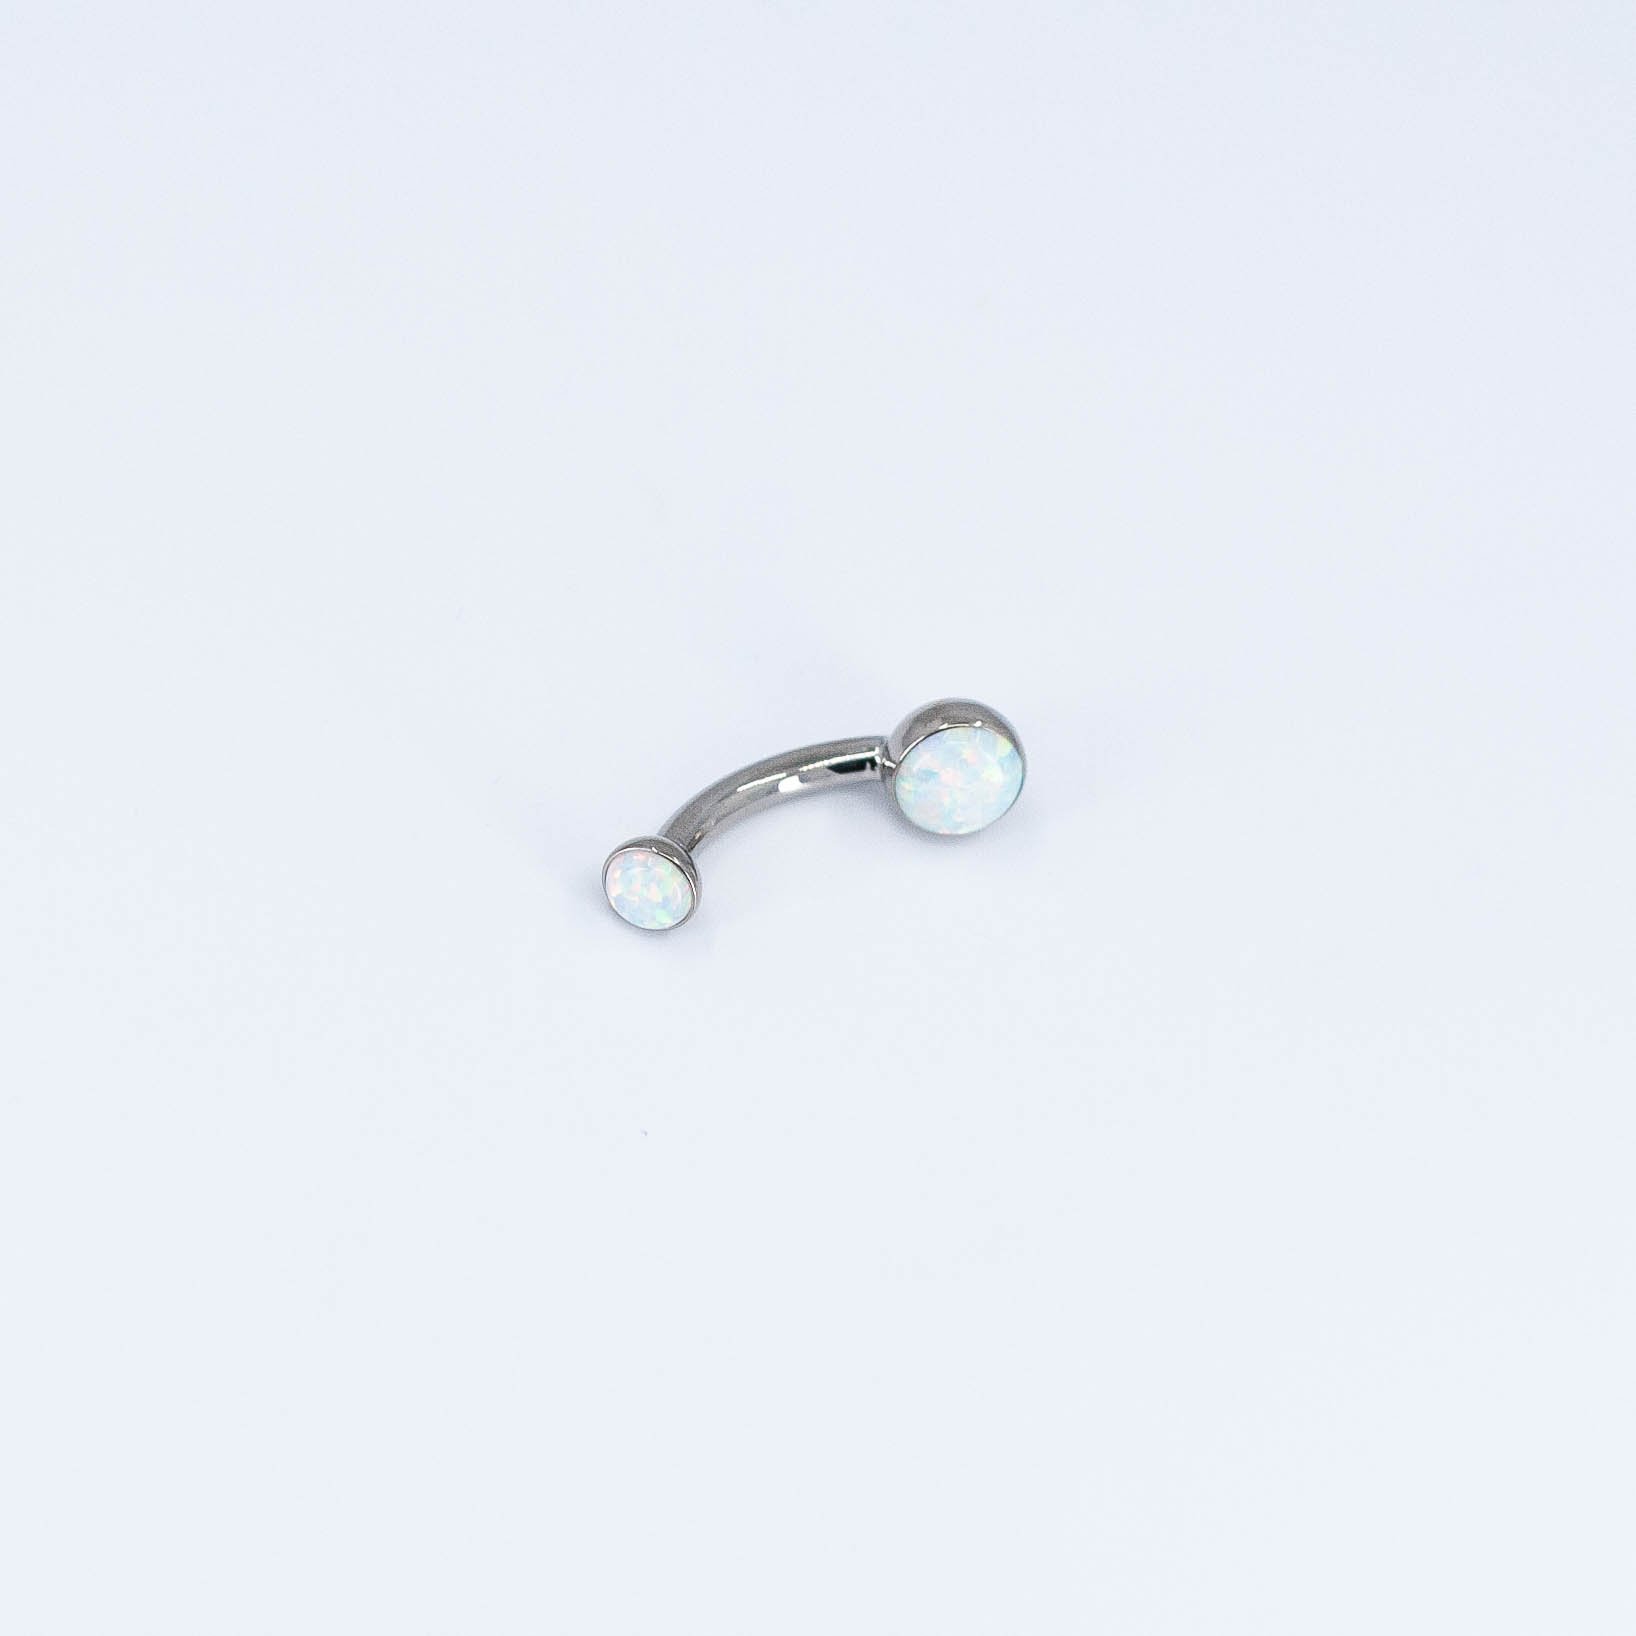
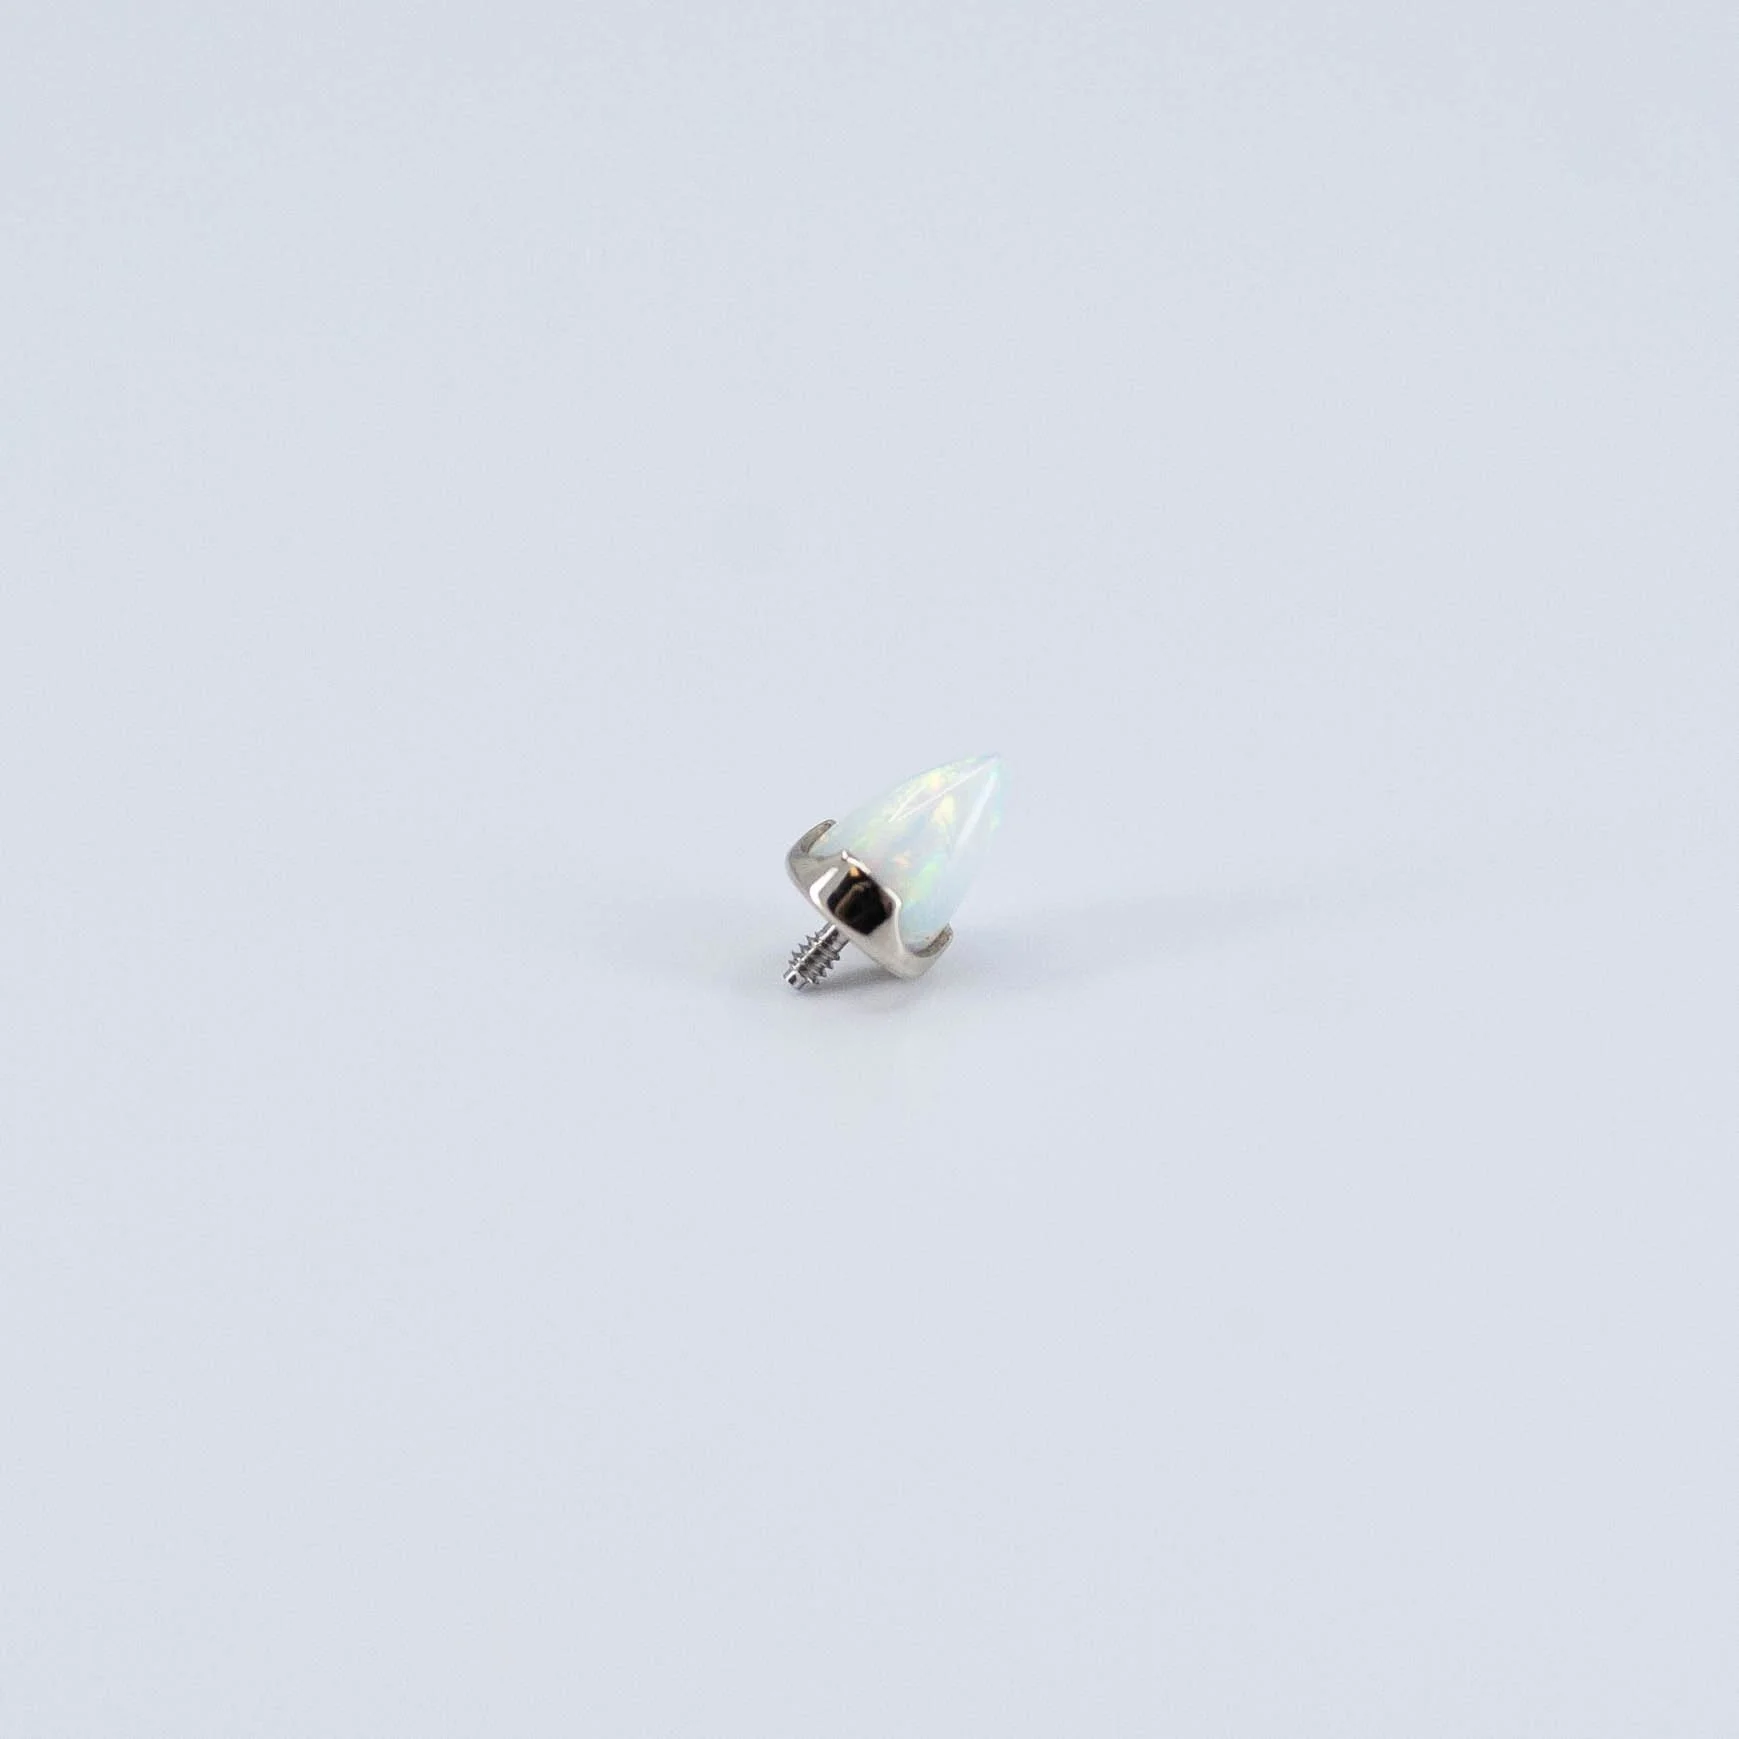
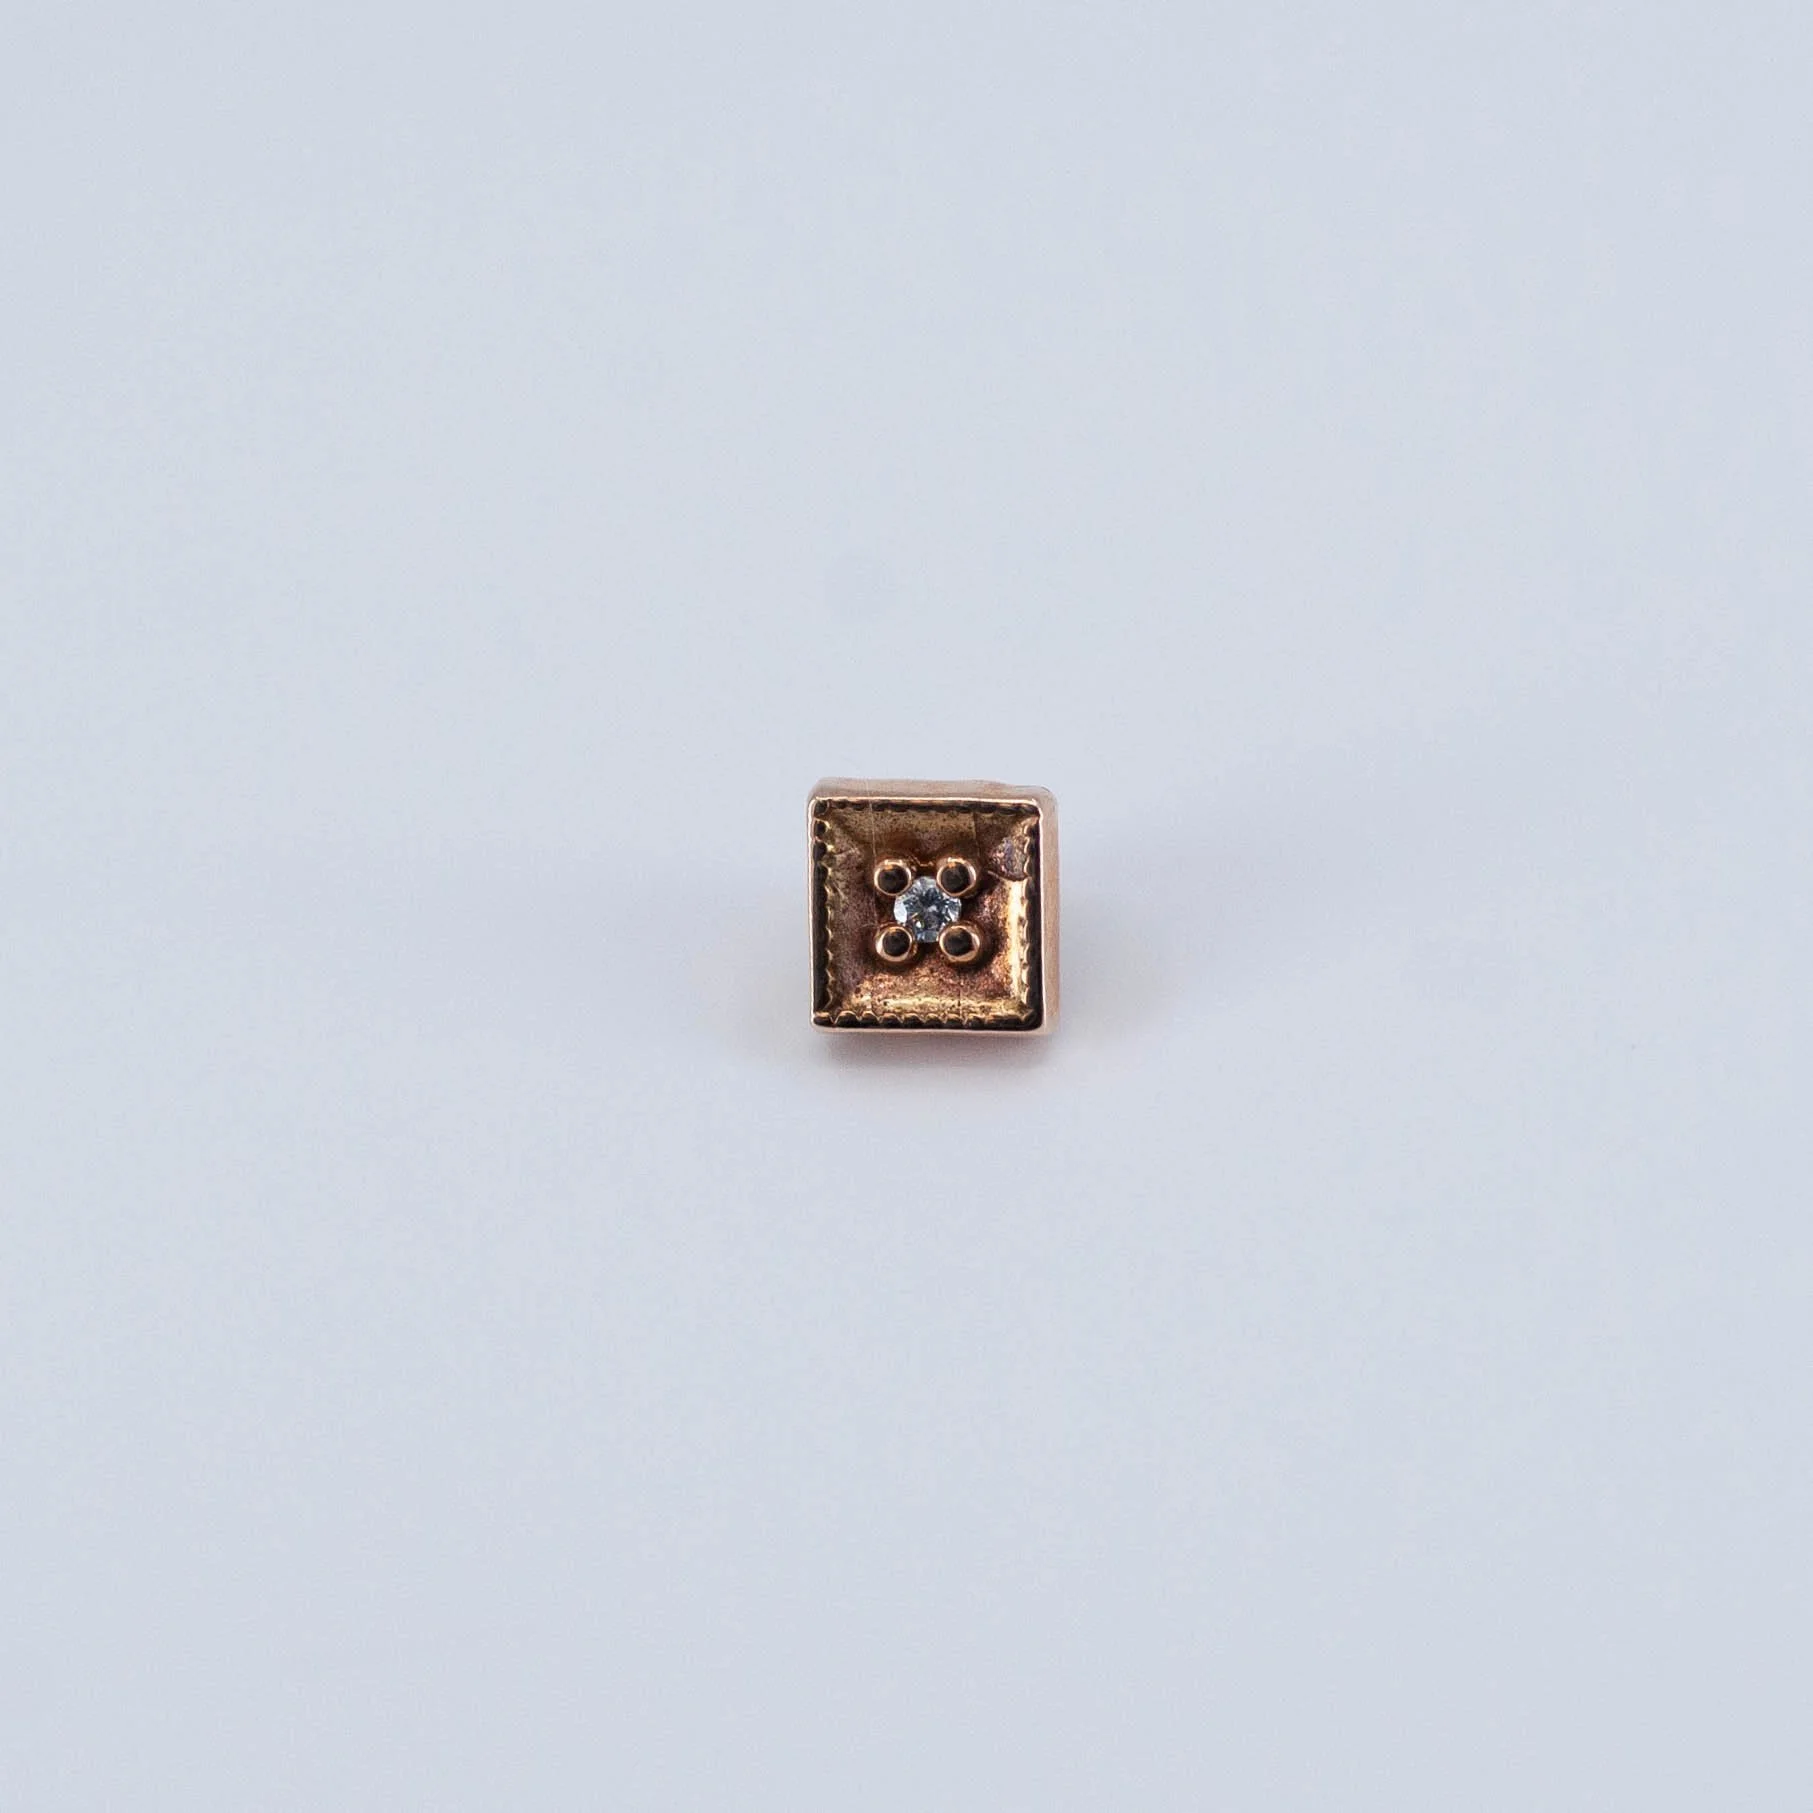
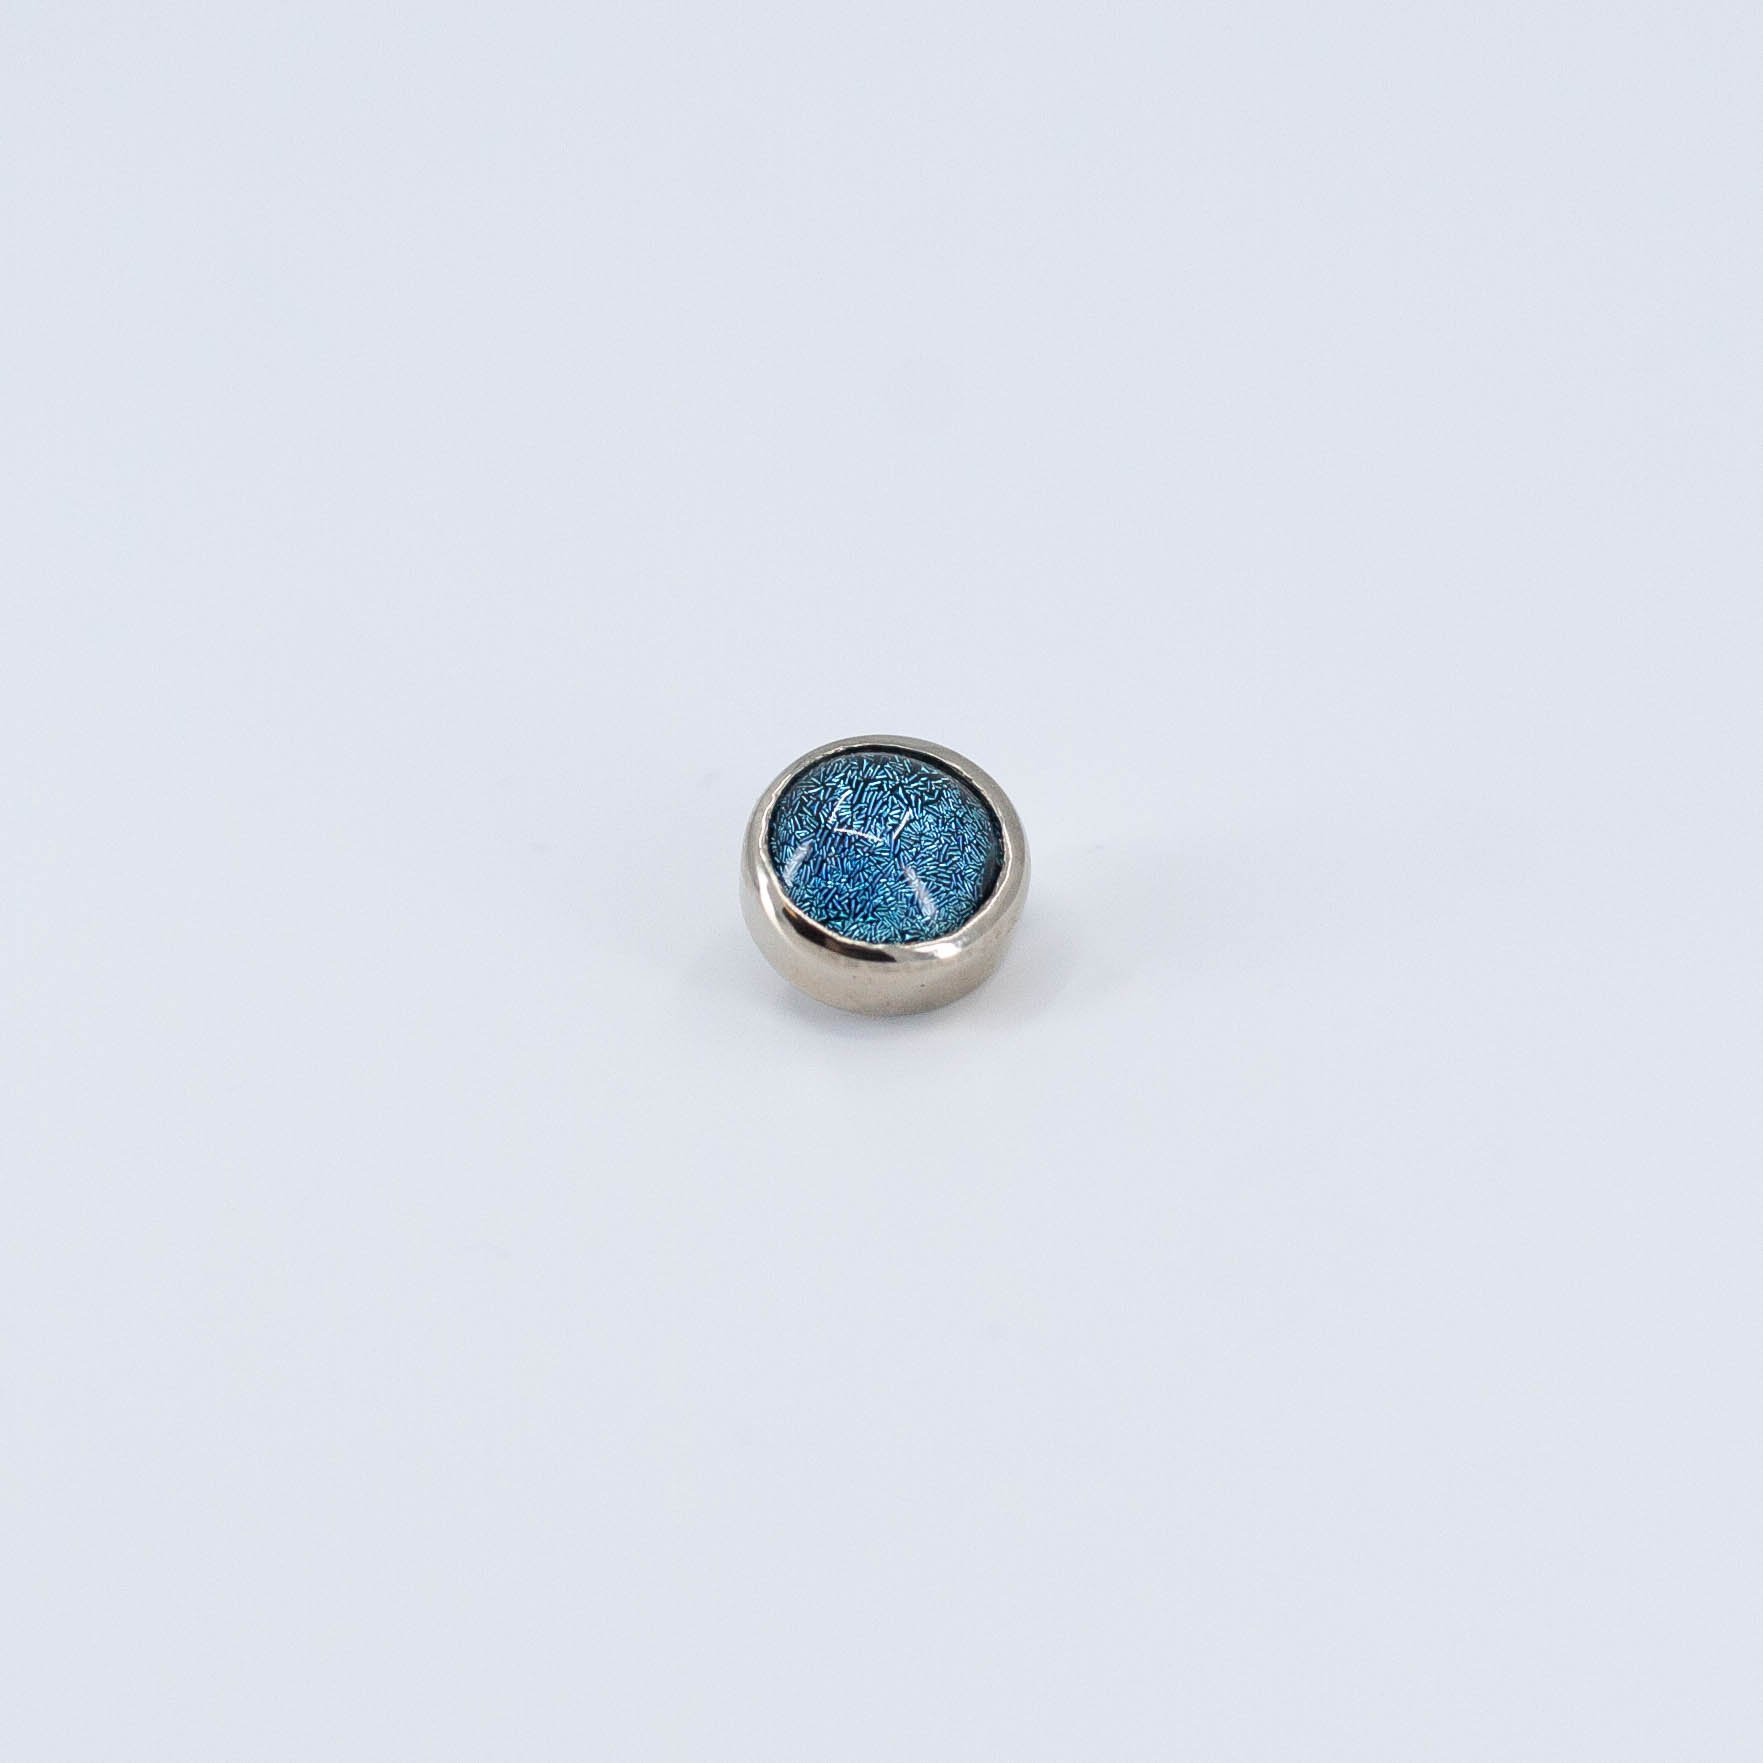
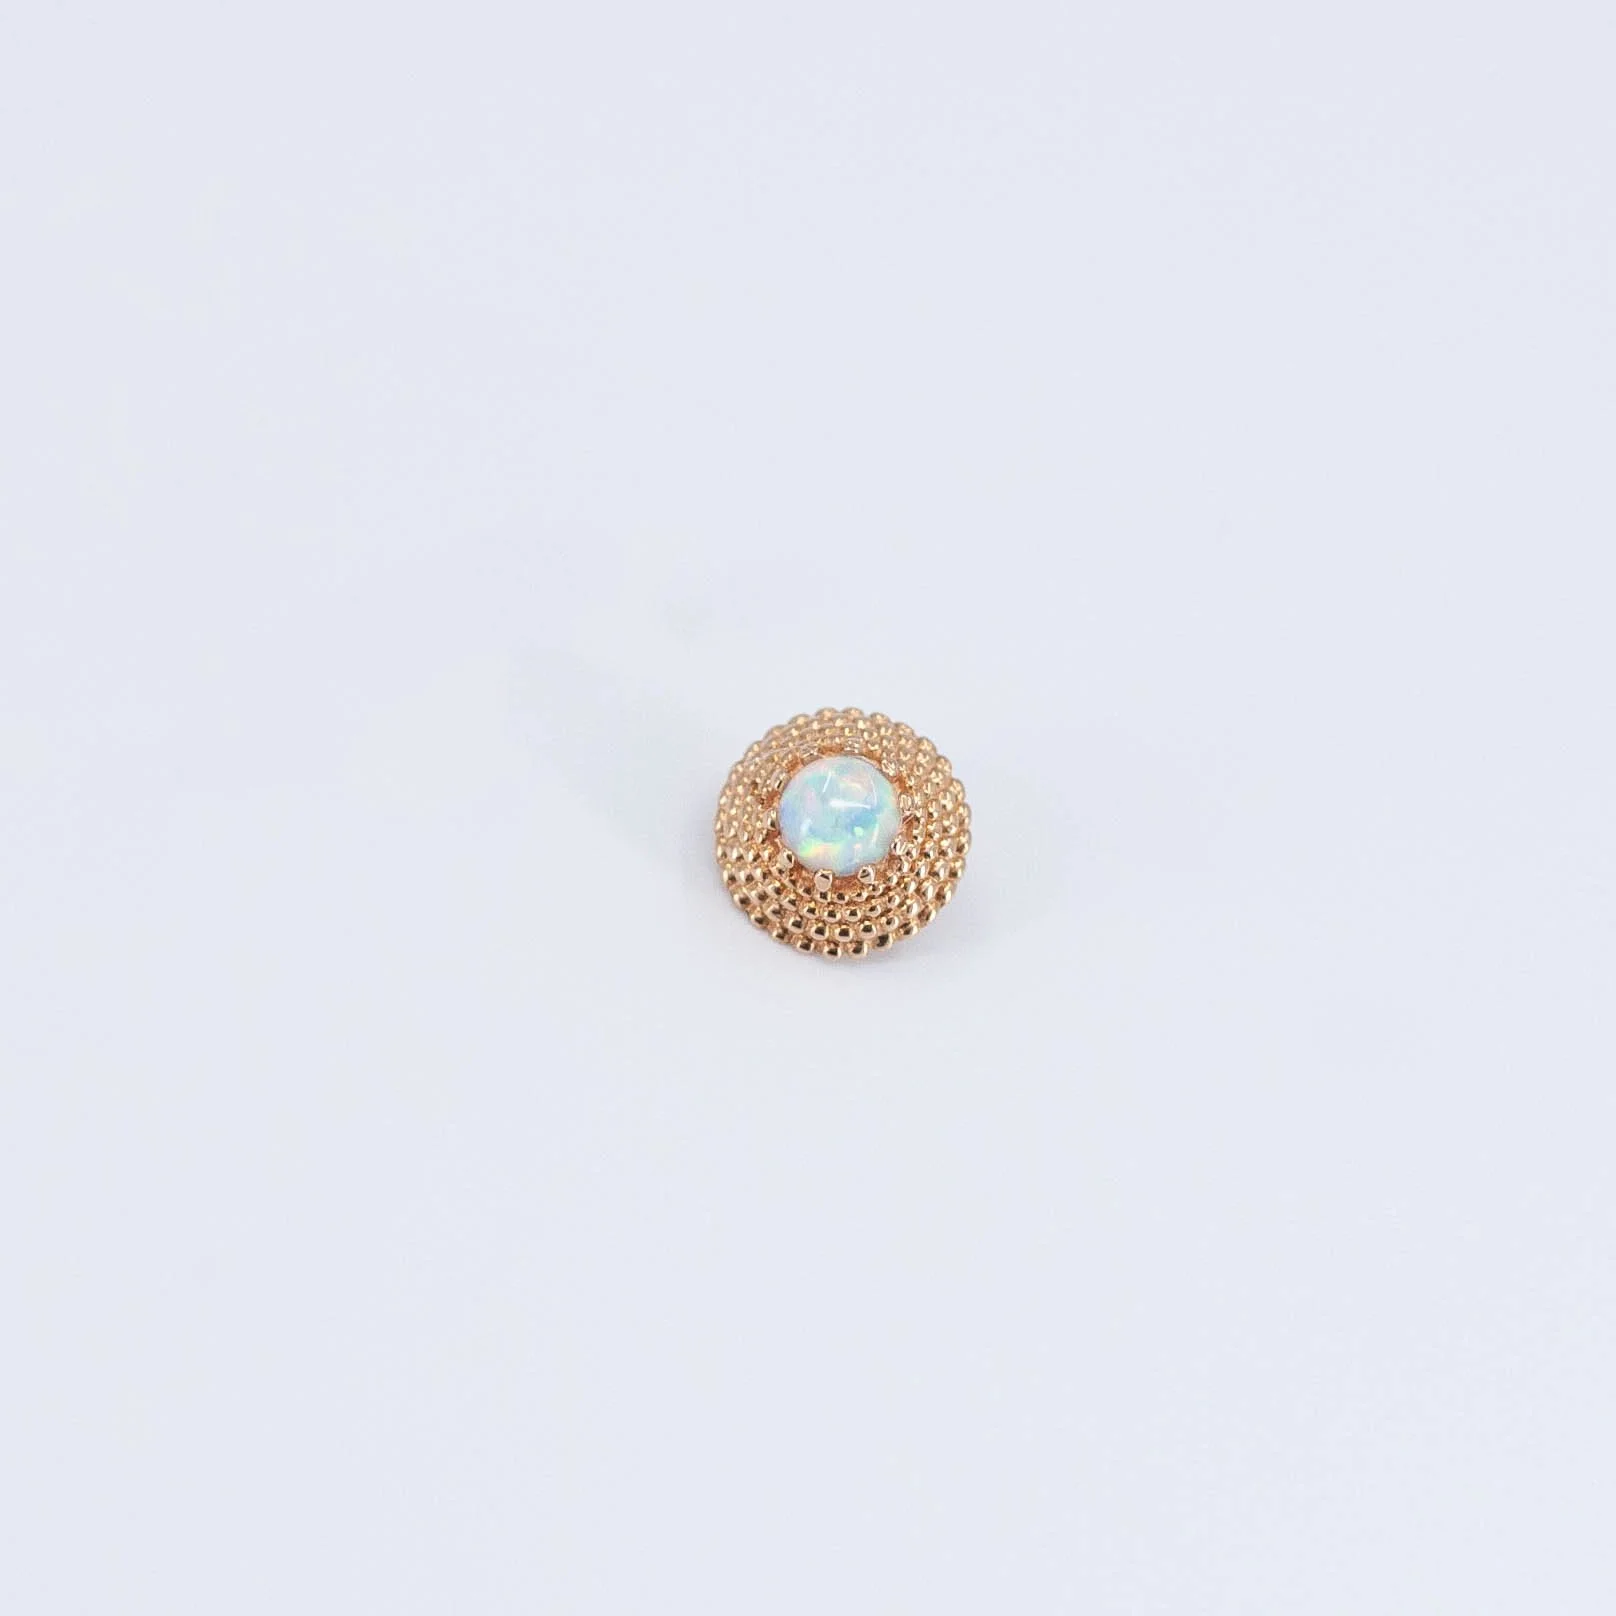
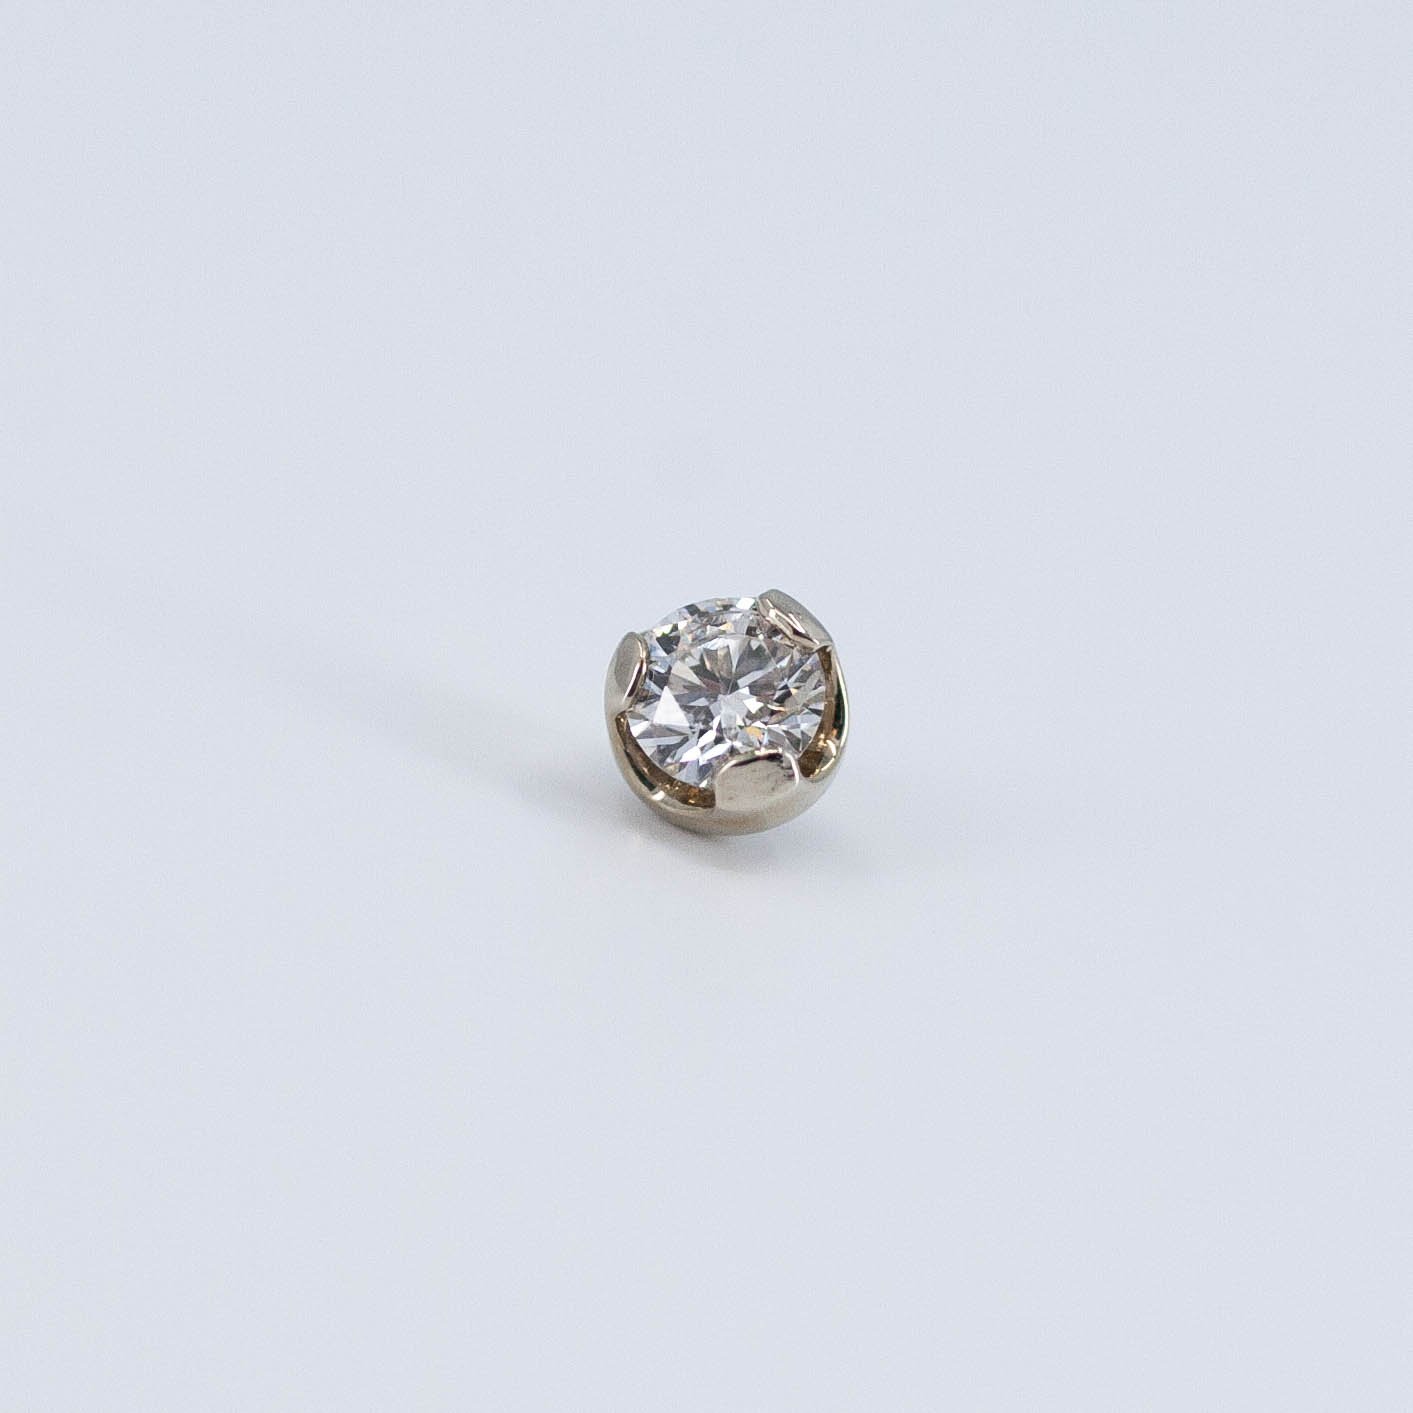
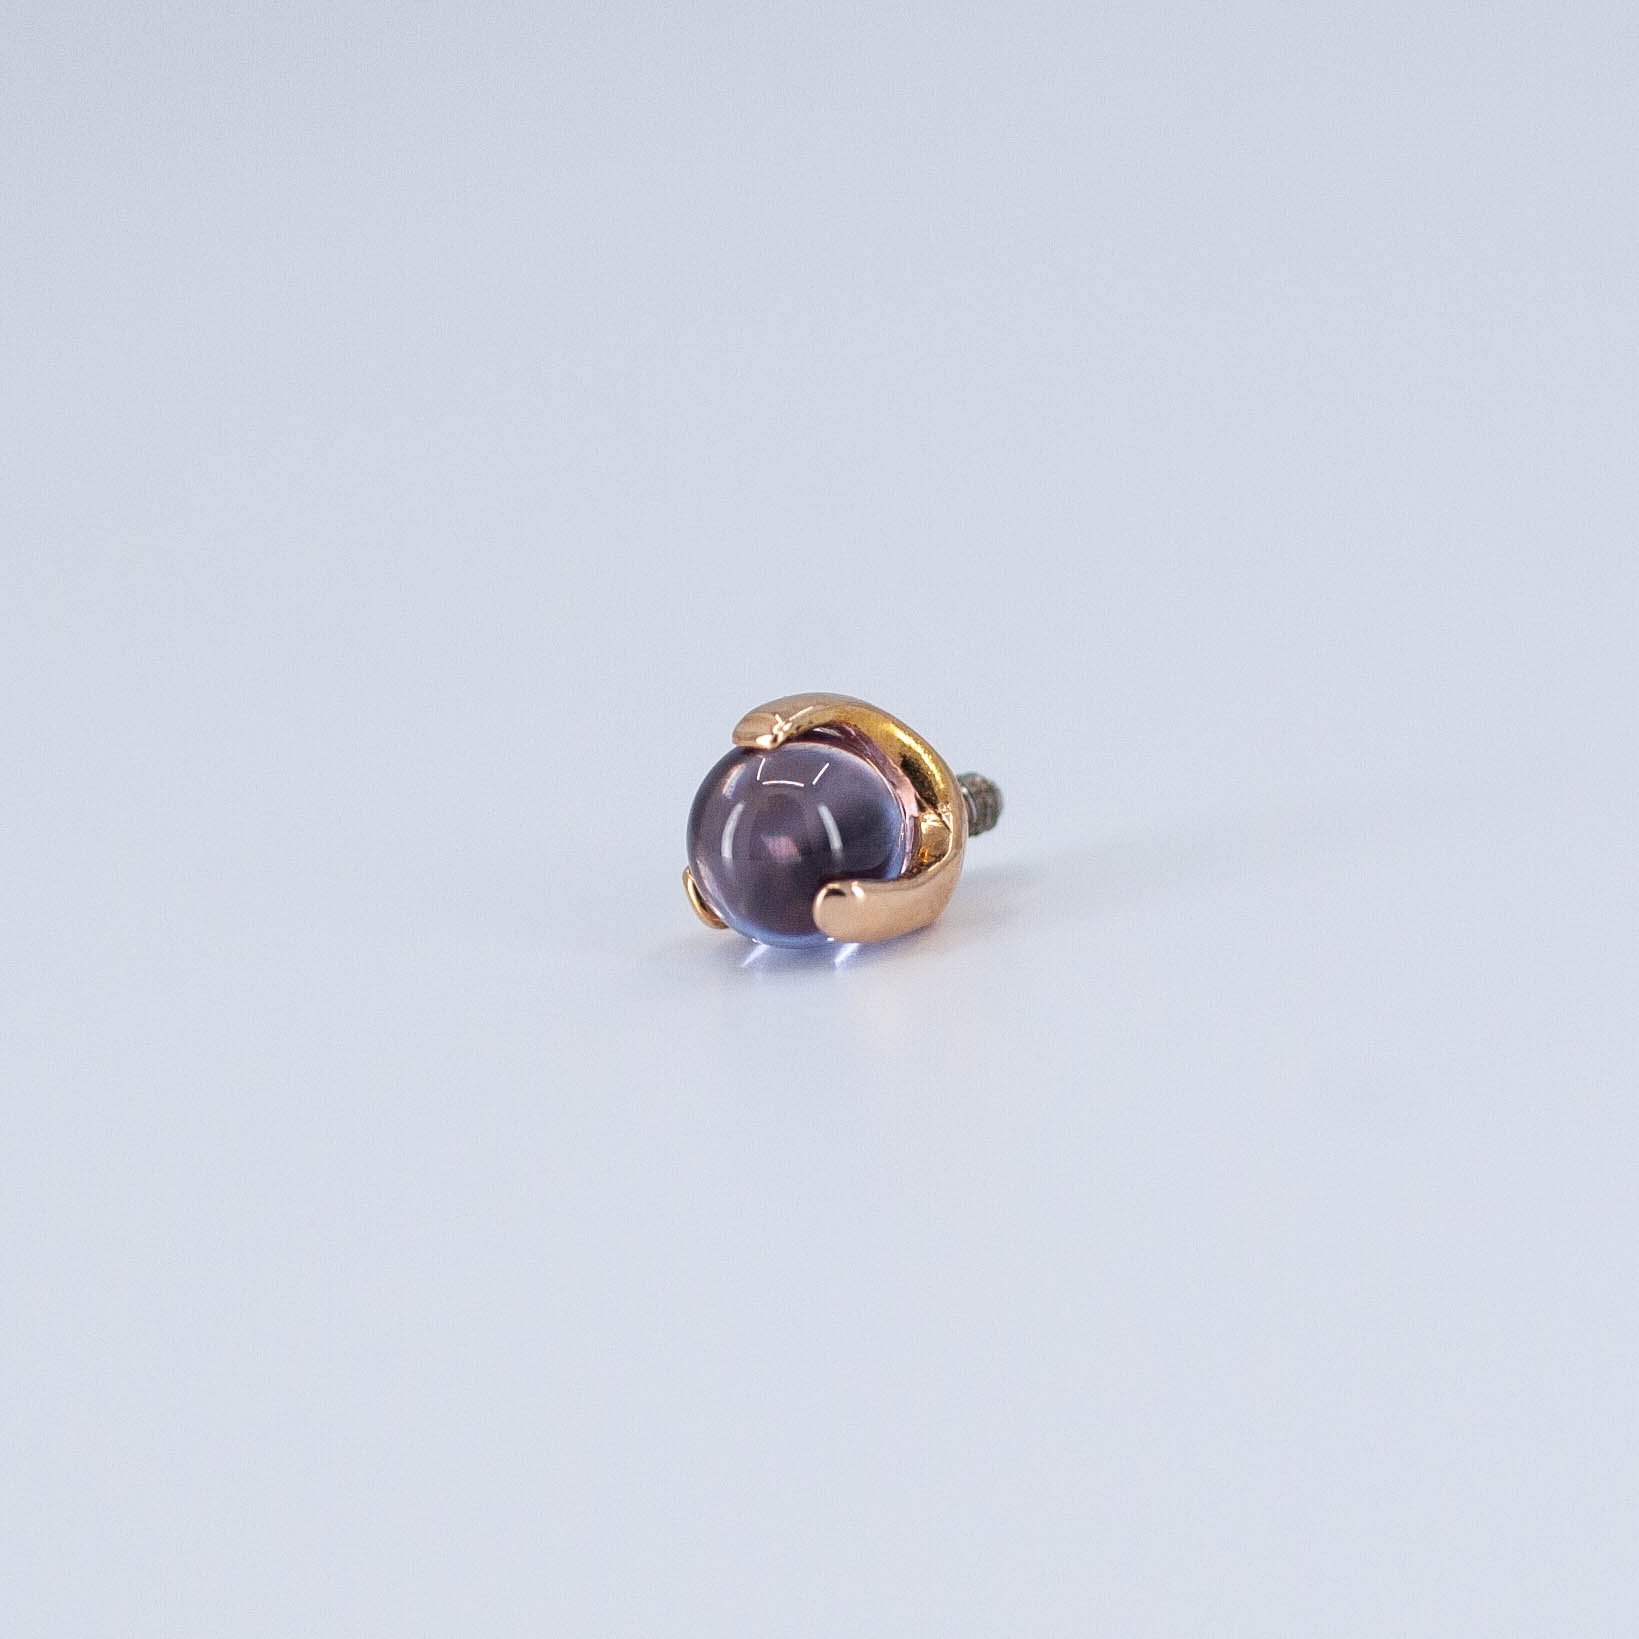
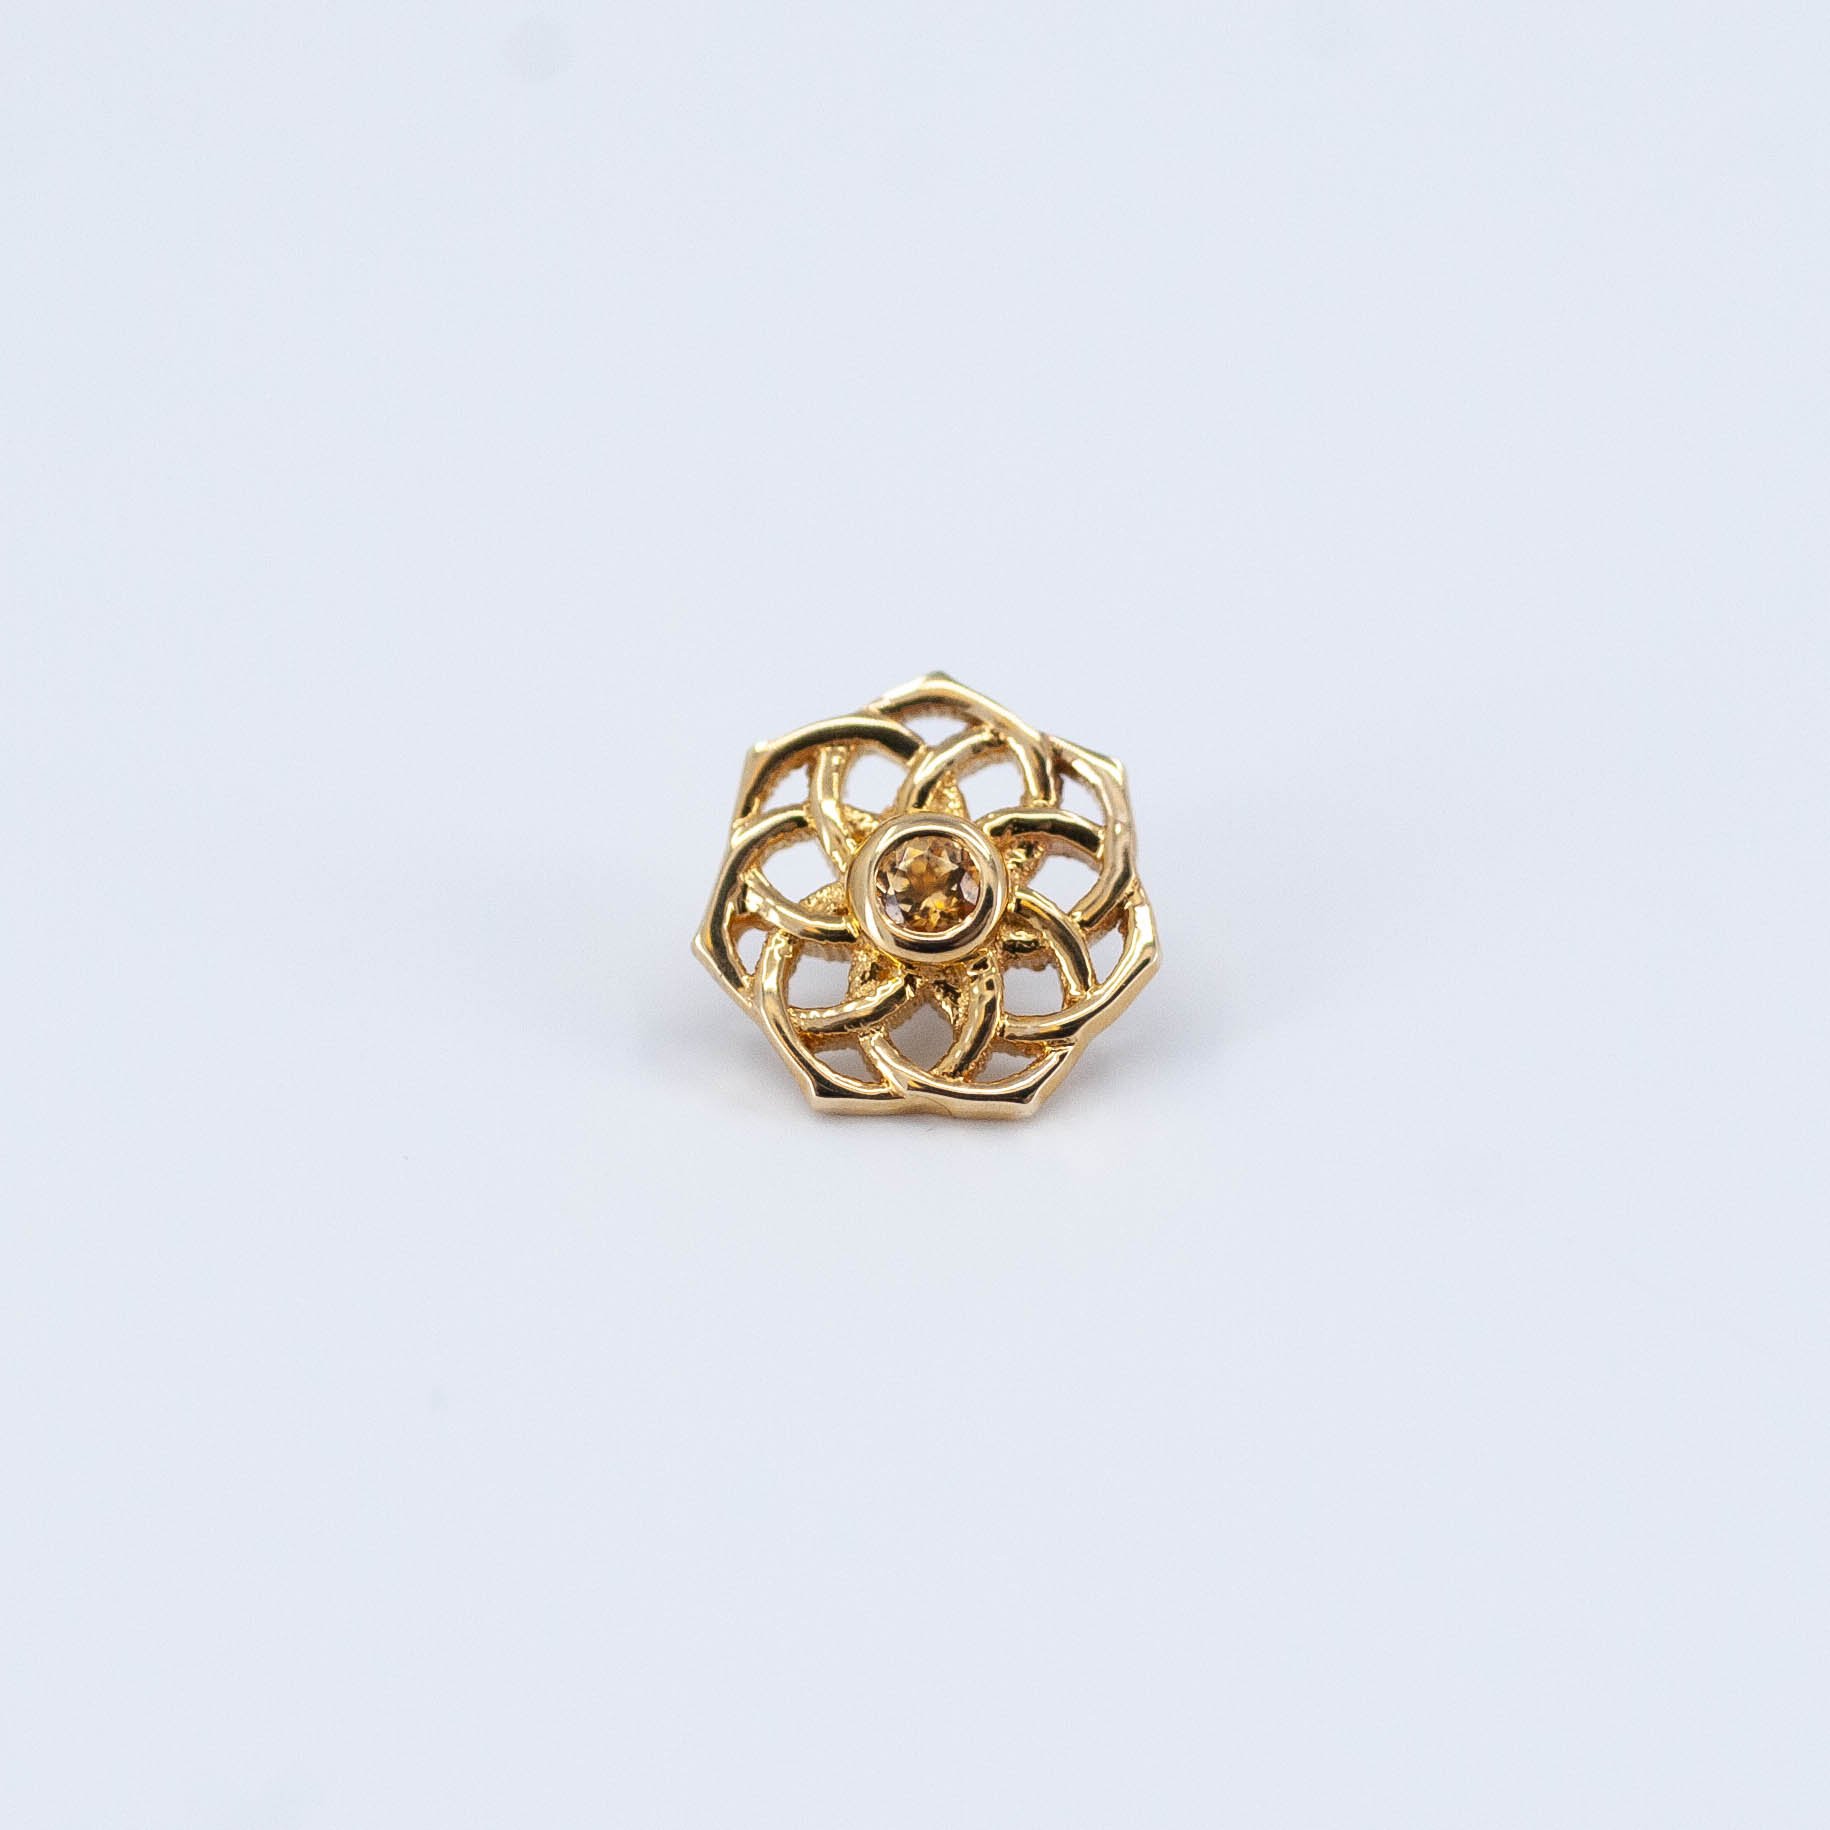
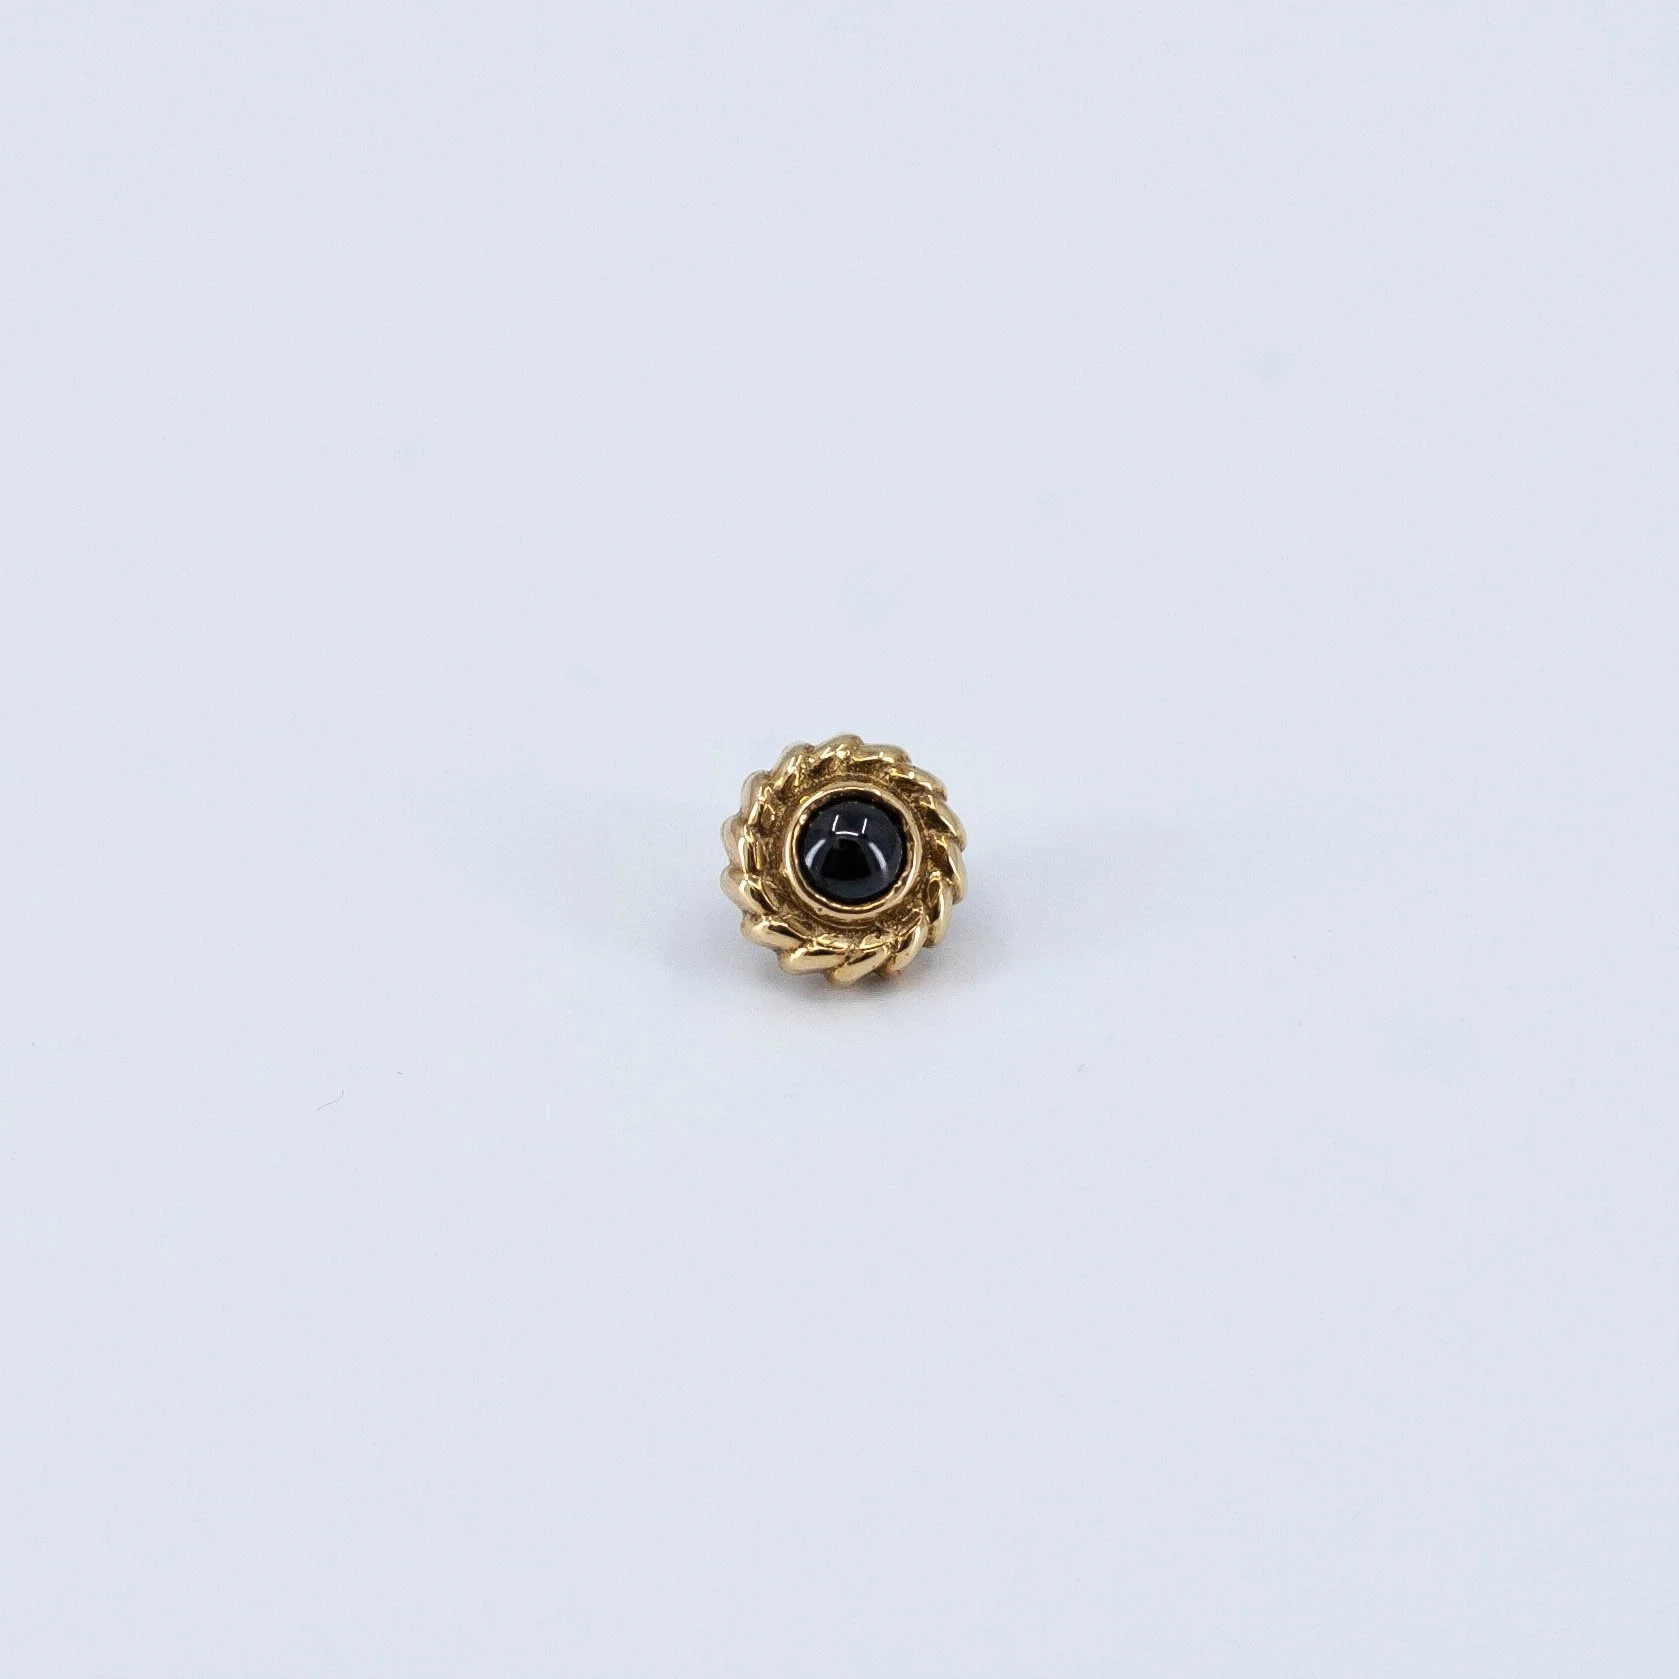
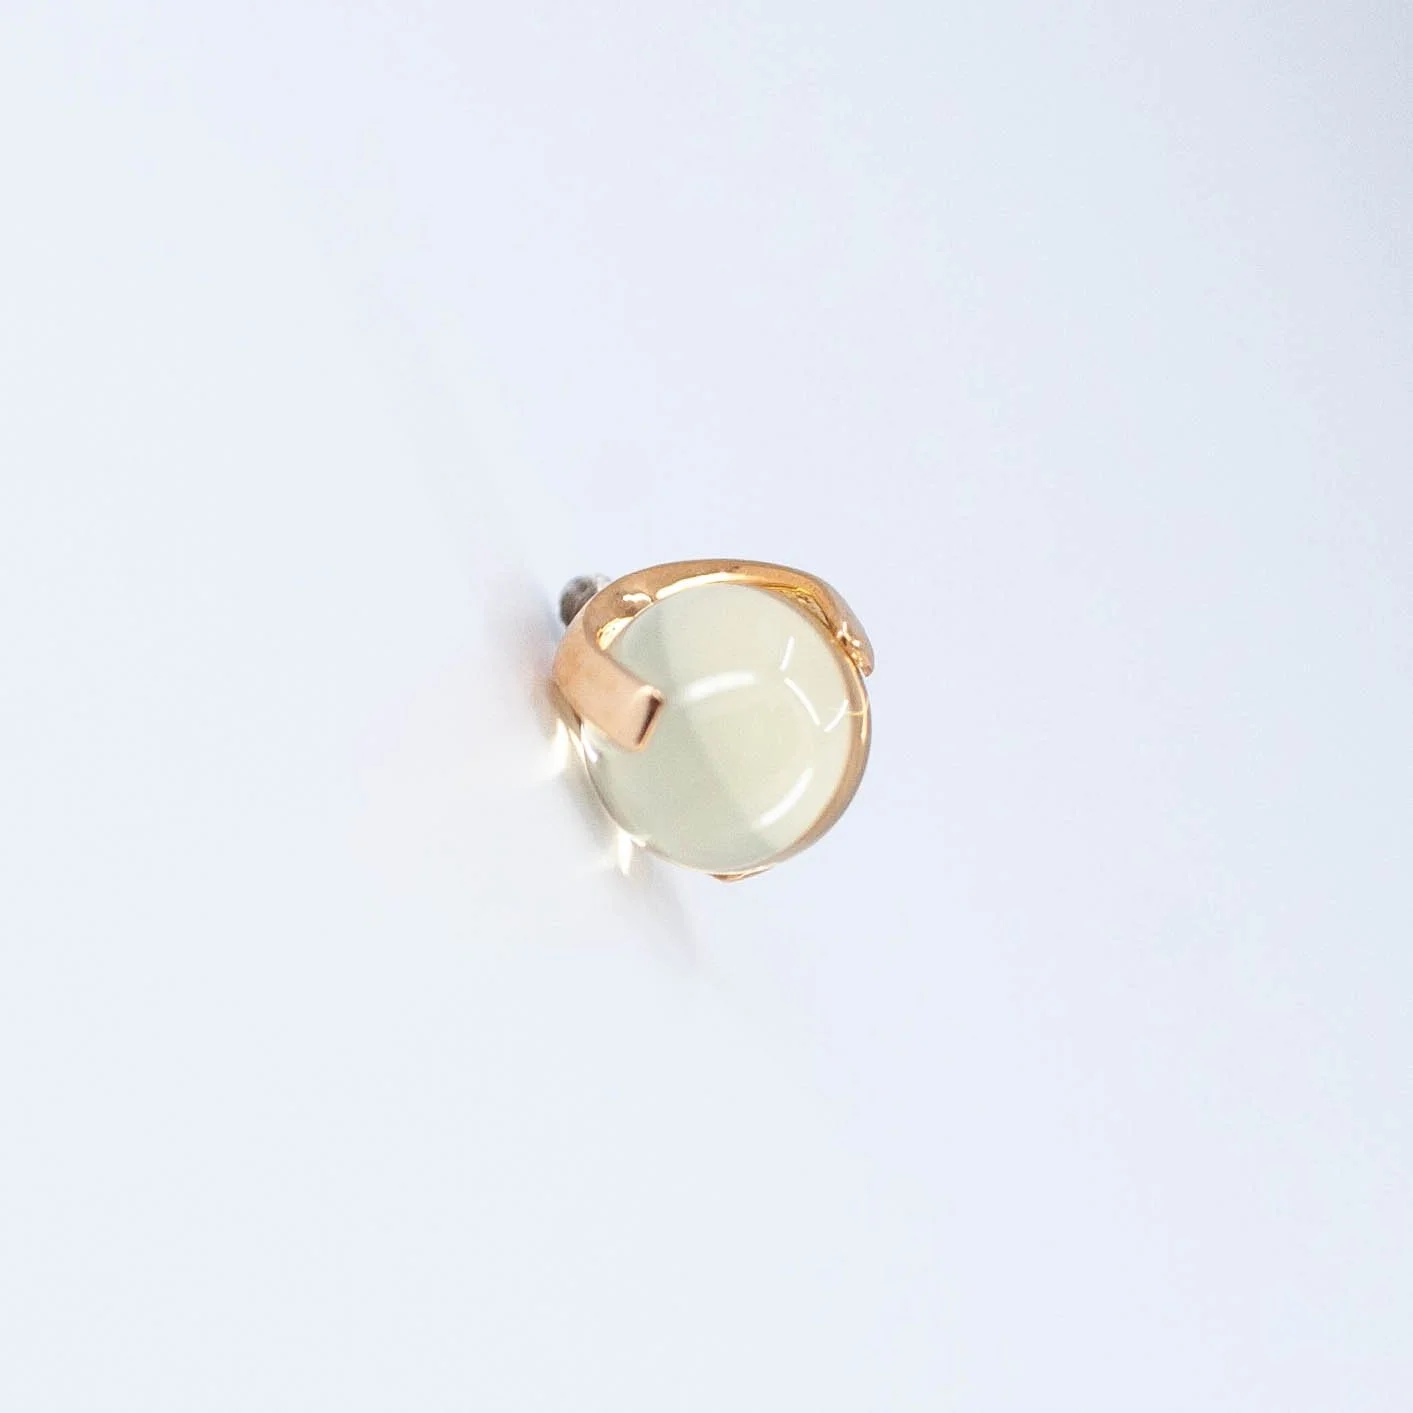
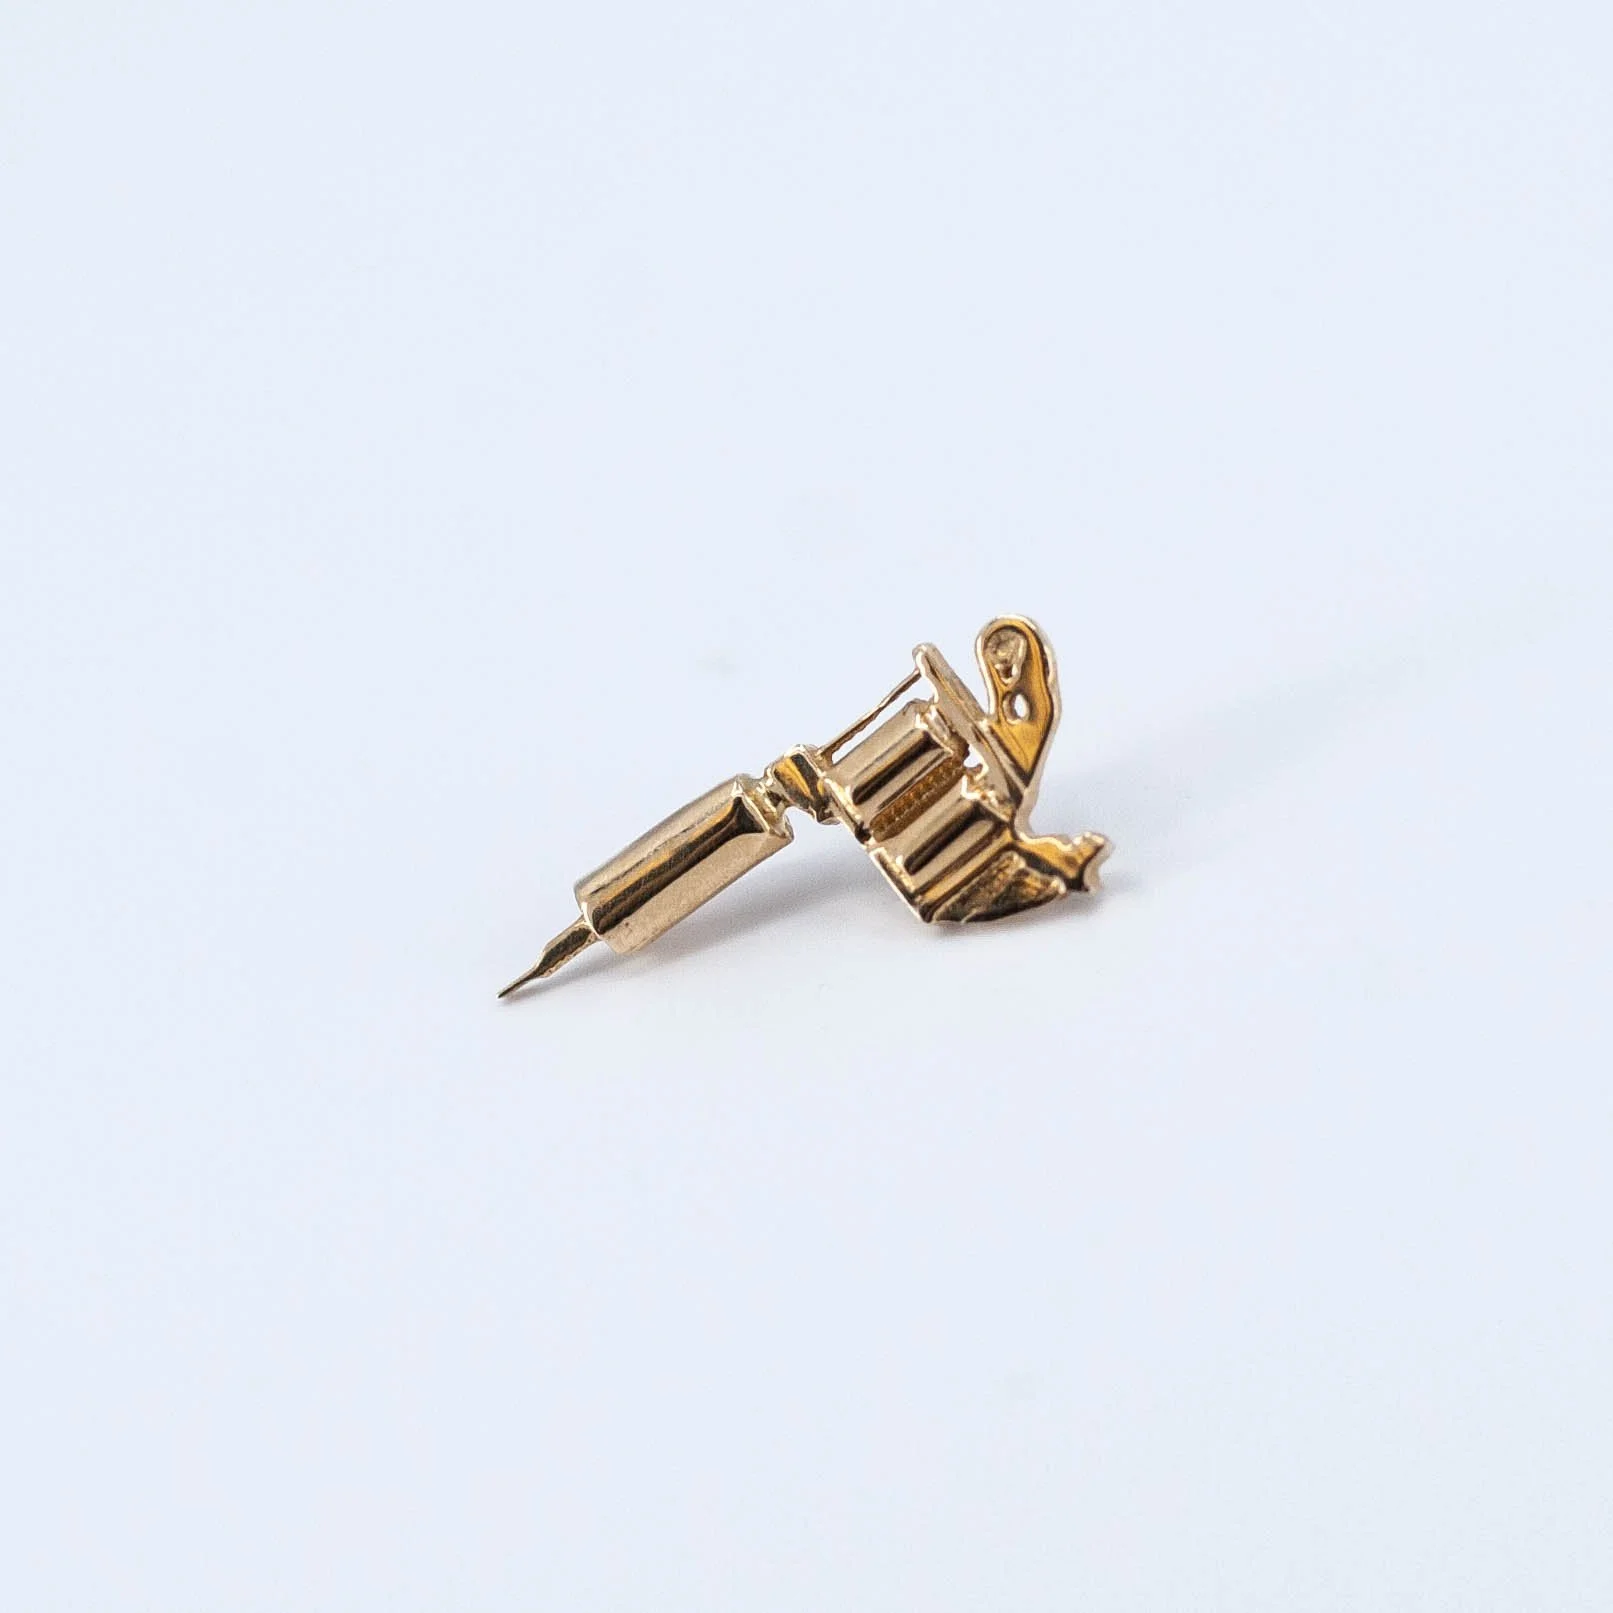
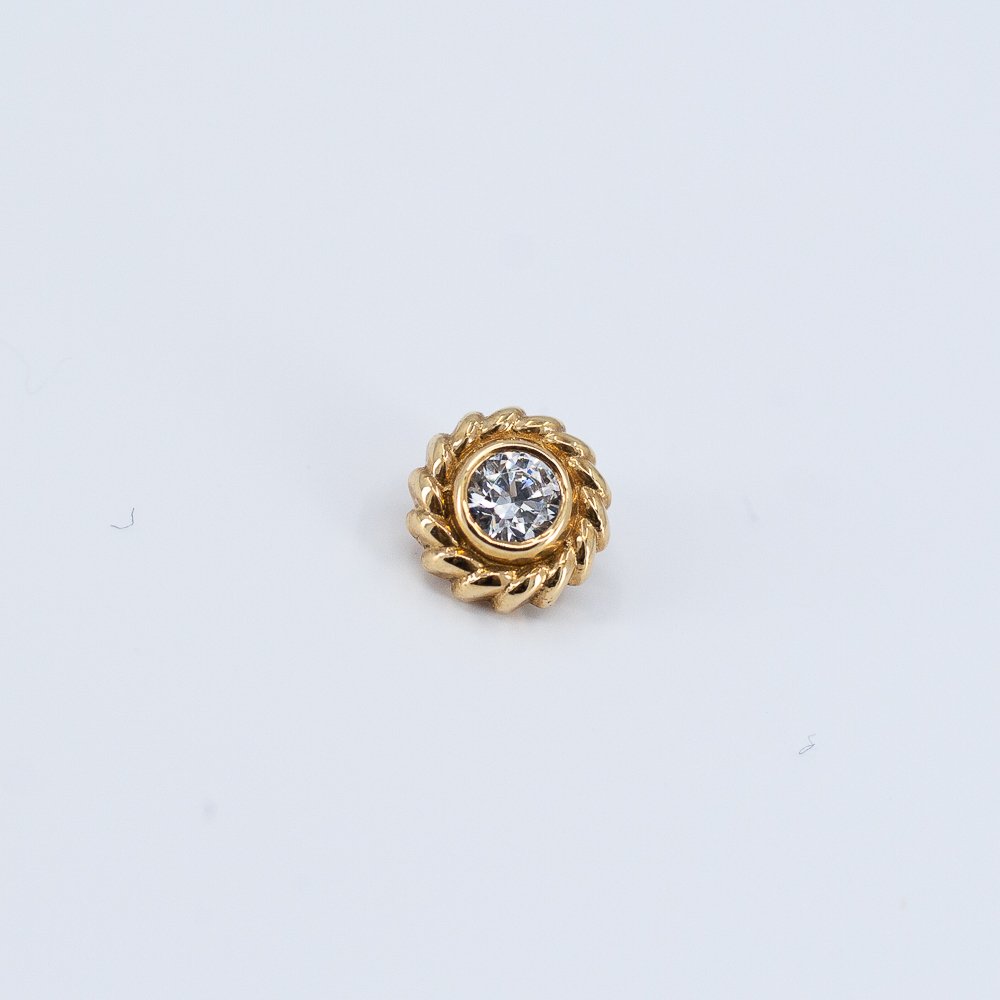
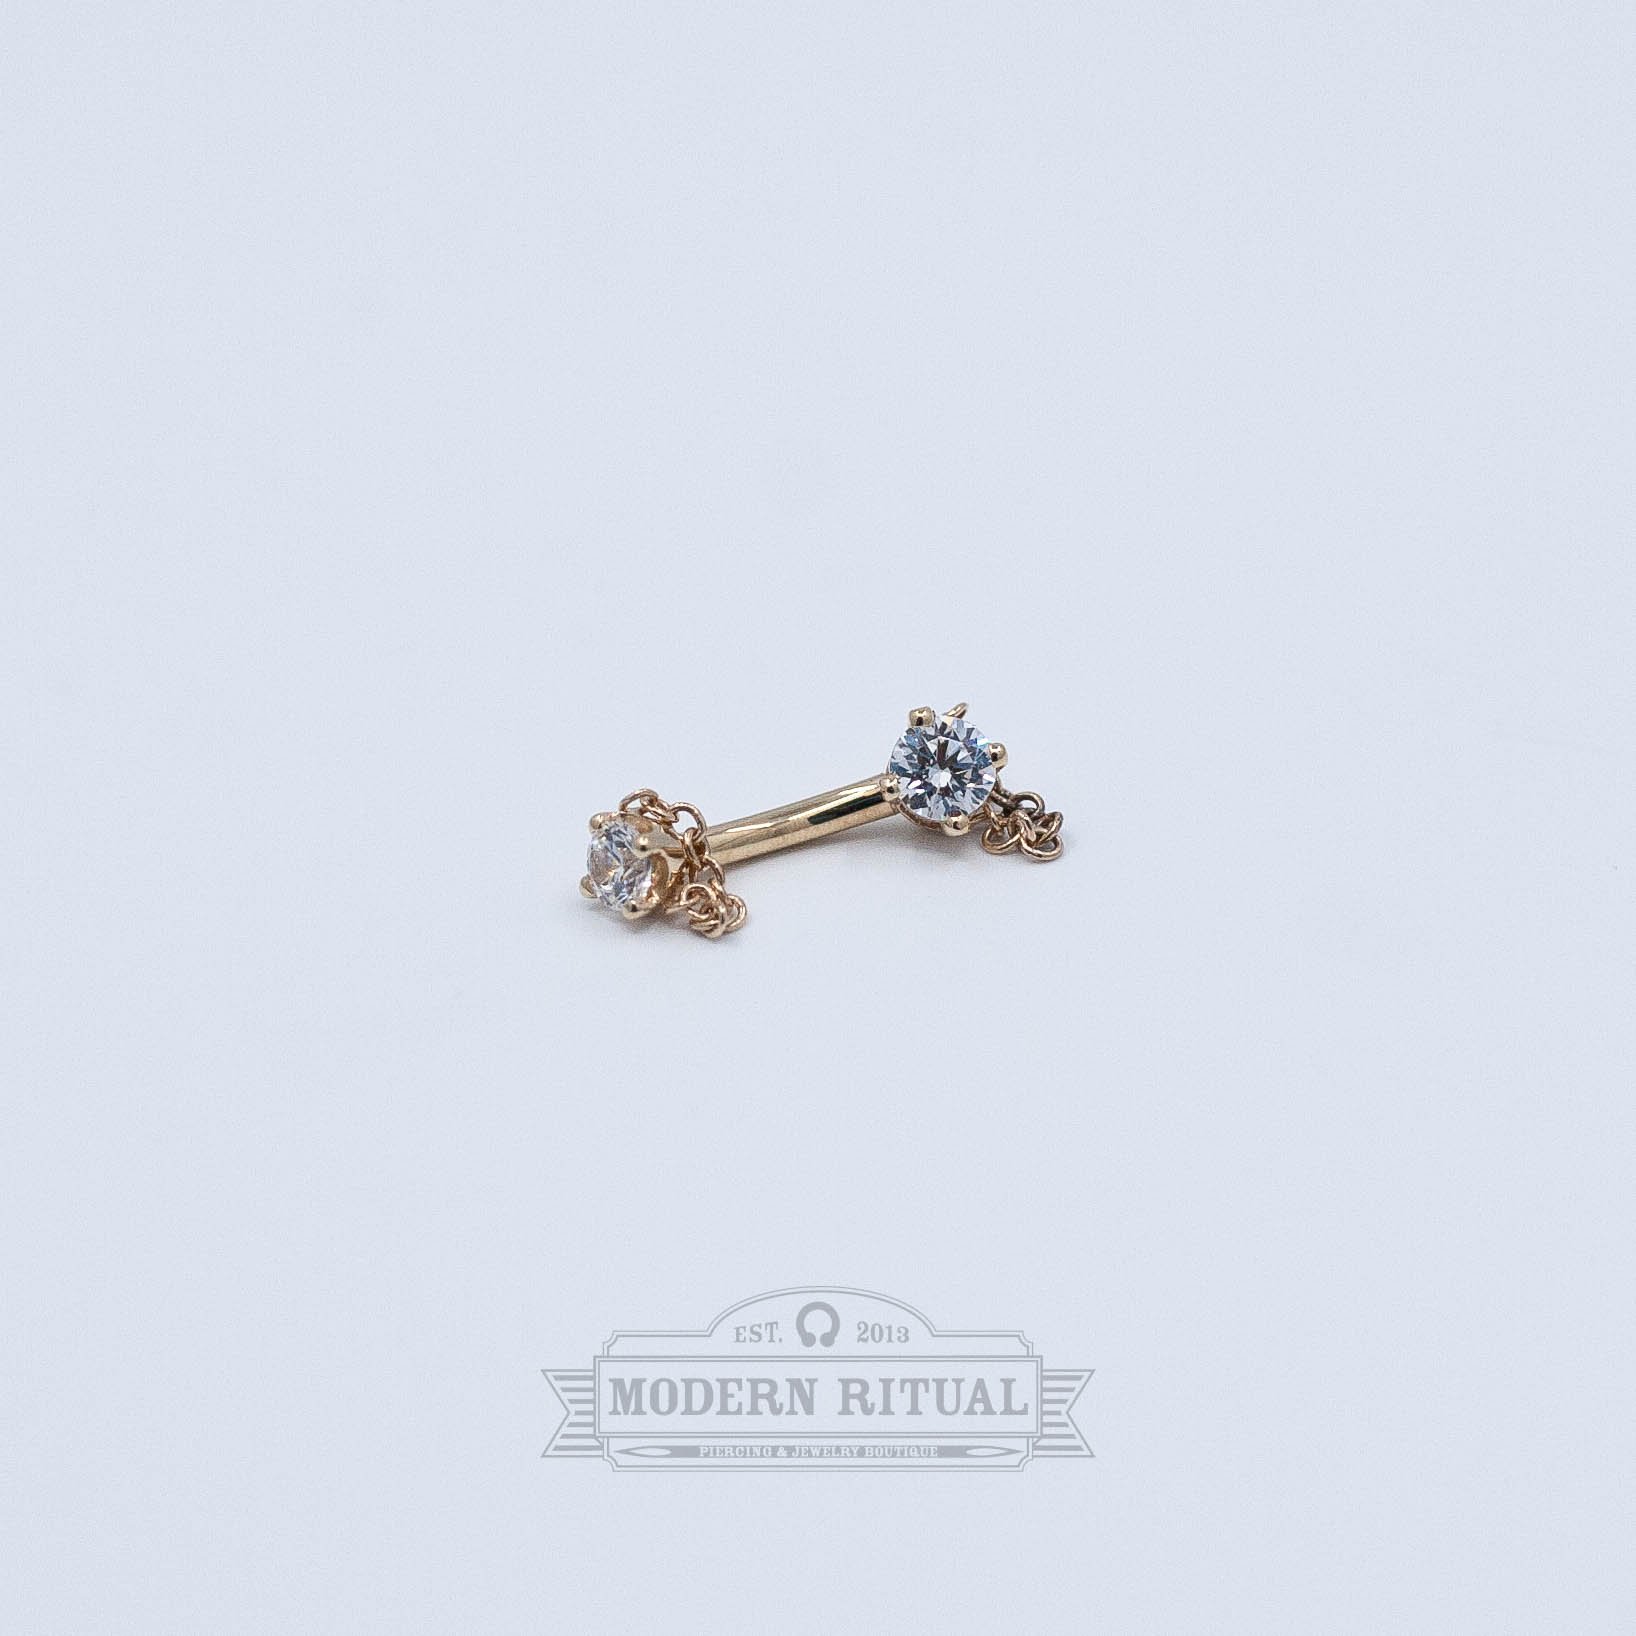
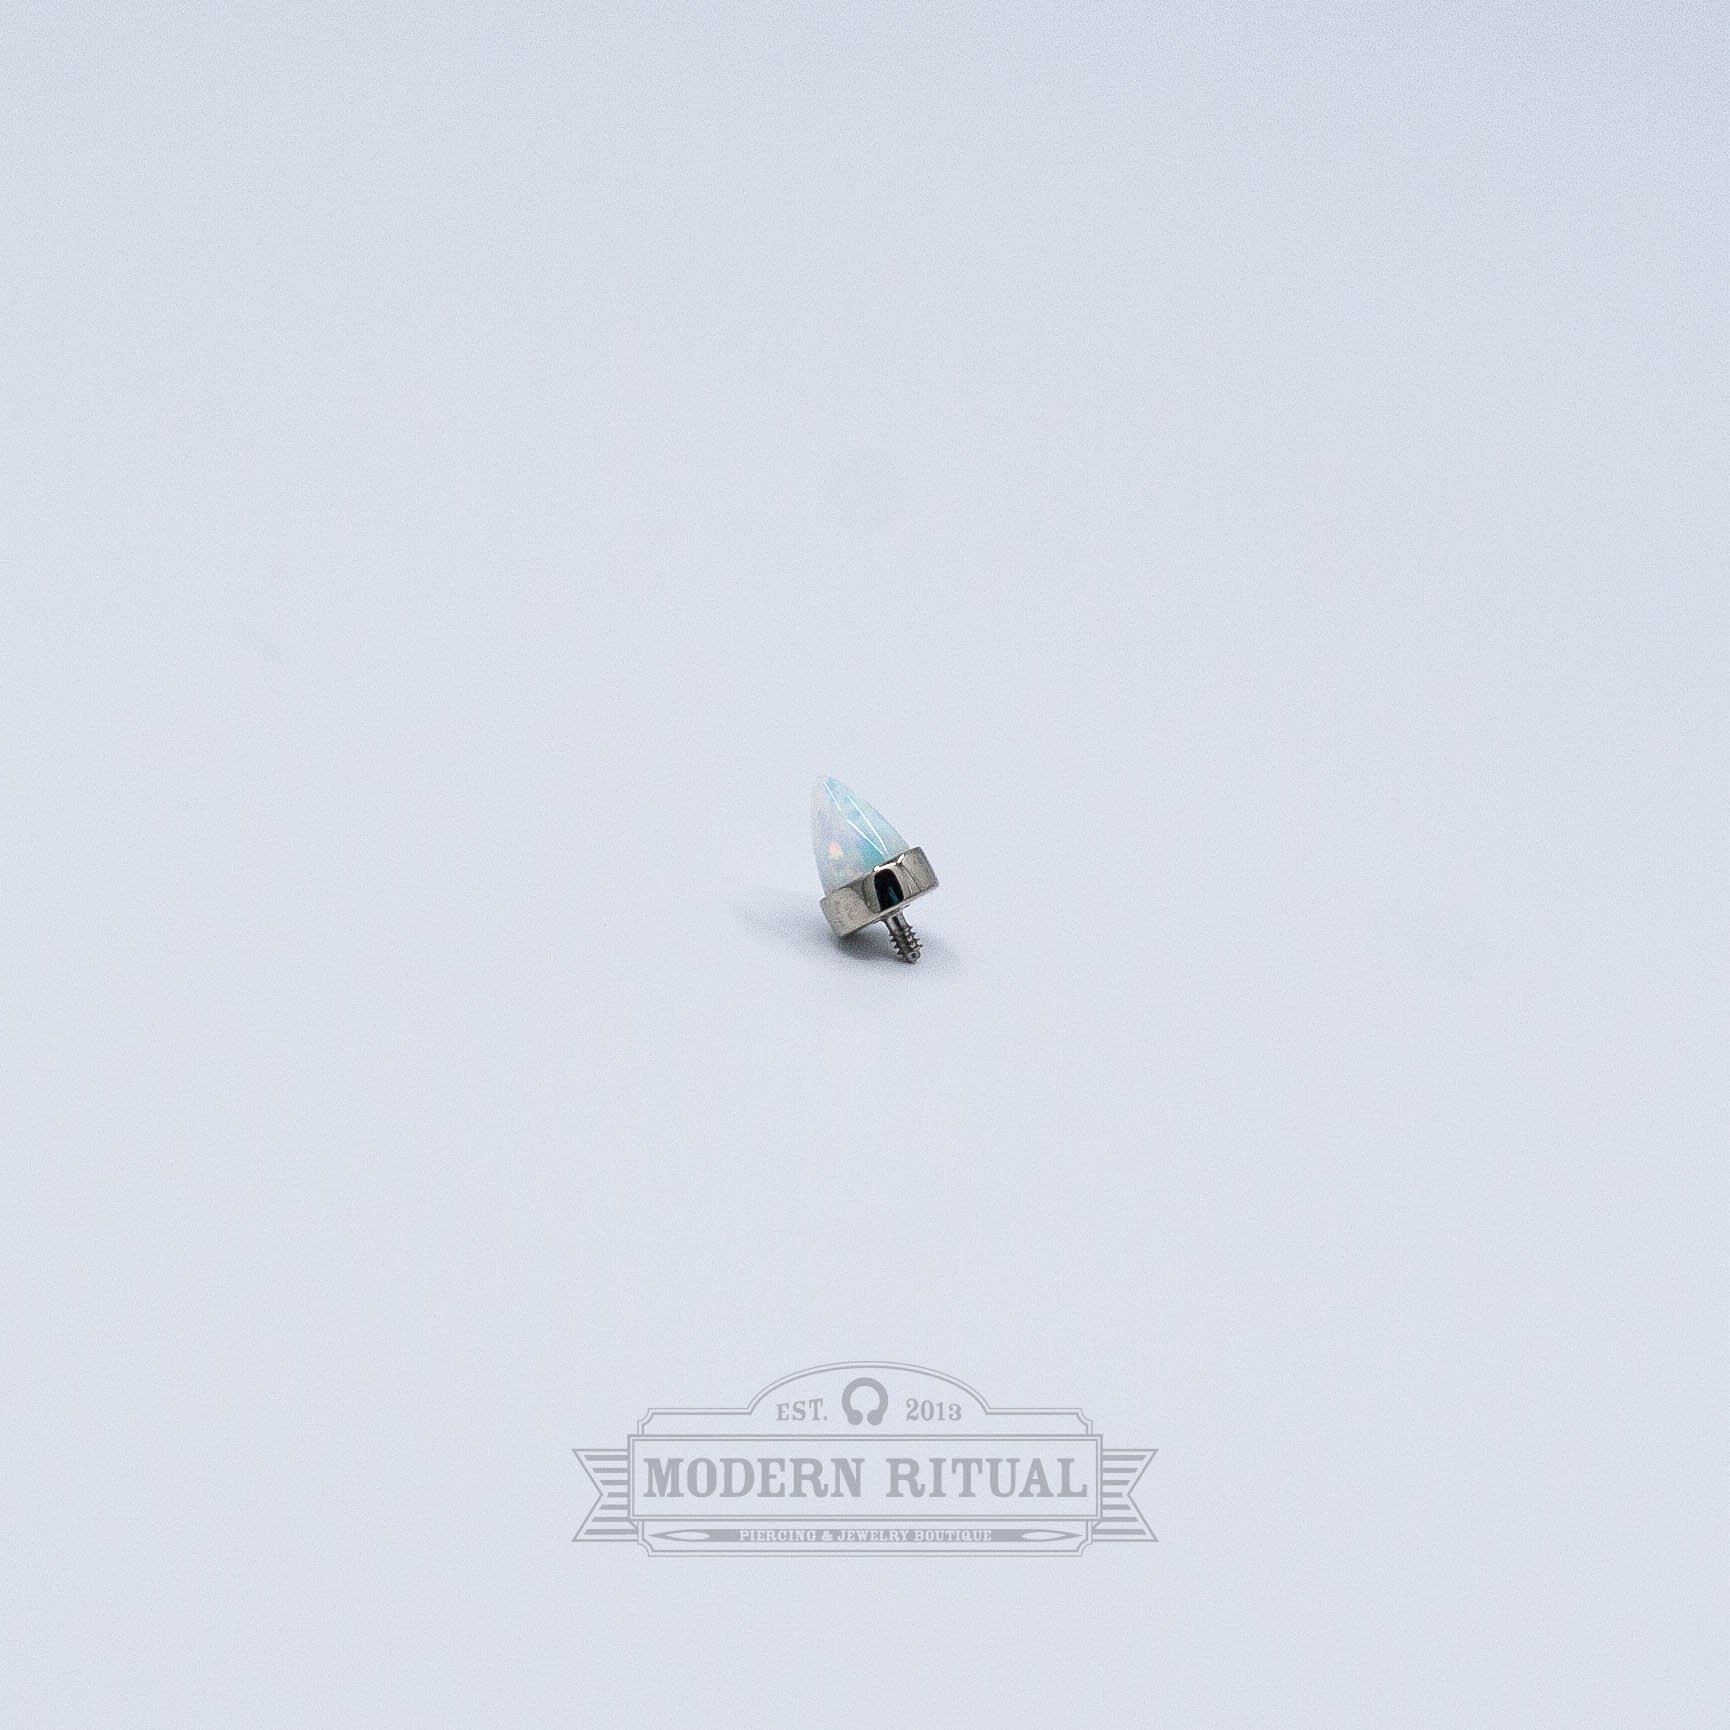
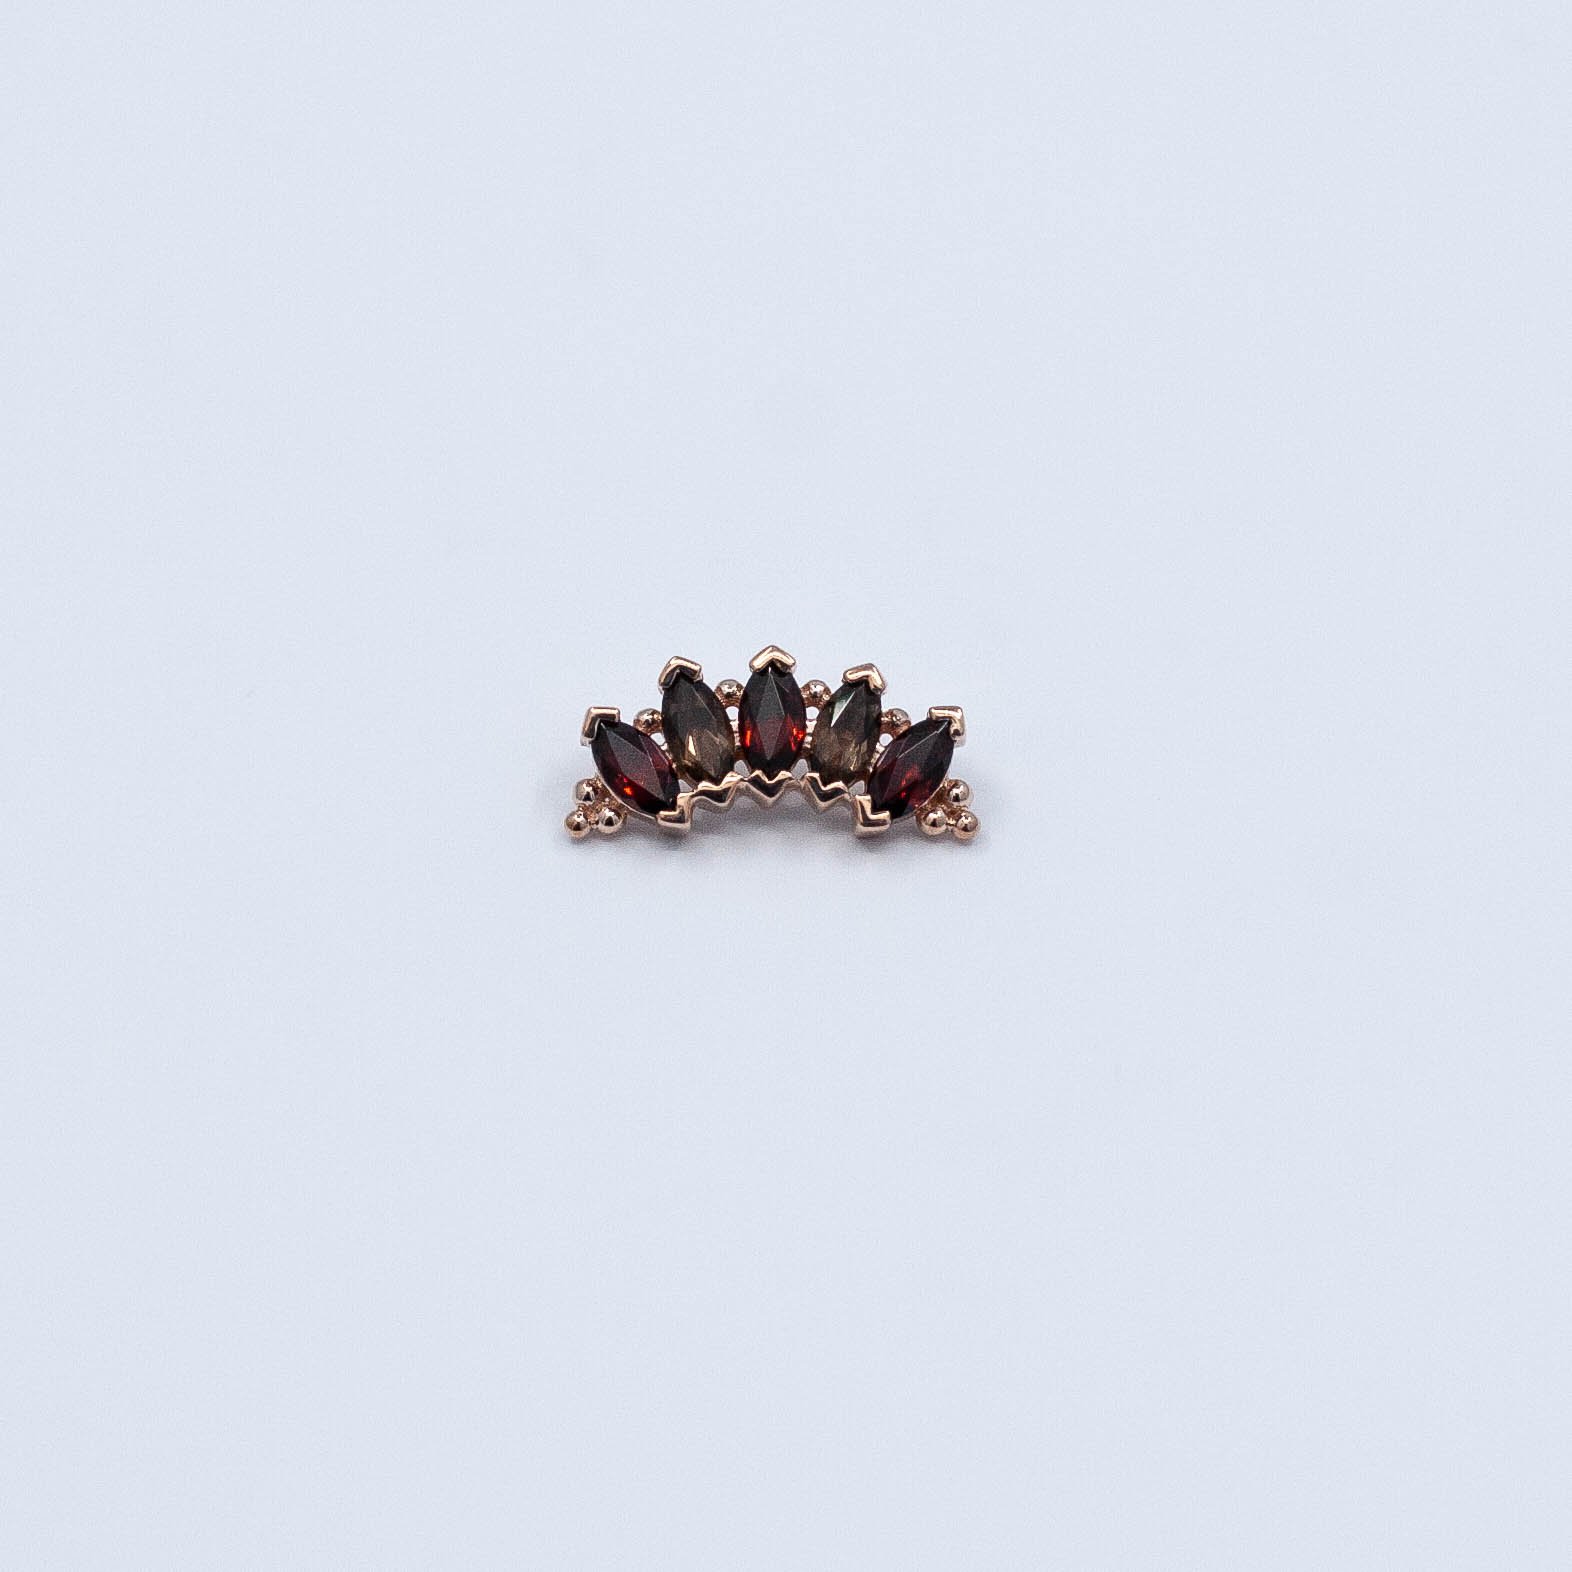
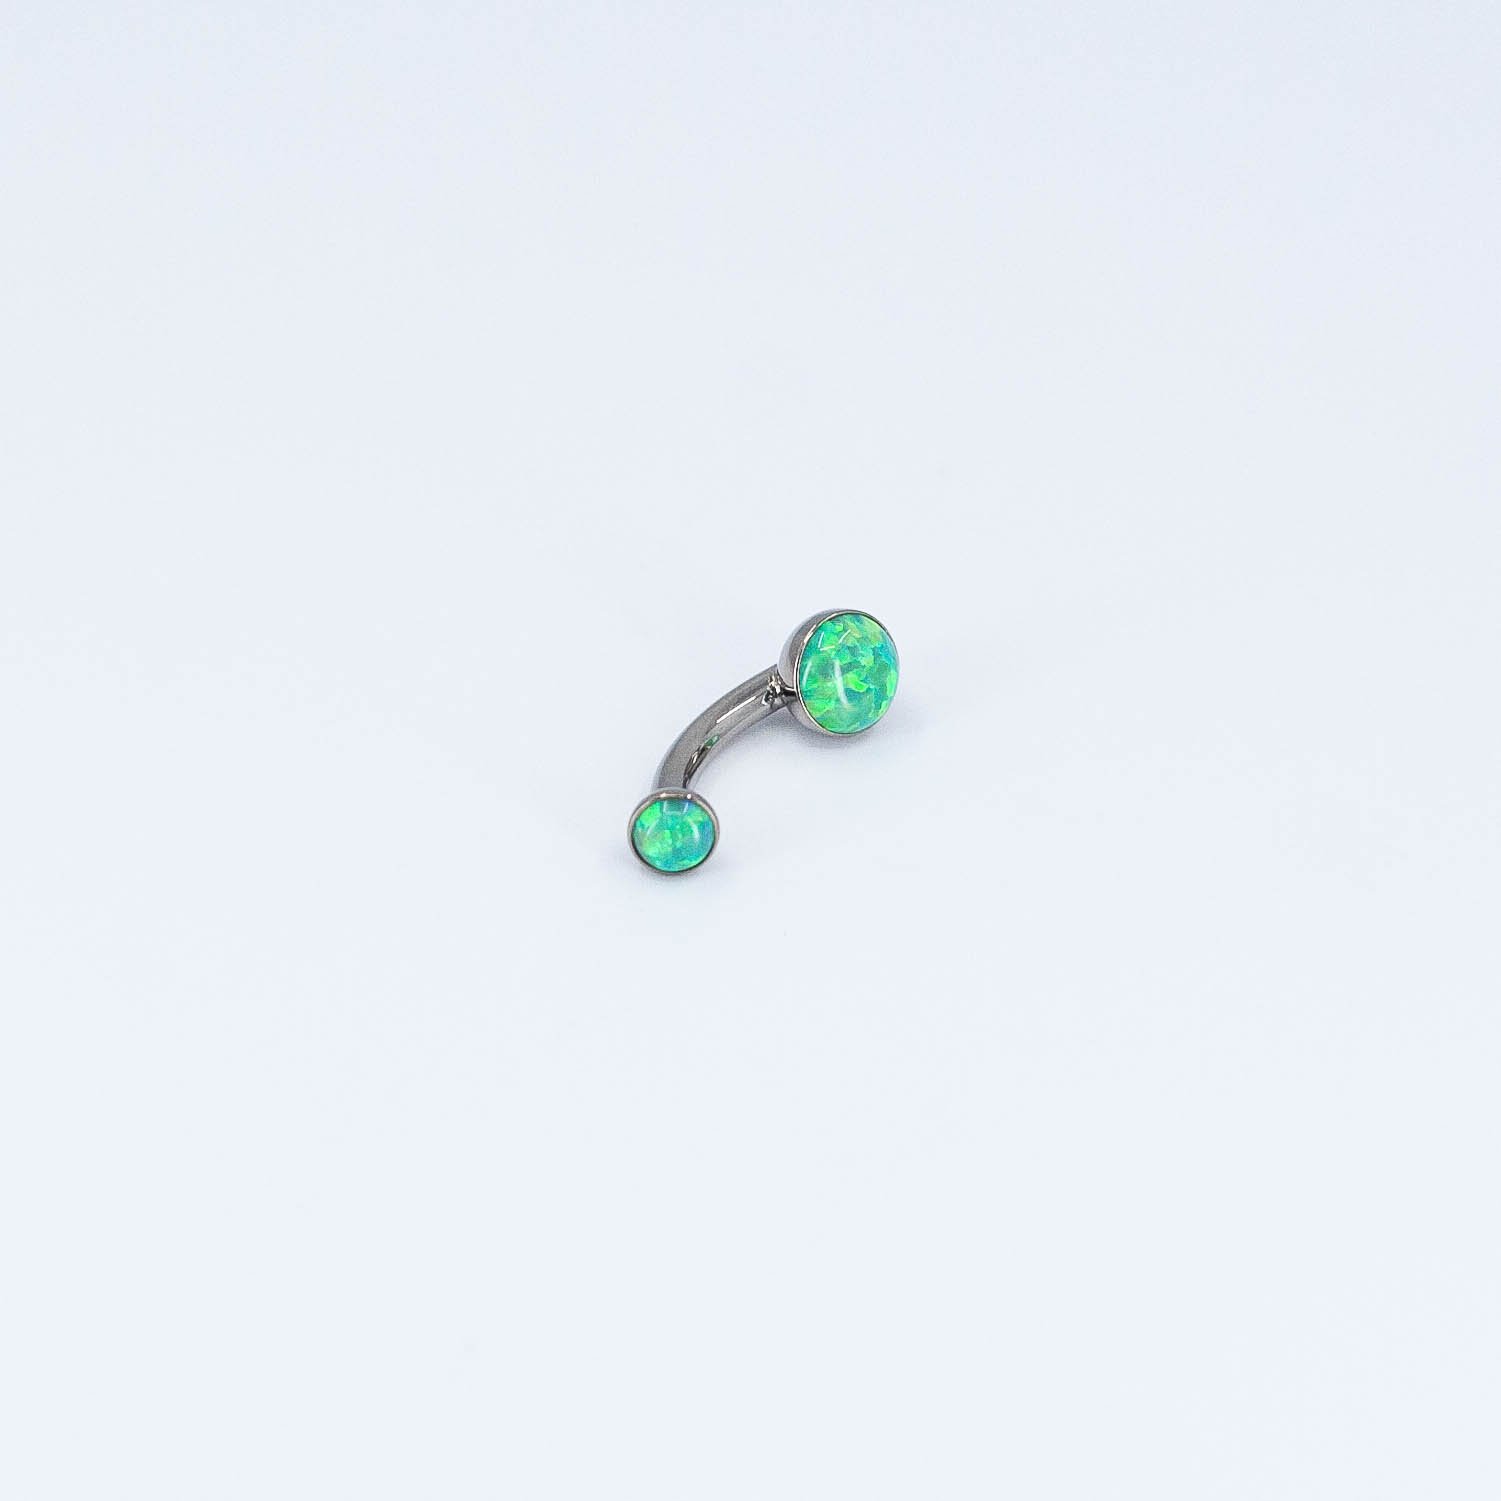
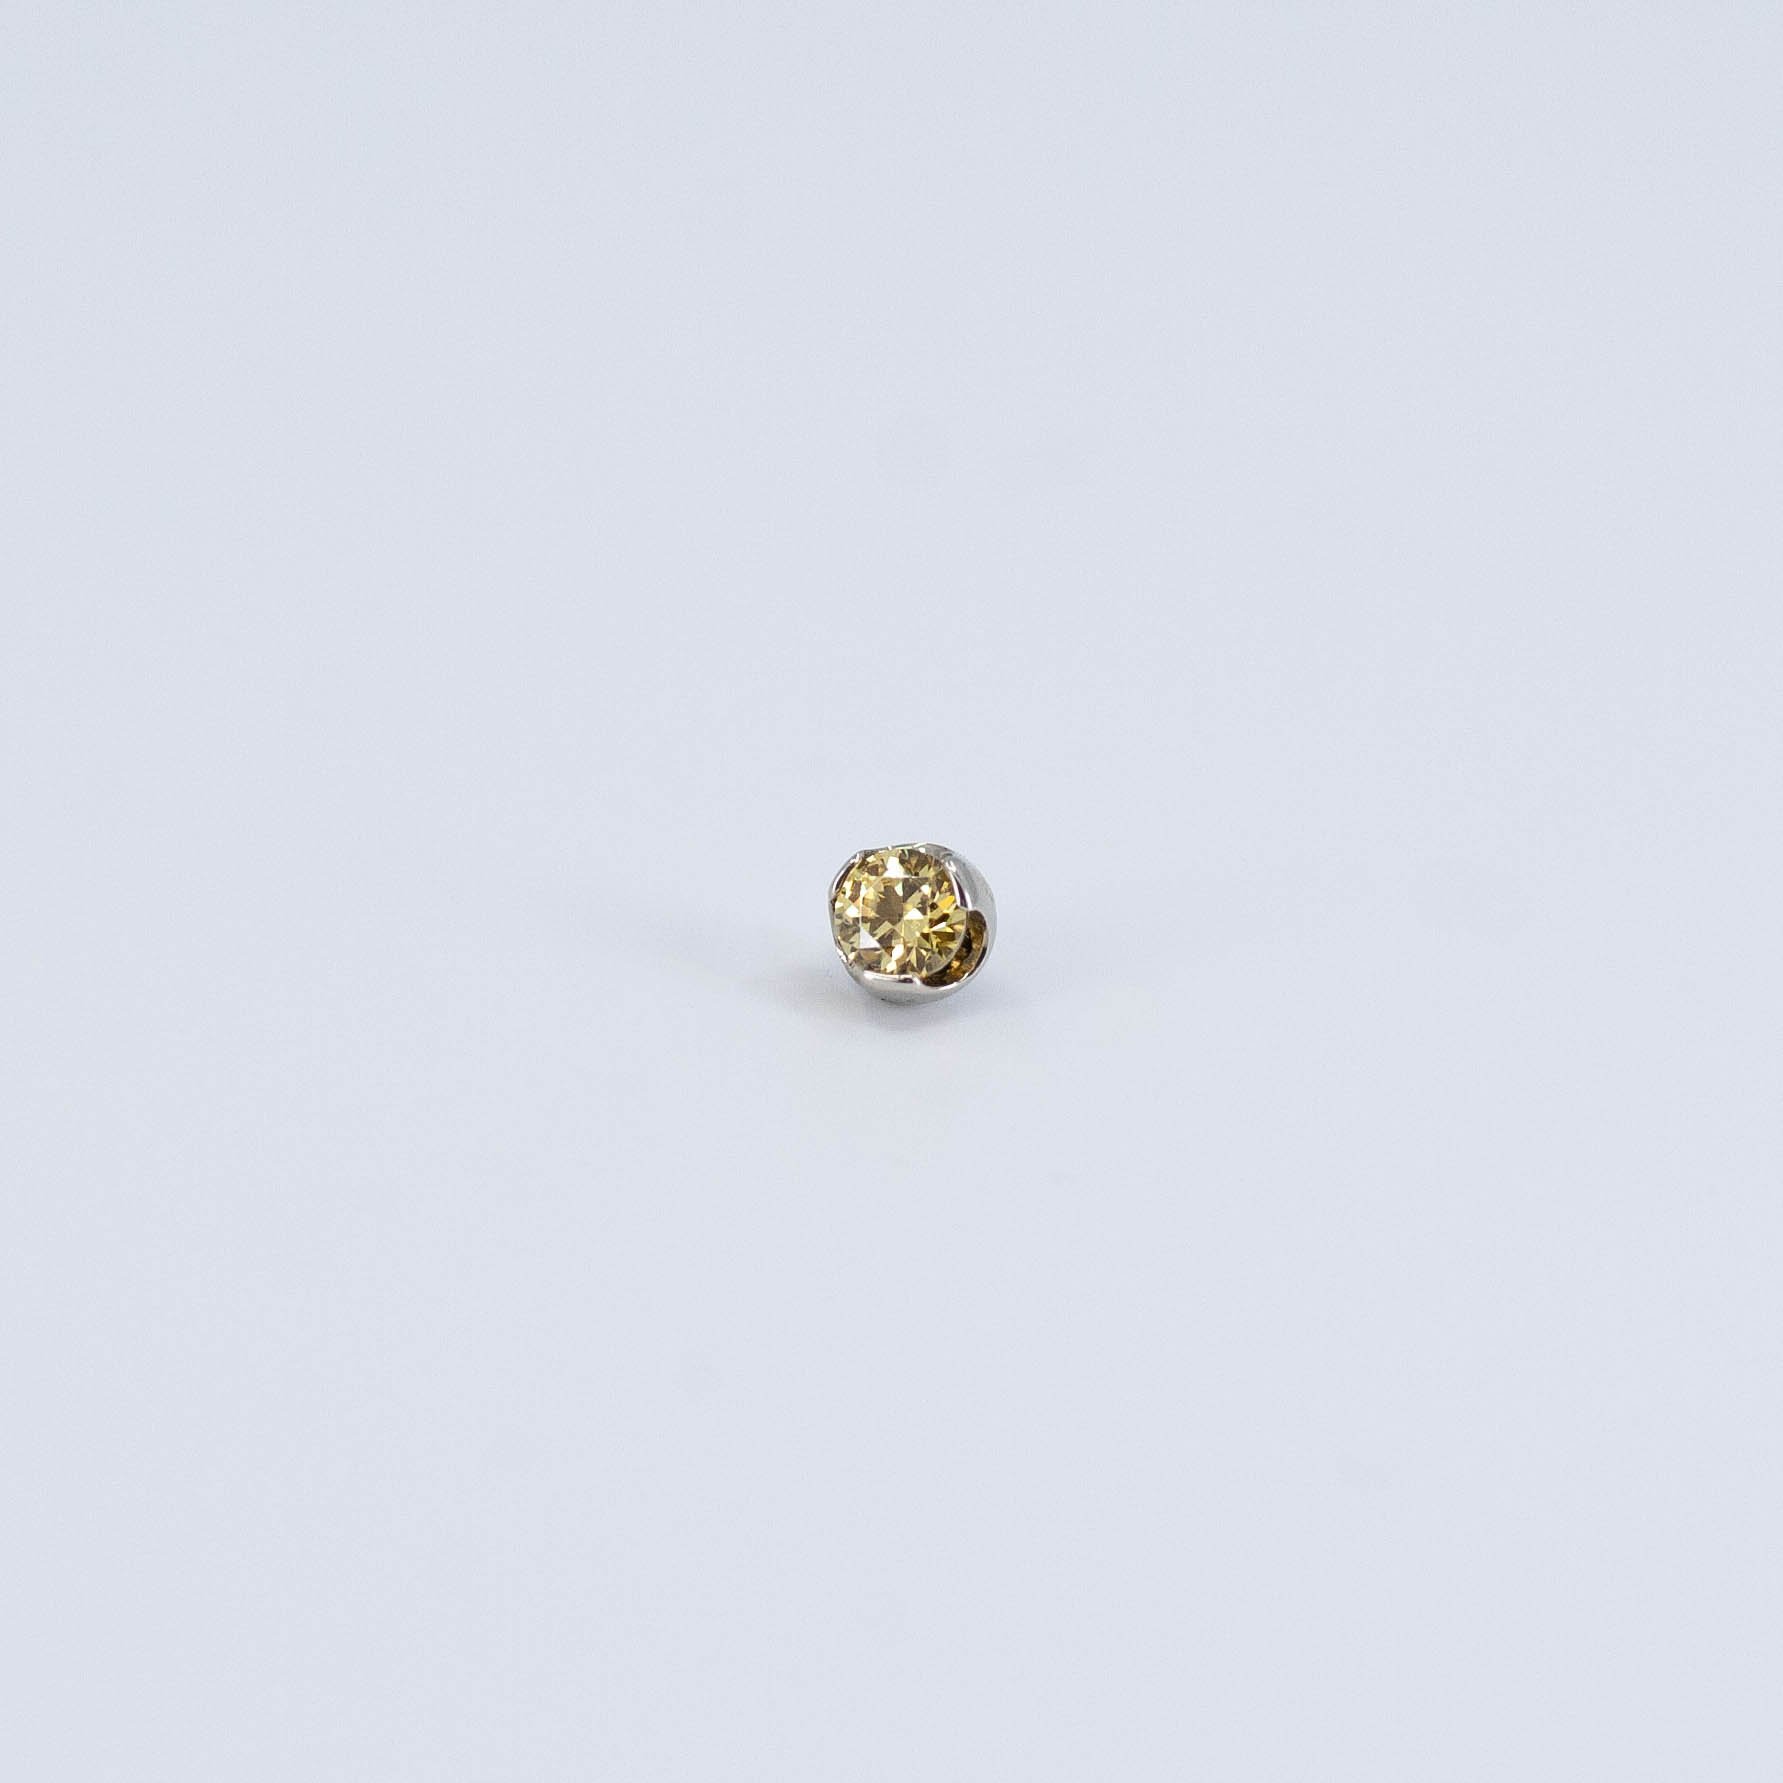
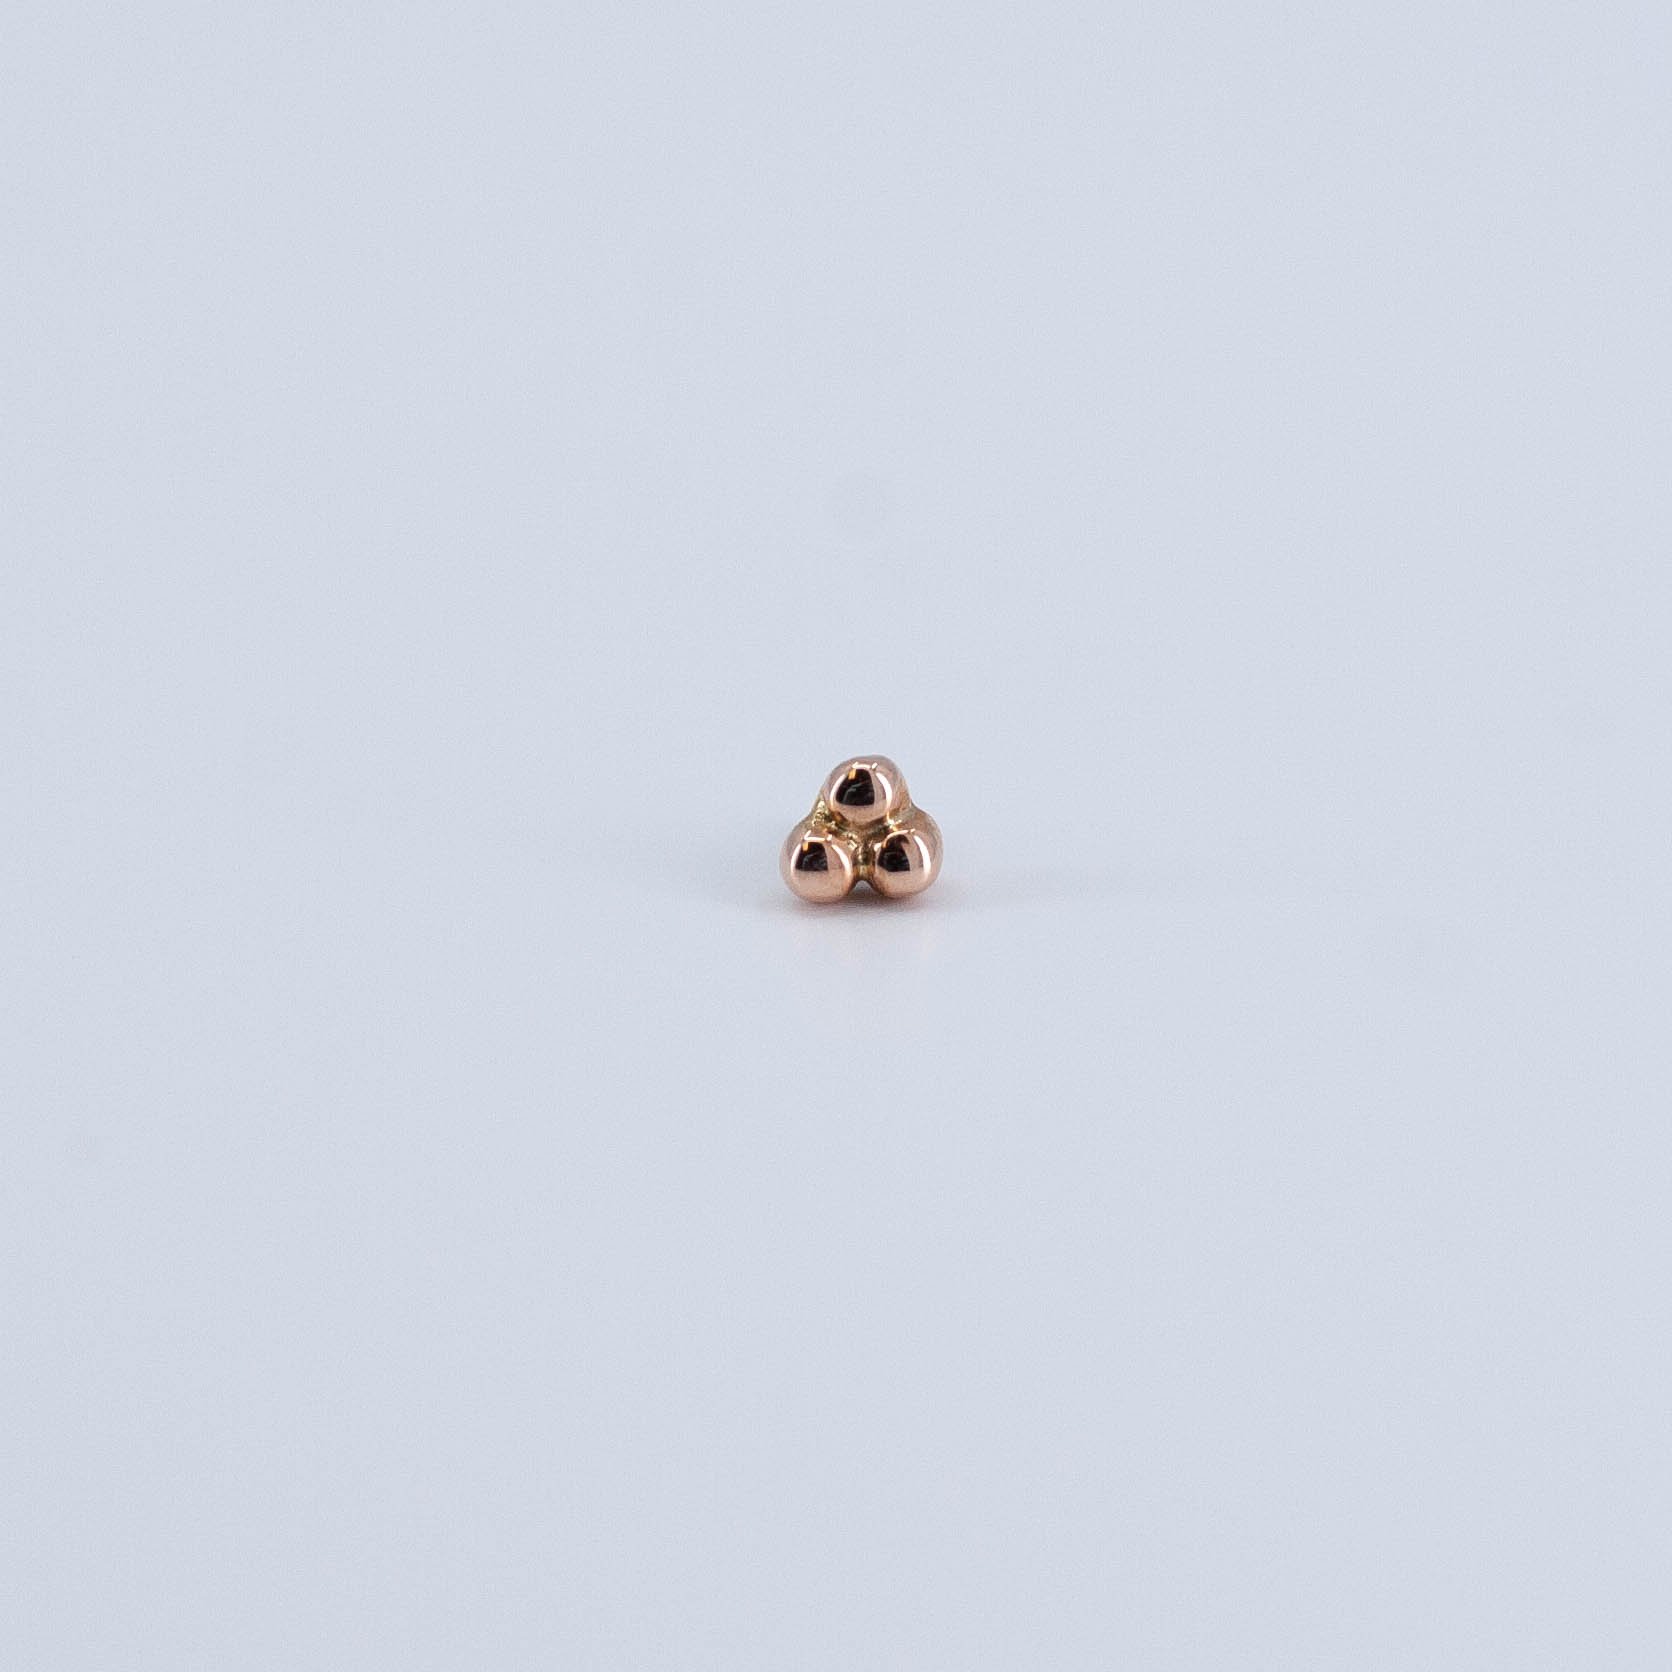
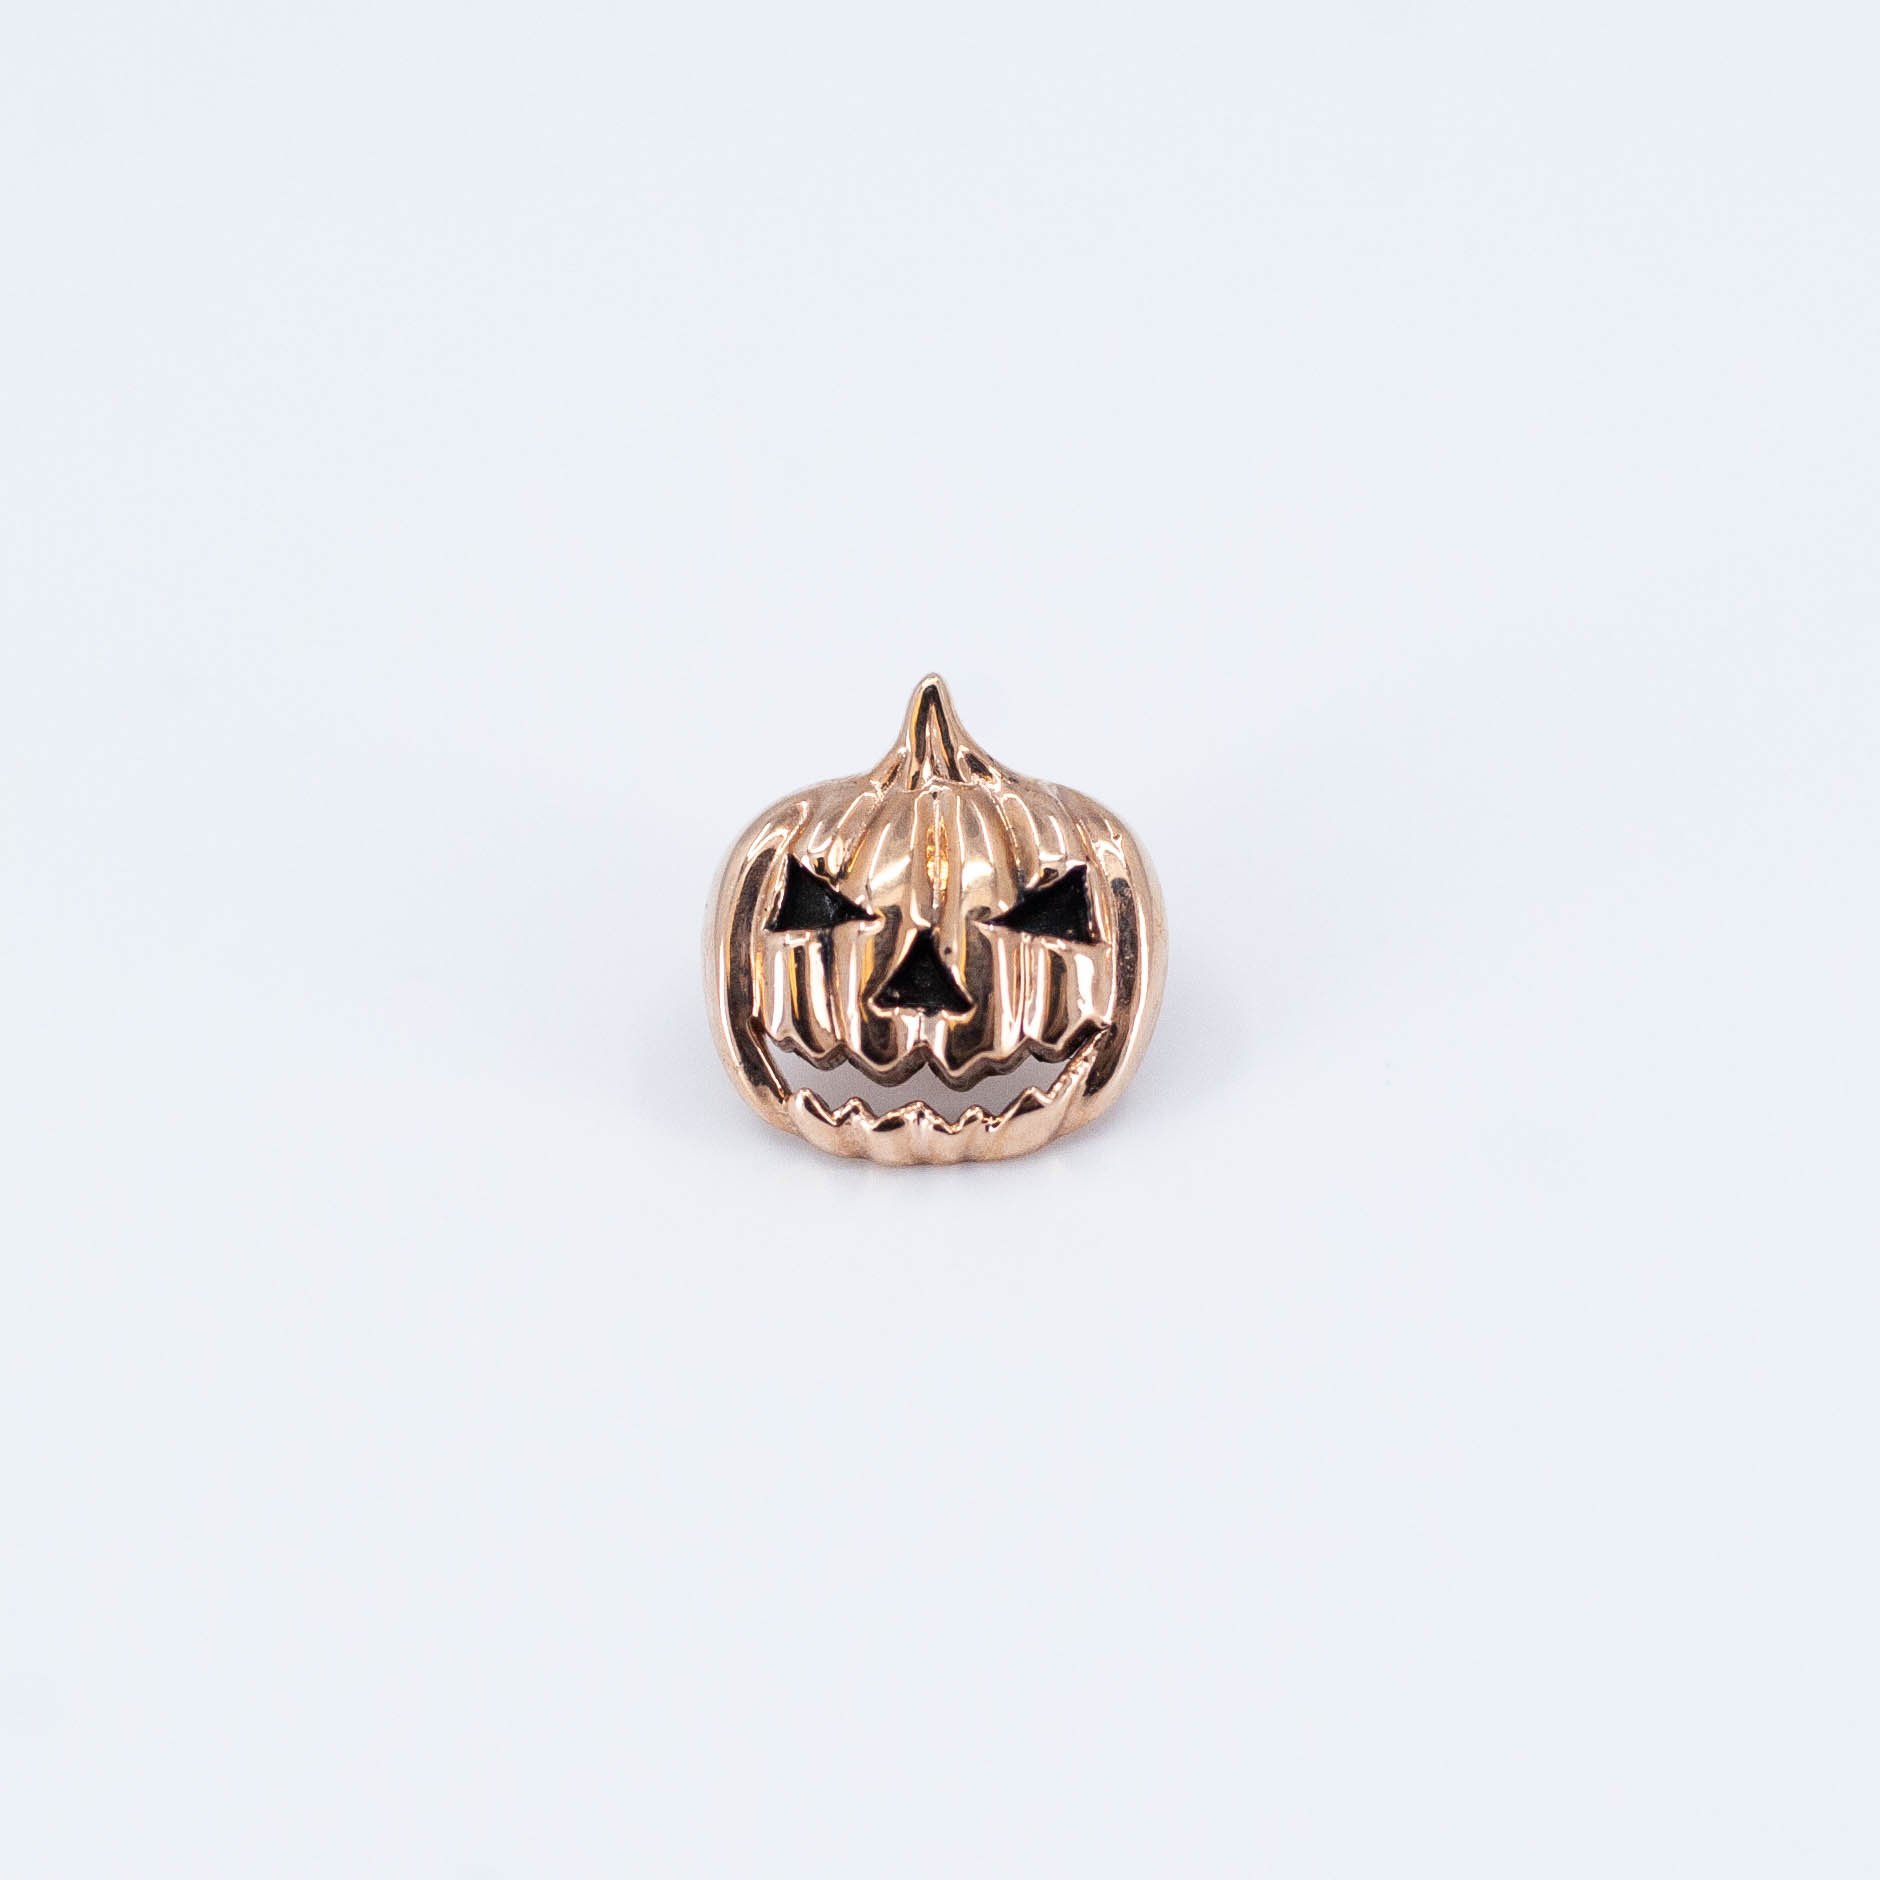
Ends / Threaded Plugs Clicker Chains Rings Ends Captive Threaded Threadless Hangers & Weights Coils/Spreaders/Hooks Gift Certificates Farata - Purple Copper Turquoise - 18k Rose Gold - 14g/12g - 13x6mm - Threaded - End - Anatometal $270.00 Add To Cart Threaded Bezel - Amethyst - Titanium - 18g/16g - 3.5mm - 3mm - End - Threaded - Industrial Strength $35.00 Add To Cart Threaded Bezel - Almandine Garnet - Titanium - 18g/16g - 3.5mm - 3mm - End - Threaded - Industrial Strength $35.00 Add To Cart Threaded Bezel - Turquoise - Titanium - 18g/16g - 3.5mm - 3mm - End - Threaded - Industrial Strength $35.00 Add To Cart Threaded Bezel - Rose Quartz - Titanium - 18g/16g - 3.5mm - 3mm - End - Threaded - Industrial Strength $35.00 Add To Cart Threaded Bezel - Moonstone - Titanium - 18g/16g - 3.5mm - 3mm - End - Threaded - Industrial Strength $35.00 Add To Cart Threaded Bezel - Blue Agate - Titanium - 18g/16g - 3.5mm - 3mm - End - Threaded - Industrial Strength $35.00 Add To Cart Marquise Panaraya - Synthetic White Opal - 14k White Gold - 18g/16g - 16x8.5mm - 5x2.5mm - End - Threaded - BVLA $1,000.00 Add To Cart Curved Barbell w/Front Facing Prongs - White CZ - 14k Yellow Gold - 16g - 5/16" - 2mm - Threaded - BVLA $310.00 sold out Add To Cart Curved Barbell w/Rianna Ends - Chrysoprase - 14k Rose Gold - 16g - 1/4" - 2.5mm, 3.5mm - Threaded - BVLA $760.00 Add To Cart Curved Barbell w/Rianna Ends - Sandblasted Amethyst - 14k White Gold - 16g - 1/4" - 2.5mm, 3.5mm - Threaded - BVLA $770.00 Add To Cart Curved Barbell w/Rianna Ends - White CZ - 14k Yellow Gold - 16g - 1/4" - 2.5mm, 3.5mm - Threaded - BVLA $720.00 Add To Cart Oval Choctaw - Blue Turquoise - 14k White Gold - 18g/16g - 8x6mm - 5x3mm - End - Threaded - BVLA $575.00 Add To Cart Tritone Braided Raine - Copper Blue Turquoise - 14k Yellow Gold - 18g/16g - 7mm - 4mm - End - Threaded - BVLA $975.00 Add To Cart Bullet Prong - White Opal - 18k Yellow Gold - 18g/16g - 5x3.5mm - End - Threaded - Anatometal $135.00 Add To Cart Circular Barbell w/Balls - 14k Yellow Gold - 16g - 3/8" - 1/8" - Threaded - Leroi $350.00 Add To Cart Circular Barbell w/Balls - 14k Rose Gold - 16g - 3/8" - 1/8" - Threaded - Leroi $350.00 Add To Cart Circular Barbell w/Balls - 14k Yellow Gold - 16g - 5/16" - 1/8" - Threaded - Leroi $335.00 Add To Cart Circular Barbell w/Balls - 14k Rose Gold - 16g - 5/16" - 1/8" - Threaded - Leroi $335.00 Add To Cart Curved Barbell w/Balls - 14k Rose Gold - 16g - 1/4" - 1/8" - Threaded - Leroi $270.00 Add To Cart Curved Barbell w/Balls - 14k Yellow Gold - 16g - 5/16" - 1/8" - Threaded - Leroi $280.00 Add To Cart Curved Barbell w/Balls - 14k Rose Gold - 16g - 5/16" - 1/8" - Threaded - Leroi $280.00 Add To Cart Bezel Bullet - White Opal - 18k White Gold - 18g/16g - 5x3.5mm - 3.5x4mm - End - Threaded - Anatometal $115.00 Add To Cart Panaraya Marquise Alternating - Garnet AA, Smoky Quartz - 14k Rose Gold - 16g - 12.5x6mm - 4x2mm - End - Threaded - BVLA $800.00 sold out Add To Cart Sarai Marquise - Honey Topaz, Morganite - 14k Rose Gold - 16g - 12x8mm -Threaded - BVLA $920.00 Add To Cart Mini Eloise w/Beaded Accents - Chrysoprase Cab - 14k Rose Gold - 16g - 6.5x4mm - 3x1.5mm - End - Threaded - BVLA $420.00 Add To Cart Elaine - White Sapphire, VS Diamond, Rose Cut Oregon Sunstone - 14k Rose Gold - 16g - 10mm -Threaded - BVLA $1,750.00 Add To Cart The Rose 13 Gem Cluster - Champagne CZ, Faceted Oregon Sunstone - 14k Rose Gold - 16g - 5mm - 1mm - 2.5mm - End - Threaded - BVLA $525.00 Add To Cart Panaraya Marquise - Rose Cut Labradorite - 14k White Gold - 16g - 12.5x6mm - 4x2mm - End - Threaded - BVLA $1,000.00 Add To Cart Mini Eloise w/Beaded Accents - Amethyst AA - 14k White Gold - 16g - 6.5x4mm - 3x1.5mm - End - Threaded - BVLA $400.00 Add To Cart Elaine - White CZ, Rainbow Moonstone - 14k White Gold - 16g - 10mm -Threaded - BVLA $1,020.00 Add To Cart The Rose 13 Gem Cluster - Swiss Blue Topaz & Mercury Mist Topaz - 14k White Gold - 16g - 5mm - 2.5mm - End - Threaded - BVLA $610.00 Add To Cart Mini Eloise w/Beaded Accents - Black CZ - 14k Yellow Gold - 16g - 6.5x4mm - 3x1.5mm - End - Threaded - BVLA $325.00 Add To Cart Sarai Marquise - White CZ & Mercury Mist Topaz - 14k Yellow Gold - 16g - 12x8mm -Threaded - BVLA $700.00 Add To Cart The Rose 13 Gem Cluster - Marcasite - 14k Yellow Gold - 16g - 5mm - 2.5mm - End - Threaded - BVLA $590.00 Add To Cart The Rose 13 Gem Cluster - Champagne Sapphire, Faceted Oregon Sunstone - 14k Yellow Gold - 16g - 10mm - 5mm - 1.5mm - End - Threaded - BVLA $1,020.00 Add To Cart Panaraya Marquise - Champagne CZ - 14k Yellow Gold - 16g - 12.5x6mm - 4x2mm - End - Threaded - BVLA $670.00 Add To Cart Sarai Marquise - Amethyst AA & White Opal AAA - 14k White Gold - 16g - 12x8mm -Threaded - BVLA $900.00 Add To Cart 2 Gem Navel Curve - 12g - Aqua CZ - 3/8" - 6mm, 4mm - Titanium - Navel - Industrial Strength $90.00 sold out Add To Cart 2 Gem Navel Curve - 12g - Purple Opal - 3/8" - 6mm, 4mm - Titanium - Navel - Industrial Strength $90.00 Add To Cart 2 Gem Navel Curve - 12g - Pink Opal - 3/8" - 6mm, 4mm - Titanium - Navel - Industrial Strength $90.00 Add To Cart 2 Gem Navel Curve - 12g - Black CZ - 3/8" - 6mm, 4mm - Titanium - Bezel - Navel - Industrial Strength $90.00 Add To Cart 2 Gem Navel Curve - 12g - Black Opal - 3/8" - 6mm, 4mm - Titanium - Navel - Industrial Strength $90.00 Add To Cart 2 Gem Navel Curve - 12g - Black CZ - 3/8" - 6mm, 4mm - Titanium - Prong - Navel - Industrial Strength $90.00 Add To Cart 2 Gem Navel Curve - 12g - Garnet - 3/8" - 6mm, 4mm - Titanium - Navel - Industrial Strength $90.00 Add To Cart 2 Gem Navel Curve - 12g - Kiwi Opal - 3/8" - 6mm, 4mm - Titanium - Navel - Industrial Strength $90.00 sold out Add To Cart 2 Gem Navel Curve - 12g - Azure Opal - 3/8" - 6mm, 4mm - Titanium - Navel - Industrial Strength $90.00 Add To Cart 2 Gem Navel Curve - 12g - Mint CZ - 3/8" - 6mm, 4mm - Titanium - Navel - Industrial Strength $90.00 Add To Cart 2 Gem Navel Curve - 12g - Pink CZ - 3/8" - 6mm, 4mm - Titanium - Navel - Industrial Strength $90.00 Add To Cart 2 Gem Navel Curve - 12g - Turquoise - 3/8" - 6mm, 4mm - Titanium - Navel - Industrial Strength $90.00 Add To Cart 2 Gem Navel Curve - 12g - Teal Opal - 3/8" - 6mm, 4mm - Titanium - Navel - Industrial Strength $90.00 Add To Cart 2 Gem Navel Curve - 12g - Pacific Opals - 3/8" - 6mm, 4mm - Titanium - Navel - Industrial Strength $90.00 Add To Cart 2 Gem Navel Curve - 12g - Amethyst - 3/8" - 6mm, 4mm - Titanium - Navel - Industrial Strength $90.00 Add To Cart 2 Gem Navel Curve - 12g - Arctic - 3/8" - 6mm, 4mm - Titanium - Navel - Industrial Strength $90.00 Add To Cart 2 Gem Navel Curve - 12g - Citrine - 3/8" - 6mm, 4mm - Titanium - Navel - Industrial Strength $90.00 Add To Cart 2 Gem Navel Curve - 12g - Emerald - 3/8" - 6mm, 4mm - Titanium - Navel - Industrial Strength $90.00 Add To Cart 2 Gem Navel Curve - 12g - Sapphire - 3/8" - 6mm, 4mm - Titanium - Navel - Industrial Strength $90.00 Add To Cart 2 Gem Navel Curve - 12g - White Opal - 3/8" - 6mm, 4mm - Titanium - Navel - Industrial Strength $90.00 Add To Cart 2 Gem Navel Curve - 12g - White CZ - 3/8" - 6mm, 4mm - Titanium - Navel - Industrial Strength $90.00 Add To Cart 2 Gem Navel Curve - 12g - White Opal - 7/16" - 6mm, 4mm - Titanium - Navel - Industrial Strength $90.00 Add To Cart 2 Gem Navel Curve - 12g - White CZ - 1/2" - 6mm, 4mm - Titanium - Navel - Industrial Strength $90.00 Add To Cart Trio - White Opal - 18k Rose Gold - 18g/16g - 6.5mm - End - Threaded - Anatometal $175.00 Add To Cart Gemmed Hera - White Opal - 18k White Gold - 18g/16g - 5.5mm - End - Threaded - Anatometal $170.00 Add To Cart Crown Heart - Light Blue Opal - 18k White Gold - 18g/16g - 6mm - End - Threaded - Anatometal $150.00 Add To Cart Crown Heart - White Opal - 18k White Gold - 18g/16g - 6mm - End - Threaded - Anatometal $150.00 Add To Cart Integrity - Swiss Blue Topaz - 14k White Gold - 16g - 5mm - End - Threaded - BVLA $235.00 Add To Cart Shandra Filigree - Mercury Mist - 14k Yellow Gold - 18g/16g - 6mm - End - Threaded - BVLA $230.00 Add To Cart Scallop Bezel Tear Drop - Pyrite - 14k White Gold - 16g - 6x4mm - End - Threaded - Auris $270.00 Add To Cart Queen Crown - Black Onyx Bullet - 18k White Gold - 18g/16g - 6.5x5.5mm - End - Threaded - Anatometal $165.00 Add To Cart Farata Oval - Rutilated Quartz - 18k Rose Gold - 14g/12g - 12.5x6mm - End - Threaded - Anatometal $255.00 Add To Cart Prong - White Opal - 18k White Gold - 18g/16g - 3.5mm - End - Threaded - Anatometal $105.00 Add To Cart Prong - Smoke - 18k Rose Gold - 18g/16g - 2.5mm - End - Threaded - Anatometal $85.00 Add To Cart Prong - Diamond - 18k Yellow Gold - 18g/16g - 3.5mm - End - Threaded - Anatometal $470.00 Add To Cart Gemmed Hera - White CZ - 18k Yellow Gold - 16g - 5.5mm - End - Threaded - Anatometal $170.00 Add To Cart Prong - Mint Green CZ - 18k Rose Gold - 18g/16g - 3.5mm - End - Threaded - Anatometal $105.00 Add To Cart Claw Set - White Opal Ball - 18k Rose Gold - 14g - 3.5mm - End - Threaded - Anatometal $65.00 Add To Cart Trio - Faceted Sapphire - 18k Rose Gold - 18g/16g - 6.5mm - End - Threaded - Anatometal $175.00 Add To Cart Prong - Diamond - 18k Yellow Gold - 18g/16g - 2mm - End - Threaded - Anatometal $155.00 Add To Cart Sabrina 1 - Diamond - 18k Yellow Gold - 18g/16g - 4mm - End - Threaded - Anatometal $160.00 Add To Cart Prong - White Opal - 18k Rose Gold - 18g/16g - 3.5mm - End - Threaded - Anatometal $105.00 Add To Cart Prong - Citrine - 18k White Gold - 18g/16g - 3mm - End - Threaded - Anatometal $85.00 Add To Cart Disk - 18k Yellow Gold - 18g/16g - 3mm - End - Threaded - Anatometal $100.00 Add To Cart Mini Eloise Marquise Panaraya - London Topaz - 14k Yellow Gold - 18g/16g - 6x4mm - End - Threaded - BVLA $330.00 Add To Cart Square Harlequin - Black Zirconia Cabochon - 14k Yellow Gold - 18g/16g - 4mm - End - Threaded - Leroi $95.00 Add To Cart Queen Crown - Faceted Smoke - 18k White Gold - 18g/16g - 3.5mm - End - Threaded - Anatometal $80.00 Add To Cart Sabrina 2 - Faceted White Opal - 18k Rose Gold - 14g/12g - 8x3mm - End - Threaded - Anatometal $125.00 Add To Cart Gemmed Hera - White CZ - 18k White Gold - 18g/16g - 5.5mm - End - Threaded - Anatometal $170.00 Add To Cart Farata Oval - Sandblasted Black Onyx - 18k Yellow Gold - 14g/12g - 12.5x6mm - End - Threaded - Anatometal $255.00 Add To Cart Prong - White Opal Bullet - 18k Rose Gold - 18g/16g - 4x5mm - End - Threaded - Anatometal $115.00 Add To Cart Prong - Synthetic Turquoise Cabochon - 18k White Gold - 18g/16g - 3mm - End - Threaded - Anatometal $95.00 Add To Cart Gemmed Hera - White CZ - 18k Rose Gold - 18g/16g - 5.5mm - End - Threaded - Anatometal $170.00 Add To Cart Ball - 18k Yellow Gold - 18g - 3/32" - End - Threaded - Anatometal $70.00 Add To Cart Prong - White Opal - 18k Yellow Gold - 18g/16g - 3.5mm - End - Threaded - Anatometal $105.00 Add To Cart Plumeria - Diamond - 18k Rose Gold - 18g/16g - 6mm - End - Threaded - Anatometal $260.00 Add To Cart Prong - Synthetic White Opal - 18k White Gold - 18g/16g - 4x5mm - End - Threaded - Anatometal $115.00 Add To Cart Hammered Disk - 18k Yellow Gold - 18g/16g - 4mm - End - Threaded - Anatometal $130.00 Add To Cart Snake Left Facing - 18k Yellow Gold - 18g/16g - 16x9.5mm - End - Threaded - Anatometal $310.00 Add To Cart Gemmed Hera - White Opal - 18k Yellow Gold - 18g/16g - 5.5mm - End - Threaded - Anatometal $170.00 Add To Cart Hammered Disk - 18k White Gold - 18g/16g - 3mm - End - Threaded - Anatometal $170.00 Add To Cart Bee - 14k White Gold - 18g/16g - 7x5.5mm - End - Threaded - Leroi $80.00 Add To Cart 3 Bead Cluster - 14k Rose Gold - 18g/16g - 2mm - End - Threaded - Leroi $70.00 Add To Cart Small Dragonfly - 14k Yellow Gold - 18g/16g - 2.5x2mm - End - Threaded - Leroi $85.00 Add To Cart Square Harlequin - White CZ Cabochon - 14k Rose Gold - 18g/16g - 4mm - End - Threaded - Leroi $95.00 Add To Cart Vice - Synthetic Turquoise - 18k White Gold - 18g/16g - 5mm - End - Threaded - Anatometal $80.00 Add To Cart Claw Set - White Opal - 18k Rose Gold - 14g - 7mm - End - Threaded - Anatometal $190.00 Add To Cart 2 Gem Cluster - Turquoise/Black Onyx - 18k Rose Gold - 18g/16g - 6x3.5mm - End - Threaded - Anatometal $120.00 Add To Cart Trio - White CZ - 18k White Gold - 18g/16g - 6.5mm - End - Threaded - Anatometal $175.00 Add To Cart Prong - Turquoise Cabochon - 18k White Gold - 18g/16g - 3.5mm - End - Threaded - Anatometal $105.00 Add To Cart Snake Left Facing - 18k White Gold - 18g/16g - 16x9.5mm - End - Threaded - Anatometal $310.00 Add To Cart Bezel - Blue Dichro - 18k White Gold - 14g - 7mm - End - Threaded - Anatometal/Gorilla Glass $435.00 Add To Cart Hammered Disk - 18k White Gold - 18g/16g - 4mm - End - Threaded - Anatometal $130.00 Add To Cart Trio - Sapphire - 18k White Gold - 18g/16g - 3.5mm - End - Threaded - Anatometal $130.00 Add To Cart Bezel - Black Opal - 18k Yellow Gold - 14g/12g - 4.5mm - End - Threaded - Anatometal $105.00 Add To Cart Ball - 18k Yellow Gold - 16g - 1/8" - End - Threaded - Anatometal $110.00 Add To Cart Hera - 18k White Gold - 14g/12g - 5mm - End - Threaded - Anatometal $155.00 Add To Cart Ball - 18k Rose Gold - 16g - 1/8" - End - Threaded - Anatometal $110.00 Add To Cart Prong - Mint Green CZ - 18k Rose Gold - 18g/16g - 2.5mm - End - Threaded - Anatometal $55.00 Add To Cart Prong - White CZ - 18k White Gold - 18g/16g - 3.5mm - End - Threaded - Anatometal $105.00 Add To Cart Hera - 18k Rose Gold - 14g - 5mm - End - Threaded - Anatometal $155.00 Add To Cart Claw Set - Dusty Morganite Orb - 18k Rose Gold - 14g/12g - 4.5mm - End - Threaded - Anatometal $115.00 Add To Cart Gemmed Hera - White Opal - 18k Rose Gold - 16g - 5.5mm - End - Threaded - Anatometal $170.00 Add To Cart Prong - Black Opal - 18k Rose Gold - 18g/16g - 3.75mm - End - Threaded - Anatometal $105.00 Add To Cart Claw Set - Sunrise Yellow Orb - 18k Rose Gold - 14g/12g - 4.5mm - End - Threaded - Anatometal $105.00 Add To Cart Claw Set - London Blue Orb - 18k Rose Gold - 14g/12g - 6.5mm - End - Threaded - Anatometal $205.00 Add To Cart Bezel - Turquoise - 18k Yellow Gold - 14g/12g - 4.5mm - End - Threaded - Anatometal $105.00 Add To Cart Claw Set - Black Onyx - 18k Yellow Gold - 14g/12g - 4.5mm - End - Threaded - Anatometal $105.00 Add To Cart Prong - Diamond - 18k Yellow Gold - 18g/16g - 3mm - End - Threaded - Anatometal $385.00 Add To Cart Claw Set - Rose Quartz - 18k White Gold - 14g/12g - 4.5mm - End - Threaded - Anatometal $105.00 Add To Cart Heart - 18k Rose Gold - 18g/16g - 2.25x2.5mm - End - Threaded - Leroi $120.00 Add To Cart 4 Bead Cluster - 18k White Gold - 18g/16g - 3.5x2mm - End - Threaded - Leroi $70.00 Add To Cart Ethereal - Sky Blue Topaz/Black Spinnel - 14k Yellow Gold - 16g - 7mm - End - Threaded - Quetzalli $395.00 Add To Cart Prong - Diamond - 18k White Gold - 16g - 2mm - End - Threaded - Anatometal $110.00 Add To Cart Ball - 18k White Gold - 16g - 1/8" - End - Threaded - Anatometal $130.00 Add To Cart Sabrina 1 - Diamond - 18k Rose Gold - 18g/16g - 4mm - End - Threaded - Anatometal $160.00 Add To Cart Sabrina 5 - Turquoise Cabochon - 18k Yellow Gold - 14g/12g - 7.5mm - End - Threaded - Anatometal $175.00 Add To Cart Prong - Synthetic Turquoise Cabochon - 18k White Gold - 18g/16g - 2.5mm - End - Threaded - Anatometal $55.00 Add To Cart Trio - Synthetic Turquoise Cabochon - 18k White Gold - 18g/16g - 6.5mm - End - Threaded - Anatometal $145.00 Add To Cart Claw Set - Peridot Green - 18k Rose Gold - 14g - 4.5mm - End - Threaded - Anatometal $90.00 Add To Cart Hera - 18k Yellow Gold - 18g/16g - 4mm - End - Threaded - Anatometal $125.00 Add To Cart Prong - Diamond- 18k White Gold - 18g/16g - 3.5mm - End - Threadless - Anatometal $645.00 Add To Cart Shandra Filigree - White CZ- 14k White Gold - 18g/16g - 6mm - End - Threaded - BVLA $250.00 Add To Cart Pyramid - 14k Rose Gold - 18g/16g - 2mm - End - Threaded - Leroi $65.00 Add To Cart 4 Bead Cluster - 14k Rose Gold - 18g/16g - 3.5mmx2mm - End - Threaded - Leroi $65.00 Add To Cart Farata Oval - Light Blue Opal - 18k White Gold - 14g/12g - 12.5mmx6mm - End - Threaded - Anatometal $215.00 Add To Cart Claw Set - Fading Violet Orb - 18k Rose Gold - 14g/12g - 4.75mm - End - Threaded - Anatometal $90.00 Add To Cart Nusura - Citrine- 18k Yellow Gold - 18g/16g - 5mm - End - Threaded - Anatometal $160.00 Add To Cart Prong - Diamond- 18k Rose Gold - 18g/16g - 2.5mm - End - Threaded - Anatometal $240.00 Add To Cart Claw Set - Dusty Morganite Orb - 18k Rose Gold - 14g/12g - 6.5mm - End - Threaded - Anatometal $170.00 Add To Cart Crown Heart - Blue Green Opal - 18k Rose Gold - 18g/16g - 6mm - End - Threaded - Anatometal $150.00 Add To Cart Hammered Disk - 18k White Gold - 14g/12g - 4mm - End - Threaded - Anatometal $135.00 Add To Cart Hammered Moon - 18k Yellow Gold - 18g/16g - 6.5x3.5mm - End - Threaded - Anatometal $100.00 Add To Cart Small Dragonfly - 14k Rose Gold - 18g/16g - 4.5x3.75mm - End - Threaded - Leroi $85.00 Add To Cart 4 Bead Cluster - 14k Yellow Gold - 18g/16g - 3.25x2.25mm - End - Threaded - Leroi $65.00 Add To Cart Double Millgrain - Turquoise - 14k White Gold - 18g/16g - 4.5x4.5mm - End - Threaded - Leroi $95.00 Add To Cart Farata Oval - Red Opal - 18k Yellow Gold - 14g/12g - 13x6mm - End - Threaded - Anatometal $215.00 Add To Cart Hammered Moon - 18k Rose Gold - 18g/16g - 6.5x3.5mm - End - Threaded - Anatometal $95.00 Add To Cart Ball - 18k Yellow Gold - 12g - 3/16" - End - Threaded - Anatometal $310.00 Add To Cart Ball - 18k White Gold - 18g - 3/32" - End - Threaded - Anatometal $65.00 Add To Cart Queen Crown - White CZ - 18k White Gold - 18g/16g - 5mm - End - Threaded - Anatometal $125.00 Add To Cart Crowned Heart - Black Opal - 18k Yellow Gold - 18g/16g - 6x5.5mm - End - Threaded - Anatometal $145.00 Add To Cart Ethereal - White Sapphire AA - 14k Yellow Gold - 18g/16g - 7.25mm - End - Threaded - Quetzalli $330.00 Add To Cart Shandra Filigree - Honey Topaz - 14k Yellow Gold - 18g/16g - 6.25mm - End - Threaded - BVLA $240.00 Add To Cart Nusura - Black Onyx - 18k Yellow Gold - 18g/16g - 4.25mm - End - Threaded - Anatometal $205.00 Add To Cart Ball - 18k Rose Gold - 18g/16g - 3mm - End - Threaded - Anatometal $75.00 Add To Cart Hera - 18k Rose Gold - 18g/16g - 4mm - End - Threaded - Anatometal $125.00 Add To Cart Claw Set - London Blue Orb - 18k Rose Gold - 14g/12g - 5mm - End - Threaded - Anatometal $105.00 Add To Cart Prong - Diamond - 18k Rose Gold - 18g/16g - 3mm - End - Threaded - Anatometal $470.00 Add To Cart Vice - Mint Green - 18k Rose Gold - 18g/16g - 2.25mm - End - Threaded - Anatometal $70.00 Add To Cart Prong - White CZ - 18k Rose Gold - 18g/16g - 3.25mm - End - Threaded - Anatometal $105.00 Add To Cart Prong - Diamond - 18k Rose Gold - 18g/16g - 2mm - End - Threaded - Anatometal $140.00 Add To Cart Bezel - Pink Dichro - 18k Rose Gold - 14g/12g - 7.5mm - End - Threaded - Anatometal $435.00 Add To Cart Prong - White CZ - 18k Yellow Gold - 18g/16g - 3mm - End - Threaded - Anatometal $115.00 Add To Cart Claw Set - Canary Yellow Orb - 18k Rose Gold - 14g/12g - 5.5mm - End - Threaded - Anatometal $105.00 Add To Cart Prong - Citrine - 18k White Gold - 18g/16g - 3mm - End - Threaded - Anatometal $85.00 Add To Cart Crowned Heart - Light Purple Opal - 18k Rose Gold - 18g/16g - 6x5.5mm - End - Threaded - Anatometal $145.00 Add To Cart Large Tattoo Machine - 14k Yellow Gold - 14g/12g - 14x6.75mm - End - Threaded - TSAR $210.00 Add To Cart Bevel Pyramid - 14k Yellow Gold - 18g/16g - 2mm - End - Threaded - Leroi $65.00 Add To Cart Heart - 14k White Gold - 18g/16g - 2.25x2.5mm - End - Threaded - Leroi $120.00 Add To Cart Prong Bullet - Black Opal - 18k Yellow Gold - 18g/16g - 3.75x4.75mm - End - Threaded - Anatometal $115.00 Add To Cart Prong - White Opal - 18k Rose Gold - 18g/16g - 2.75mm - End - Threaded - Anatometal $85.00 Add To Cart Claw Set - Fading Violet Orb - 18k Rose Gold - 14g/12g - 6.5mm - End - Threaded - Anatometal $170.00 Add To Cart Nusura - White Opal - 18k Rose Gold - 18g/16g - 4.25mm - End - Threaded - Anatometal $205.00 Add To Cart Crown Heart - Light Purple Opal - 18k White Gold - 18g/16g - 6x5.5mm - End - Threaded - Anatometal $150.00 sold out Add To Cart Trio - White CZ - 18k Yellow Gold - 18g/16g - 6.5mm - End - Threaded - Anatometal $175.00 Add To Cart Hera - 18k Yellow Gold - 14g/12g - 5mm - End - Threaded - Anatometal $155.00 Add To Cart Prong - Citrine - 18k White Gold - 18g/16g - 3.5mm - End - Threaded - Anatometal $95.00 Add To Cart Bezel - Pearl - 14k White Gold - 18g/16g - 3.75mm - Threaded - End - BVLA $175.00 Add To Cart Beaded Trillion - Swiss Topaz AA - 14k White Gold - 18g/16g - 4.5mm - Threaded - End - BVLA $220.00 Add To Cart Jackolantern - 14k Rose Gold - 18g/16g - 6.5x7mm -Threaded - BVLA $250.00 Add To Cart Tama - Synthetic White Opal - 14k Yellow Gold - 18g/16g - 4.75mm - End - Threaded - Anatometal $105.00 Add To Cart FaraTa - Sandblasted Amethyst - 18k White Gold - 14g/12g -12.5x6.5mm - Threaded - End - Anatometal $355.00 Add To Cart Nusura - Synthetic White Opal - 18k Rose Gold - 18g/16g -6.5mm - Threaded - End - Anatometal $405.00 Add To Cart Nusura - White CZ - 18k Yellow Gold - 18g/16g -6.5mm - Threaded - End - Anatometal $405.00 Add To Cart Nusura - White CZ - 18k White Gold - 18g/16g -6.5mm - Threaded - End - Anatometal $405.00 Add To Cart Scallop Bezel Teardrop - Rutilated Quartz - 14k Rose Gold - 18g/16g -5x7.5mm - Threaded - End - Auris $330.00 Add To Cart Astra Flower - Pink Sapphire, Champagne Diamond - 14k Yellow Gold - 18g/16g -6mm - Threaded - End - Auris $435.00 Add To Cart Astra Flower - Pink Druzy, Black Diamond - 14k White Gold - 14g/12g -8mm - Threaded - End - Auris $435.00 Add To Cart Diadema - Diamond - 14k White Gold - 18g/16g - 6x9.5mm - Threaded - End - AURIS $795.00 Add To Cart French Kiss Left - White CZ - 14k Rose Gold - 18g/16g - 6x6.5mm - Threaded - End - BVLA $465.00 Add To Cart French Kiss Left - White CZ - 14k White Gold - 18g/16g - 6x6.5mm - Threaded - End - BVLA $465.00 Add To Cart Next